A Review of the New Shapeoko - Z-Axis Plate

As you may know, I am a BIG fan of cutting metal on my Shapeoko 3, but almost immediately after receiving my S3 (October 2015), I realized that the Z Axis plate was not going to be able to take the stress of cutting metal greater then about 0.010" deep. In fact, traveling along the Y Axis, my machine develop a harmonic pogo effect causing the spindle to jump nearly a 16th of an inch, and then destroy the end mill.

Unfortunately there didn’t appear to be any off-the-shelf option to fix this problem, and since I spent most of my life as a mechanical engineer, I felt comfortable in tackling a fix. Here is what I came up with.

(About) $10 for material and $8 for fasteners, and it was made using only hand tools

This fix made the machine a lot stronger and stopped the pogoing effect completely. There remained one problem. Since the spindle was mounted about 3 inches below the bottom V-Wheel, this created a moment arm (a lever) that placed added forces to the X-Axis/Motor plate allowing it to bend, which contributed to some poor harmonics and made it vibrate. There was no fix for this except a thicker X-Axis plate, so I thought…

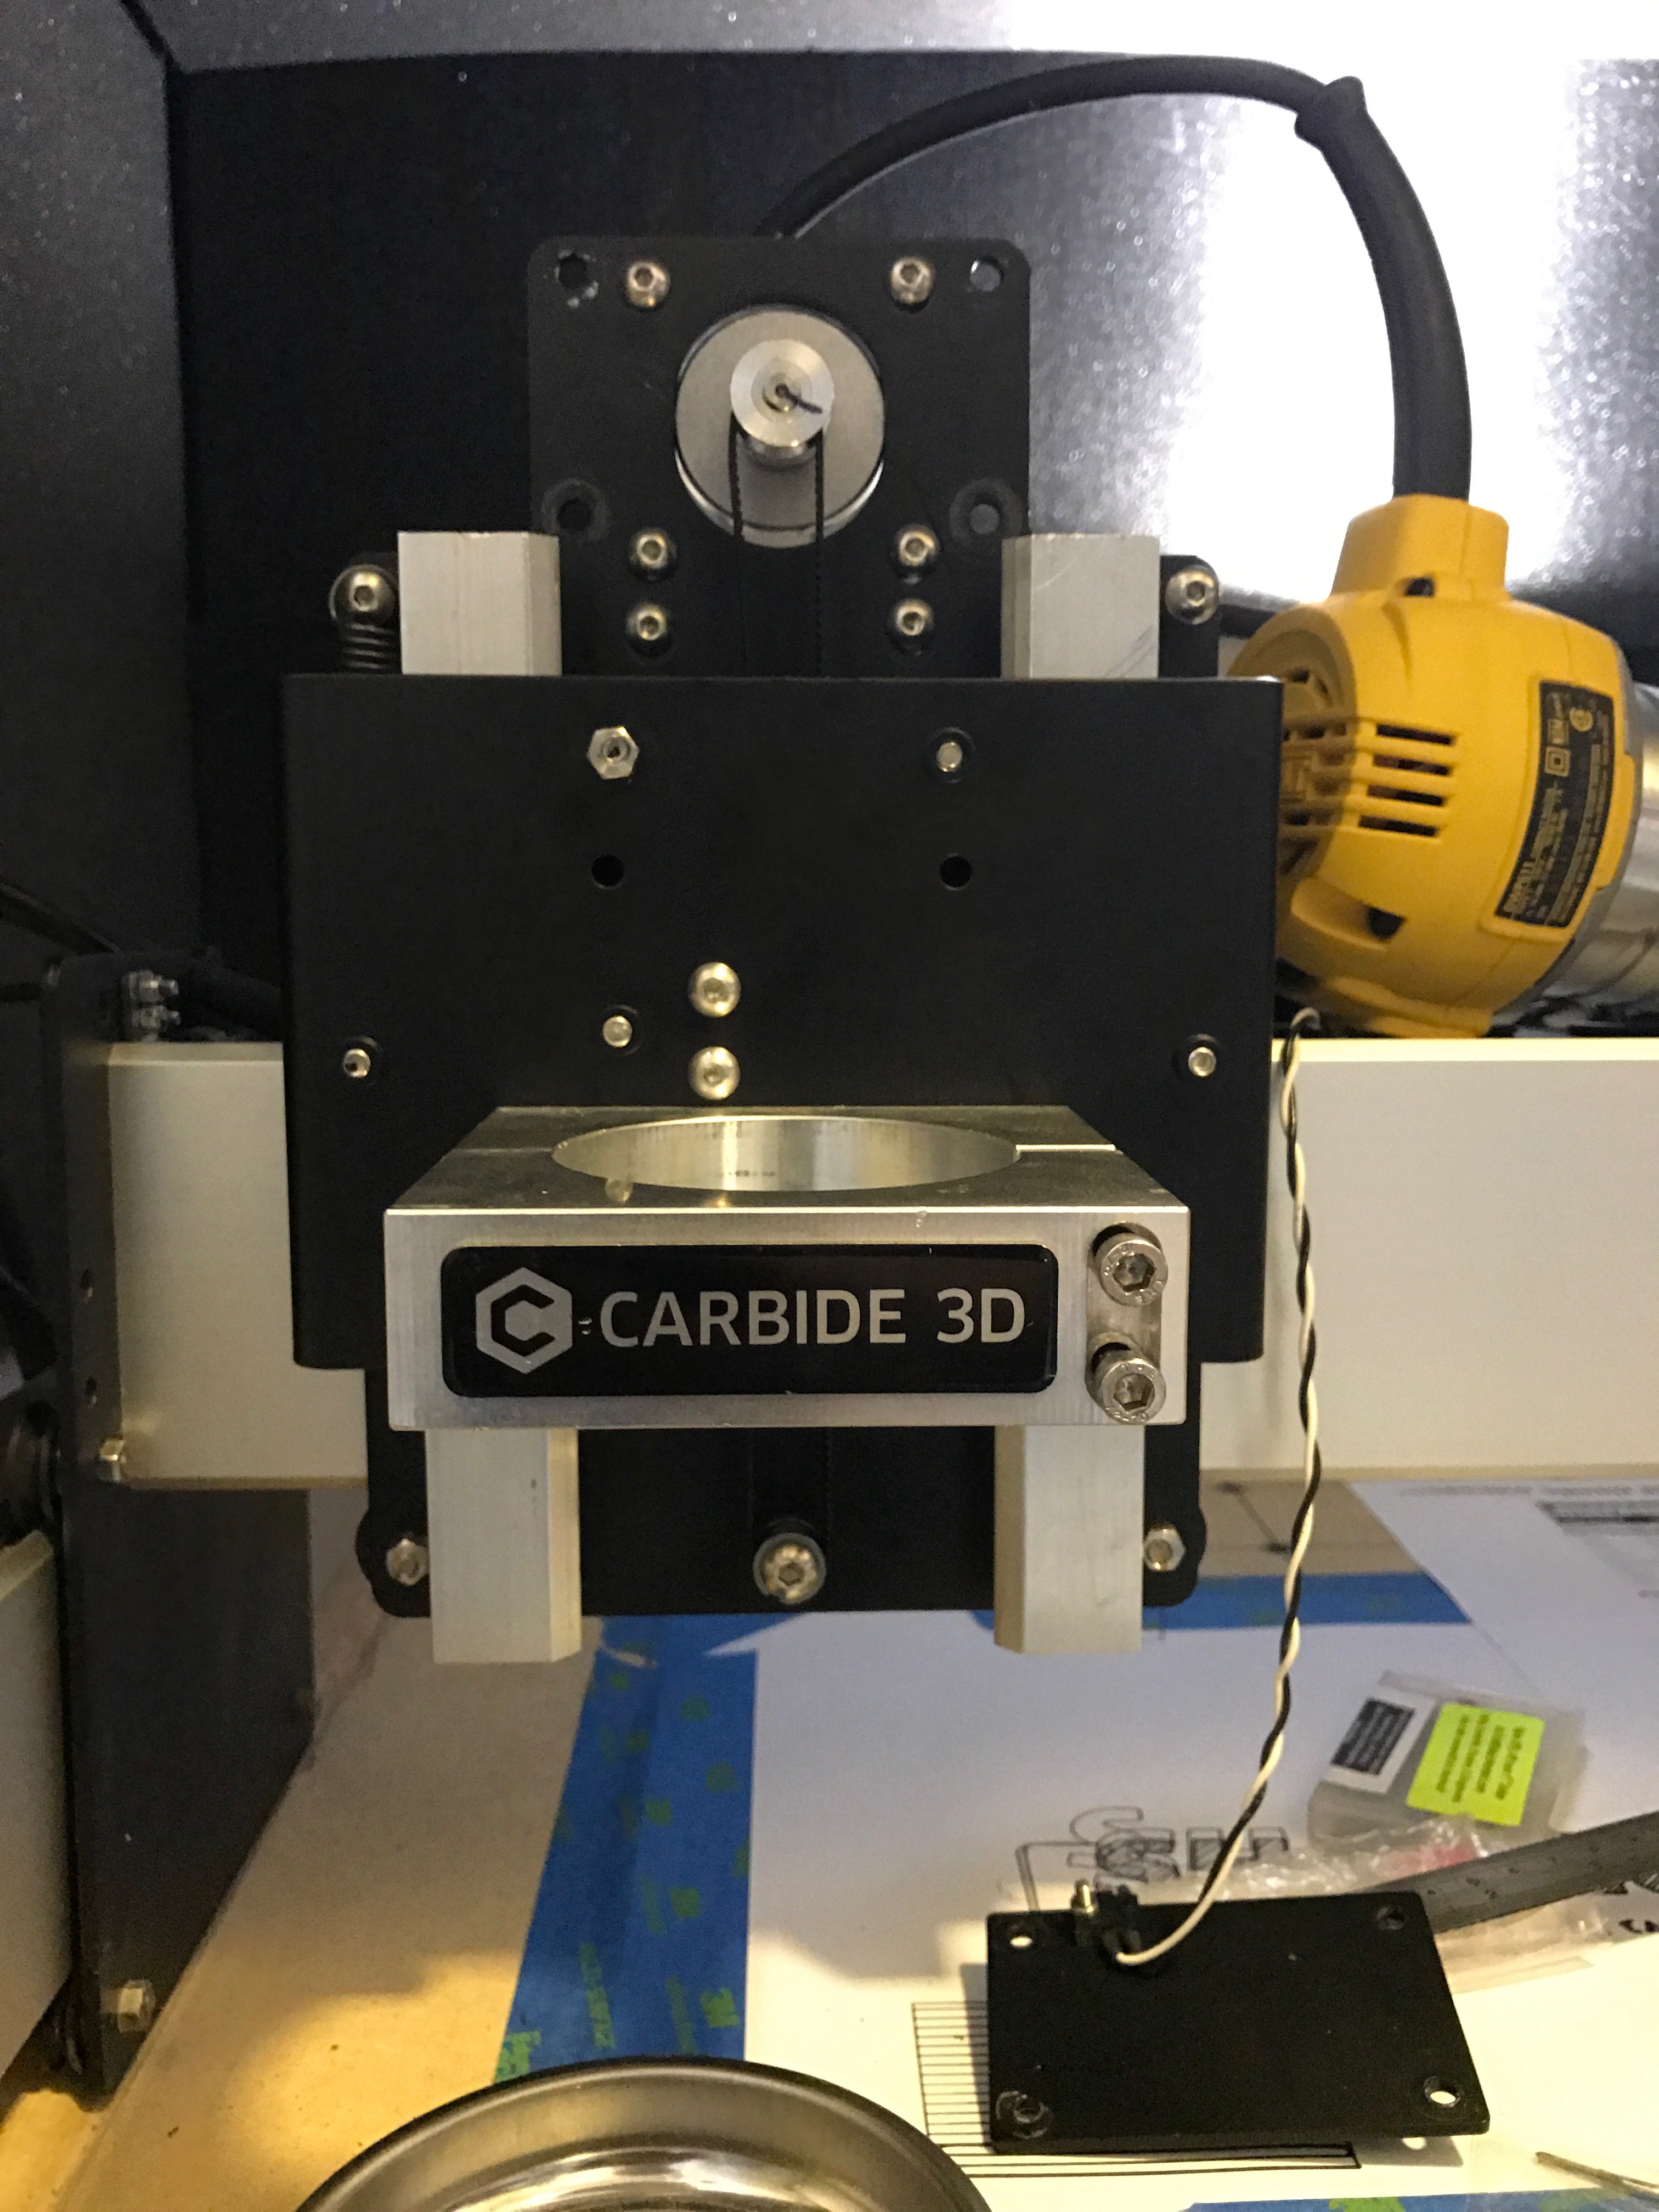
When Carbide3D released some early CAD picture of the new XL/XXL and I noticed that the spindle was mounted higher, and the Z Plate was shorter, I HAD to get my hands on this new plate. I begged and pleaded for and finally received the new plate for testing, and testing I did.

The fact that the spindle is now mounted BETWEEN the V-Wheels, made all the difference. It removed the lever that would bend the X plate and with it, removed the harmonics that allowed the X plate to vibrate. Now please understand, if you place your end mill out too far, you will still develop a vibration, FROM the END MILL, but not from the machine.

Overall I am very pleased with the results and have been able to take depth of cut (DOC) far greater that I have ever been able to with my personal upgrade (Today I took 0.100" DOC at 25 inches a minute. Check out my Instagram for a short video, with sound (IG: JPL_Richard), Now since the Z is belt driven with a narrow belt it is now possible to stretch the belt and as a result, I was seeing some slight variation in my Z depth (up to 0.003"). The fix, is to take a light finish cut (which is good practice, and a Fusion 360 default).

What you may or may not know, is that since the Y-Axis has 2 motors (17kg of motor force) it is the stronger axis for cutting, but without an upgrade, it was the weaker axis. For me (with the upgrade) I can double the depth of cut from the X-Axis (8kg of motor force). I also understand that not all parts allow you to do most of your machining in the Y direction, but this is something to keep in the back of your mind when designing and doing you CAM setup

So in closing, I HIGHLY recommend this very affordable and easy upgrade ($20!!!)

Store Link:
https://shop.carbide3d.com/products/shapeoko-upgrade-z-axis-plate?variant=24357348678

The following are some photos of this upgrade.

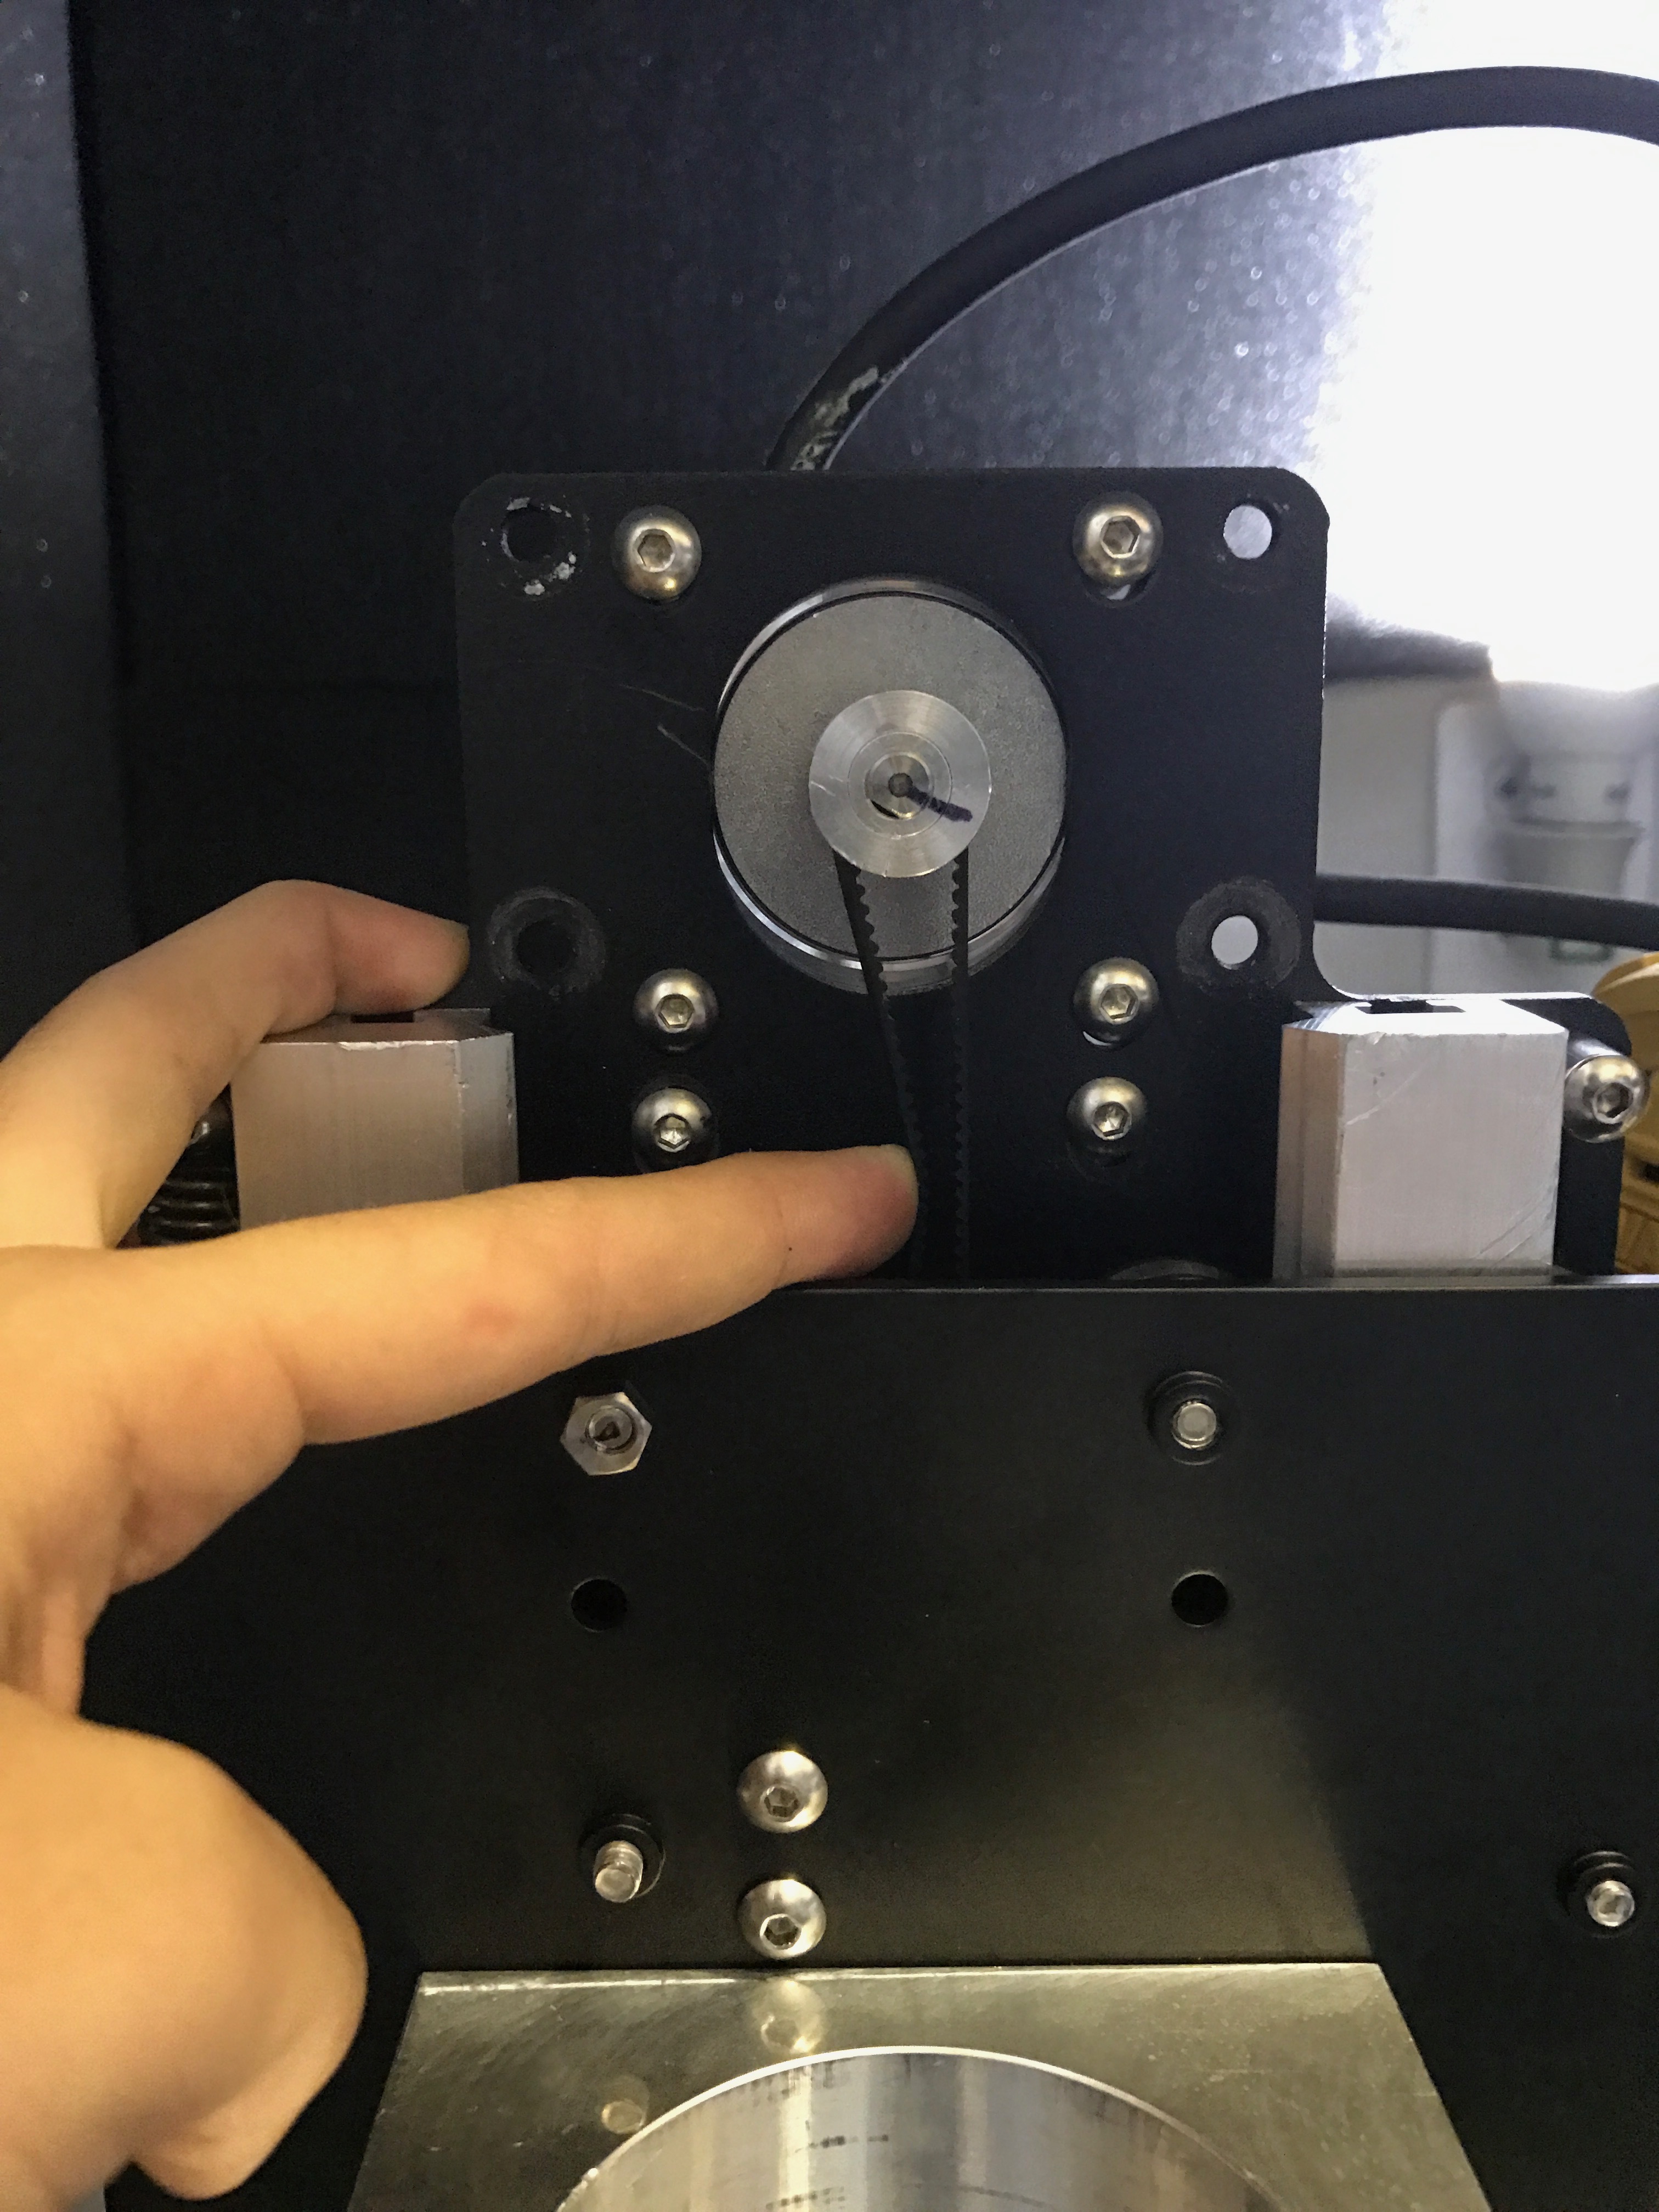
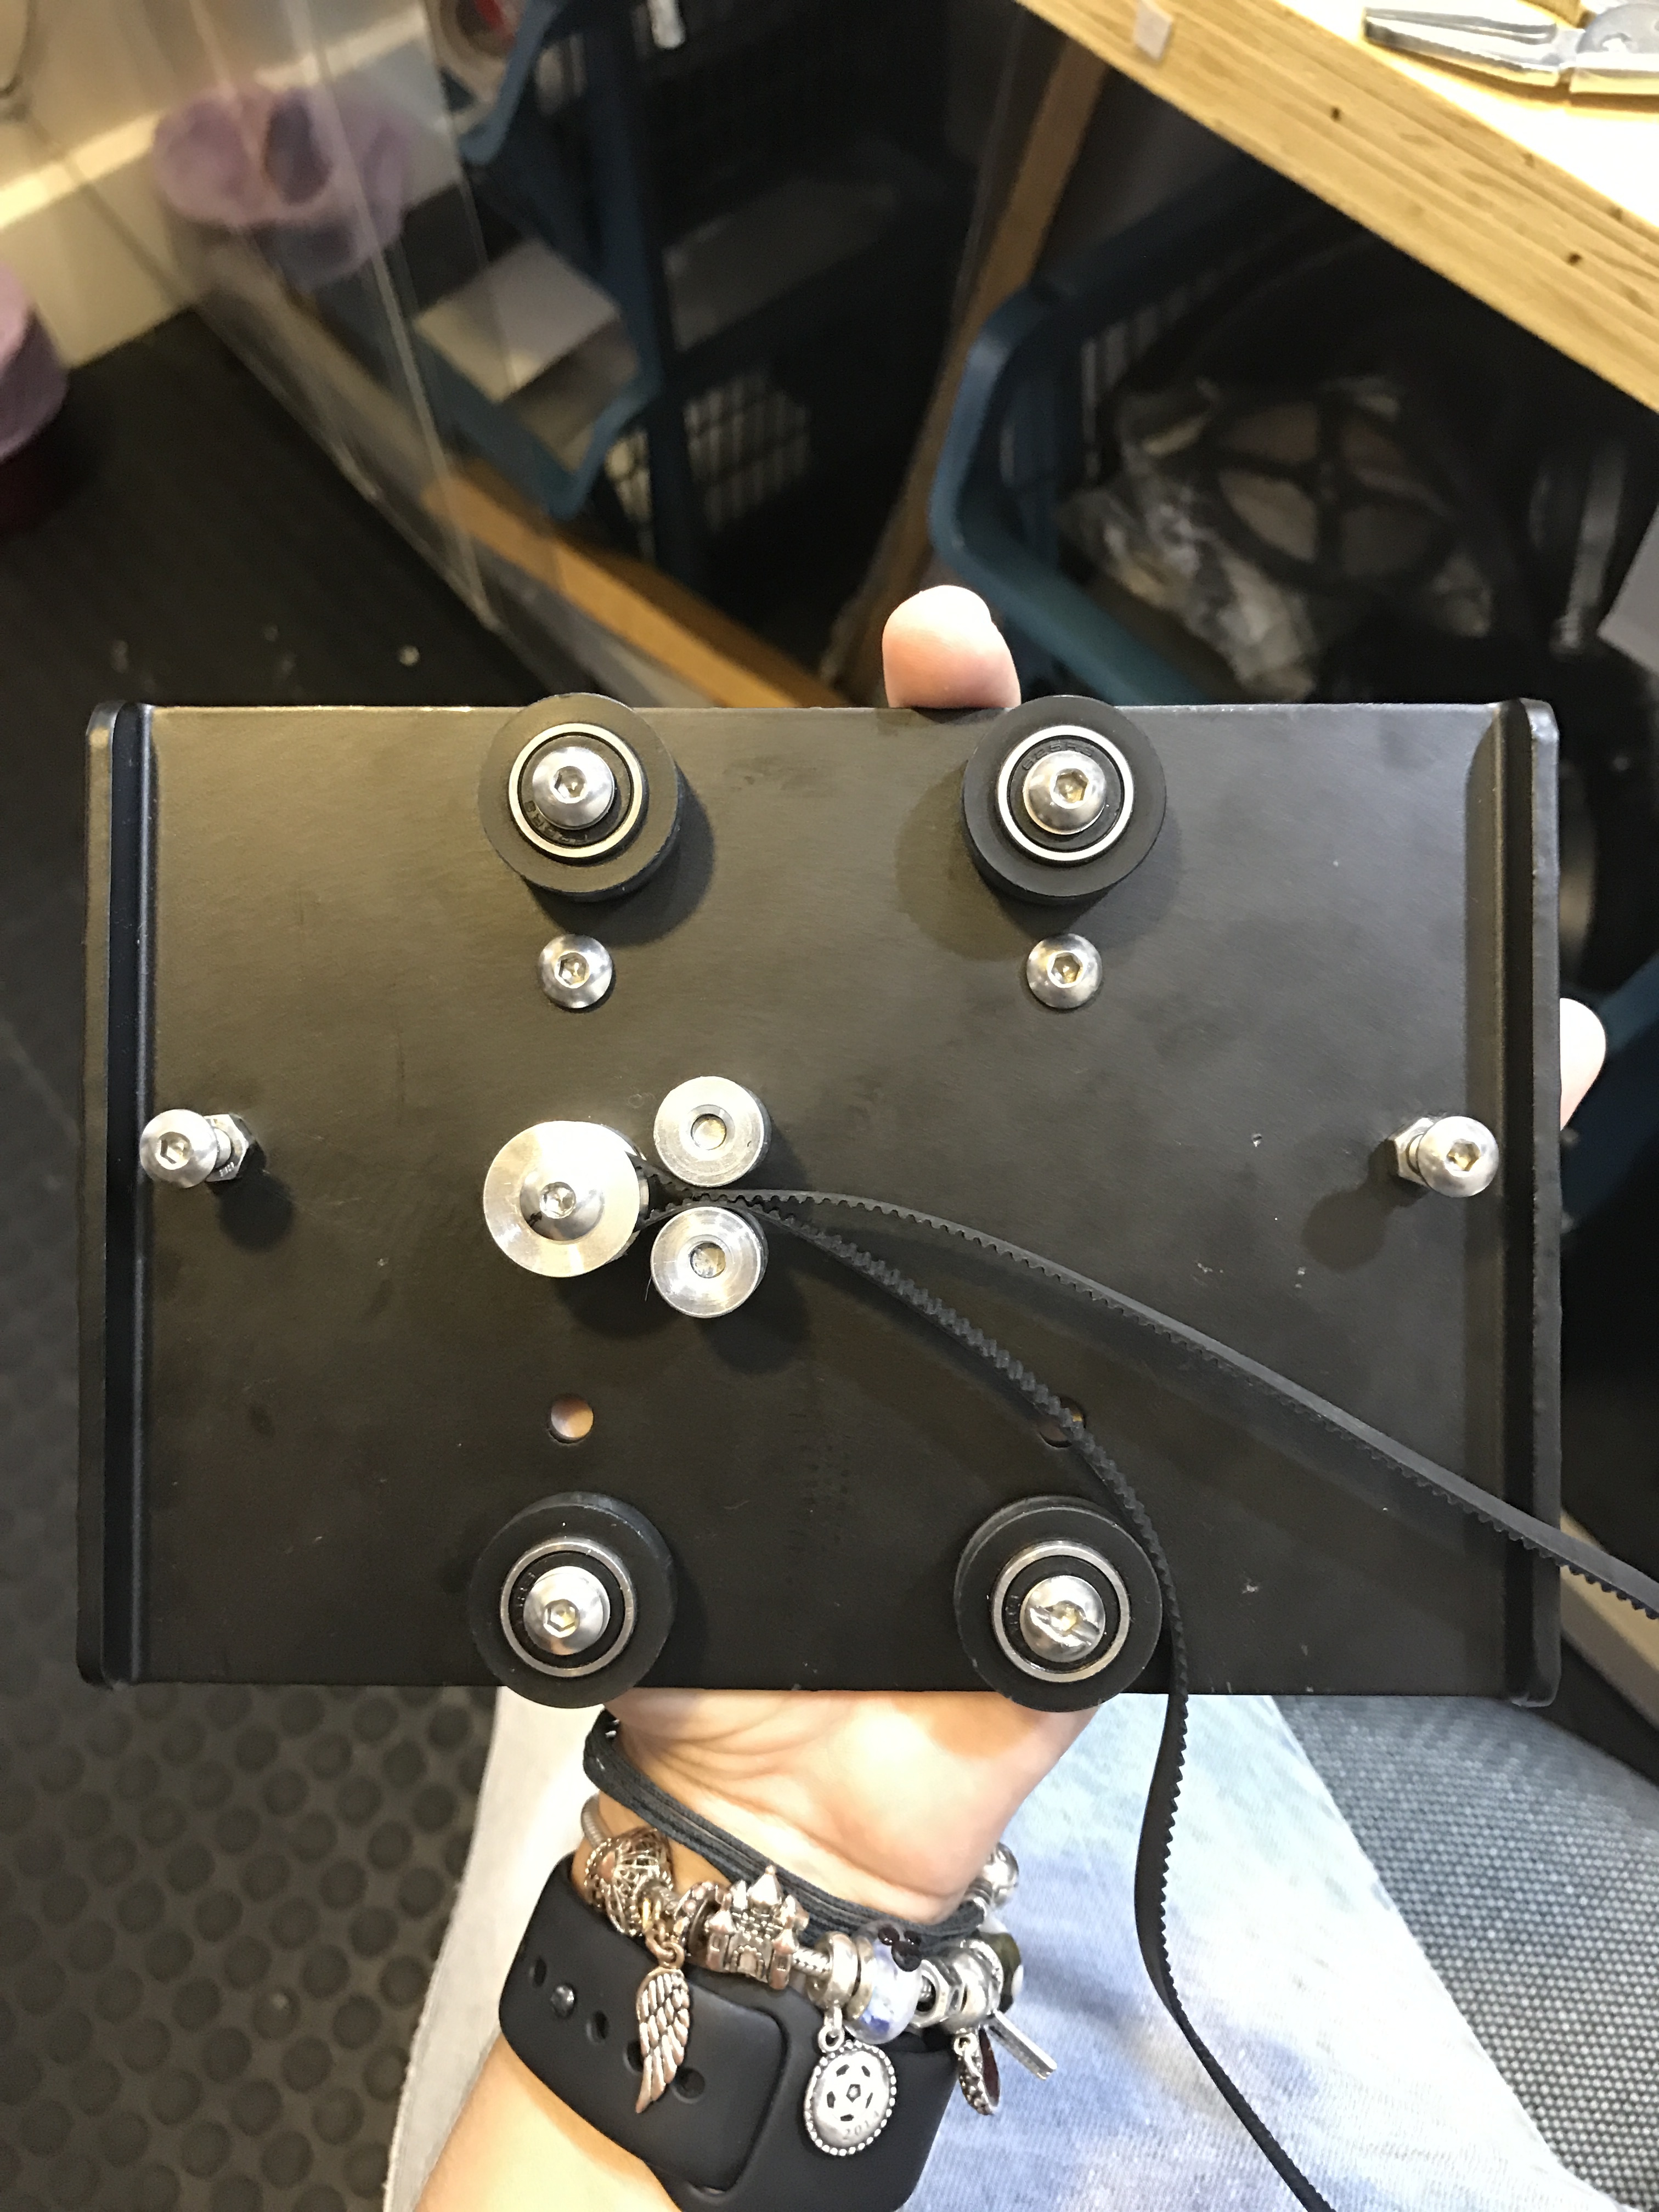
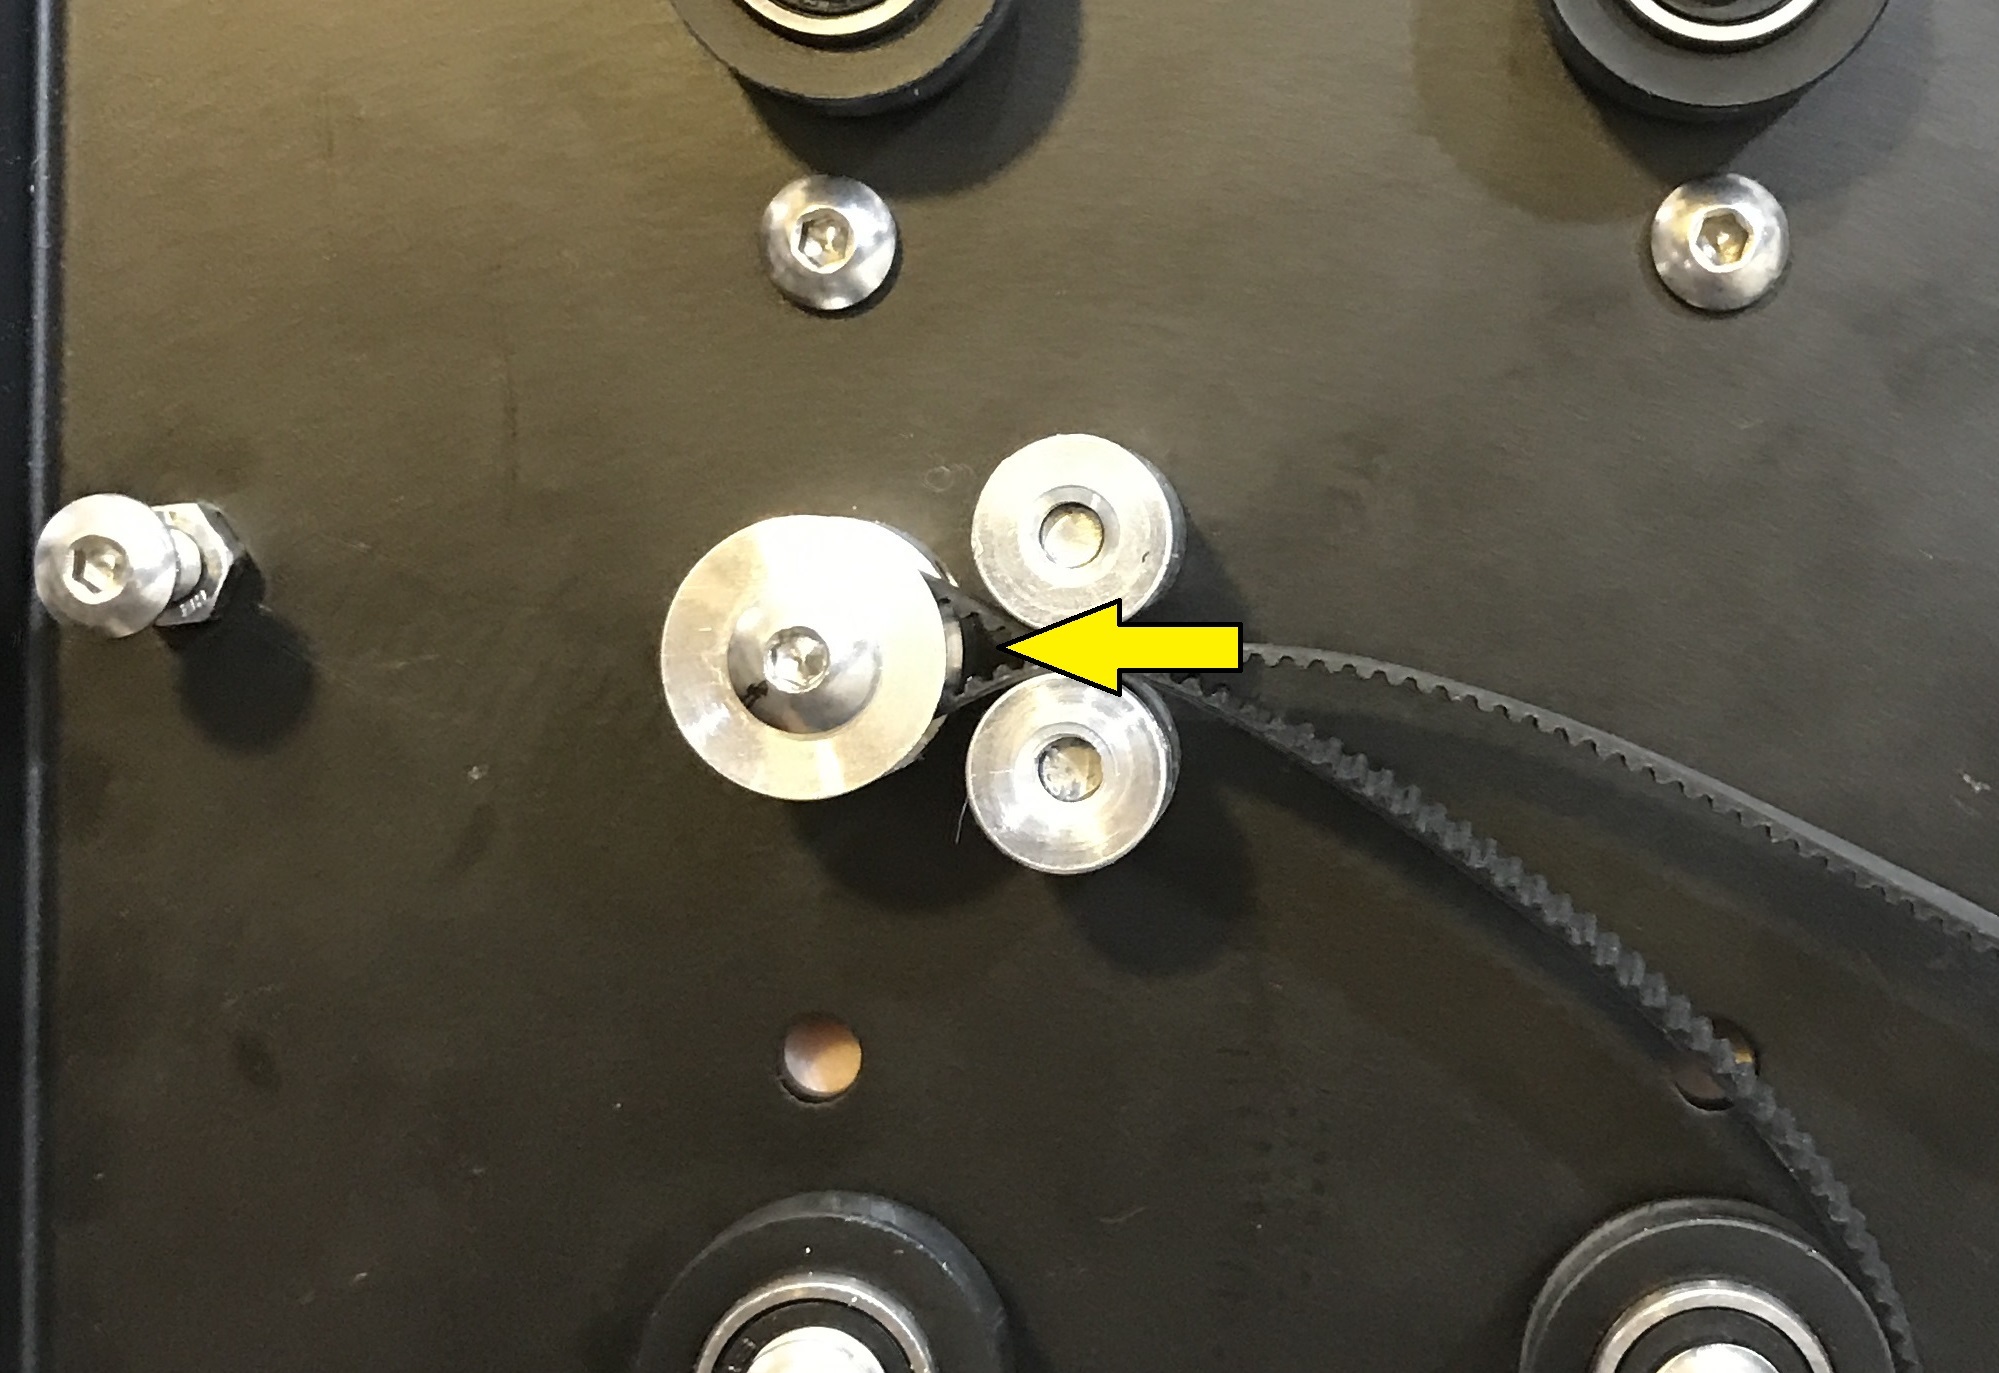
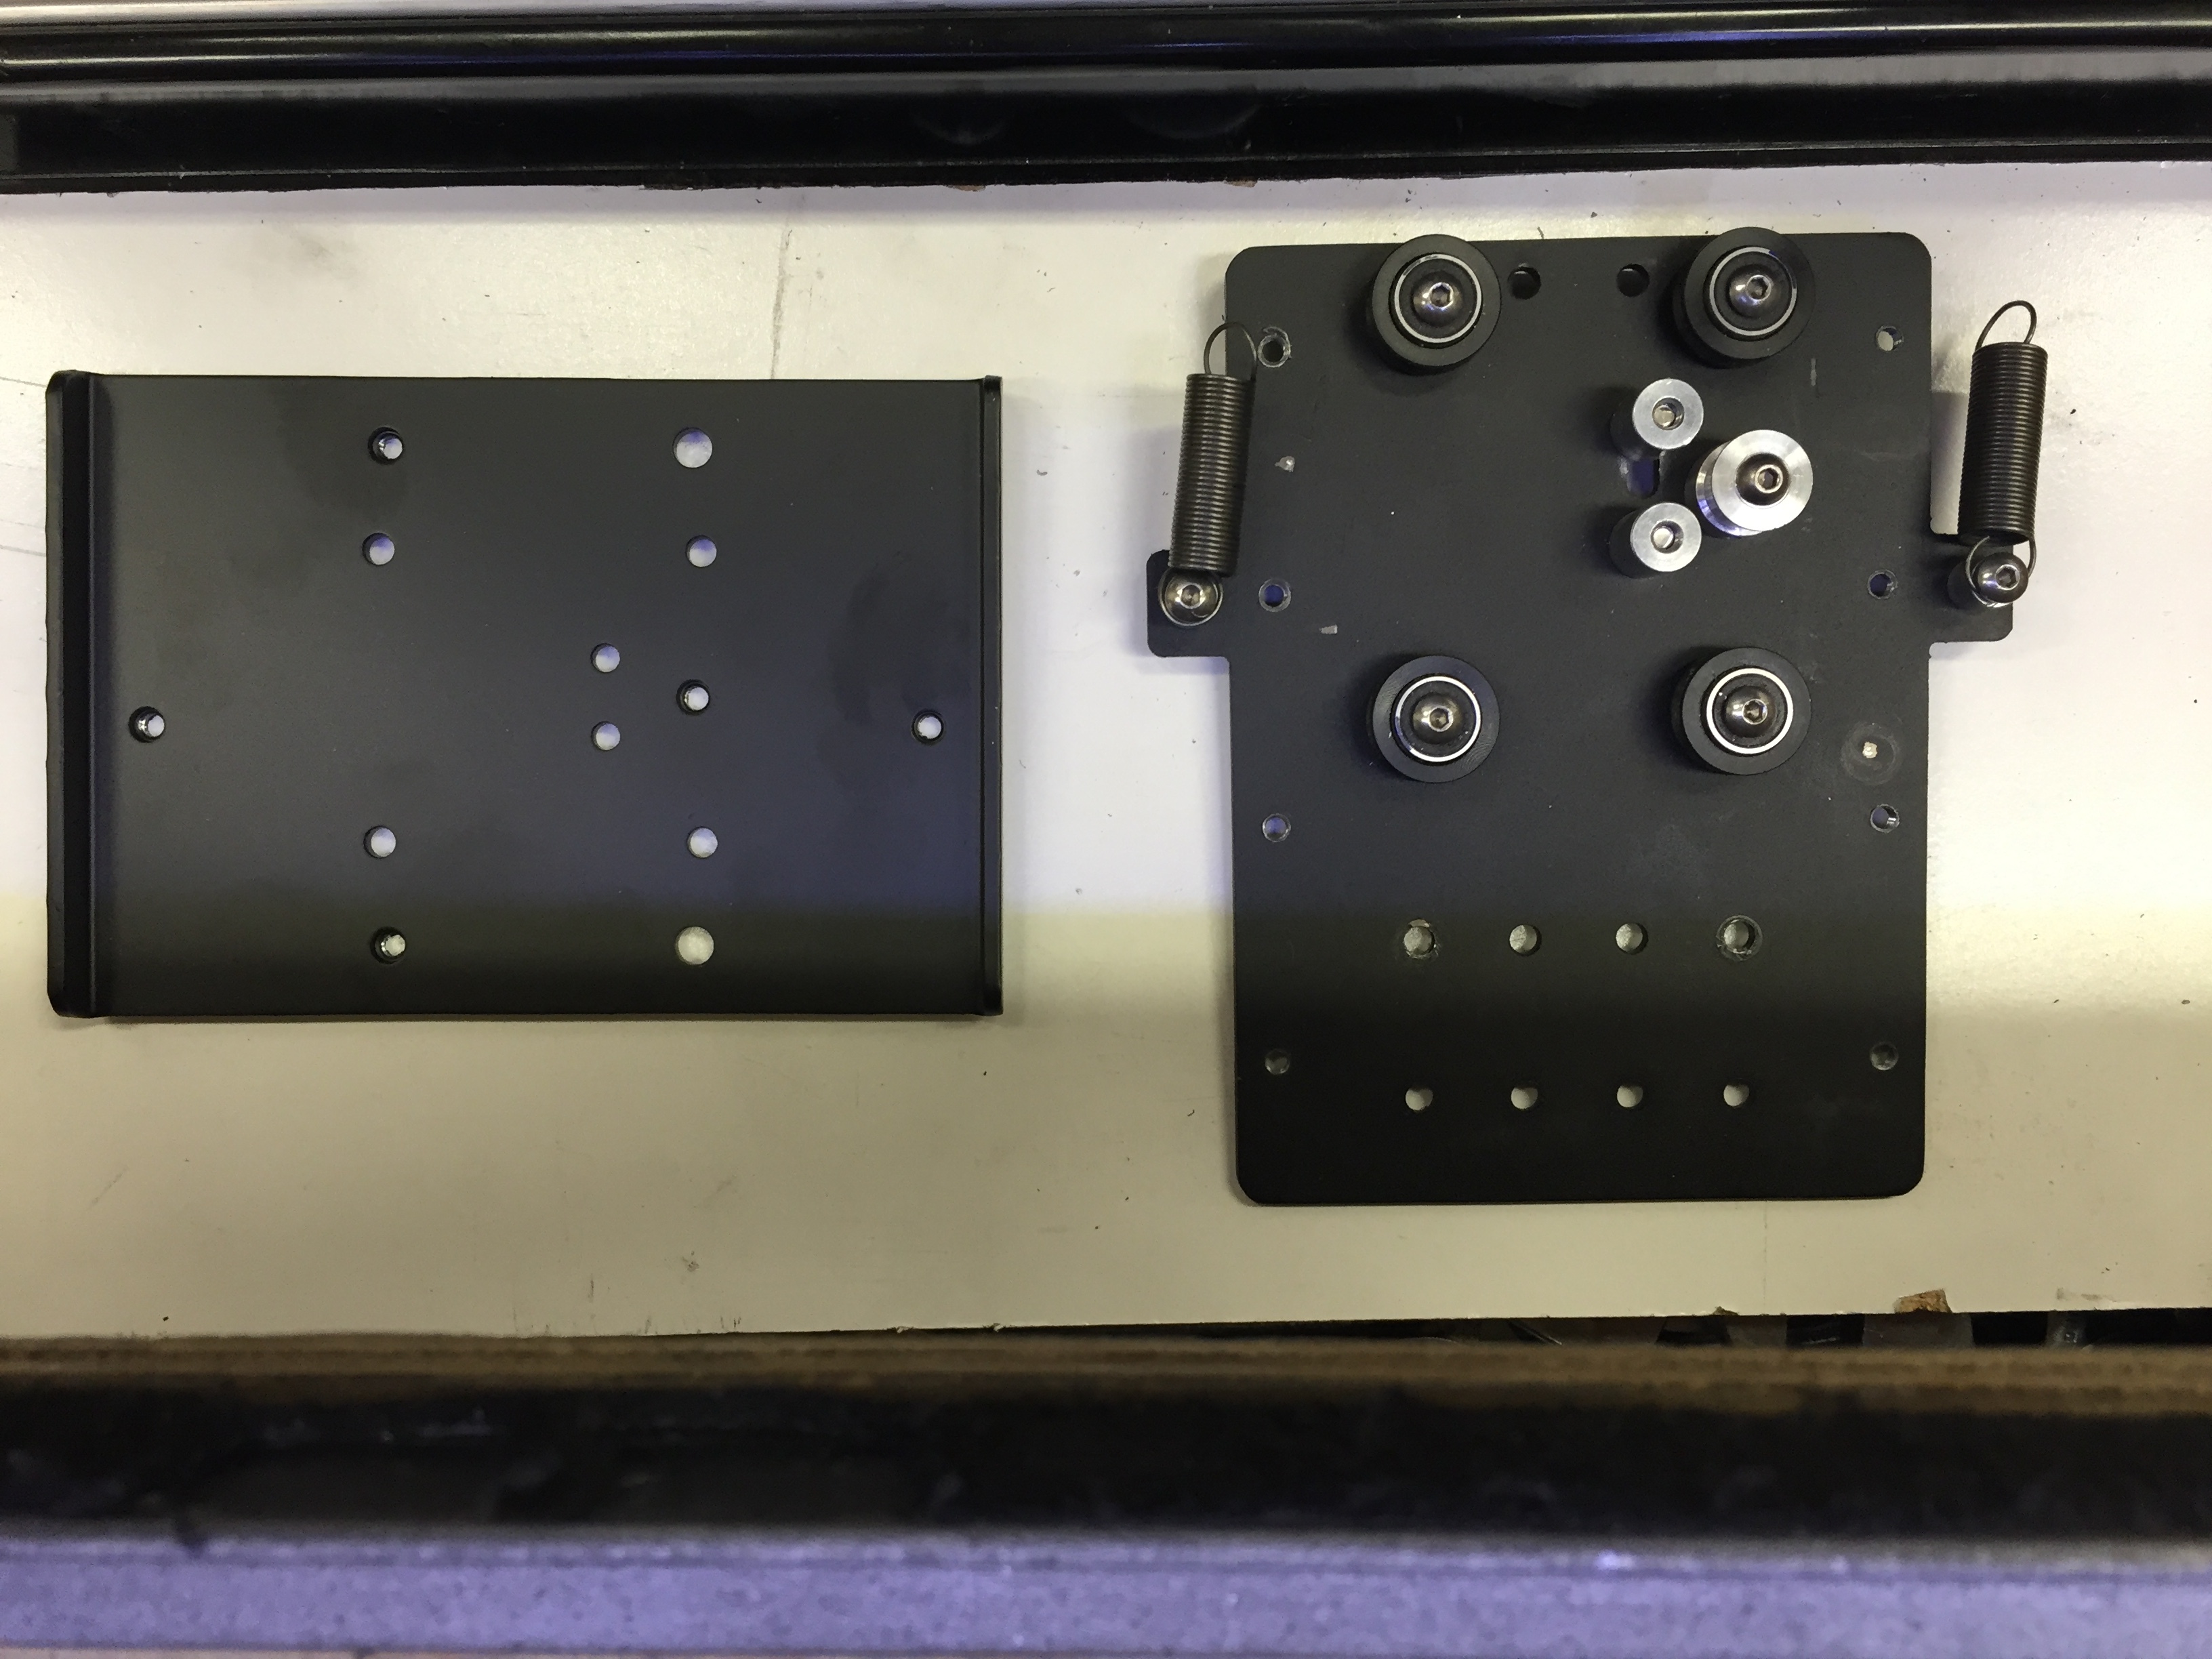
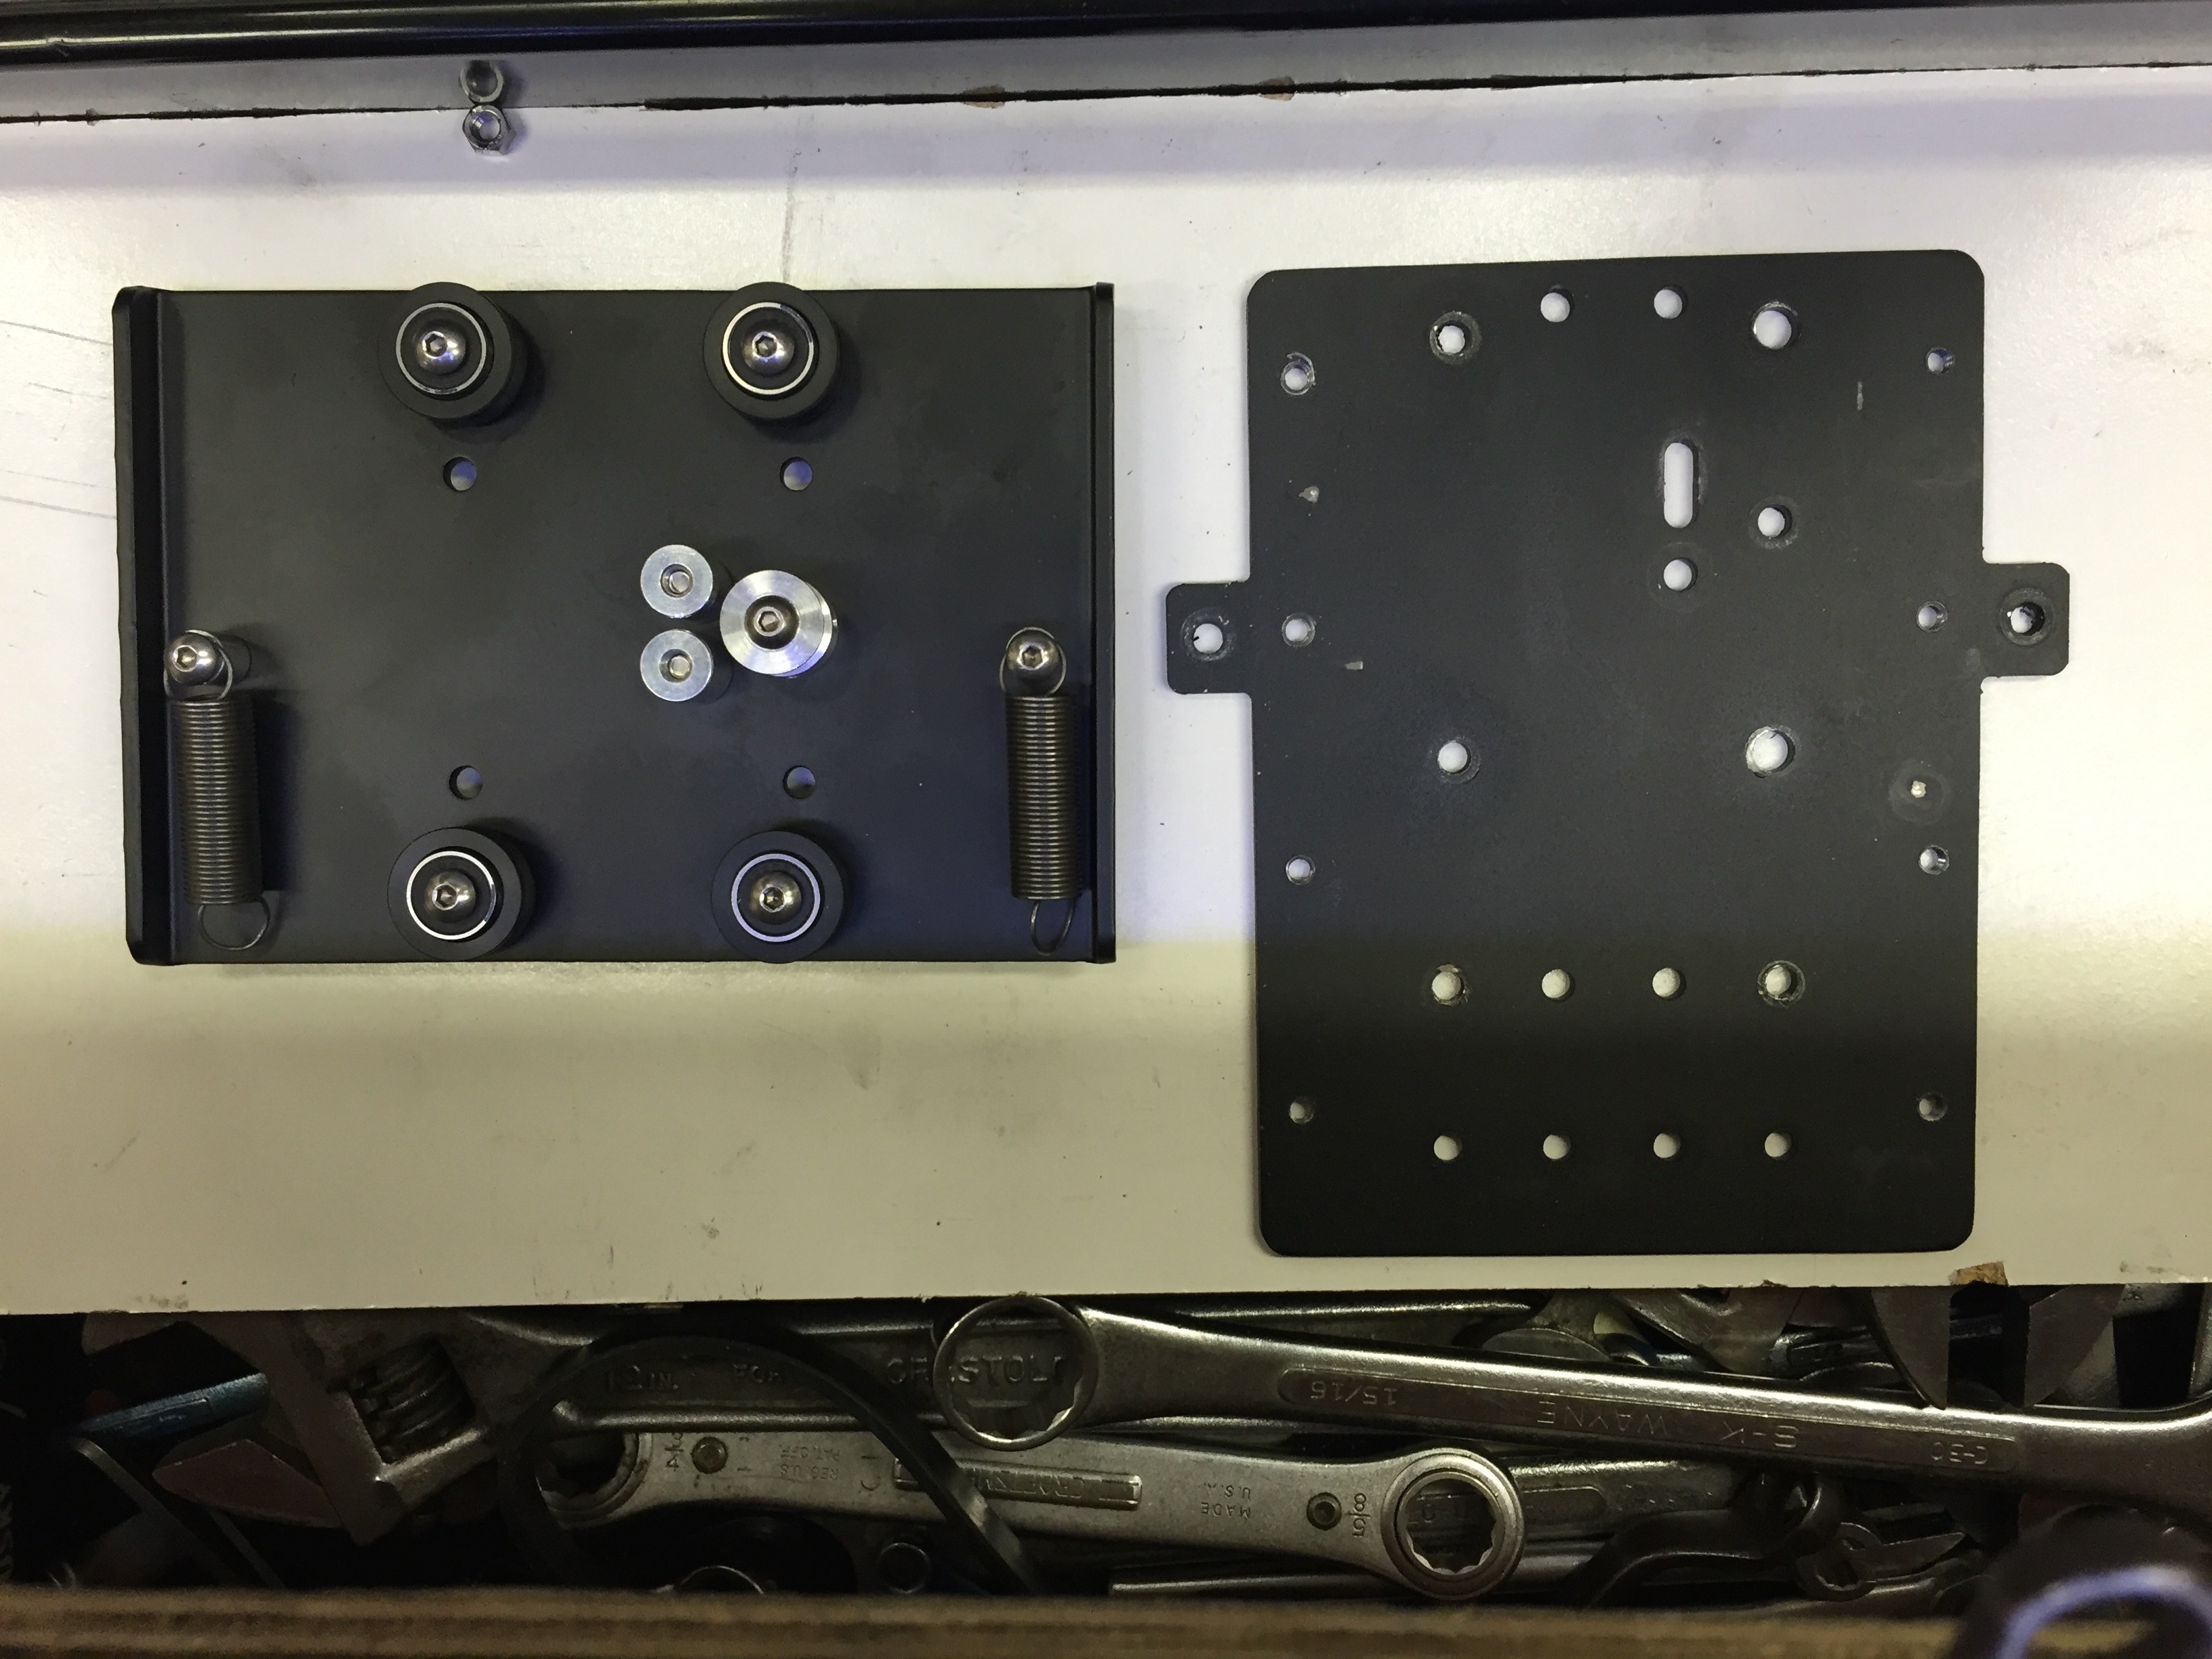
New (Motor Plate) on the Left, Old on the Right. What needs to be moved: 4 V-Wheels, 2 Springs, and the stationary Belt Pulley and the 2 Guides.

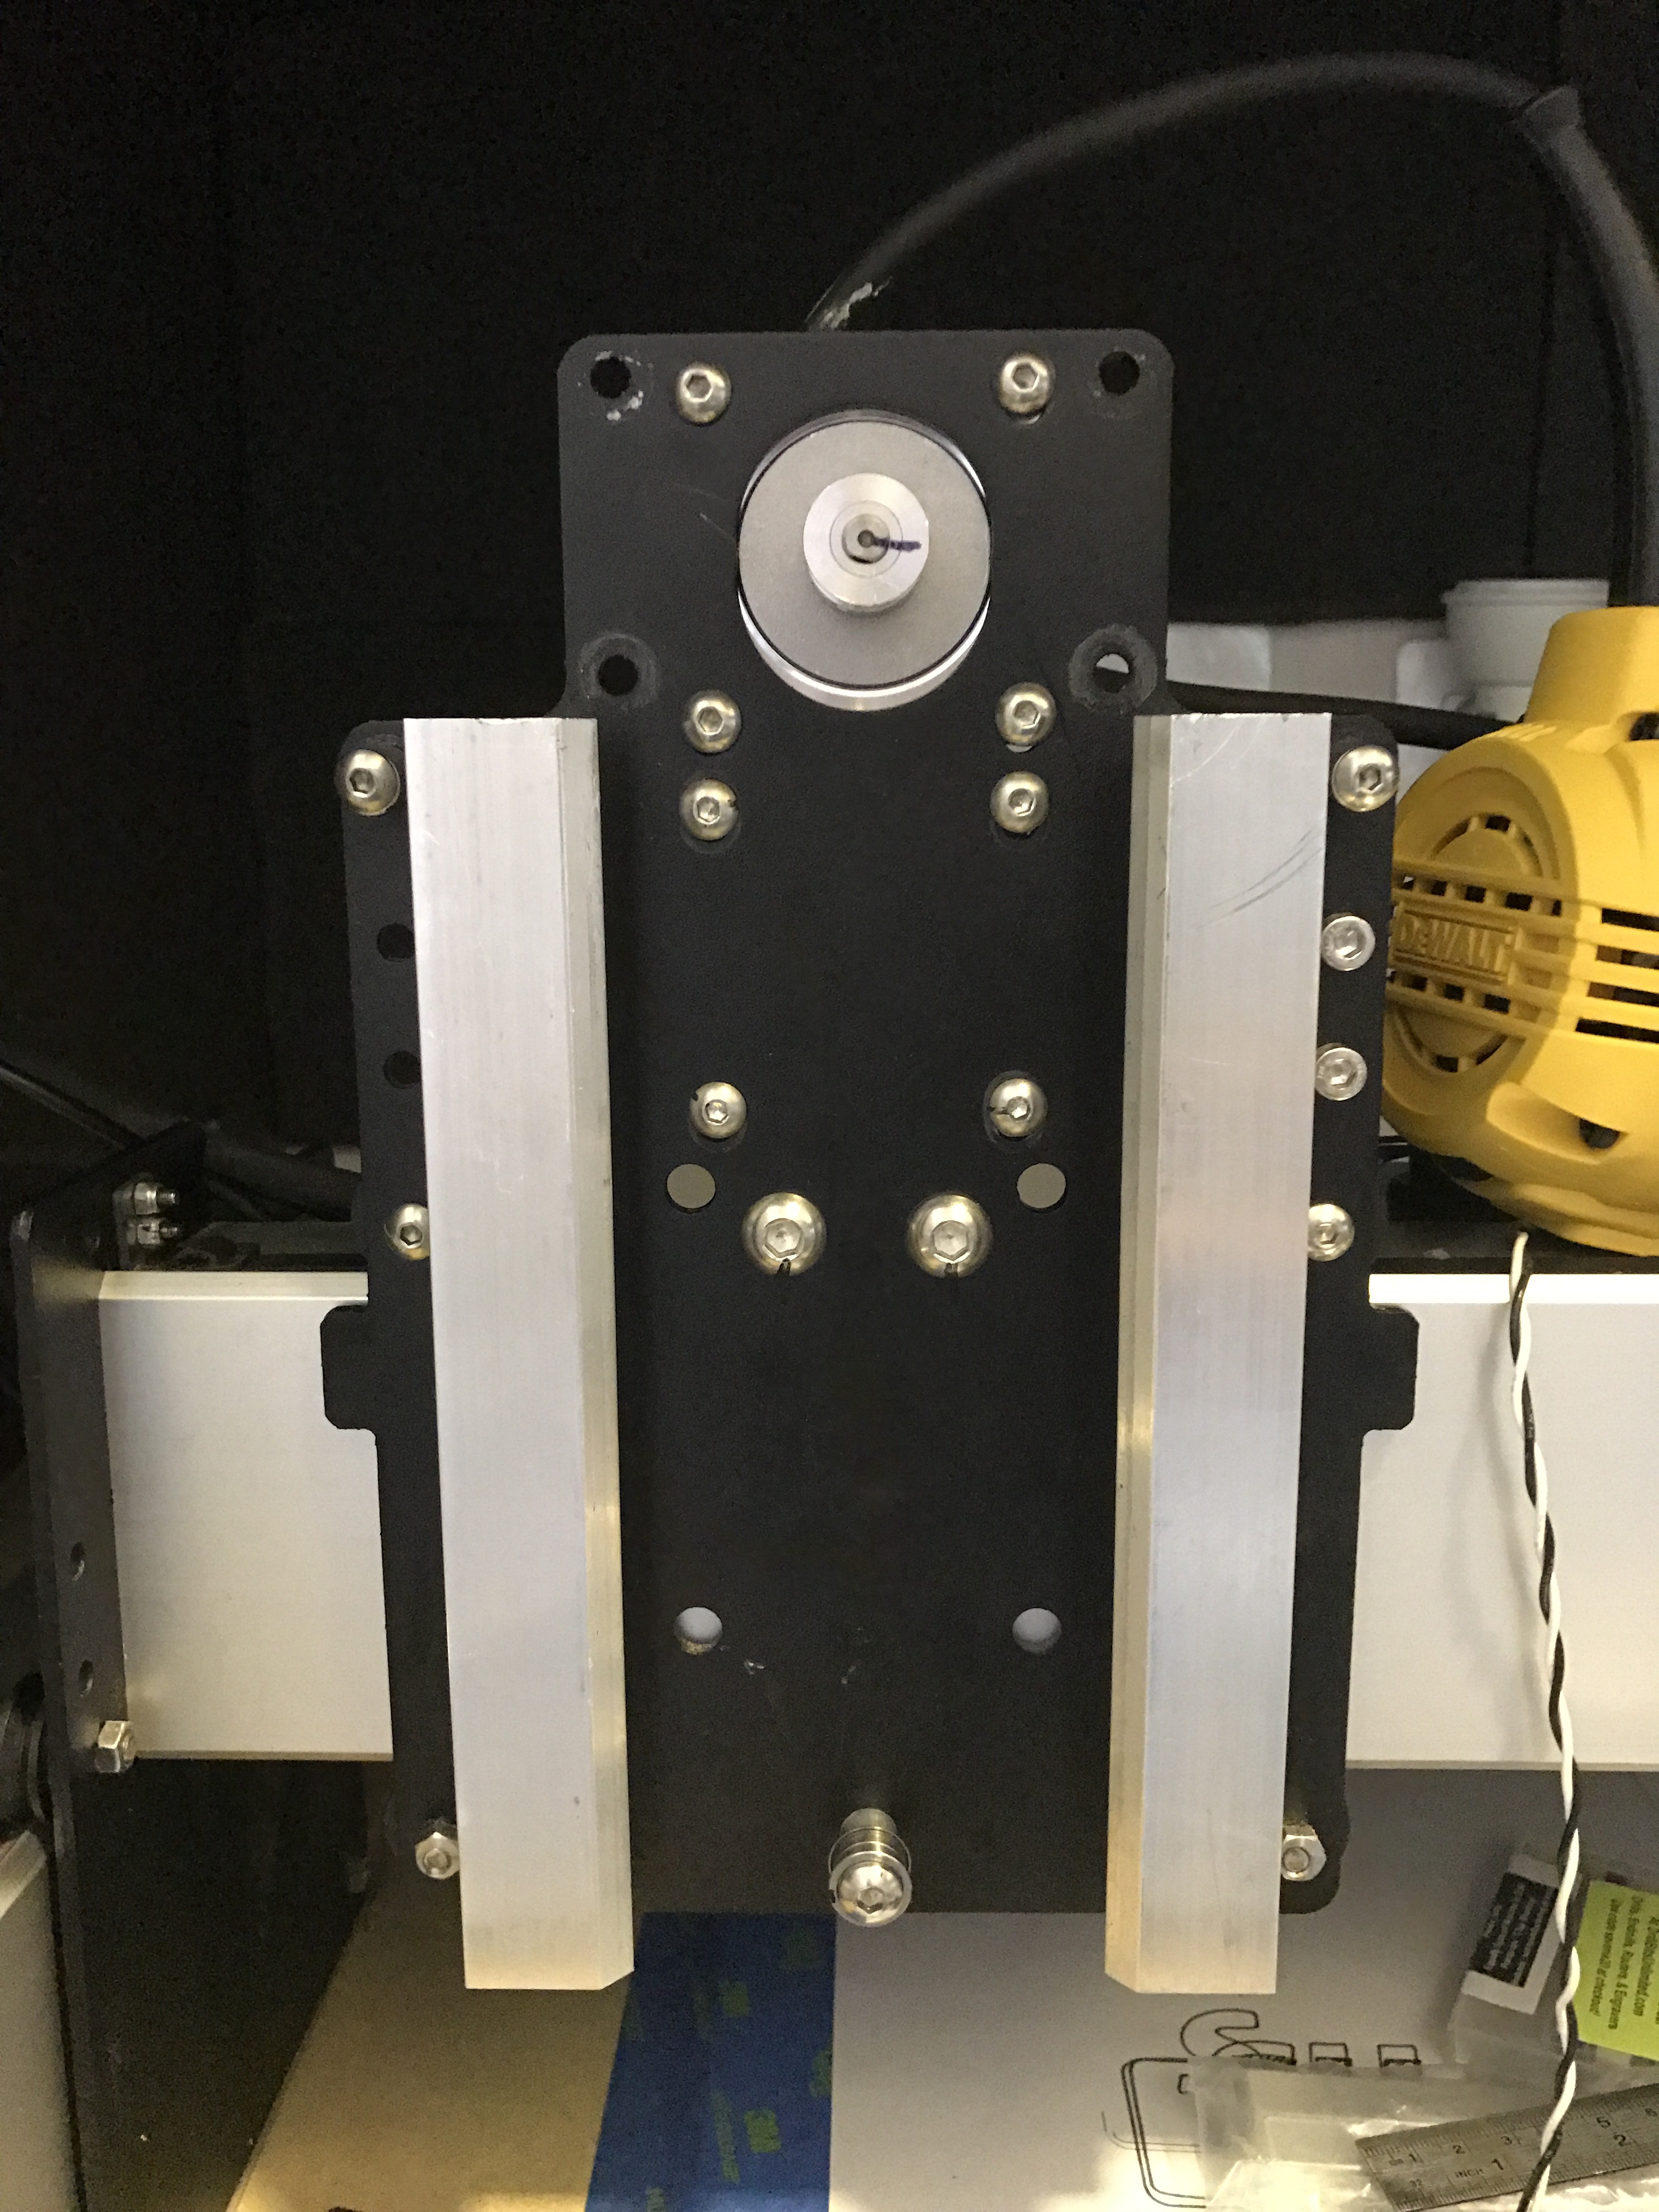
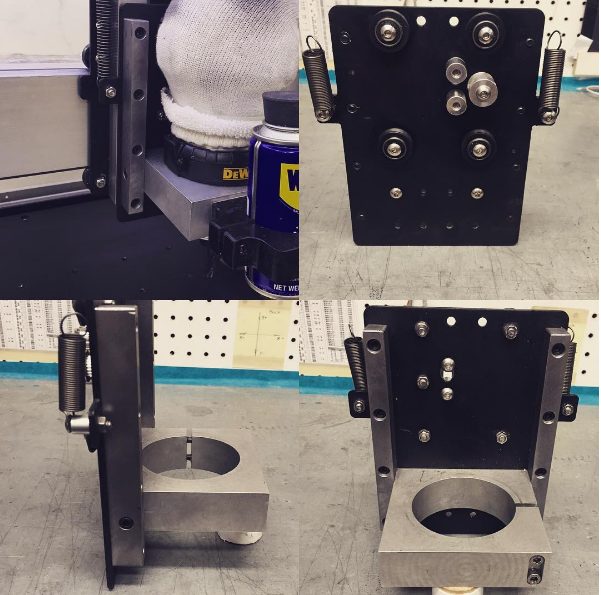
Change over complete (Total Time, 25 min)

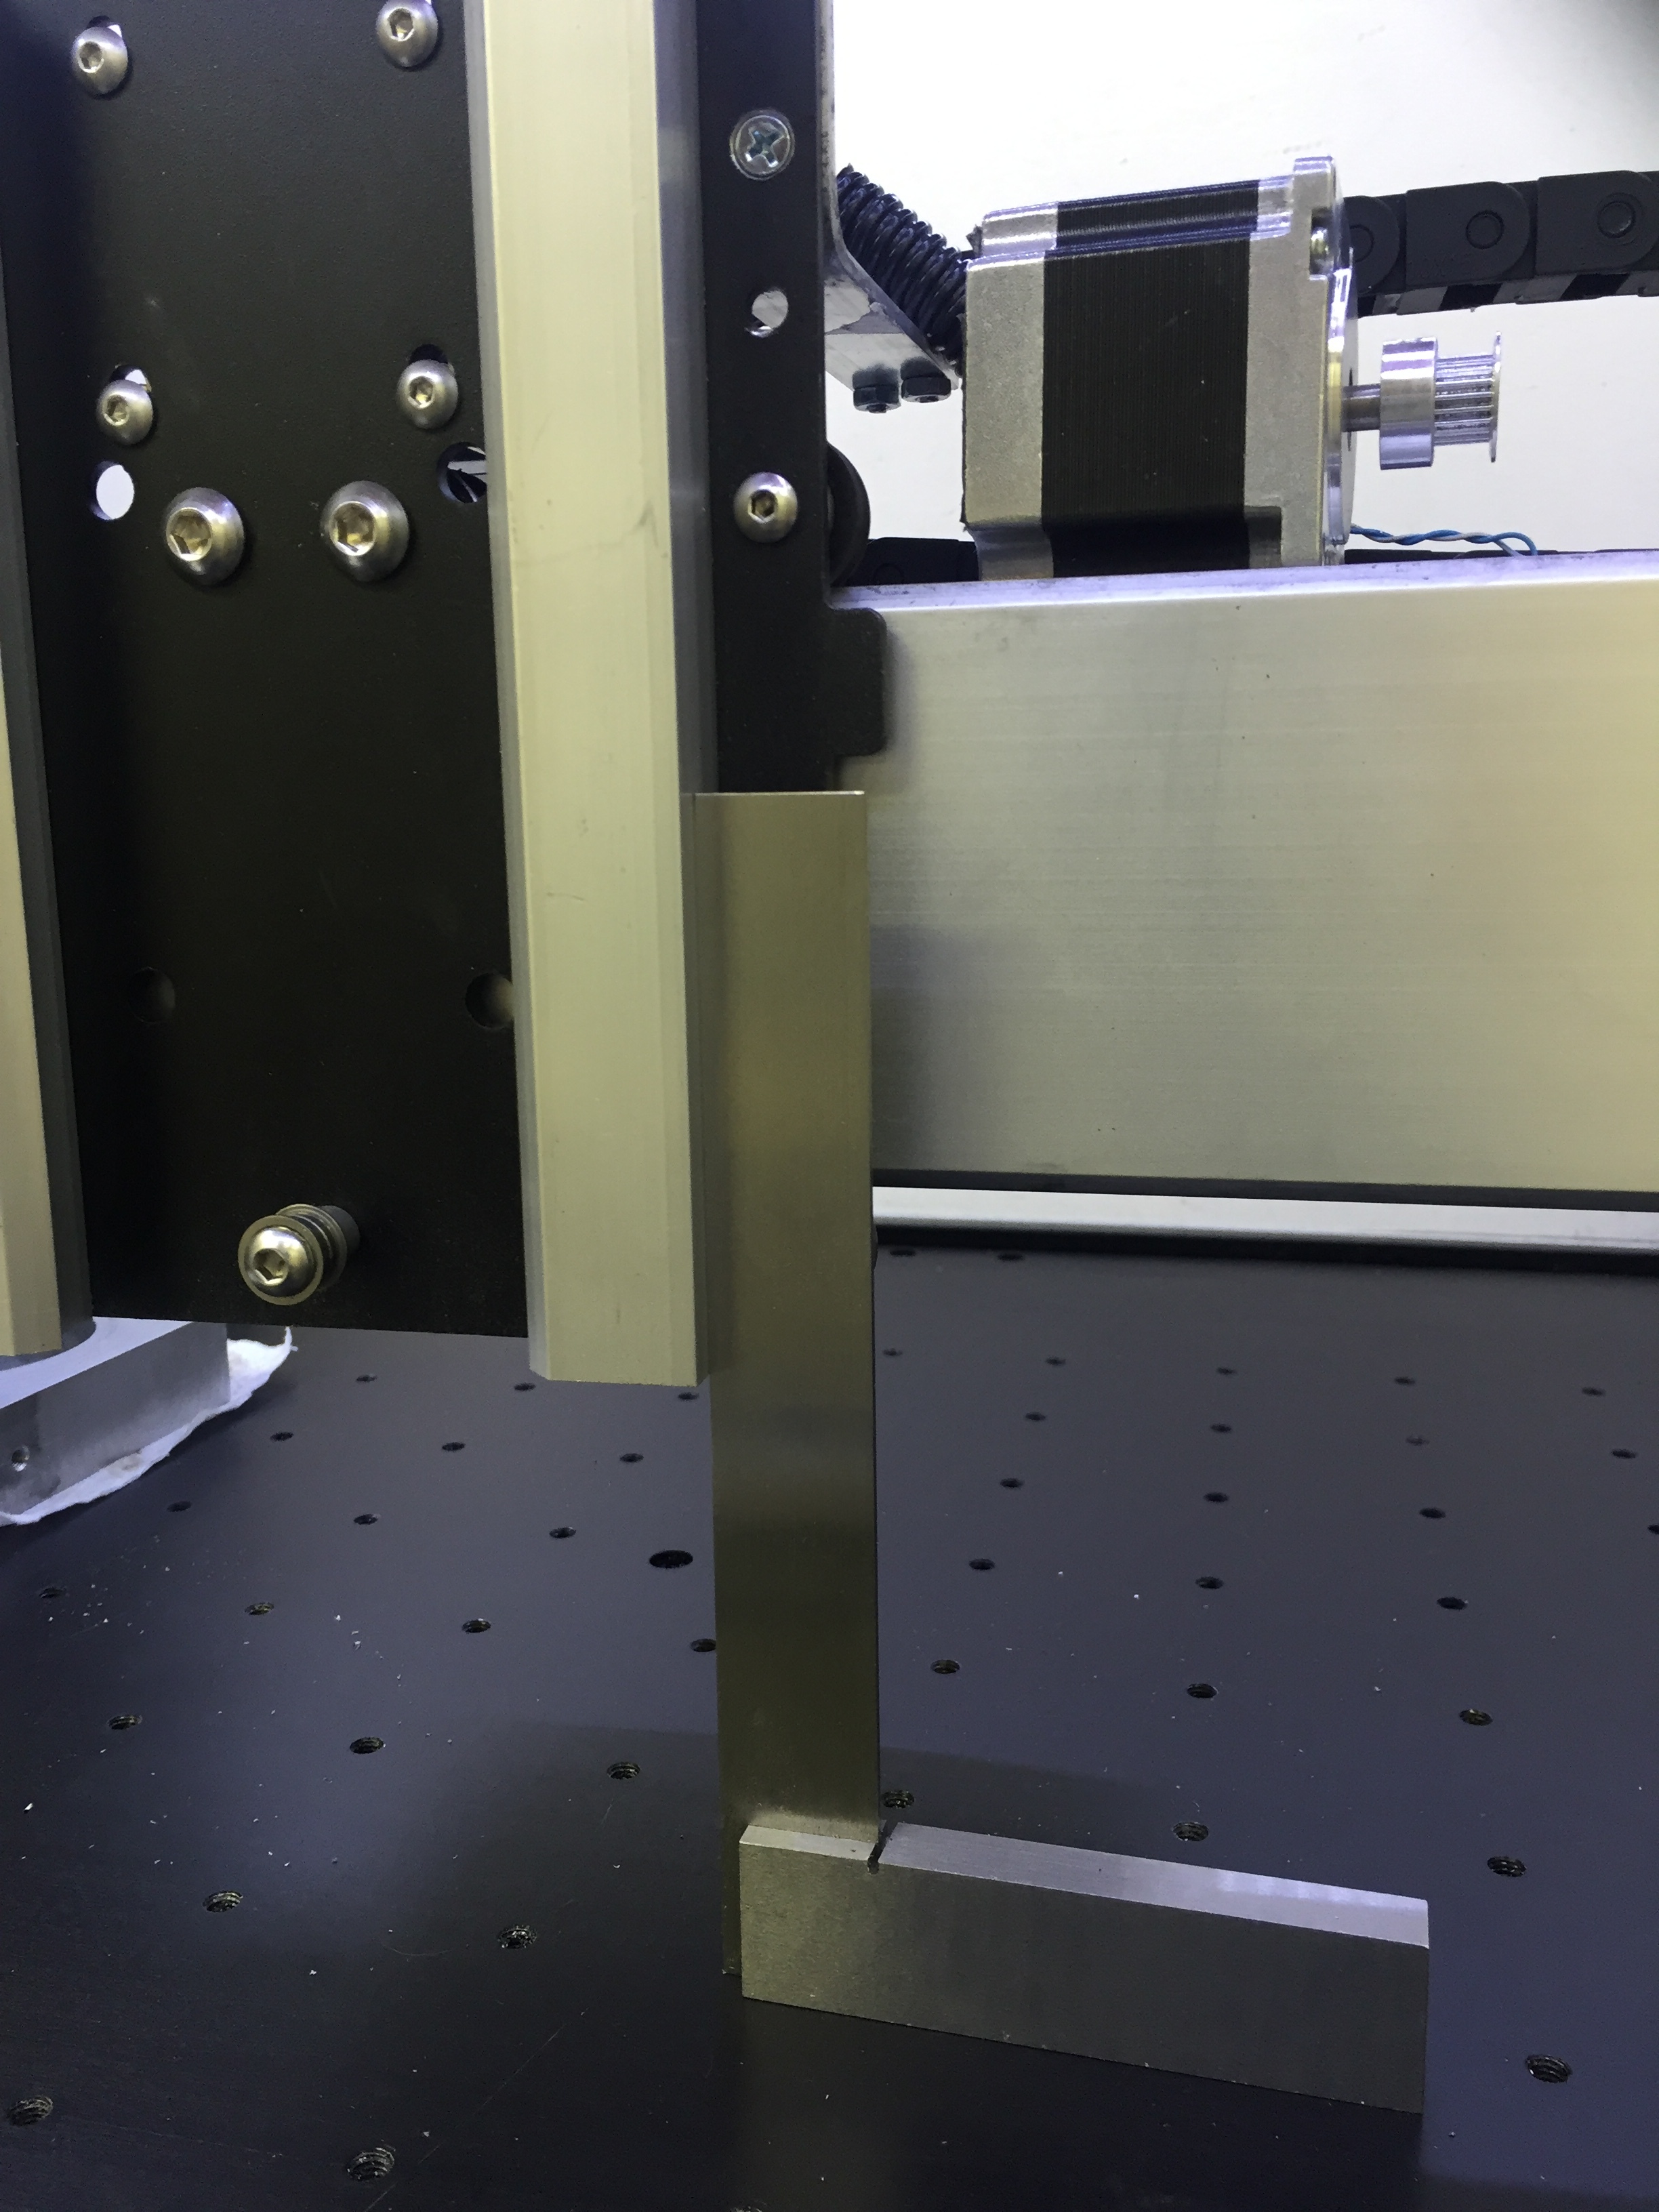
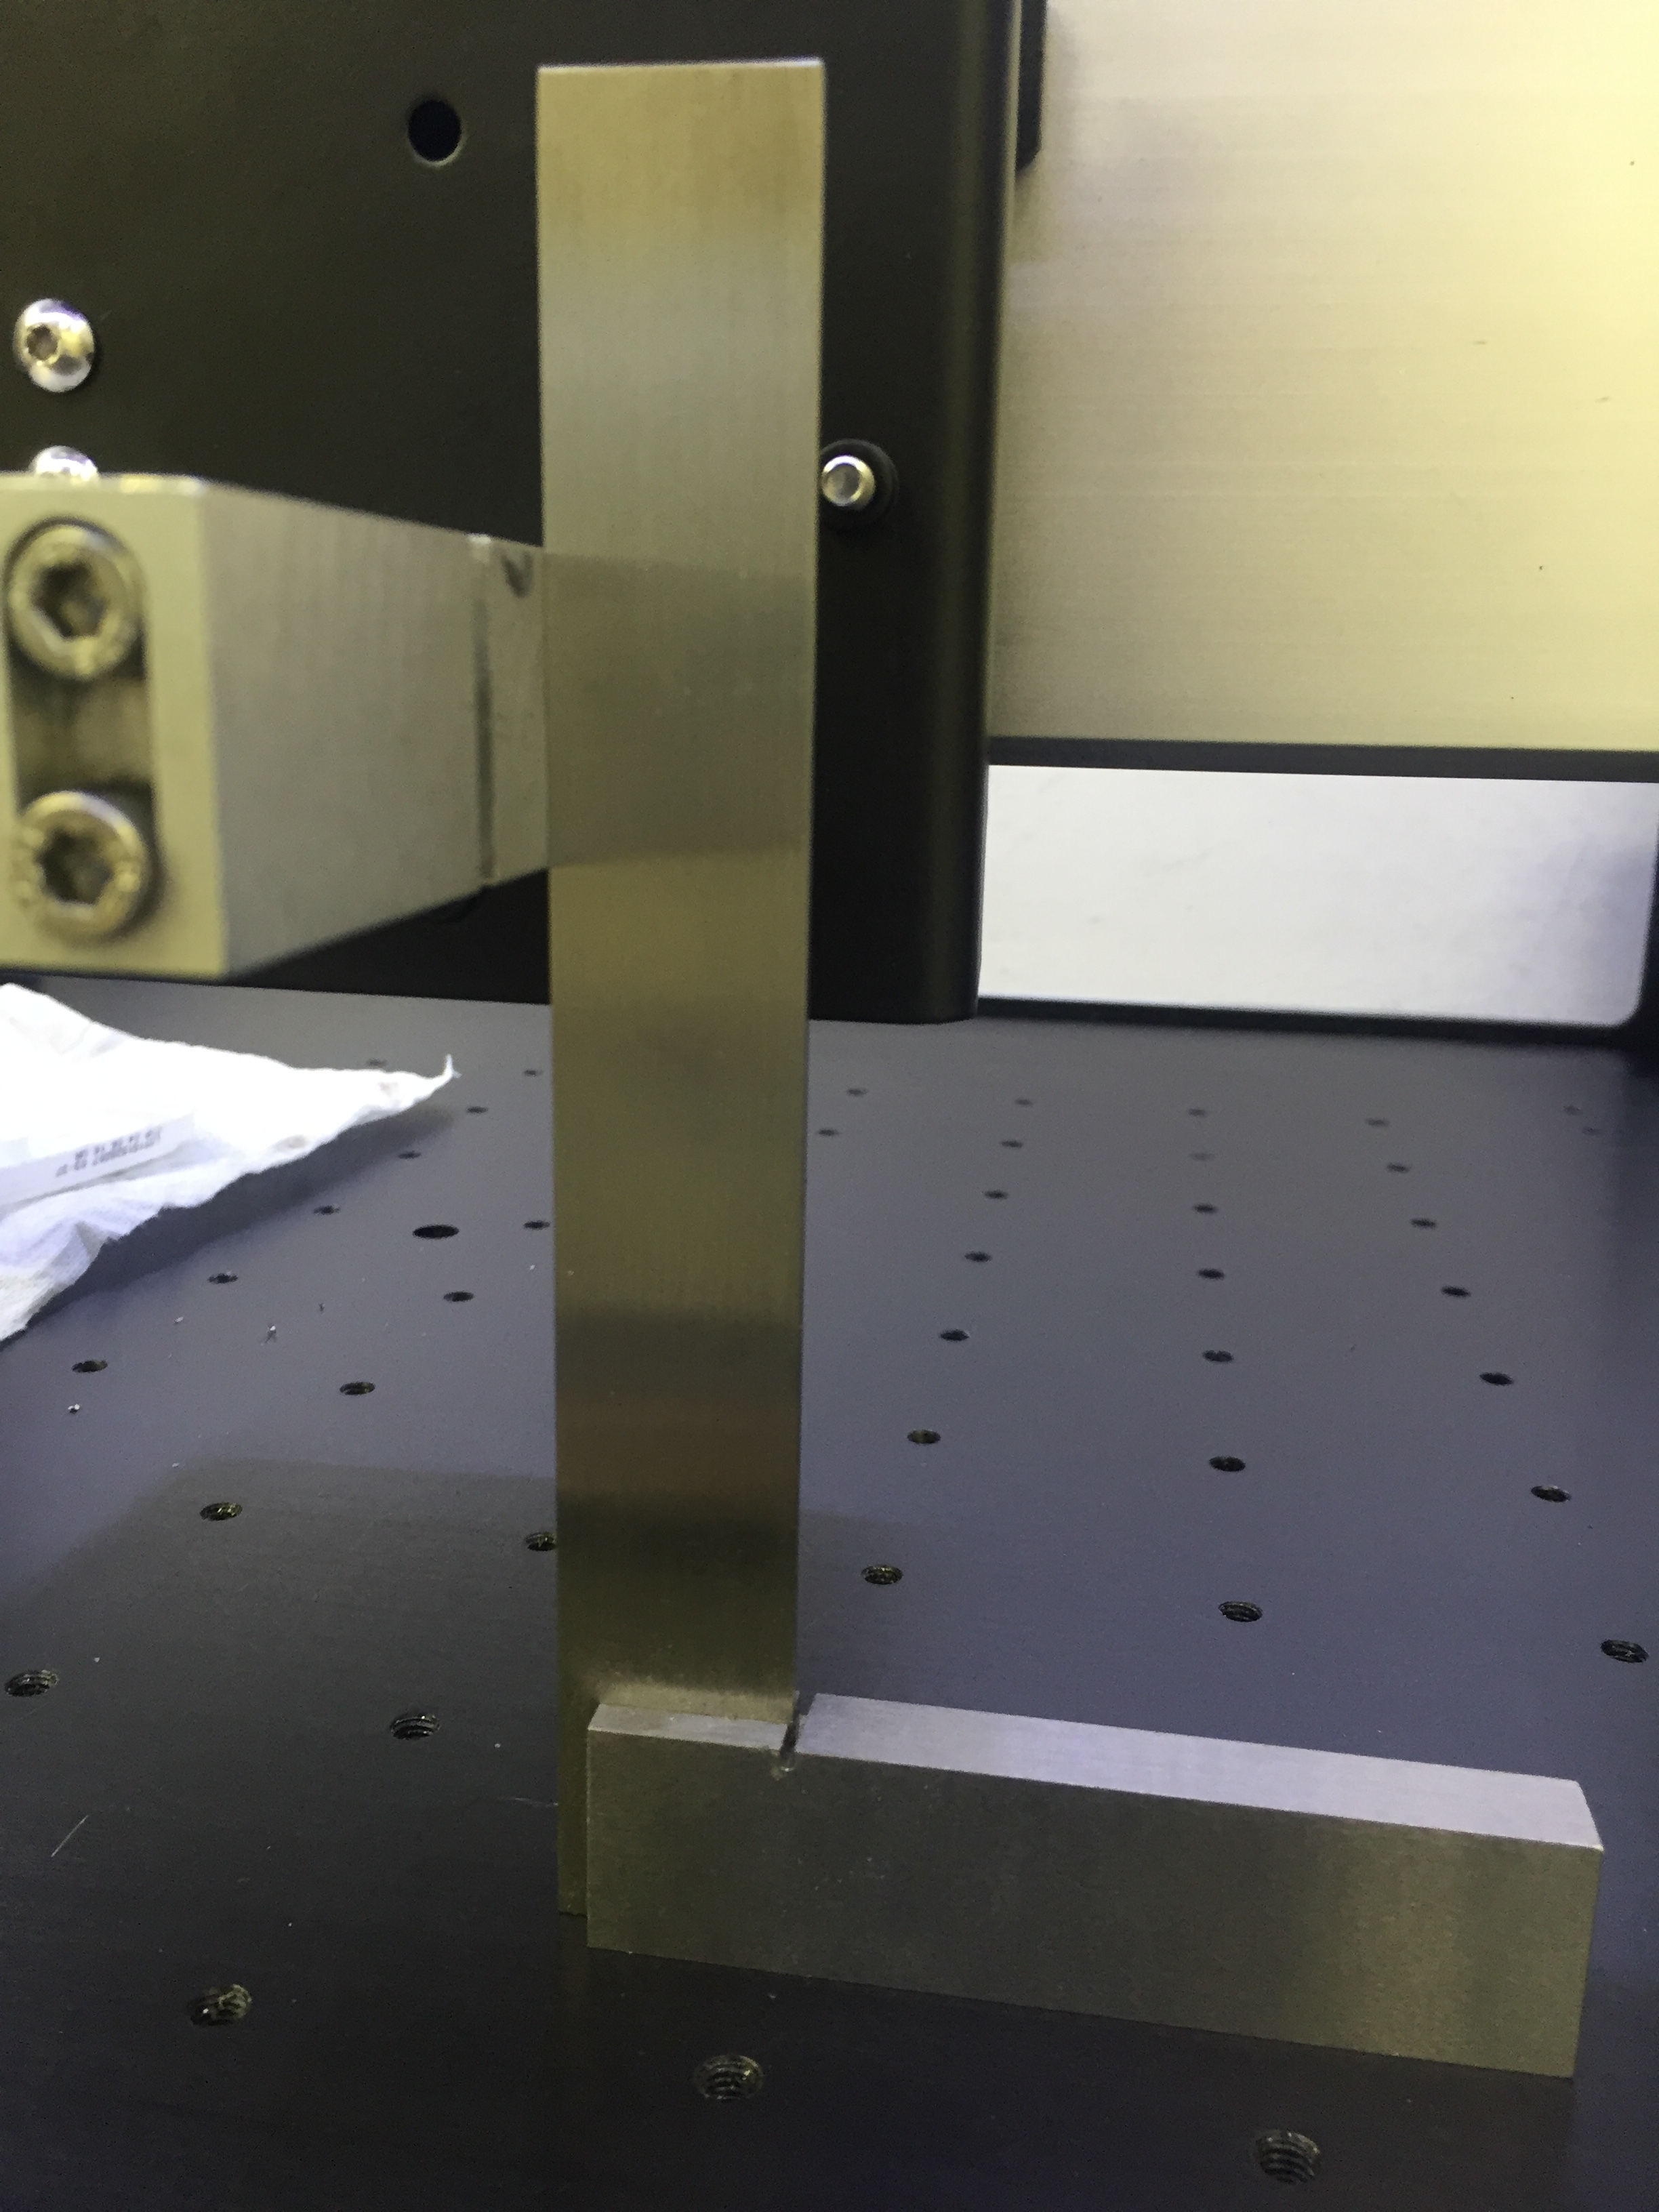
This is also a GREAT time to make sure the guides are square to the table (Only the side with the non-moveable V-Wheels really need to be square)

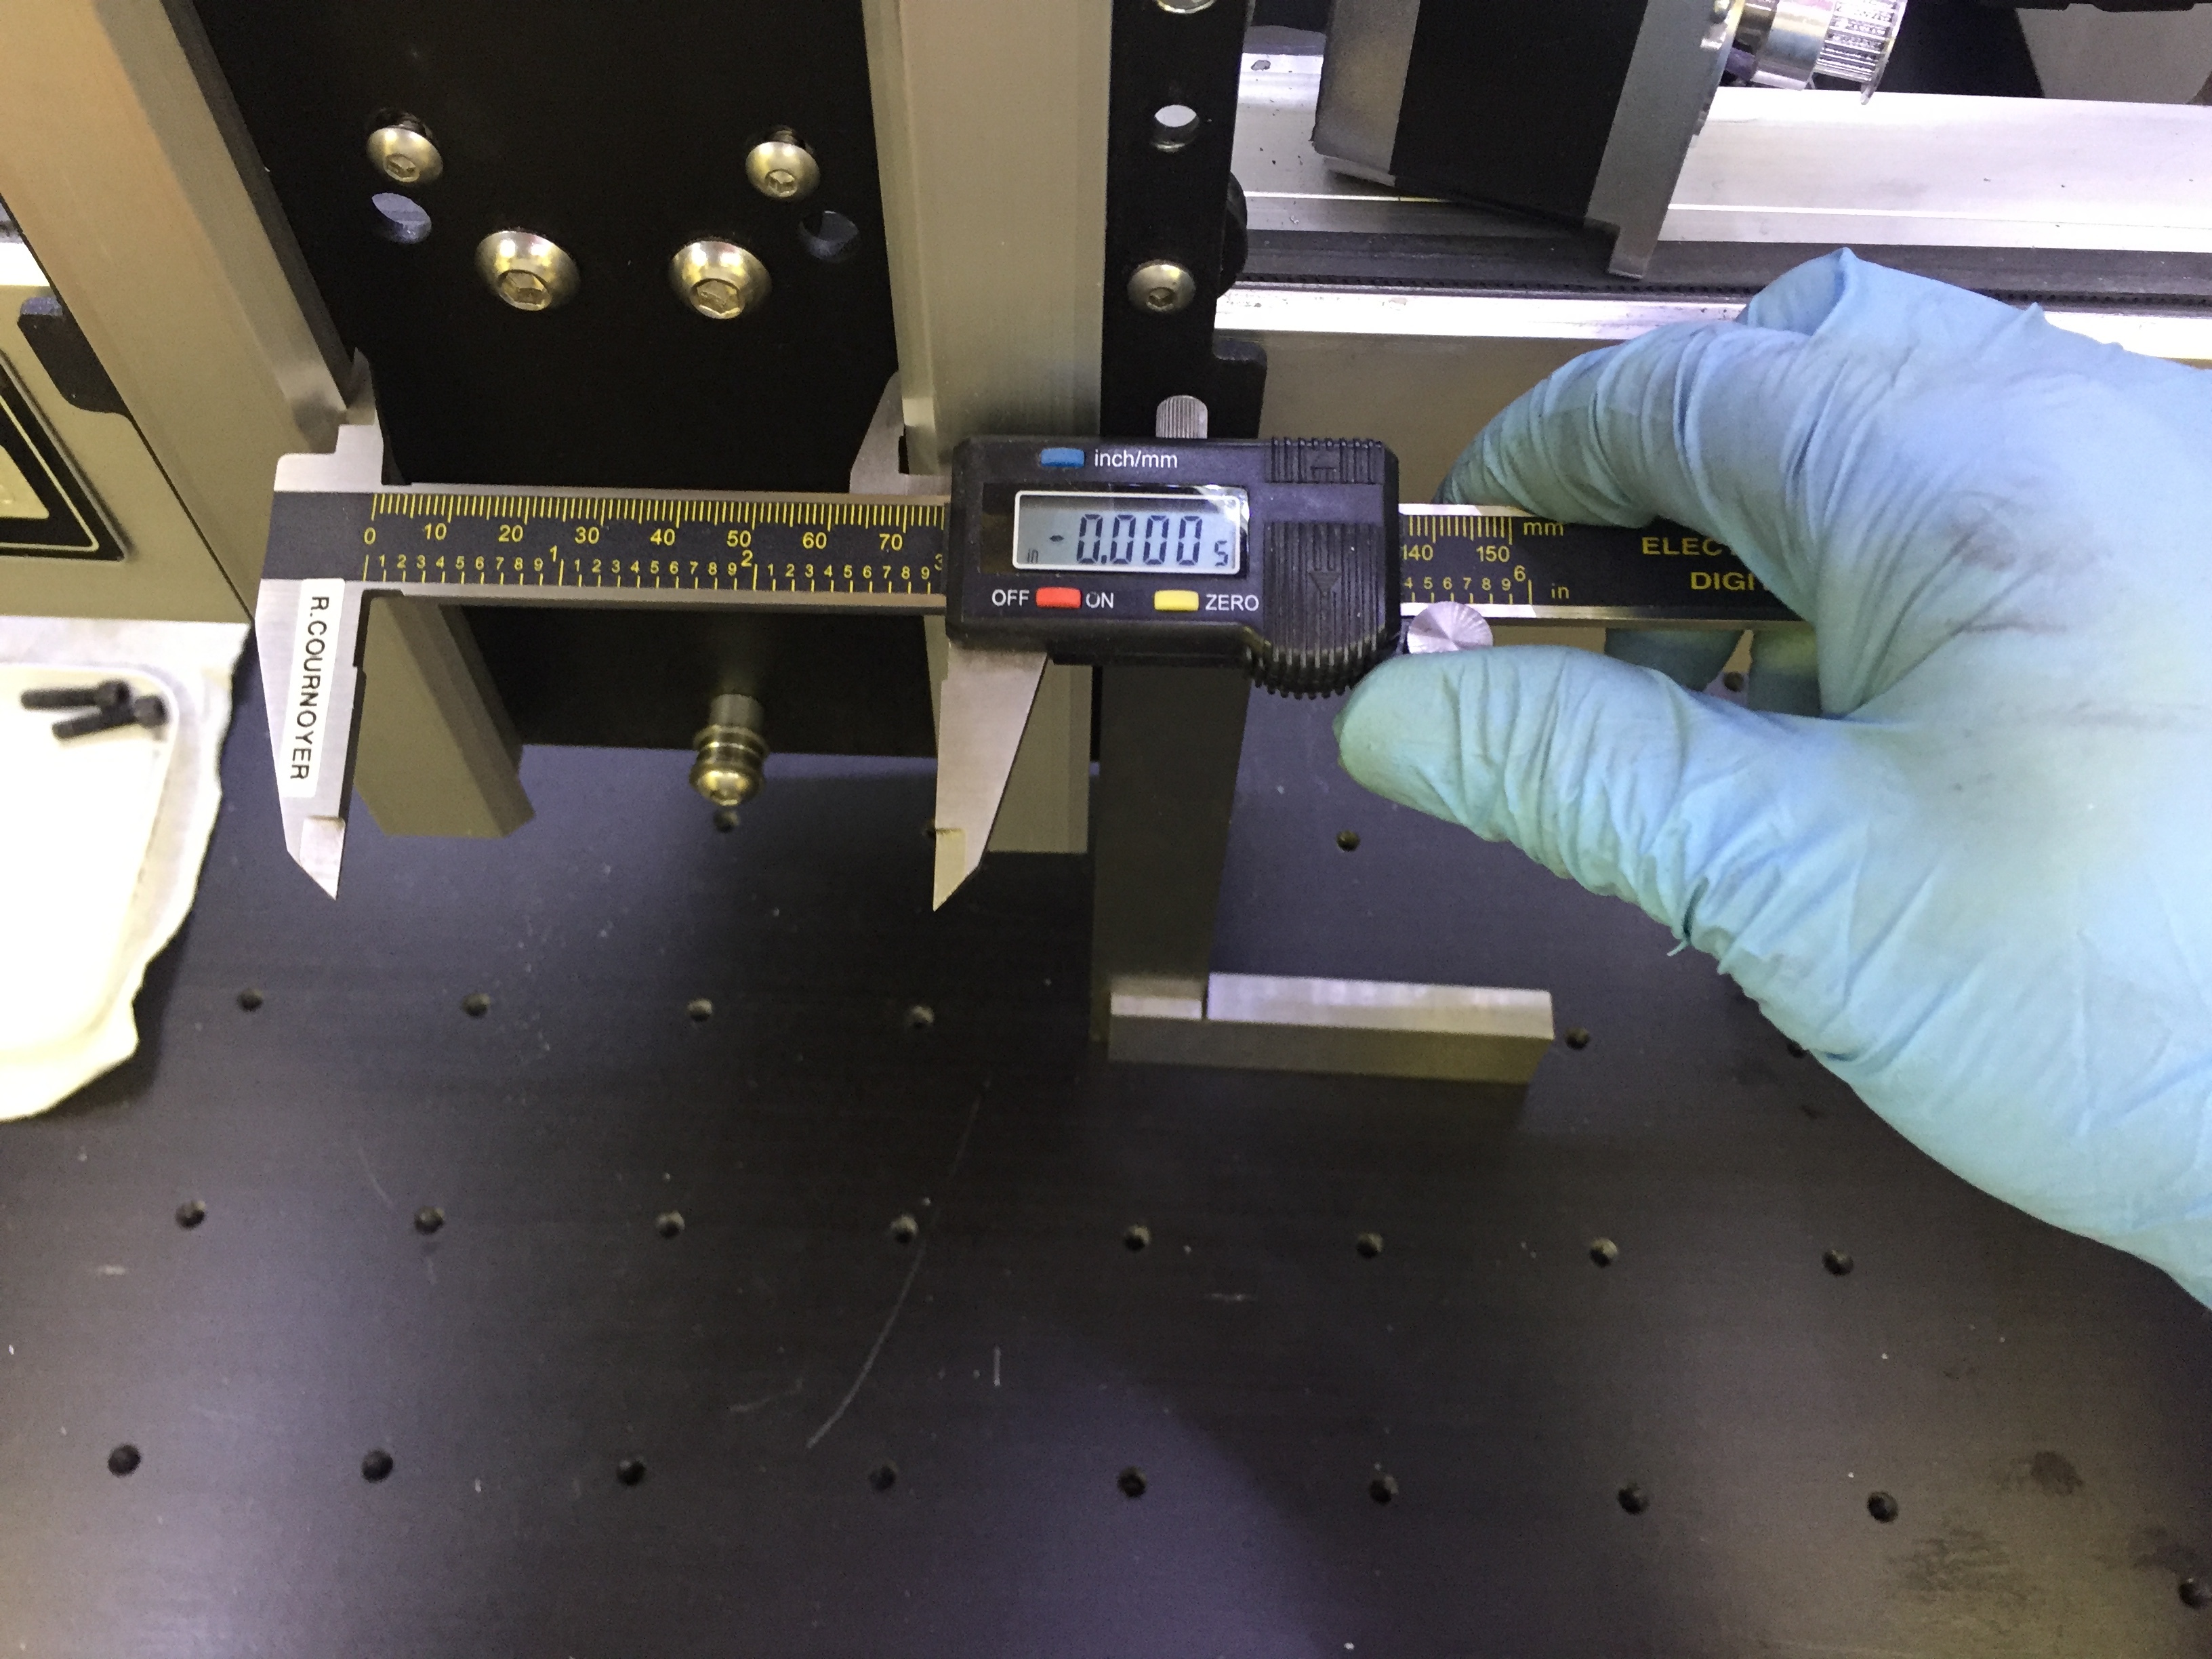
I also made the spacing between the 2 rails a little smaller so the the eccentric nuts would not bottom out. I then checked the spacing at the bottom and top as well (not really necessary, but it’s what retired engineers do)

I also made sure that the spindle mount was square (Just checking the machining in the new Z Plate, and it was perfect)

Now if you recall, I posted something about cutting steel a few days ago, and that this 4" tall tube would NOT fit under the Spindle. Well LOOK!!! I not have an extra 1 5/8" of room under the spindle (and there is another set of spindle holes on the top of the plate that would give me almost another 2.0" inches. This is a a WONDERFUL BONUS for guys like me who like to indicate the part for second side machining:

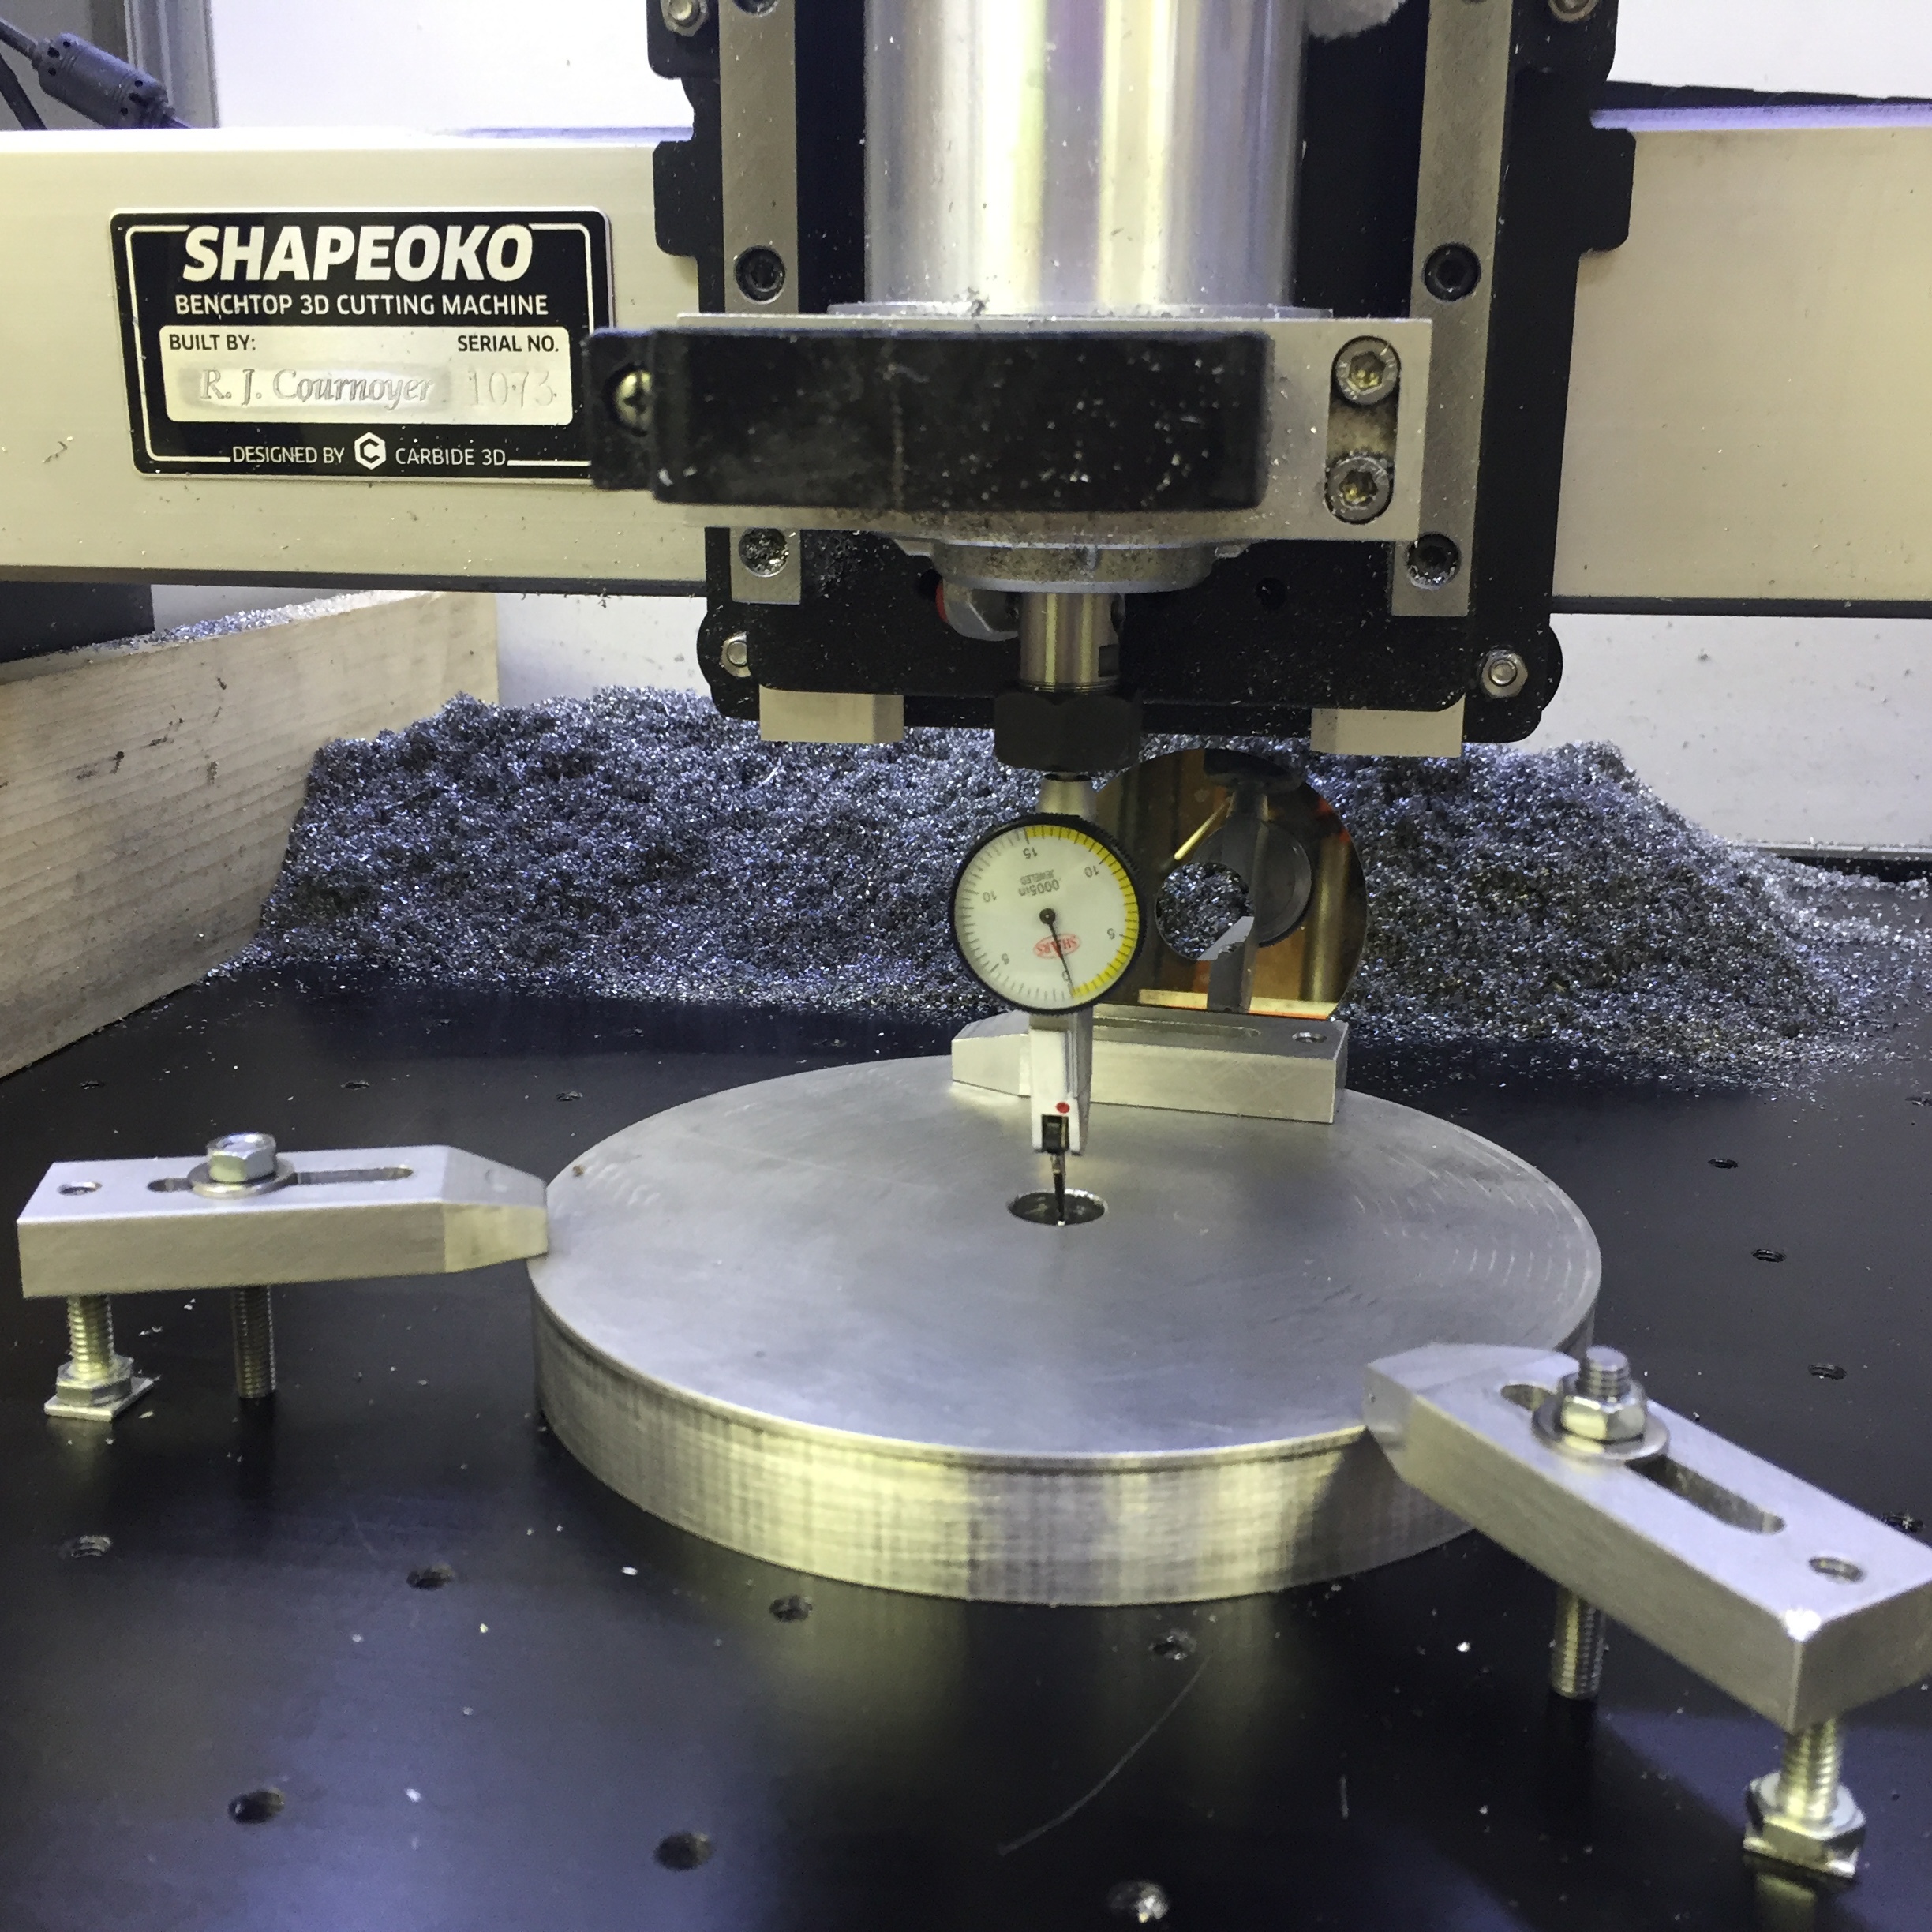
Indicating the critical surface to determining the X and Y Origin (For 2nd side machining)

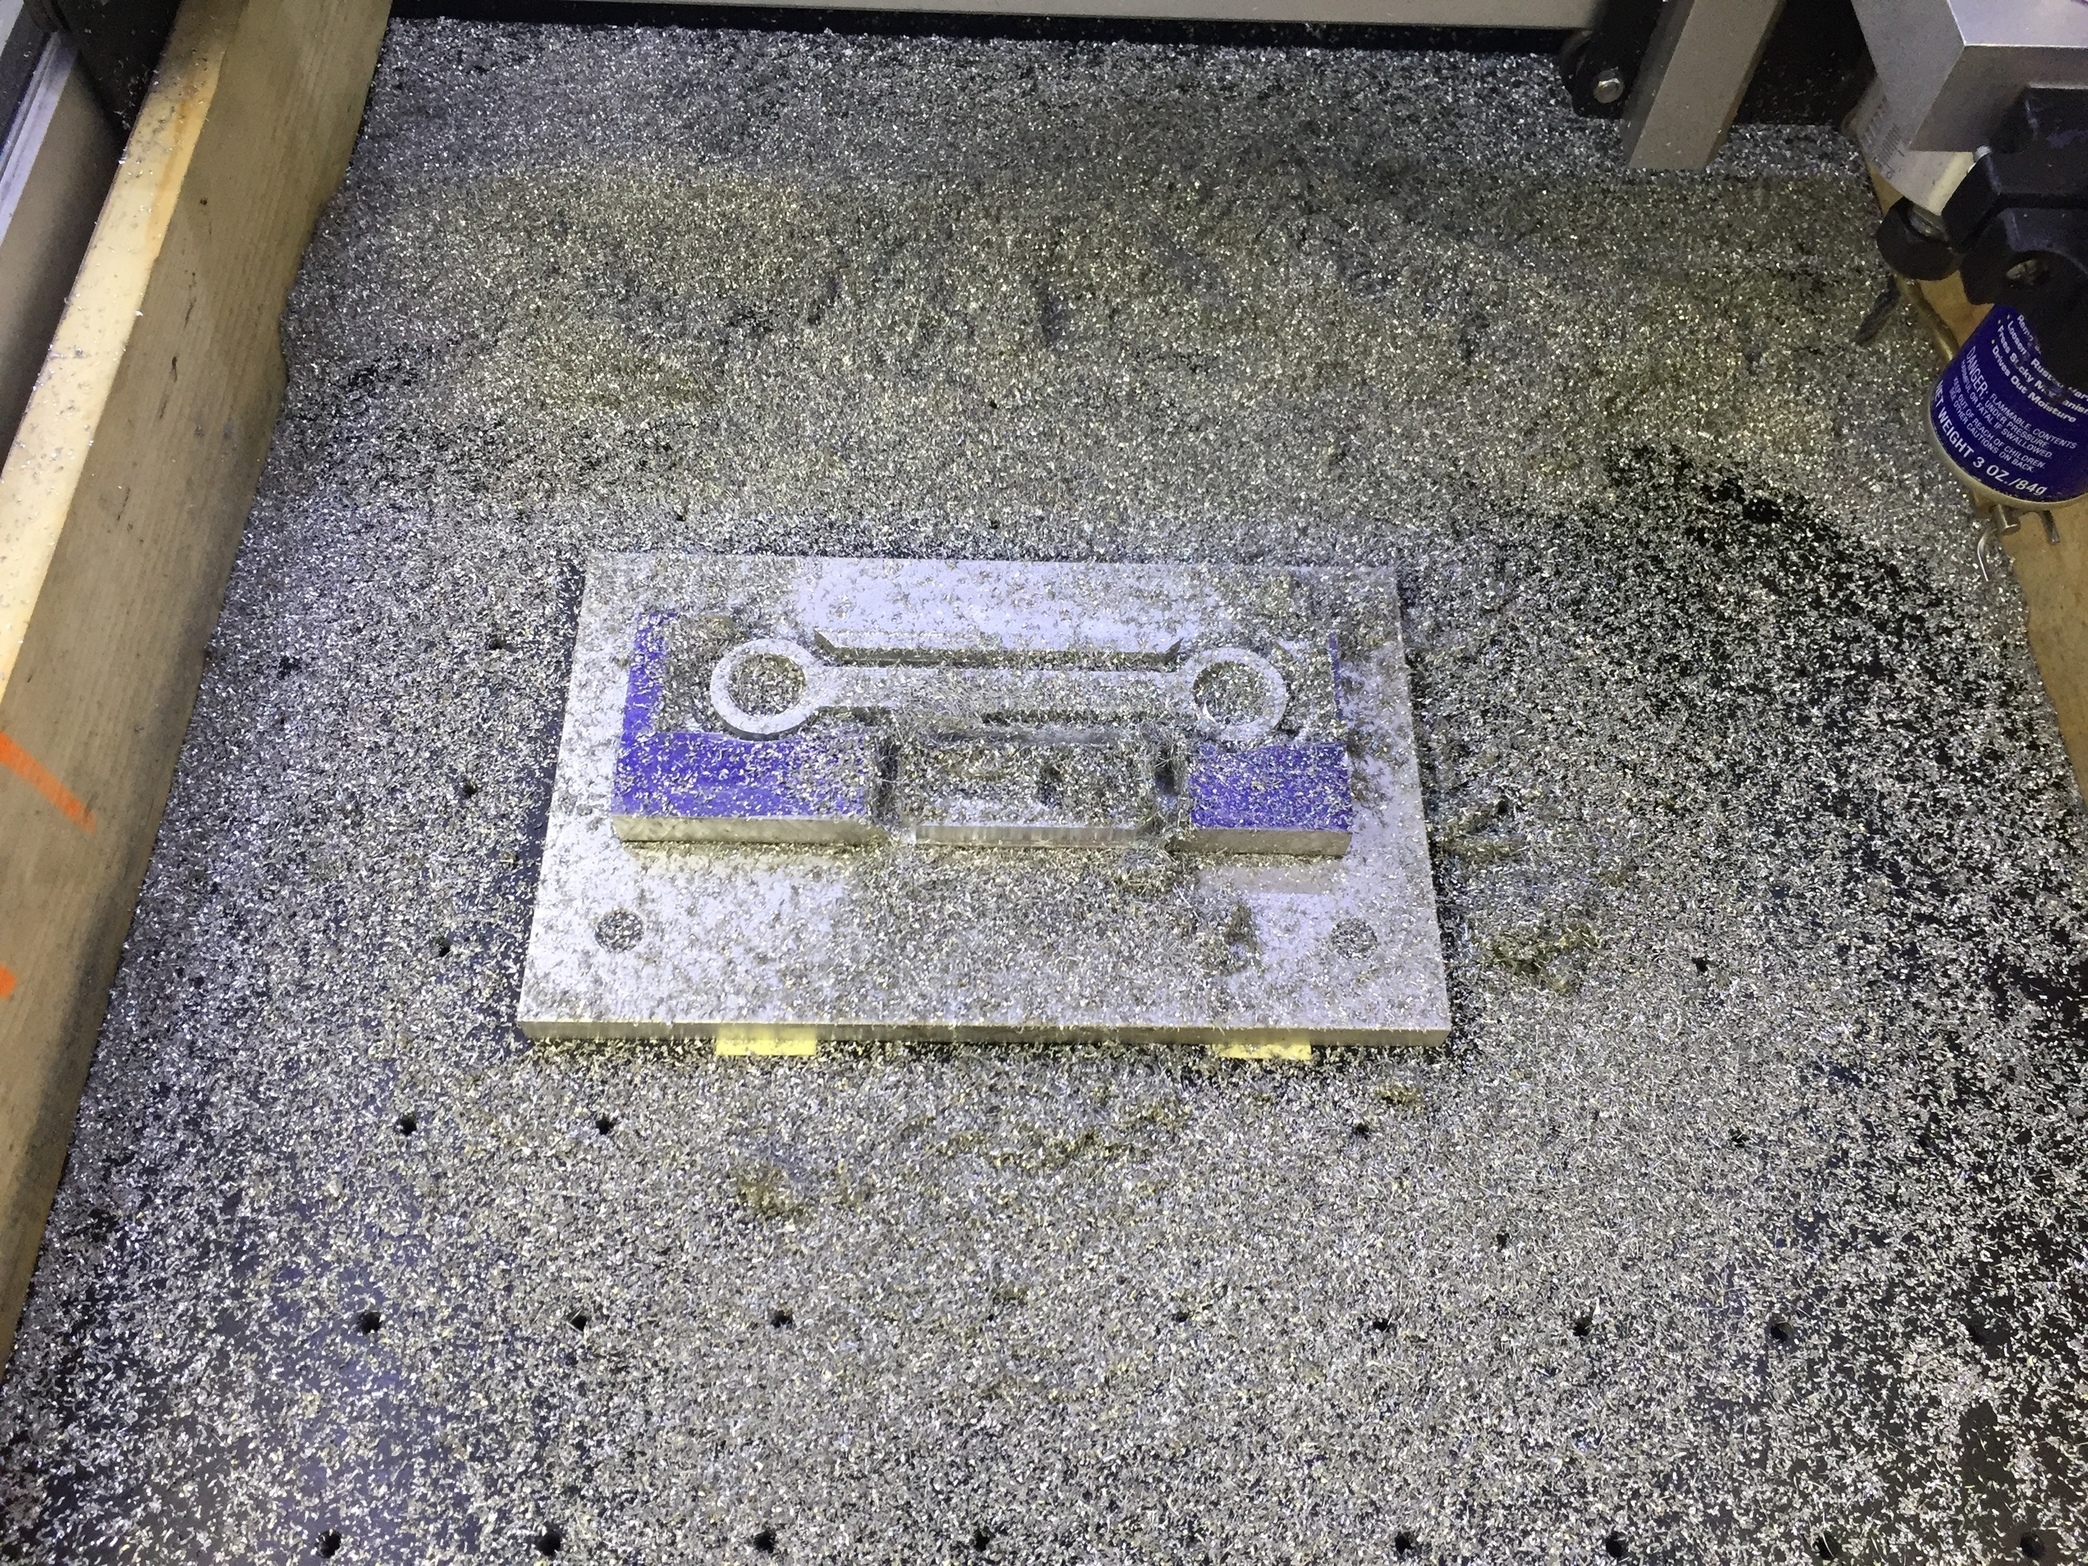
Another happy machine FULL of chips (Note: There are NO clamps holding my work, just a few drops of HOT GLUE)

Connecting Rod (with 0.001 Press Fit Bearing Bores) and 1/2 of the Connecting Rod with adjustable stroke slot.

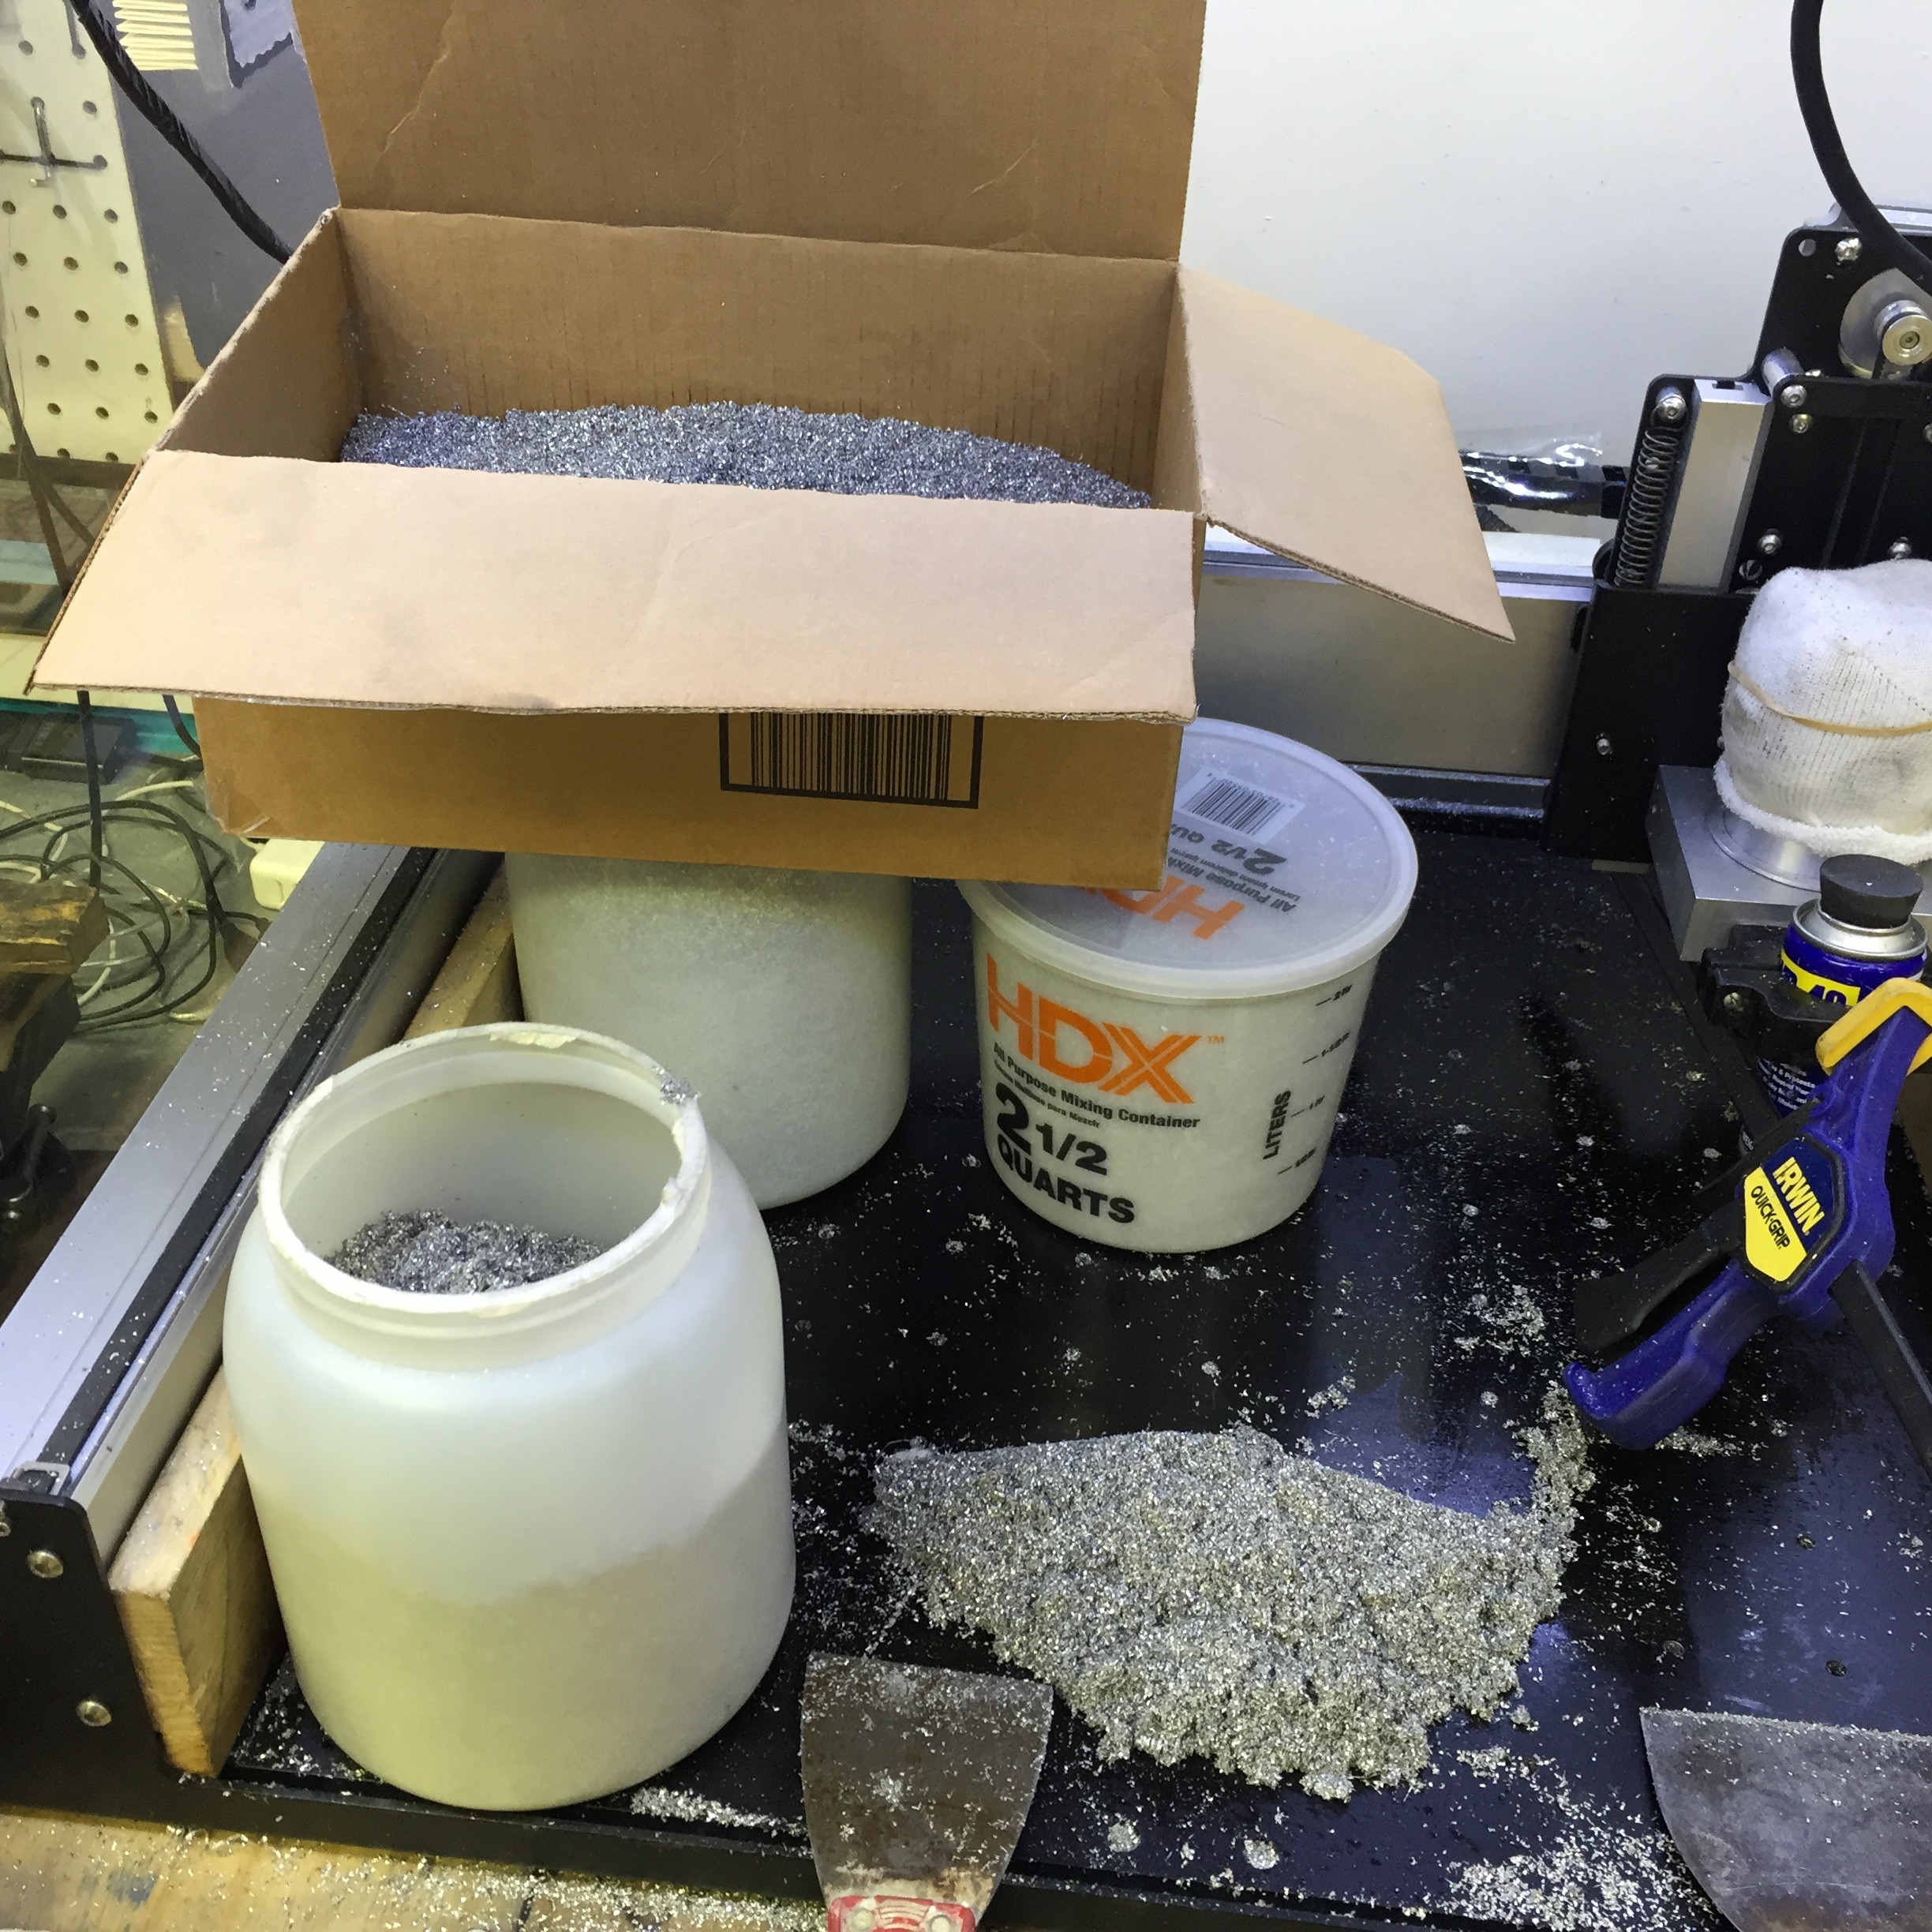
Yup, that’s nearly 15 pounds of Aluminum chips, ready for recycling.

8 Likes

Looks pretty good to me. Just wanted to order one but cheapest shipping to the Netherlands $44 and will pay tax on top… can you guys please check your shipping rates…

In the meantime. Anyone in Europe interested in combining our orders to reduce shipping?

How to tension the belt with a older version of So3 an a update version of z plate?

I just did the upgrade but my belt is loose. And i don`t see where i can adjust.

By moving the Z Motor up.

The motor is already in the maximum that i can pull up. and is too loose to adjust just with the motor.

Well I doubt that your belt is longer then mine (or the rest of the people who upgraded) so I’d look t your routing again to see if it slipped off something.) Sorry but that’s all I can think as a possible fix.

Anyone else have a similar problem?

@biluagd If you has an older version of SO3 check your belt. If it is 524GT2 then you need a shorter belt like 520GT2

2 Likes

Anyone know why SDP-SI doesn’t carry 520mm endless GT2?

Robotdigg has it of course — also found this listing on Amazon:

but not finding anything else.

HI, my belt is 520GT2 already. I`m attaching some photos to see if you can help find that everything is mounted correctly. I will review if i missing something too.

Thanks all for the answer.

<img

1 Like

Hi,

i reassembled and put the motor on maximum and I think the belted is tensions enough. Thanks all for the support

1 Like

Do I have to change anything on carbide motion, after this upgrade?

Once you’re certain your belt is taut enough, then you can calibrate for belt stretch:

For the Z-axis you’ll need to cut steps into a block and measure the steps.

@biluagd, I know you’ve got things fixed up but for anyone wanting to be able to tighten the Z belt a bit more, I printed a small wedge that fits in between the pulley and the two posts on the Z-axis plate. I don’t have a picture of it installed since I don’t want to take mine apart but using your picture I put an arrow indicating where it goes:

The wedge is a simple ellipse with a GT2 tooth pattern to help lock it into place. You don’t want it to slip around or fall out. Once installed it makes the belt just loose enough to get the Z plate on with a bit of effort.

It has worked well for me. STL attached.
Z-wedge.stl (1022.2 KB)

5 Likes

Steven,

Brillent idea!

I received my Z upgrade plate today and fitted it - what a difference it makes - allot of wobble has disappeared and the additional height is crazy!

1 Like

I’d just like to chime in here that the Z-axis rail mount plate has been updated and now includes a small part which is inserted (press-fit?) and which provides M4 threads at 90 degrees so that an M4 SHCS can be used to tension the flanged bearing belt idler by pressing against its aluminum spacer.

Not sure how to work all that out on the wiki — I’m leaning towards segregating all mentions of the older style parts to a single page so as to present everything neatly for only the current and forward machines — can’t imagine that there’s much else which could be affordably / reasonably improved upon for them (though I’d love to see be proved wrong).

What a bummer. I just ordered the upgraded Z-plate (received today) and didn’t get this new part. Do you have a picture of this new part, so I can double-check my package for it?
Thanks!
MAJ

The part is inserted onto the other plate — I don’t think it can be sent separately w/o replacing the other plate — it’s not a normal part of the upgrade, I was just being overly thorough and confusing matters. My apologies.

If you have any difficulties making your upgrade plate work, contact support@carbide3d.com and we’ll work it out with you.

I only got one part but had no issues fitting or adjusting

Don’t have my machine on me right now (its at home I’m at college) I got mine mid summer 2016, does that mean I have this upgrade? Or did it/is it coming later. I have been trying to work with copper and aluminum, with a decent amount of success, but occasionally my z axis does slip, and it runs my part/that chunk of material. Also if I have the depth of cut too deep it shudders when moving x/y axised, but again, I assume thats mostly due to the Z plate.

It doesn’t seem like I have this upgrade, but its also possible that I’m just haveing these issues because I’m a novice.

TL;DR When did/or do these better z axis plates start shipping out as part of the normal machine.
I got my machine mid summer 2016, just wondering if I do have this upgrade.