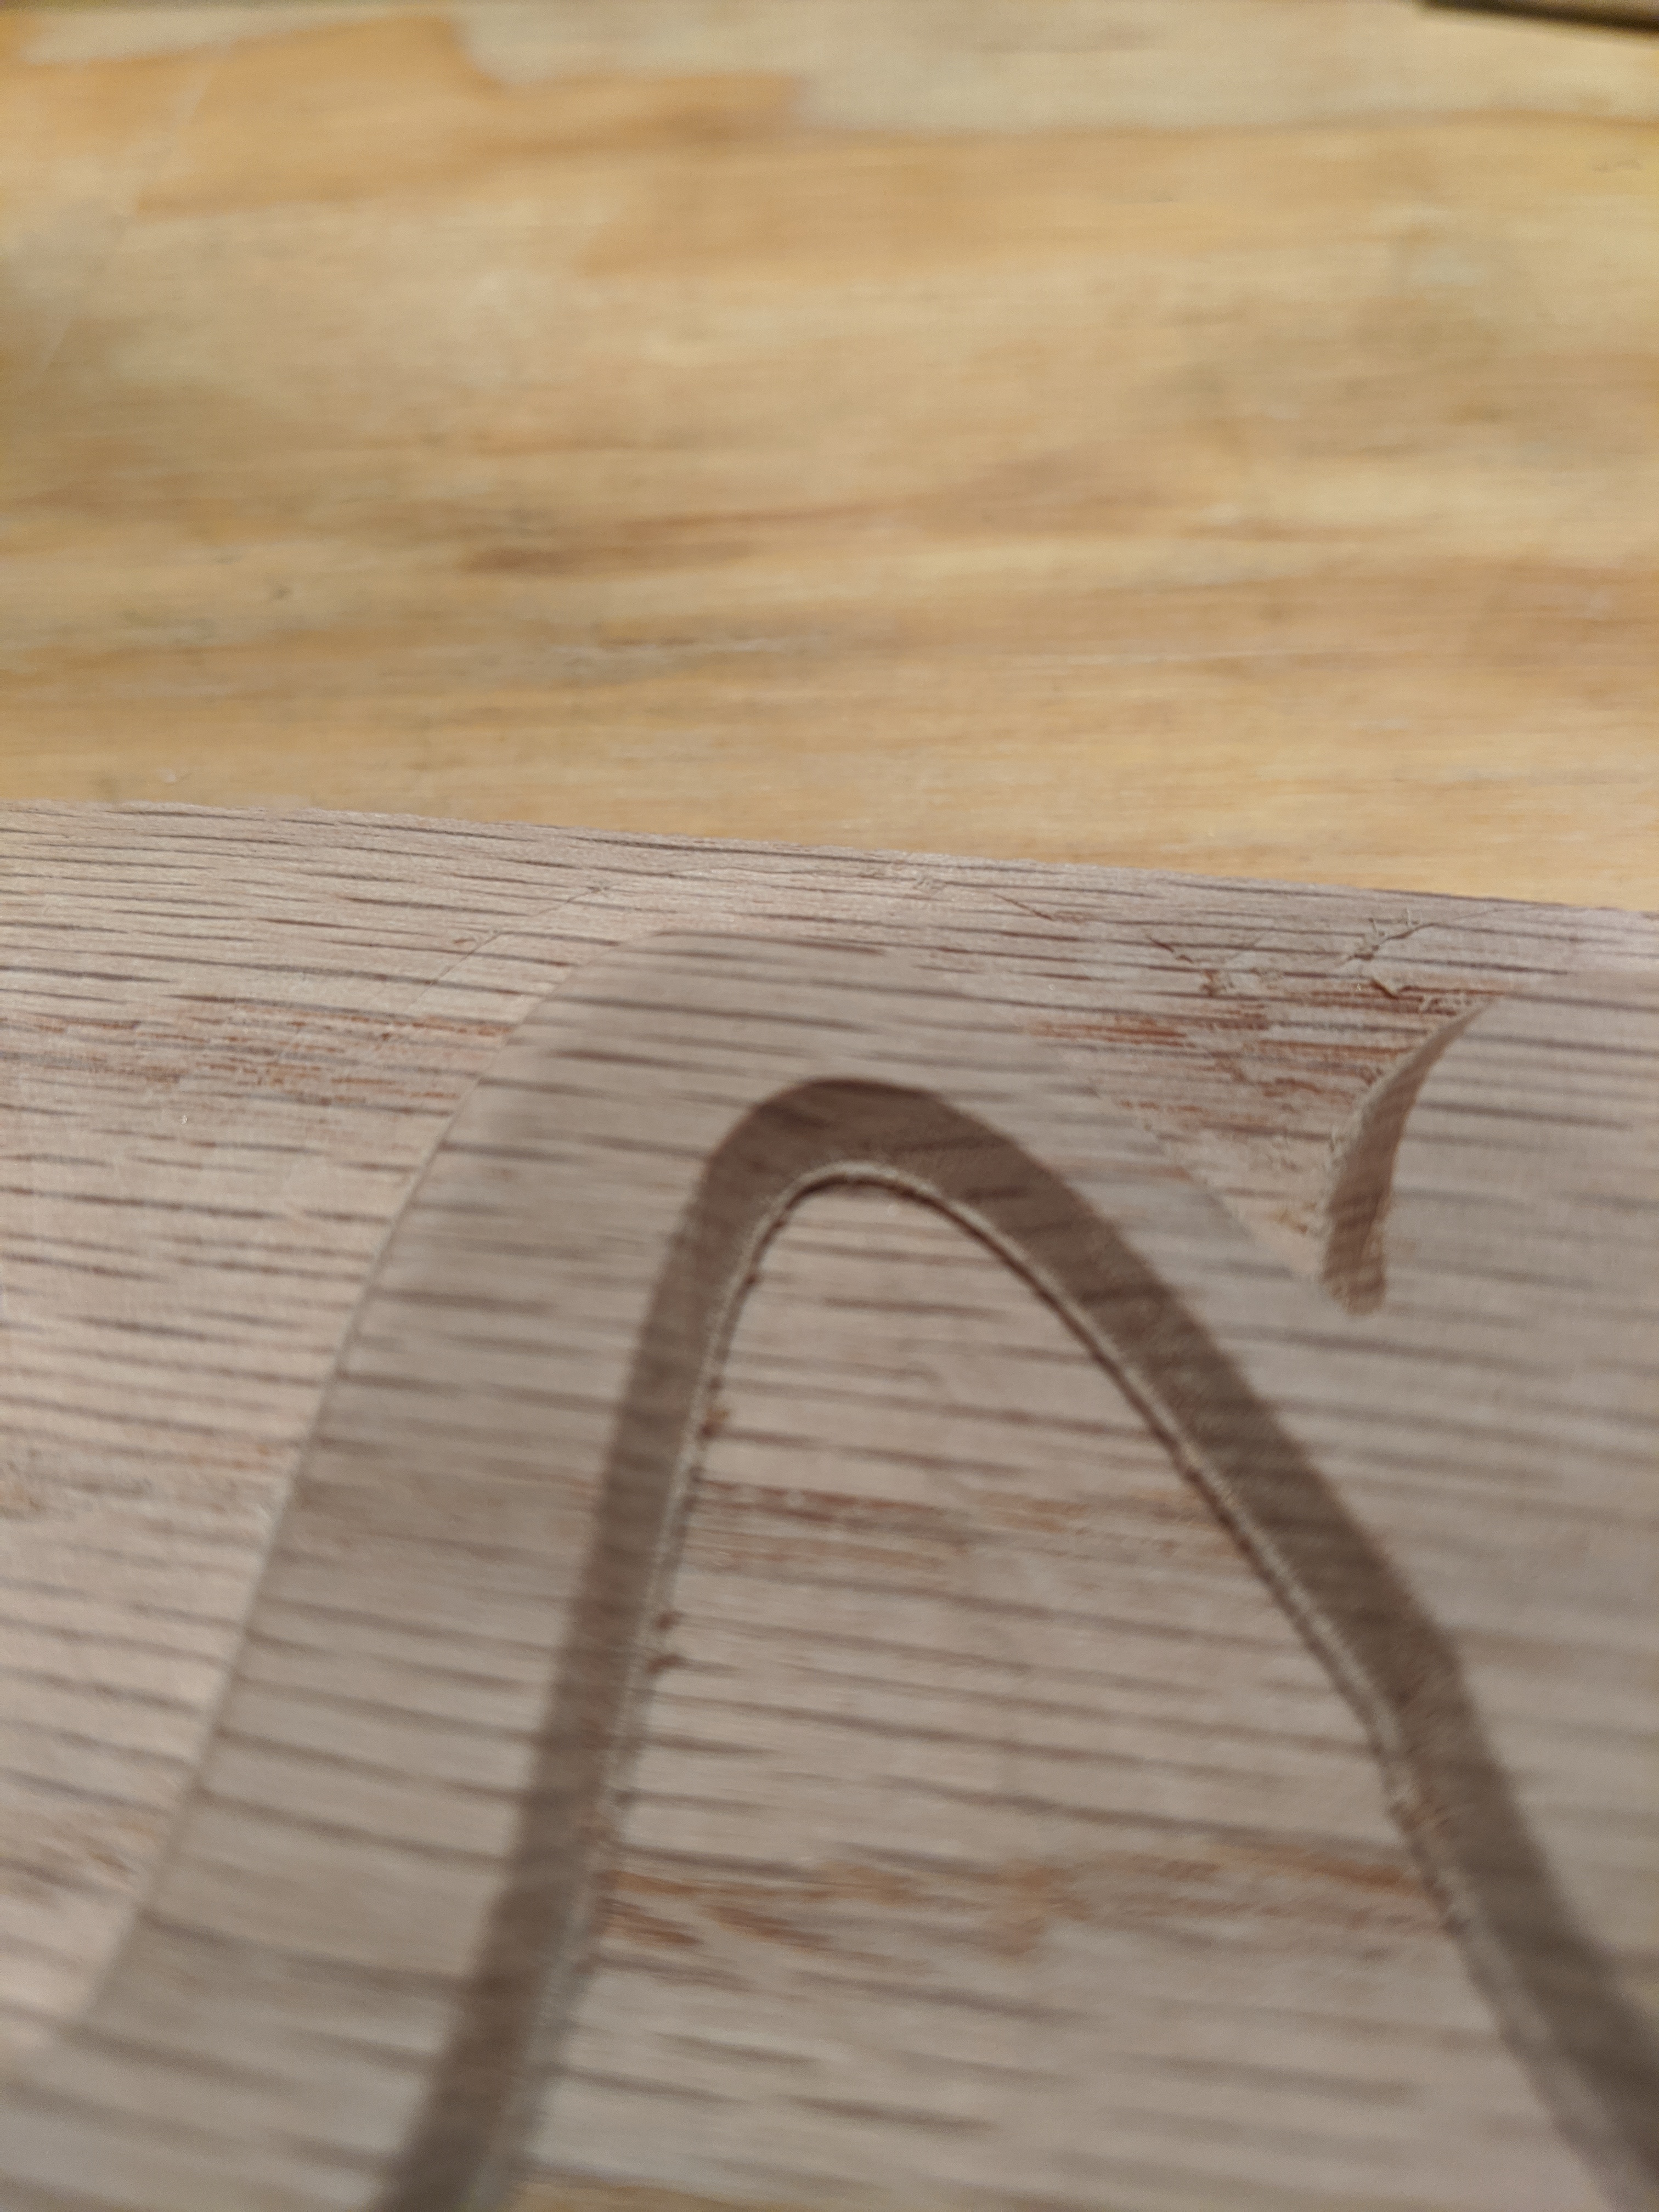
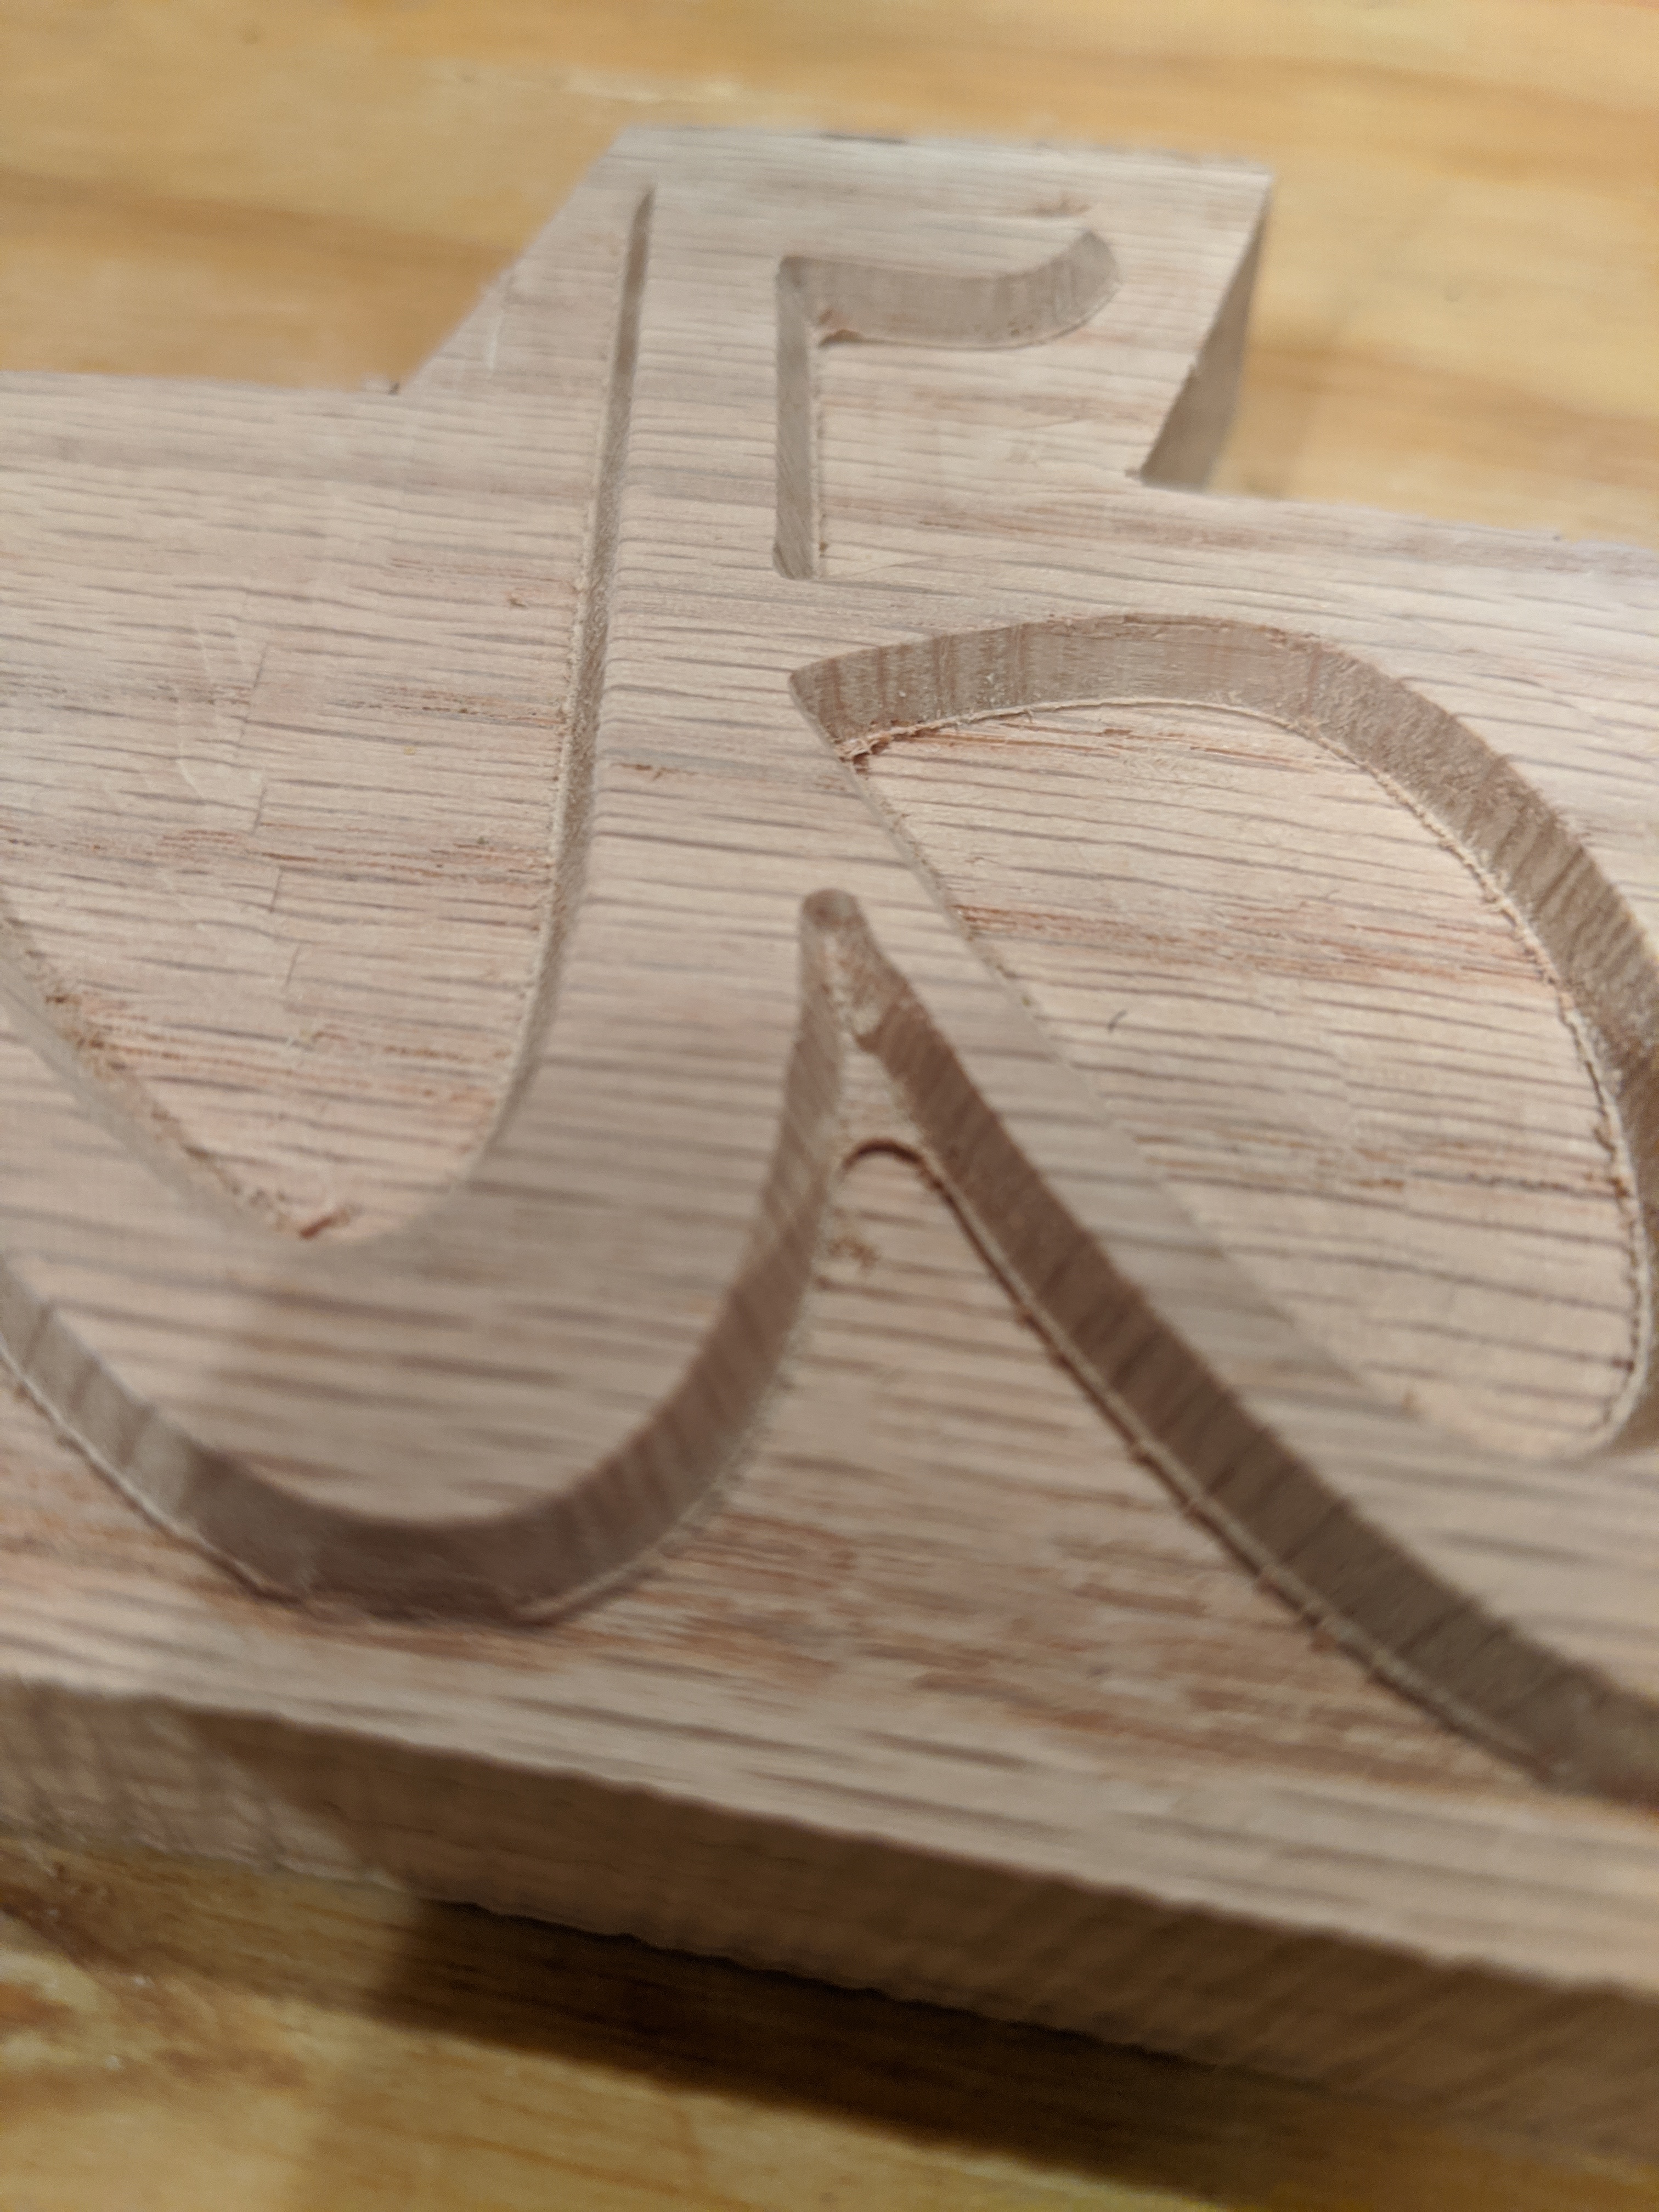
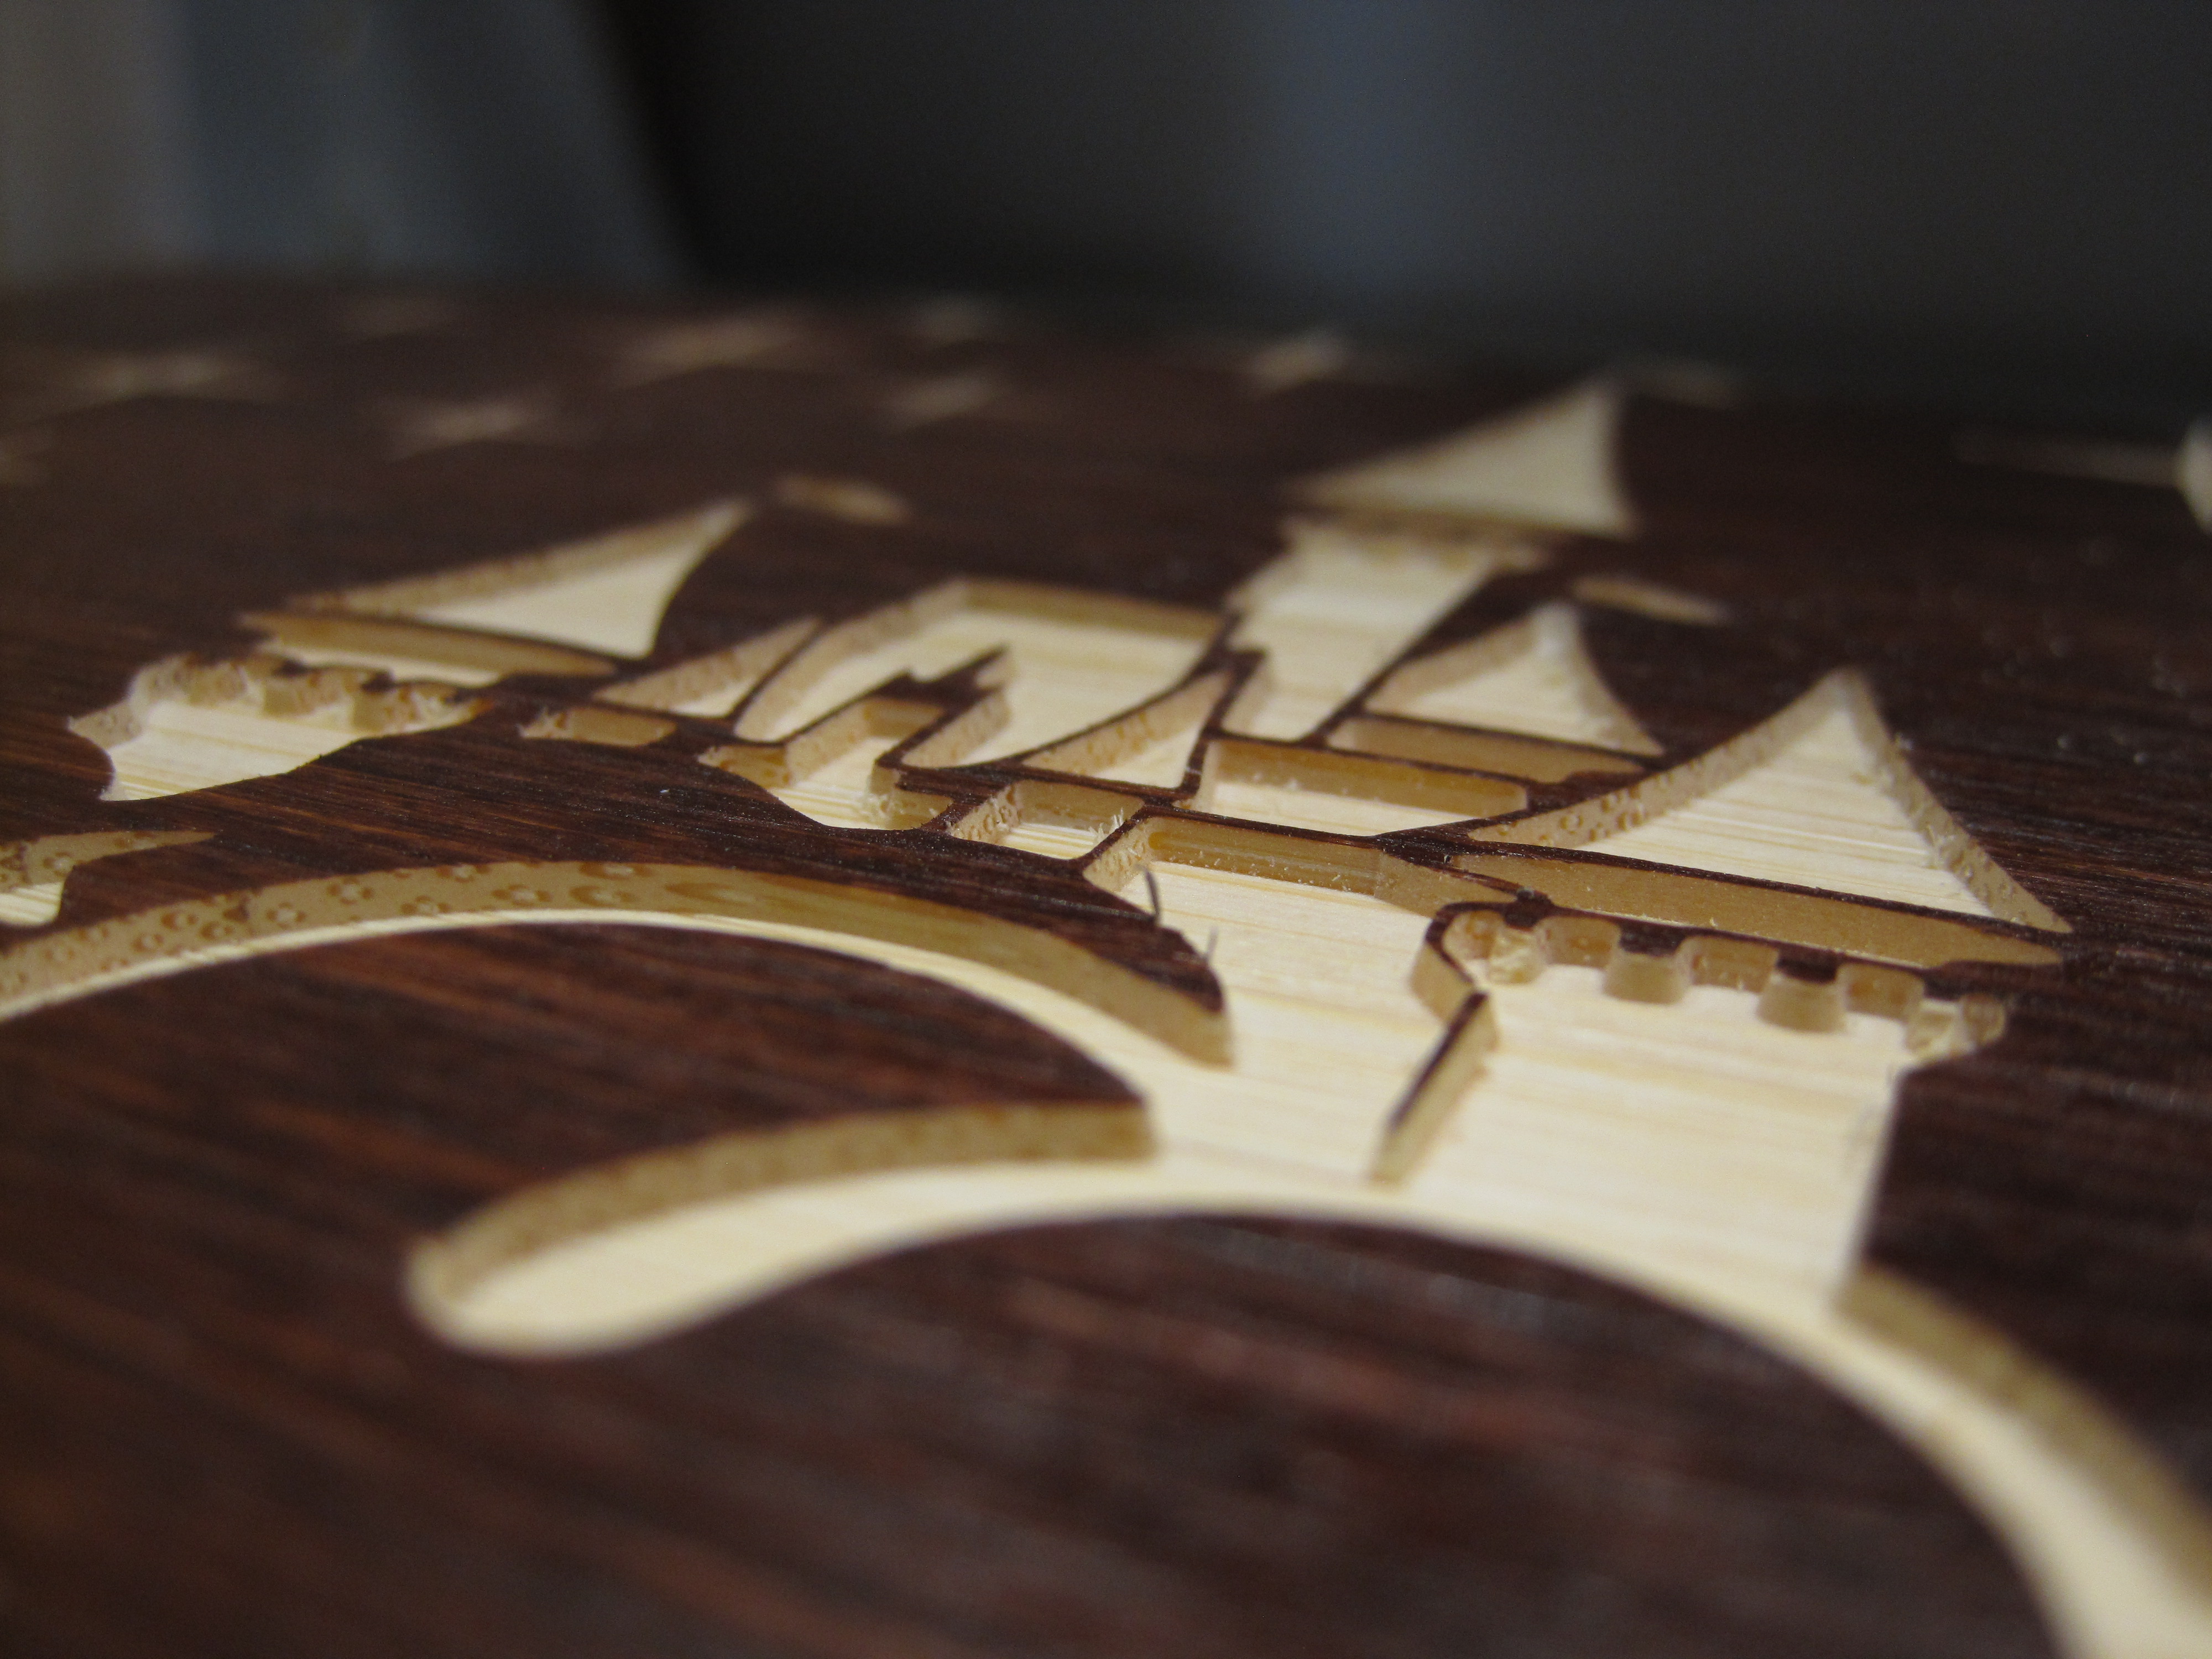
Everything appeared to work fine, but the pocketing left thin islands that I will need to manually clean up. What could I have done to end up with a more finished result?
these are a well known artifact of carbide create’s current algorithm.
the most likely cause is that your bit is likely JUST a hair maller than you tell the tool… so fixing that means telling the tool a more precise (smaller) diameter
If a decrease in the stepover of your clearing bit doesn’t work try creating offset paths inside your letters that when pocketed just cover those little islands. Pocket them first to the desired depth. Then run your advanced vcarve.
can you give a description of the bits used and feeds and speeds, upgrades/addons to the machine, etc…? basically the more info you give, the greater the chances of someone on here giving you a solution.
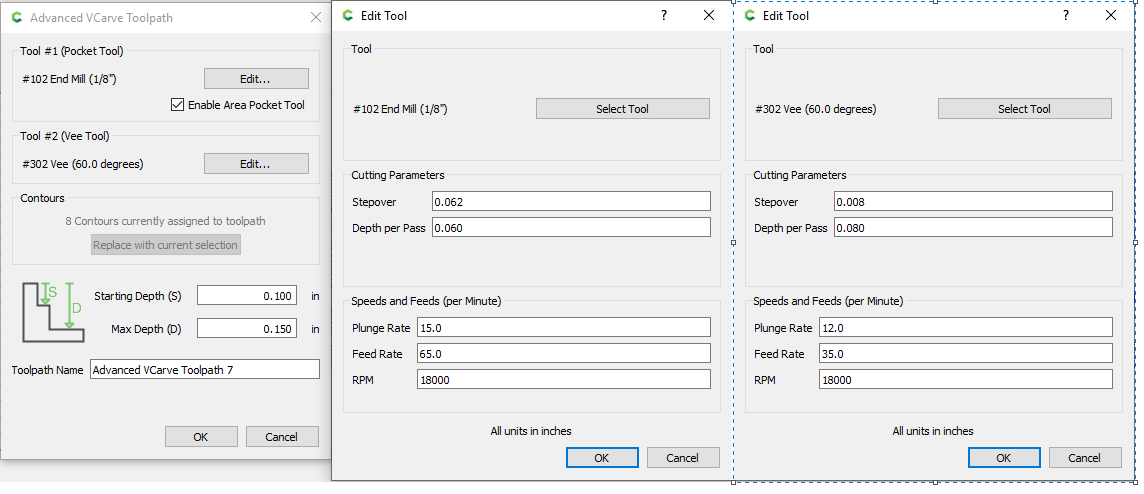
good idea. here are my tool paths. I have a Shapeoko xxl, suckit dust boot, and carbide compact router. Everything else is stock. The wood was red oak. I just received the HDZ. I will do doing some test with it soon. Bellow are my tool settings and another photo with a better angle Tool_Path_settings|690x297
Do you have a BitSetter, and did you use it for this job ? (or did you hack the generated G-code to split that into two files)
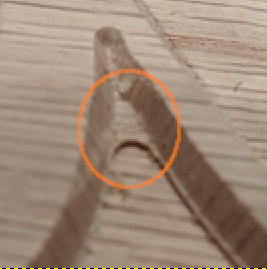
It looks as if there is a small Z0 offset between the first pass with the clearance tool, and the v-carving pass (and it can’t be the Z axis losing steps, not with an HDZ at 12ipm plunge in wood…)
That or the tip of the V-bit is chipped? (but you would have noticed)
I do have a BitSetter and did use it for this project. I do not think my v bit is chipped. However if it was and I used the bitsetter wouldnt it just think the bit was lower then it should be?
good point, hypothetically it would carve wider at the “tip”, but that would not change the depth.
My guess was based on that part right here:
where you can see that either the square endmill cut a tiny bit too deep, or the V-bit cut a tiny bit too shallow.
Can you post the G-code file for a check ? I assume the preview looked ok in CC ?
Unsurprisingly, the G-code shows a common depth of Z=-0.15 for both the square endmill pass and the V-bot pass
However I noted that it does not seem to match the settings you posted earlier, it does a single pass at -0.15 while the V-bit setting you included had a depth per pass of 0.08 so I would expect two passes ?
Maybe you changed that in the meantime ?
Does the picture reflect that G-code file ? If so, you may want to try and rerun the job with 0.08 depth per pass instead of 0.15, see if the problem is linked to a too-aggressive depth per pass during V-carving ?
i did re-make that g-code so it is possible that i changed something. However i went through my records and the g-code bellow is what i used to make the part. Also tonight i will re run some tests to see if it is still happening with he HDZInlay_4_6_2020.nc (219.3 KB)
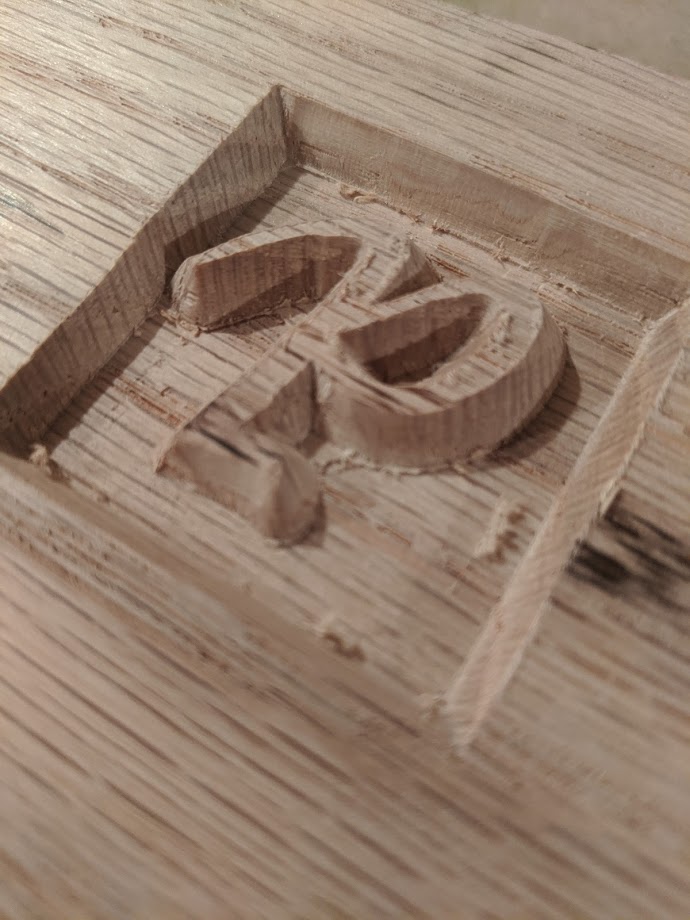
I did some more testing in some red oak. My setup. Shapeoko 3 xxl, Carbide Compact Router, suckit dust boot, and bitsetter. I still saw the shelf but was a little smaller this time. Attached are my g code, setting, and file V_carve.zip (43.7 KB)
Is this with your old Z or after the upgrade to the HDZ ?
The straigtht lines are not all perfectly straight, so it might just be a little mechanical slop somewhere
For the sake of testing, you could maybe run the whole test file twice ? (I would have said run the V-carving part twice, but that is not easy with the G-code file containing both the clearance pass and v-carve). If the second run fixes it, chances are it’s mechanical and only seen under load.
I’m not so familiar with CM these days, but maybe you could also check whether the BitSetter itself does not introduce any offset, doing something like:
home & set zero somewhere with #102
change tool to 302, let it do the BitSetter thing, and then manually jog to the zero point, as you would if you were re-zeroing manually, and check whether the tip contacts exactly at Z=0.00 or not?
Thank you for those suggestions, I measured the bit and it was slightly smaller (0.003in). I also reduced the step-over (was using the default settings previously). I then ran 4 more projects and they all looked really good. Carbide Create has really impressed me.
I have one of the original (non pro) Nomad 883, and Carbide3D (the company) continues to impress me. I may have to get a Shapeoko so I can make larger projects.
I was using my new hdz. I did check if the bit setter is correctly zeroing and it does. It does a very good job. I do believe it could be something to do with deflection. I will try running the project twice to see if this goes away.
