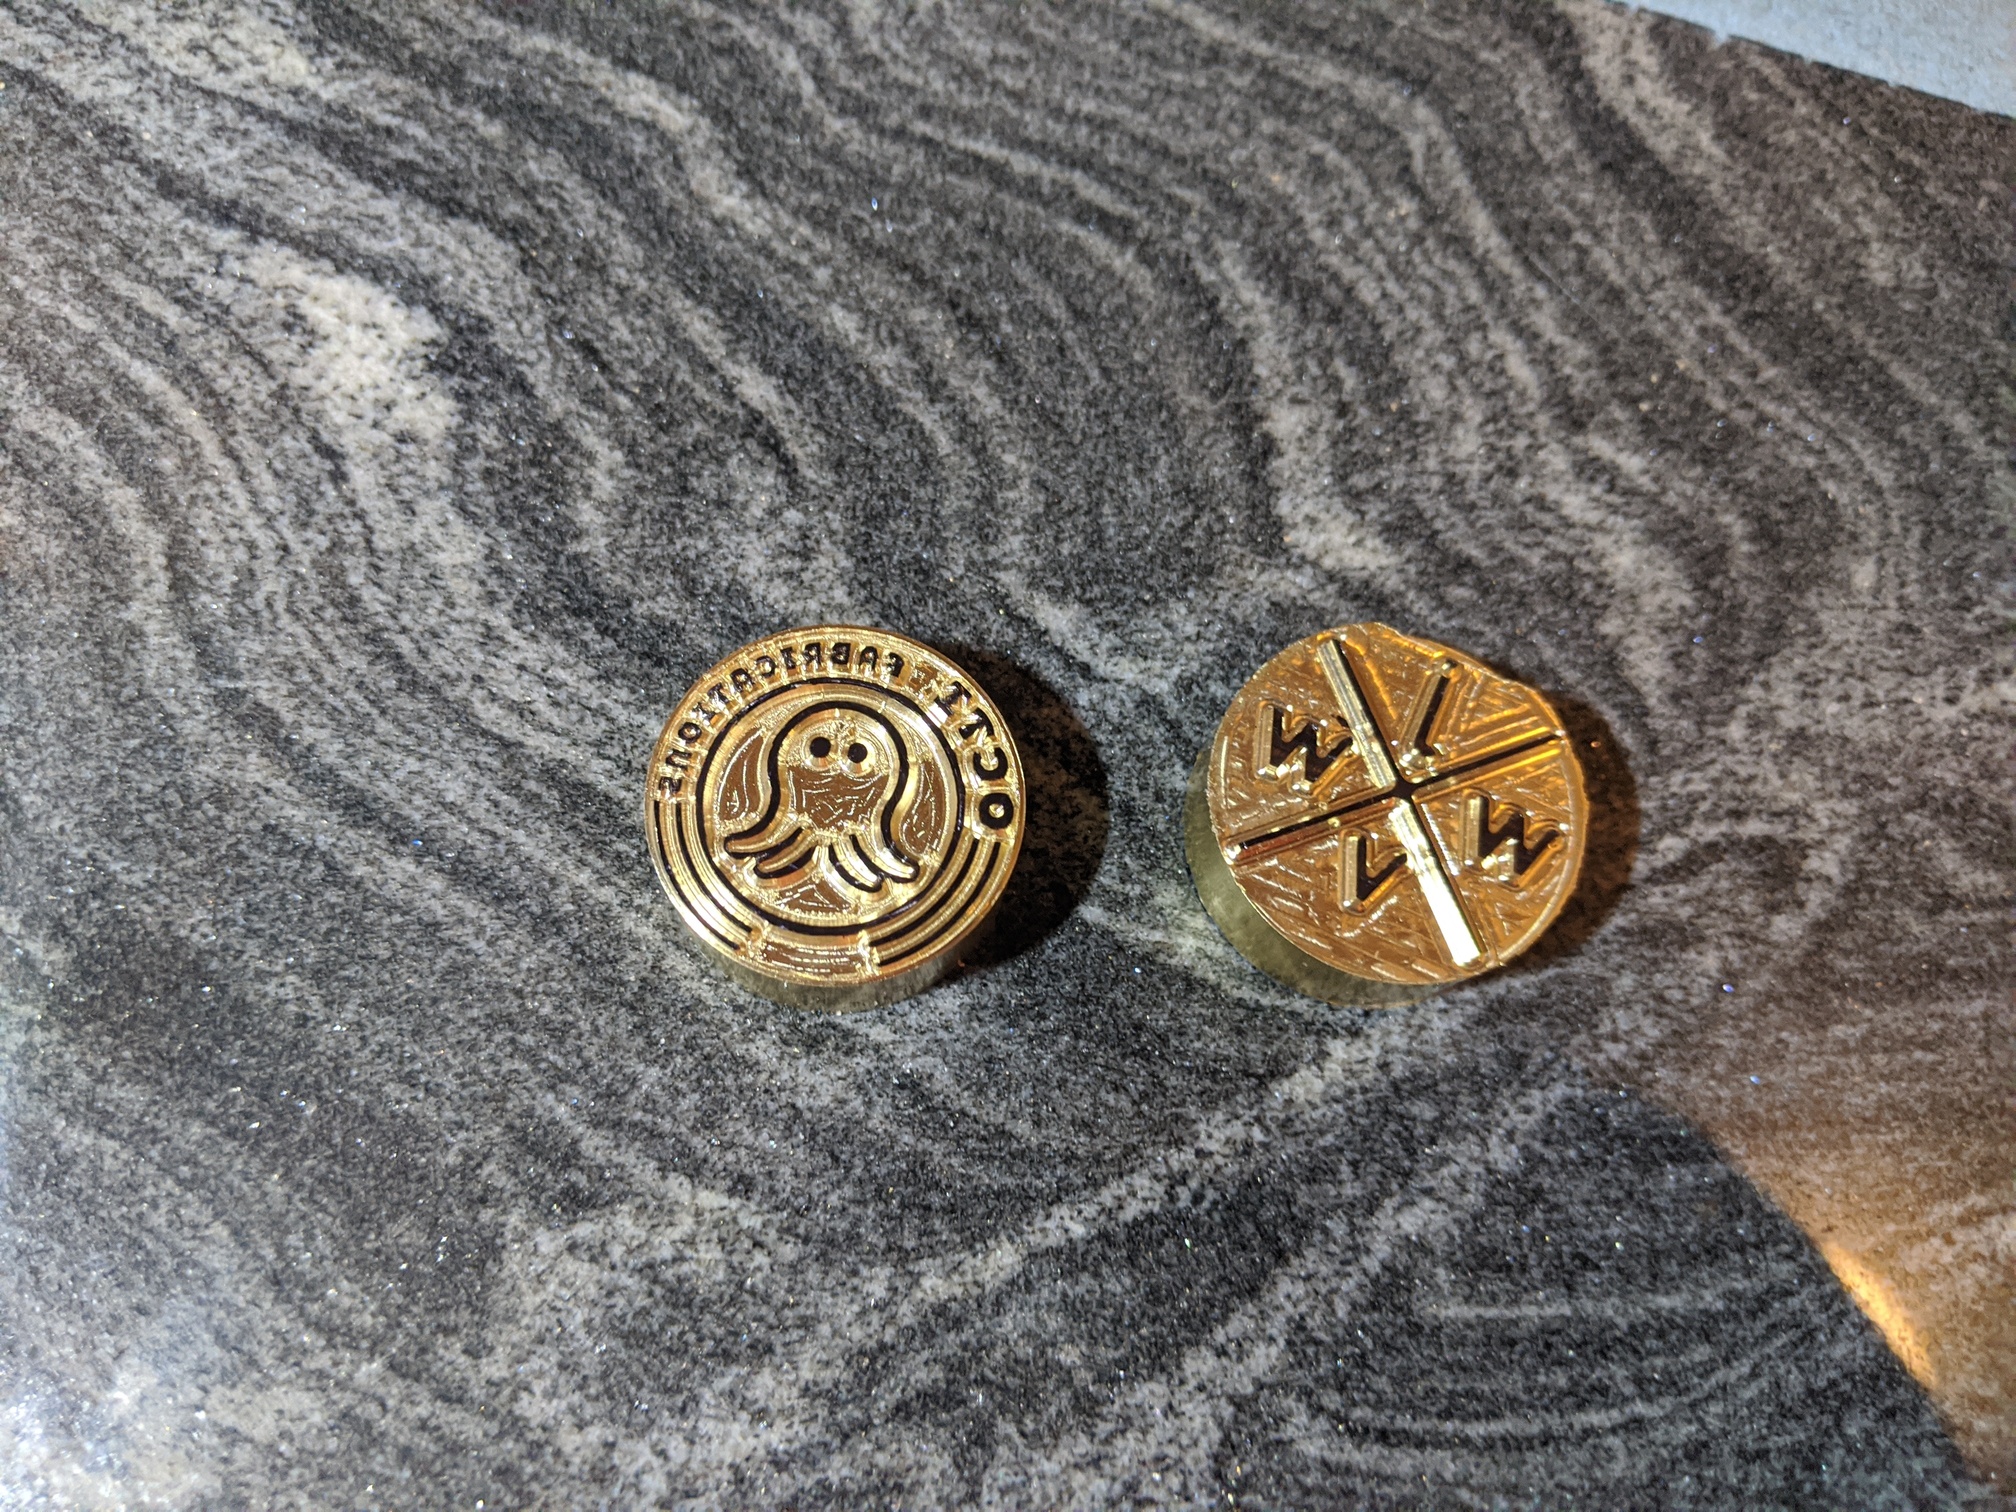
I had a buddy reach out a few weeks before Winston’s video asking about a branding iron. Which turned out to be perfect timing for me, so I ordered some round stock from mcmaster, and cut it (by hand, it stucks). Then surfaced the faces and went to town. Super simple process in carbide create. I think the main thing that threw me was remembering to flip the logo in carbide create.
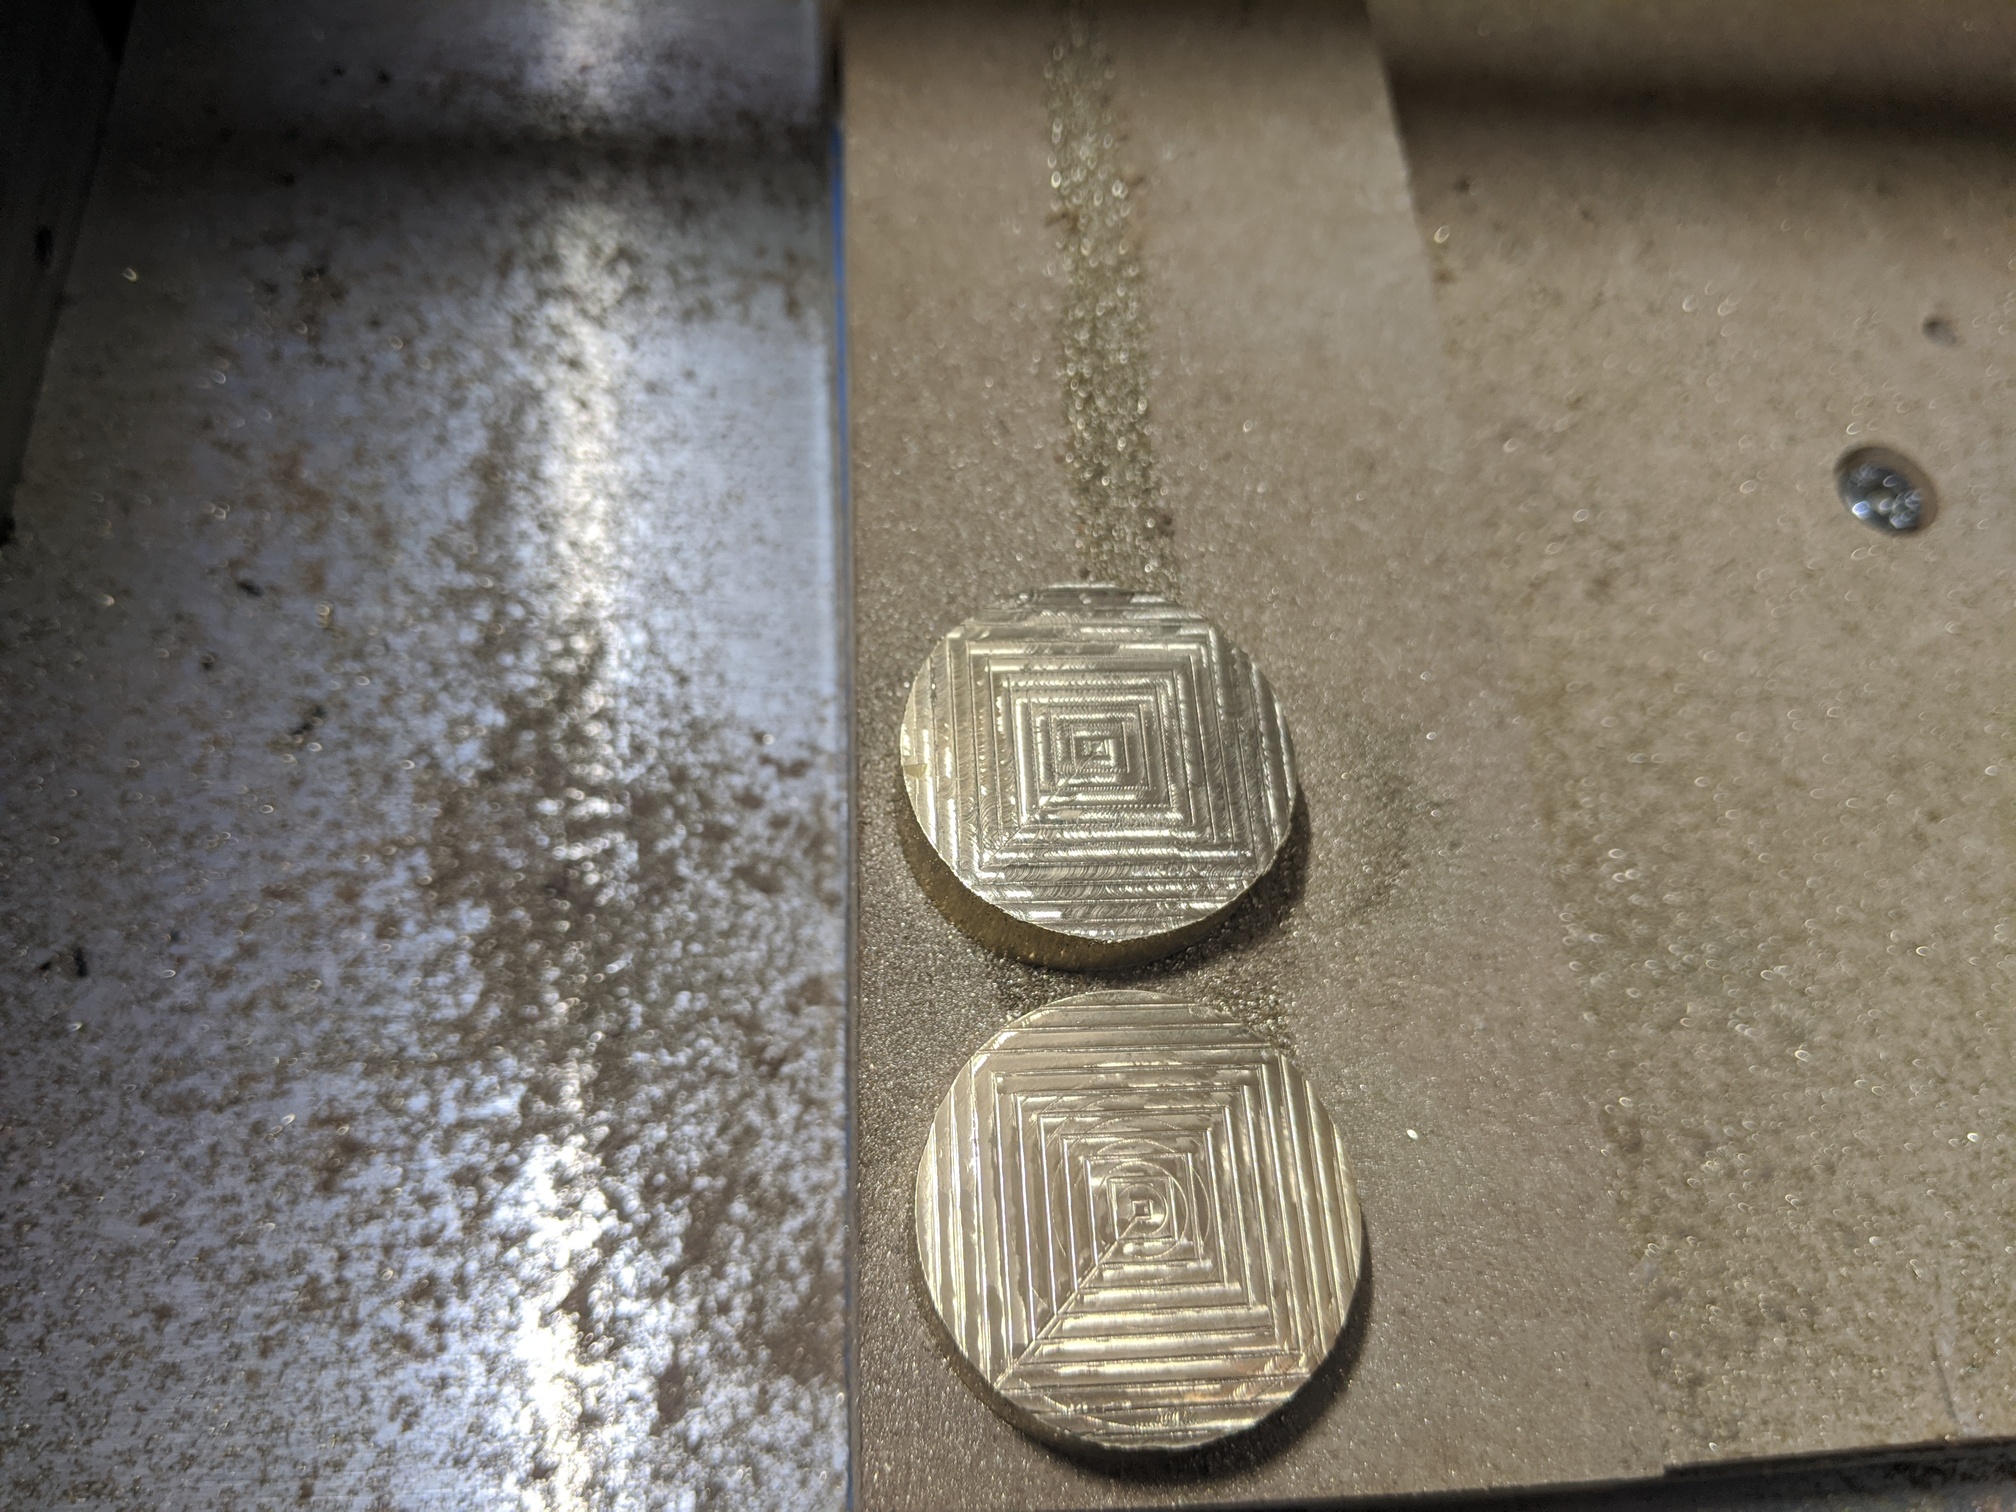
I think I used a 1/8in endmill, 1/16 in endmill and maybe a 1/32 endmill for this? I can’t recall. But again, process was super easy in carbide create.
I put black sharpy on the surface because taking pictures of shiny surfaces is hard.
Setup could have been better. I pocked a hole in mdf and then used superglue and blue tape in the hole:
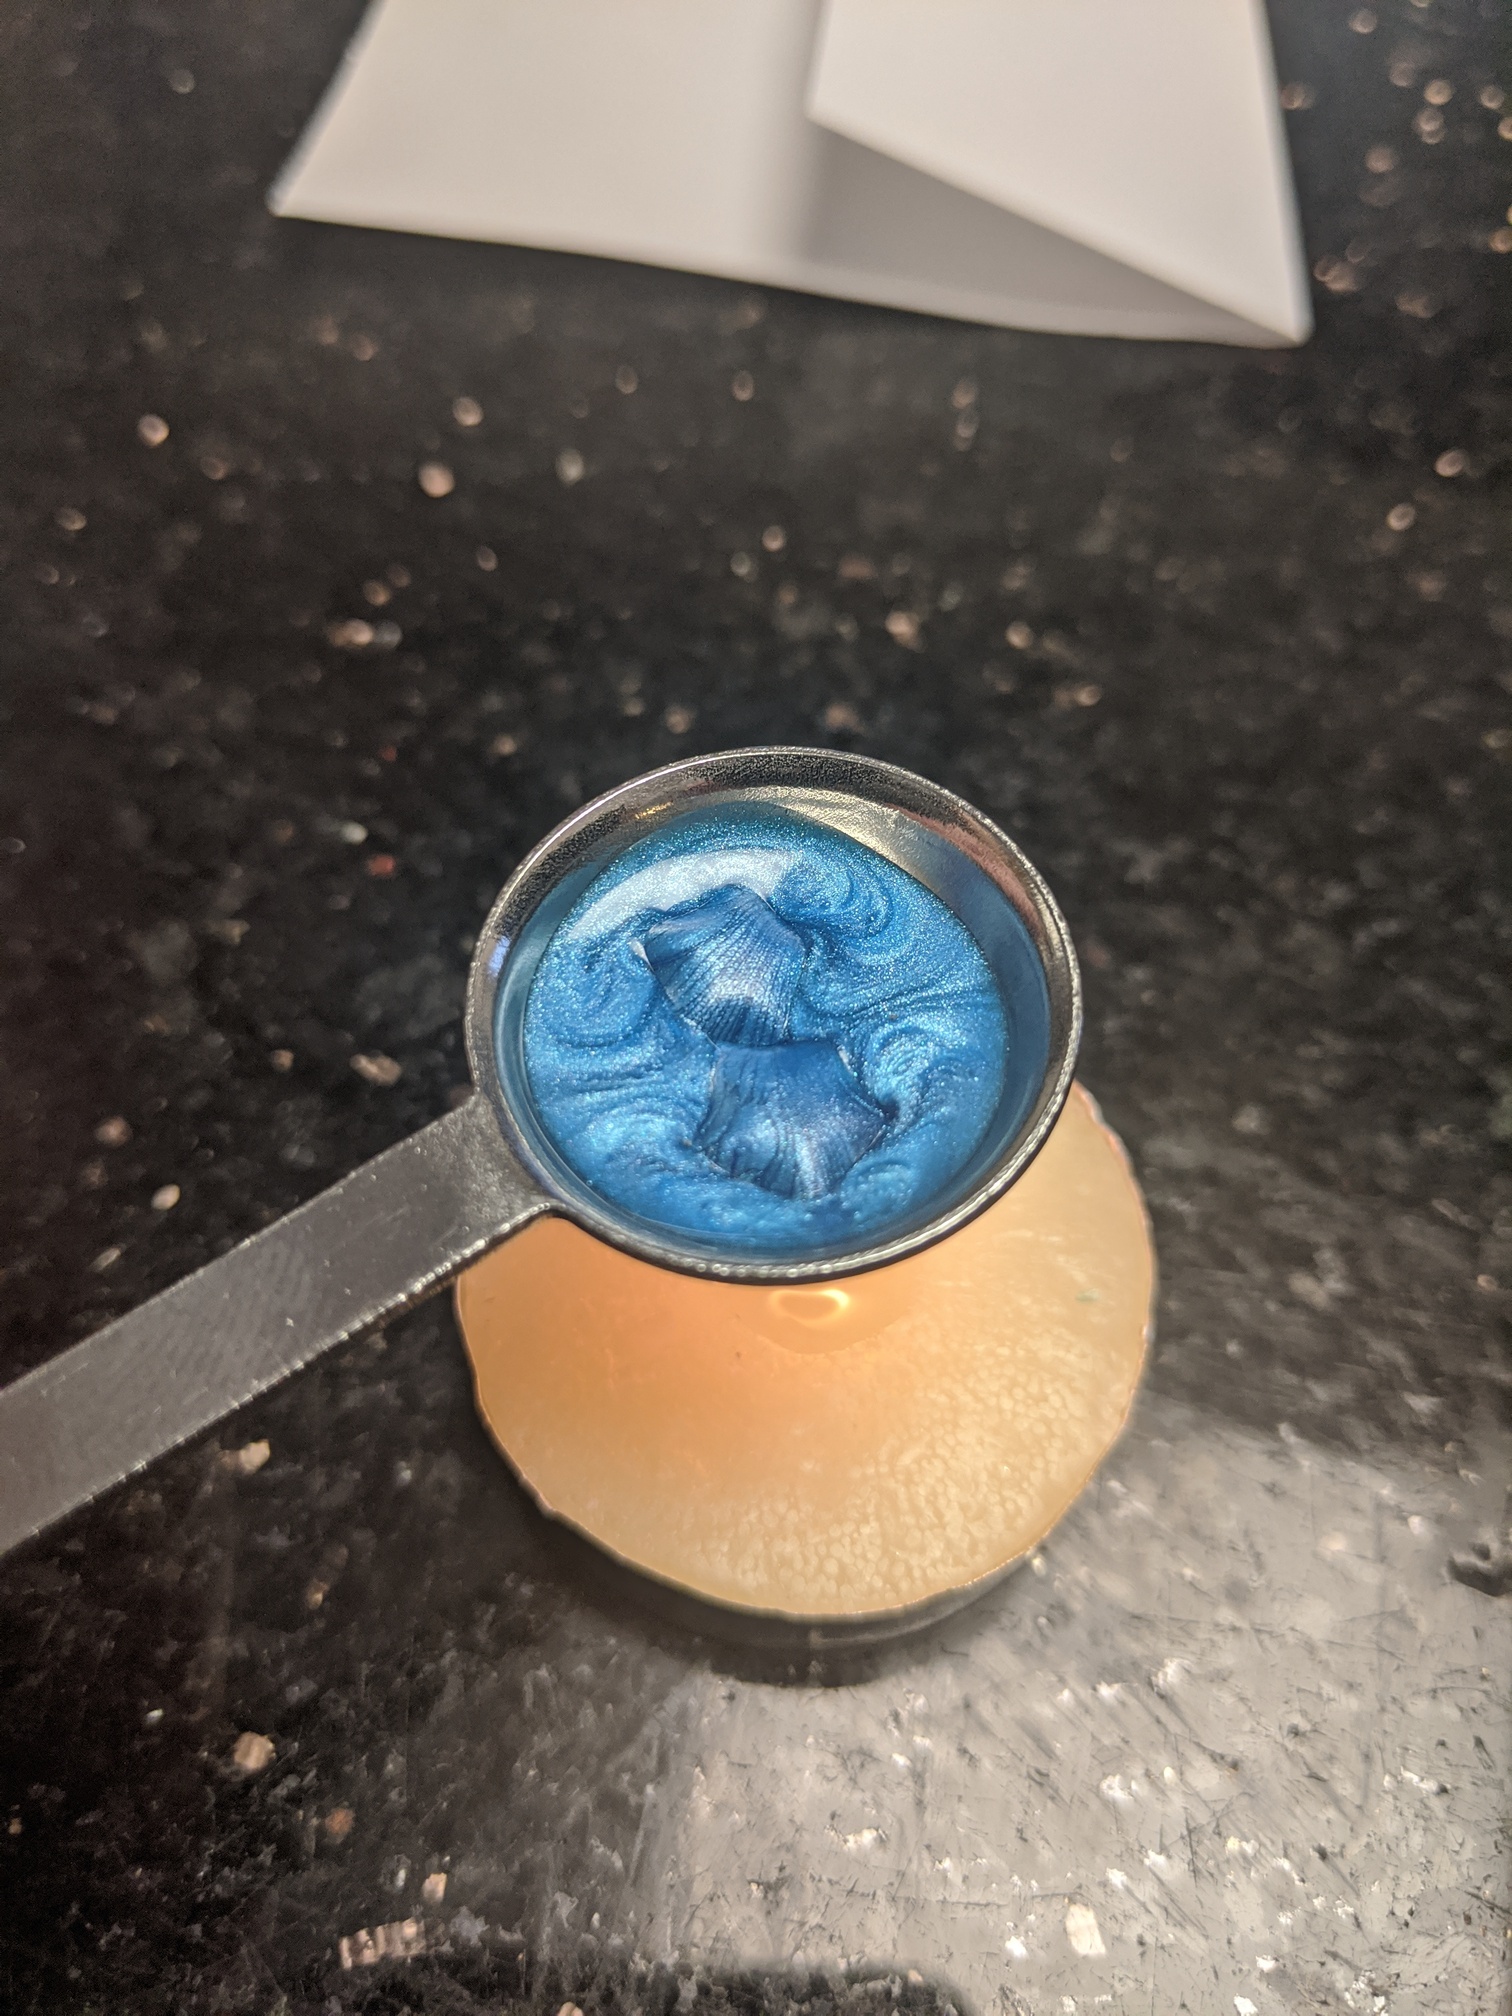
I also had a wax stamp thing that I wanted to do for me. I think I picked up a kit with a blank stamp for maybe 10 bucks on amazon? This was like a year ago, so who even really knows.
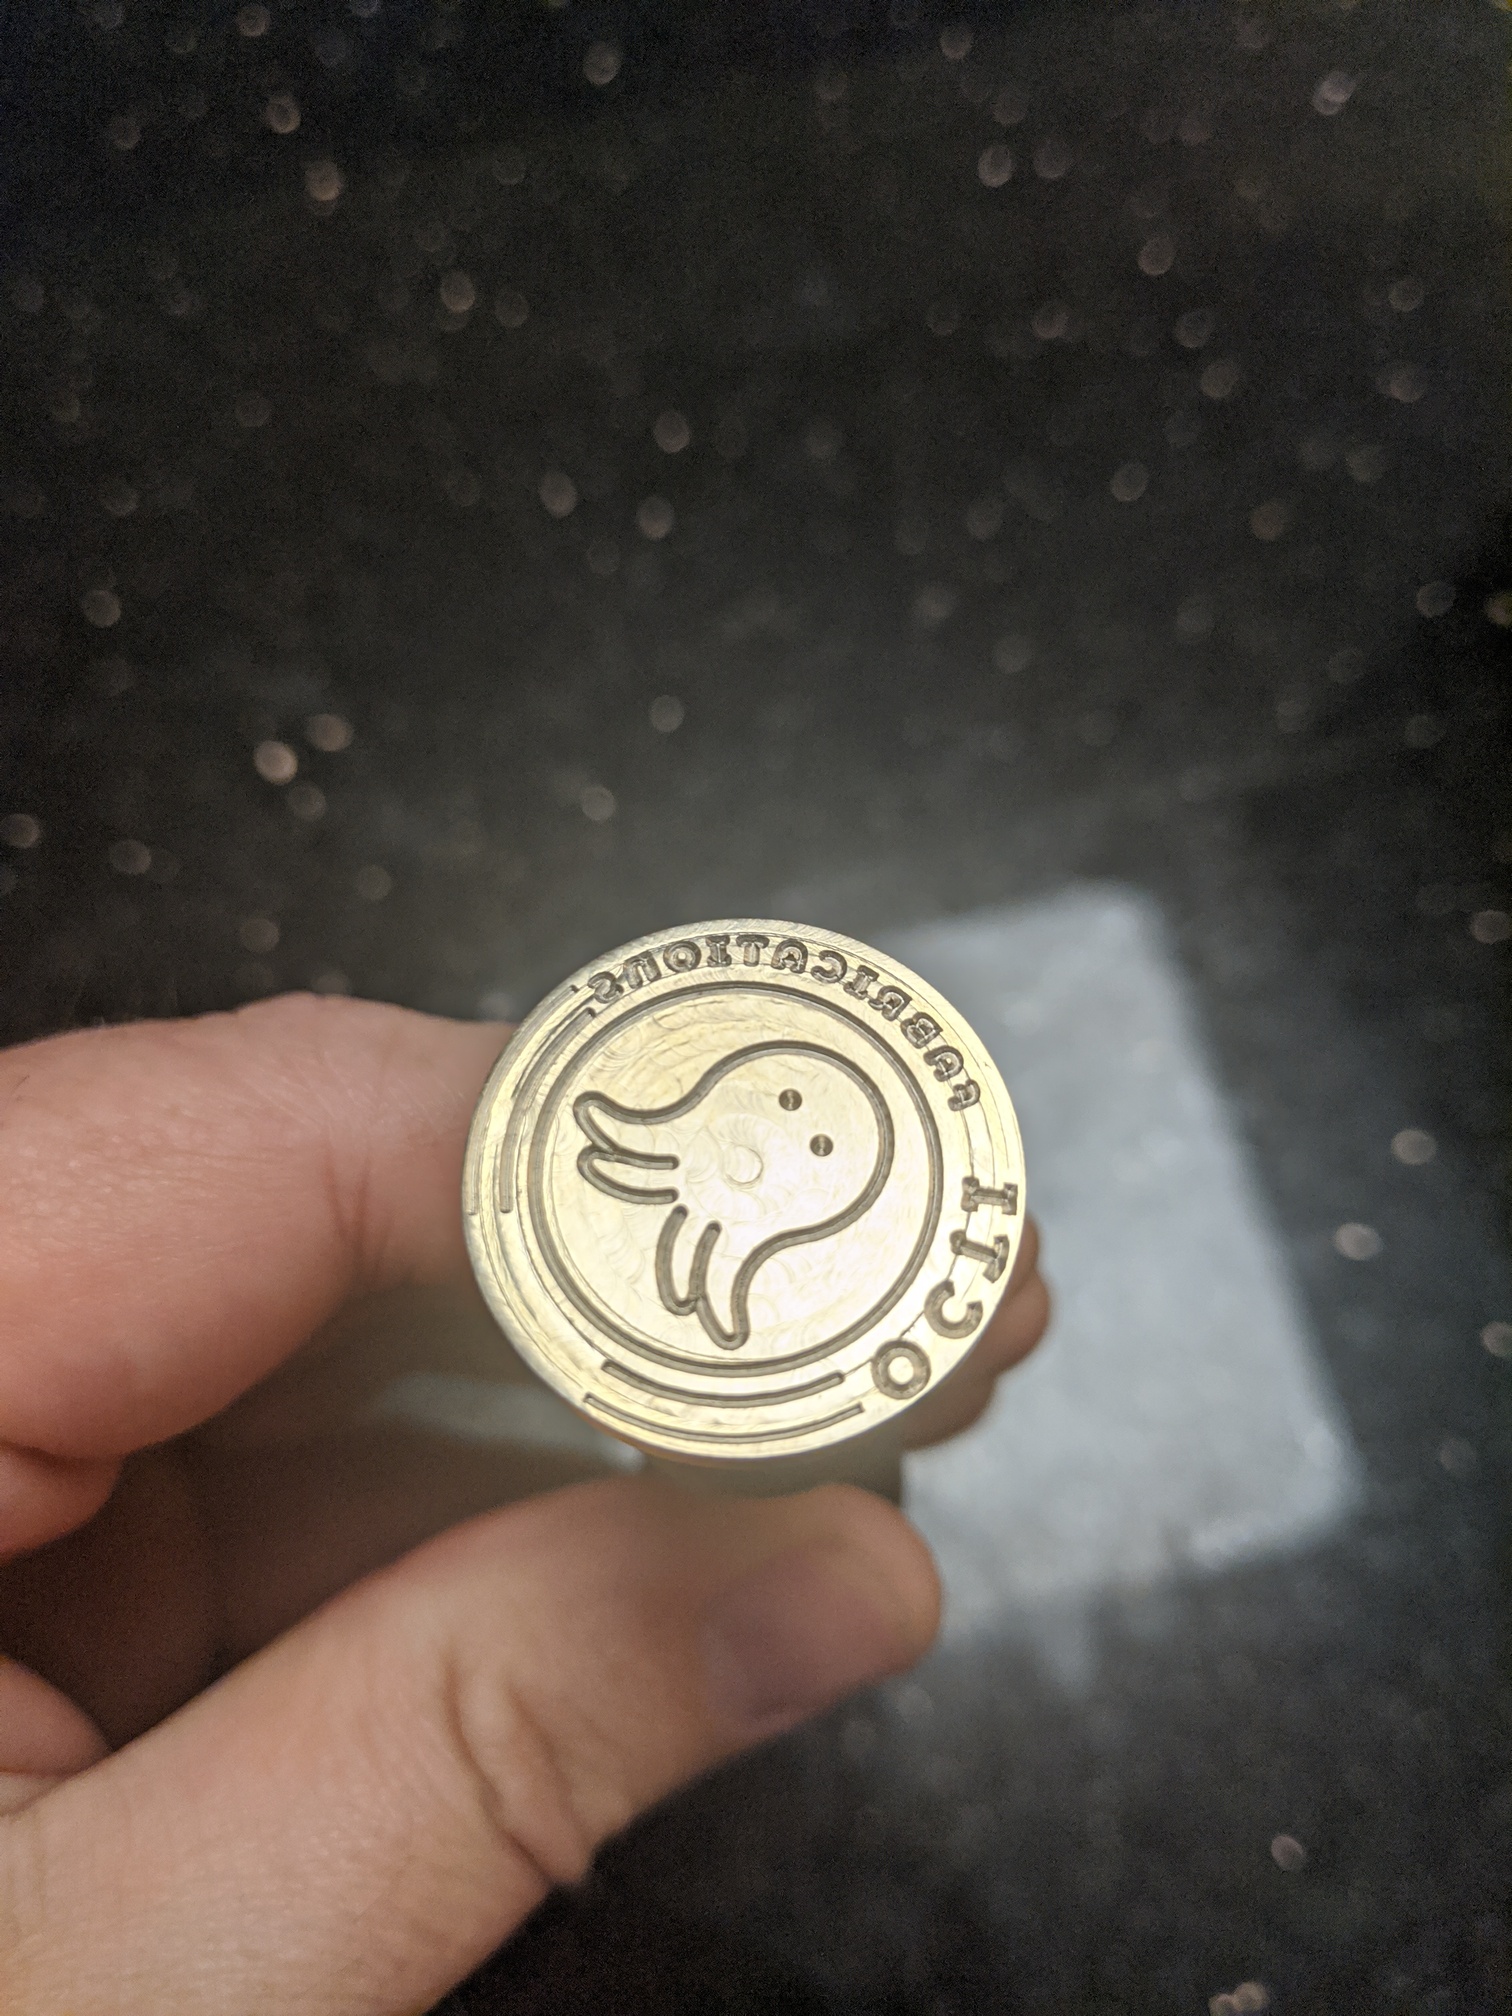
This was also super easy. I should have sanded the face, since the slight burr you can see in the middle imparted in the wax. I’ll likely do that later.
Process was mostly the same, just the logo is etched instead of the negative space.
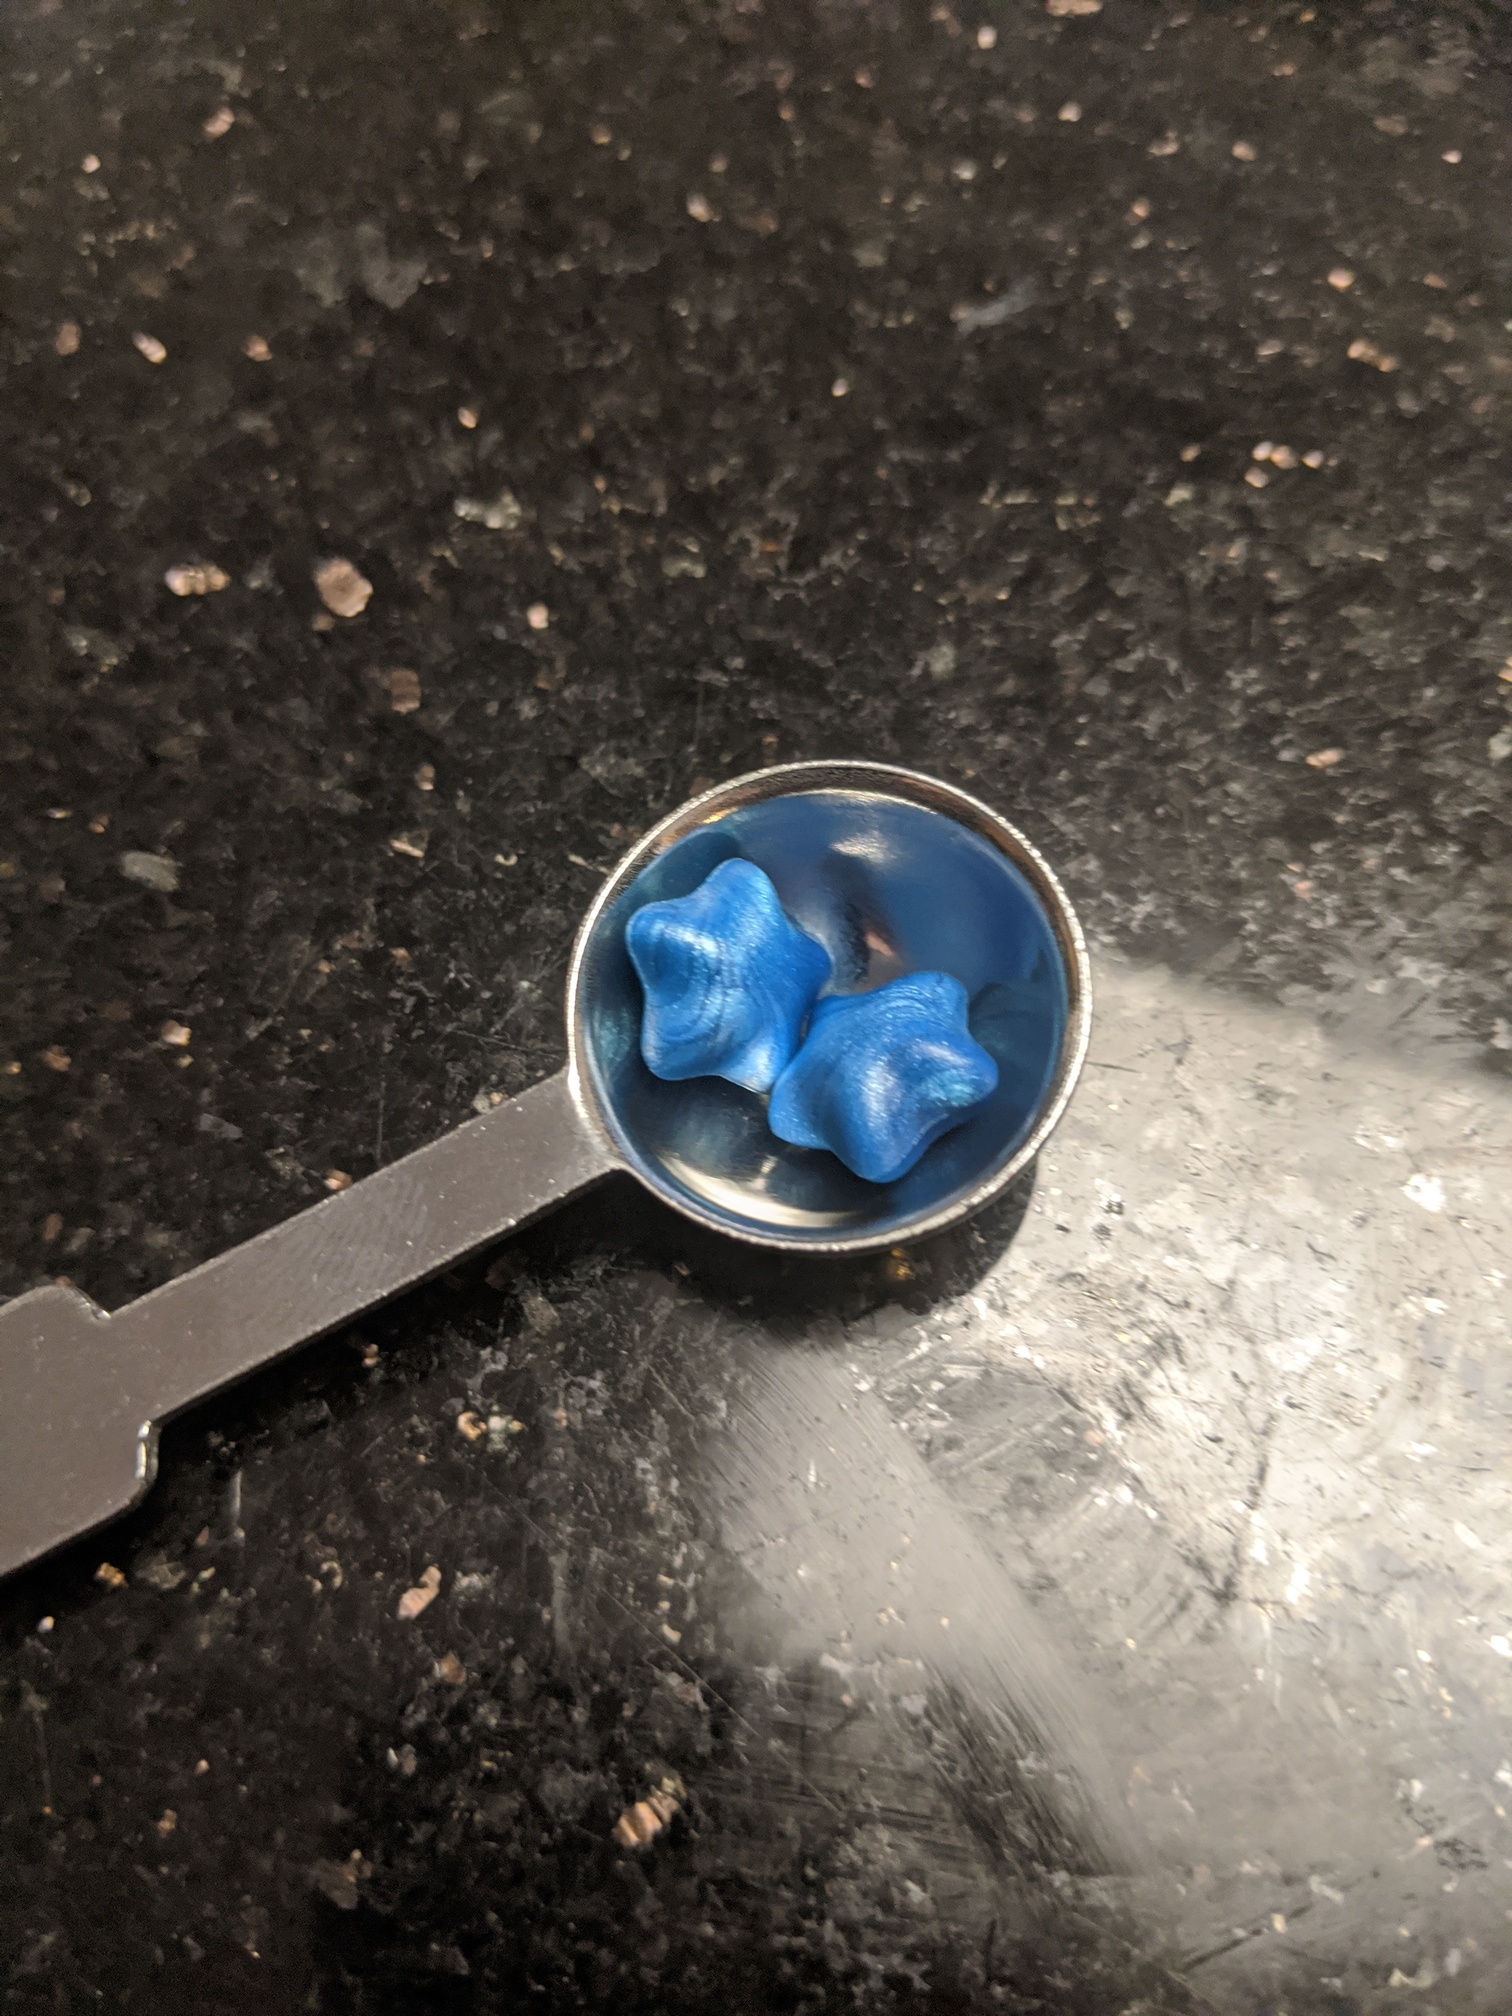

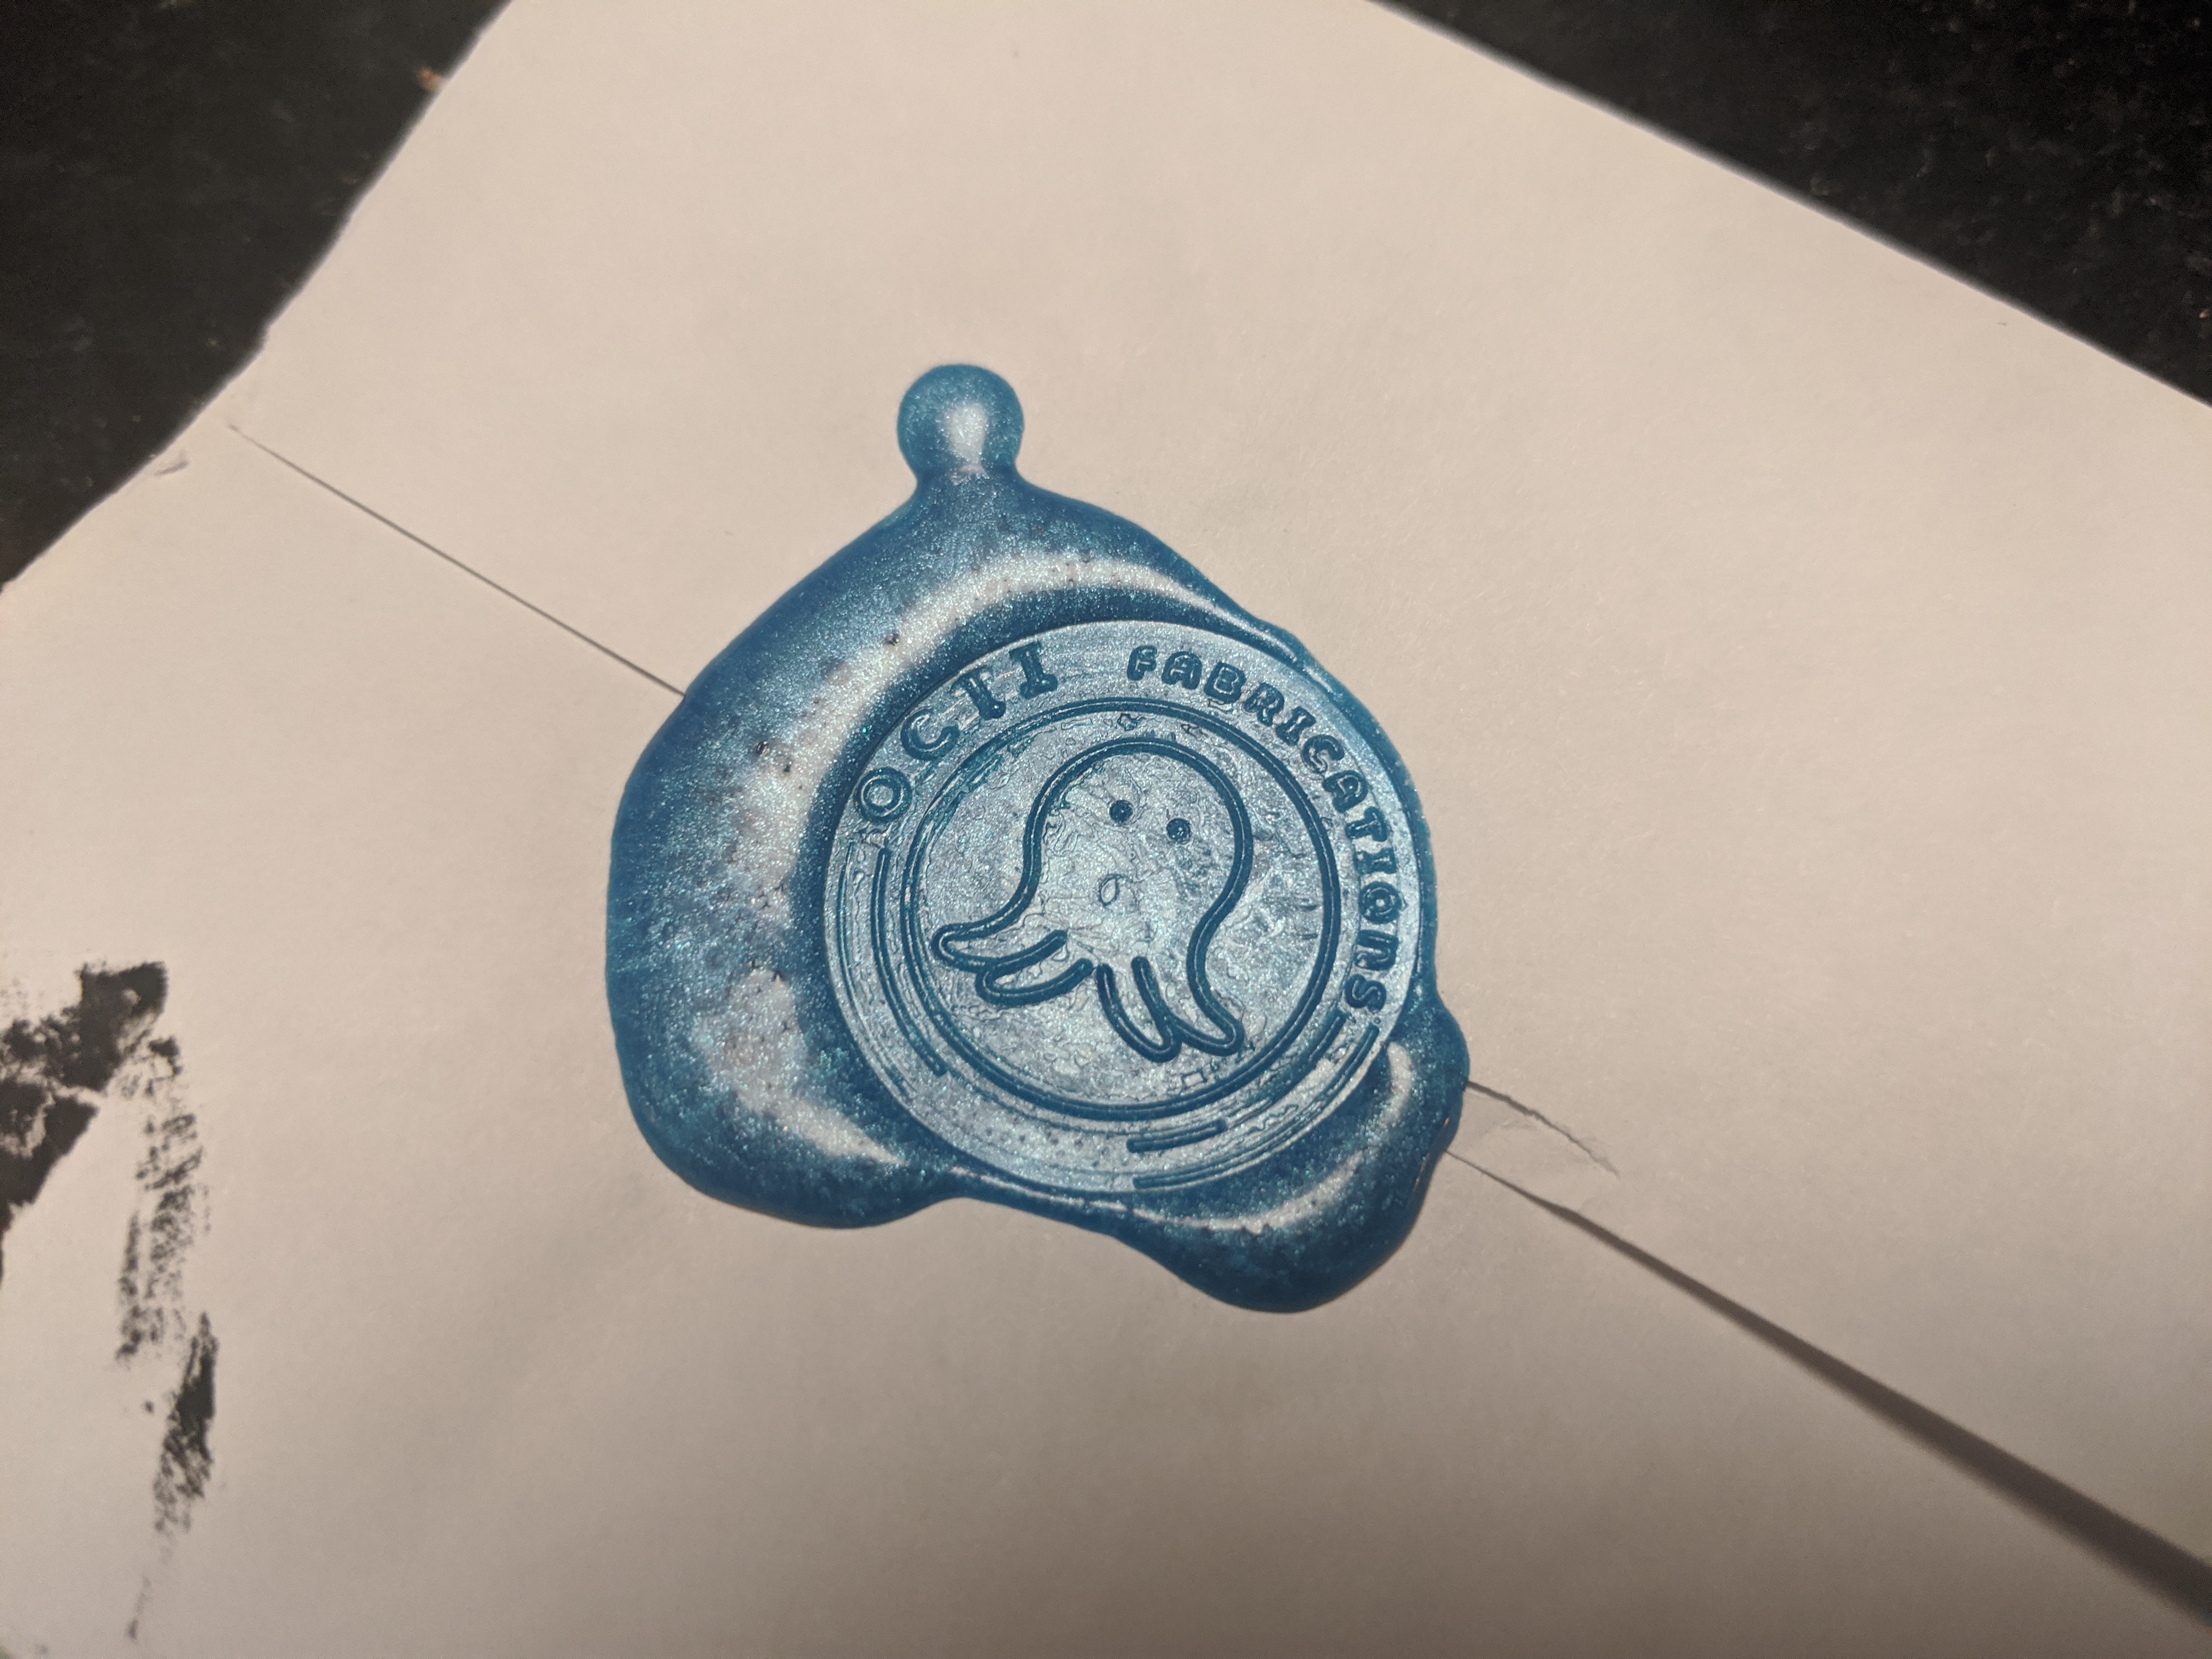
I think I might make a few more wax stamps since they are super neat. Wanting to do different outline shapes, like maybe a heart or something. Will post results if I do more.
