Aluminum branding iron

My wife started crocheting items to sell and wanted to order leather tags inscribed by laser. I took this as a opportunity to make a Christmas present. I decided to try milling aluminum in the form of a brand she could heat to brand the leather tags.

The pictures here are from the first try. I’m hoping to get a second try in by the end of the long weekend so I give myself more room to bandsaw it out after the cut and get an edge on all four sides.

I first face milled the piece with 1/4 3-flute carbide3d endmill. Feed 15IPM Plunge 10IPM depth .006
I sprayed with wd40 and blew chips away with compressed air during the cuts. This took about 15 minutes and the surface was great with a pass of a scotchbrite pad.

I then vcarved the stamp using a 25 degree .3mm tip bit bought here. https://www.amazon.com/gp/product/B07DBX6CFJ/ref=oh_aui_detailpage_o02_s00?ie=UTF8&psc=1

5IPM feed 3IPM plunge .003 depth

This took about 3 hours. The roughness on the edges was me bandsawing and chiseling out where I didn’t have it set up to mill out like I should have. Hopefully that is solved on the second try.

9 Likes

If you do it again, try in brass. It has a lot more thermal mass.

1 Like

Would the resulting brand look better if the background didn’t burn the product? Or was that your intention?

2 Likes

I had not really thought that part out. If I try to cut deeper around the letters I’m not sure they would hold up to branding since they are so thin. I’d be happy if I could get it to burn the square background uniformly though.

I’ve made about a half dozen of these myself…branding and leather stamps. My son is a blacksmith and leather worker. My wife too is a knitter. Both wife and son have and use maker marks for their crafts.

If you ever get into leather stamps, you can prototype with delrin. It’s very tough and lasts a long time.

8 Likes

Can you give any more details on your setup for brass? Machine/bit/speeds + feeds?

1 Like

I machine brass exactly the same way as I machine aluminum. However, for smaller stuff like this I’ve found it best to keep things on the conservative side. I use 1/8" and 1/16" flat end mills for most of the stock removal. 10-20 ipm. 15k rpm. Light cuts. I think mine are 2 flute. For the detail work I use 1/32" end mills and 60d v-cutters to get to those sharp edges. About 10-15 ipm for those bits too. 15k rpm with light cuts. Like I mentioned, prototype your gcode in delrin first (or some other low cost prototype material). If everything looks good then plop some brass down.

1 Like

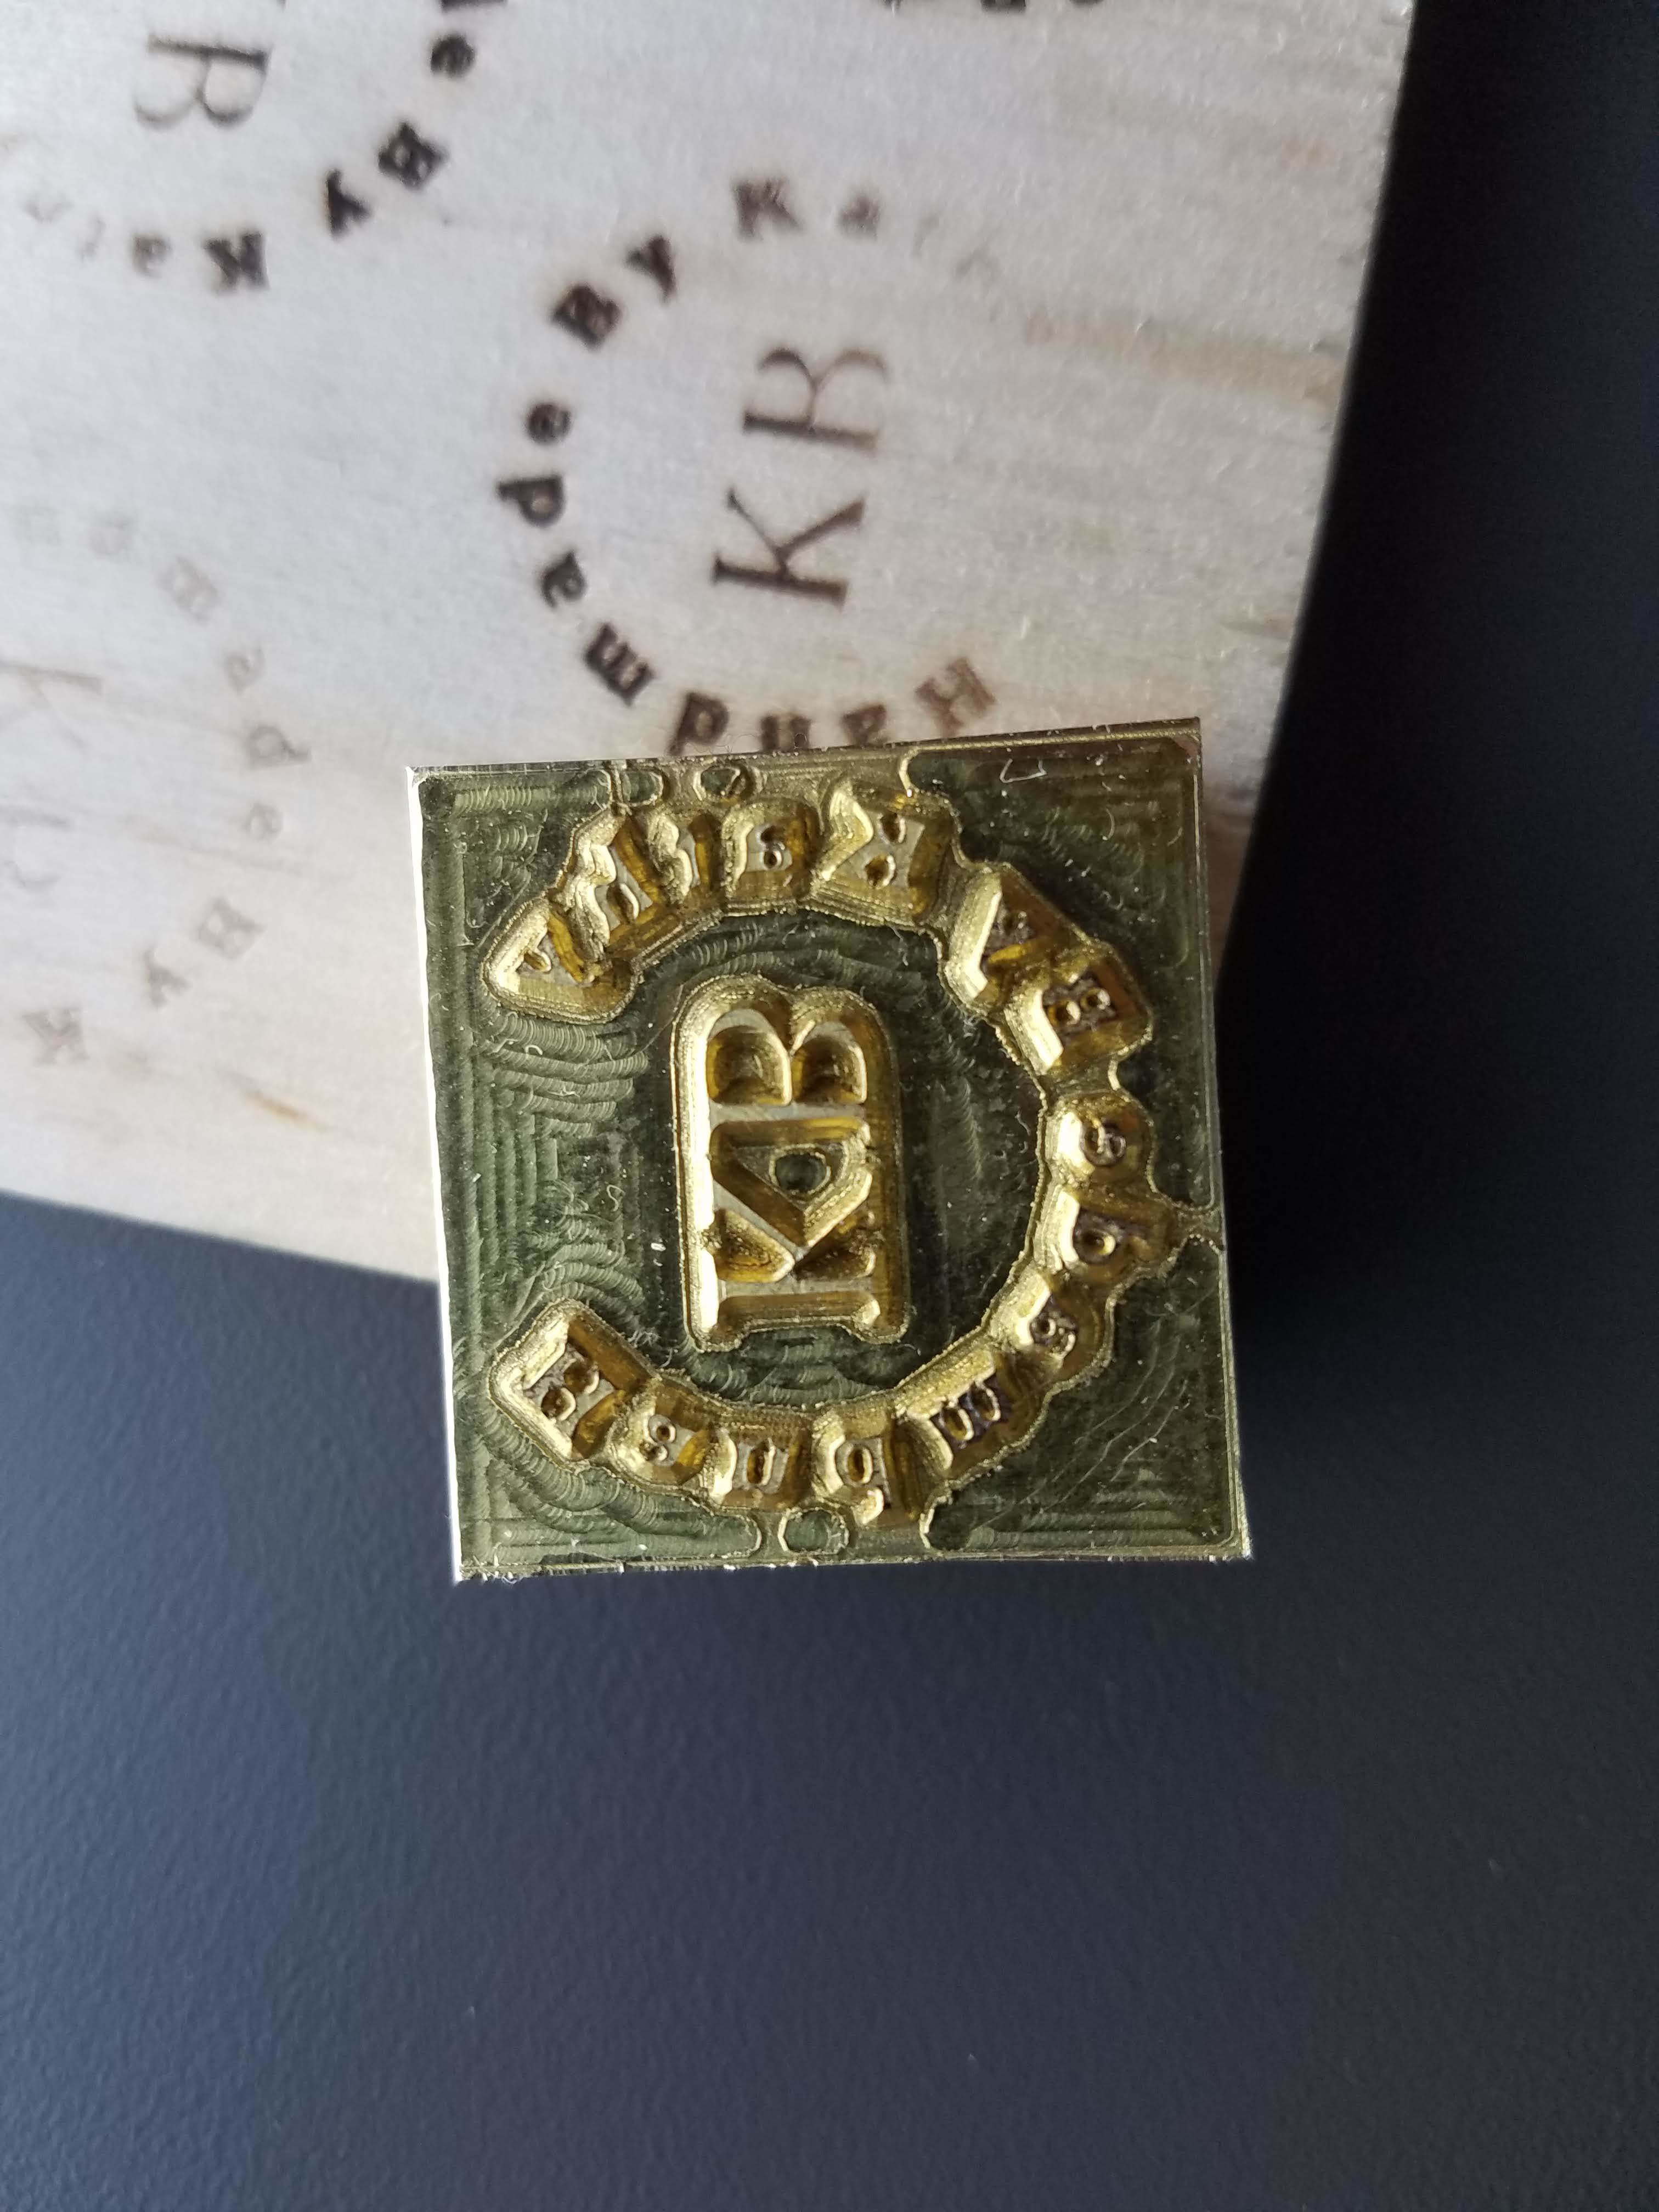
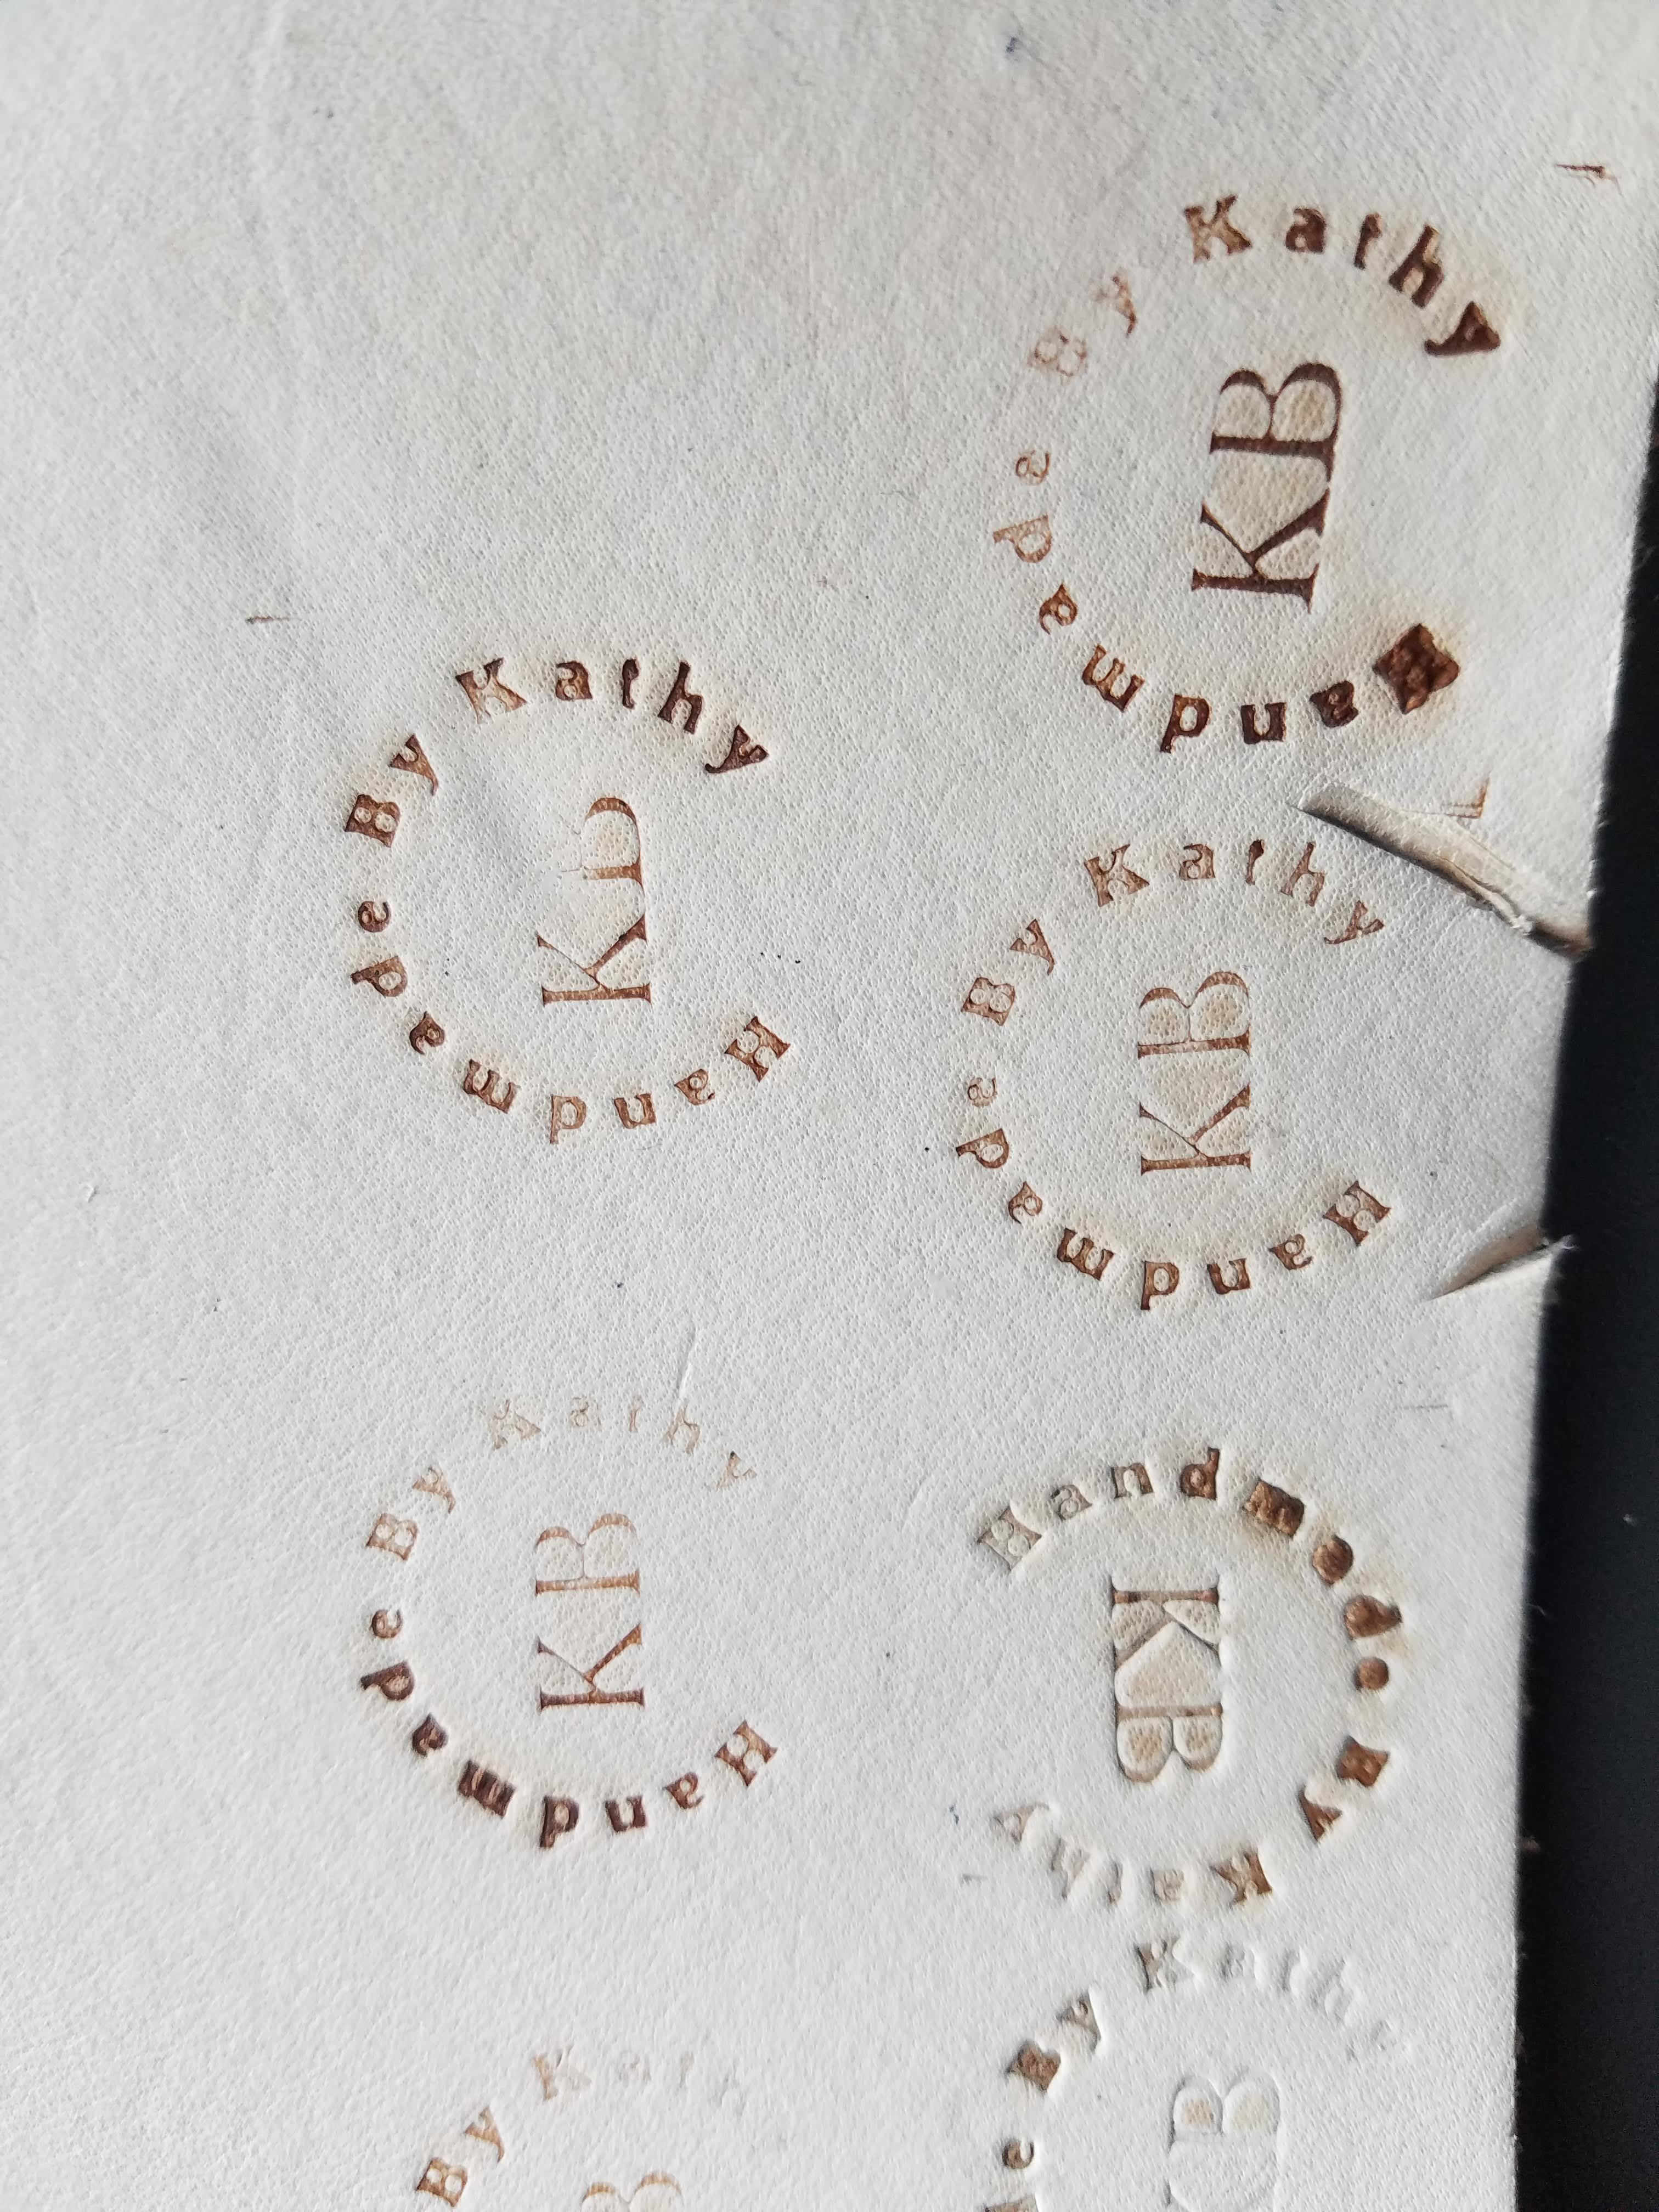
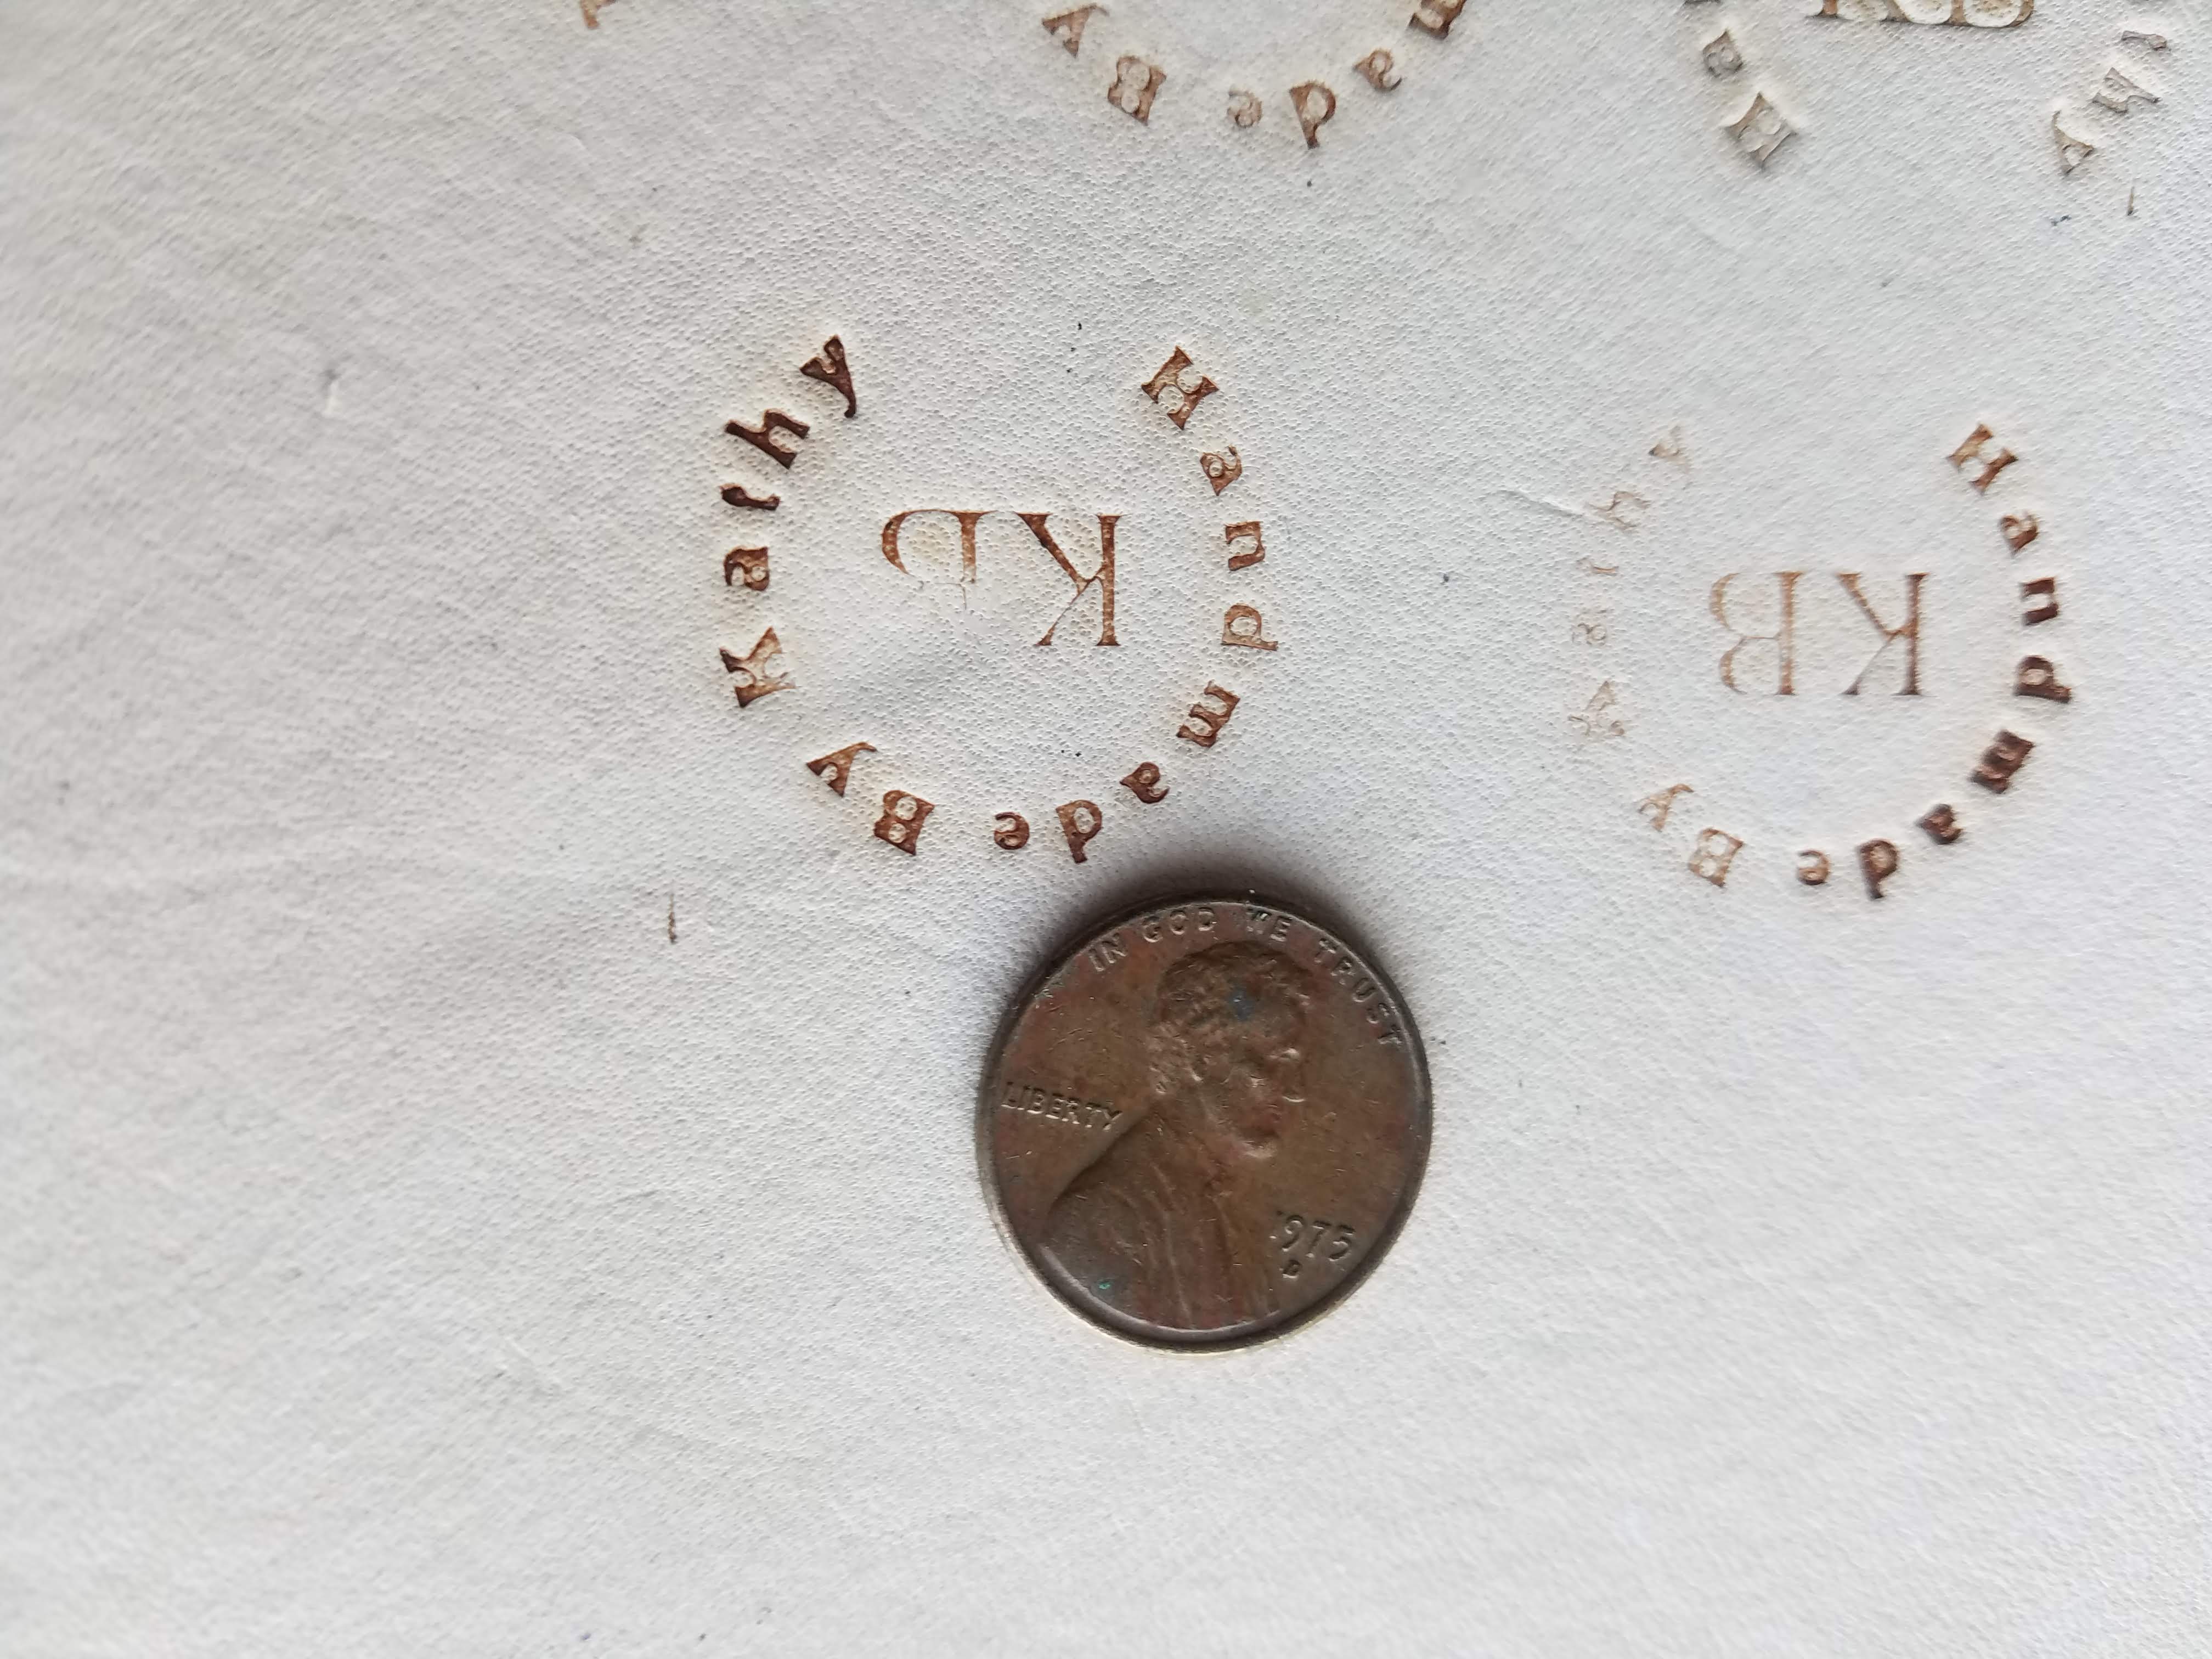
I forgot to mention this is all on an XXL. I tried again and ended up going a little larger with another font. I’m happy with the result, just need to tap the back to add a handle.

This time i used 1/16 endmill for roughing (10IPM feed, 5 plunge .002/pass), and a 60 degree vee bit with .2mm tip for detail (5ipm feed, 3 plunge, .003 per pass). Though i ended up overiding both by 20 percent during the operation.

5 Likes

Well done! I think you have it figured out.

Thanks! The 60 degree cutter you suggested helped a lot, no more broken bits.

1 Like