Alright so I fitted it in, ran a cut, and the cut is a bit quieter, still noisy but less annoying somehow.
I can also tell there is a bit less chatter, I took a heavy cuts so it was maybe not the best to compare, but the marks left using a single flute are much less visible after than before.
About the leadscrew itself, mine was not straight fitting in his hole, or maybe is it the assembly itself ? It was rubbing against the polycarbonate part, I forced it to fit inside the bearing, so I guess the leadscrew is binding, I’m not really sure if its really a bad thing vs having less chatter.
Is there a way to get the torque applied by the motor to see if there is binding ? I’ll try hitting up Carbide for that.
This is a bit annoying to deal with, especially when it’s your first CNC, but I guess it makes a better feeling when you upgrade to a higher end one.
You do not want it to bind.
Bind = wear
The motor does not realize it is binding and will try to force past it, which leads to excess wear.
I don’t own one personally (yet), but I’d guess you should be able to unplug it (power off) and move the screw by hand from one side to another without too much effort. Any catching sensation while rotating is a red flag. Obviously check for debris on the screw as well…
I get it, thanks. That’s the reason I wonder if there is a way to get the % of loads on the stepper, sudden spikes would then shows something is wrong, but that’s a feature I’ve only seen on high end CNC.
I tried to move it by hand, I can move it very easily to the right, where there is the motor, but it’s difficult and there is that “catching” sensation that you talk about when I try to push it to the left, where the bearing is.
Now that’s funny but I removed the bearing, tried to move it around, same feeling, so I guess that’s normal.
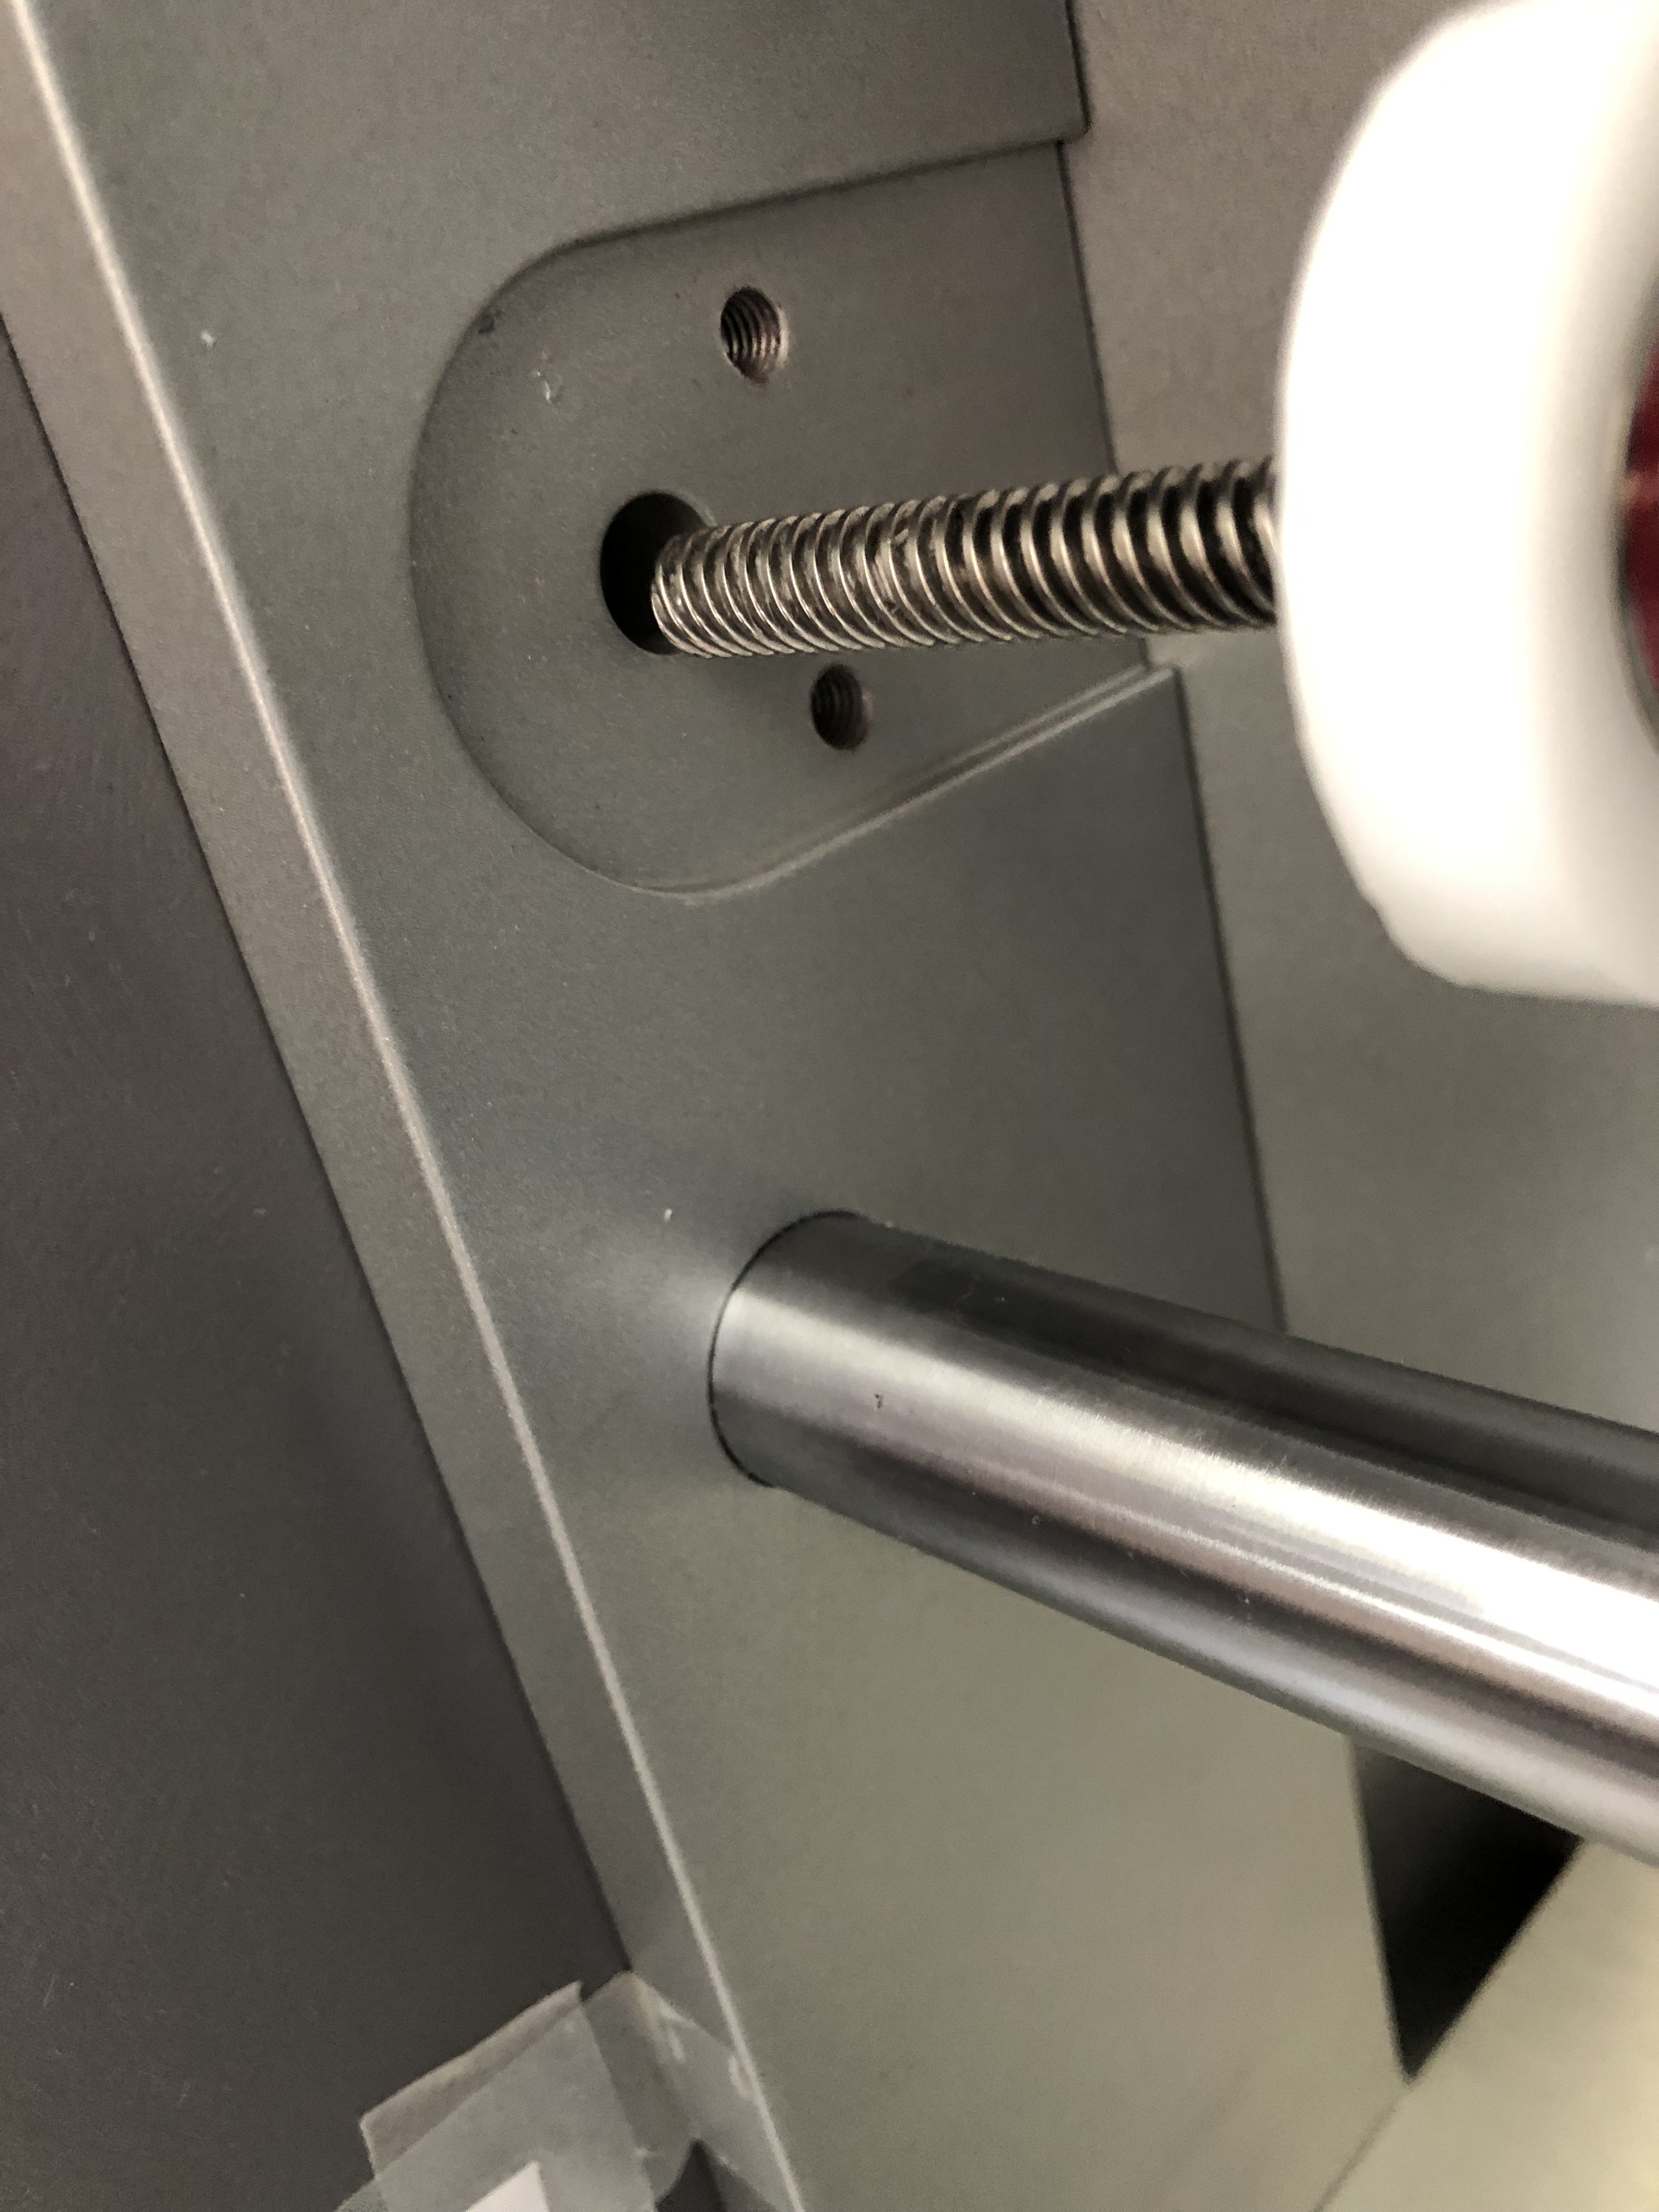
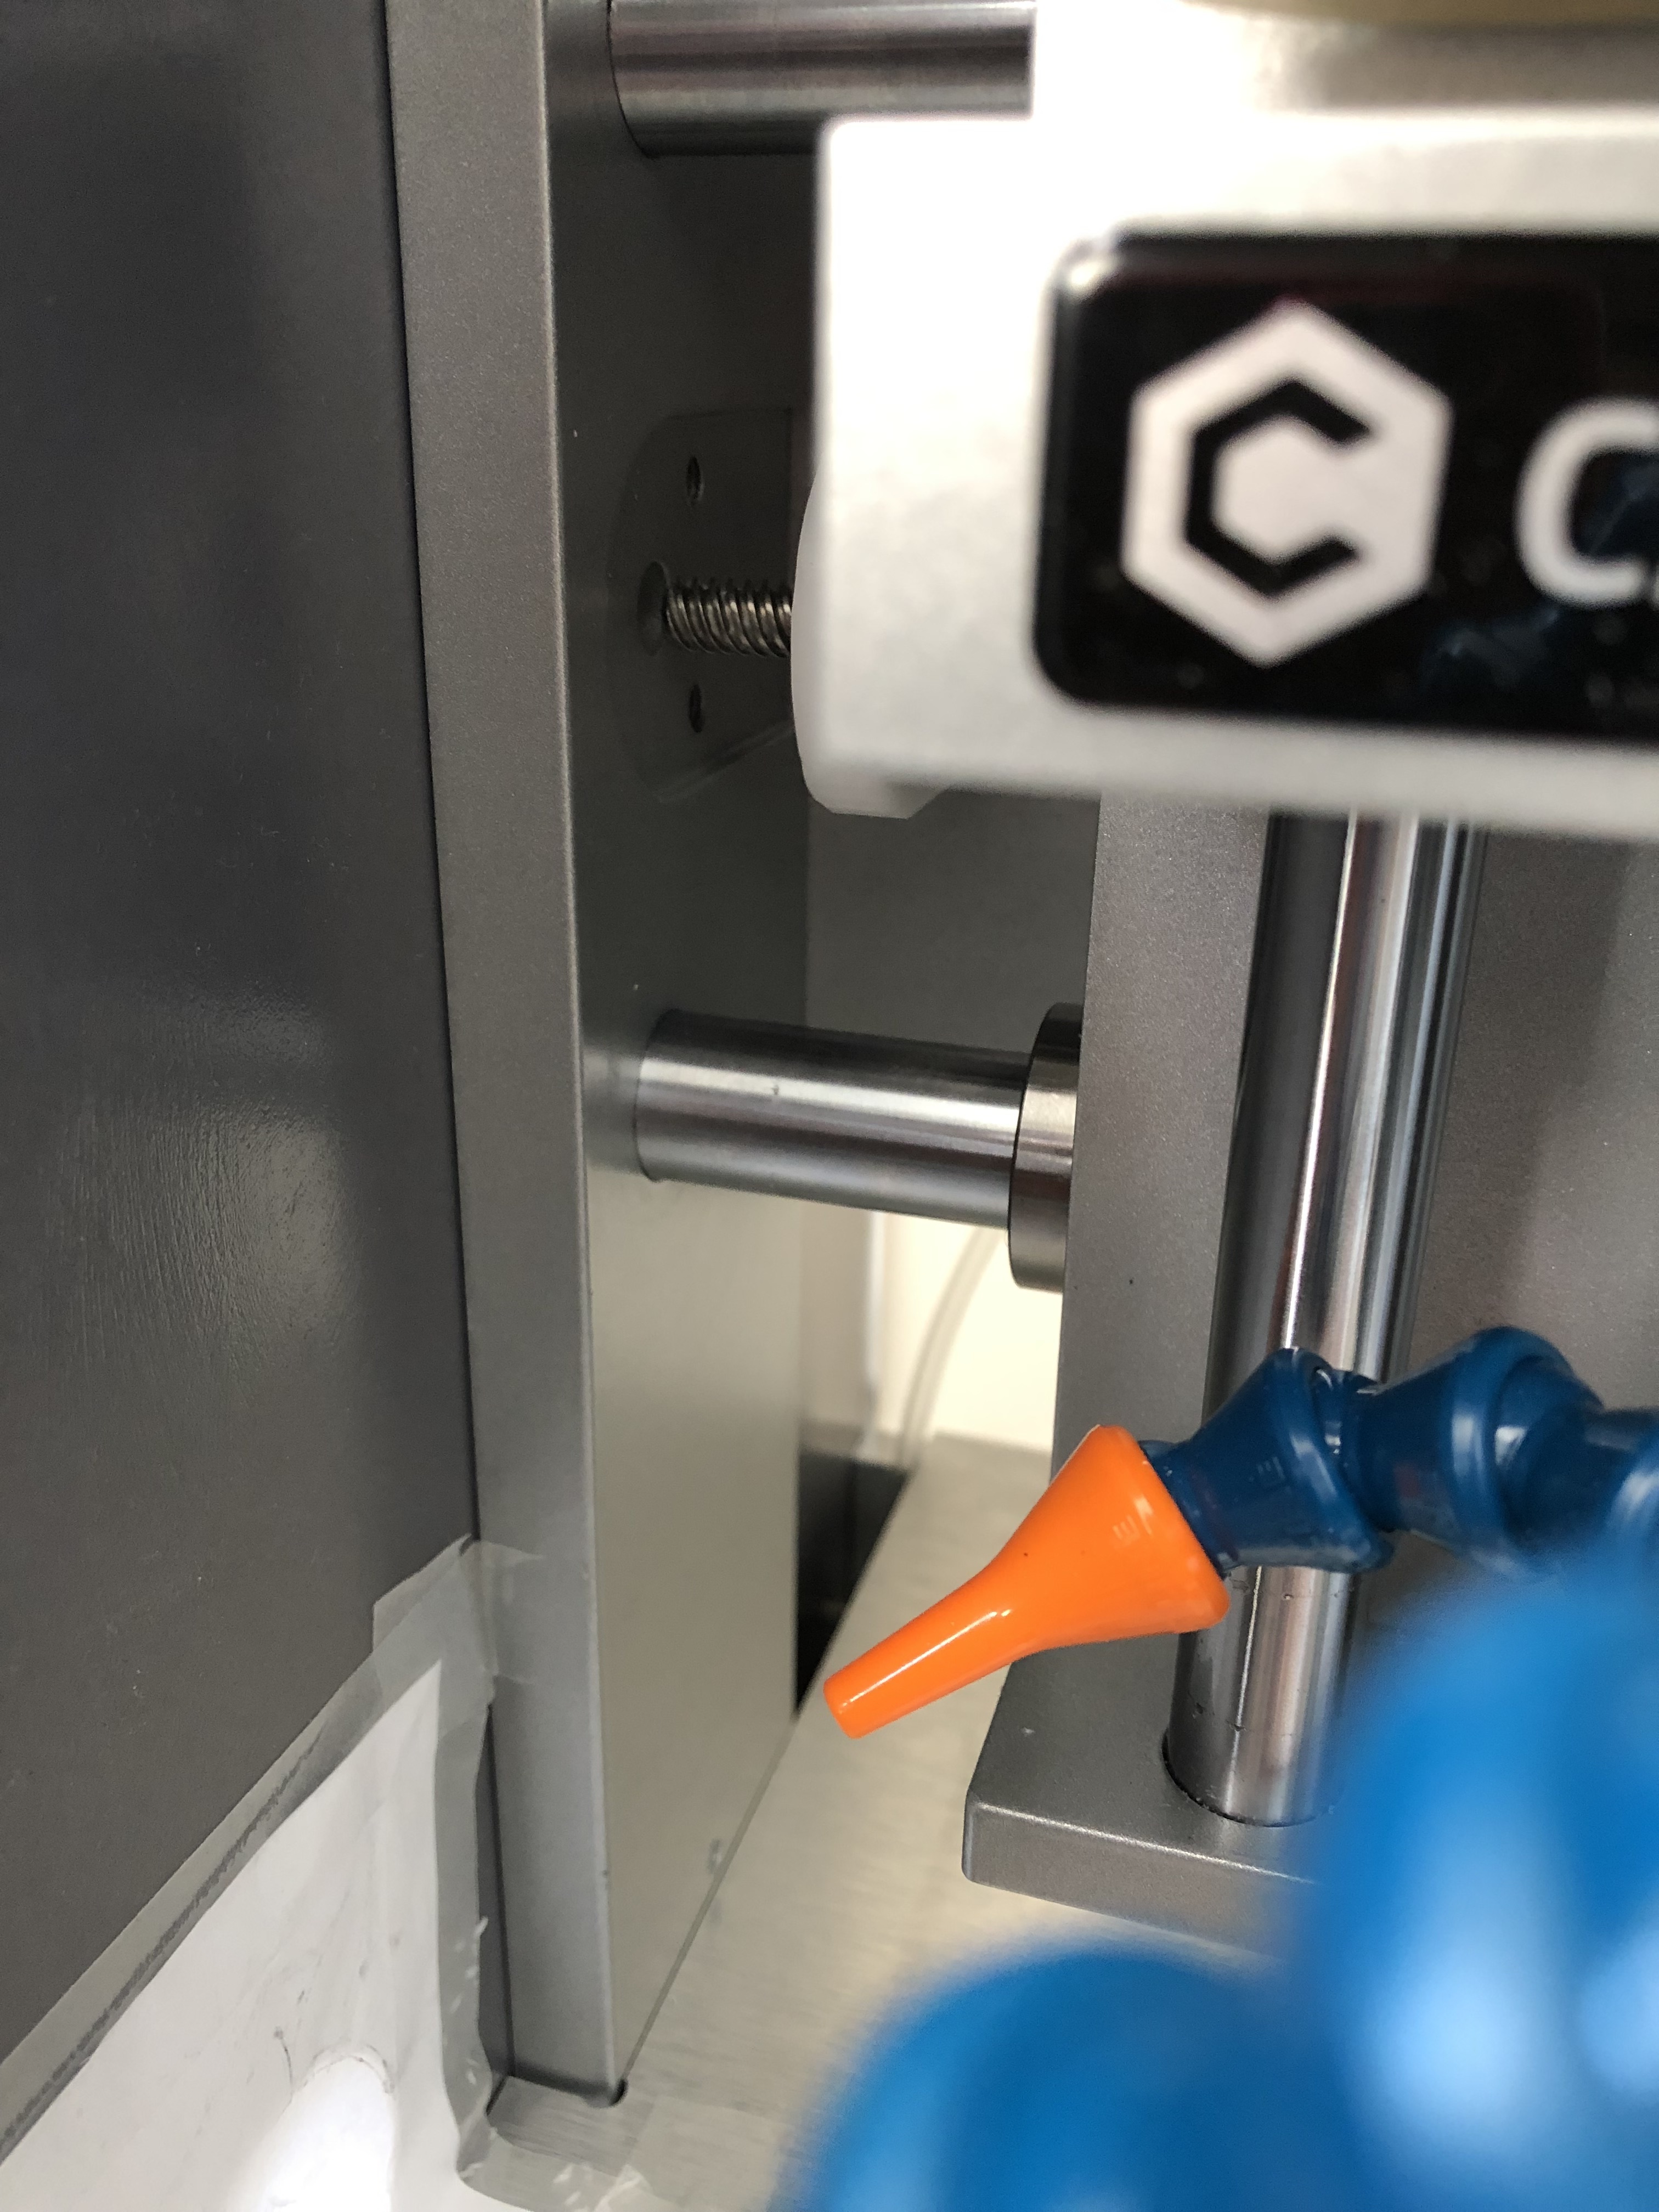
I’m now however 100% sure the leadscrew is not straight by default.
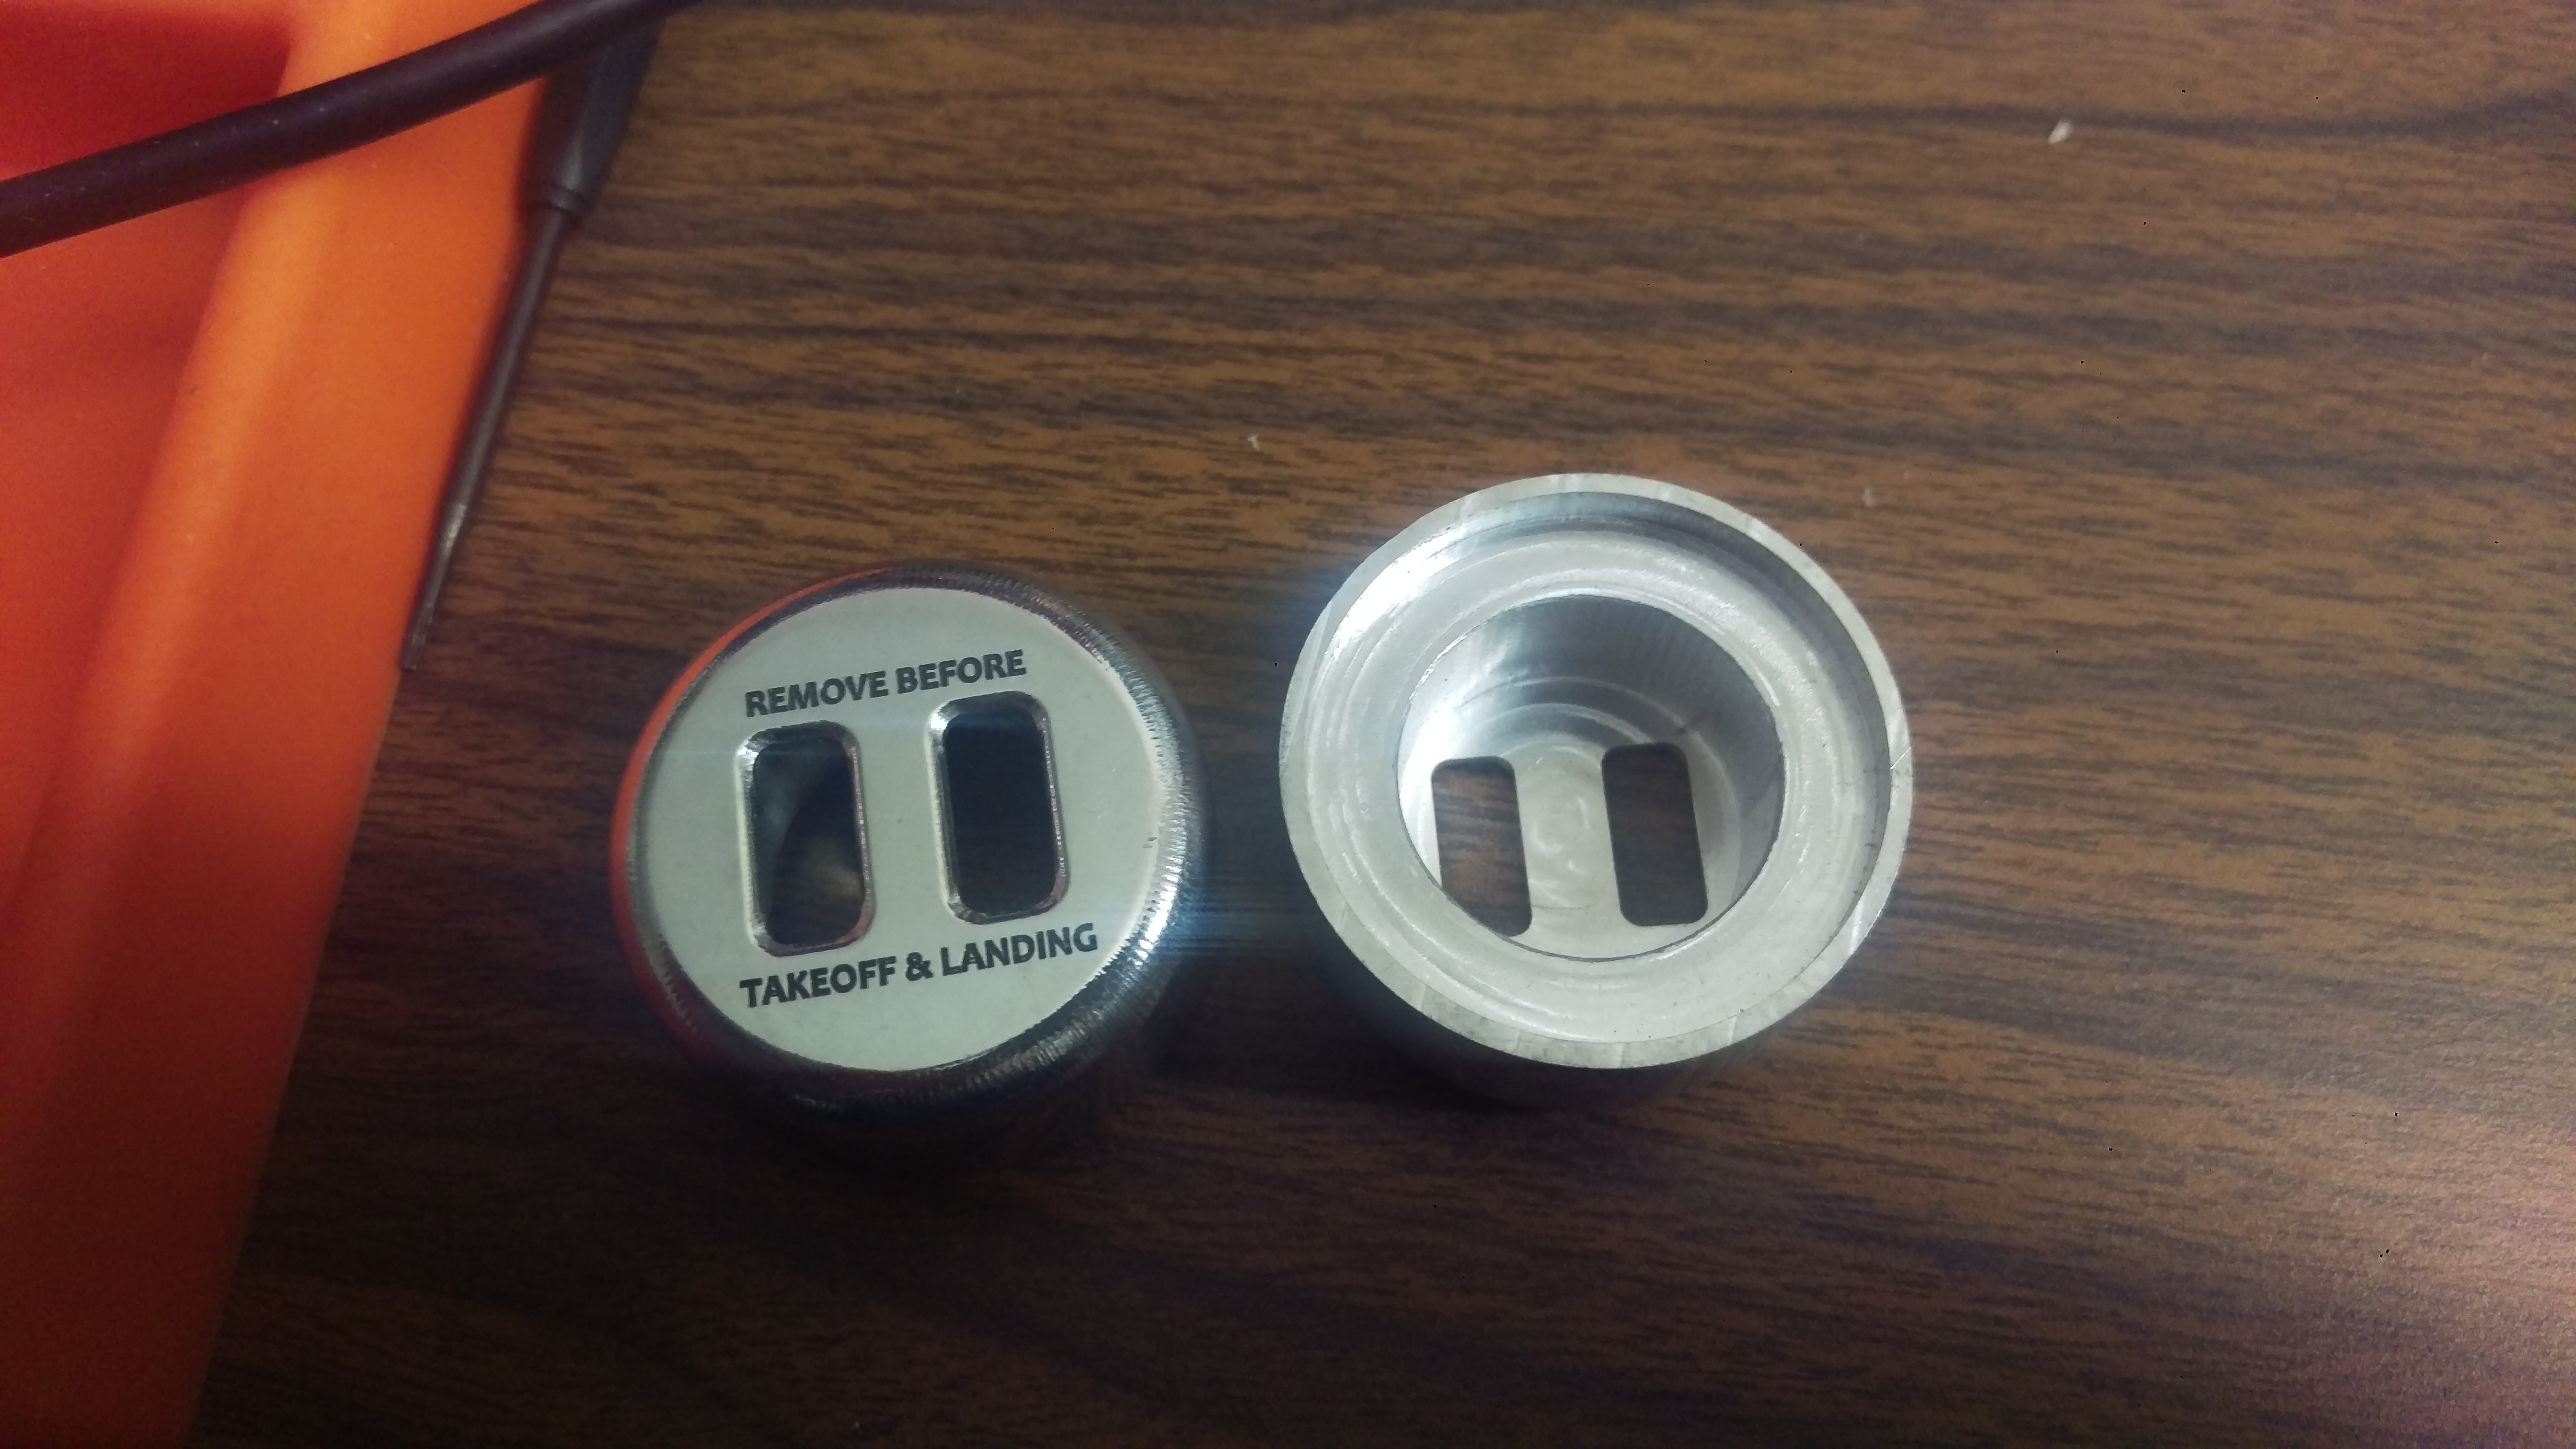
In this picture, the leadscrew by default when the spindle mount is at the right end:
So when the bearing is in place, it is in fact forcing the leadscrew to be straight even when the spindle mount is at the end right.
So at the end of the day, unless I forgot something and beside the leadscrew not being straight, I don’t know if there is something wrong in slightly forcing something not straight to be straight, the leadscrew is made from steel and is somewhat flexible, this should be fine ?
I may be wrong, but that is looking good now, phew.
It would be interesting to see if the leadscrew is bent to any extent.
easy check would be to remove from the machine and roll it on a known flat surface (piece of glass/surface plate)
droop from being unsupported on the first pic is to be expected. to what extent is hard to say.
ideally there should not be any catching sensation and the motion from one end to the other should all feel the same.
i’d wipe it clean and dry then visibly inspect the leadscrew closely (opposite the motor) for any signs of wear/damage/debric/etc.
once you rule out the surface/geometry i’d suspect the leadscrew is slightly bent.
IMO, i’d want it to move left and right by hand easily. anything otherwise will prematurely wear out that leadscrew at the very least. after all is done be sure to lubricate the leadscrew accordingly.
the bearing mod is ideal since it addresses the droop. but depending on the machine and tolerance buildup you may have to adjust them to each nomad. in essence they act as the tailstock of a lathe and supporting the weight and keeping the leadscrew in line with the motor. however, since the motor from machine to machine can very slightly or the leadscrew has a slight bend can all impact the position of the bearing.
Yeah I thought so but I’m a bit afraid of removing it, I guess there is a first time to everything.
The spindle mount is fully supported by both shafts, so about the droop… but I realize it is possible the leadscrew is possibly straight by default, but not making a straight line the way it is fitted from the motor, but then it is being bent by the leadscrew of the spindle mount, if you see what I mean, the leadscrew from the motor slightly goes topwards, the leadscrew corrects it and force it to go kind of straight, resulting in the other side going downwards, just like in the first picture… I’m just using simple logic, may completely be wrong.
The bearing itself would be then correcting the straightness, so the binding would be on the right side, near the motor itself, but it is very easy to move by hand when going right.
So overall, I’d say the leadscrew itself is bent by default.
I’ll consider removing the leadscrew and checking if it’s bent, I’m rather satisfied at the moment.
I’ll also ask Carbide support if it’s okay it’s difficult to move the spindle mount to the left but very easy to the right, according to you it’s not thought, so hm let’s see what they tell me.
Yes, that was the other thought is that the motor would be be causing it to be out of line with the linear rods. However, since it is smooth on the right (motor side) then is is likely in line there, but becomes out of line when it travels away (non motor side).
The reason I mention inspecting the leadscrew is that perhaps it is slightly worn already or there is some damage/debris. The surface finish coupled with a slightly bent screw create the overall ‘catch’ or difficulty to turn. So if you remedy the surface and the bend is minor then perhaps you can live with a lesser form of what you have as opposed to tearing apart the machine.
Oh but I have less than 5 hours with it, from which 2 of aluminum and 3 of delrin, and I always cleaned it as much as I could between each job, that would be a really fast wear.
I’m glad you did mention all those things about the leadscrew, I’m going to see with the support and let you know, thanks!
The drag you feel is from the steeper motor locks. It depends on what direction you last left it. The shaft should be chromalloy and will flex some then break. But it will not bend.
I would check my backlash nut for alignment. Check for slack. The bearing should only act as an idler and shouldn’t have any torq applied to it. I would throw some alu in and do a facing process and check it again. When I get home I’ll pull mine off and check my rod. I’ll post a picture.
I cut alu with a .125 2 flute carbide .010 bite per flute and no more than .040 depth @ 8.5K rpms on the spindle. Leave .010 finish. I’d have to check my feeds but I’m sure it’s around 4ipm and below. It’s still pretty loud.
The shaft ? You meant the leadscrew ? I don’t know if the shaft can flex but we were talking about the leadscrew.
I will check the backlash nut tomorrow.
Wow those settings are quite different from what I’ve came across until now, your chipload is insane, I can imagine this is noisy.
I’m running a 2,5mm single flute at 20ipm, 1mm doc, 1mm stepover, 10k RPM, chipload is about 0,05mm per rev, I did not try to go further than that yet.
There’s no reason not to use those 10k RPM also, the more RPM the more torque you get so you can go faster, but I’m talking about roughing strategy, I haven’t done any finishing yet.
That’s as fast as I can cut with it. Just for ripping. The spindle speed is to get the chips to throw out behind the cutter. No one likes eating there own waste. Lol. With metal it’s not about speed. Torq is what’s important and that’s a majorly simplified.
I was talking about the lead screw that comes out of the motor. The lead screw nema motors can be found a pololu. com or servocity. com and are a standard part. That screw can flex to a range witch causes backlash. The backlash nut will help avert this but is not a perfect fix.
When you test backlash put an indicator on one axis of the table from the cutting head location. With your hand slightly push on the table 2-3 lbs works and see how far it flexes. Since the nomad has the X axis on the cutting head. Place the indicator against the cutting head carriage. And the hard point mount on the table. The push the carriage.
Highend mills have load cells and run machine learning algorithms to correct this. But on lower end machines the operator has to make account for this adjustment.
I hope that wasn’t TMI. And was understandable. It usto be a daily conversation for me.
Then you push with your hand back and forth to see how much backlash you have under load. That would be place the base on the table and the indicator needle on the z axis carriage. You will see the Gauge move. Should be around .002 to .005 per direction. If not tighten the 3 screws on the backlash nut till it is. I’ll try to post some pics.
Just for reference hear are some aluminum parts I’ve made over the last year. When the machine is setup and your feed speed and chipping is good the machine is very accurate. These parts came out to a .001 ± witch is outstanding for a home machine.
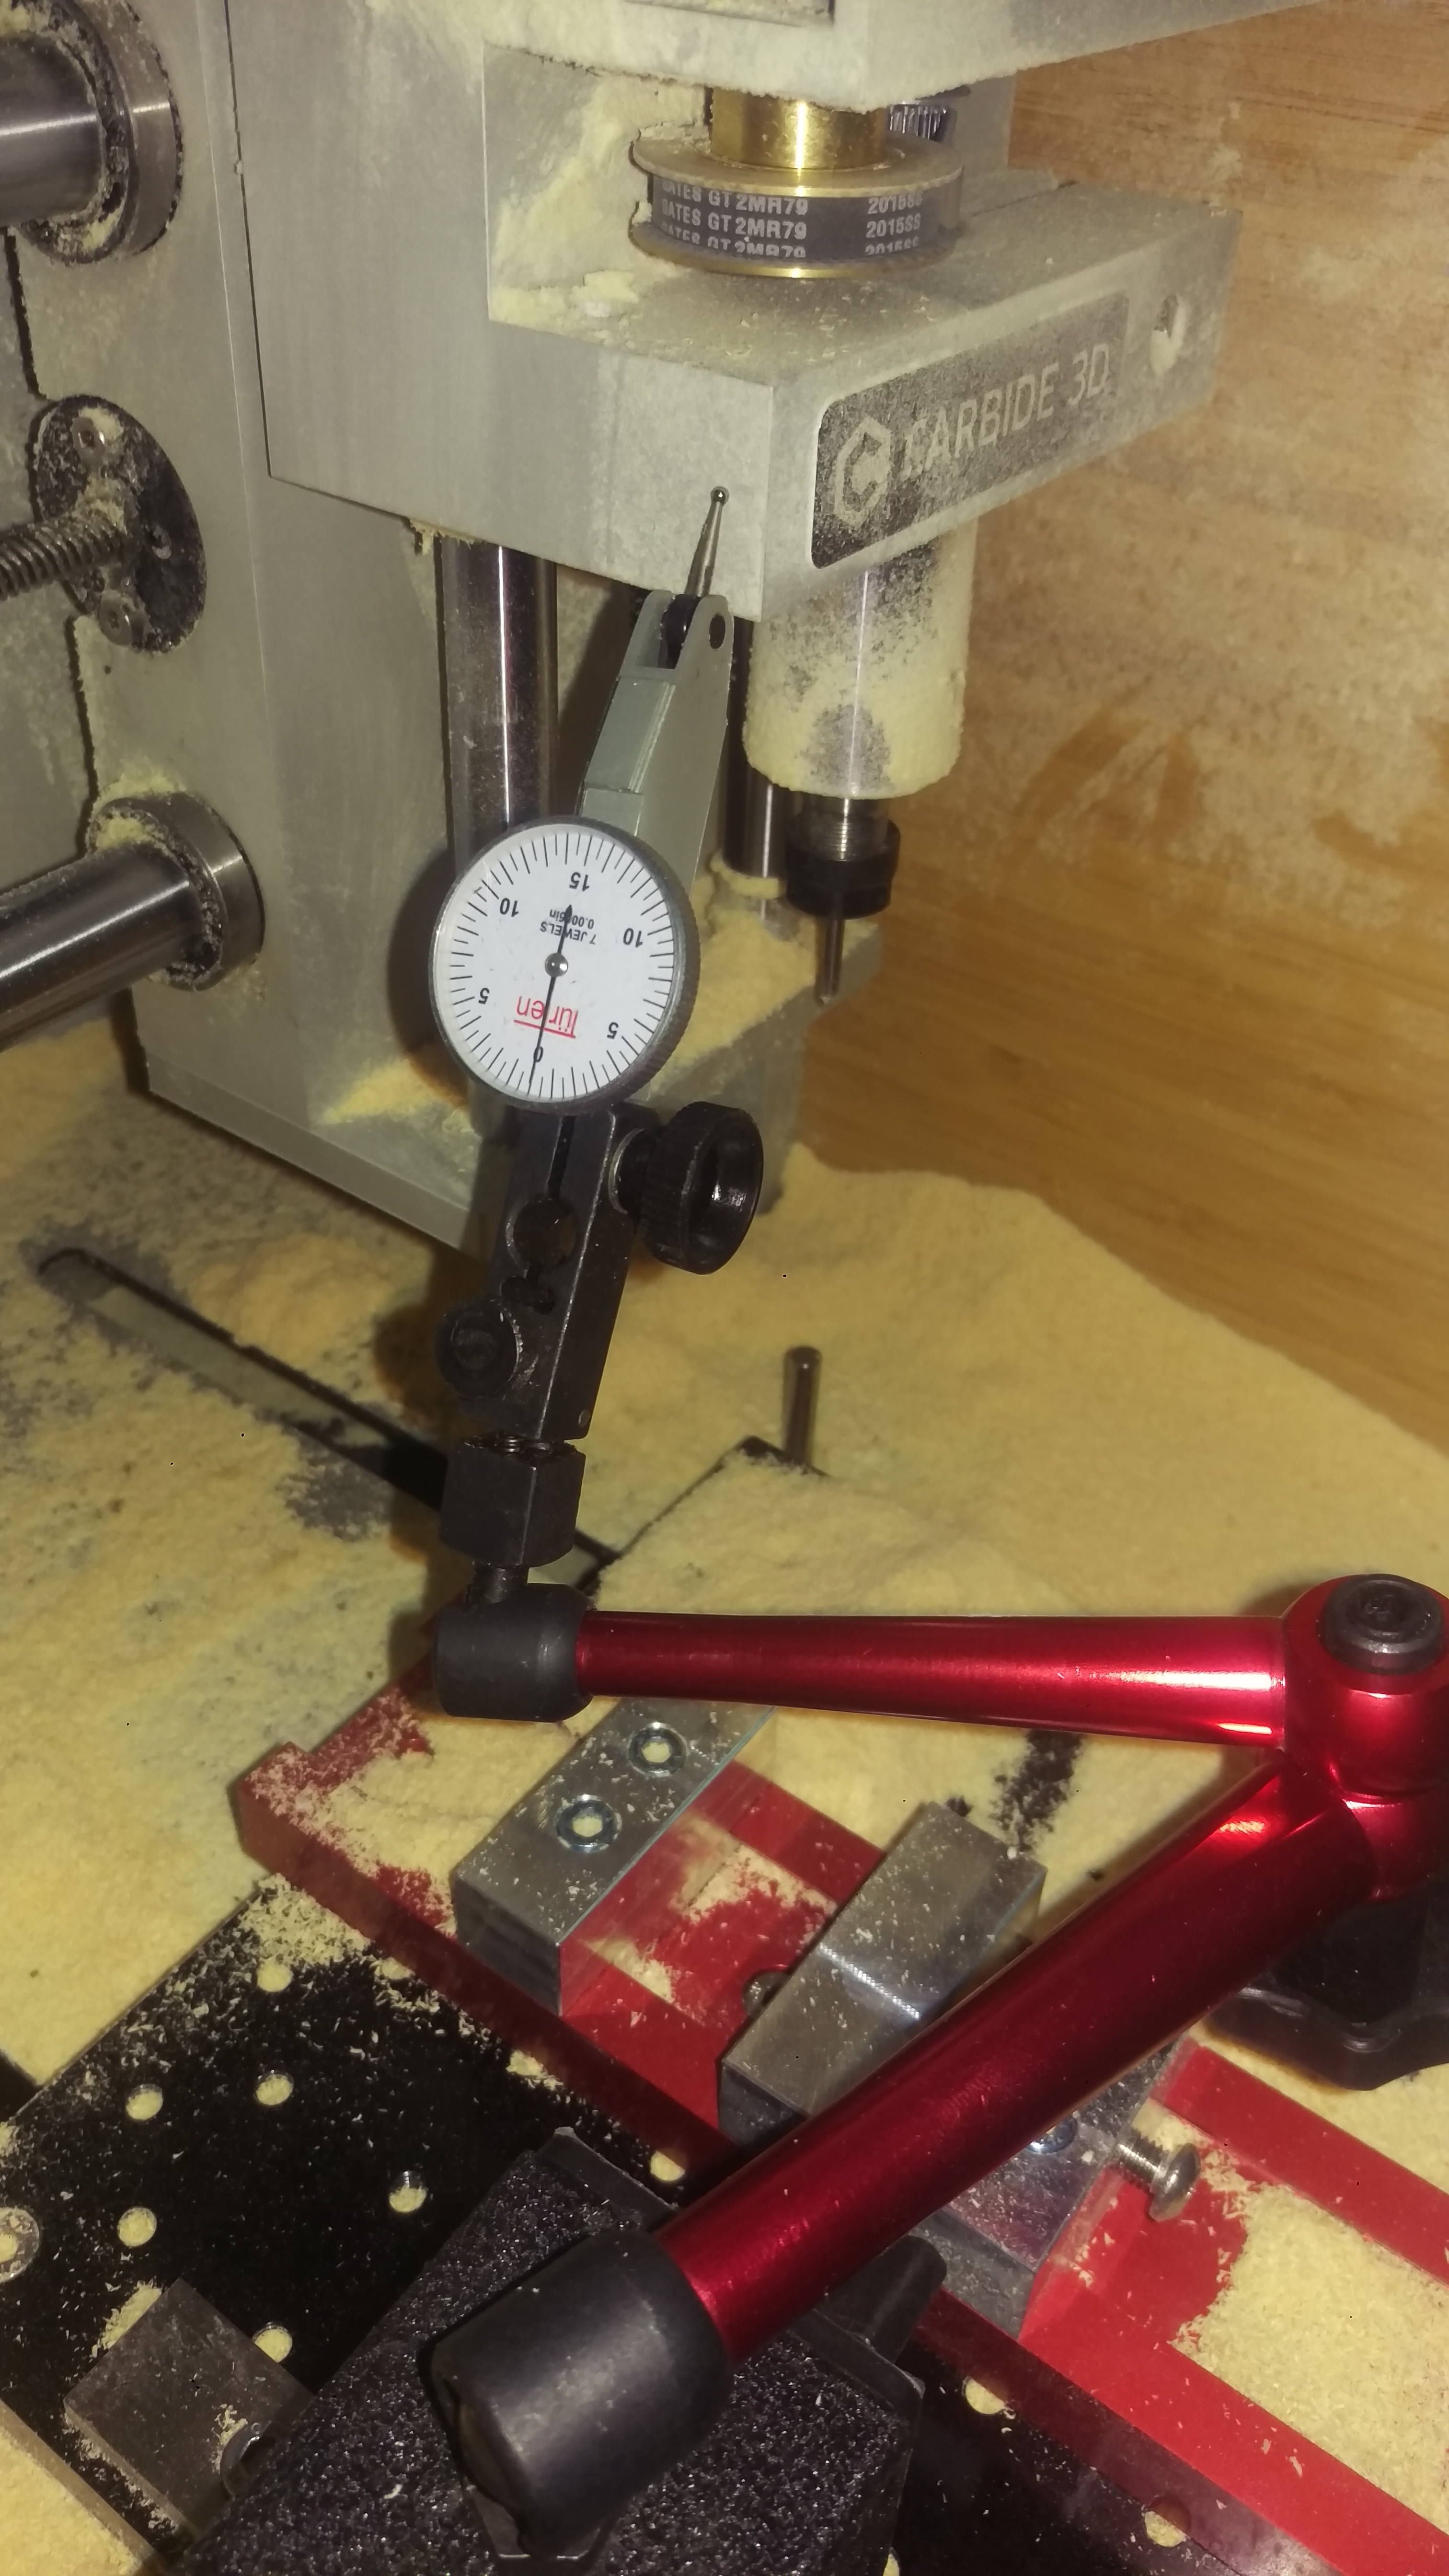
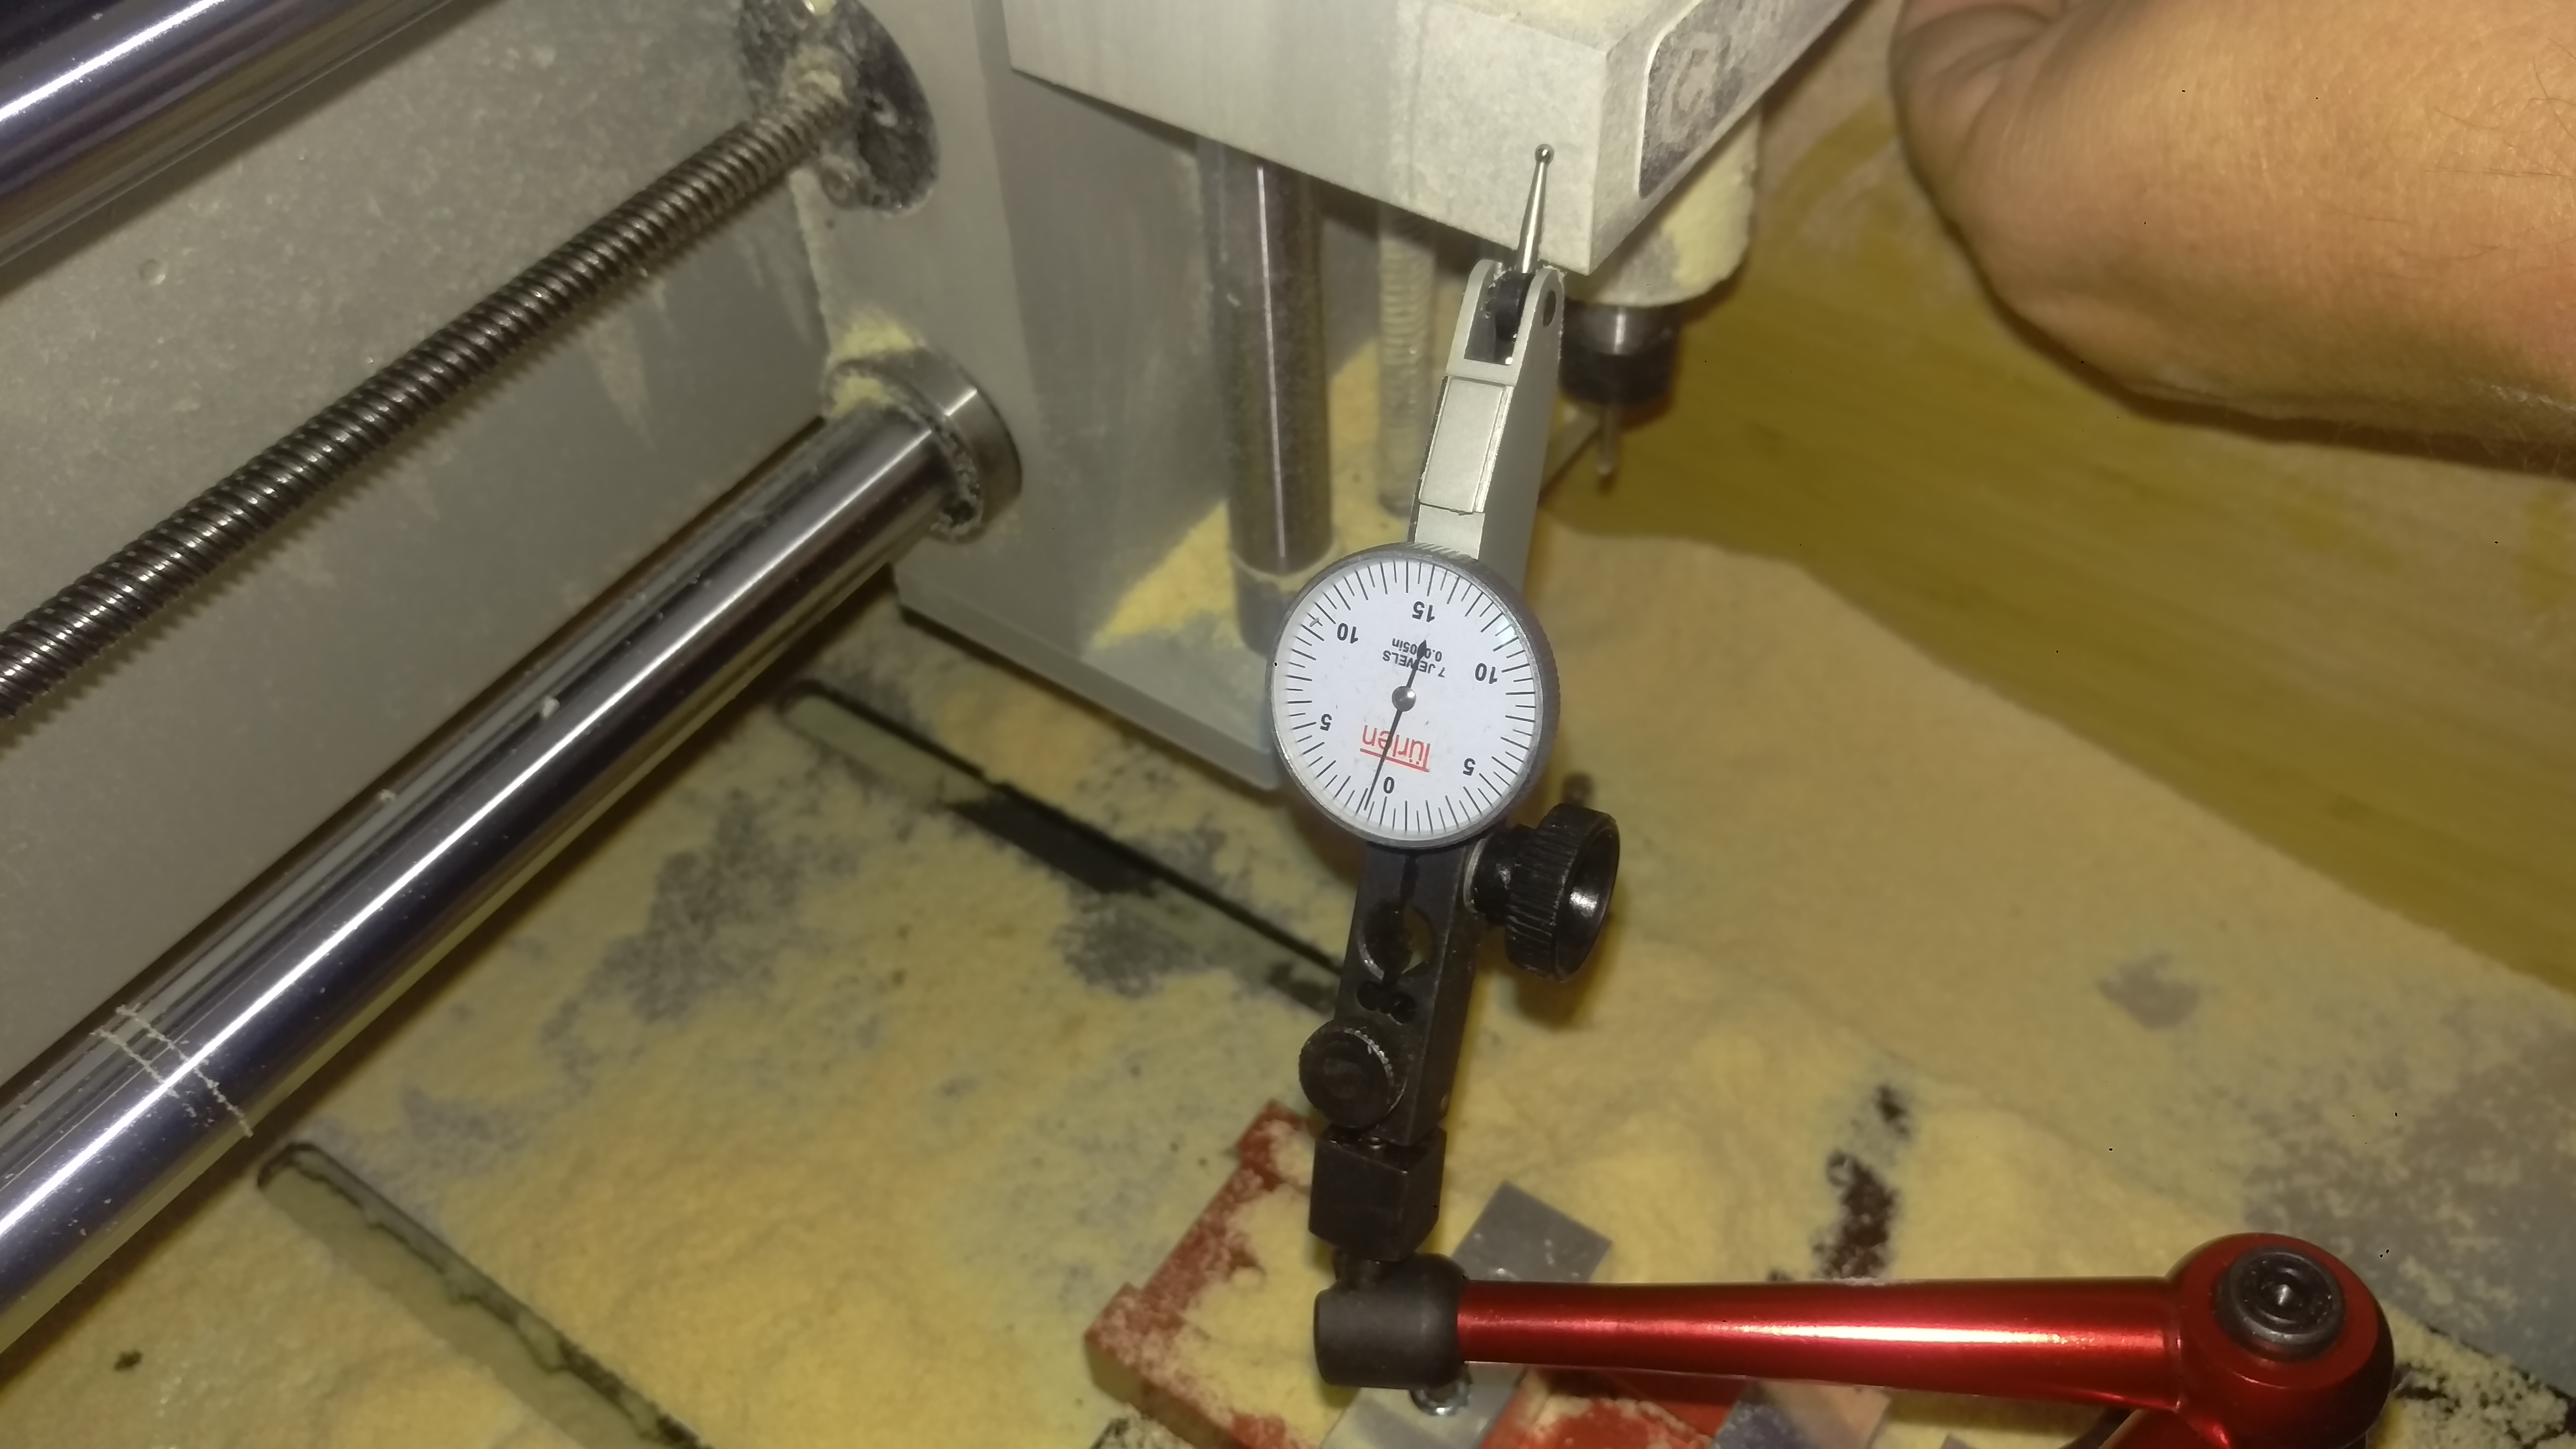
Alright so I had some read with the machine always turned on.
X axis is about 0,09mm (0,0035 inches) while the Z axis is about 0,10mm (0,0039 inches), but while the X axis looks resistant when being pushed, it is not the case of the Z axis.
If you look at the second video in my very first post here, when I job the Z axis up and down, you can hear that something seems loose, in fact this seems to be the Z axis itself.
Seems like anytime I push it up or down by hand I’m hitting the leadscrew, I think this does trigger that noise and maybe it’s adding some deflection.
I wonder if the problem is related to the anti-backlash nut but I’ll tighten it when I receive the allen key and hopefully this will solve the problem.
Also something else, when I push the Y axis it does come back in place when I stop pushing it, this is the case with the X and Z aswell, but not completely, I had to push back and forth to get a proper reading with those, why is that ?
Sounds like that could be an issue. I would start with loosening the backlash nut around a half turn per screw. Make sure to turn each bolt even so not the get binding. Check the deflection with pressure. Then work way back to within tollarence. It could also be to tight. Google some pictures of the nomad 883 backlash nut and you will get a quick idea of how it works. It’s just a spring against a floating nut.