All my flip-carts and other machinery already have wheels so I currently have no need to move it around.
I think I saw an earlier post with that type caster.
Thank you for your response. 
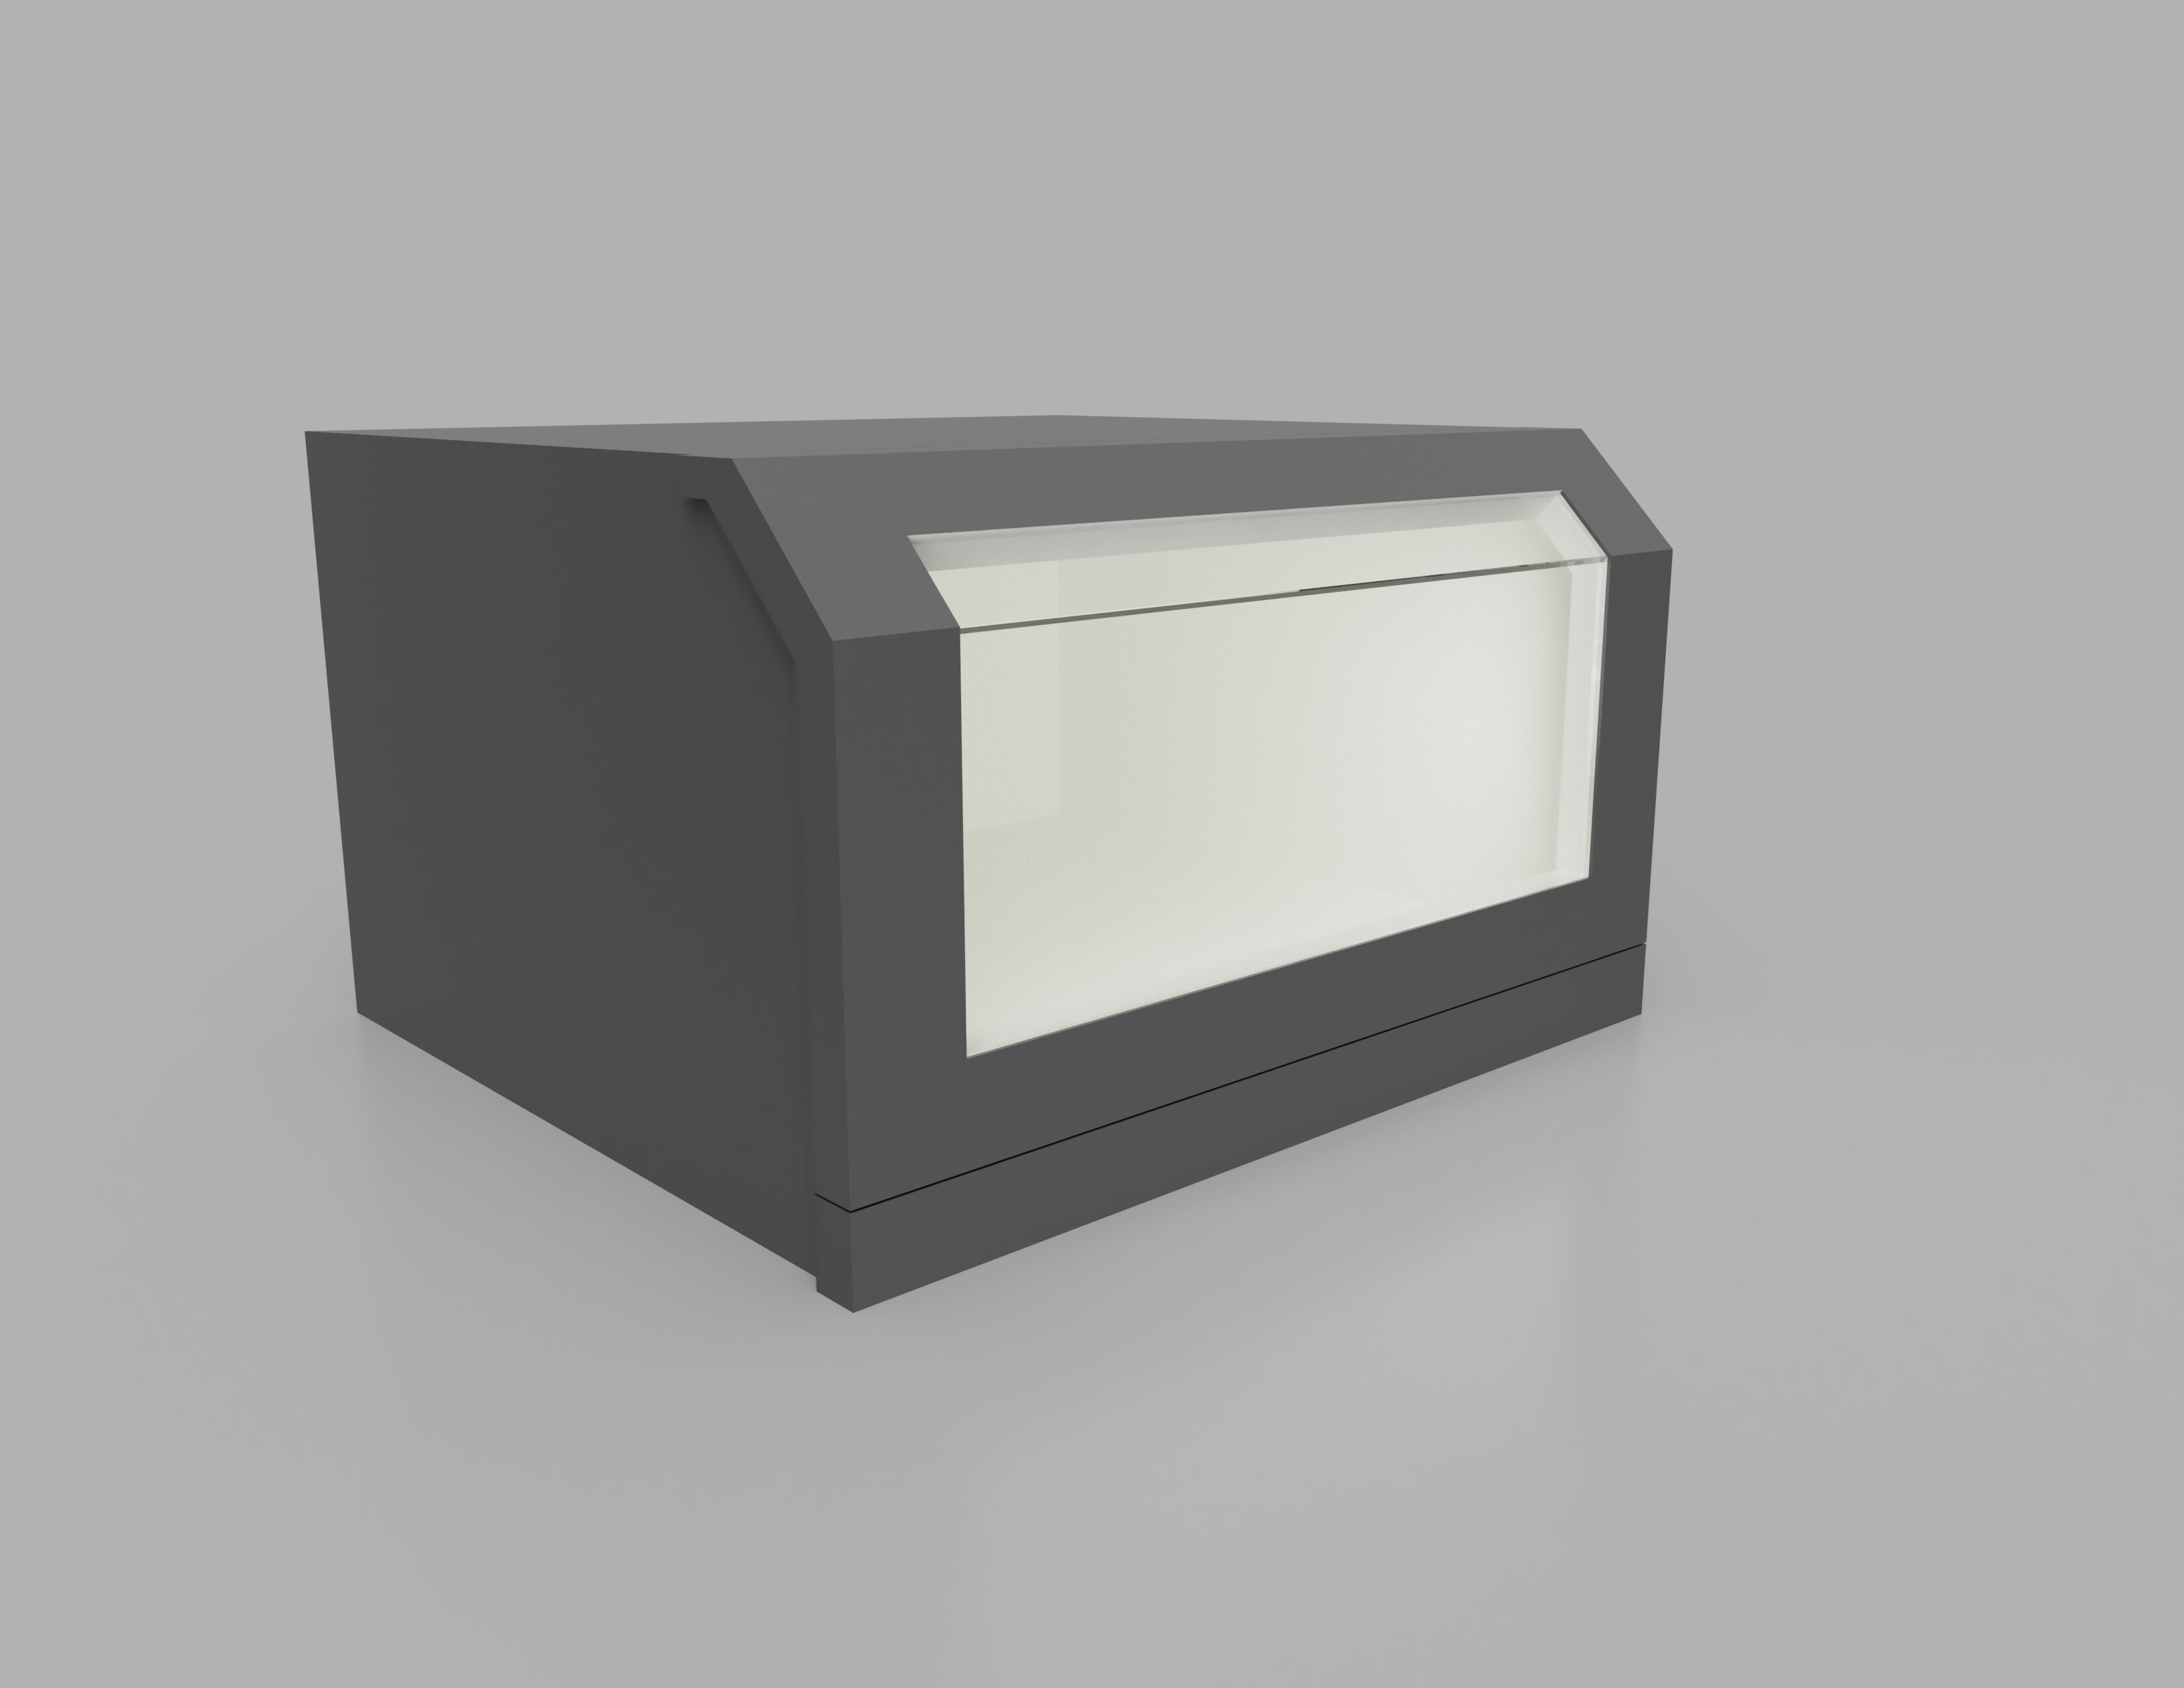
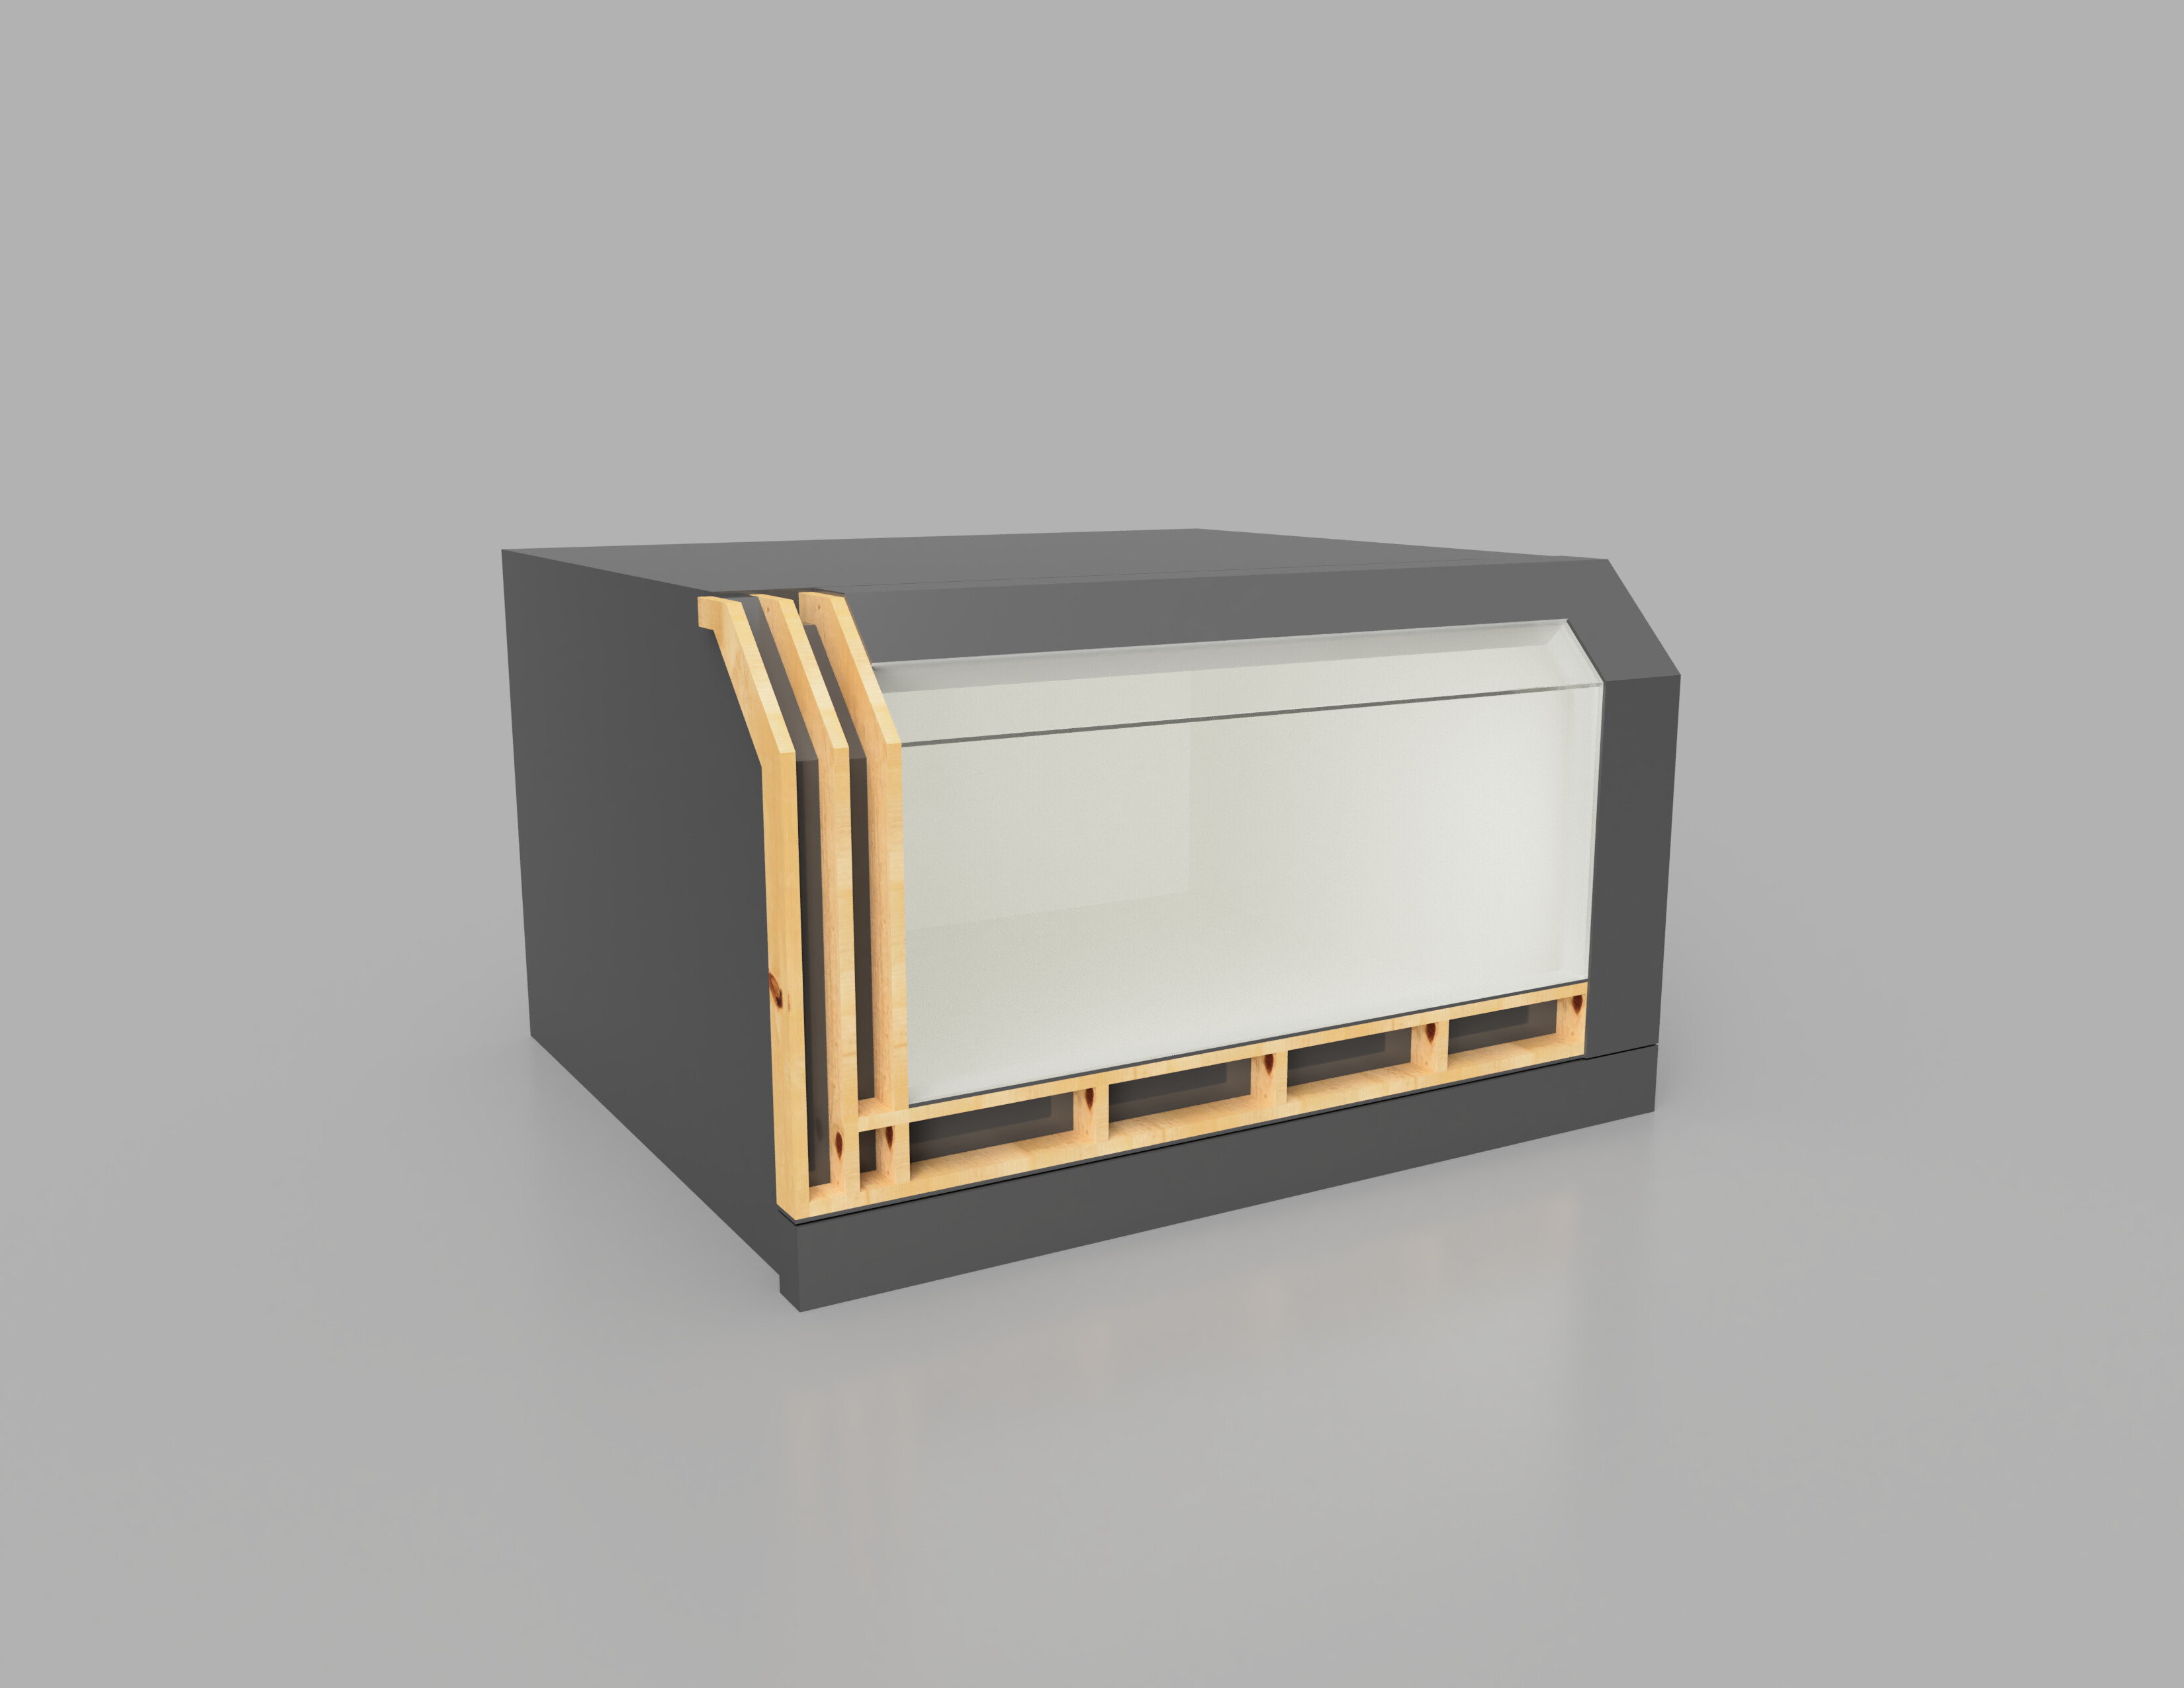
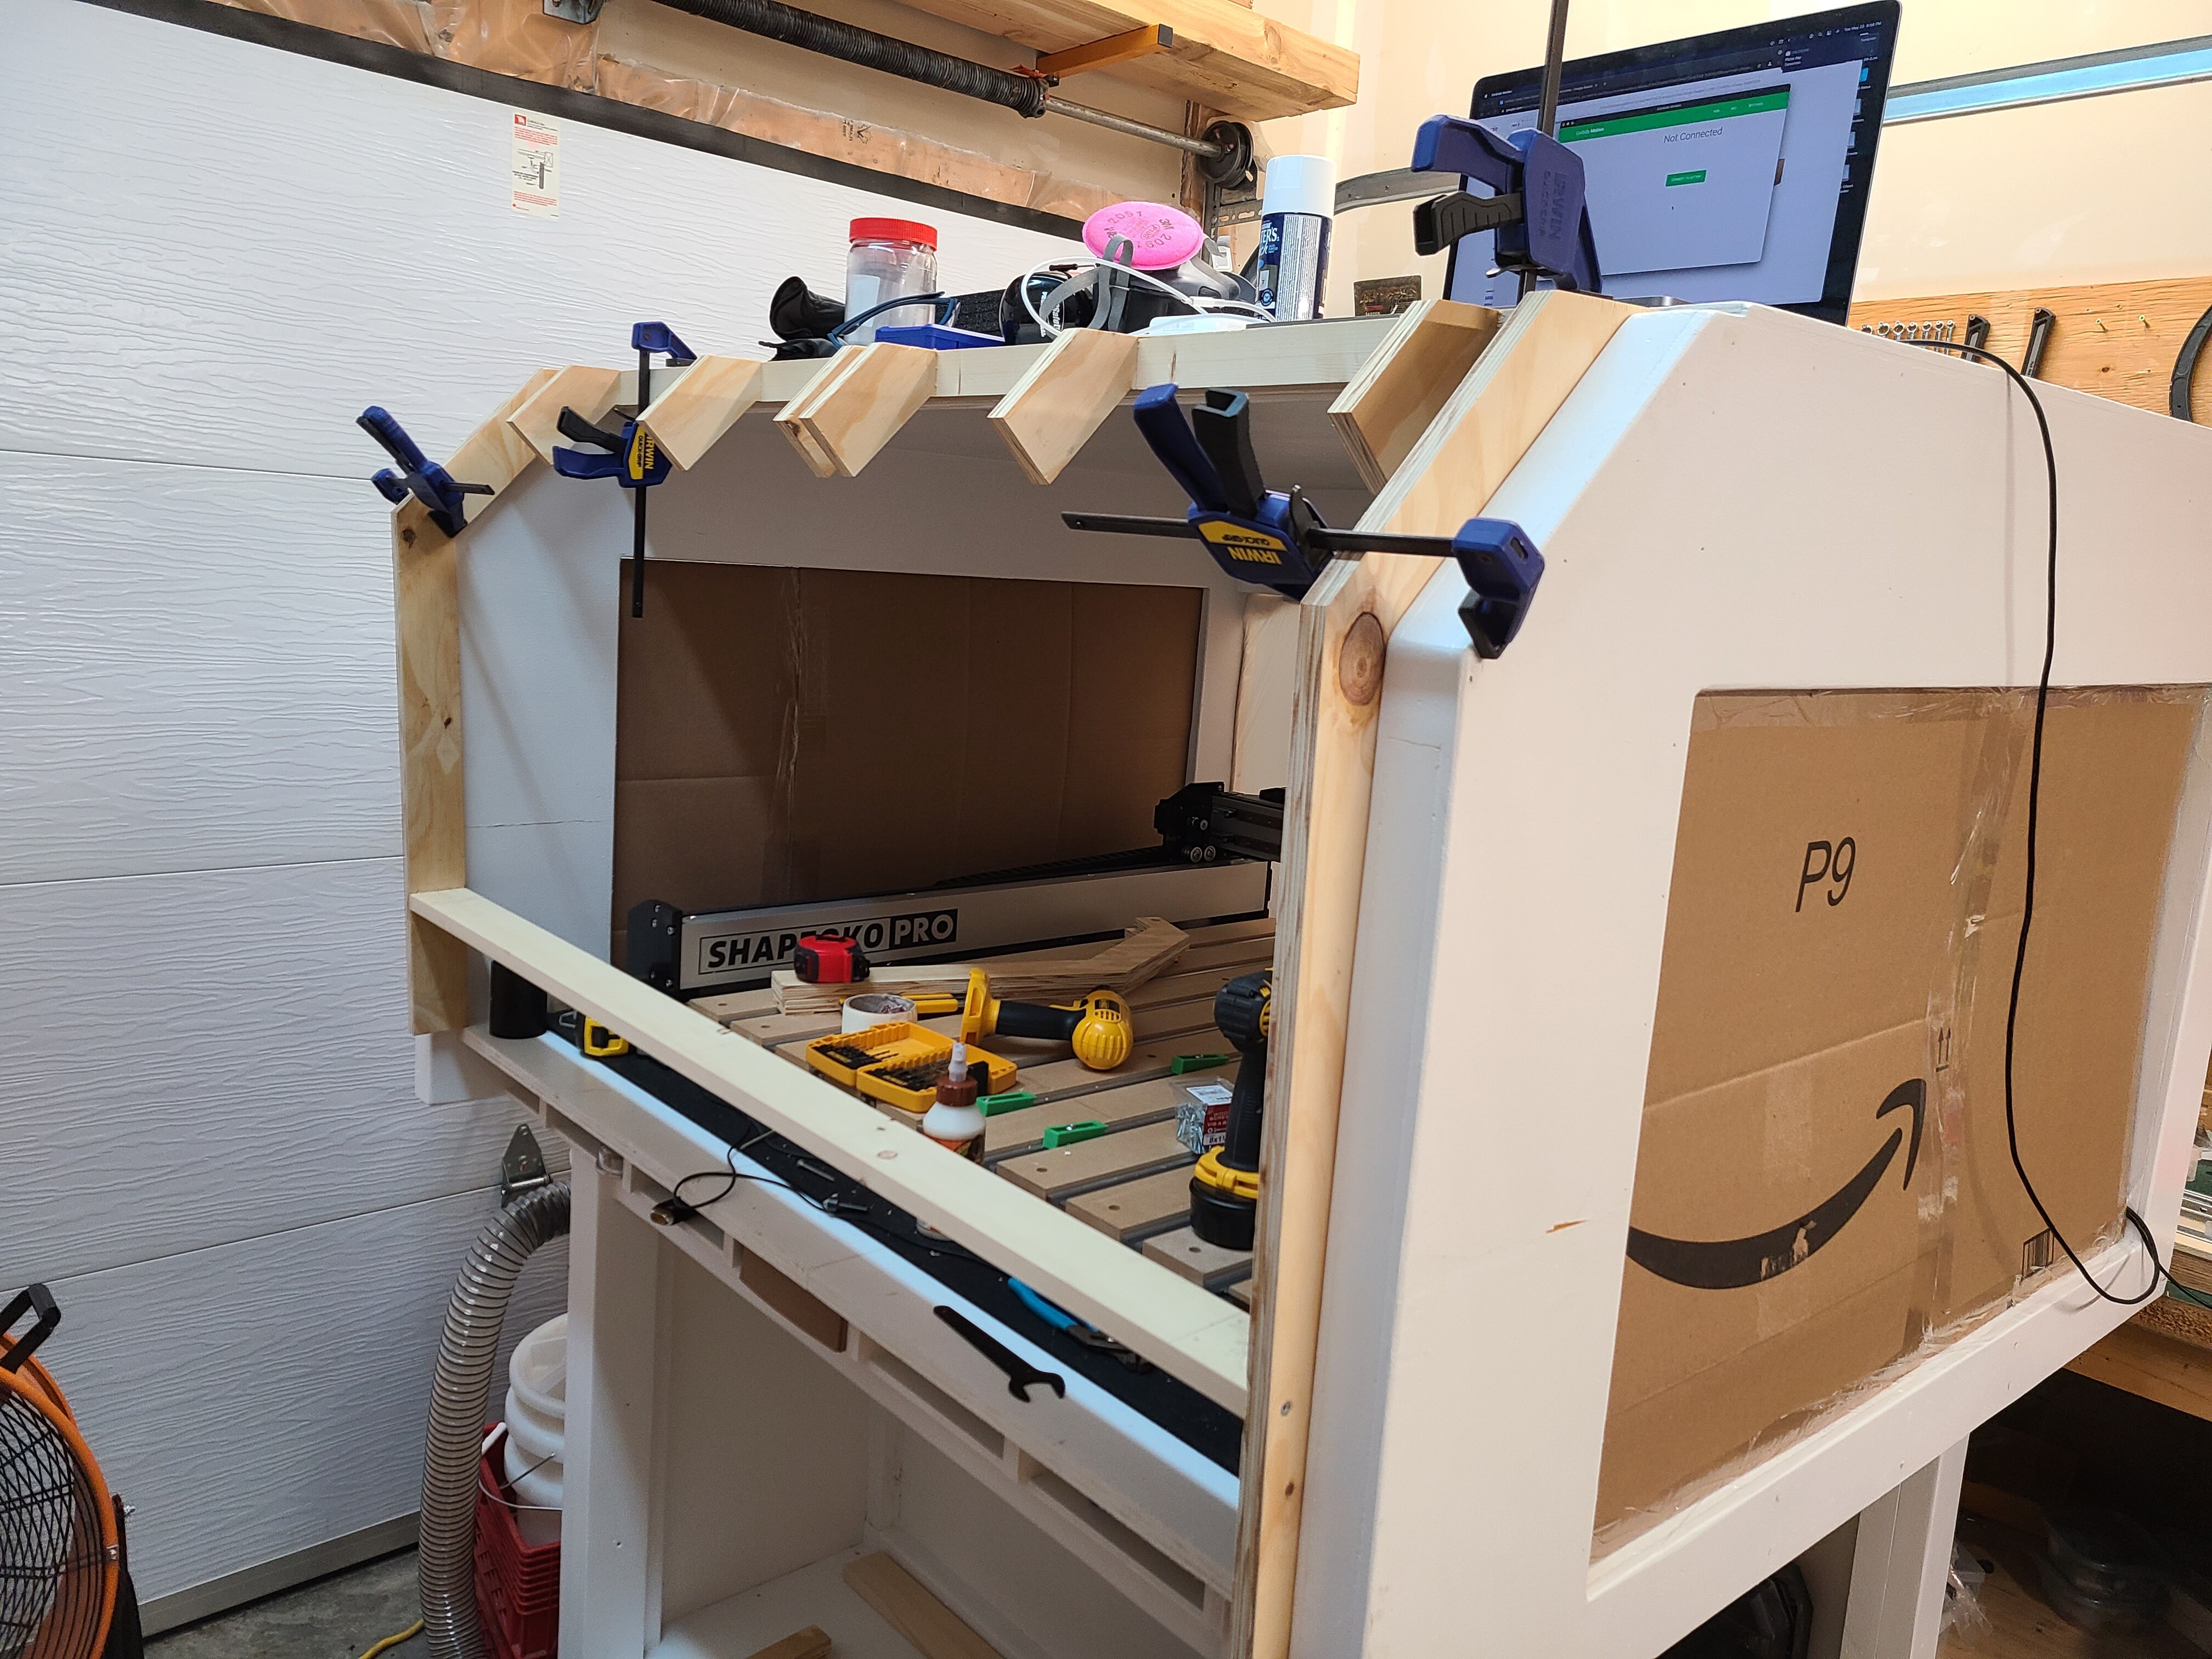
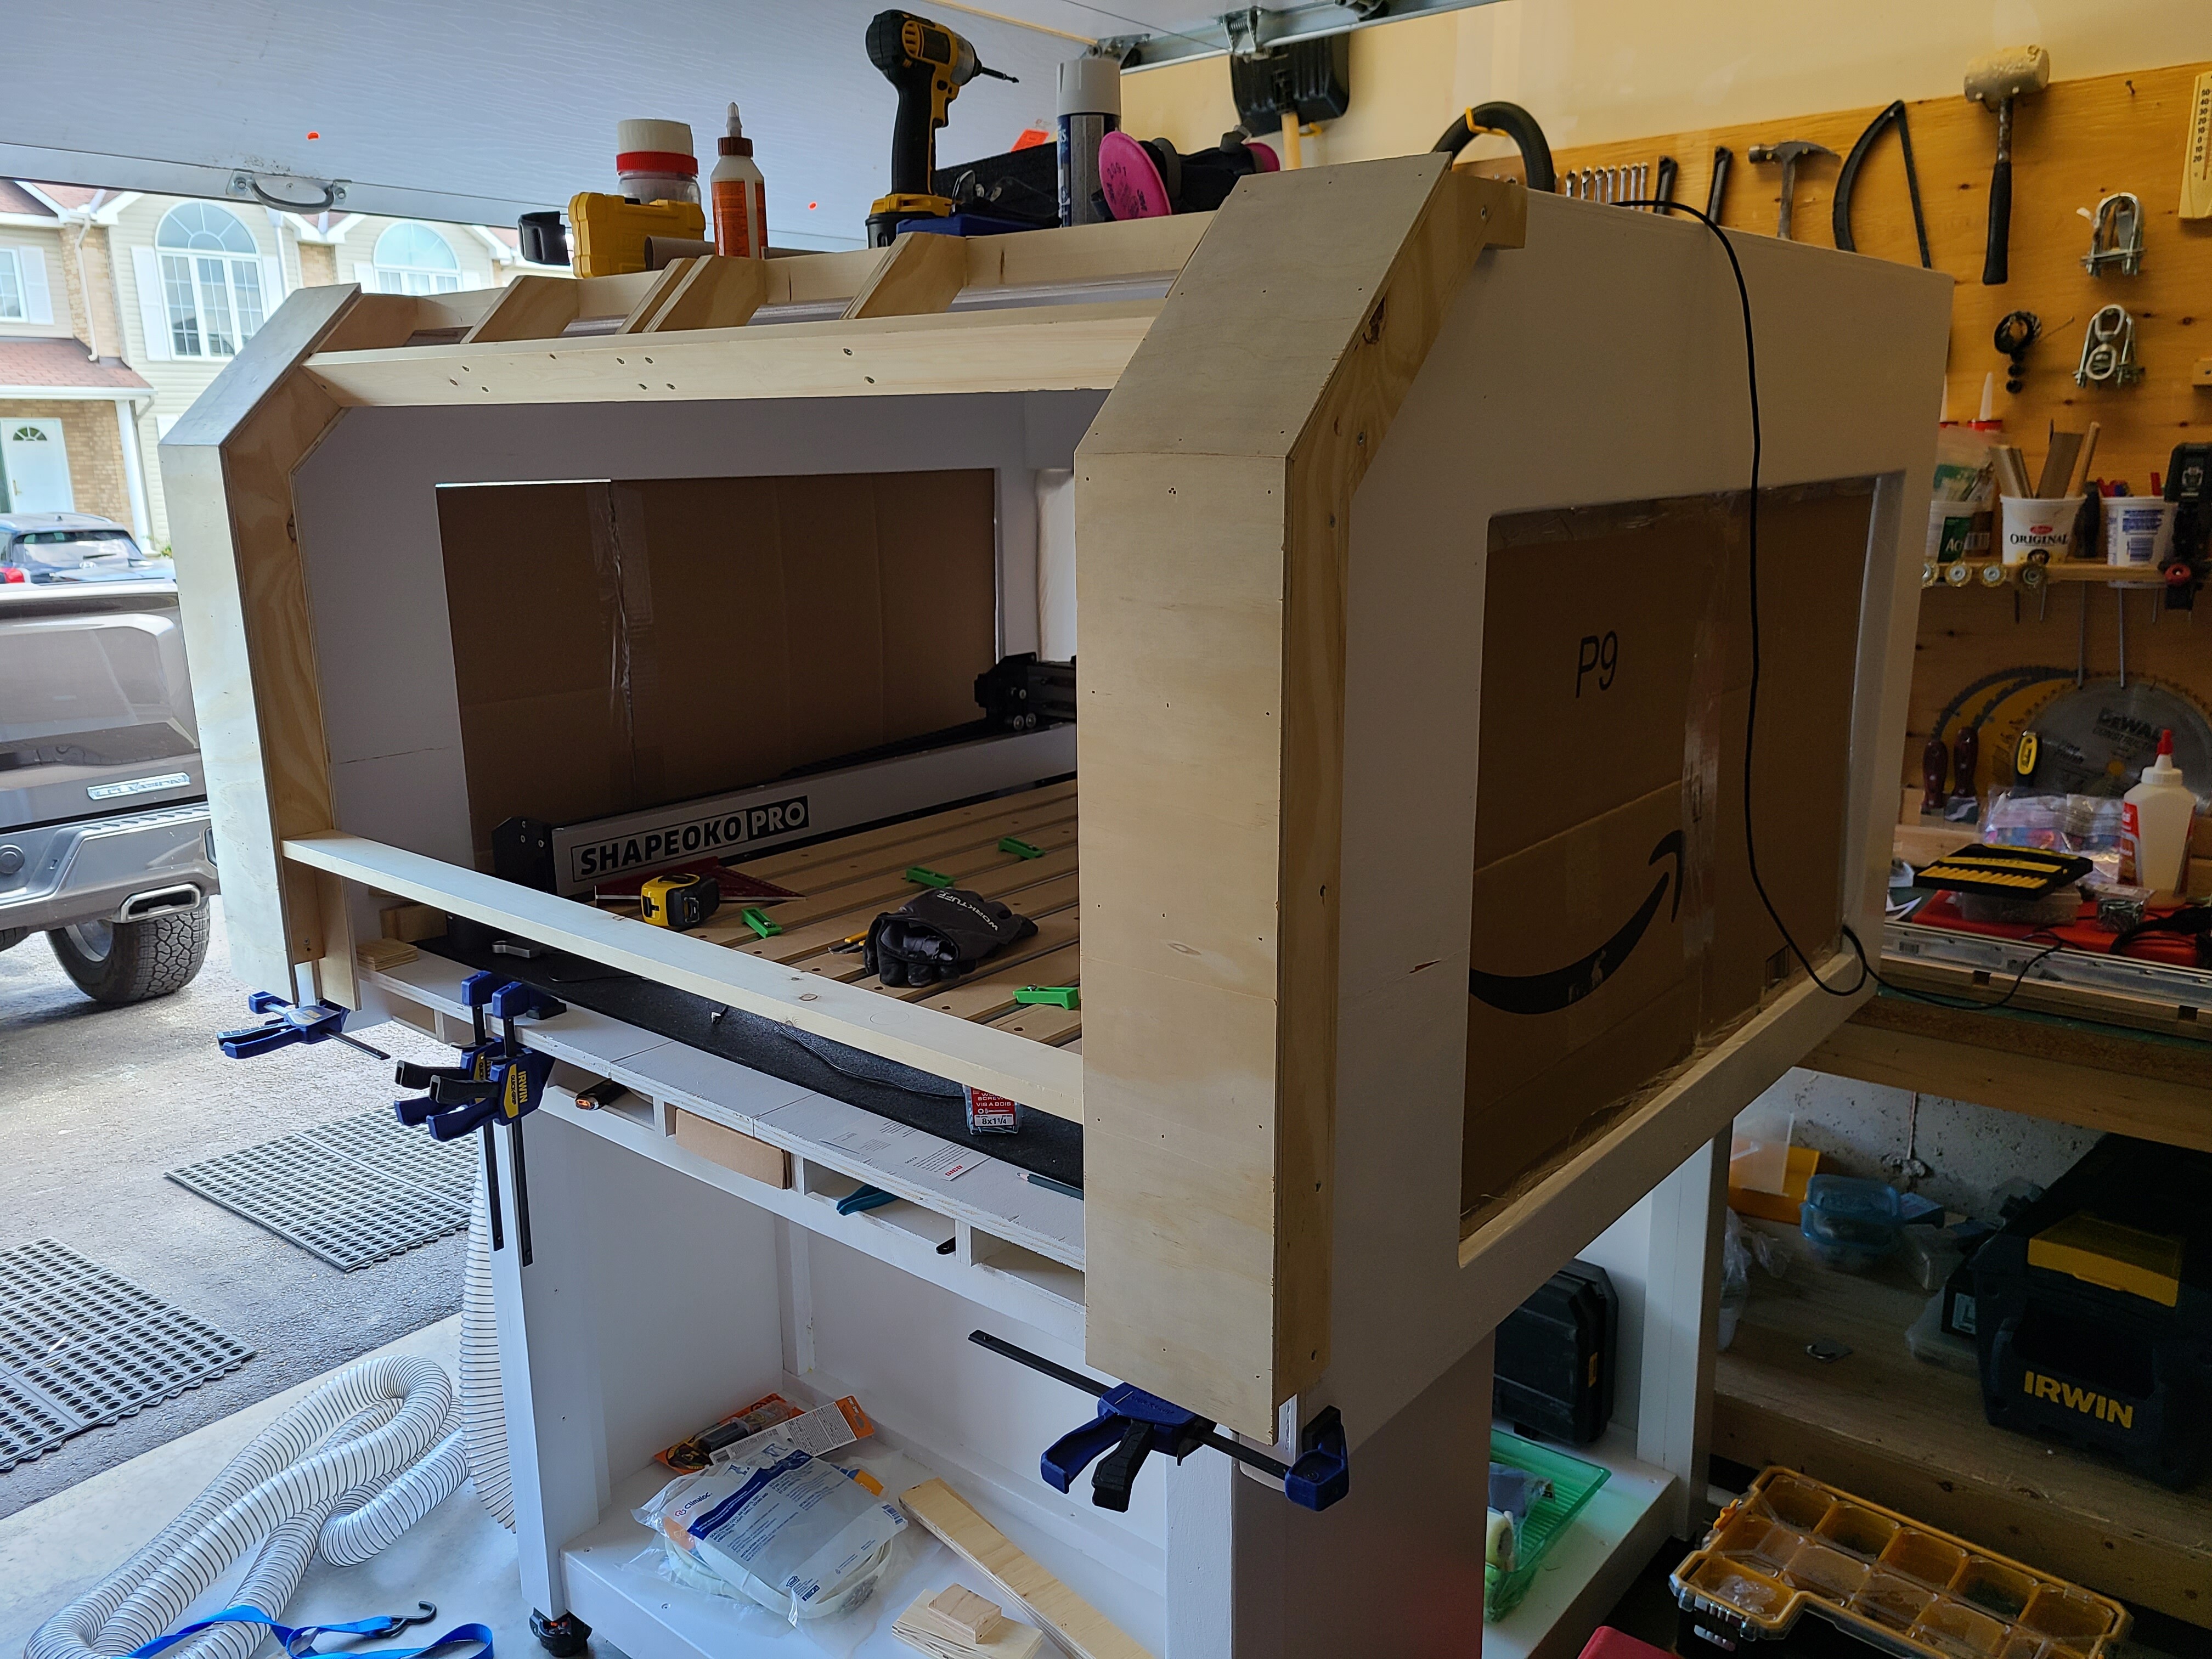
I have this designed in Fusion 360 and getting ready to cut some parts on the CNC over the weekend (exciting times, first parts I’ll be cutting on the machine, setting Wilson aside for now) to assemble the front door. In the picture with the exposed parts the 2 most left vertical pieces are to overlap the sidewall of the enclosure by about a 1/2" with some weather stripping in that cavity to form a good seal when the door is closed. As for the rest of the voids in the framing I might as well continue what I started and fill them with 3 layers of drop ceiling. Lastly sandwich all the framing inside the 1/4" plywood like the rest of the enclosure. As for the bottom edge of the door I’m thinking of making it removable if ever I want to pass longer pieces through the enclosure for some tiling jobs. Biggest concern right now is using a heat gun to warm up the 2’ x 4’ x 1/4" Plexiglass to get that bend in it.
3 Likes
Very Nice! Add some pics as you cut and build please.
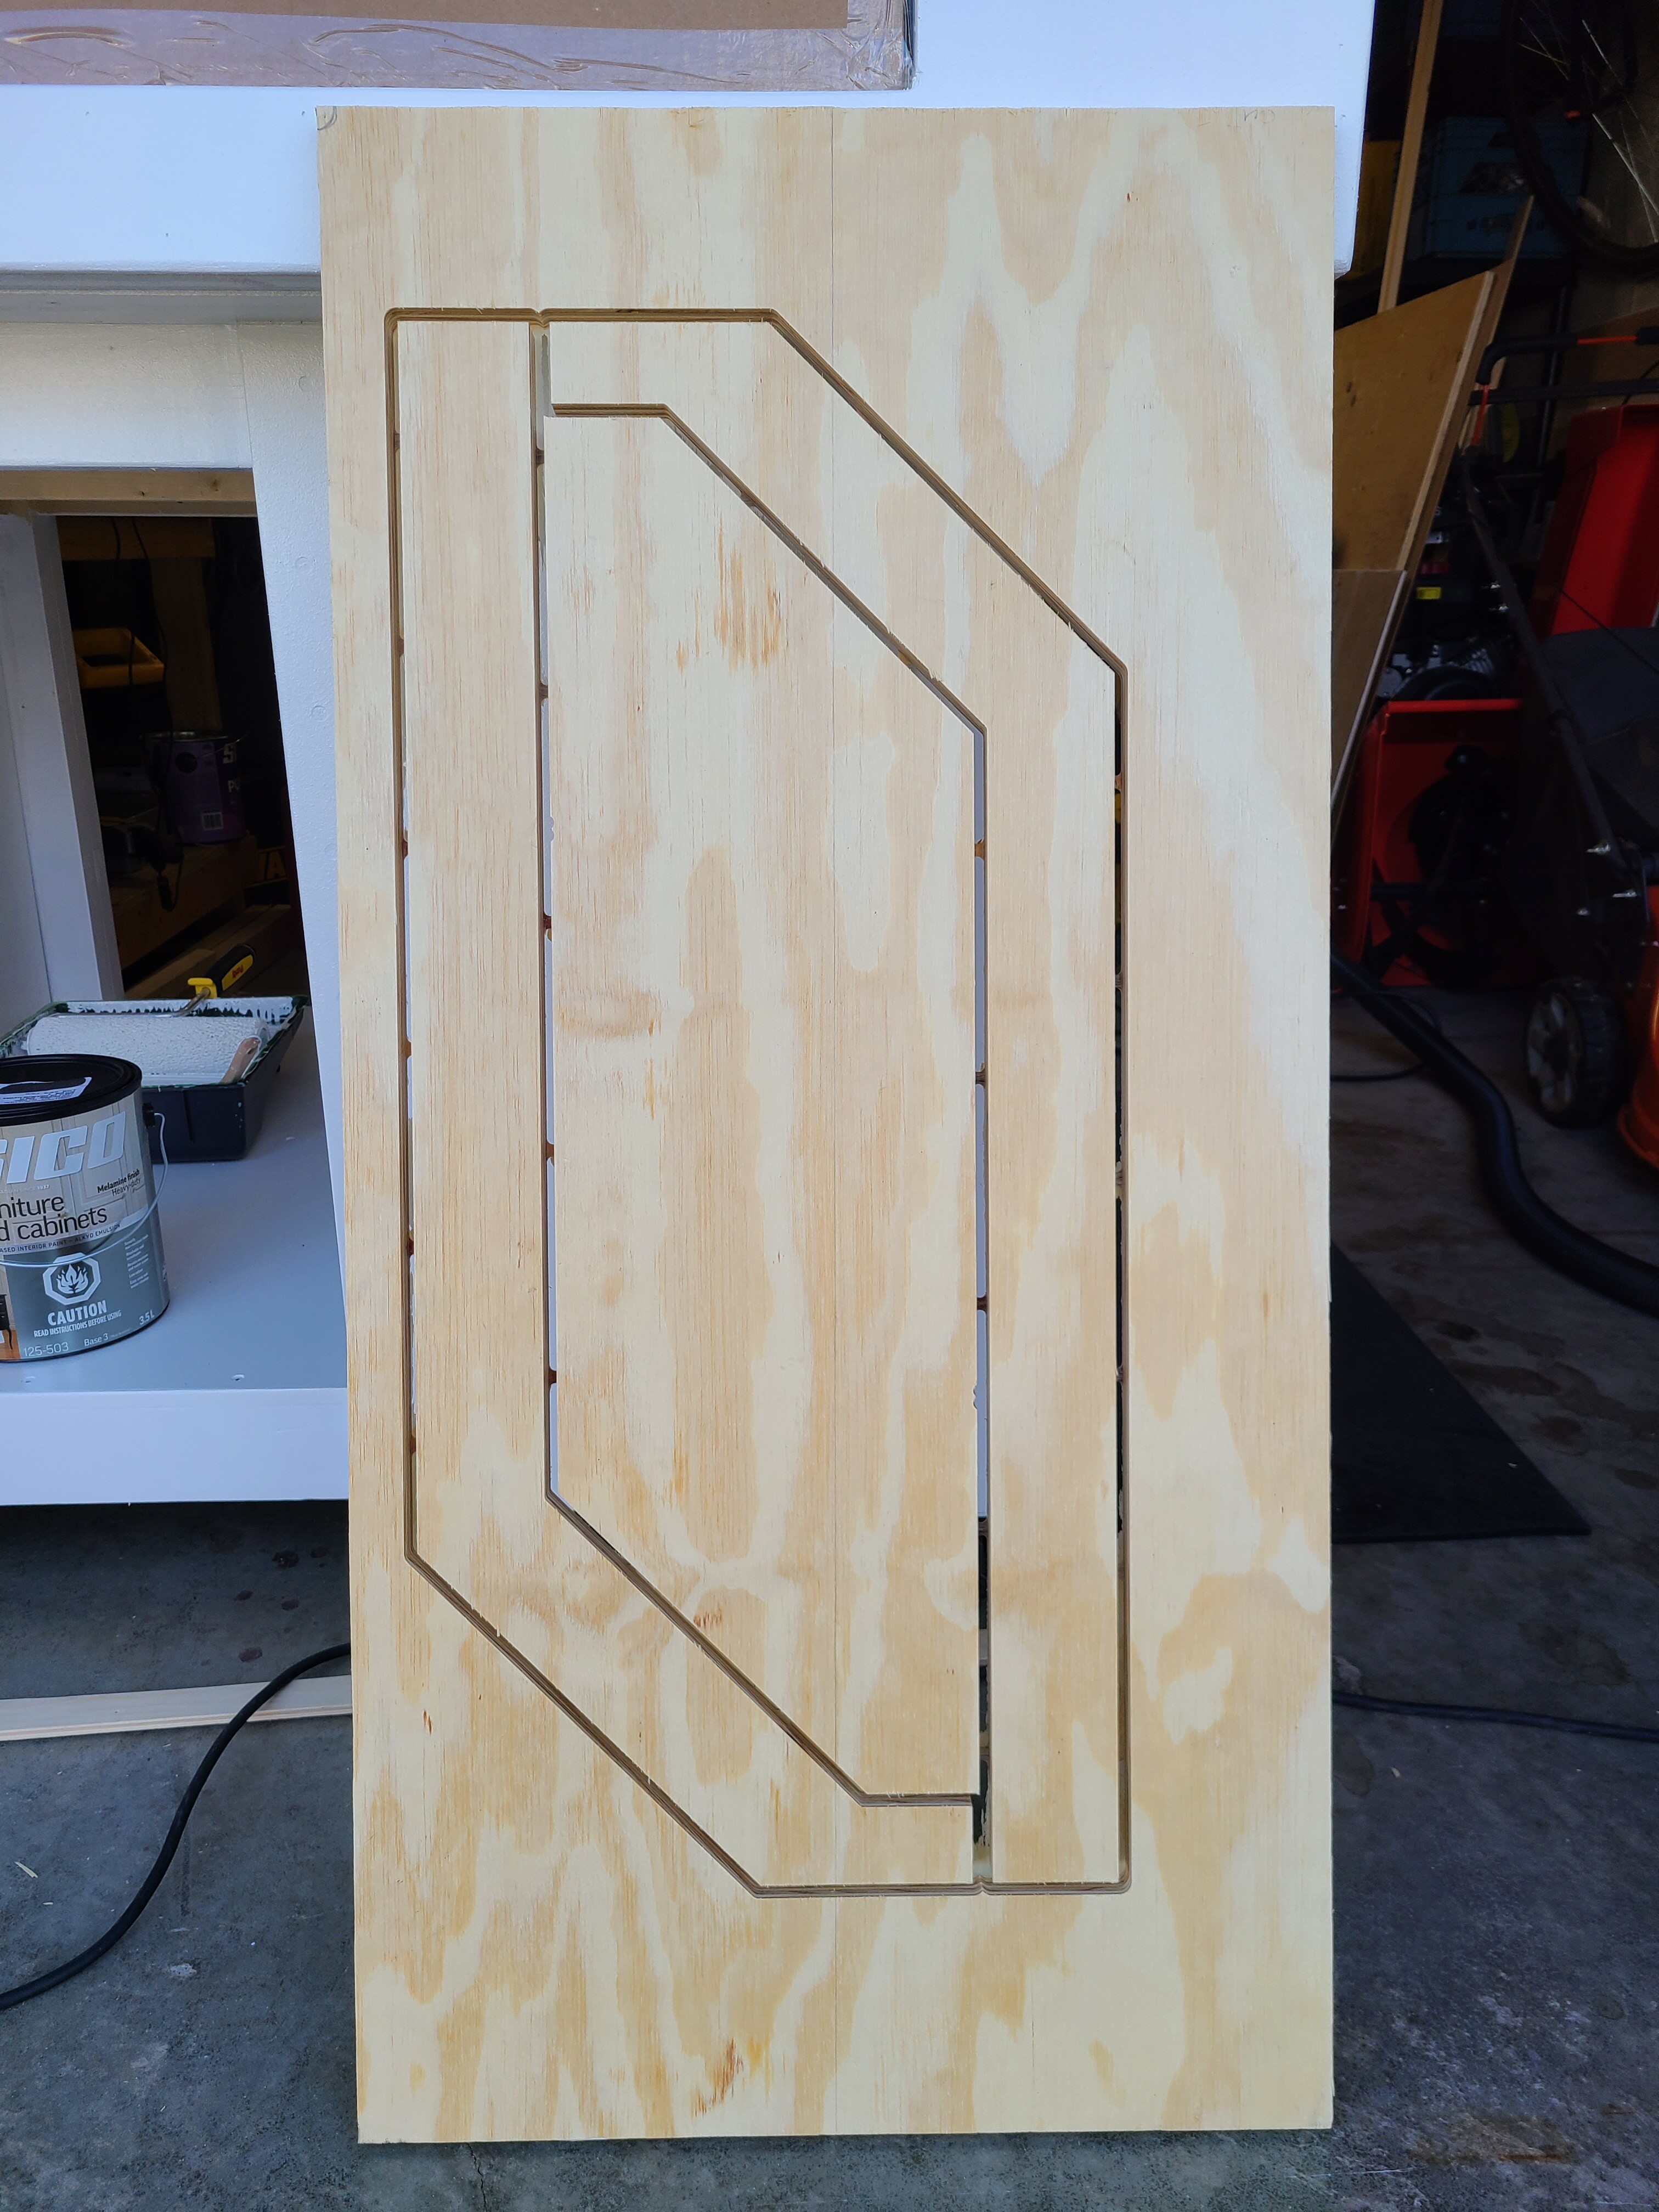
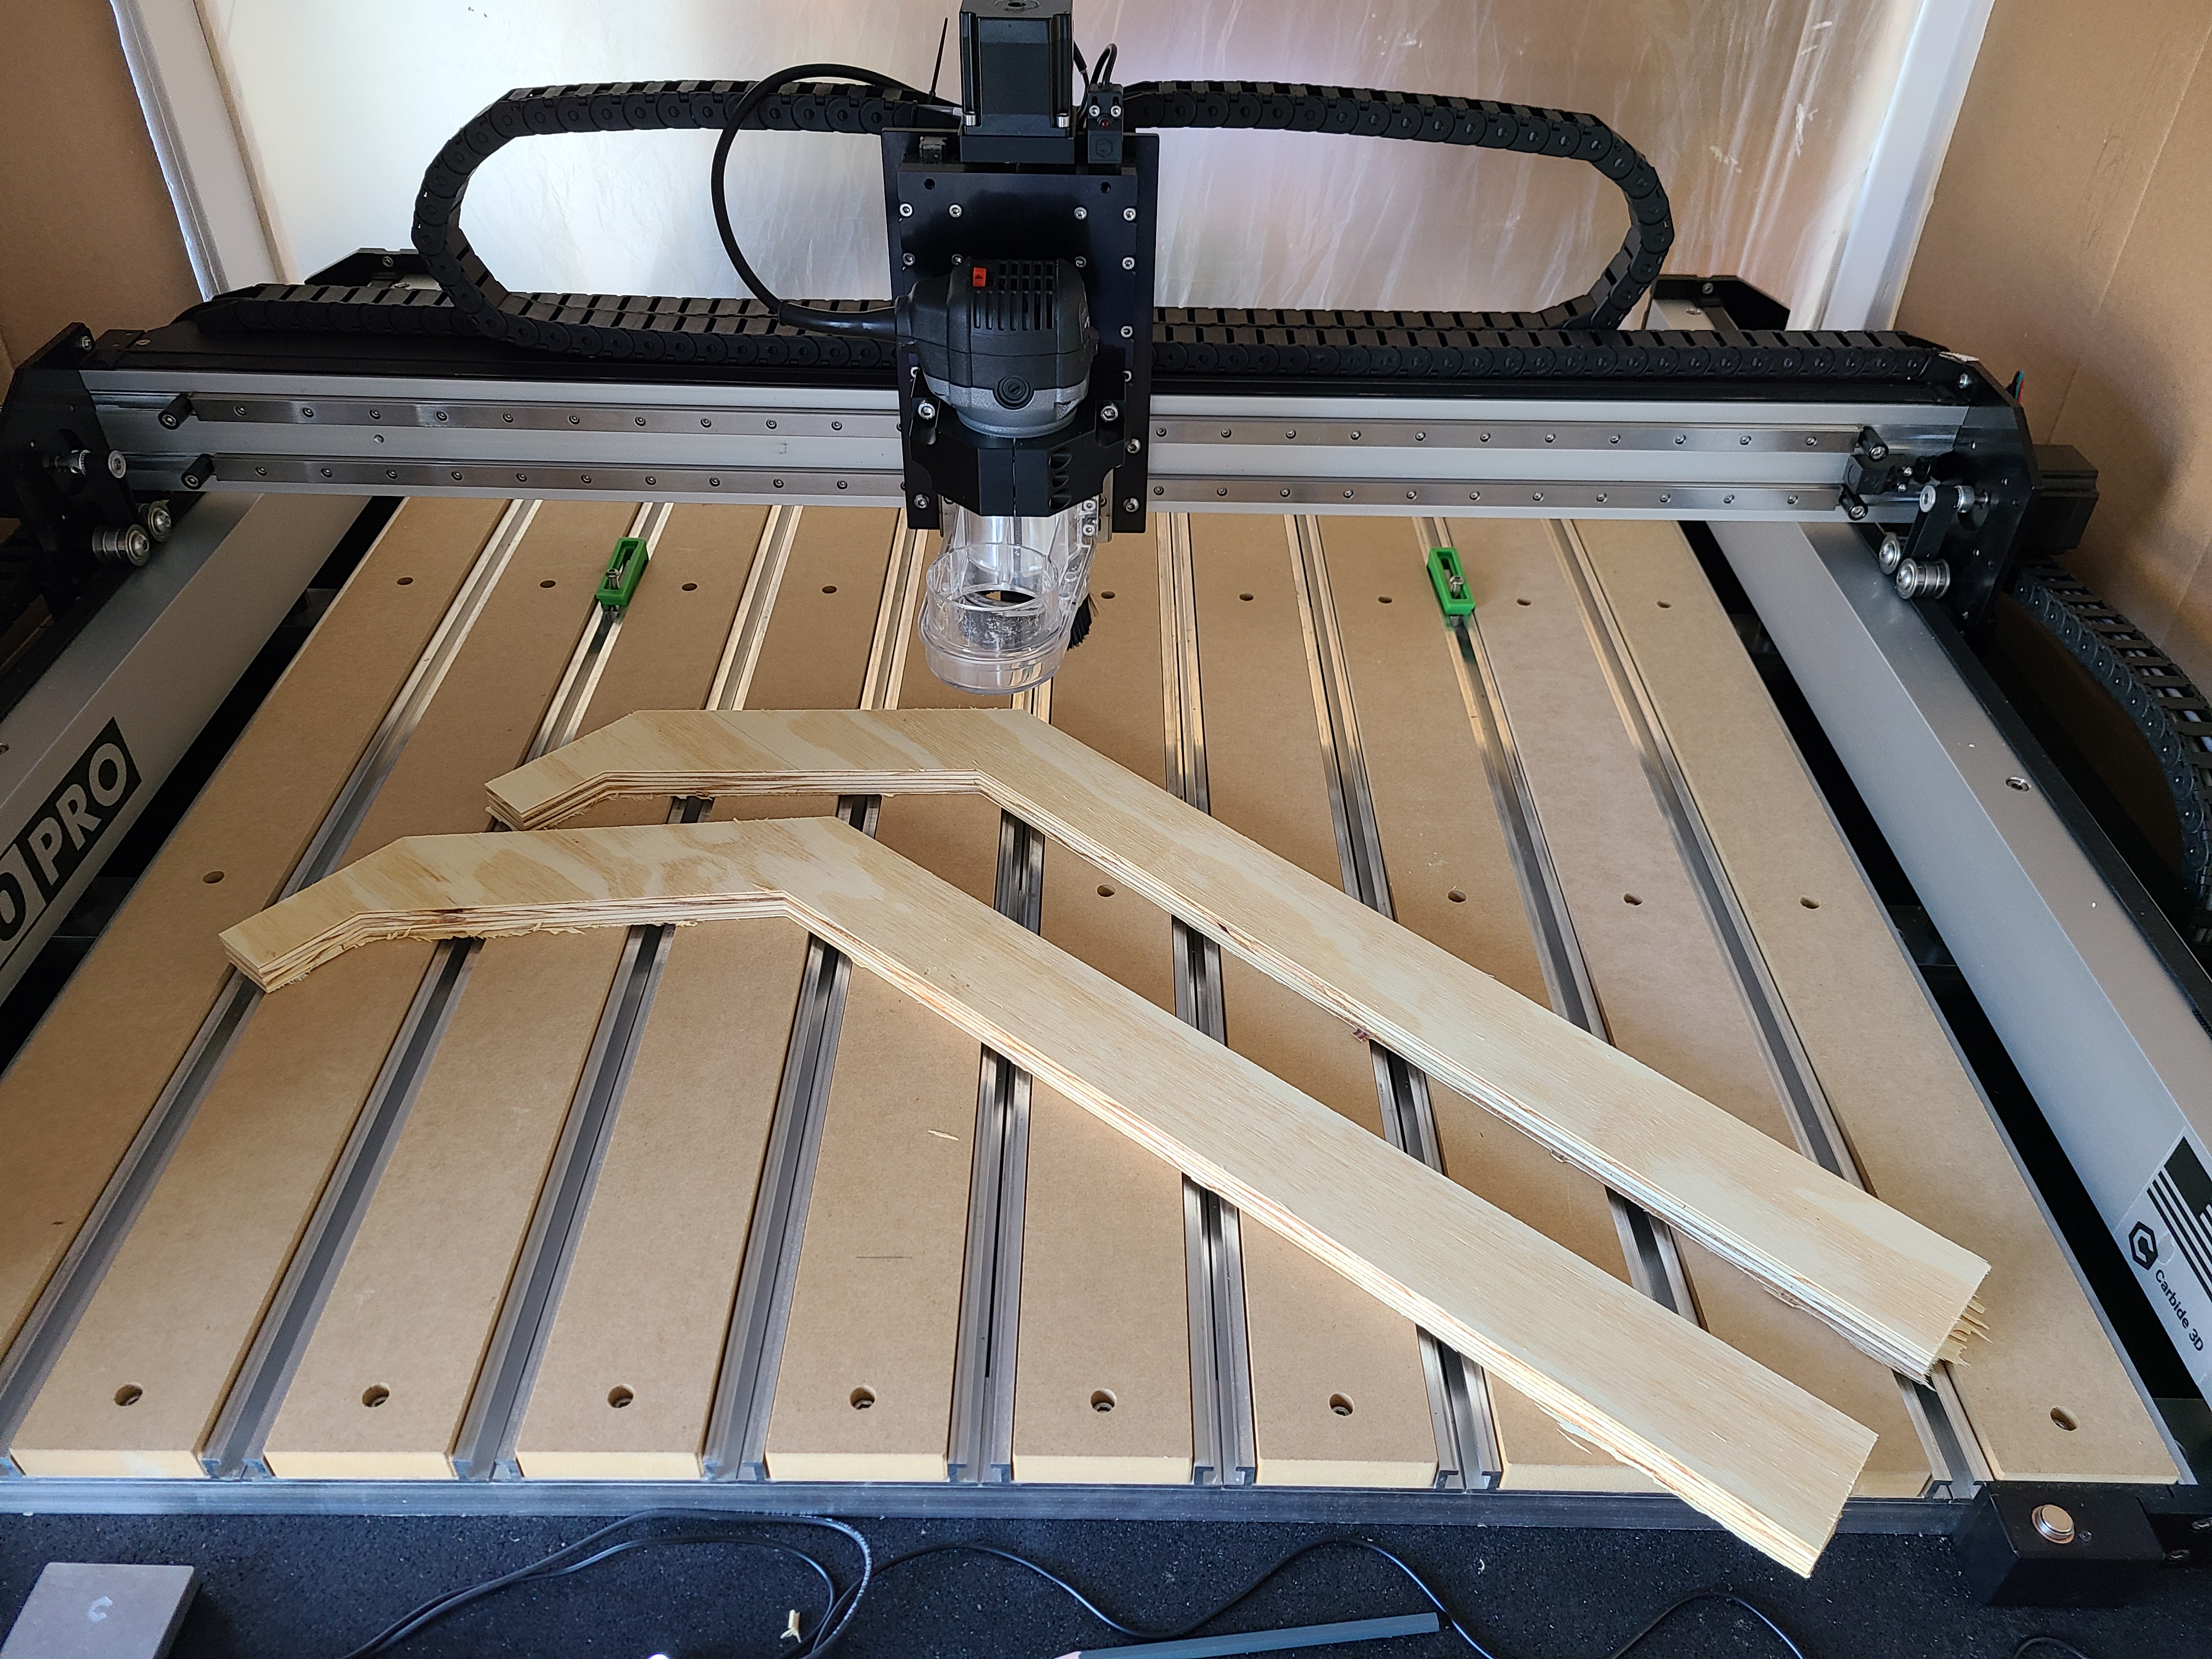
Well got my first job done on the Shapeoko Pro and although it was a conservative (30 minutes) first attempt I feel it went fairly well. As I didn’t dial in my machine yet or even level the spoil board the final result was a contour that cut through my stock leaving a few spots with onion skin and better yet no marks in the spoilboard. I certainly could have placed the parts better for less waste but I’ll do that when I cut out another 4 of these parts for the door. The only thing that let me second guess myself was the occasional clicking sound coming from the machine during the cutting. At times there was as few as 1 or 2 of these clicks while other times there were more like 7 to 10 clicks in a row.

3 Likes
A “click” may (or may not) indicate lost steps, what feeds and speeds/DOC were you running and how low did you have the sweepy ? Did the clicks occur near the end of the job ?
As suggested I looked up Winston’s material Monday video series and ended up going for a contour pass using the #201 endmill, RPM: 18000, feedrate: 1905mm/min, and a stepdown of 1.524mm or 0.06". Basically picked the middle of the road using Winston’s chart (listing hardwood, softwood, MDF). That said I’m pretty sure no steps we’re lost as there was not evidence of messed up toolpaths as the end results the parts ended up being the correct dimensions (xy plane) and the cut for the most part was through my stock or a thin onion skin and no toolpath marks left on the wasteboard. Pretty sure the slight variance in cutting all the way through would be fixed if I ran the job to level the wasteboard and square/tram the router.
1 Like
Yeah definitely not lost steps at those settings, on a Pro of all things.
Probably some other minor thing that is not important to worry about. If you end up having a repeatable way to produce those clicks, you could try and air job with the router turned off, to isolate the source of the clicks more easily.
LOL, baby steps. Learning to crawl before I start to fly.
I’ll be cutting many more parts after I get some sleep to assemble the door so will keep monitoring it but I’m thinking if it continues I’ll just byte the bullet and buy that $100 1 gallon of Vactra No. 2 way oil from Amazon.ca (Canadian) and give that a shot if the clicking is still around after a few more jobs.
1 Like
With my other little projects completed I’m back at the enclosure project and made some progress on the door tonight. That said I’m getting close to that point where I’ll need to bend a 2’ x 4’ x 1/4" polycarbonate window and I’ve never worked with this stuff. The research I’ve done so far indicates I can bend this stuff either cold or hot. If I go cold I’d likely need a break press to deal with this thickness of material and I do not have that available. The heating route seems to be susceptible to bubbling and possibly a yellowing of the material which is not great. As an alternative I’ve been considering using the CNC to cut down 1/8" (half the thickness) where I want the bend which would likely make cold bending the glass fairly easy by hand and would follow the cut line. Ideally I would use a 45deg V-bit which I could order. Then once framed in place into the door frame I would fill the small gap at the bend line with some polycarbonate filler/epoxy of some sort. Anyone with polycarbonate experience can weigh in here and let me know if this is a sound plan or not?
The amazon boxes are a good recycling of material. Will you eventually use plexiglass?
1 Like
The look of the Amazon boxes are growing on me but… they are definitely temporary. Going to finish the door so combined with these temp panels will contain dust until I get around to fabricate the removable side panels. Was considering Polycarbonate panels or a hybrid between the sandwiched panels I’ve done for the rest of the enclosure with a design cutout and filled with pieces of polycarbonate. Haven’t decided on this detail yet.
2 Likes
With cardboard you can cut little viewing doors in them and open when needed. 


3 Likes
I have a question about the use of poly. Can that increase the potential for static electricity to build up?
or will you be using an “Anti-static” poly?
Never worked with the stuff before so I guess I’ll find out soon. Probably by the weekend I’ll cut a 1/8" grove into the 1/4" sheet to facilitate a nice clean 45 deg bend and use Gorilla Glue clear epoxy to fill in the groove once in place. After that I should be using the machine with the door on so I’ll let you know if I start getting shocks from opening the door or experience issues like disconnects which to date I’ve had no issues. Also the polycarbonate sheet I got I do not believe it’s anti-static or ESD polycarbonate.
2 Likes
Did not know they made anti static poly. The walls/windows are insulated by the wood walls. However they can attract dust in the air. As long as your router and dc are grounded the poly should not cause problems.
Good Luck with that bend.
The end-mill you intend to use for the groove,… is the point angular ? or round ?
I don’t know if it makes any difference, but rounded may be less prone to cause any cracks when bending?
You can bend polycarbonate pretty well with a heat gun and a little patience, if you find a good form to bend it over.
1 Like
@LiamN so you think a 1/4" thick piece of polycarbonate heated with a hairdryer would be feasible or should I get a heat gun to do it? As for a form its a 45deg so a flat surface like the workbench with a piece of plywood braced at a 45 over the edge would be pretty straight forward to setup. Then let the smallest dimension overhang and either let gravity work for me or support it until it’s ready to bend along the total width and then slowly lower until it reaches its final bend radius? Was thinking about cutting the grove and bend as I thought it would be the easiest and least likely to end up with a completely deformed/lob sided front window.
Edit: I guess worst case is I end up going back to a plastics dealer in the area and give them my dimensions and get the parts cut/bent to shape and just pay them to do it. Heck probably still end up being less expensive then the plywood.
2 Likes
If you’re going to cut it then I’d suggest cutting it all the way through with mitre angles and then fusing the joint back together with methyl methacrylate ( I think that’s the right stuff ) like you’d solvent weld acrylic sheet. That would give you a sharp corner.
For a bend, a little bit of radius is good unless you’re good at it. I’ve only bent 12" or so at a time in the past and I achieved that with a heat gun. Don’t cheat and use a flame, the surface reacts to that really quickly. I preheated mine in a washing up bowl of boiling water to get it warmed through.
This page seems to have some solid info, I was looking for the required bending temp as I remembered that it is well above water boiling at 1 atm
https://www.weetect.com/polycarbonate-bending/
“Usually, at between 155oC and 165oC, the heated region becomes pliable enough to be bent to the desired angle.”
Sounds about right for what I got with the heat gun.
There then follows a really useful thing I did not know
“With this sample so transformed, one can also check whether the sheet’s integrity has been compromised by the bend.
This is done by hitting the bend line with a hammer; if it breaks, then the set temperature was too low.
Therefore, you should adjust it upwards for the next sample, until one finds the sheet maintains its integrity despite such impacts.”
However, the video at the top of the page on cold bending suggests that you can get away with a lot more bend on cold polycarbonate than I have tried, so I’d take a small sample and start there. This guy seems to know his stuff on bending plastics.
")
2 Likes
If you only have a hair dryer try it. I dont think a hair dryer would get hot enough but why not give it a try. As others pointed out you need a bending form. If you just heat up the glass and try to bend without a guide/form you will end up with an uneven fold/bend. Remember when you apply the plexiglas to the form it will cool it down so after you get it bent give it a little more heat to set the bend. Try to not get super close to the plexi with a high output heat gun. You could get spots too hot, keep the heat moving and it may take a little while to get the plexi flexible enough to bend it. The thinner it is the faster it will heat up. If you have a partner that can move the heat gun and you bend it will be easier. Do not just focus on the bend point but a couple of inches on each side of the gun. The whole sheet does not have to be heated. With a partner you will know when it is hot enough because it bends. Have some rags or paper towels to smooth the bend but be careful the plexi is hot.