Carbide Community weekly Build Competition #3 (3/30 /17 – 4/14/17)
Rules: Project must be started and completed within the specified competition dates. No previous projects.
Theme: Skill development - Inlay – Since most of us are relatively new to CNC, I thought it would be cool if a couple of these competition themes could be based on learning and perfecting specific machining skills/techniques. This week’s competition will focus on inlays. Show off your best inlay work by either creating a new project or enhancing an existing one that doesn’t already have an inlay. It could be anything (sign, box, handle, etc). It just needs have some awesome inlays! Be sure to include as much detail as possible about your process so we can all learn together.
Material: Any
Machine: Nomad or Shapeoko
Tool: Any
Required Info in your Post:
Photos! The More the better.
A) Materials used
B) Cutters
C) Design software used to create your project
D) Machine used
…And these additional details I would think would help earn votes from the Community but are not required:
E) Work-holding
F) Finishing
G) Sourcing of supplies is often very helpful.
H) Concept Sketch
I) Machining Time
J) Carbide Create .C2D file
Voting will be done with the heart, the post that gets the most likes wins.
@robgrz Rob Grzesek Said carbide3d will provide the prizes.
The winner each week will start the challenge off for the following week so be ready with ideas. You will get to decide the theme/rules/tools/materials and whatever
The idea here would be something simple (its only a week) and something most people have on hand, ie scrap/scrapwood/pallet wood would all make great weekly choices.
This weeks build is from 3/30 /17 – 4/7/17 post as many projects as you want
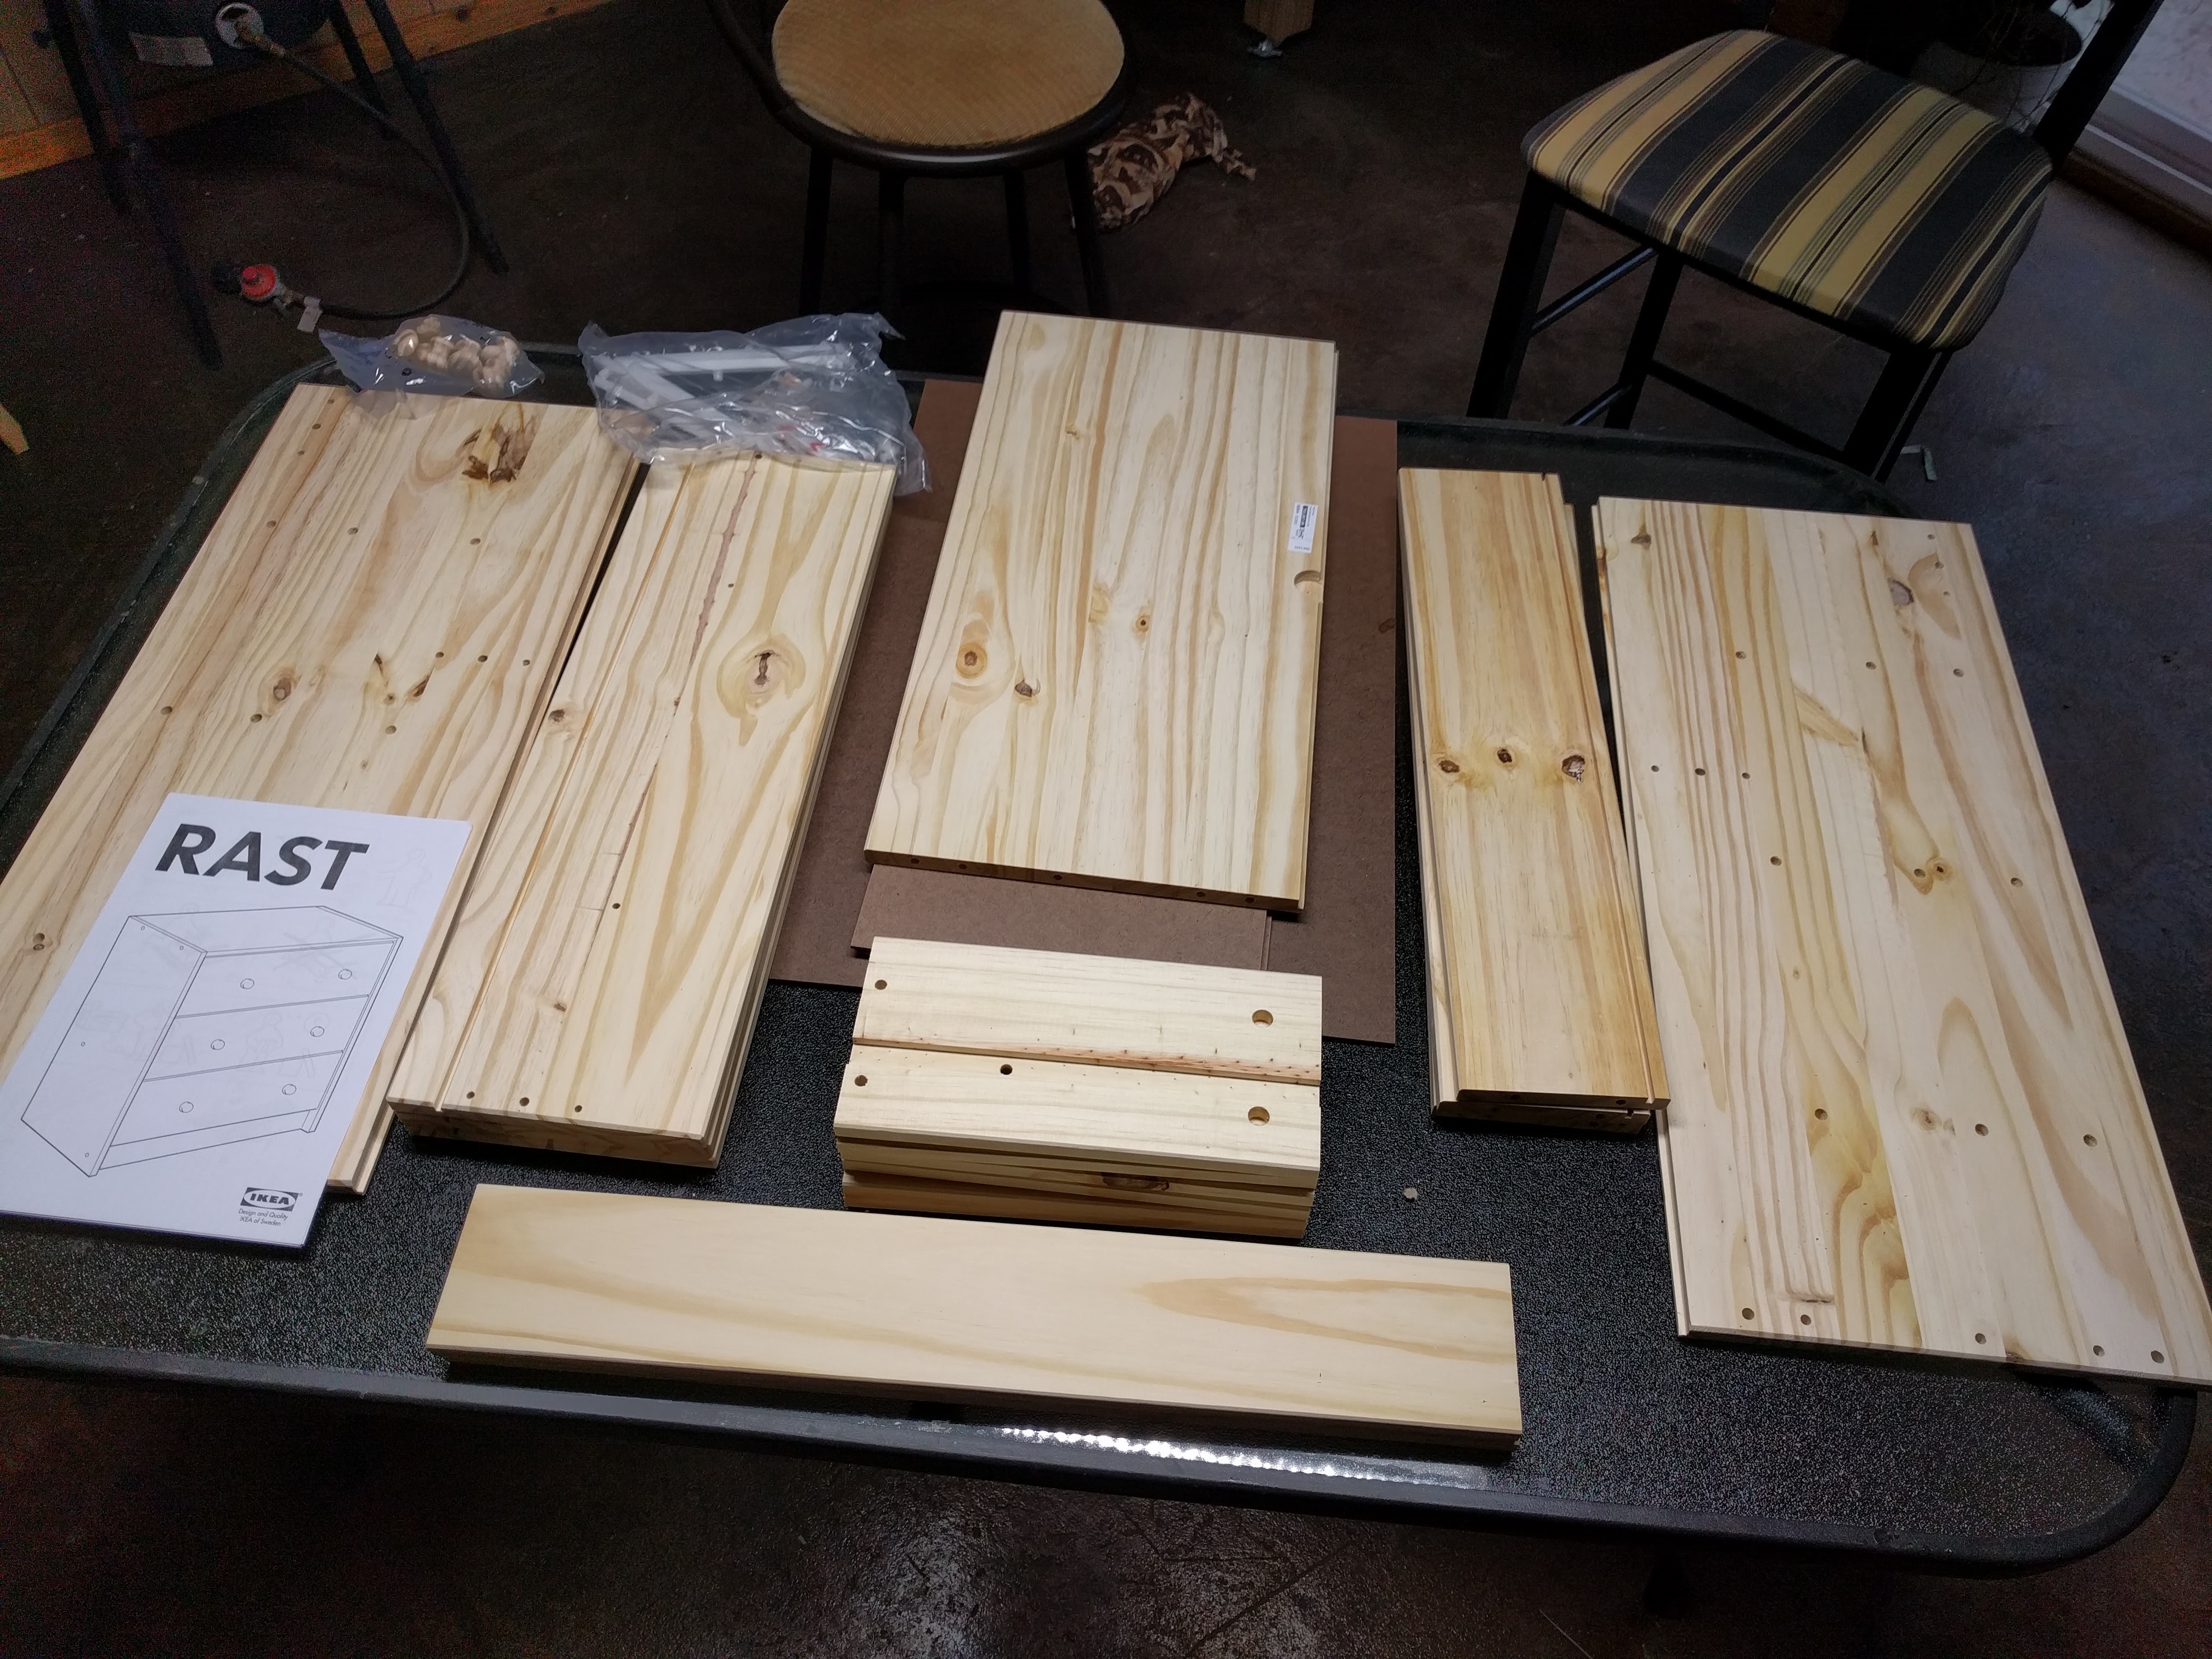
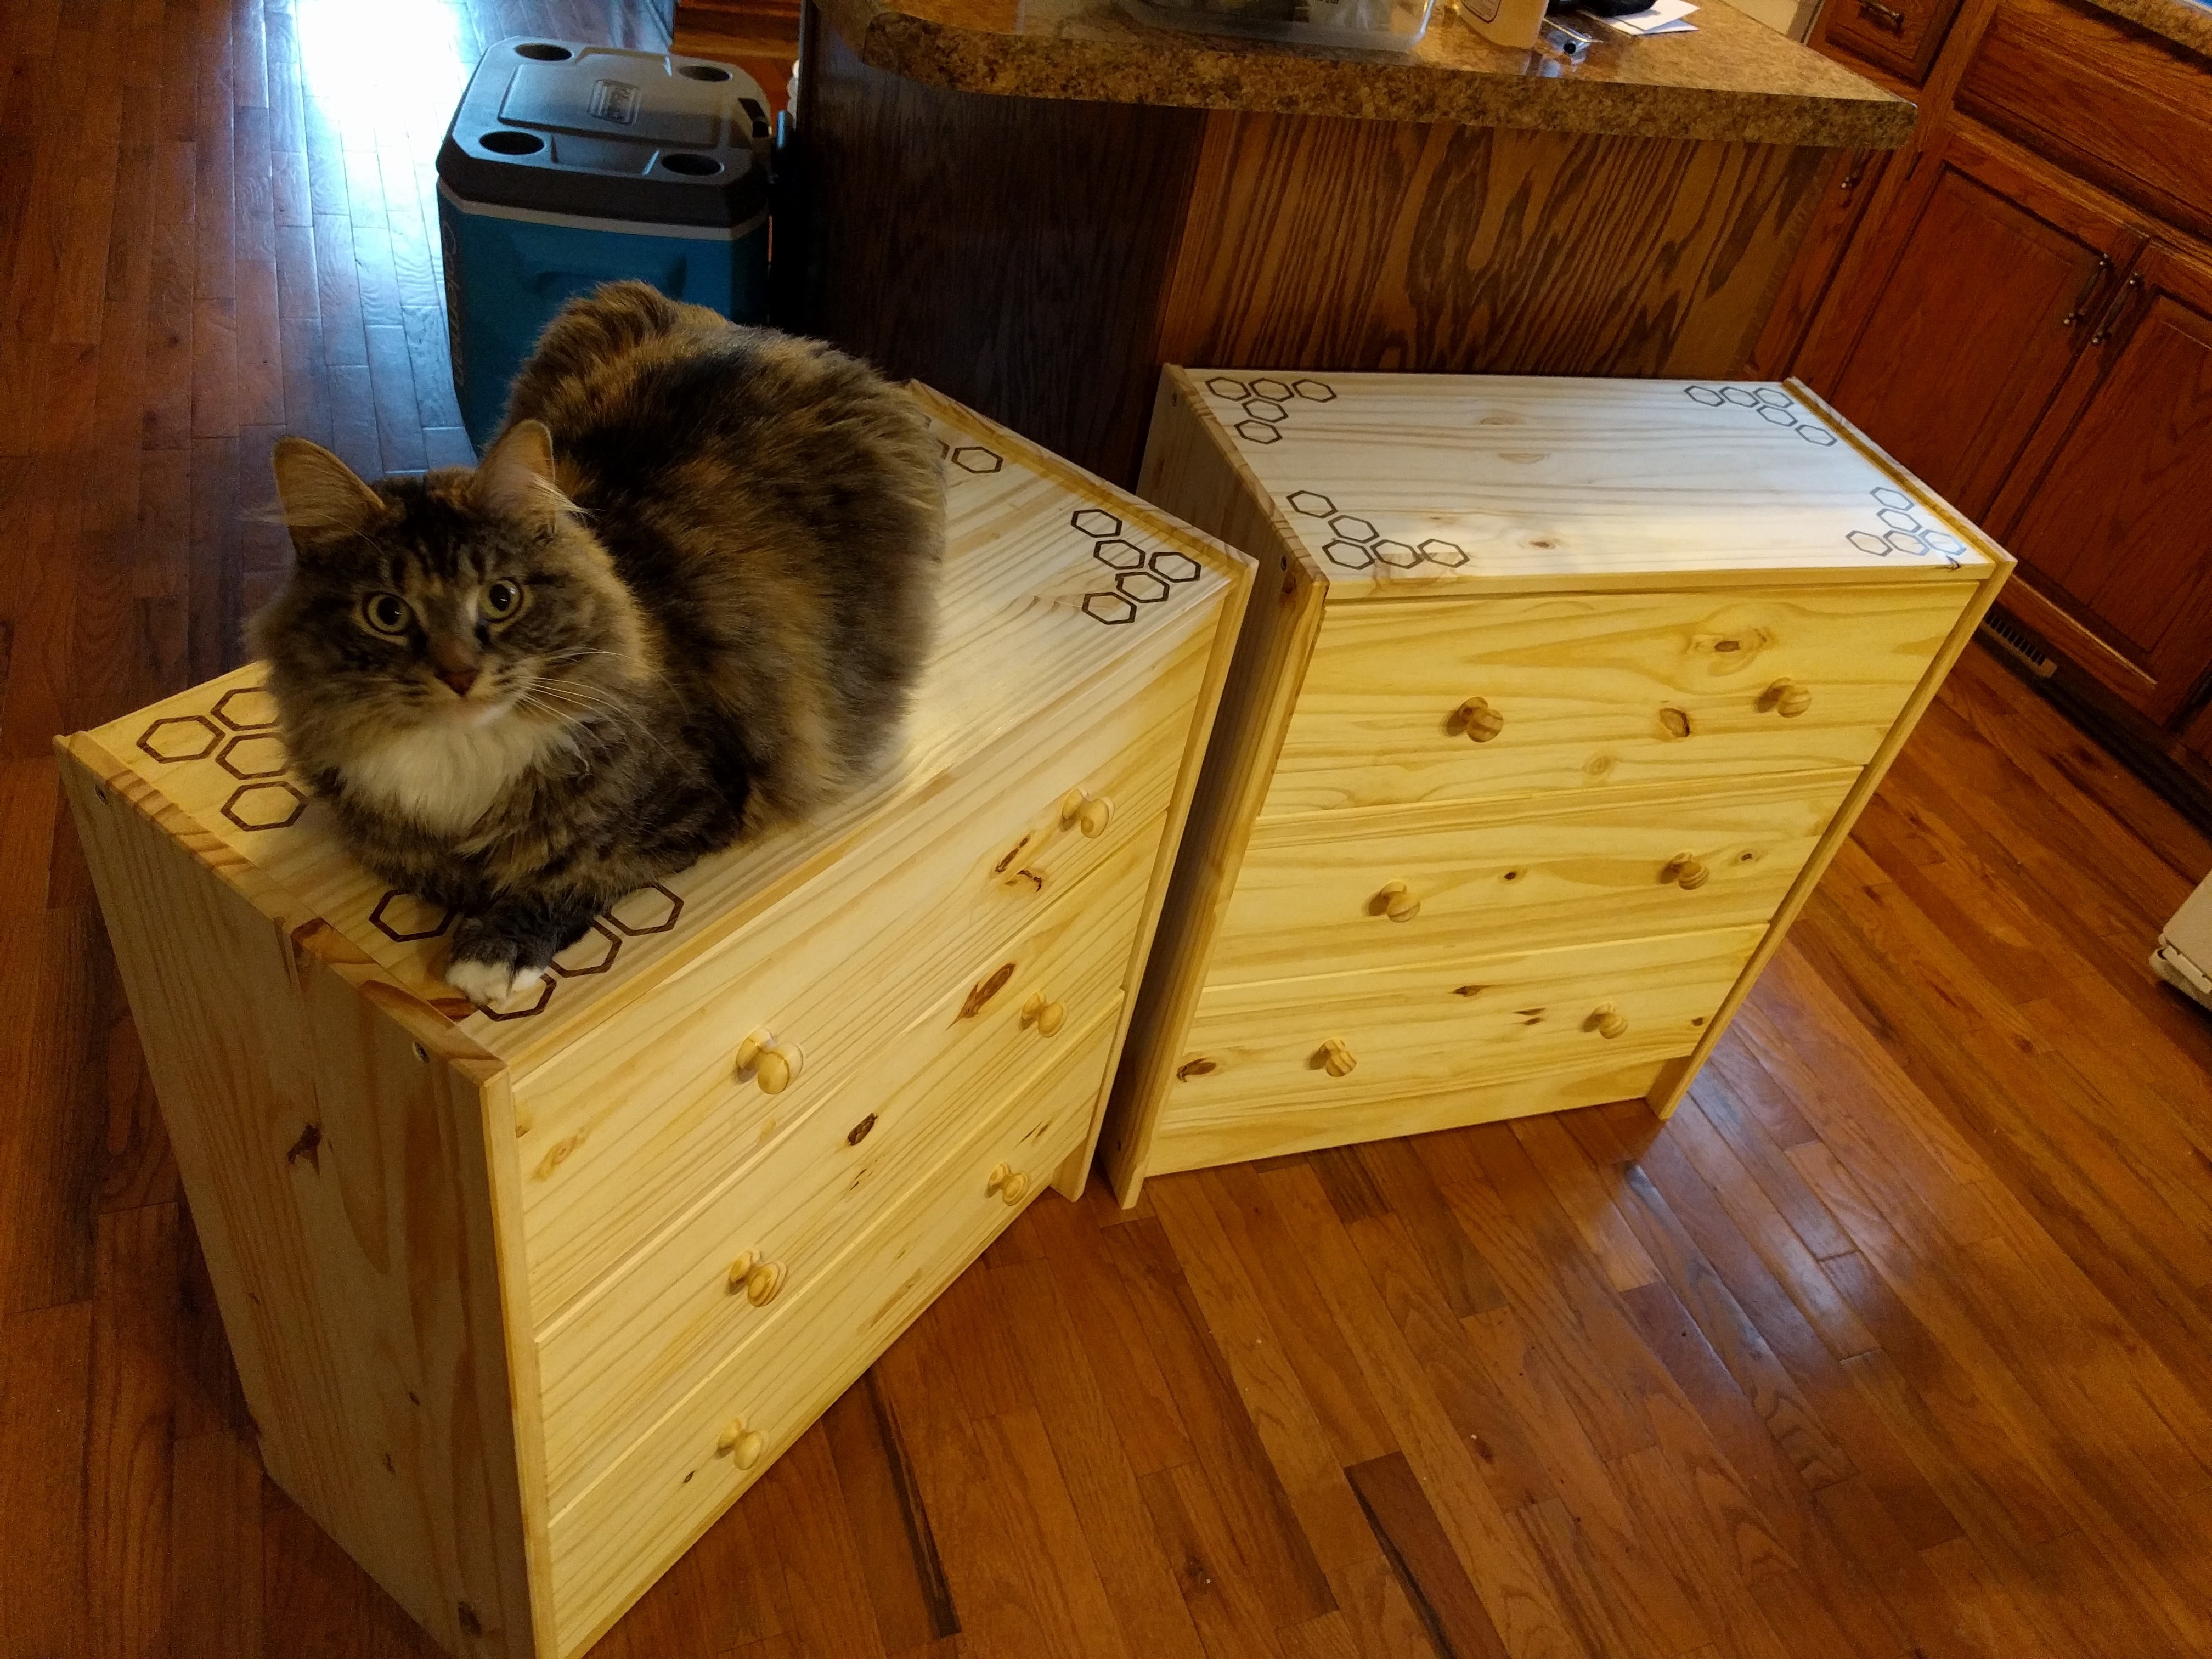
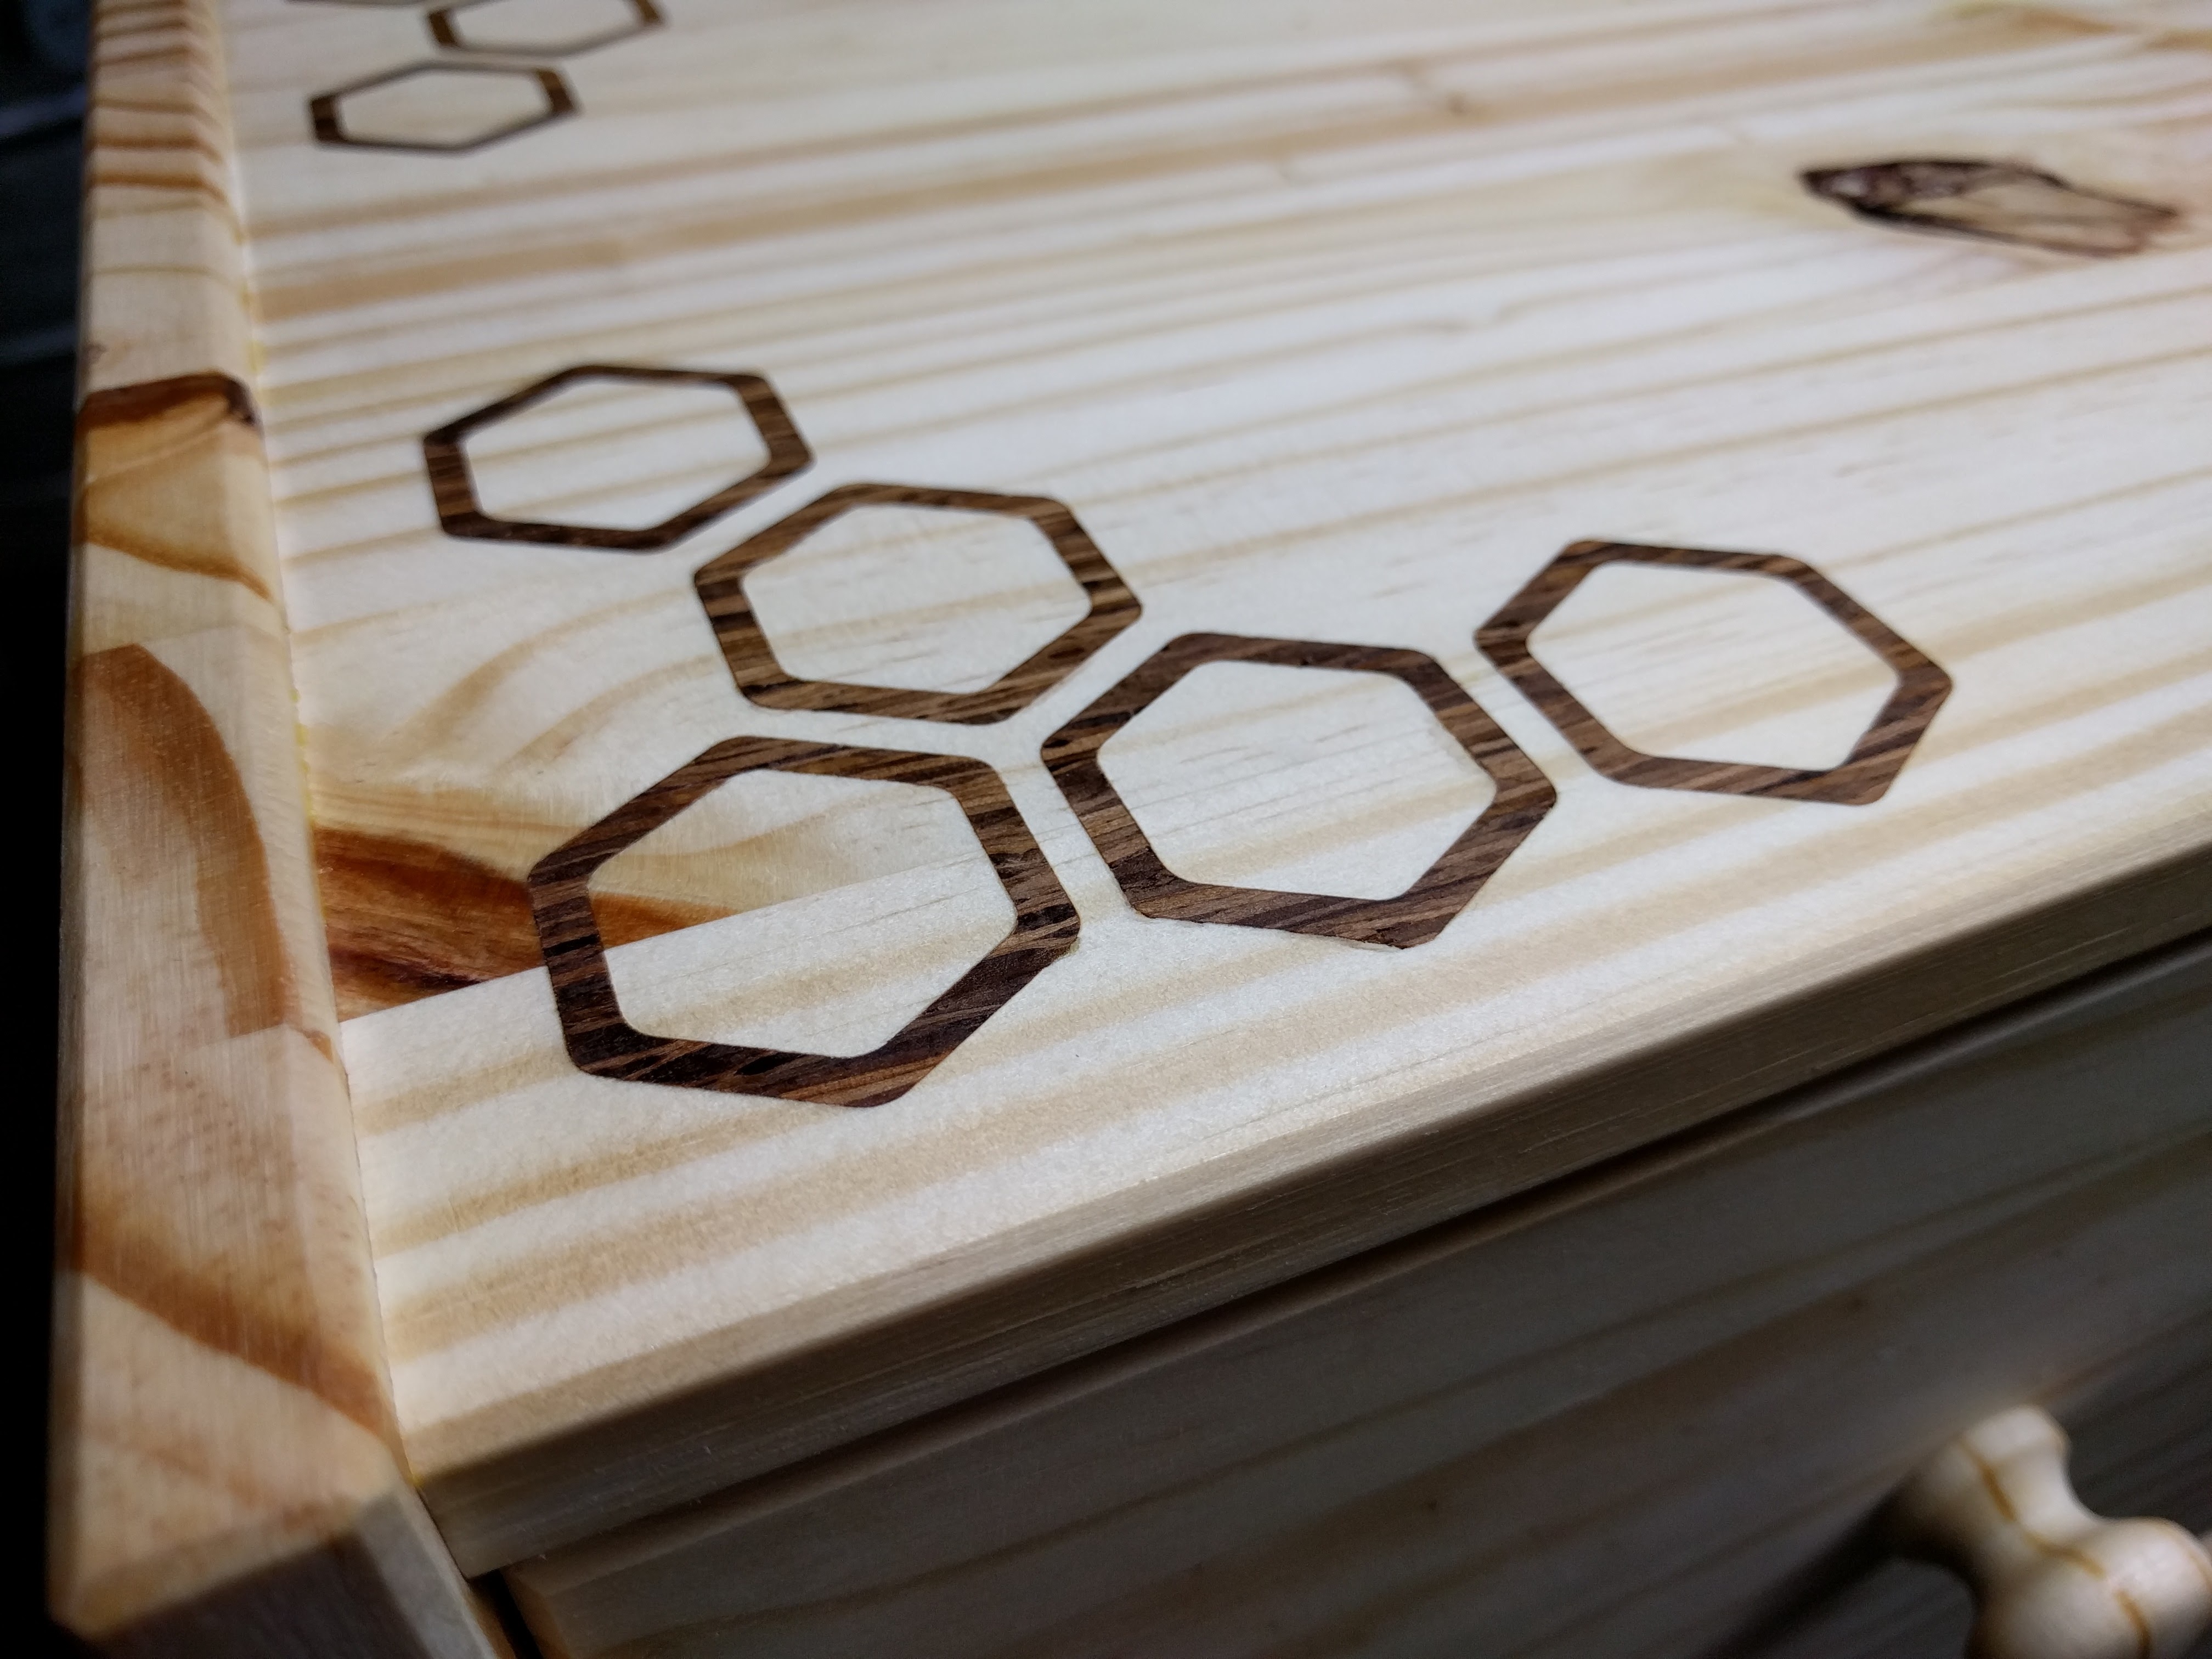
I started this project this morning around 8am, and put one coat of finish (shellac) dry to touch at 5pm. I used zebrawood for one and walnut for the other. If I had to do this again, I would make the inlay pieces bigger for the zebrawood. The grain is just not tight enough to hold together while being machined so thinly. I did also use wood glue where IKEA does not mention it.
The base of this project builds off of an IKEA RAST 3-drawer chest.
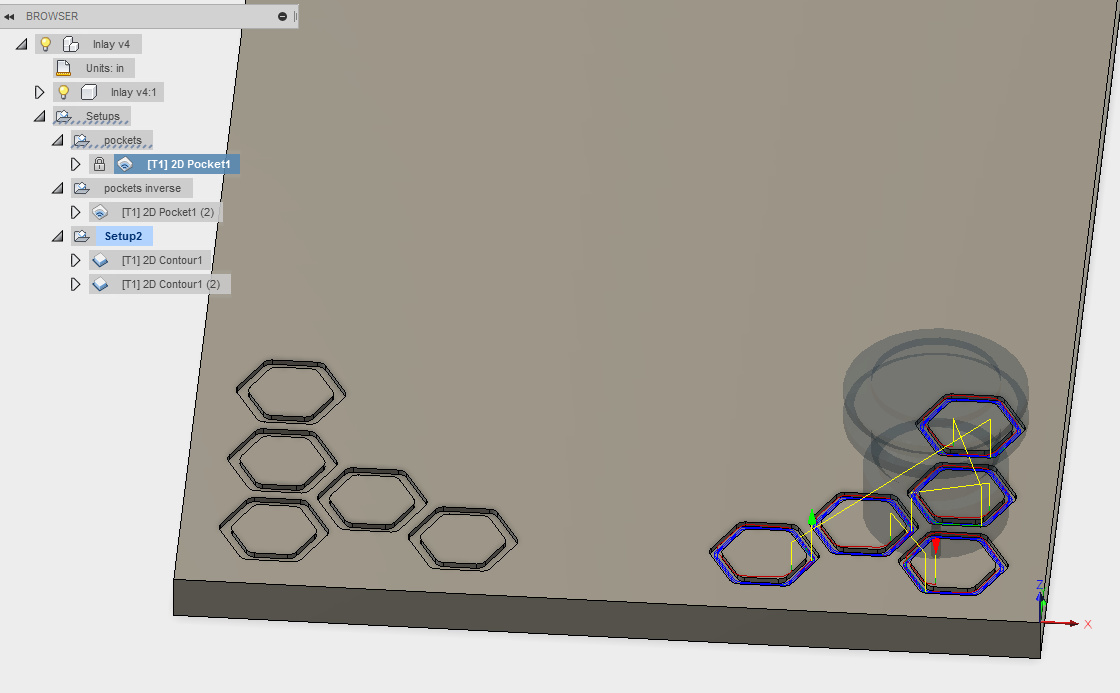
The first thing we need to do is create some type of model/gcode. I am familiar with fusion 360, and used carbide motion to send the gcode. Please note the starting position in the screenshots.
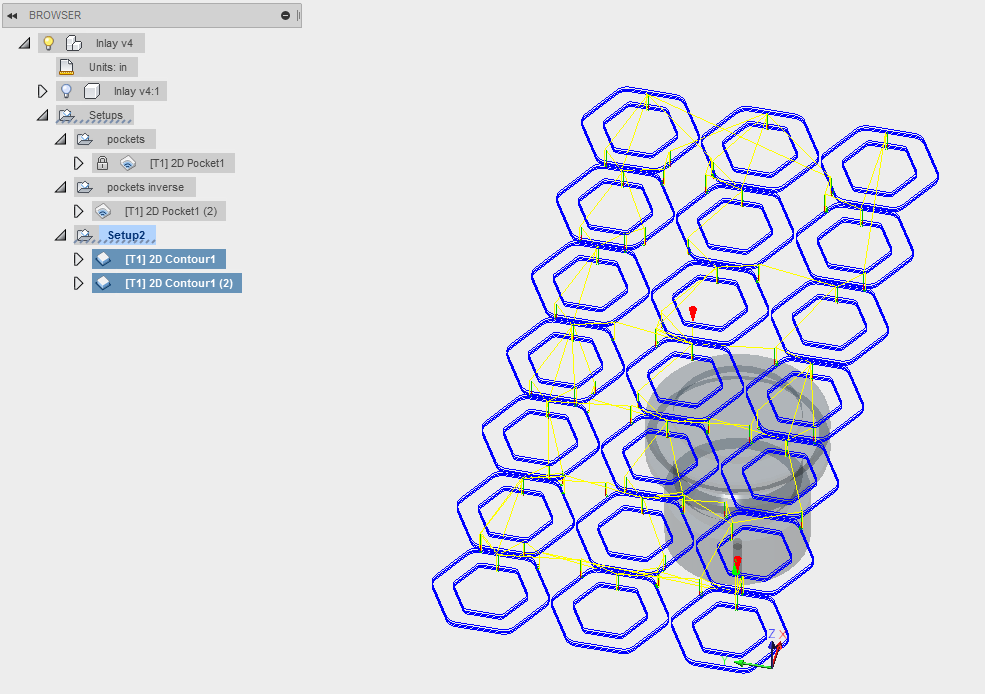
Run 01-inlay pockets.nc to do the one side. Rotate your work piece, rezero and run again. Since we are looking to have a symmetric pattern we can get by with just 2 gcode files.
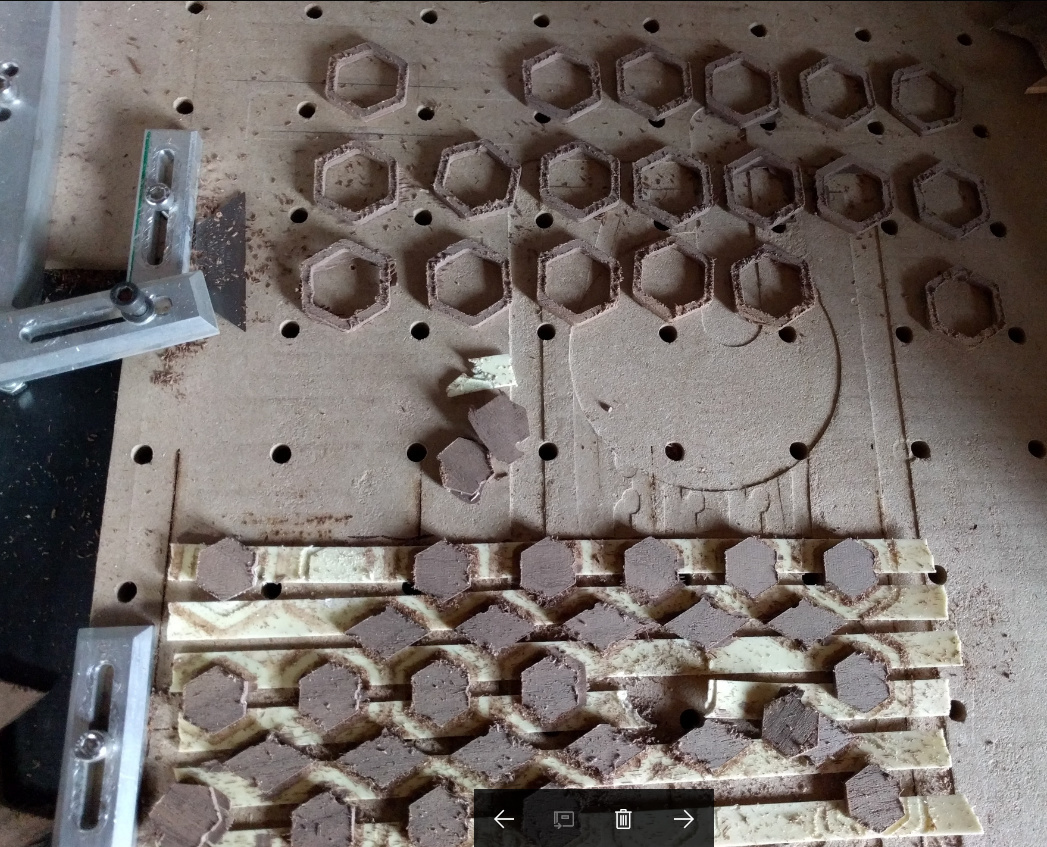
With the pockets done we can now move to the inlay part. Run 02-Test Cut for mating piece.nc to cut a single inlay piece. I used this to test and make sure depth went all the way through. Run 03-Mating Pieces.nc to cut a bunch.
Both run files don’t use tabs, so make sure you have a good hold with tape or hot glue.
At this stage you will have all the pieces hammered in, but too thick. If you have a fancy sander you can use that. I don’t have any of those fancy tools so I just used my Shapeoko with a .25" spiral downcut bit. I positioned the machine somewhere in the middle and jogged it down .1mm at a time until it was super close to touching the pine. I then just slide the board around while the bit was on to “plane” away the waste.
Once most of the waste is out of the way finish with a palm sander. I started at 120 grit and ended at 220 grit.
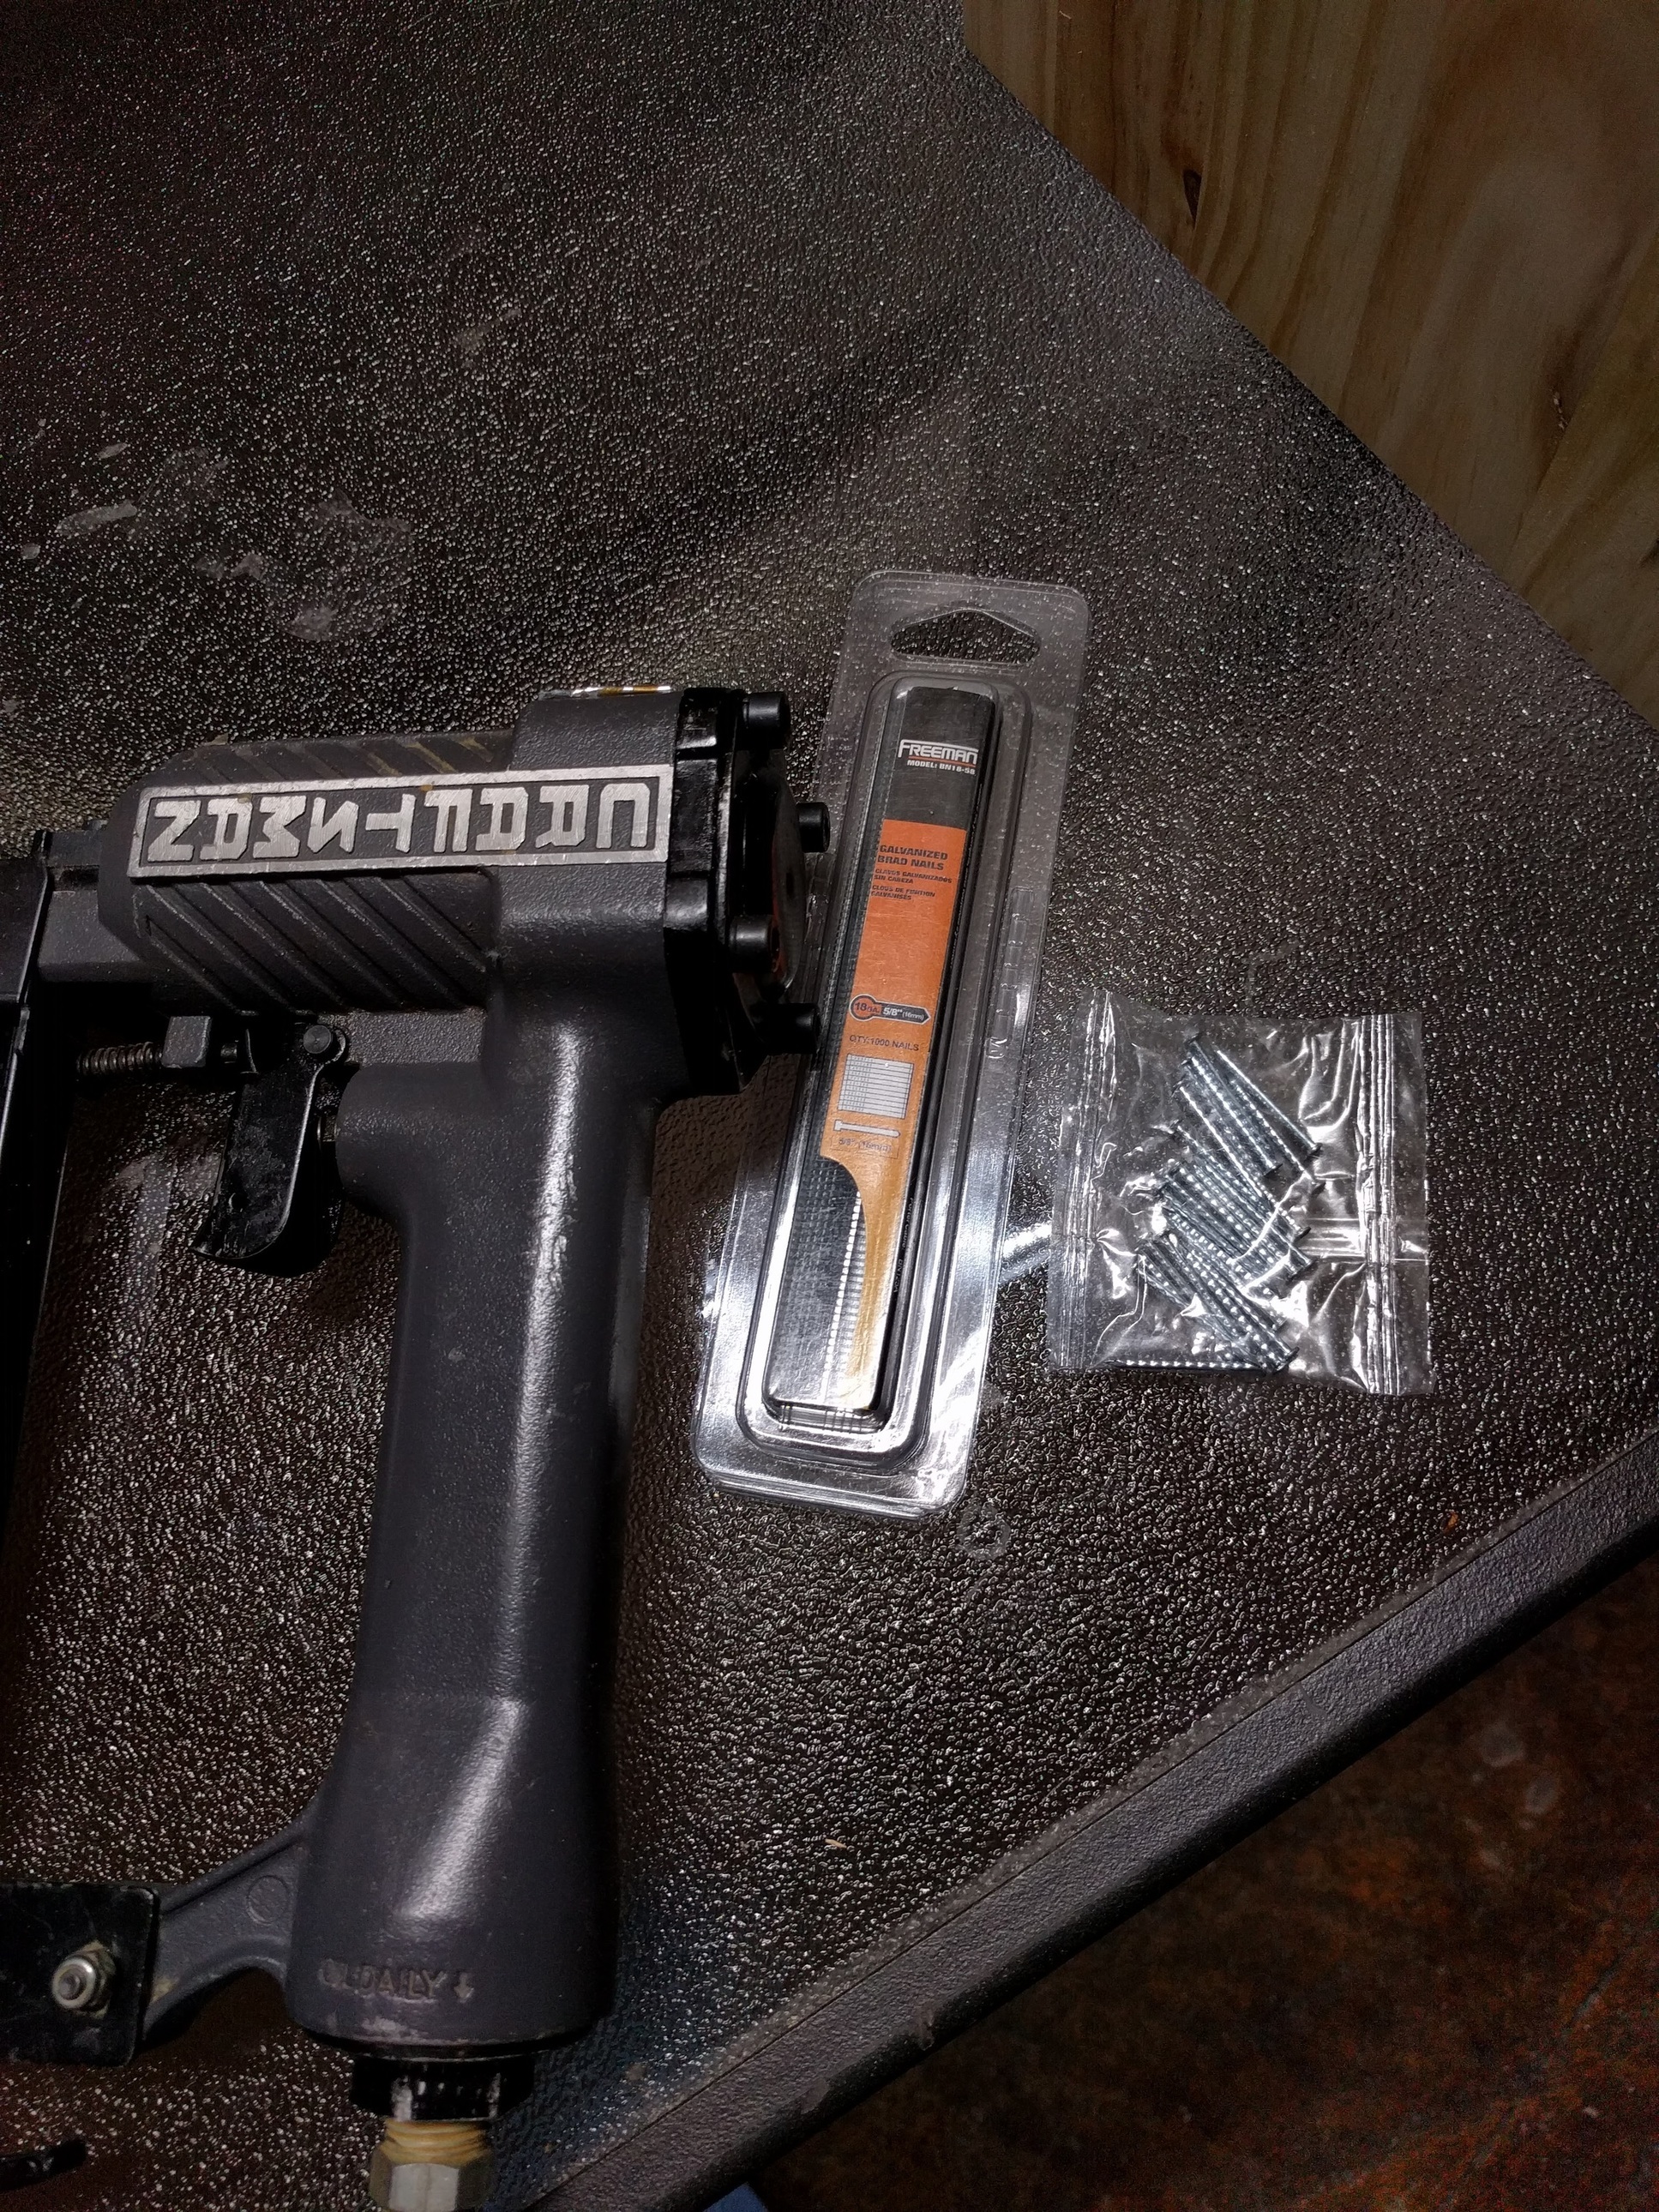
Optional: IKEA recommends using the nails for the backer boards that come with. I couldn’t help but use a recently rebuilt air gun for this. Much faster and less risk of nicking your project.
Thanks for extending this andrew,I came down with the flu over the weekend and will not be able to cut the project i modeled in cc,I will post the C2d later incase others want a quick project to play with,wasnt a total loss tho i see @atrueresistance posted a wonderful ikea hack.
Project name: My first inlay
Materials: a serving board(wood is from Miele dishwasher crates that were glued and planed), Walnut and cherry.
Work-holding: masking tape and super glue.
Cutters: 60*v-bit(Lee Valley’s sign making bit and .0625" flat endmill(#112 from carbide3d).
Software: Vectric’s Aspire. and Carbide Motion
Machine used: Shapeoko3 XXL
I wanted to do something for the new owners of the golf course I am a member of. I thought of a serving board with their logo inlayed in it, so I got started.
I grabbed their logo from the website and brought it into Aspire. I made the vectors from the pic and made a few adjustments until I was satisfied with the look. once it looked good I started with the toolpaths. I started with the female toolpaths and then the male toolpaths. With the female settings I went with a depth of .2" and the male the start depth was .1" and cut depth was also .1". I got these numbers from a video I watched but remember whos video it was. I saved the toolpaths and loaded them into CM.
I secured the wood to the table and zeroed the machine and started cutting. I did have to change the bit before cutting the next piece, did that with all pieces. My settings for the vbit was 50ipm( I like it slow seems to cut better) and the endmill was something like 70ipm. while it was cutting I did play with speeding it up and slowing it down in Carbide Motion.
Once the cutting was done I glued the walnut to the serving board and waited till dry. Once dry I cut the walnut off and sanded close to flat. The serving board went back on the table for the flag cut(had to re-zero for the flag). now I glued the flag in and waited until dry. cut it off and sanded it flush. I did put mineral oil on it and will be finished with oil/beeswax mix.
Thanks for looking and any questions just ask.
These contests are great places to go and learn!
I just learned 2 new ways to machine inlays.
I love how machinists think outside of the box.
I worked 22 years with millwrights, and industrial maintenance.
I always said "Even if we’ve got to build a machine, or structure to work on a machine, we can do it"
Why do I think fabricators all shuffle around with their heads down in deep thought?
Cause there’s a lot of ways to do something, but you want to choose the best plan.
It’s easy to spend hundreds on a $10 job, or hours on a 10 minute job