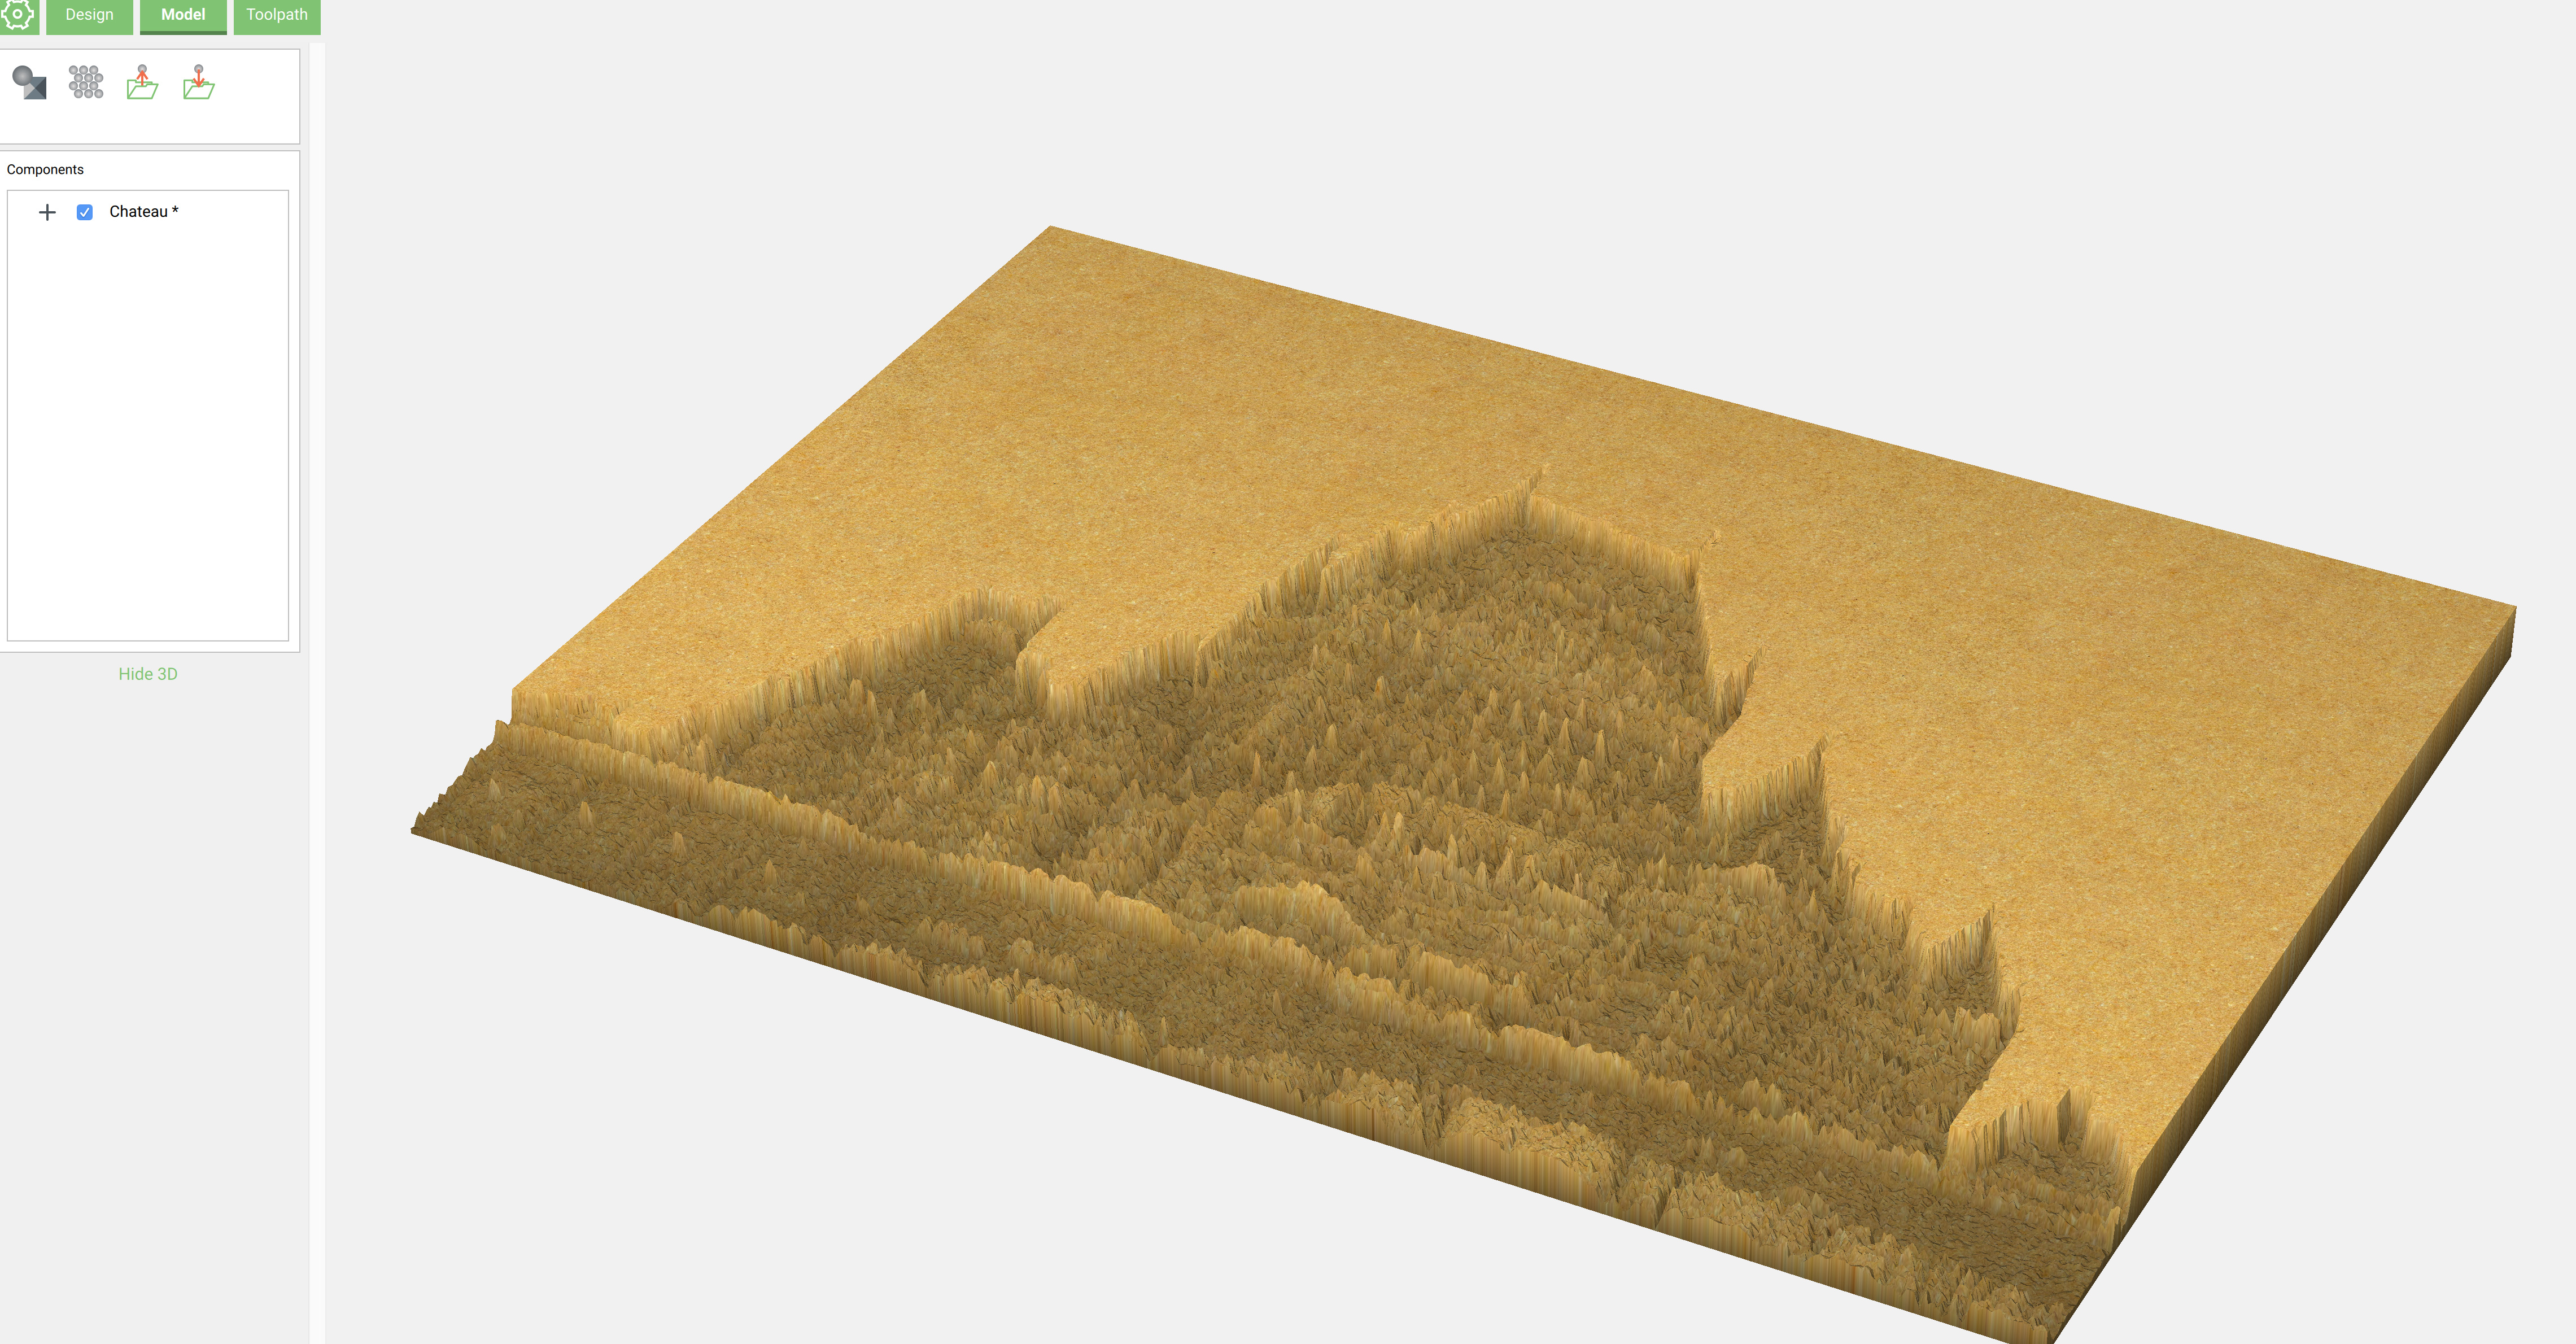
You need to rotate the view after importing an image to see what’s going to be cut in 3d, the overhead view is not sufficient to get a clear understanding. The images are converted to a heightmap based on the brightness of each pixel in the image, so the output is about what I’d expect and I suspect that if you rotated the 3D view, it would match pretty closely.
As @macklebee mentioned, you effectively created a lithophane.
Maybe. At this point we’re trying to keep the UI very simple so we’re passing on any optional settings for now. We’re thinking about adding an “Advanced Mode” to the UI that would only show these kinds of options to those who need/want them.
We’re not sure yet on this one but it’s possible we’d do it further down the road.
Got it- that’s in the 2D toolpath code then, not the 3D finishing being discussed above.
The 3D finishing started with a better toolpath linker so it was good from the start.
VCarve had the same linker but it linked globally, rather than region by region . Region by region is less optimal but it seemed to be what people wanted because it looks “more logical” so we changed to it in the 400-series of releases.
2D Pocket/Engraving/Contour toolpaths just got the new toolpath linker in the past couple of releases. They should be pretty good now.
This is mostly what CC does, with a few other criteria in there to make it look “more optimal” to the viewer.
FYI- We’re planning on 415 adding 3D Roughing in the near future.
I have a Prusa 3D printer, and in the latest iteration of their slicer they incorporated a “Simple - Advanced - Expert” level in the slicer. Because there are all levels of users and every level has different needs, they didn’t want to have a different slicer for each user experience level (like they previously did), so they took all of the features and broke them into one of the three experience levels. Now, with the one software application, you can select your experience level, and only certain parameters are shown to you so you don’t get overwhelmed (or change a parameter that can damage your machine) until you think you are ready, then you just click the button and get access to the additional features you think you are ready for.
That sounds like something you guys may want to think about. You definitely want the new users to CNC to not get overwhelmed with options, but you want to satisfy the more experienced users as well.
Just something to think about. I am not sure how difficult that would be to implement in software, but it might be an option.
Also, if you’re still reading - I am definitely interested in CCPro having the ability to do diamond drag engraving, with the ability to select single hatching, cross hatching, line spacing and angle for both hatch directions. And outlining each closed path or not.
Thanks for the pointer, I’ll have to look at the latest Prusa Slicer.
I think drag engraving might be a fun feature to add that could leverage a lot of the other code we’ve added in CC Pro. We’ll definitely think about that one.
I think those are all a possibility if we add the advanced mode.
I think that toolpath ramping/helical is so important that it should certainly be part of the basic CC … by all means enhance it further in the Pro version I.e customizable ramps etc.
This will increase most users satisfaction with basic CC results and prolong tool life, minimizing plunge disasters and so on.
Indeed I think that you can include many of the suggestions in the basic CC to delight your core users - and then make them customizable for the Pro version for those that really need them and know what they are doing !
Just uploaded 415 to https://carbide3d.com/carbidecreate/unstable/ . This is beginning to get close to a first release of CC Pro so we did put a timeout on this build of 10/1/2019. It won’t function after that but we should have the licensing worked out in the near future and then we can remove the timeout.
415
(NEW) (PRO) Added 3D Roughing.
(NEW) Added timeout on this build. Won’t function after 10/1/2019.
(NEW) Added guard to keep CC Pro files from being loaded into a standard version.
(FIX) Fixed problem loading toolpaths other than contour/pocket.
(FIX) Better toolpath linking for engraving. (Wild Horizon)
(INTERNAL) Changed architecture for toolpath code in 3D finishing.
testing the new roughing feature; one thing I noticed is that while the toolpath shows a depth of cut for the toolpath, when you edit the tool you cannot change this depth using manual settings (unlike normal 2D paths where you can set this)
Don’t misunderstand me, I love carbide motion and my SO3. However, I find the interface to CC to be, at best, awkward to unusable for me. For the suggested $750 price for pro, I will upgrade from VCarde Desktop to VCarve Pro for $350 and pay for other Vectric charges for years and still not hit $750.
You guys really need to upgrade the look and operation of CC and CC Pro to something more modern and user-friendly. I am quite disappointed in the UI as it stands. However, I will continue to promote CC 3D for its great cnc and especially for your unequaled support staff. These guys are fantastic.
I was giving 415 a whirl to see whether I can get full instructions for it into the “Terrain Relief Models, Unabridged” docs, and I think I’ve got it mostly figured.
I did have one major issue (may have been me overlooking something). In the 3D roughing toolpath, I didn’t see any way of limiting the depth. A larger terrain relief model is deeper than the flute length on the 1/4" mills I use to rough it out (before finishing with tapers), so I have to be able to set the stepdown (or at least a maximum stepdown) if I’m not going to be trying to rough it out with the shank.
I usually use a 1/4" ball (0.75" flute length) to rough, and the actual carved model depth is about 30mm (almost 1.25") when the taper (31.75mm flute length) finishes with it.