Chatter in one direction

So I’m having chatter issues… but only in Y (bed movement) direction. Is it just much less rigid in that direction or do I need to do some troubleshooting?

For troubleshooting check the machine mechanically:

and see if both motors are working evenly / correctly: https://www.shapeoko.com/wiki/index.php/SO3_Function_Test#Y-axis_not_working_properly

The other possibility is climb vs. conventional milling: https://www.shapeoko.com/wiki/index.php/Climb_vs._Conventional_Milling

its a nomad 883 pro.

and perhaps I just need to experiment more with feeds and speeds? that will be tomorrows project, but I thought I’d ask

Only thought (if everything is tight) would be that you are perhaps doing climb milling in one direction and conventional milling in the other, thus the feed/speed in the y direction may not be as smooth as in the x direction.

2 Likes

Had the same issue but in the X. It depends on what part of the table your cutting on. Cutting on the front right of the table is the strongest part. The issue is the lead screw dose not have any support other than the motor, table and a hole in plastic on the end. My plastic part was hogged out and the lead screw vibrated and caused skipping and chattering in the axis.
I would suggest cutting on different parts of the table and see if it makes any difference. Let me guess your part is on the rear right of the table, 4-5ipm?
I Fixed the issue with some delron and an 8mm skateboard bearing to replace the junky part it came with. It made the machine 90% quite when cutting alu. The Y axis is quite a bit different. Also check the anti lash busing on your table. These can become loose. I check them around every 20 hours of op. Hope that helps.

Thats pretty cool - Would love to see a photo of your Delrin/skateboard bearing solution.

yhea hrmpf. my machine is new and, whats with that design the lead screw has no support at all. not even touching the plastic… please tell me its not the same situation on the underside?

well that will be my first upgrade after I,m finished with my overambitious dust-shoe.

How deep is the recess for the plastic thingy? (I mean I’m not disassembling the entire thing but I still need to squeeze a ball-bearing in between the screw and wall…)

I really don’t want to do any modding to the underside… Its in its enclosure and not easy to get out… Not that I’m happy with the box, new one I’m going with granite floor and thick plaster walls and baffled ventilation holes… so it’ll have to wait until then…

I can actually see a potential reason for not tightly holding the far end of the lead screw and that would be it allows freedom for it to adjust to mis-alignment with the linear bearings and/or imperfect lead screw straightness. Otherwise there might be some binding or increased resistance in that direction of travel. Not sure if that is the reason it is the way it is just throwing out an idea.

1 Like

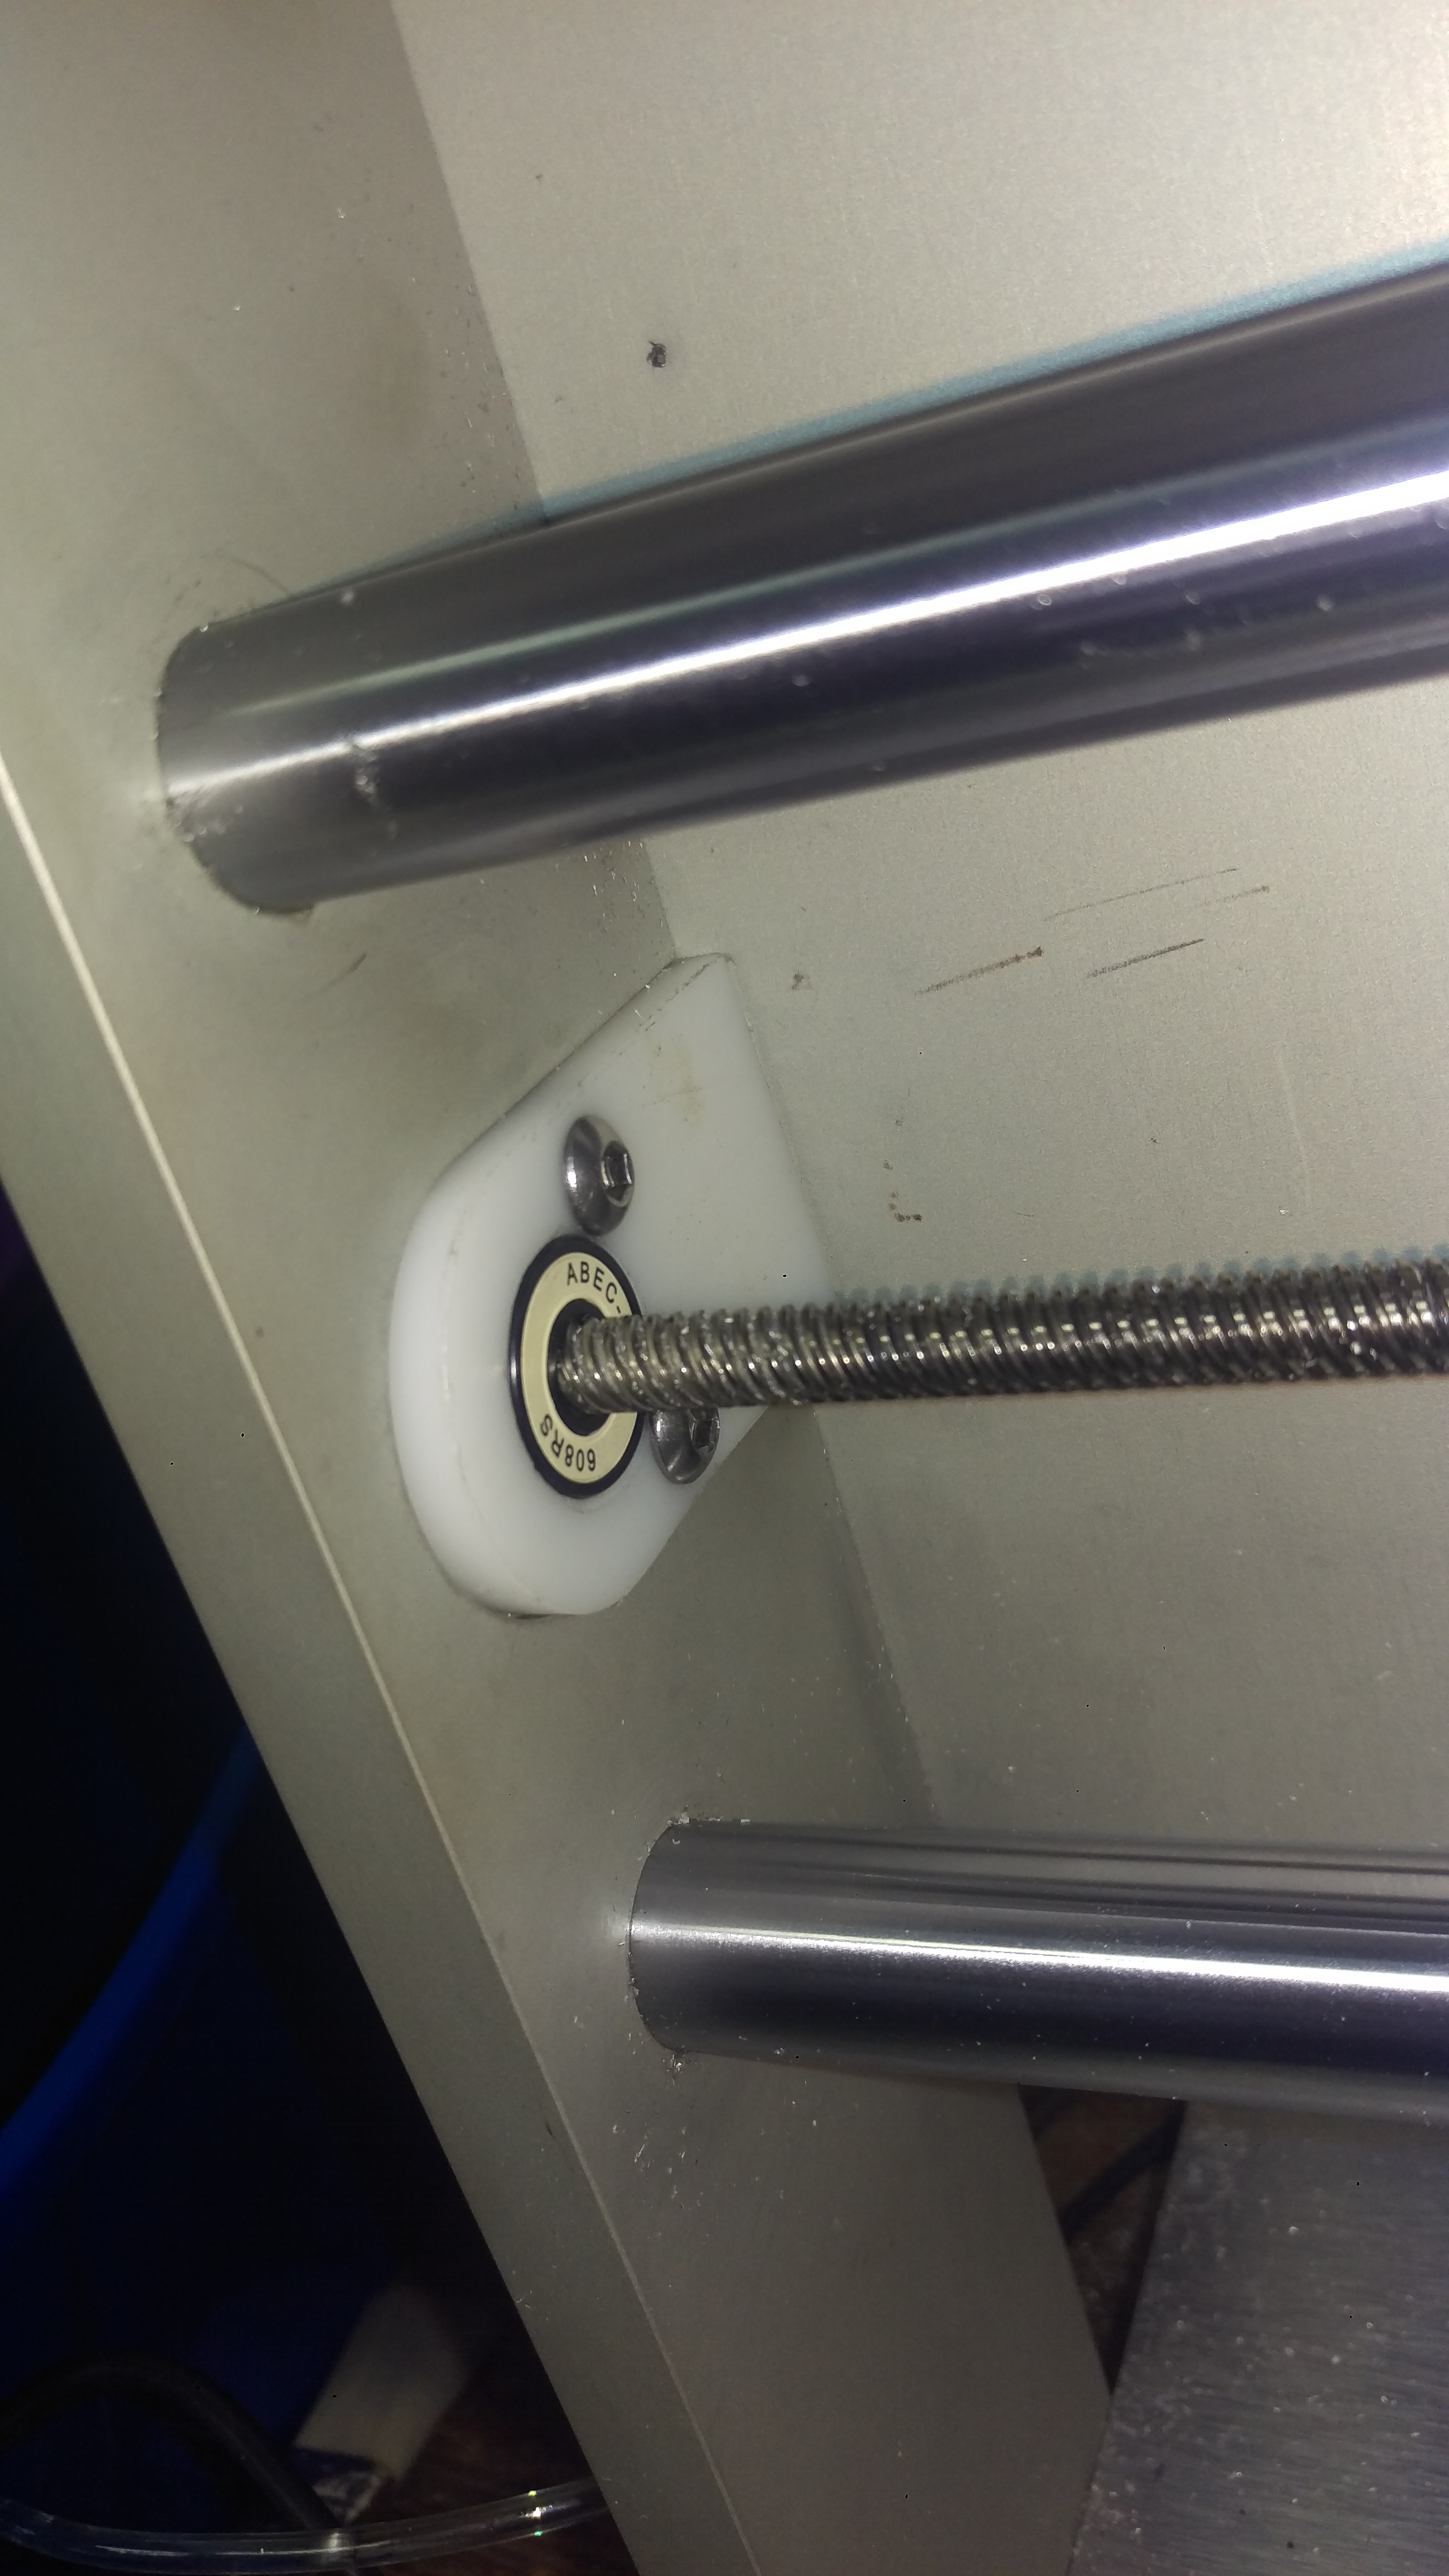
Hear is a photo. pretty simple.

2 Likes

Sure the slack will allow if to more freely transverse.
When I put any load on the lead screw the open side started vibrating and was translating back. It affected the table and the cutting head severely.
The end of the lead screw just sitting in the bearing witch fits on the 8mm screw pretty. All it dose is stop the vibration from starting. Ive got around 200+ hours on the bearing and have not noticed any side effects of having it installed. If I do Ill post

2 Likes

I did the same thing but on a different machine. I found by clamping one side of the bearing it removed any play.

It is not to reduce play, slop or backlash. That’s all in the stepper and the lead screw nut. It reduces the vibration and translation back into the machine witch makes chattering on the cut. The bearing is press fit into the delron. .004 undersized to the bearing outside. The 8mm inside of the bearing fits perfect over the 8mm lead screw. The delron plastic absorbs all of the vibration and stops it from translating into the table and cutting head under load. I belive that was the reason of the original plastic part. to act like a buffer and stop the chromalloy lead screw from oscillating.
Just my guess.

1 Like

Hey you don’t happen to want to share the measurements/cad file for that piece.
I found a small bearing I can get on to the screw without disassembling the machine, so I’m hoping to make a 2 piece version of what you have but I don’t have any calipers small enough to get in there, and to remove the plastic piece I’ll have to cut it up…

Hear is the step of the version 2. Have not made it my self yet but i am sure the measurements are good.pillblock-v2 v1.zip (5.4 KB)

awesome! thanks

(but out of nowhere the summer hits hard and my apartment gets way to hot to run machinery, both for my sake and the machine… :frowning: )

This topic was automatically closed 30 days after the last reply. New replies are no longer allowed.