Now I’ll post the project that ended up being the whole reason I got into CNC stuff.
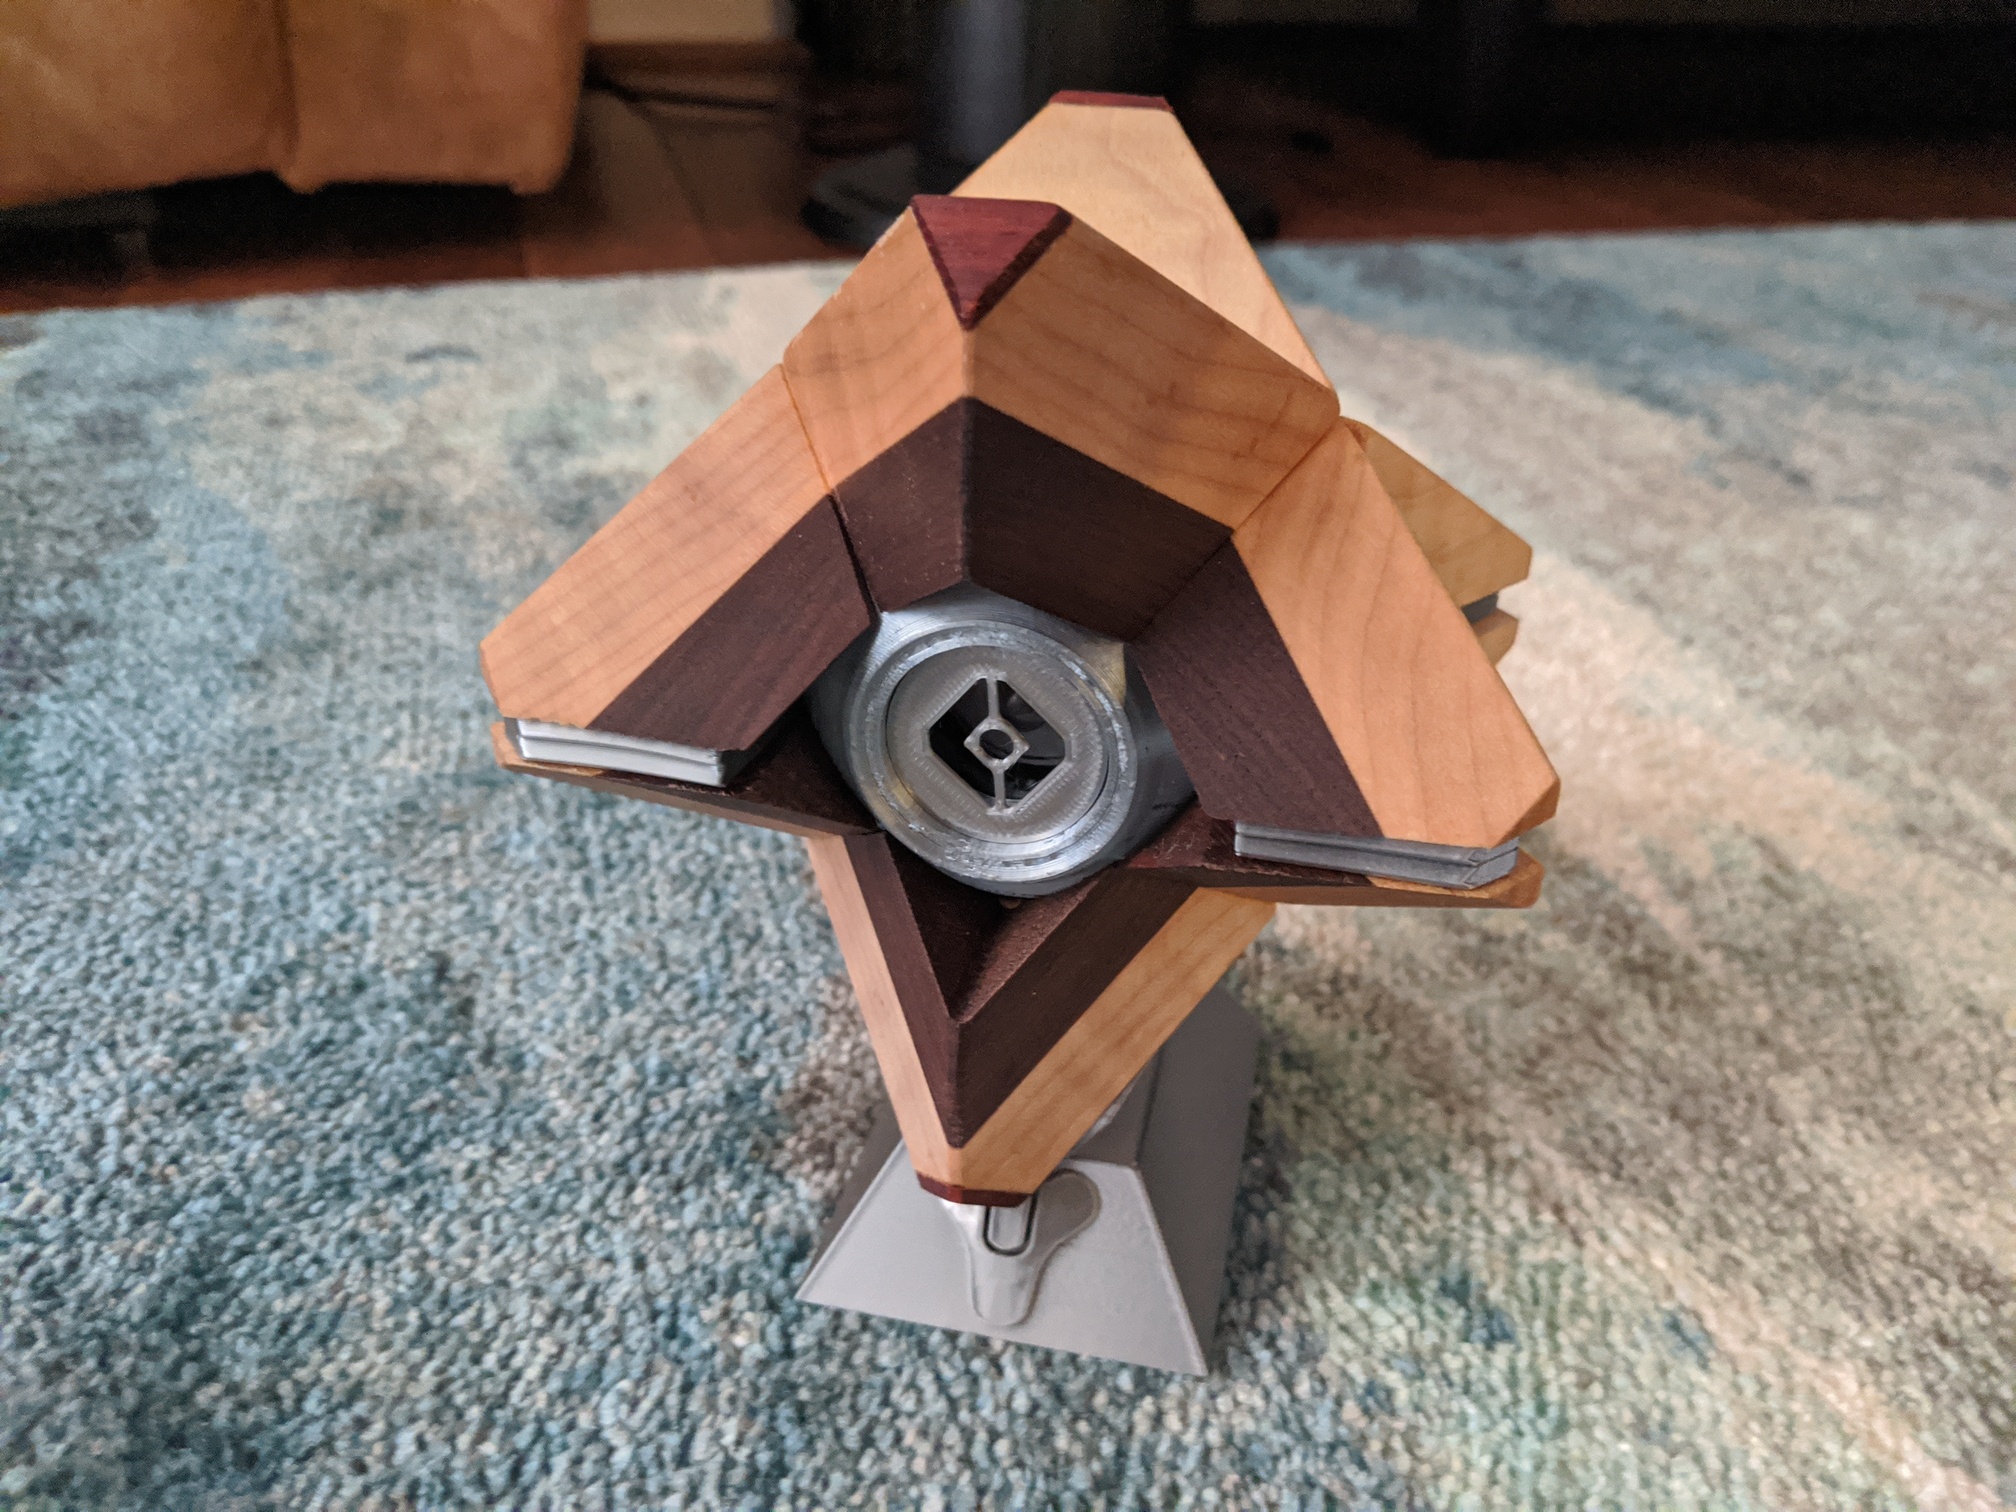
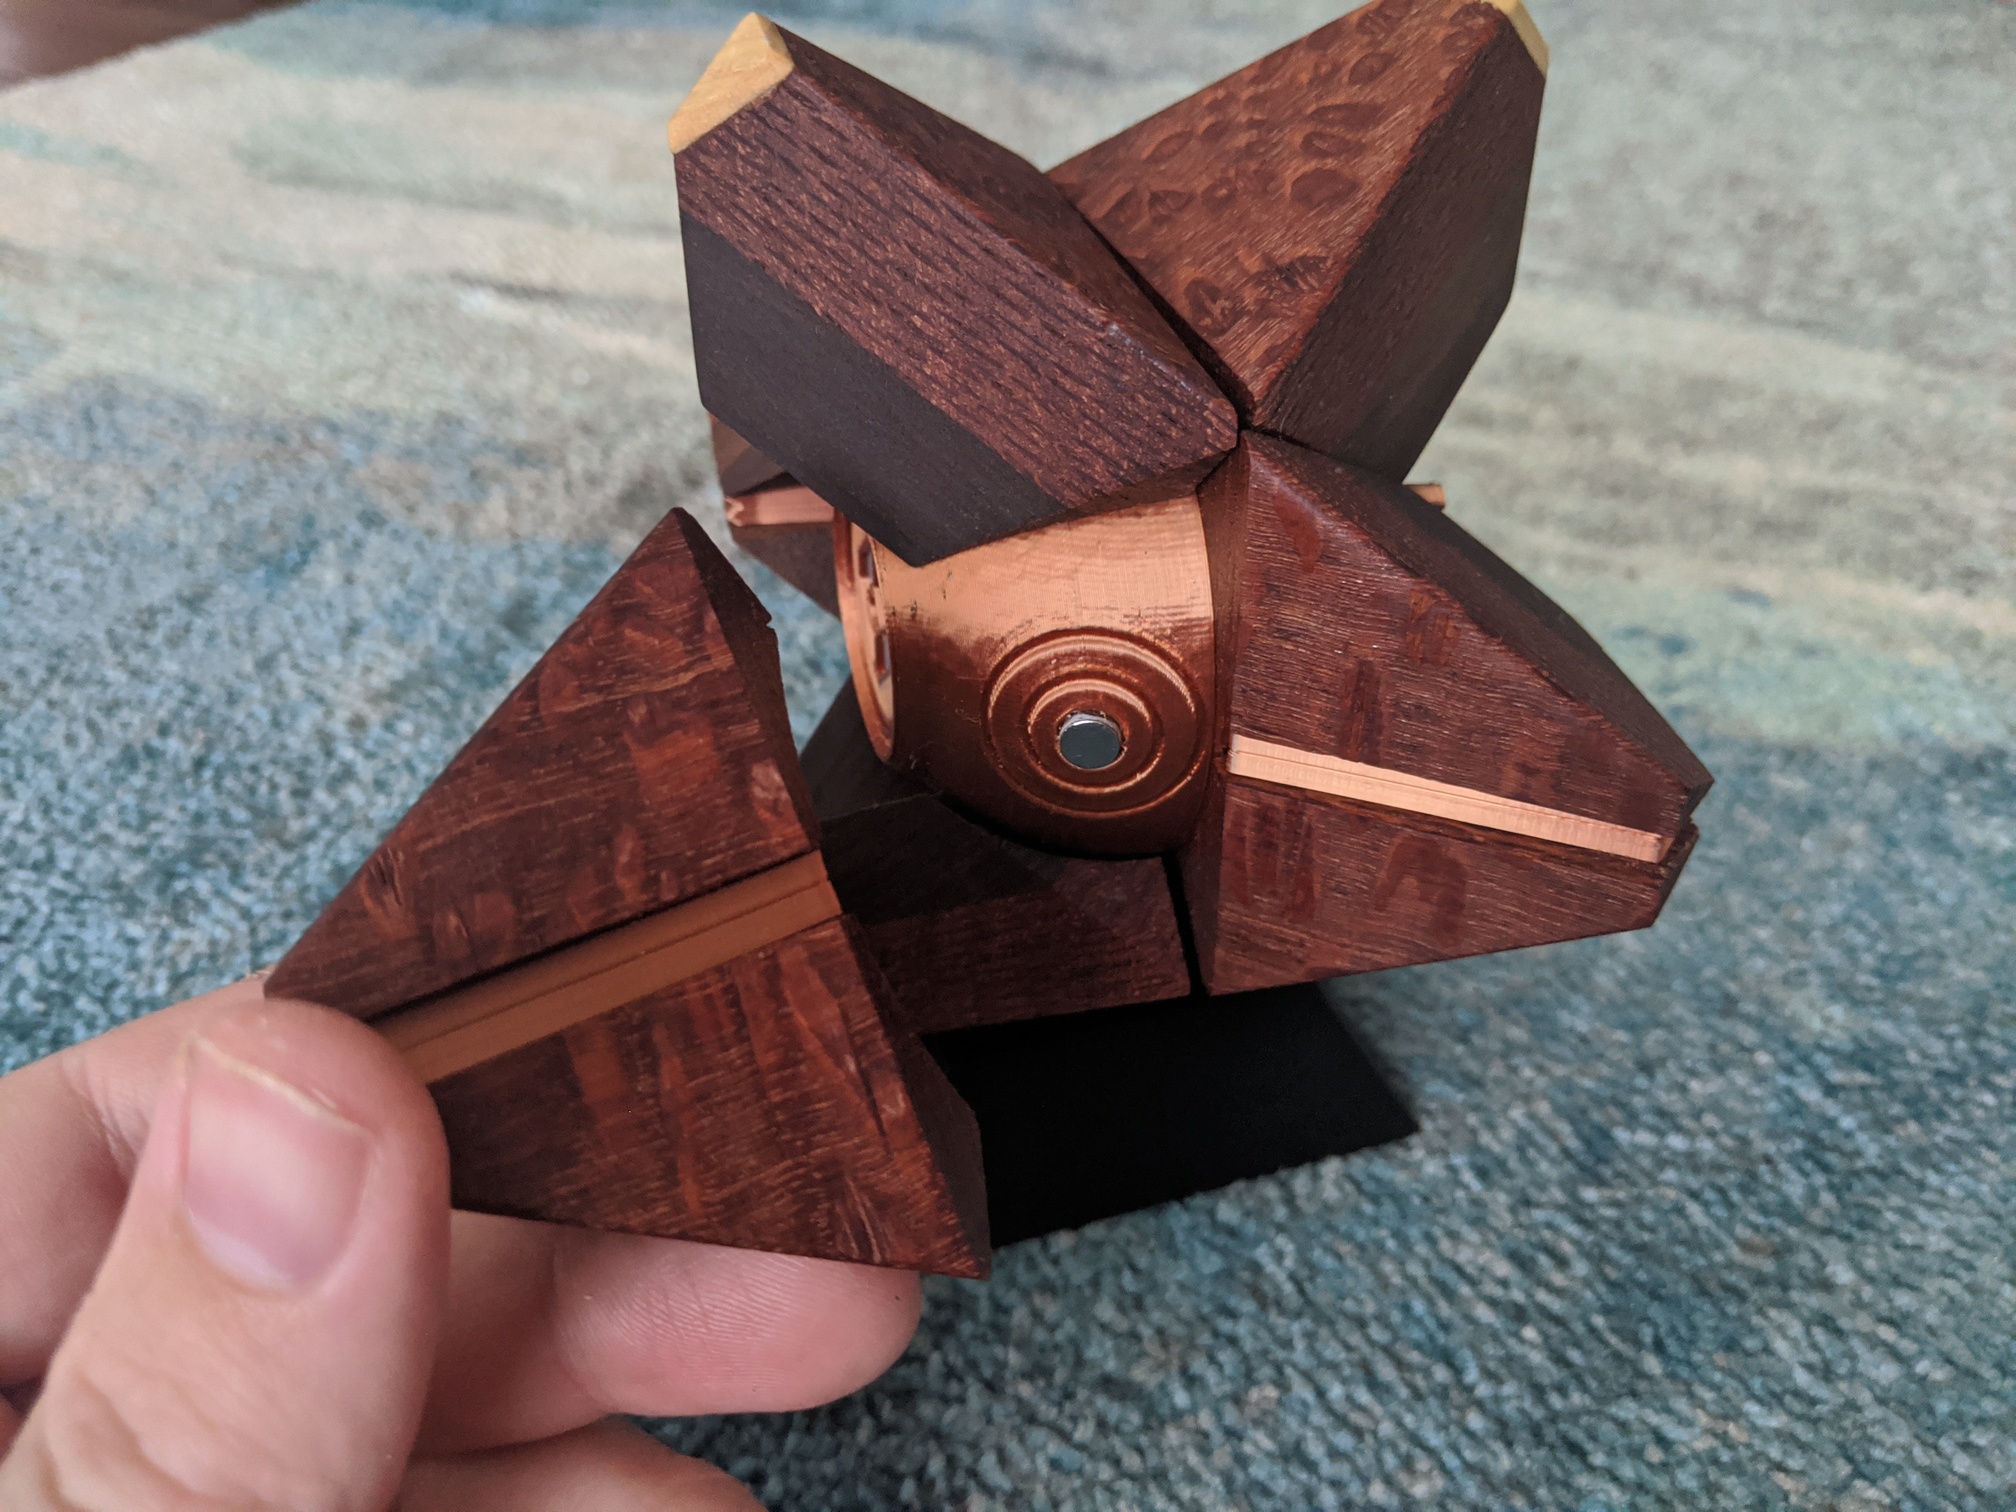
I wanted to have the ghost from Destiny for my desk. But around the time I wanted one, I had gotten rid of a bunch of plastic stuff so I had decided 3d printing was out. Here’s what the ghost looks like:

In game you have different shells, so they change the look of the outer wing bits.
Eventually googling what is the opposite of 3d printing got me into CNC, and decided I was going to make this in wood.
I can’t tell you how terrible an idea it was that this was going to be my first project. Difficulty of learning combined with learning at a makerspace (because my wife didn’t want me buying a several hundred dollar tool without making sure I knew what I was doing), meant it took me quite a while to figure this out. Also random streaks of burning out. I think all told it took about 1 and a half years to go from “I want to do that” to “I did it!”
I also made a post about it a while back when I finally was able to complete one: Destiny Ghost on the Nomad
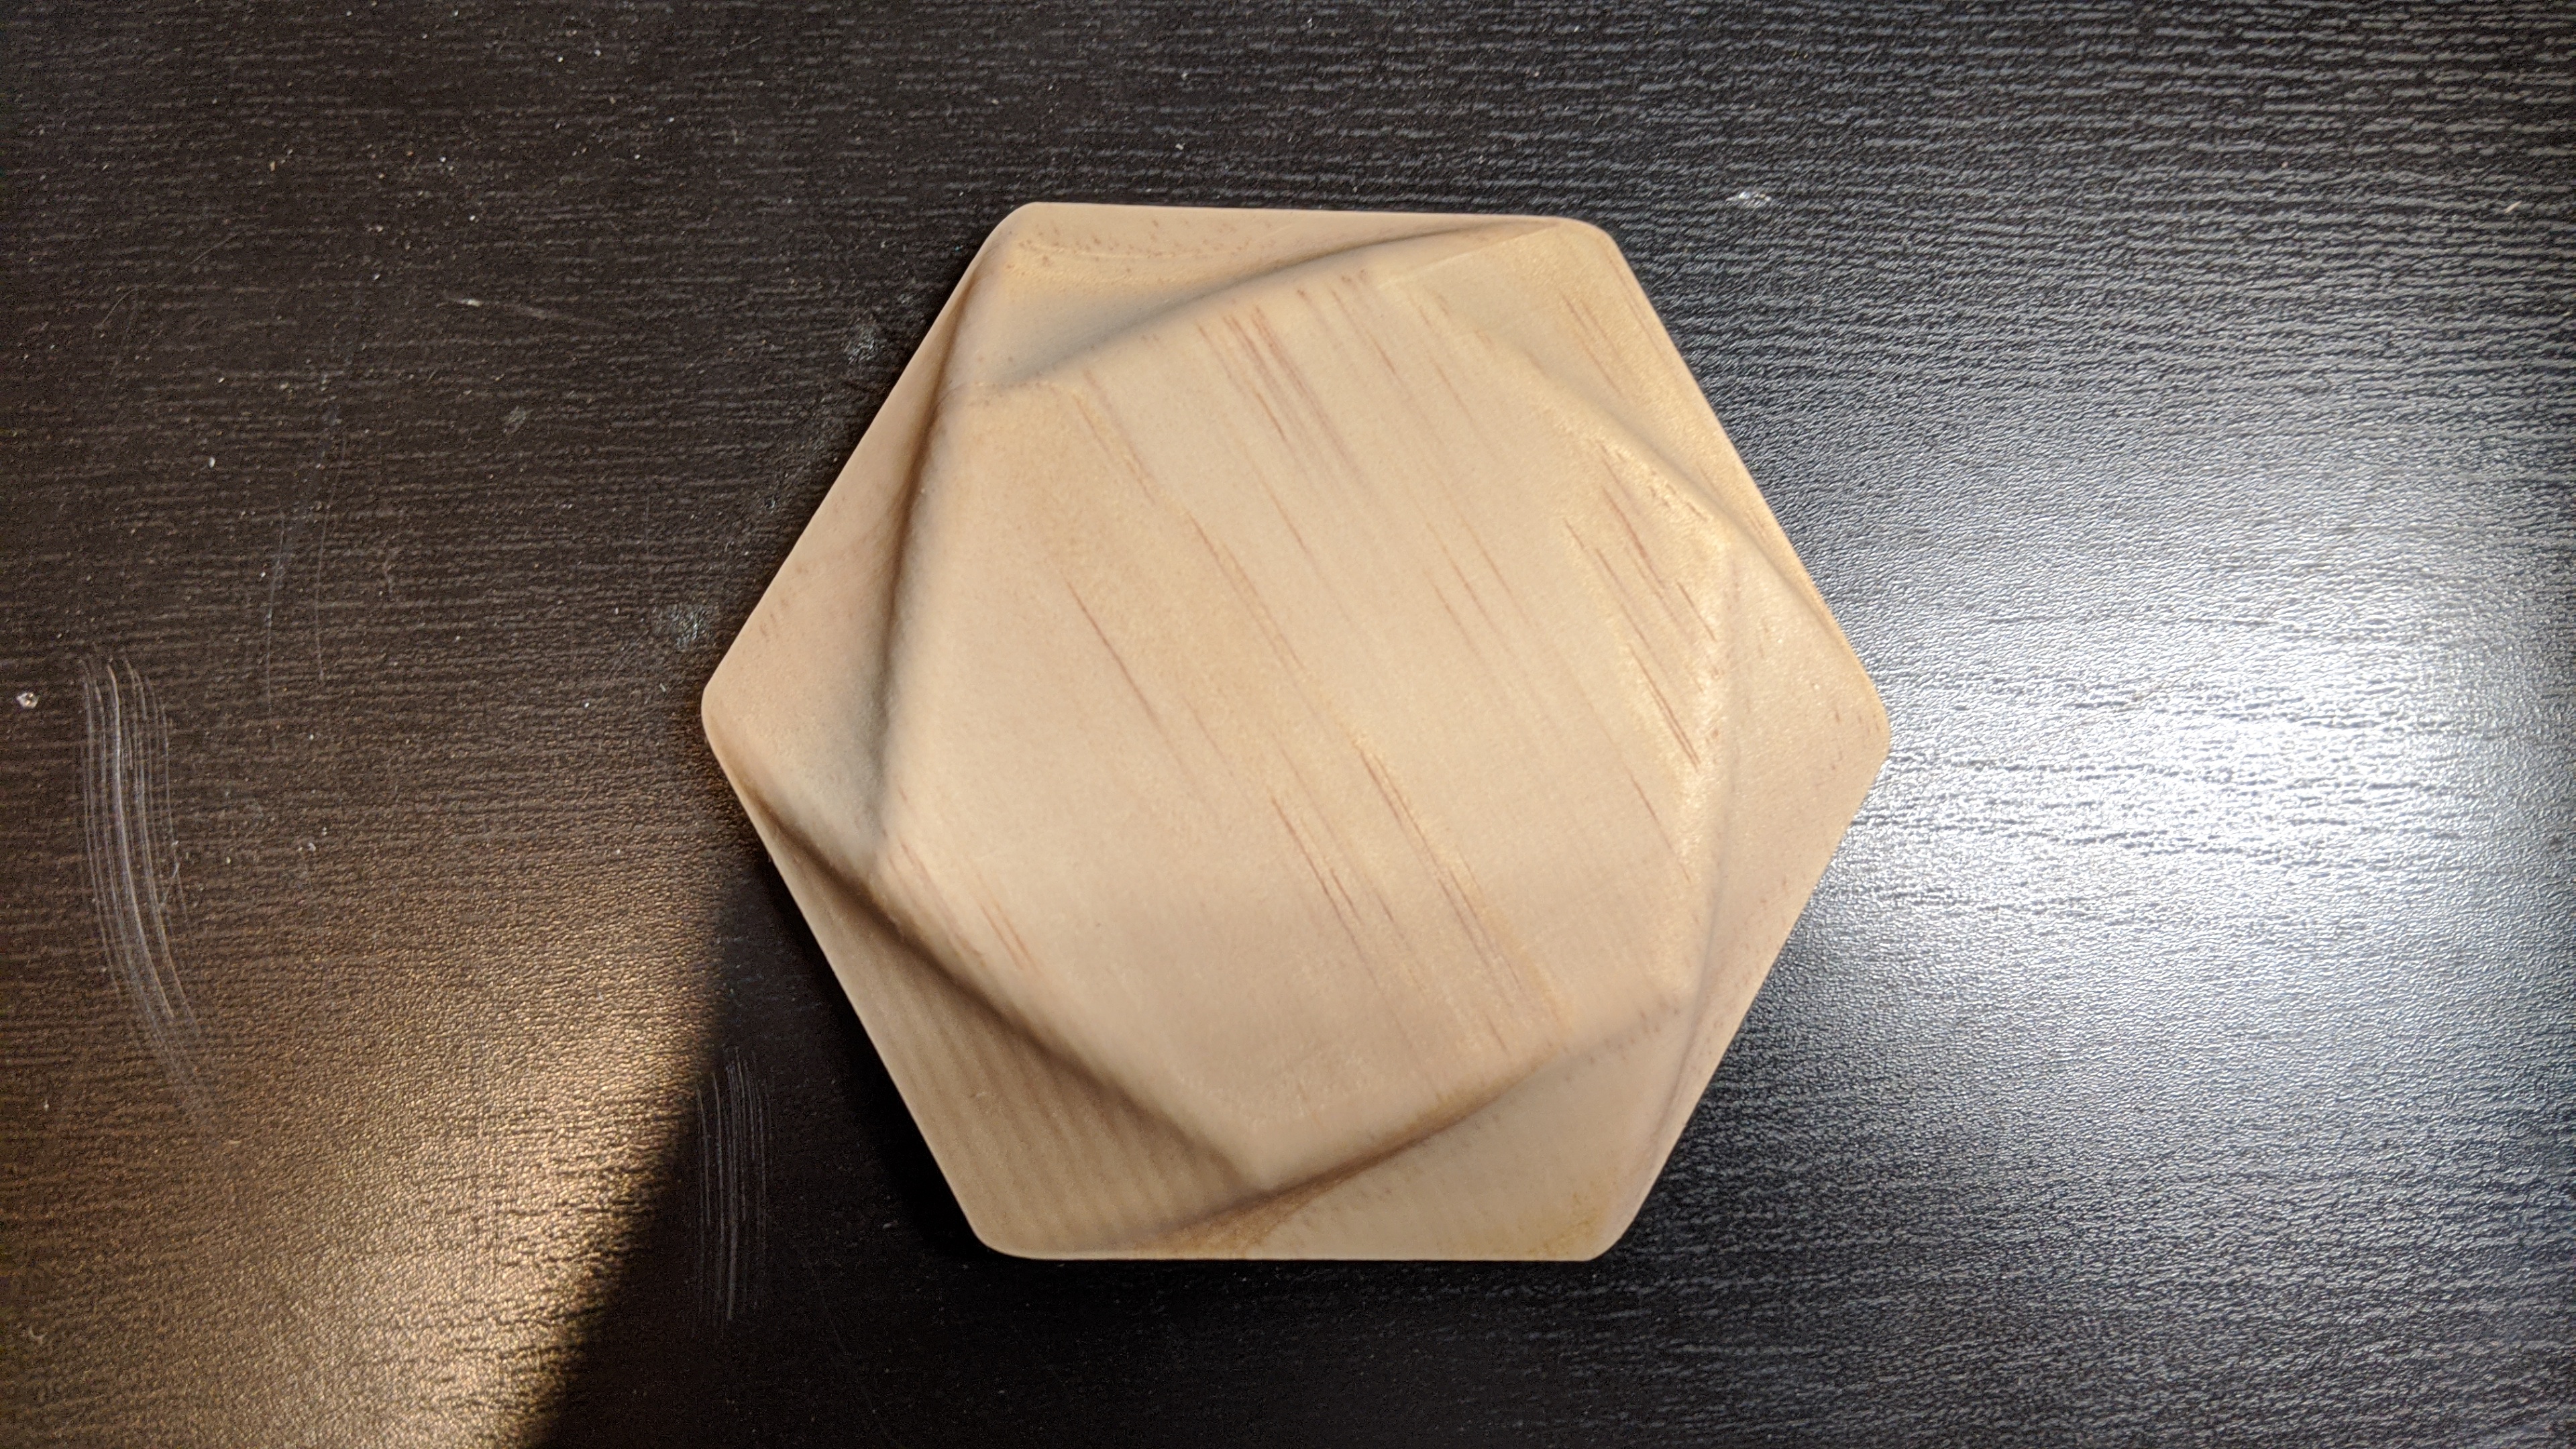
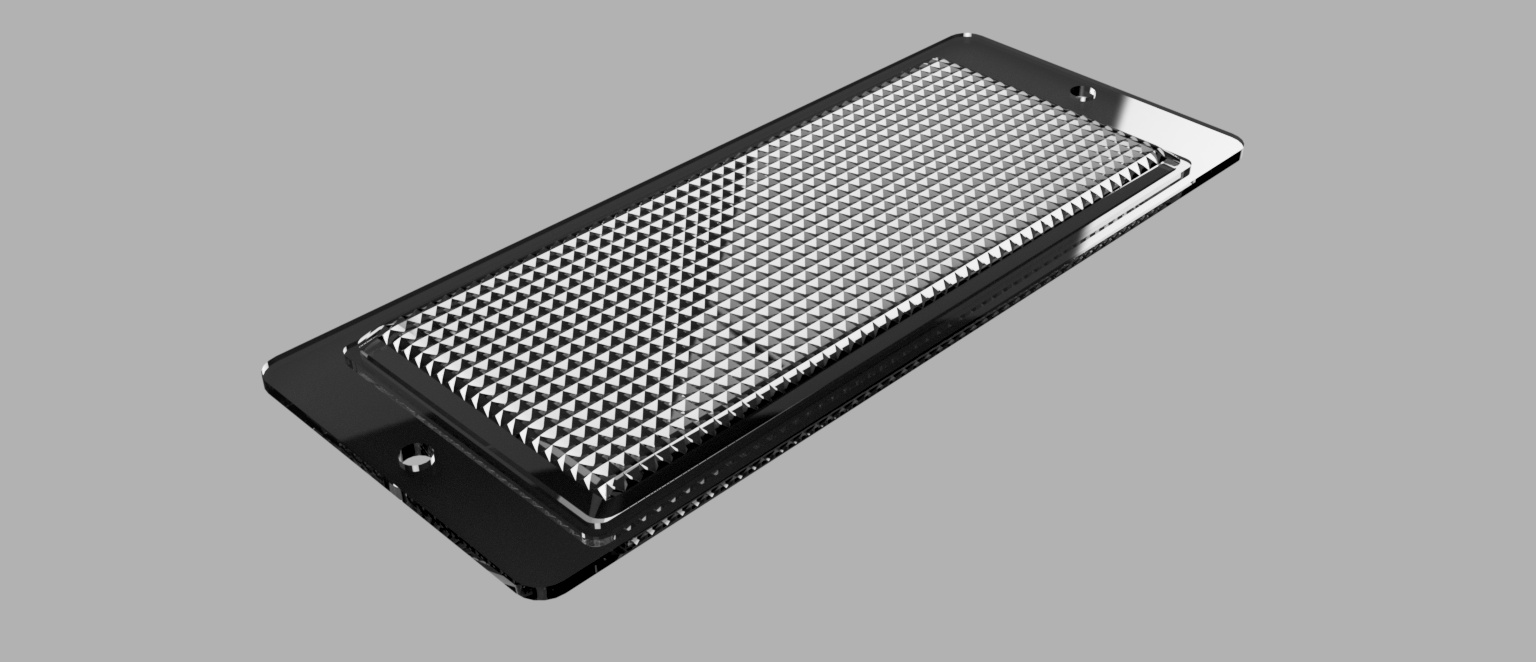
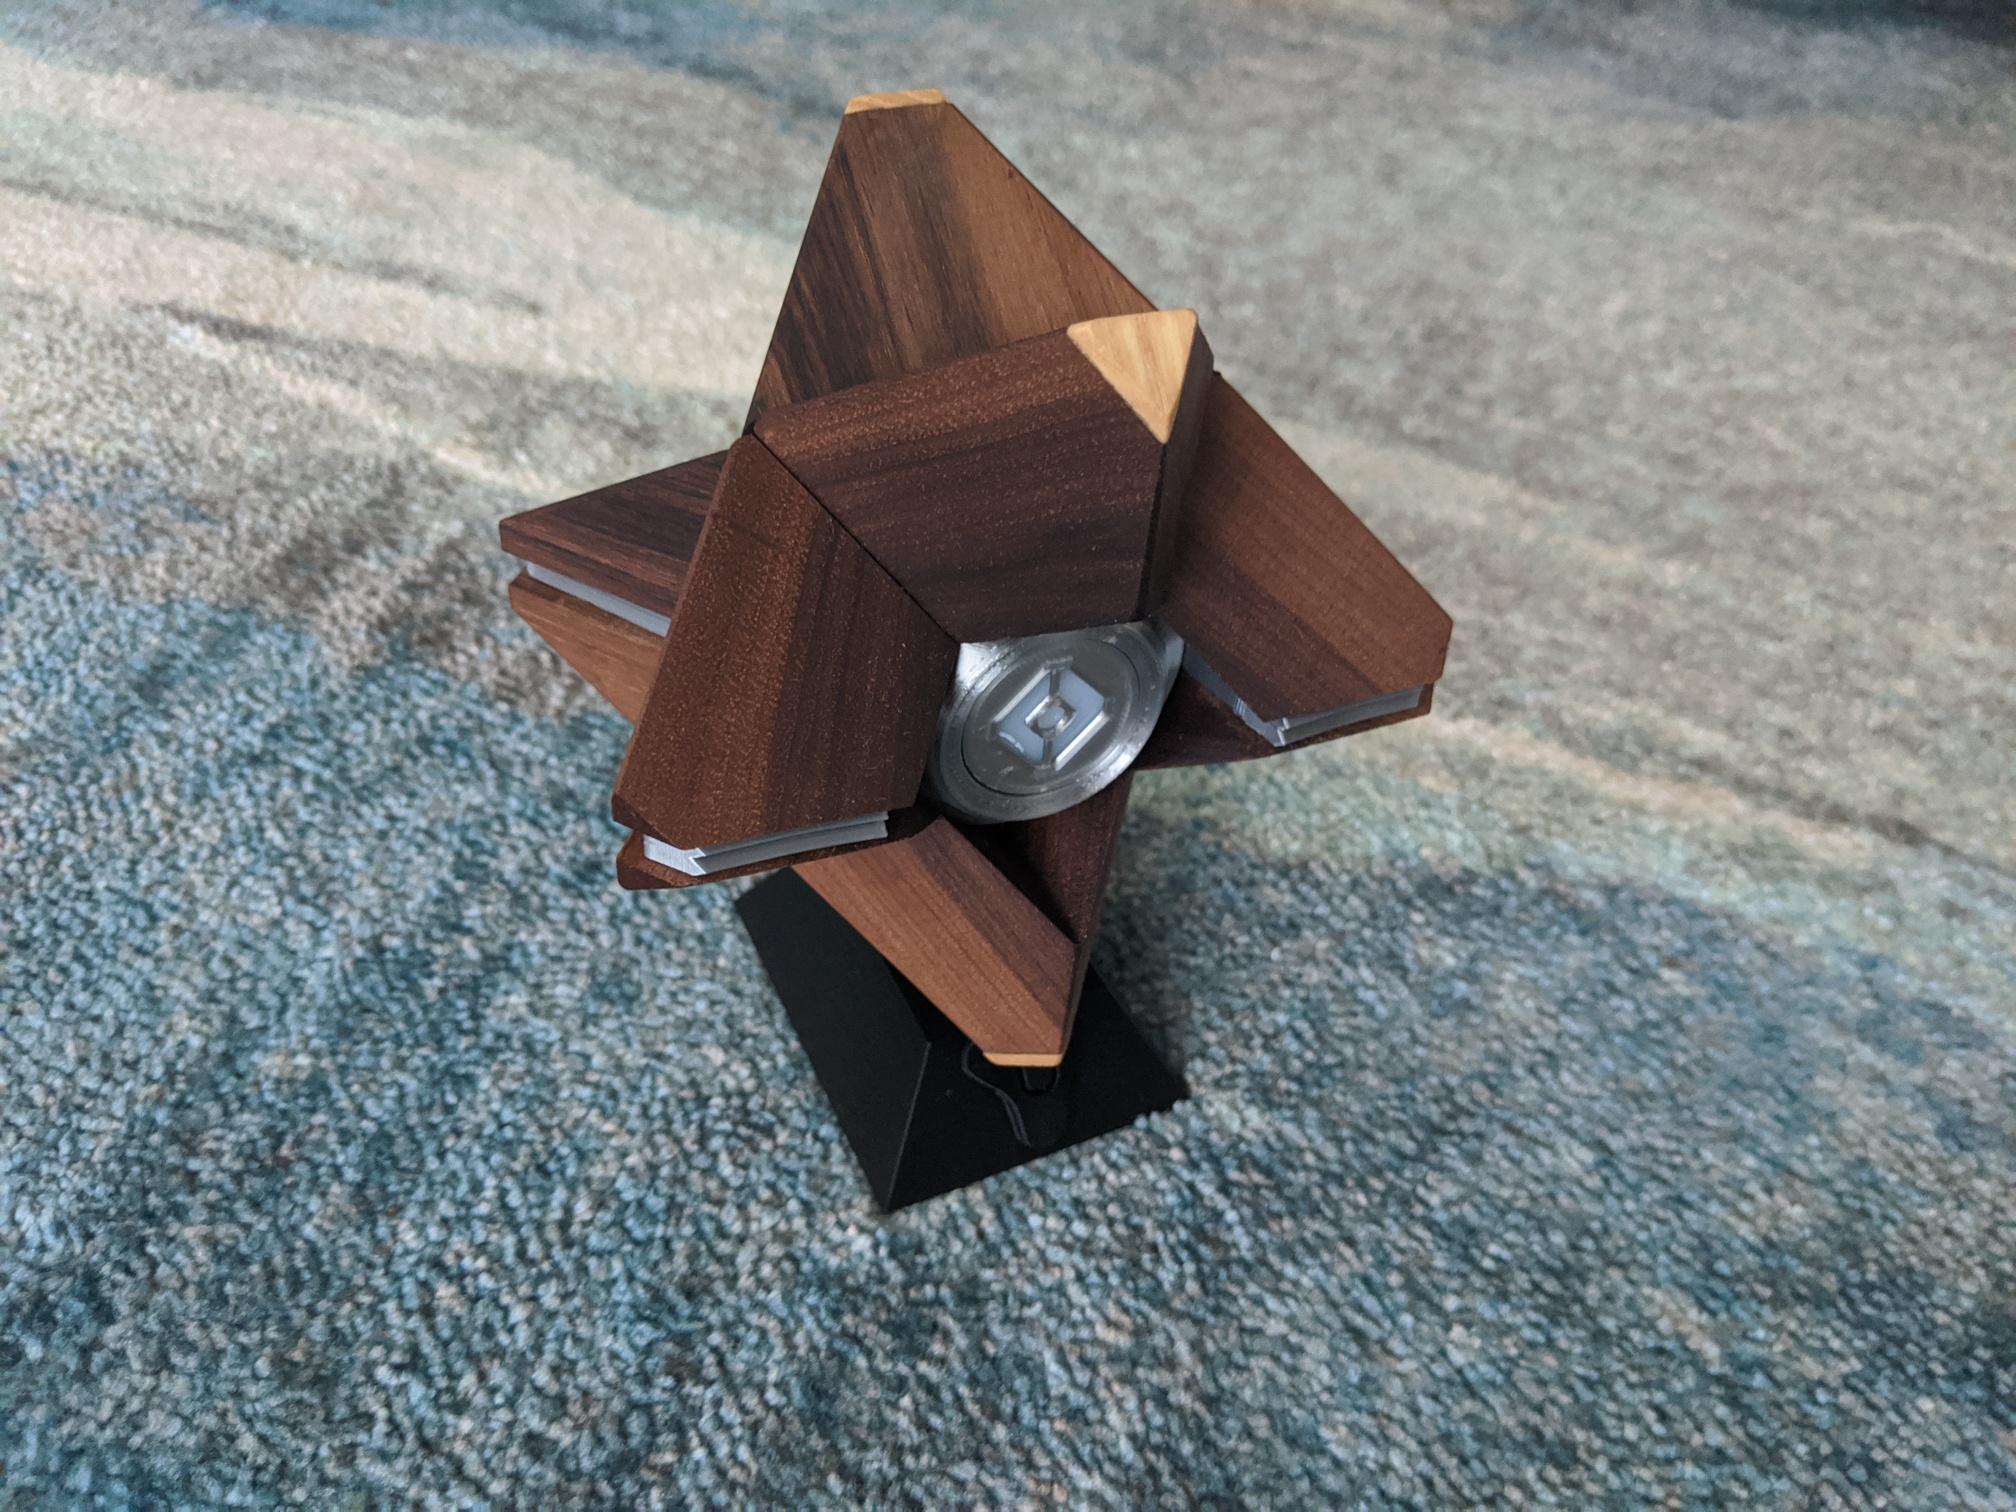
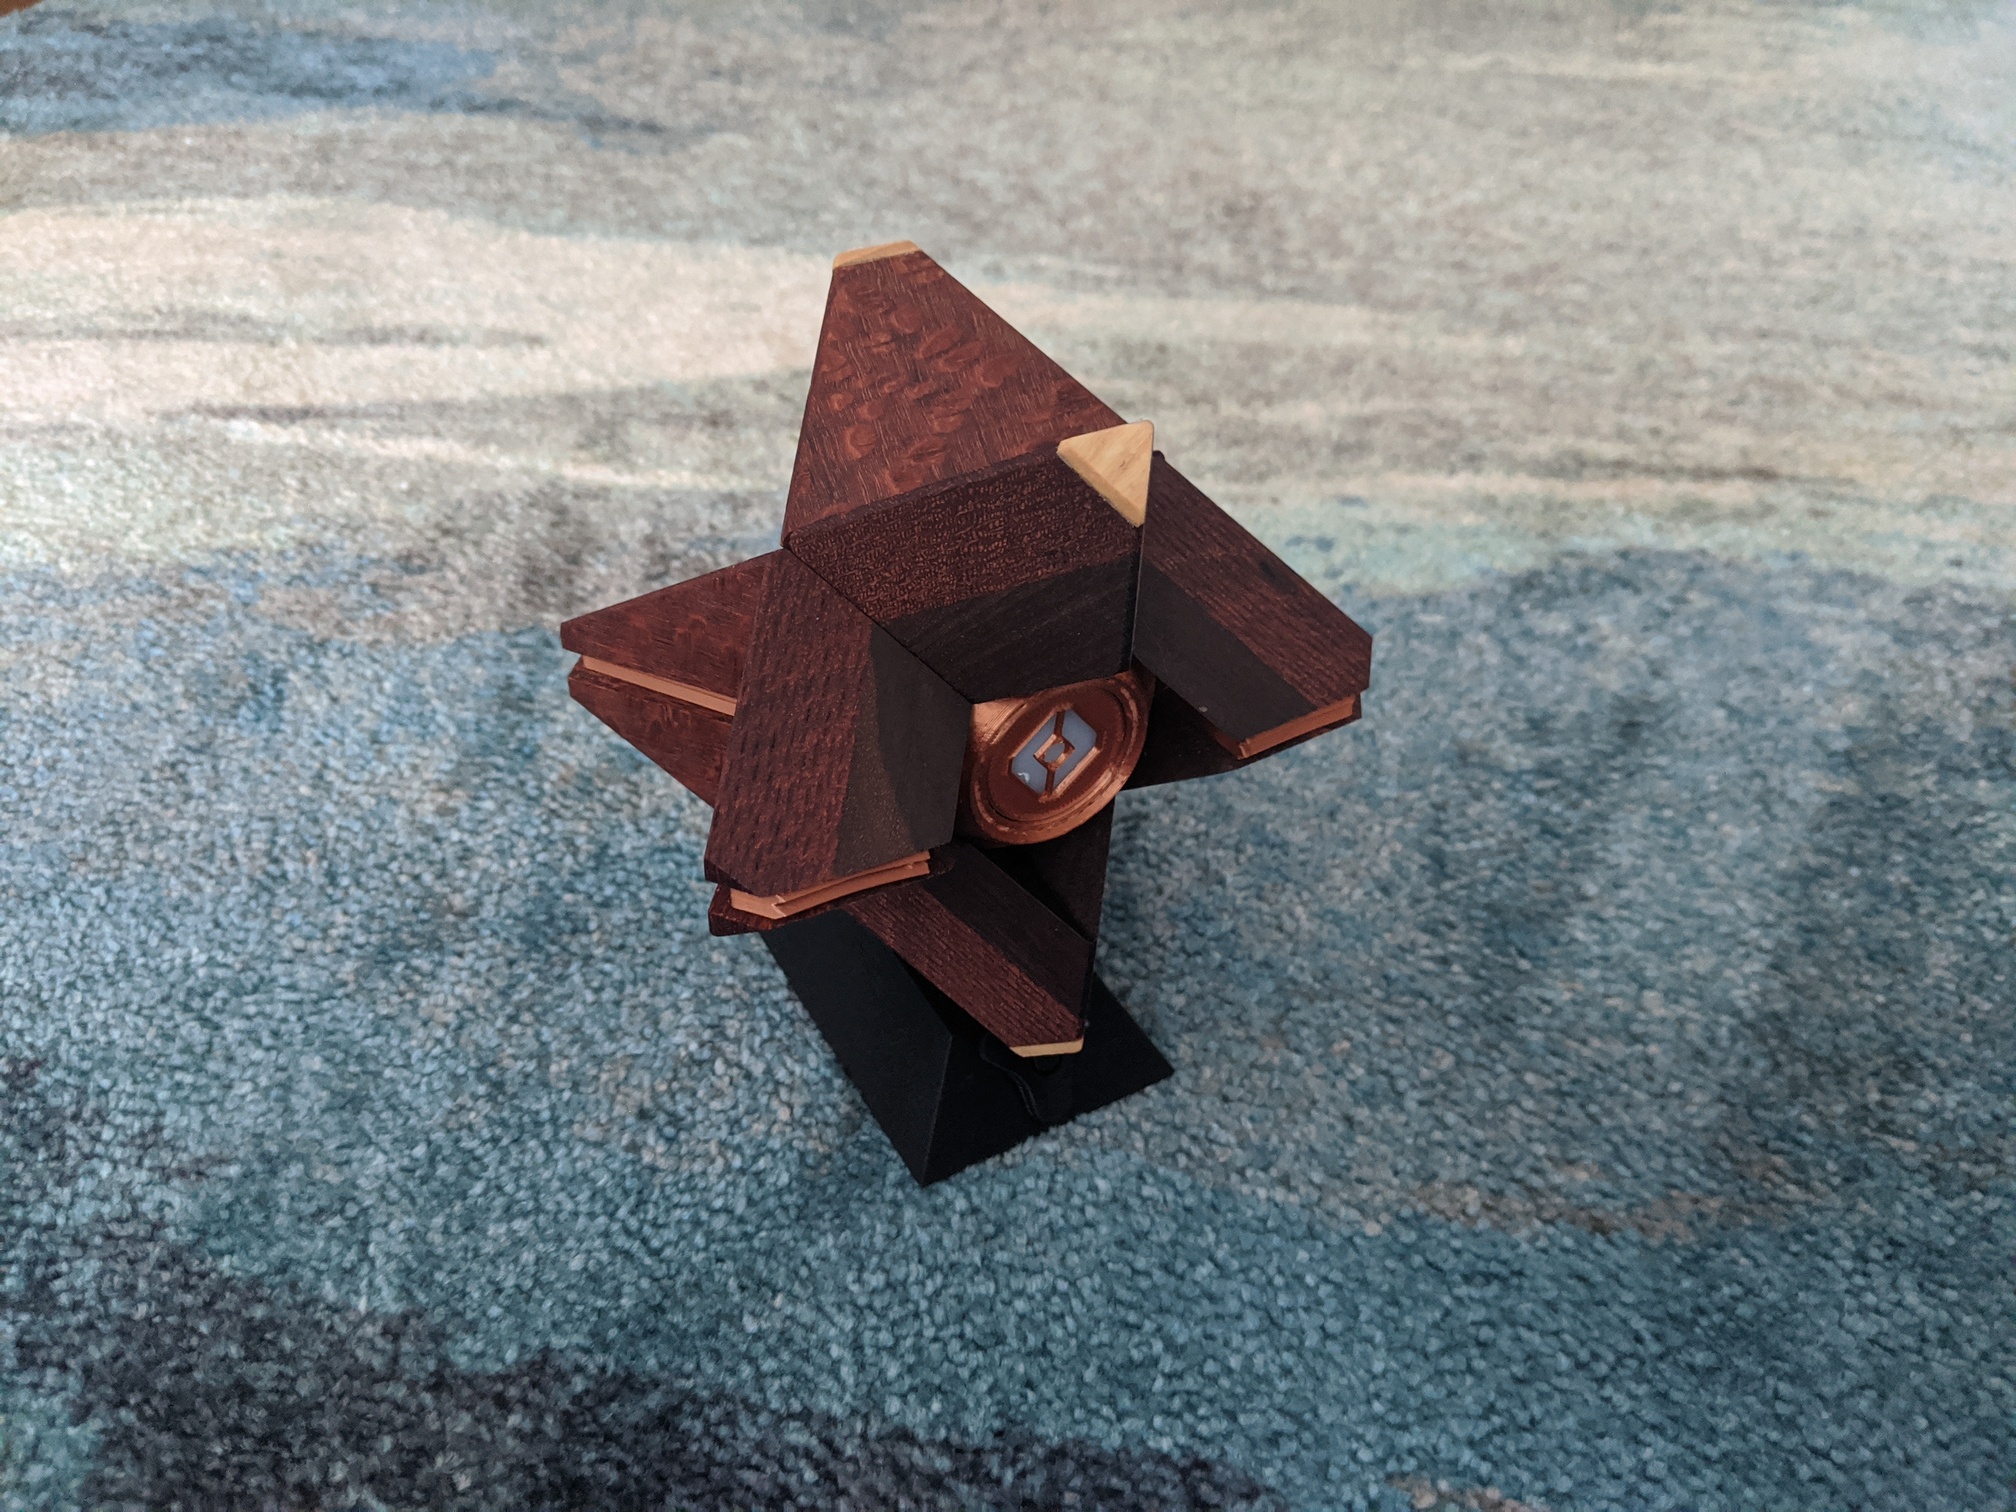
Here’s one of the newer ones I’ve done finished:

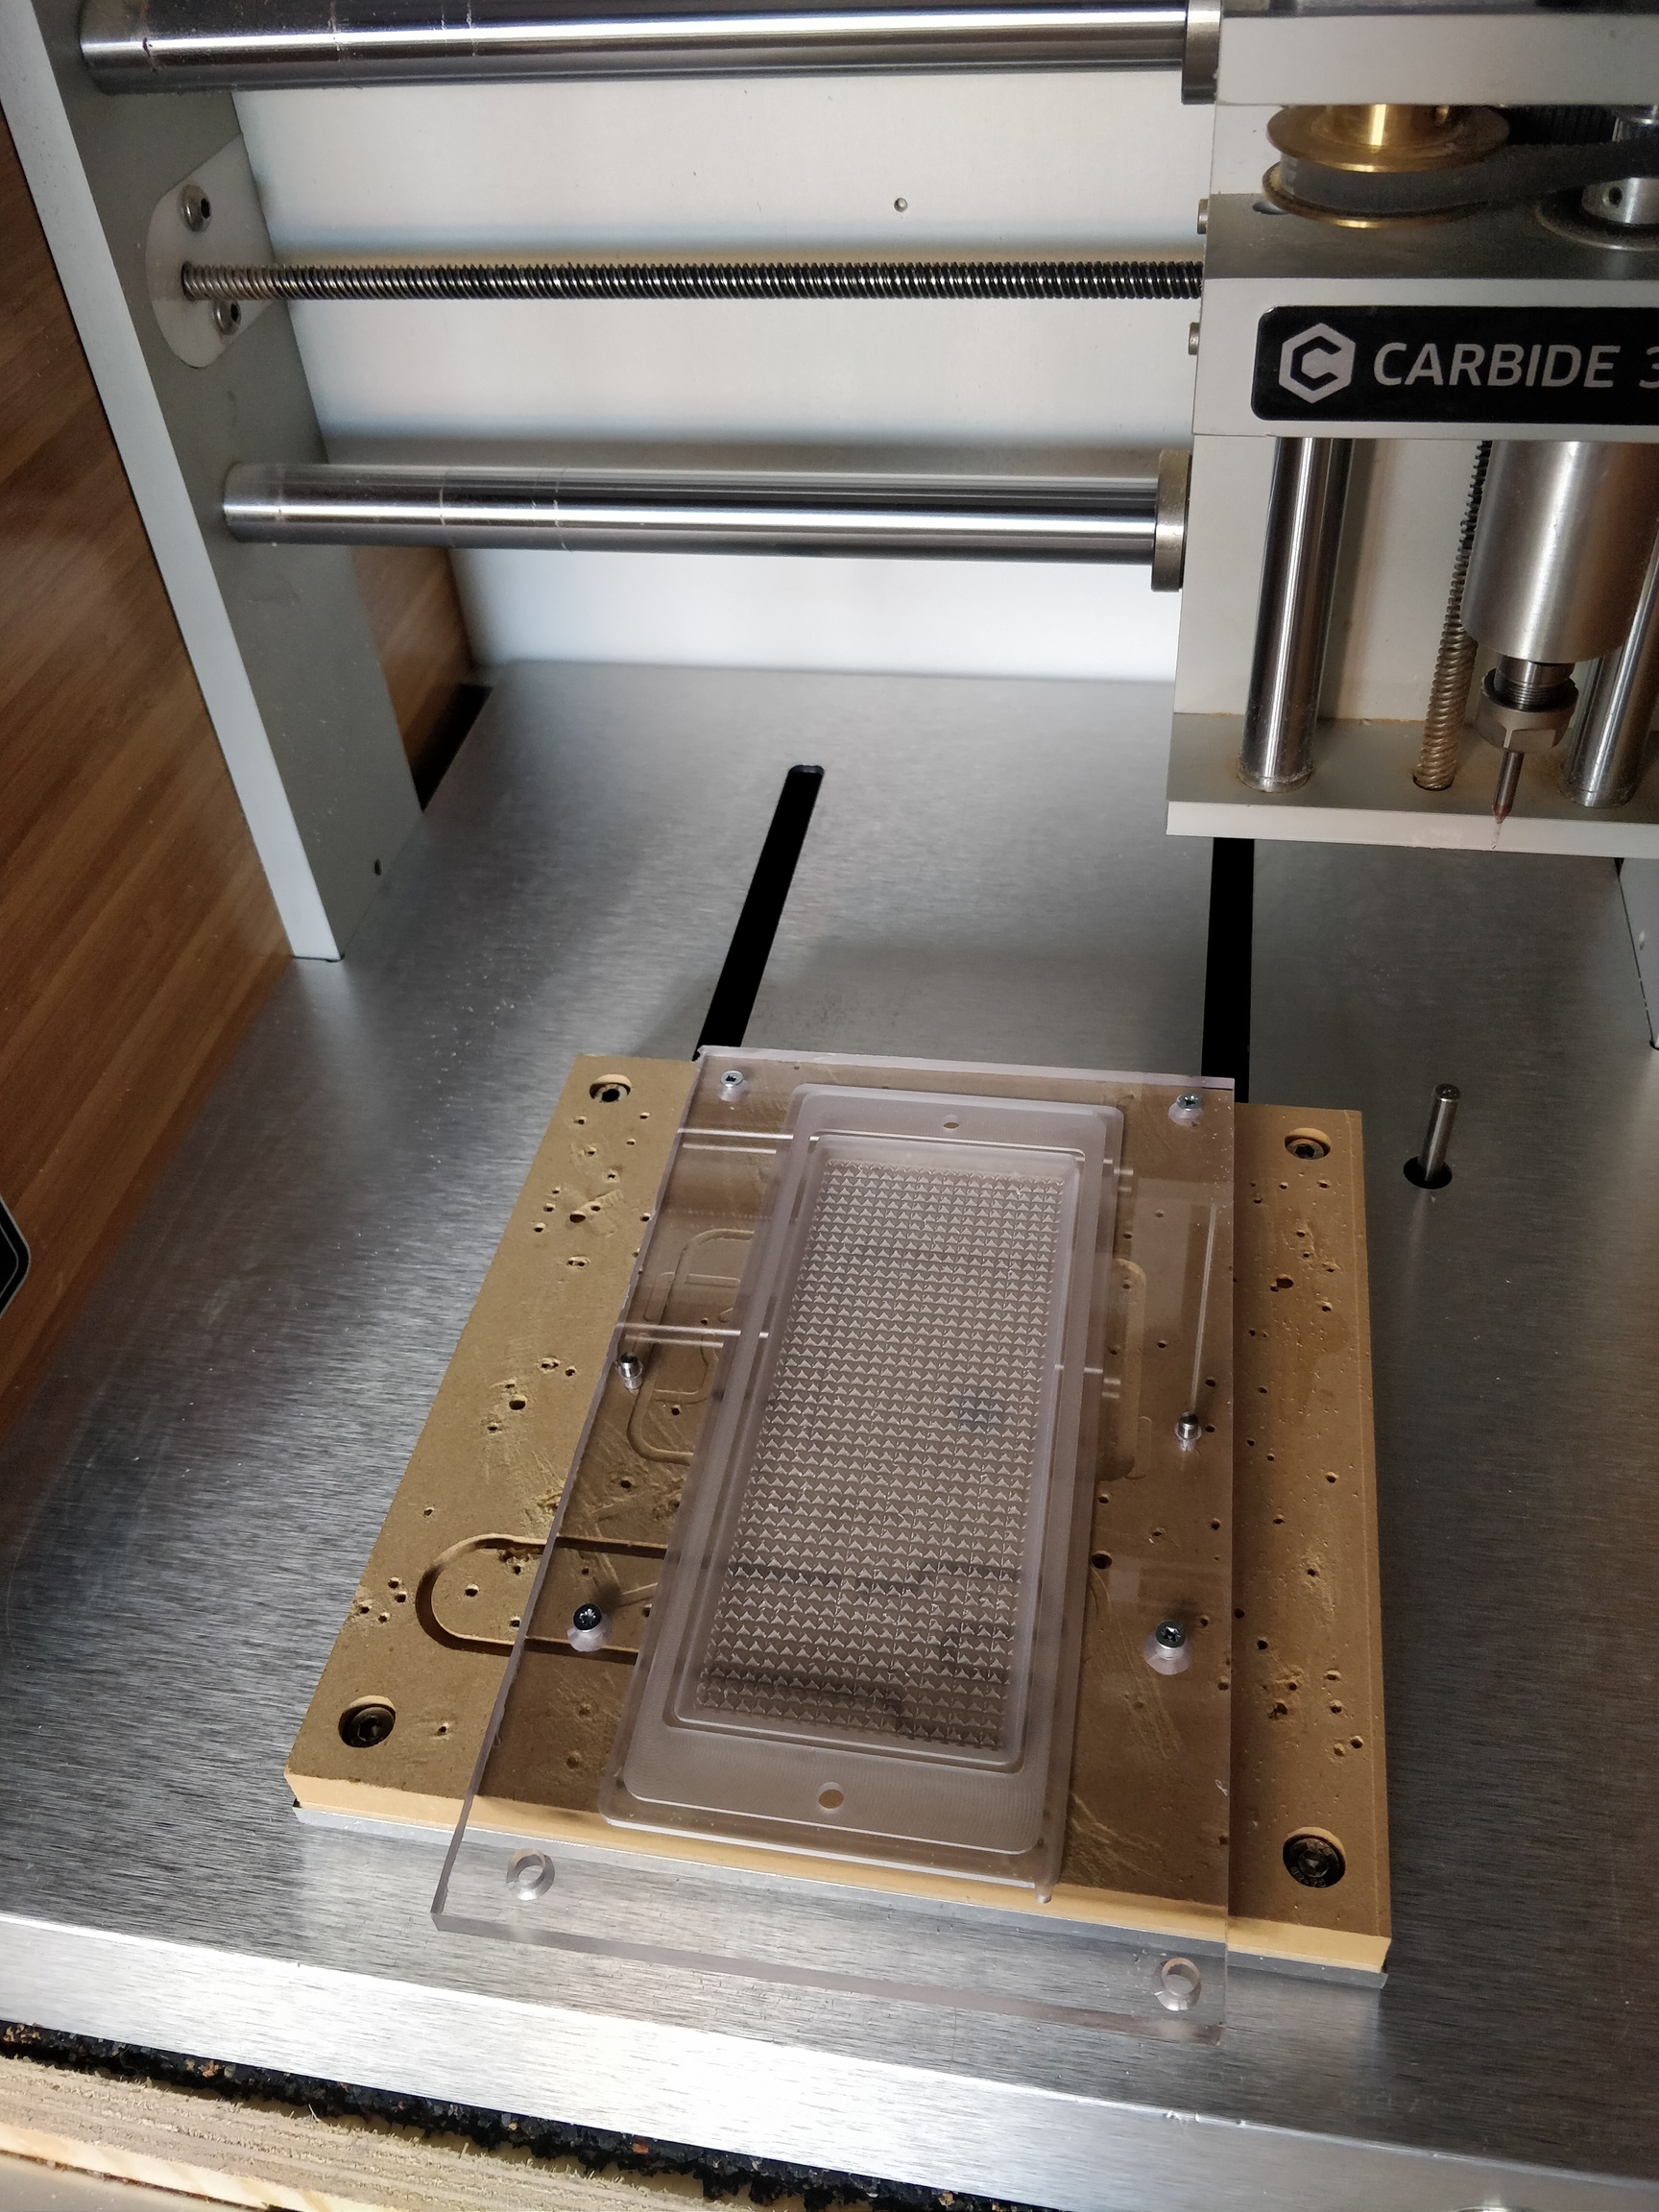
I’m going to outline current process, because it’s what I have more pictures for.
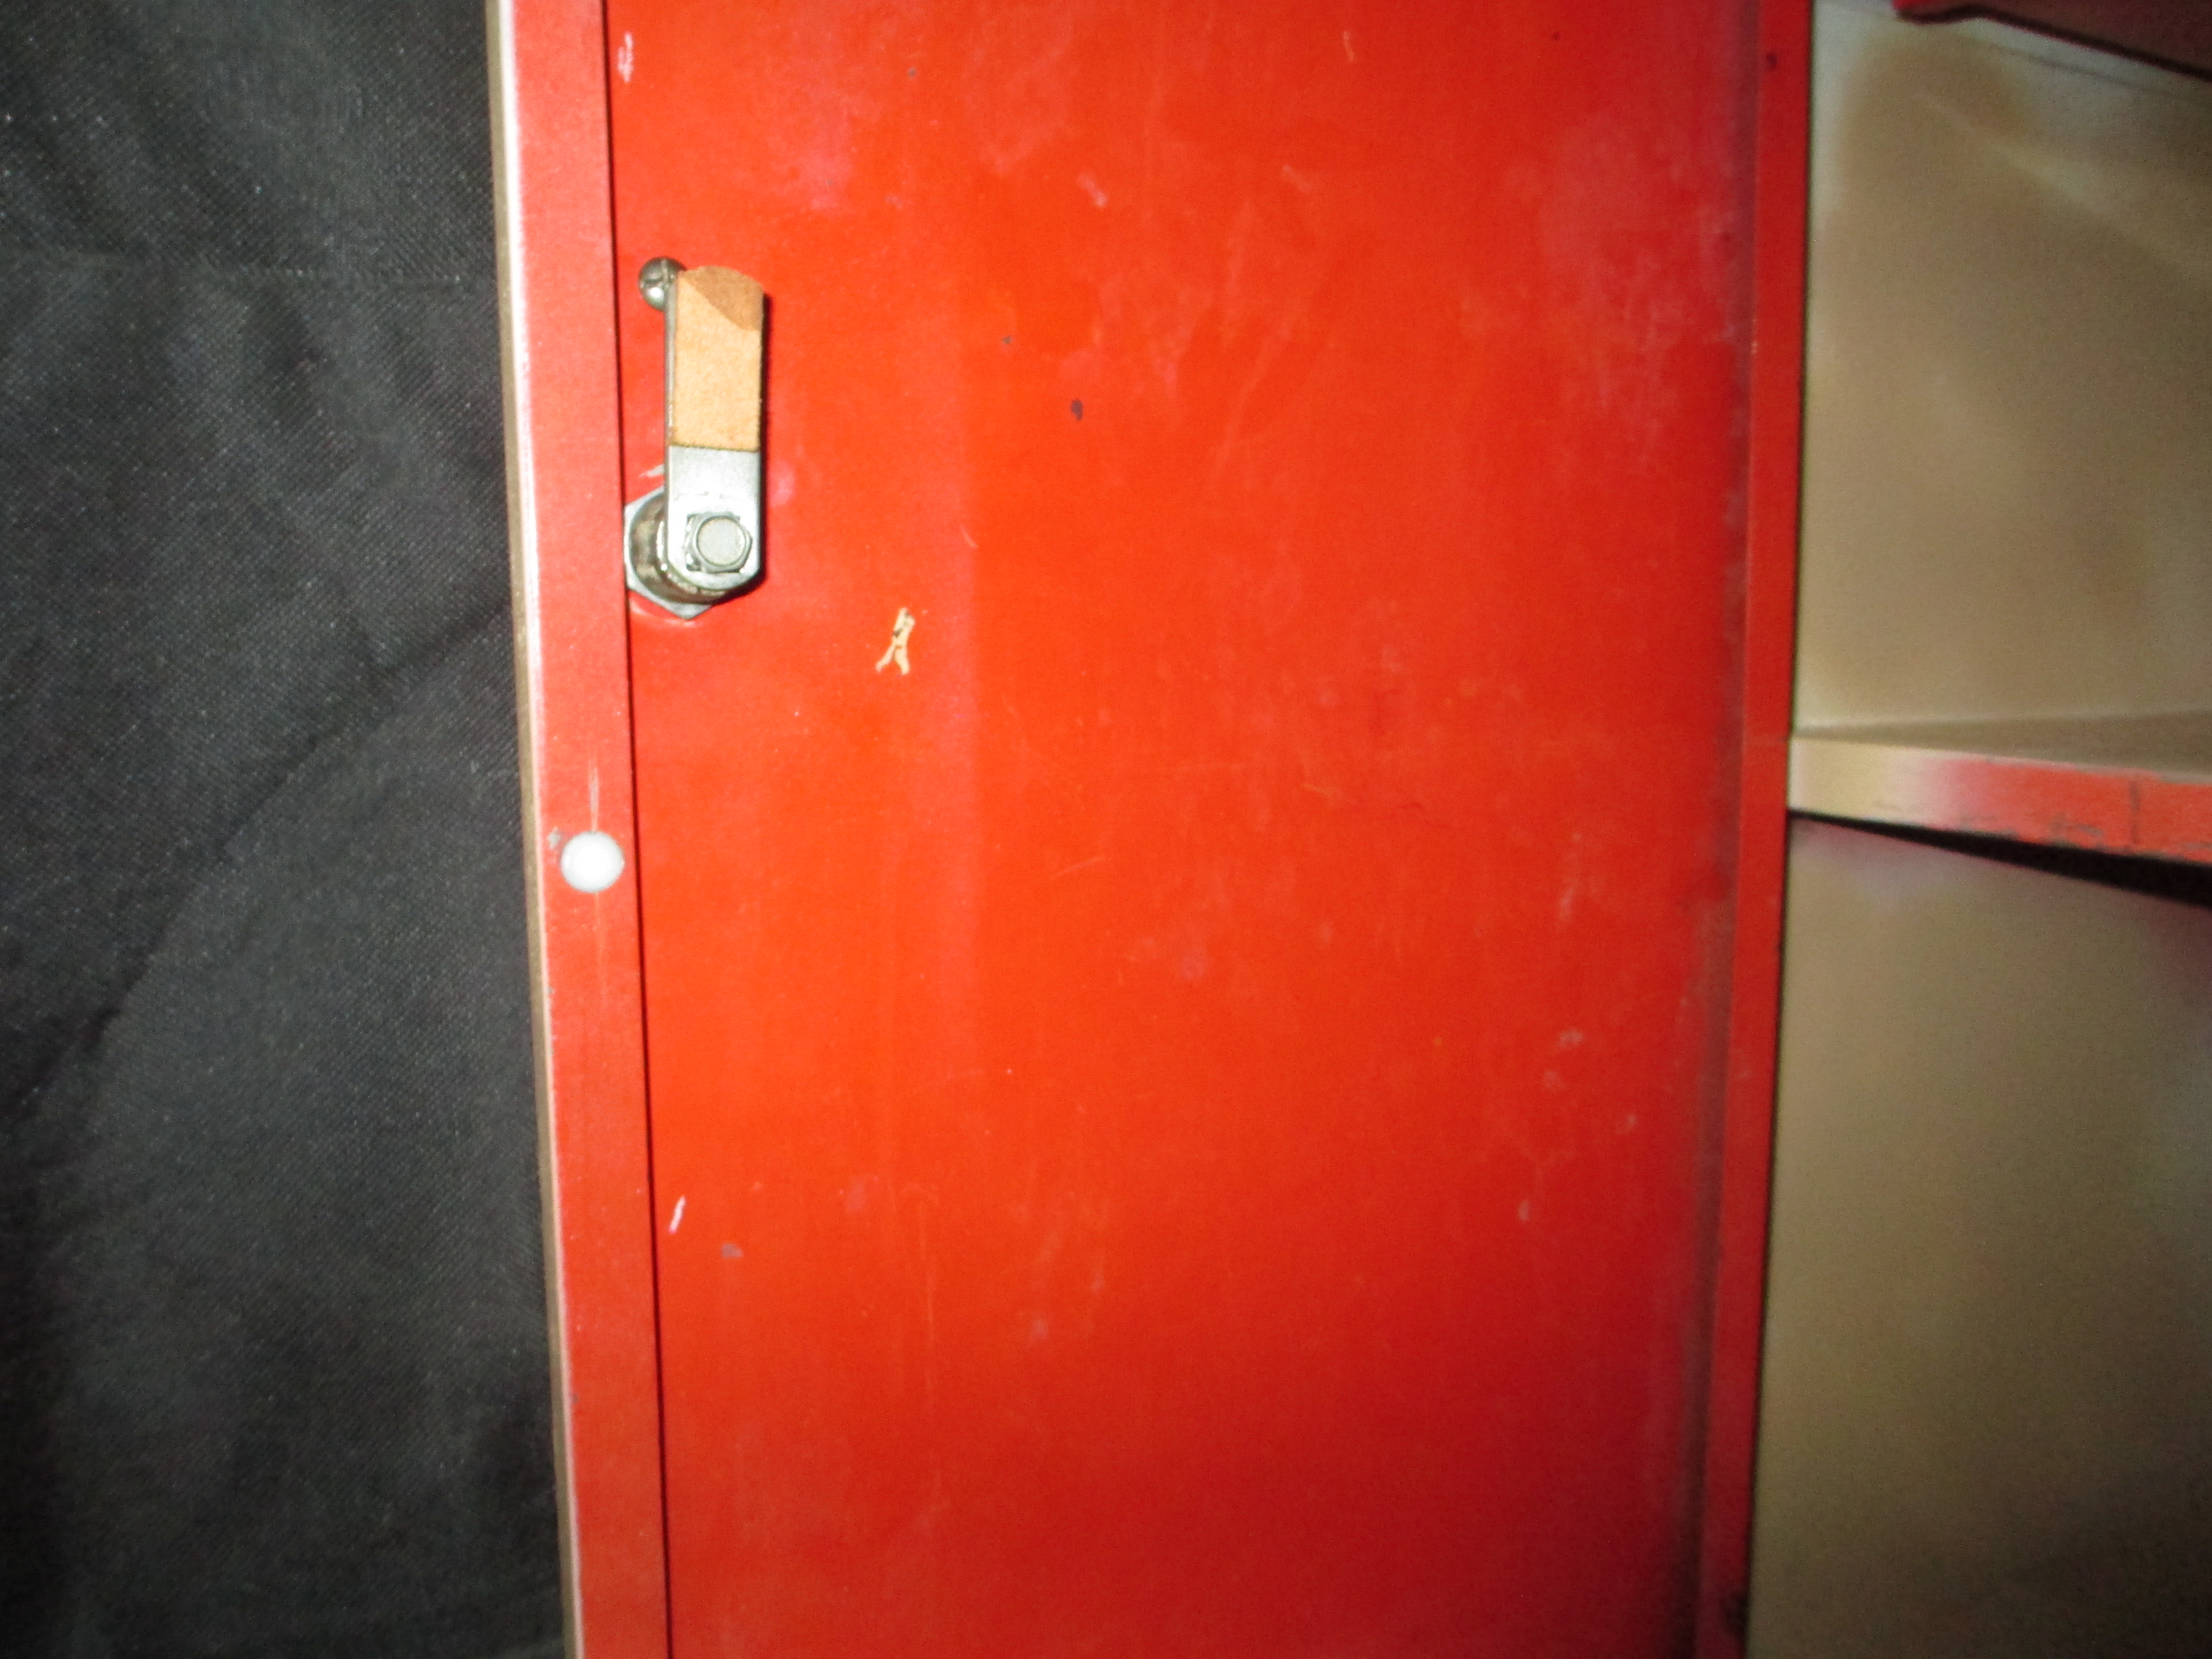
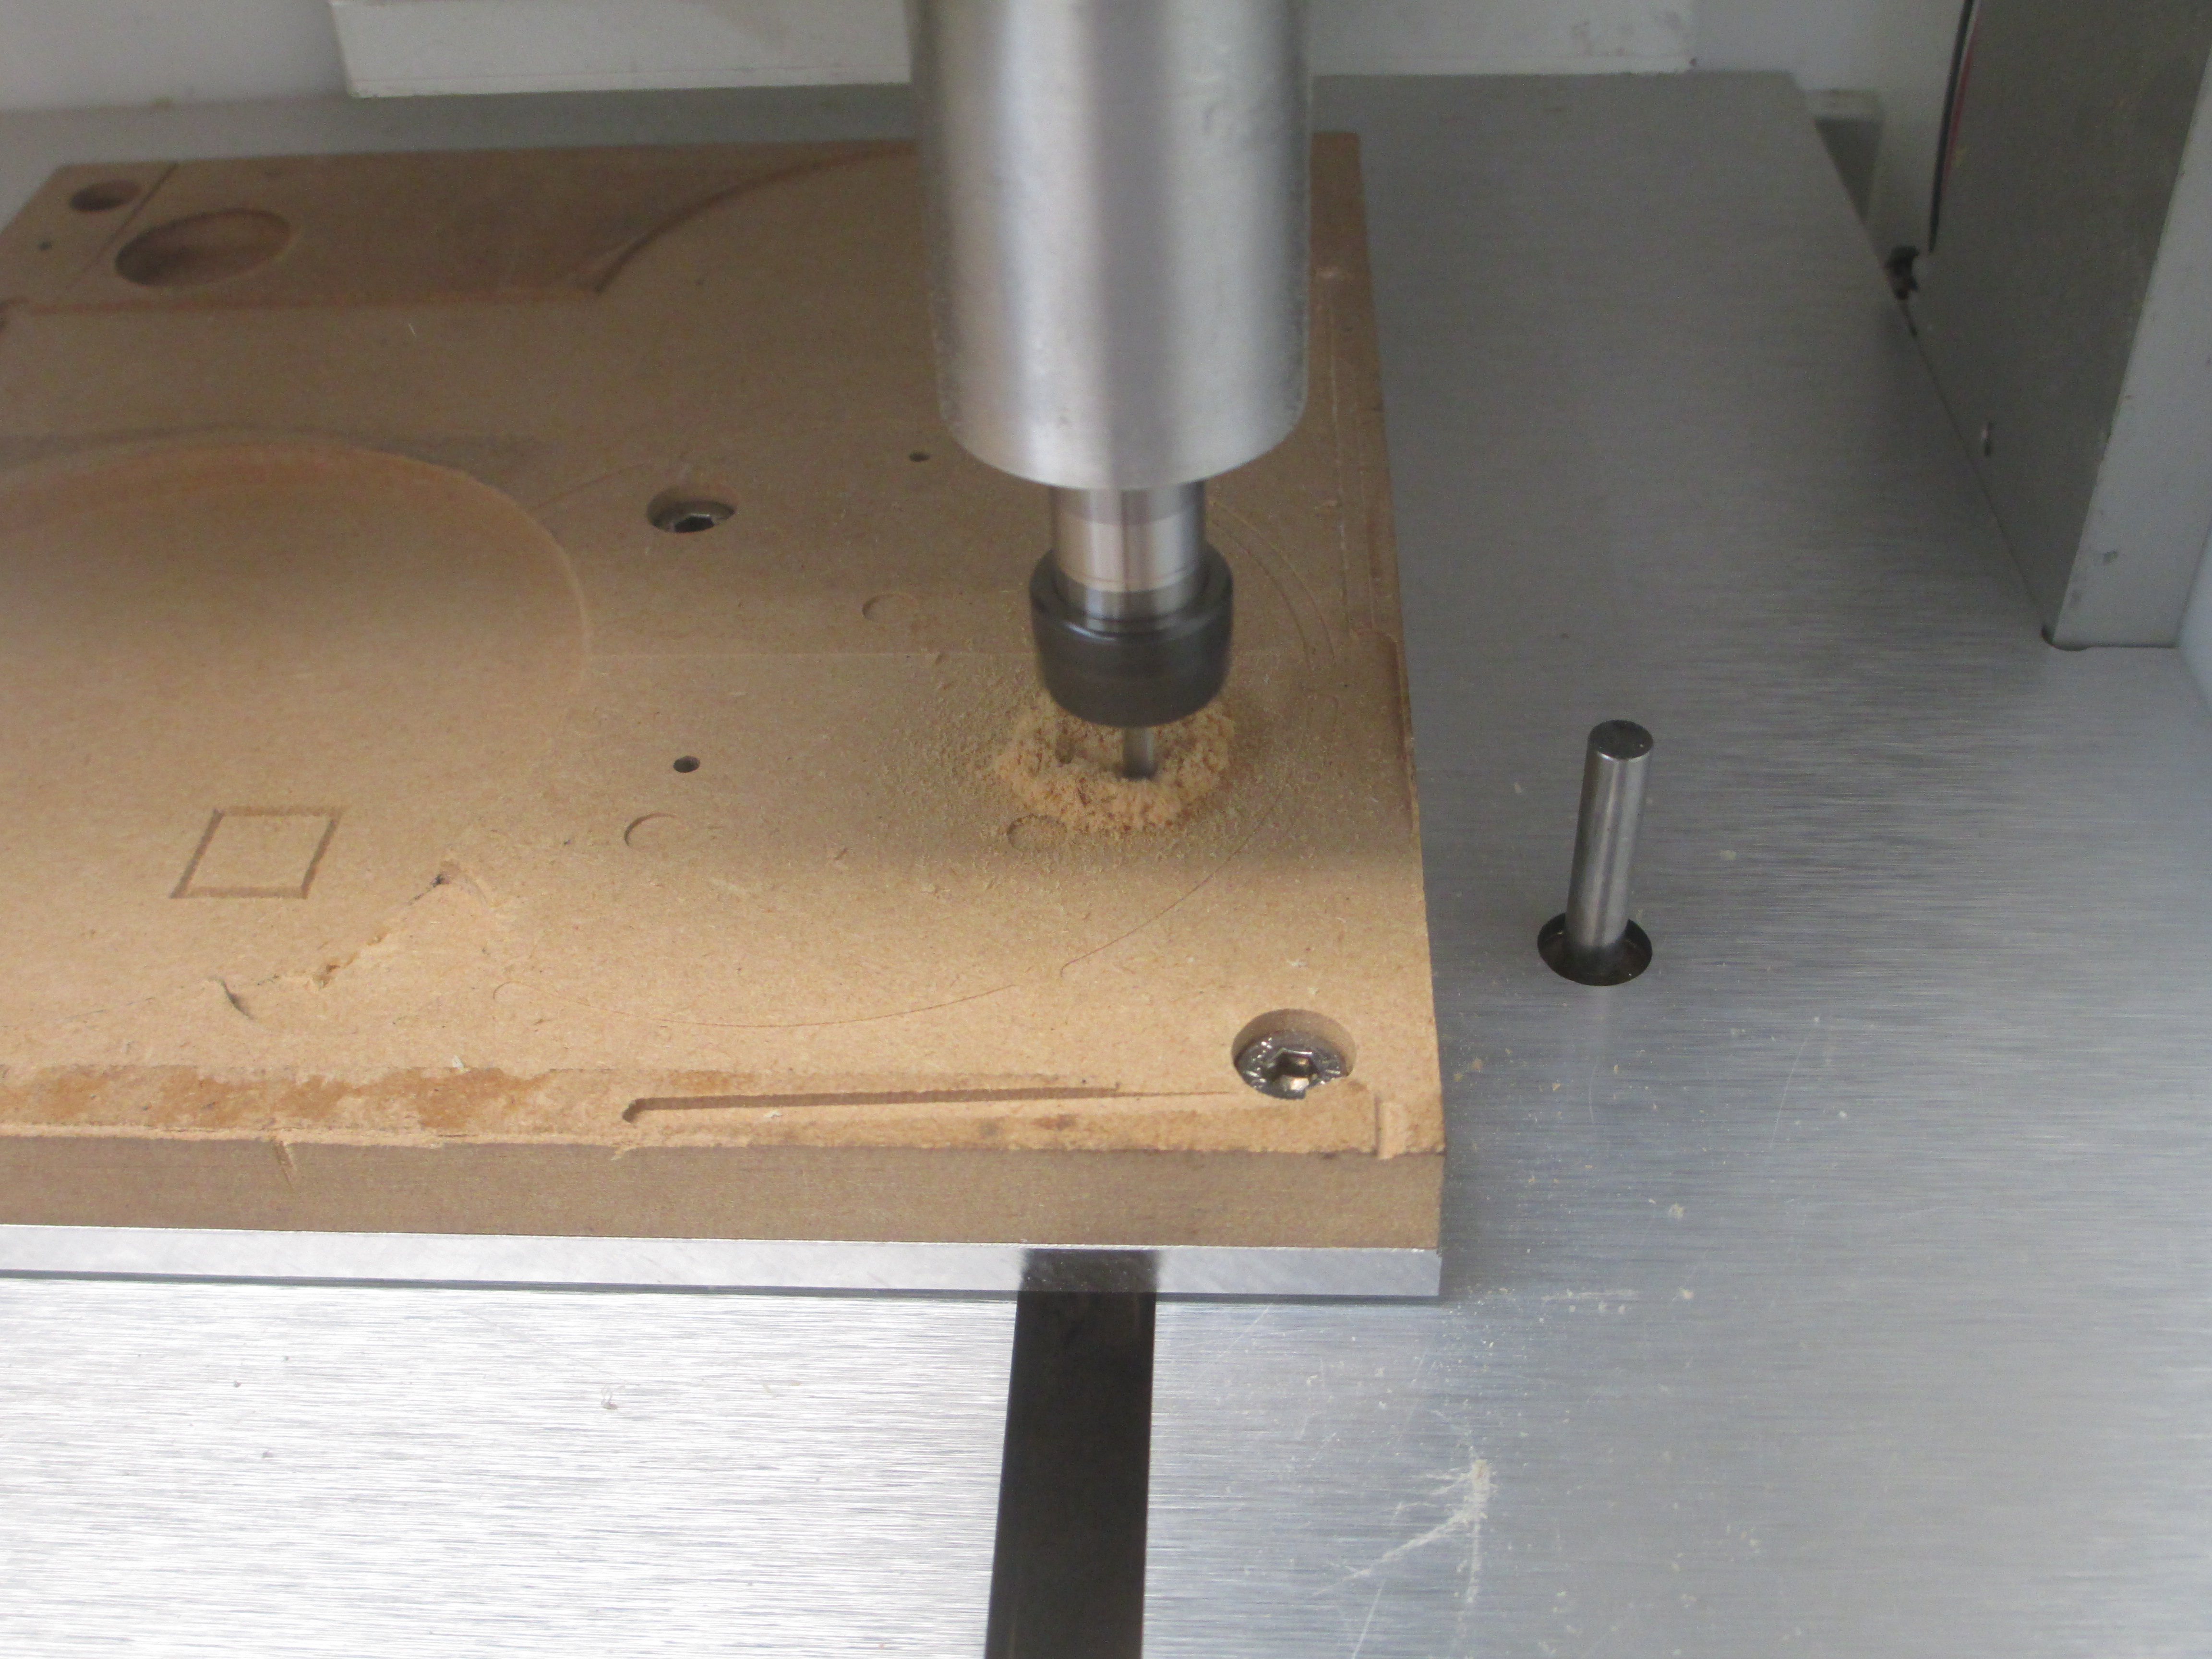
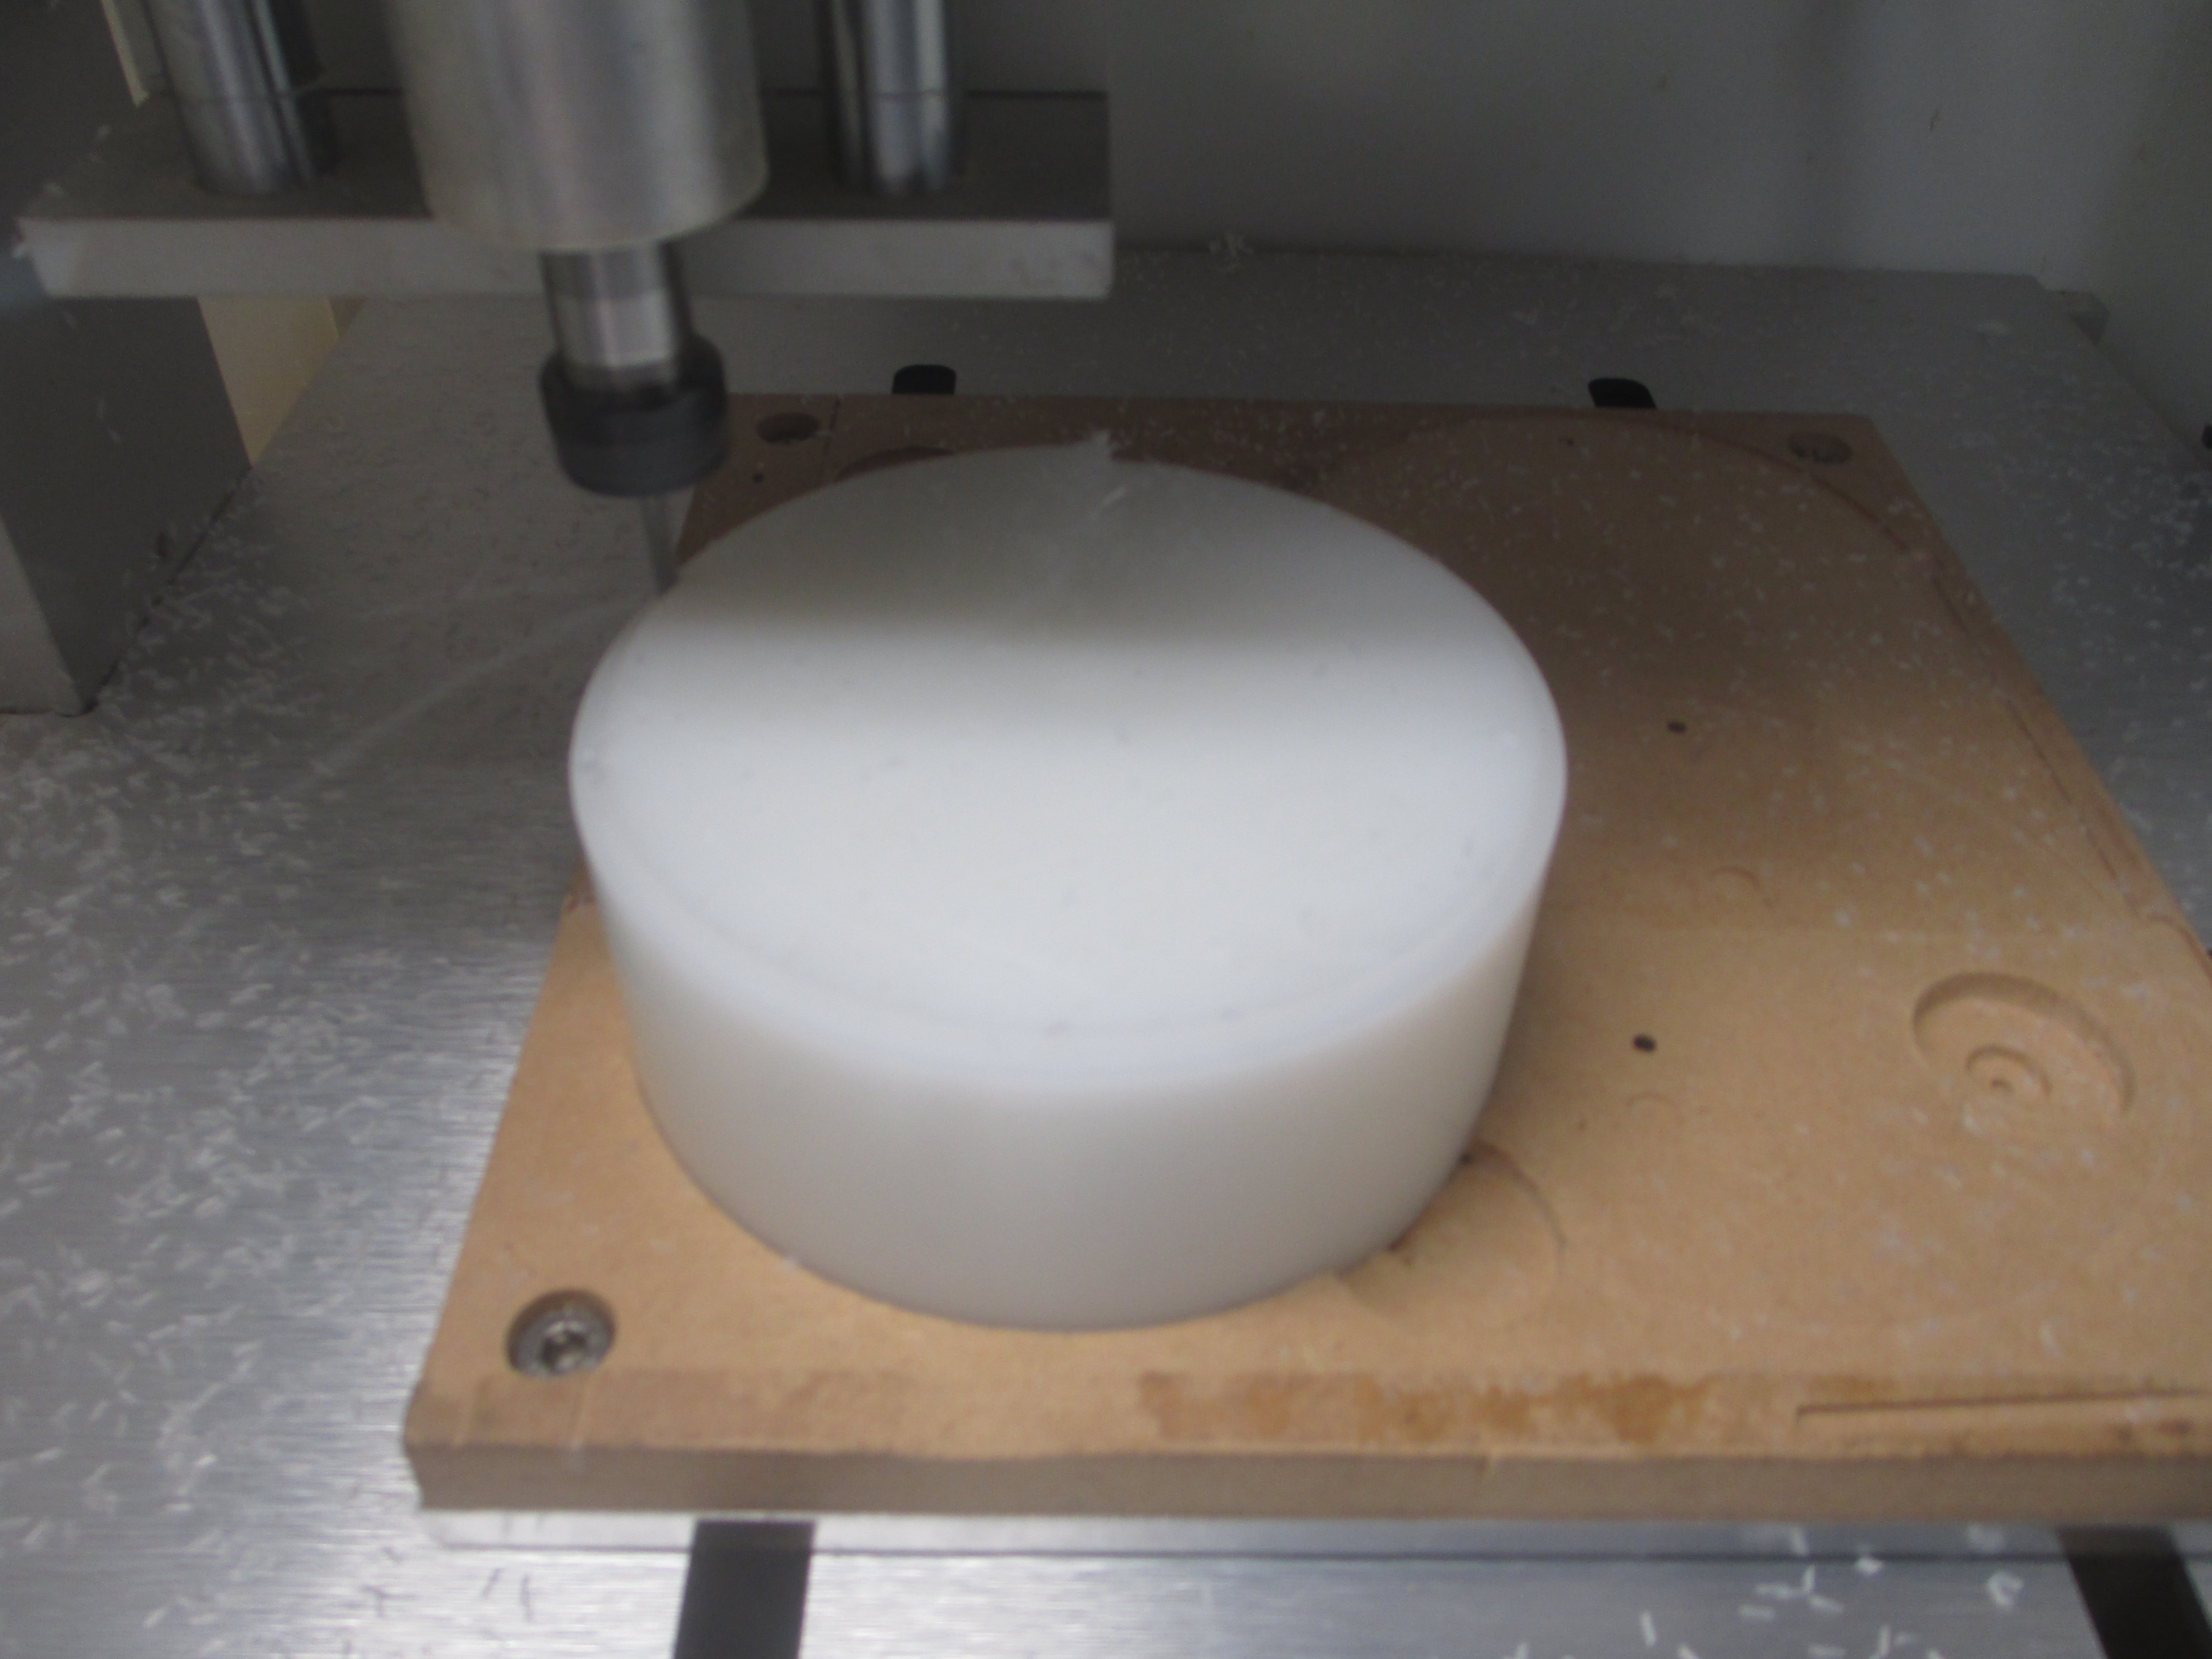
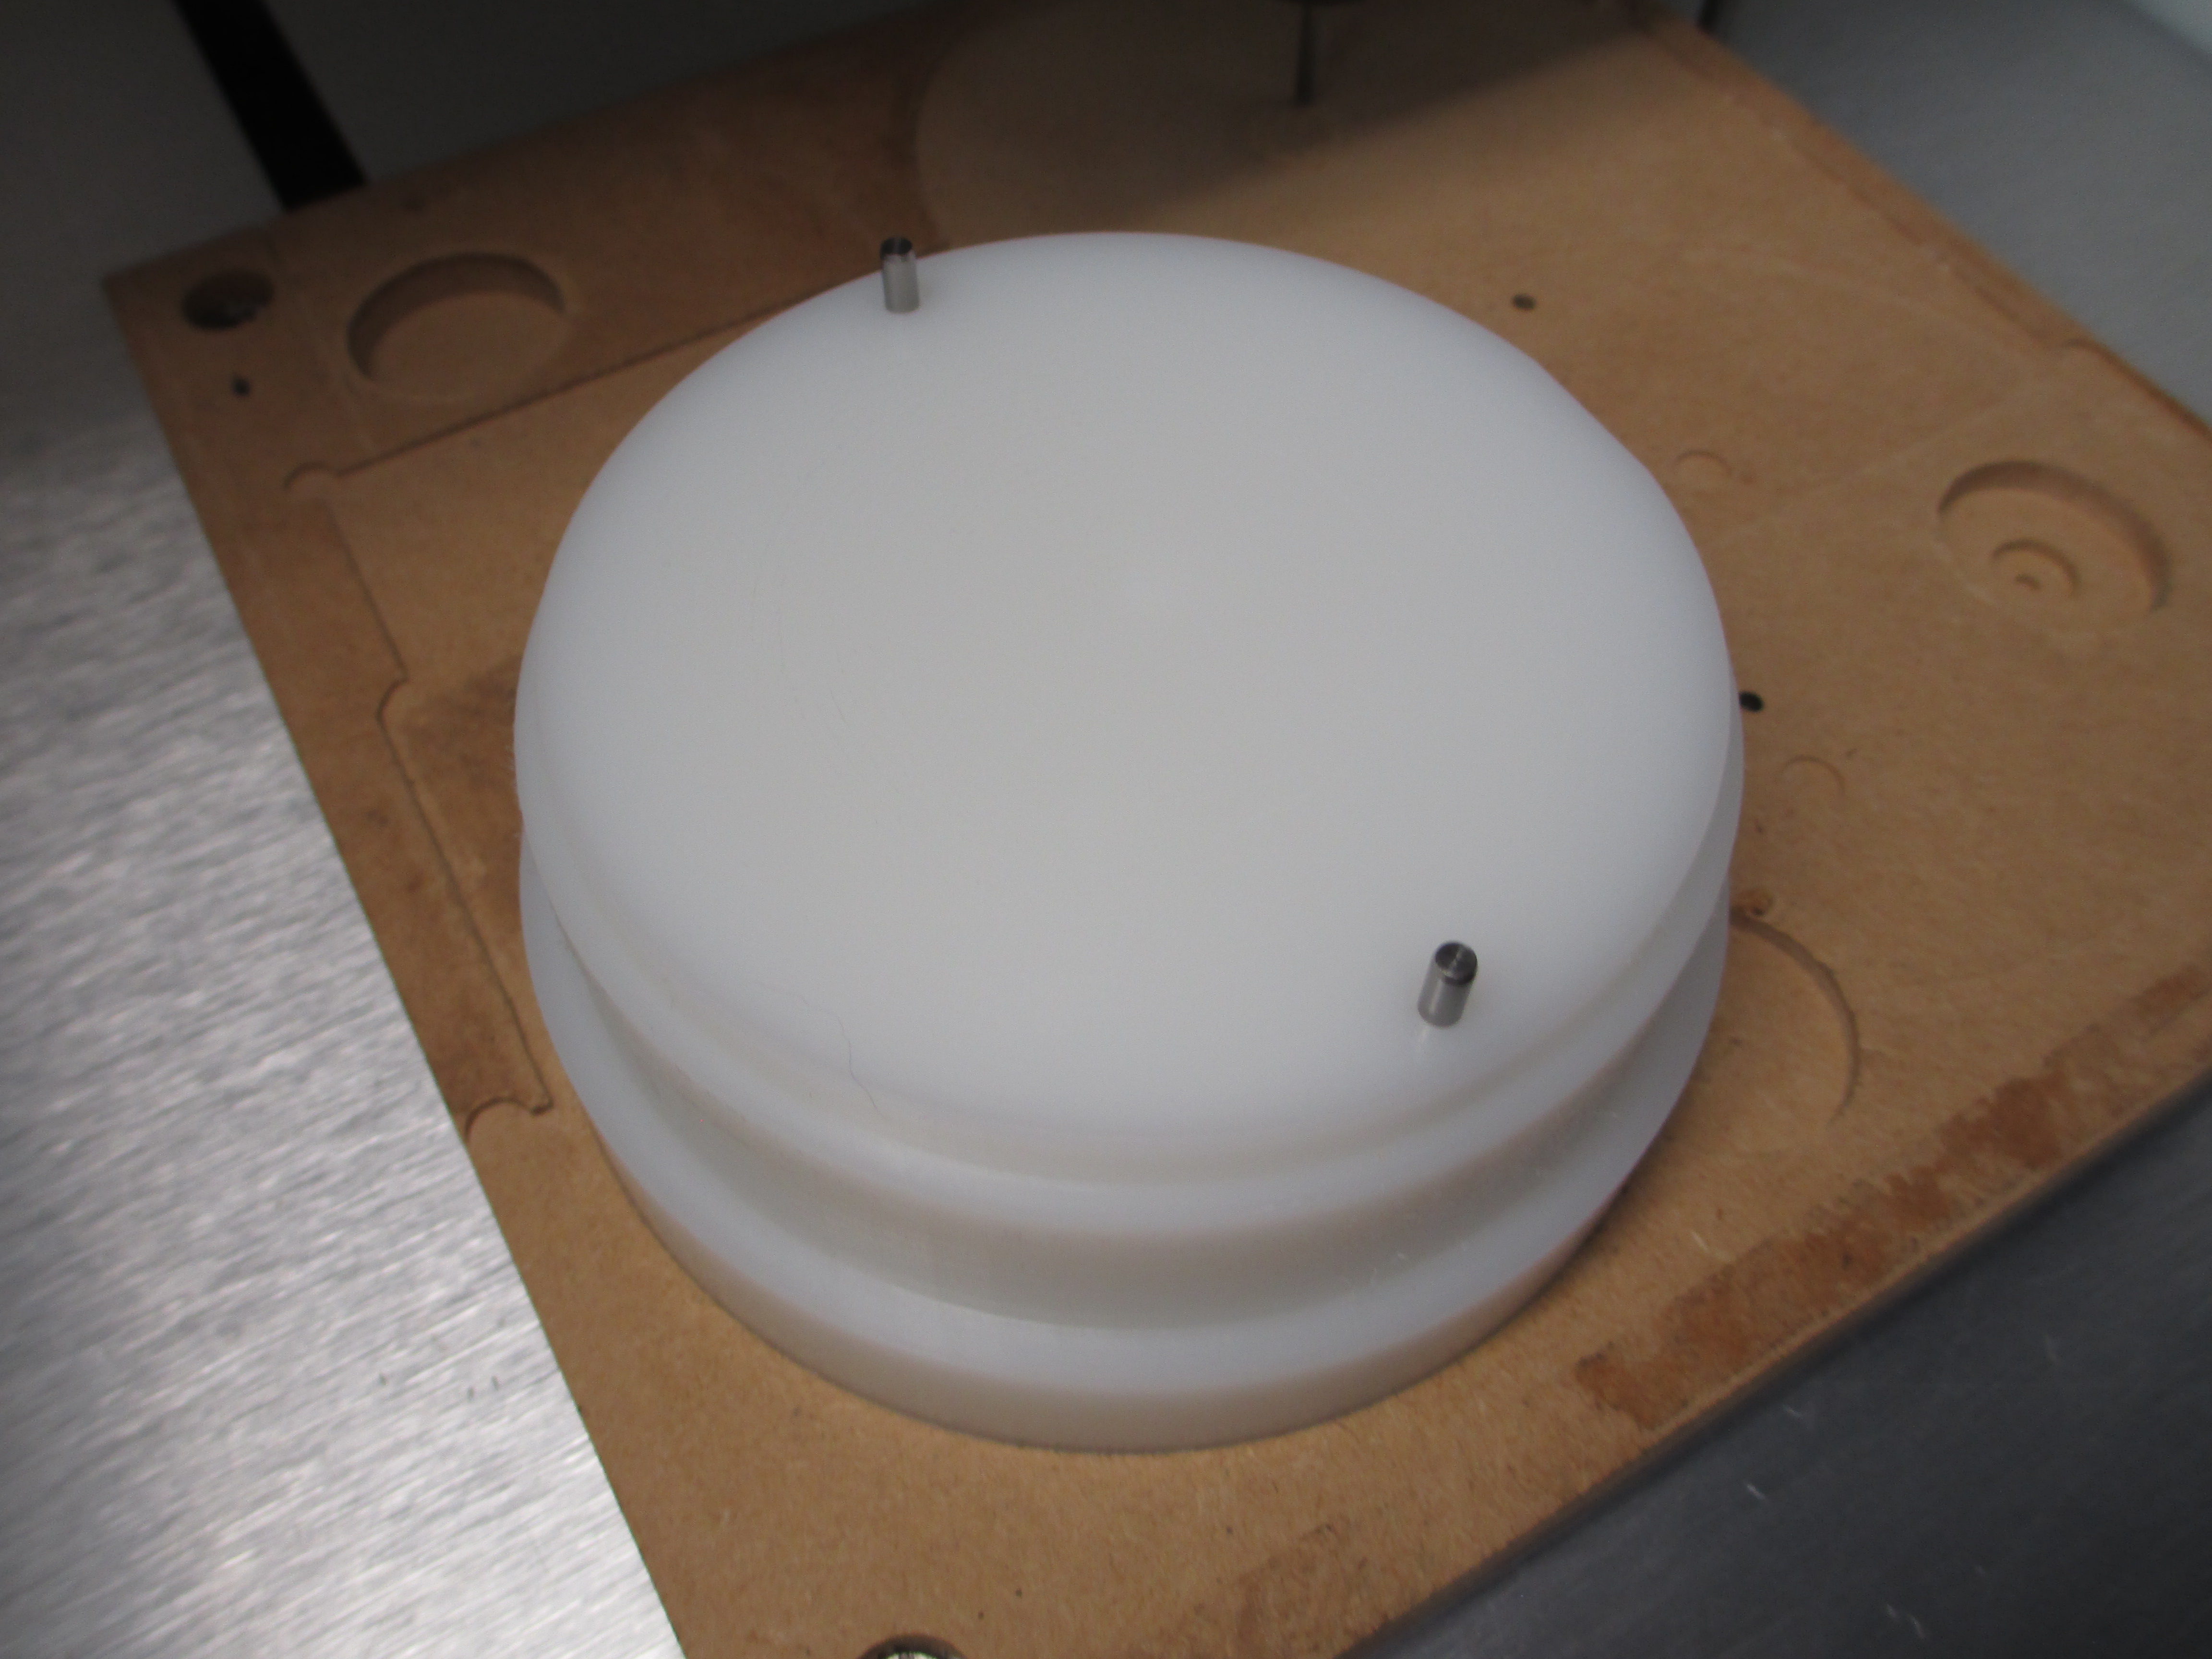
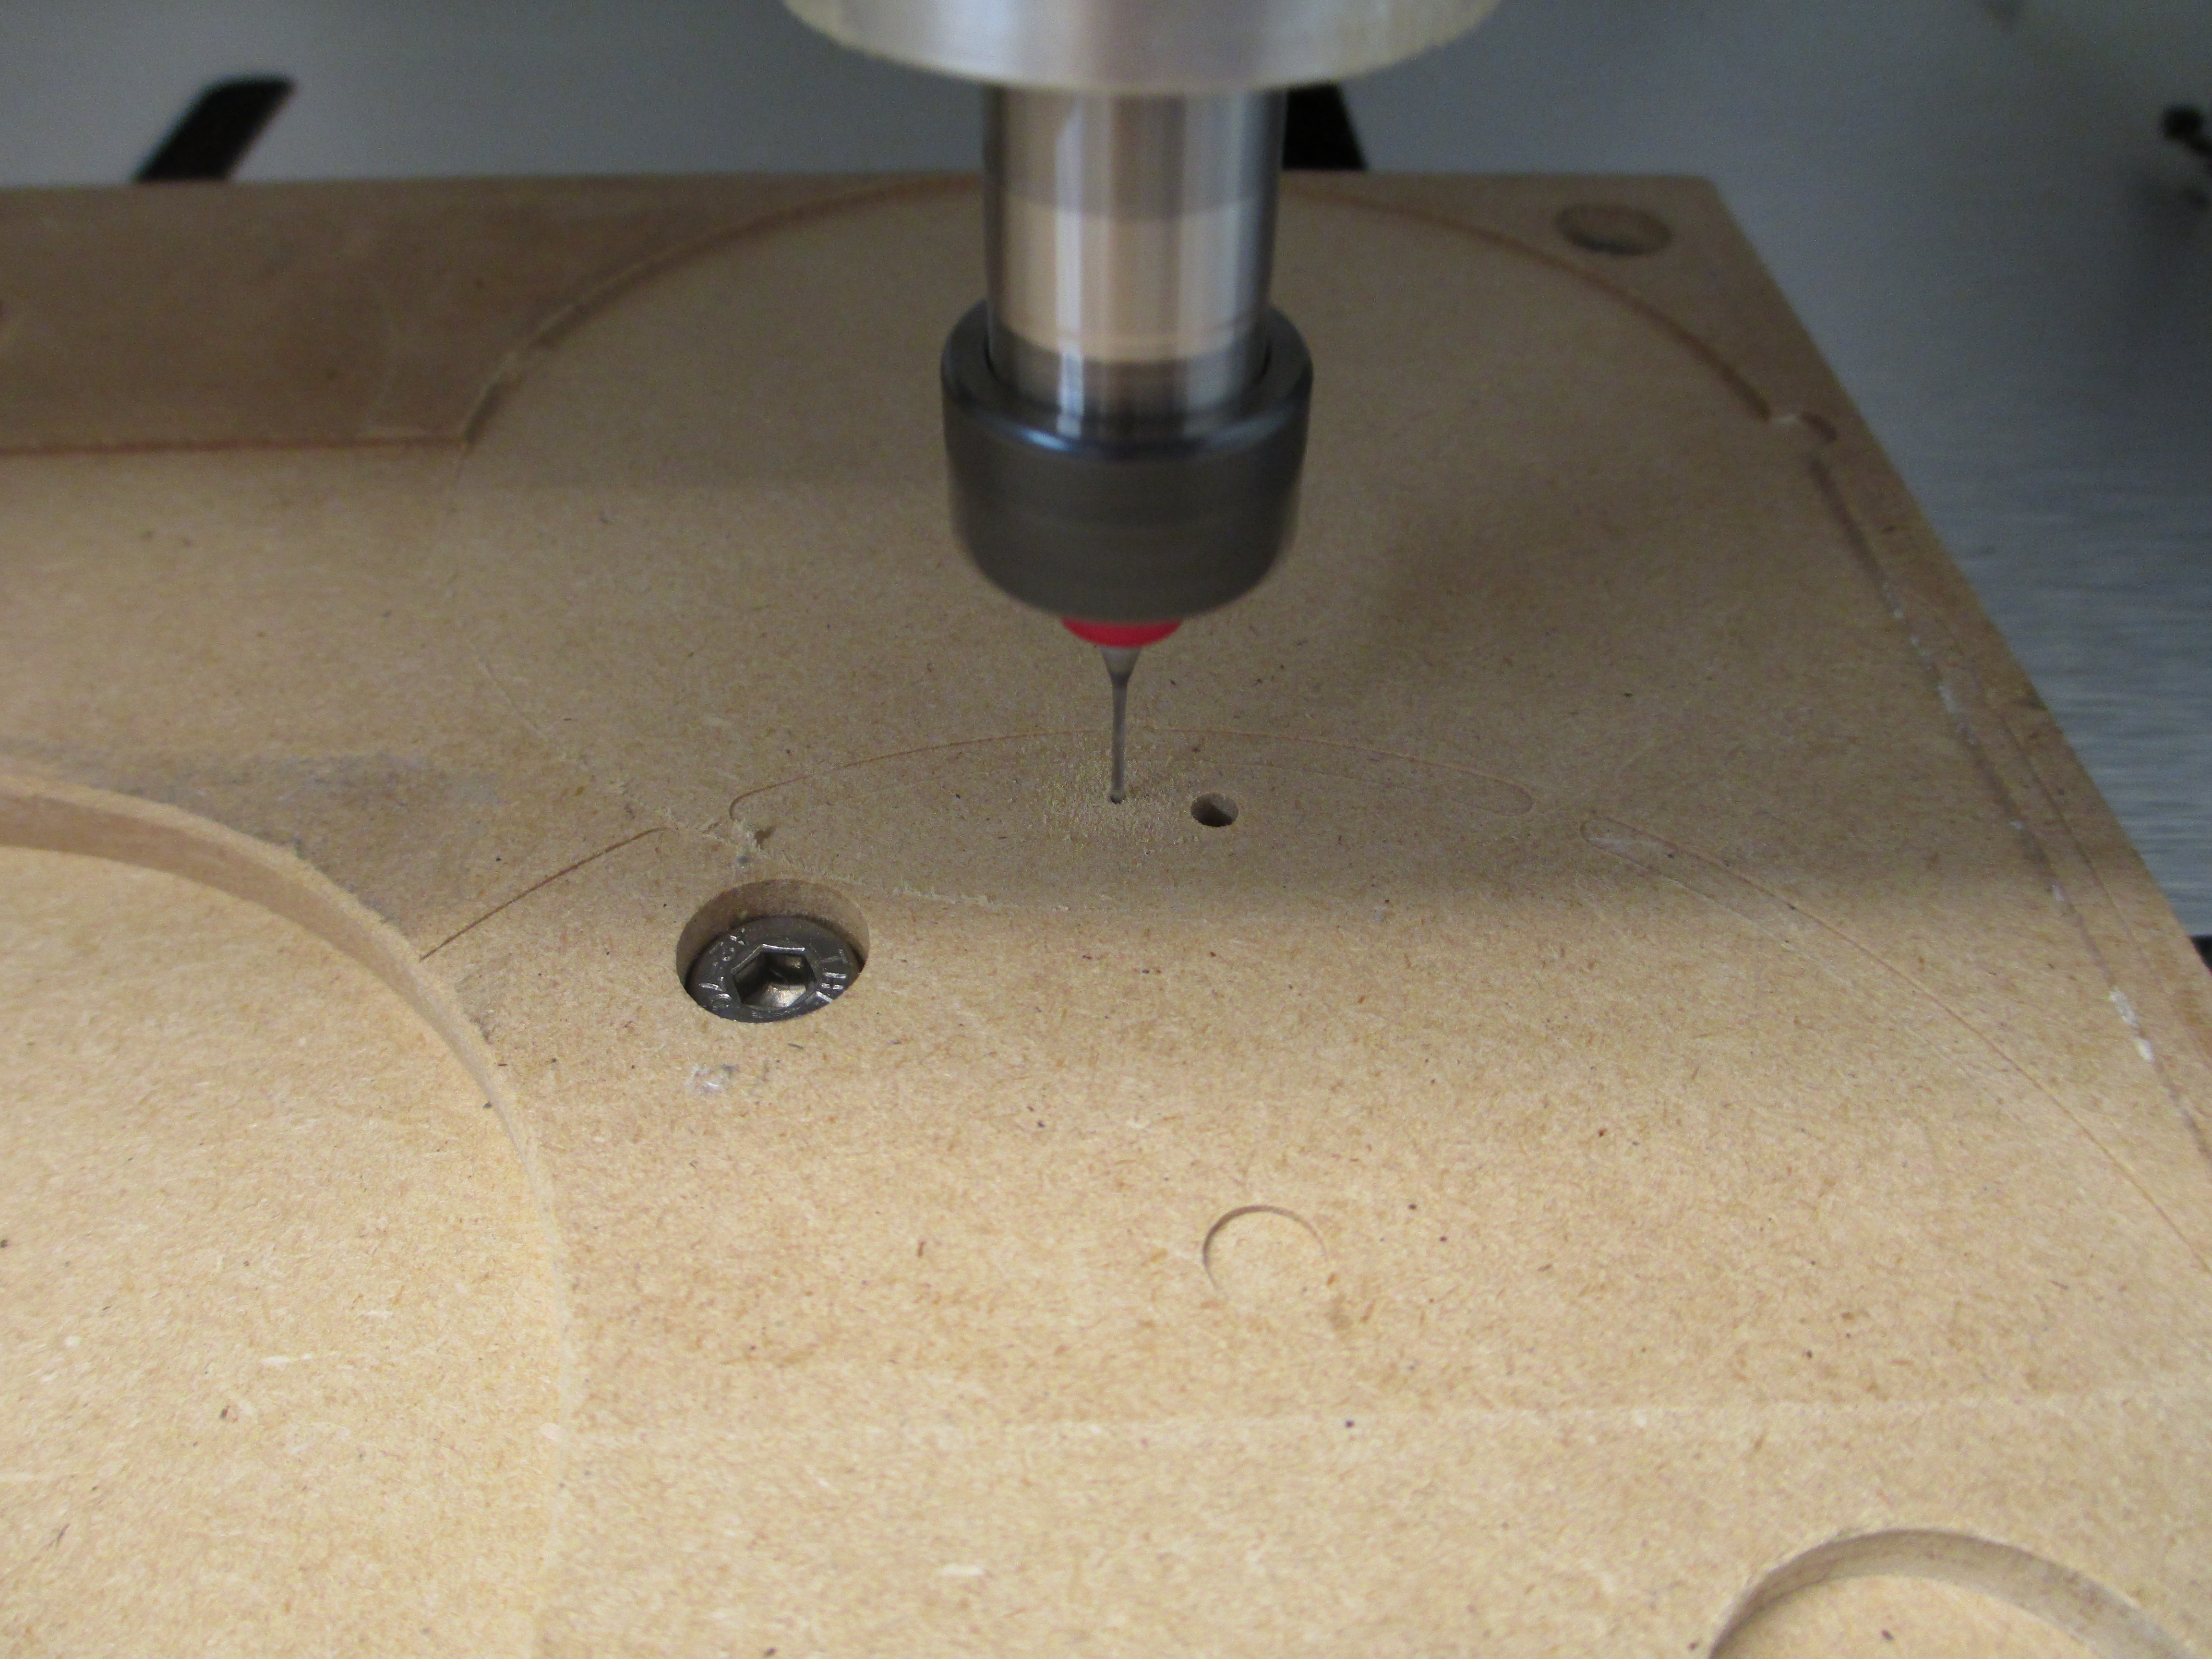
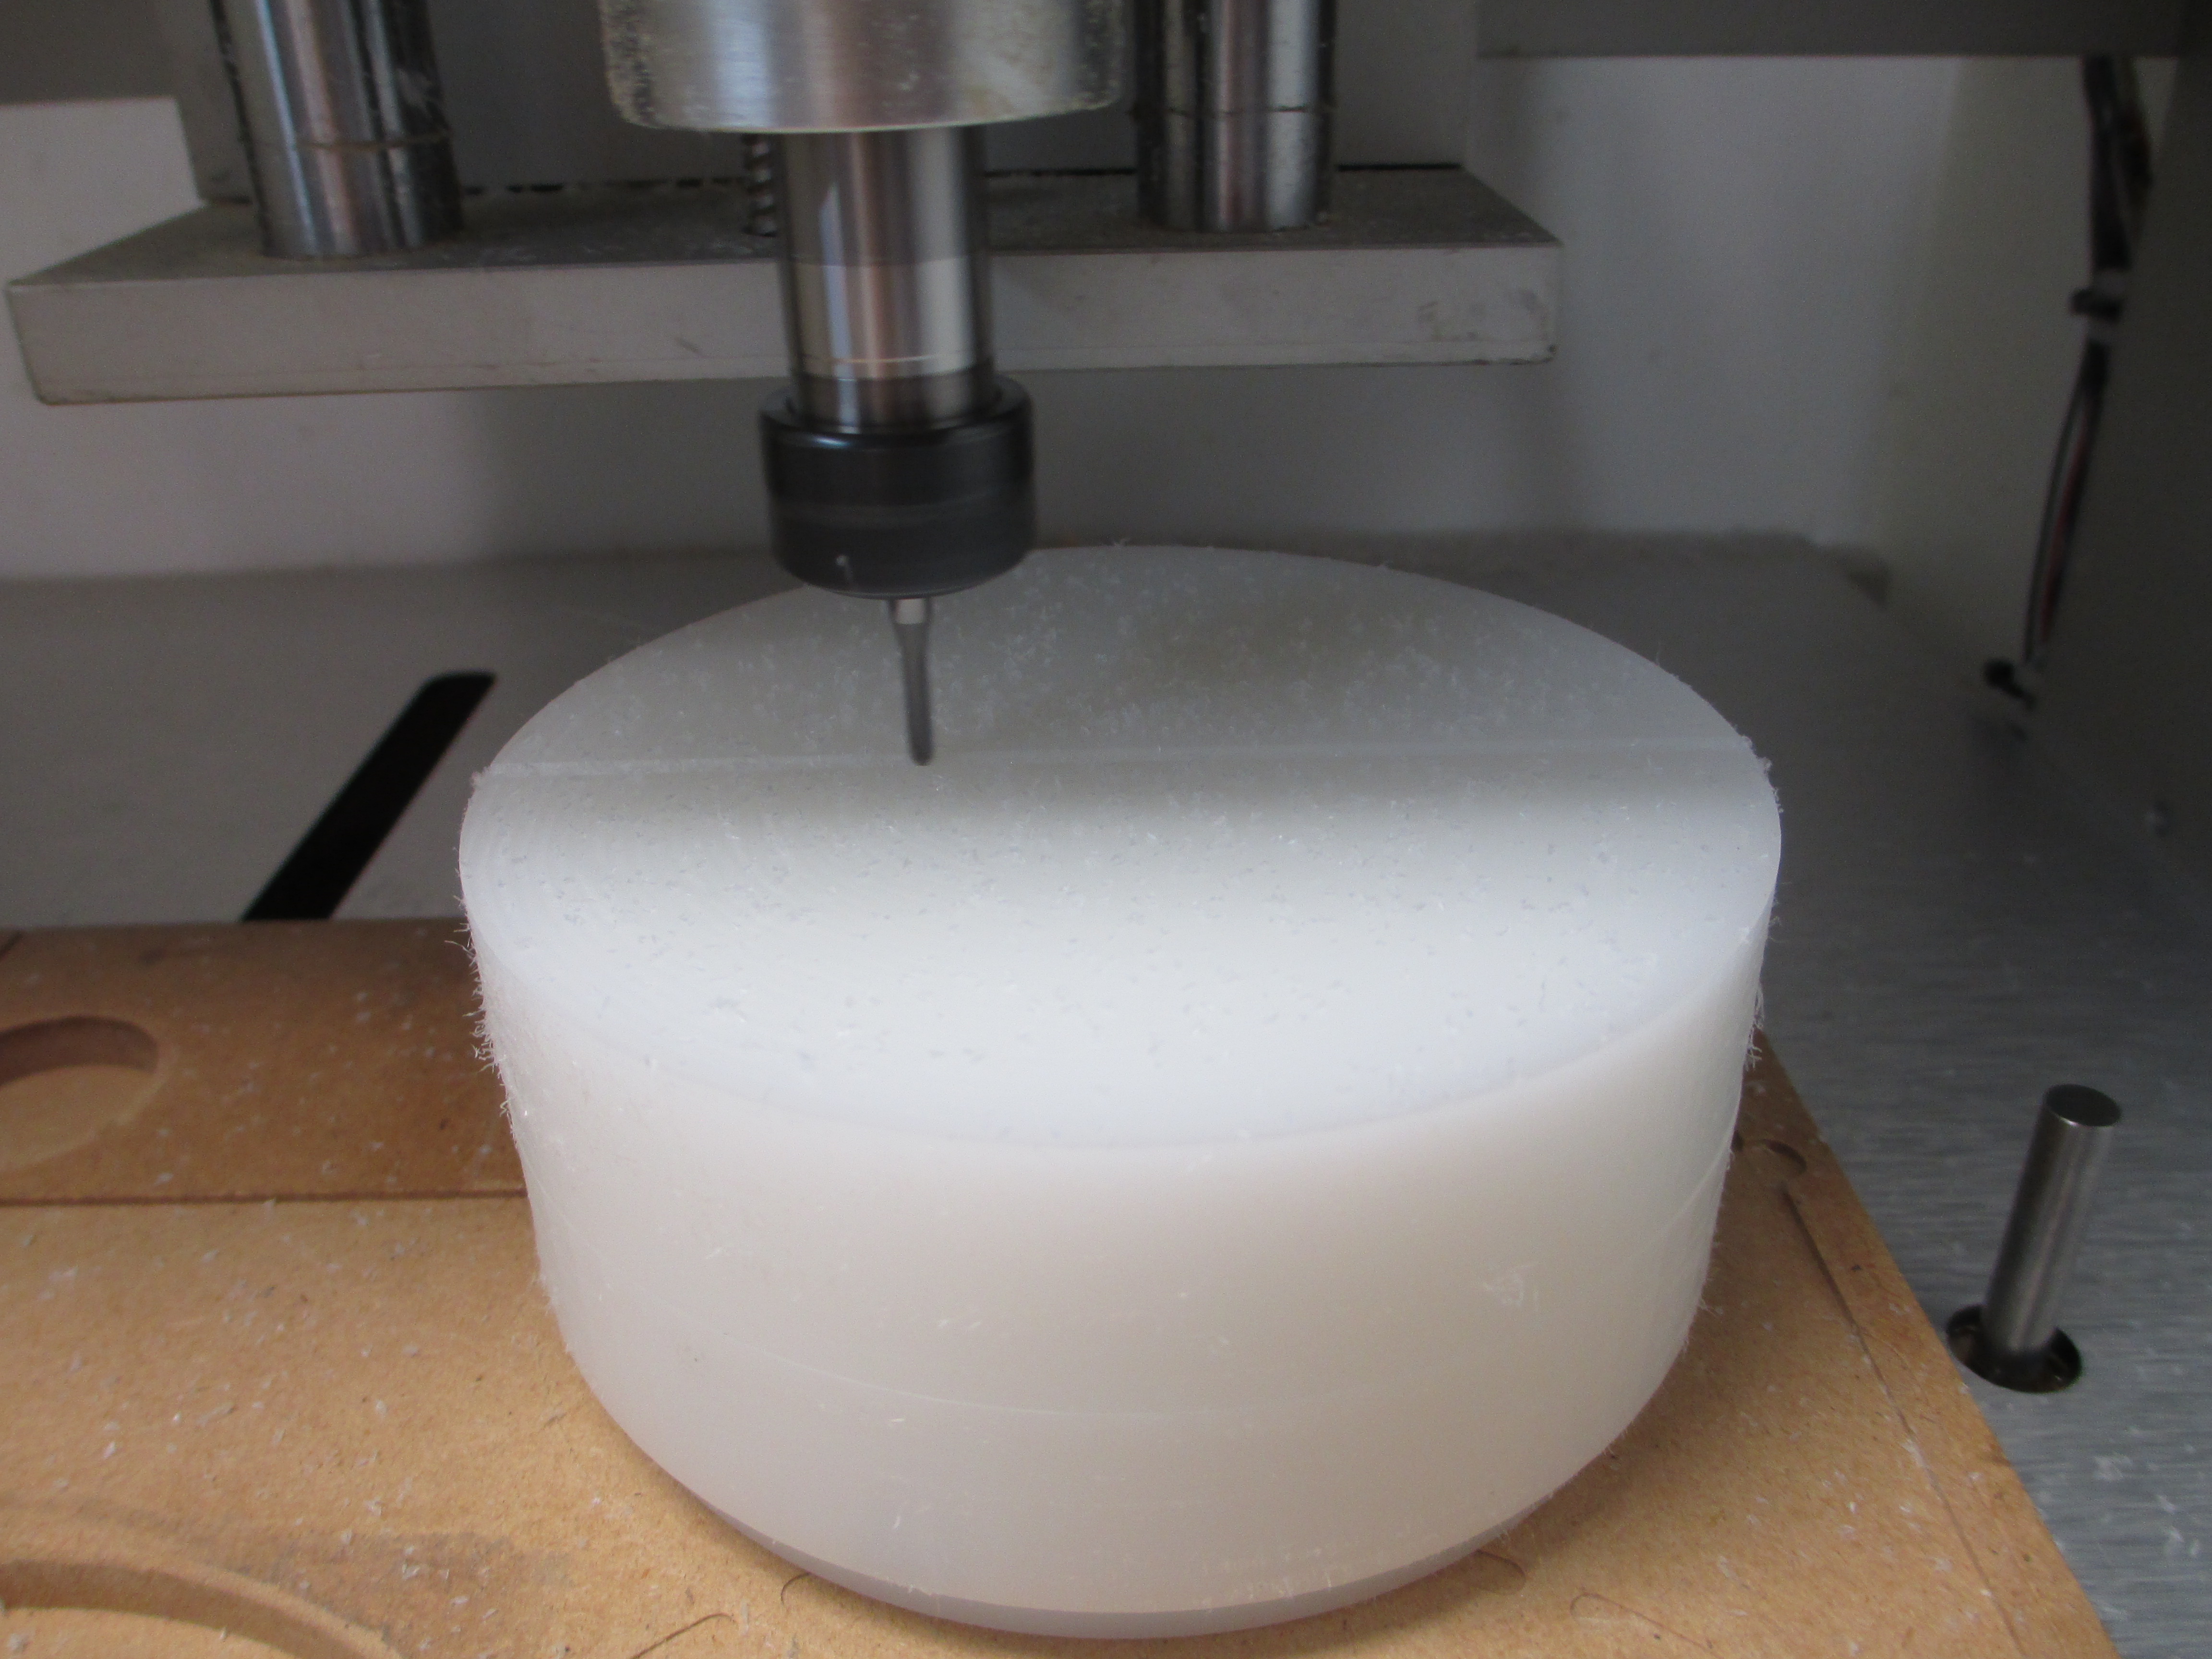
So I start off with moving stock down to a known size. Also flattening them in the nomad. But while I’m cutting the stock down to the shape I also have 4 flip pin holes machined into the corners of the stock. Stock size measures 140x130x34 (or 36)mm. I set a square up in carbide create of 140x130 with those flip pins positioned slightly into the square and then surface the face and cut out the stock.
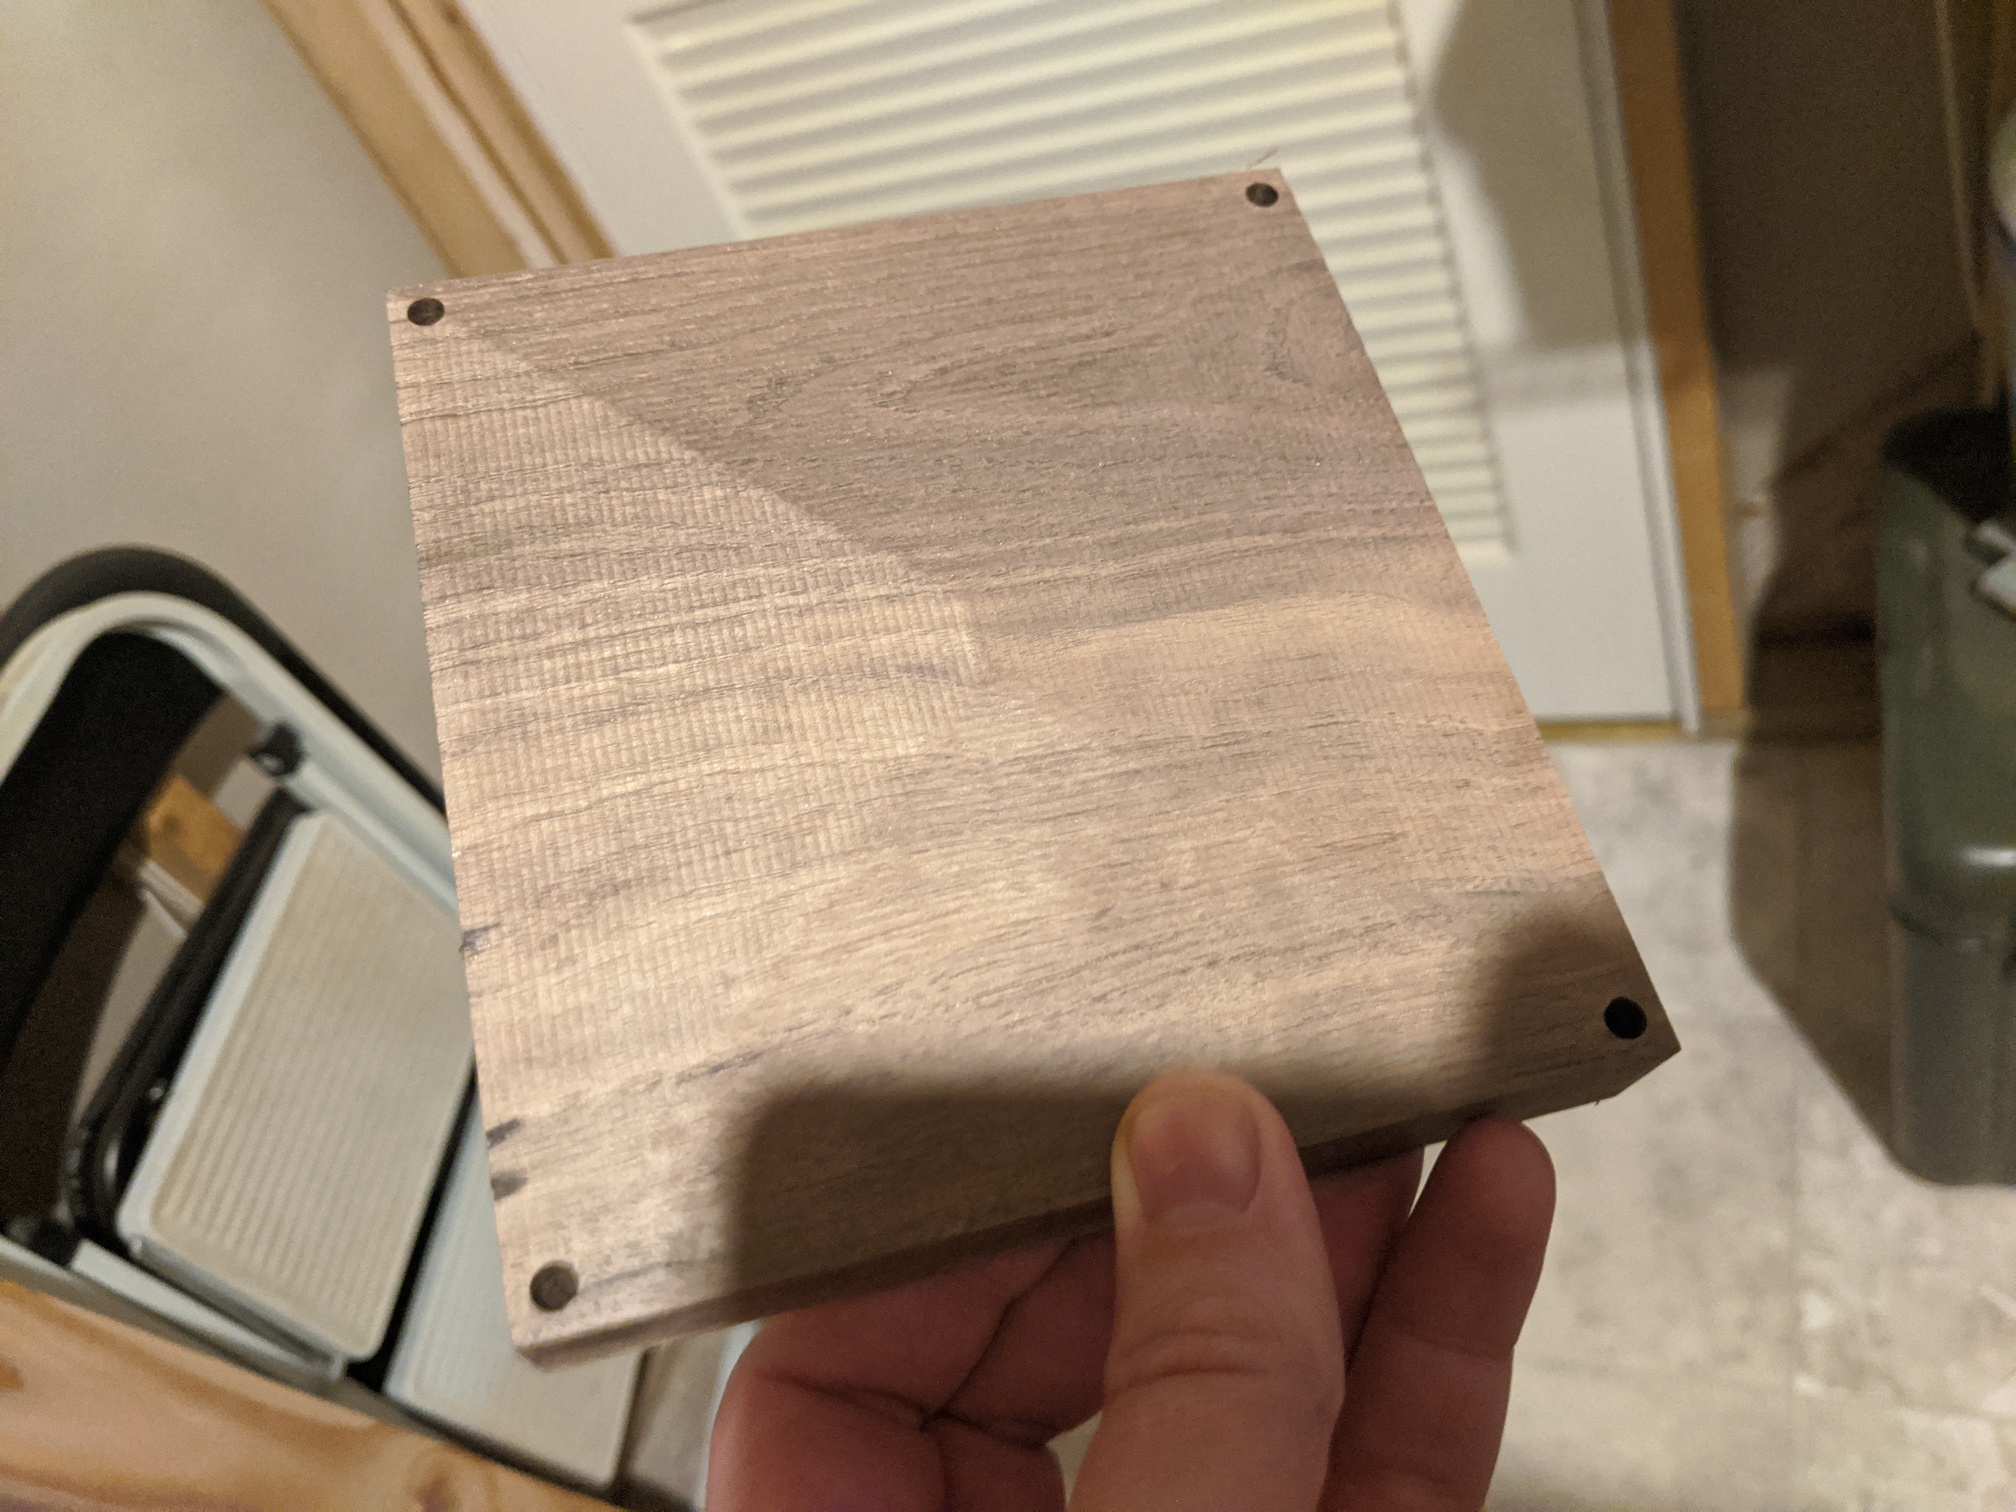
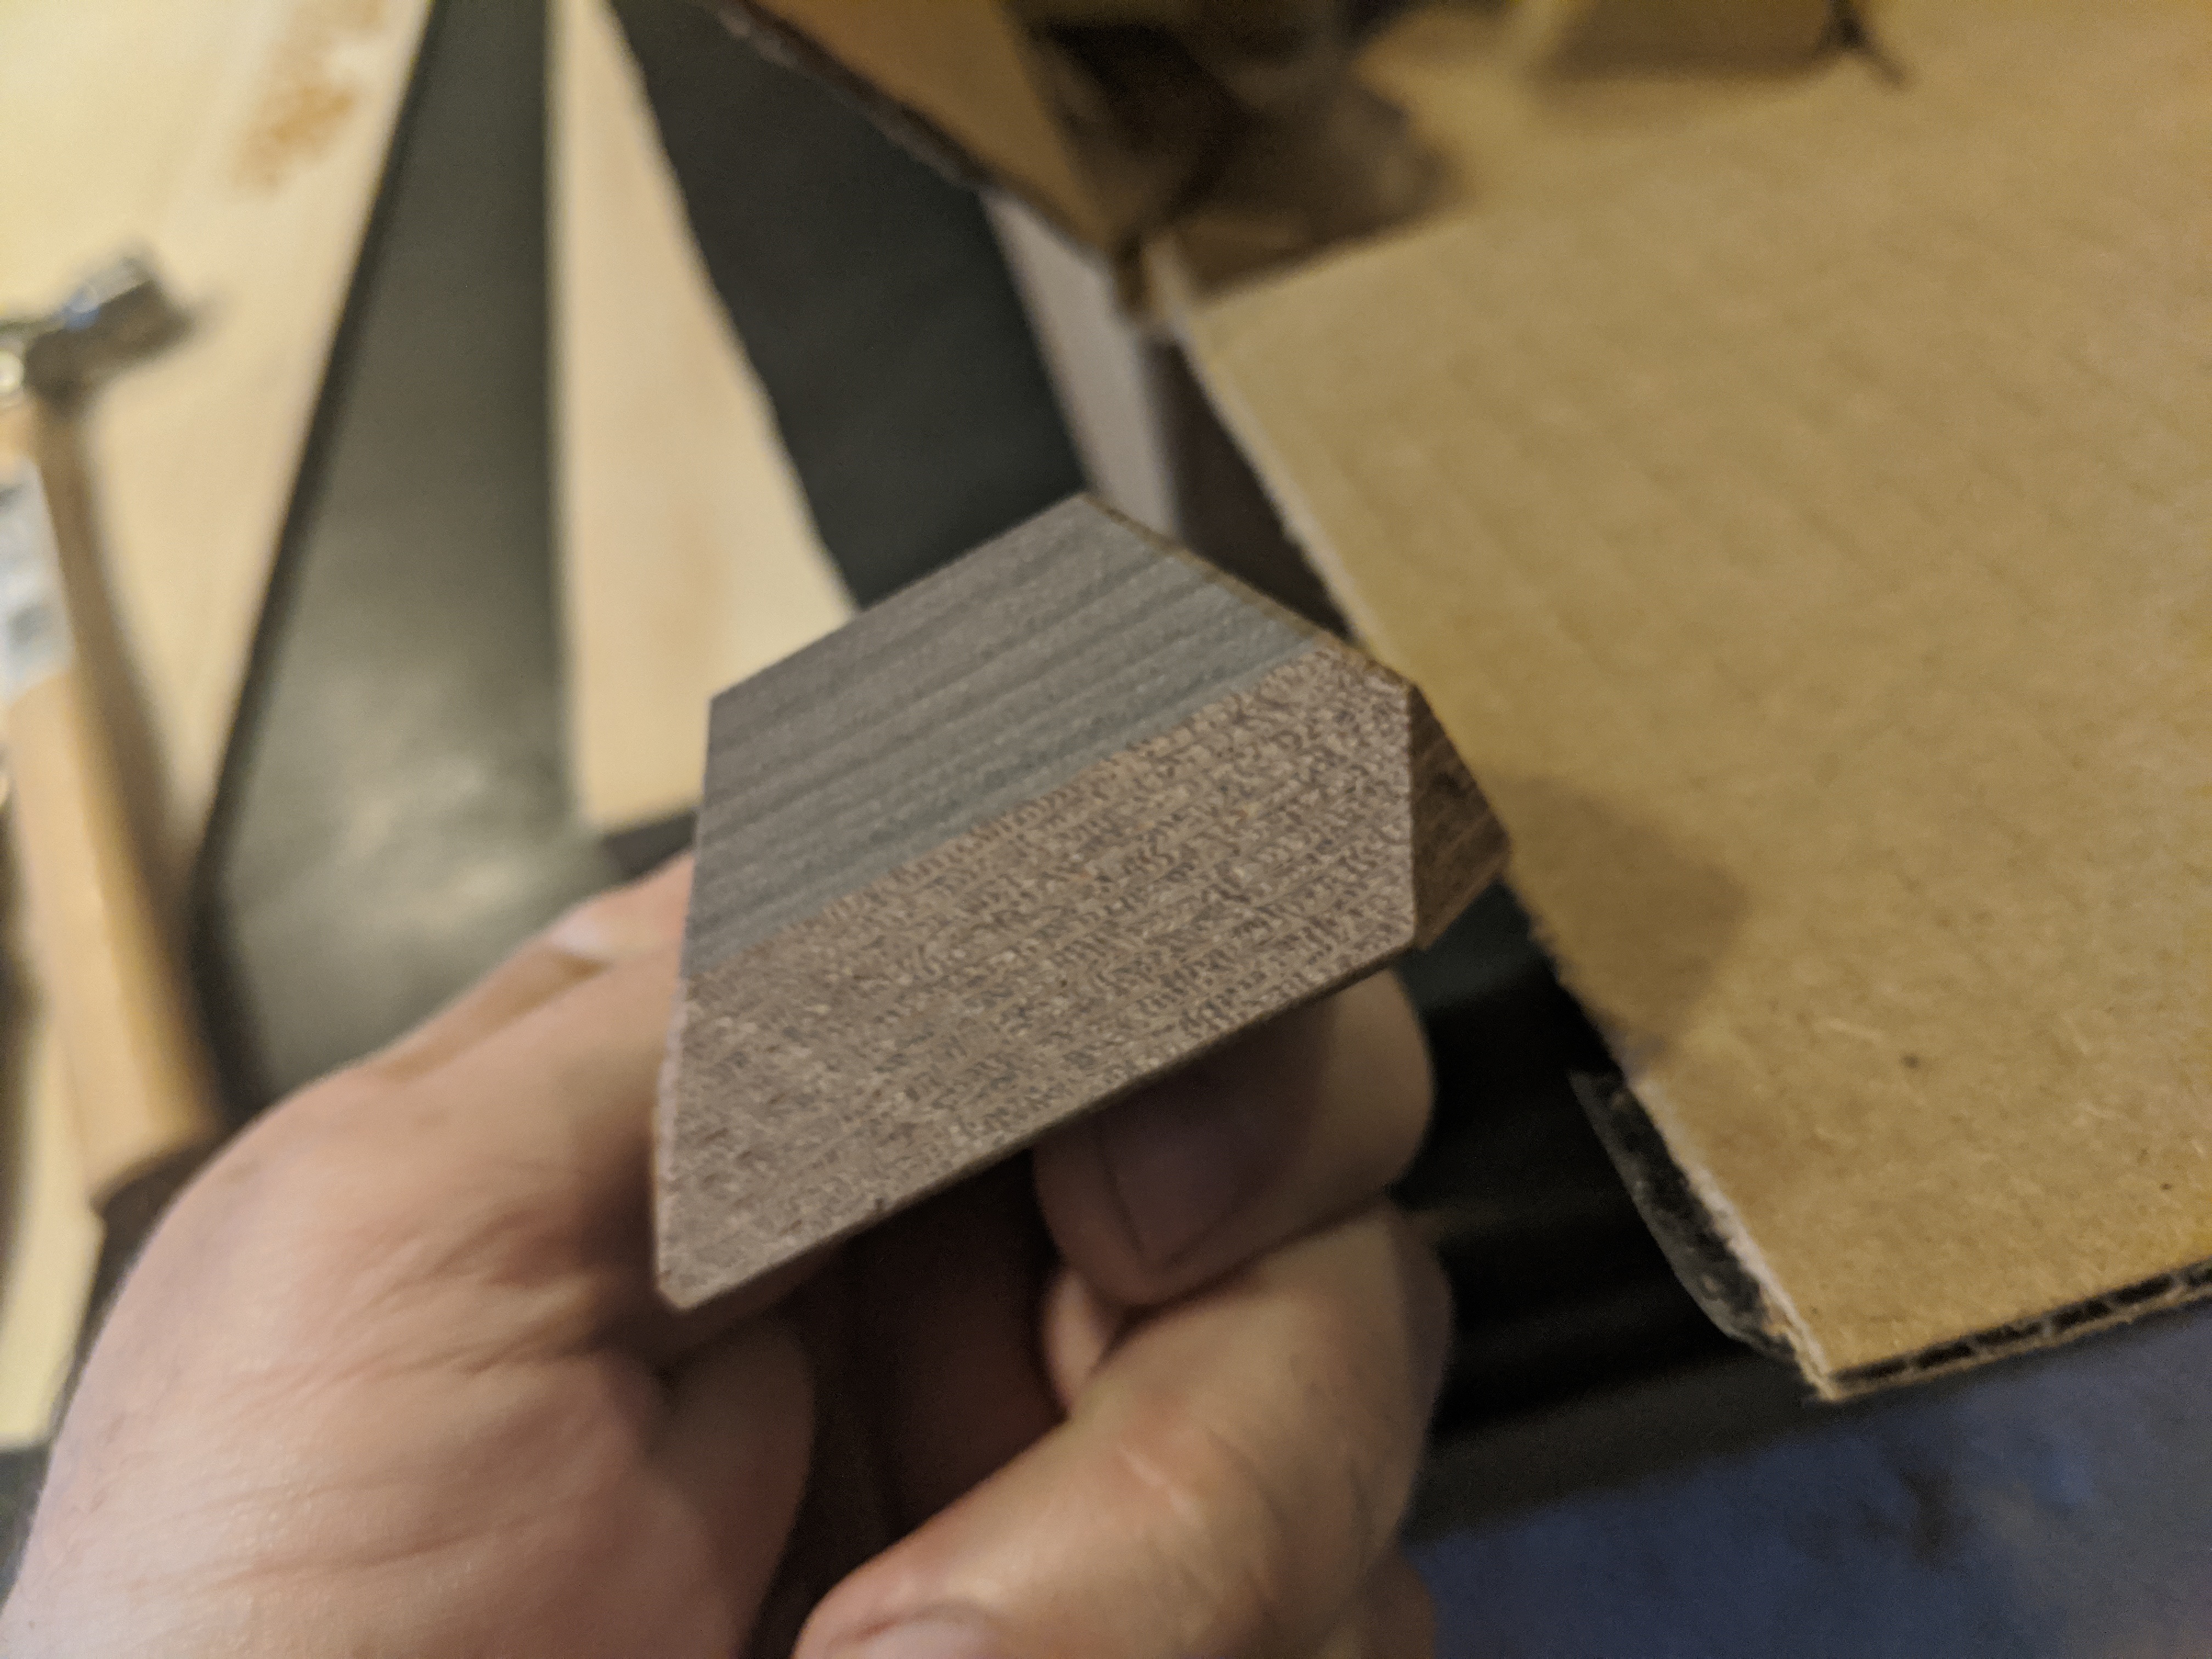
Lately I’ve been getting two woods glued together. I have to make sure I know where the seam on the wood is so it doesn’t collide with the part where the triangle tip is, more for aesthetic reasons than anything else.
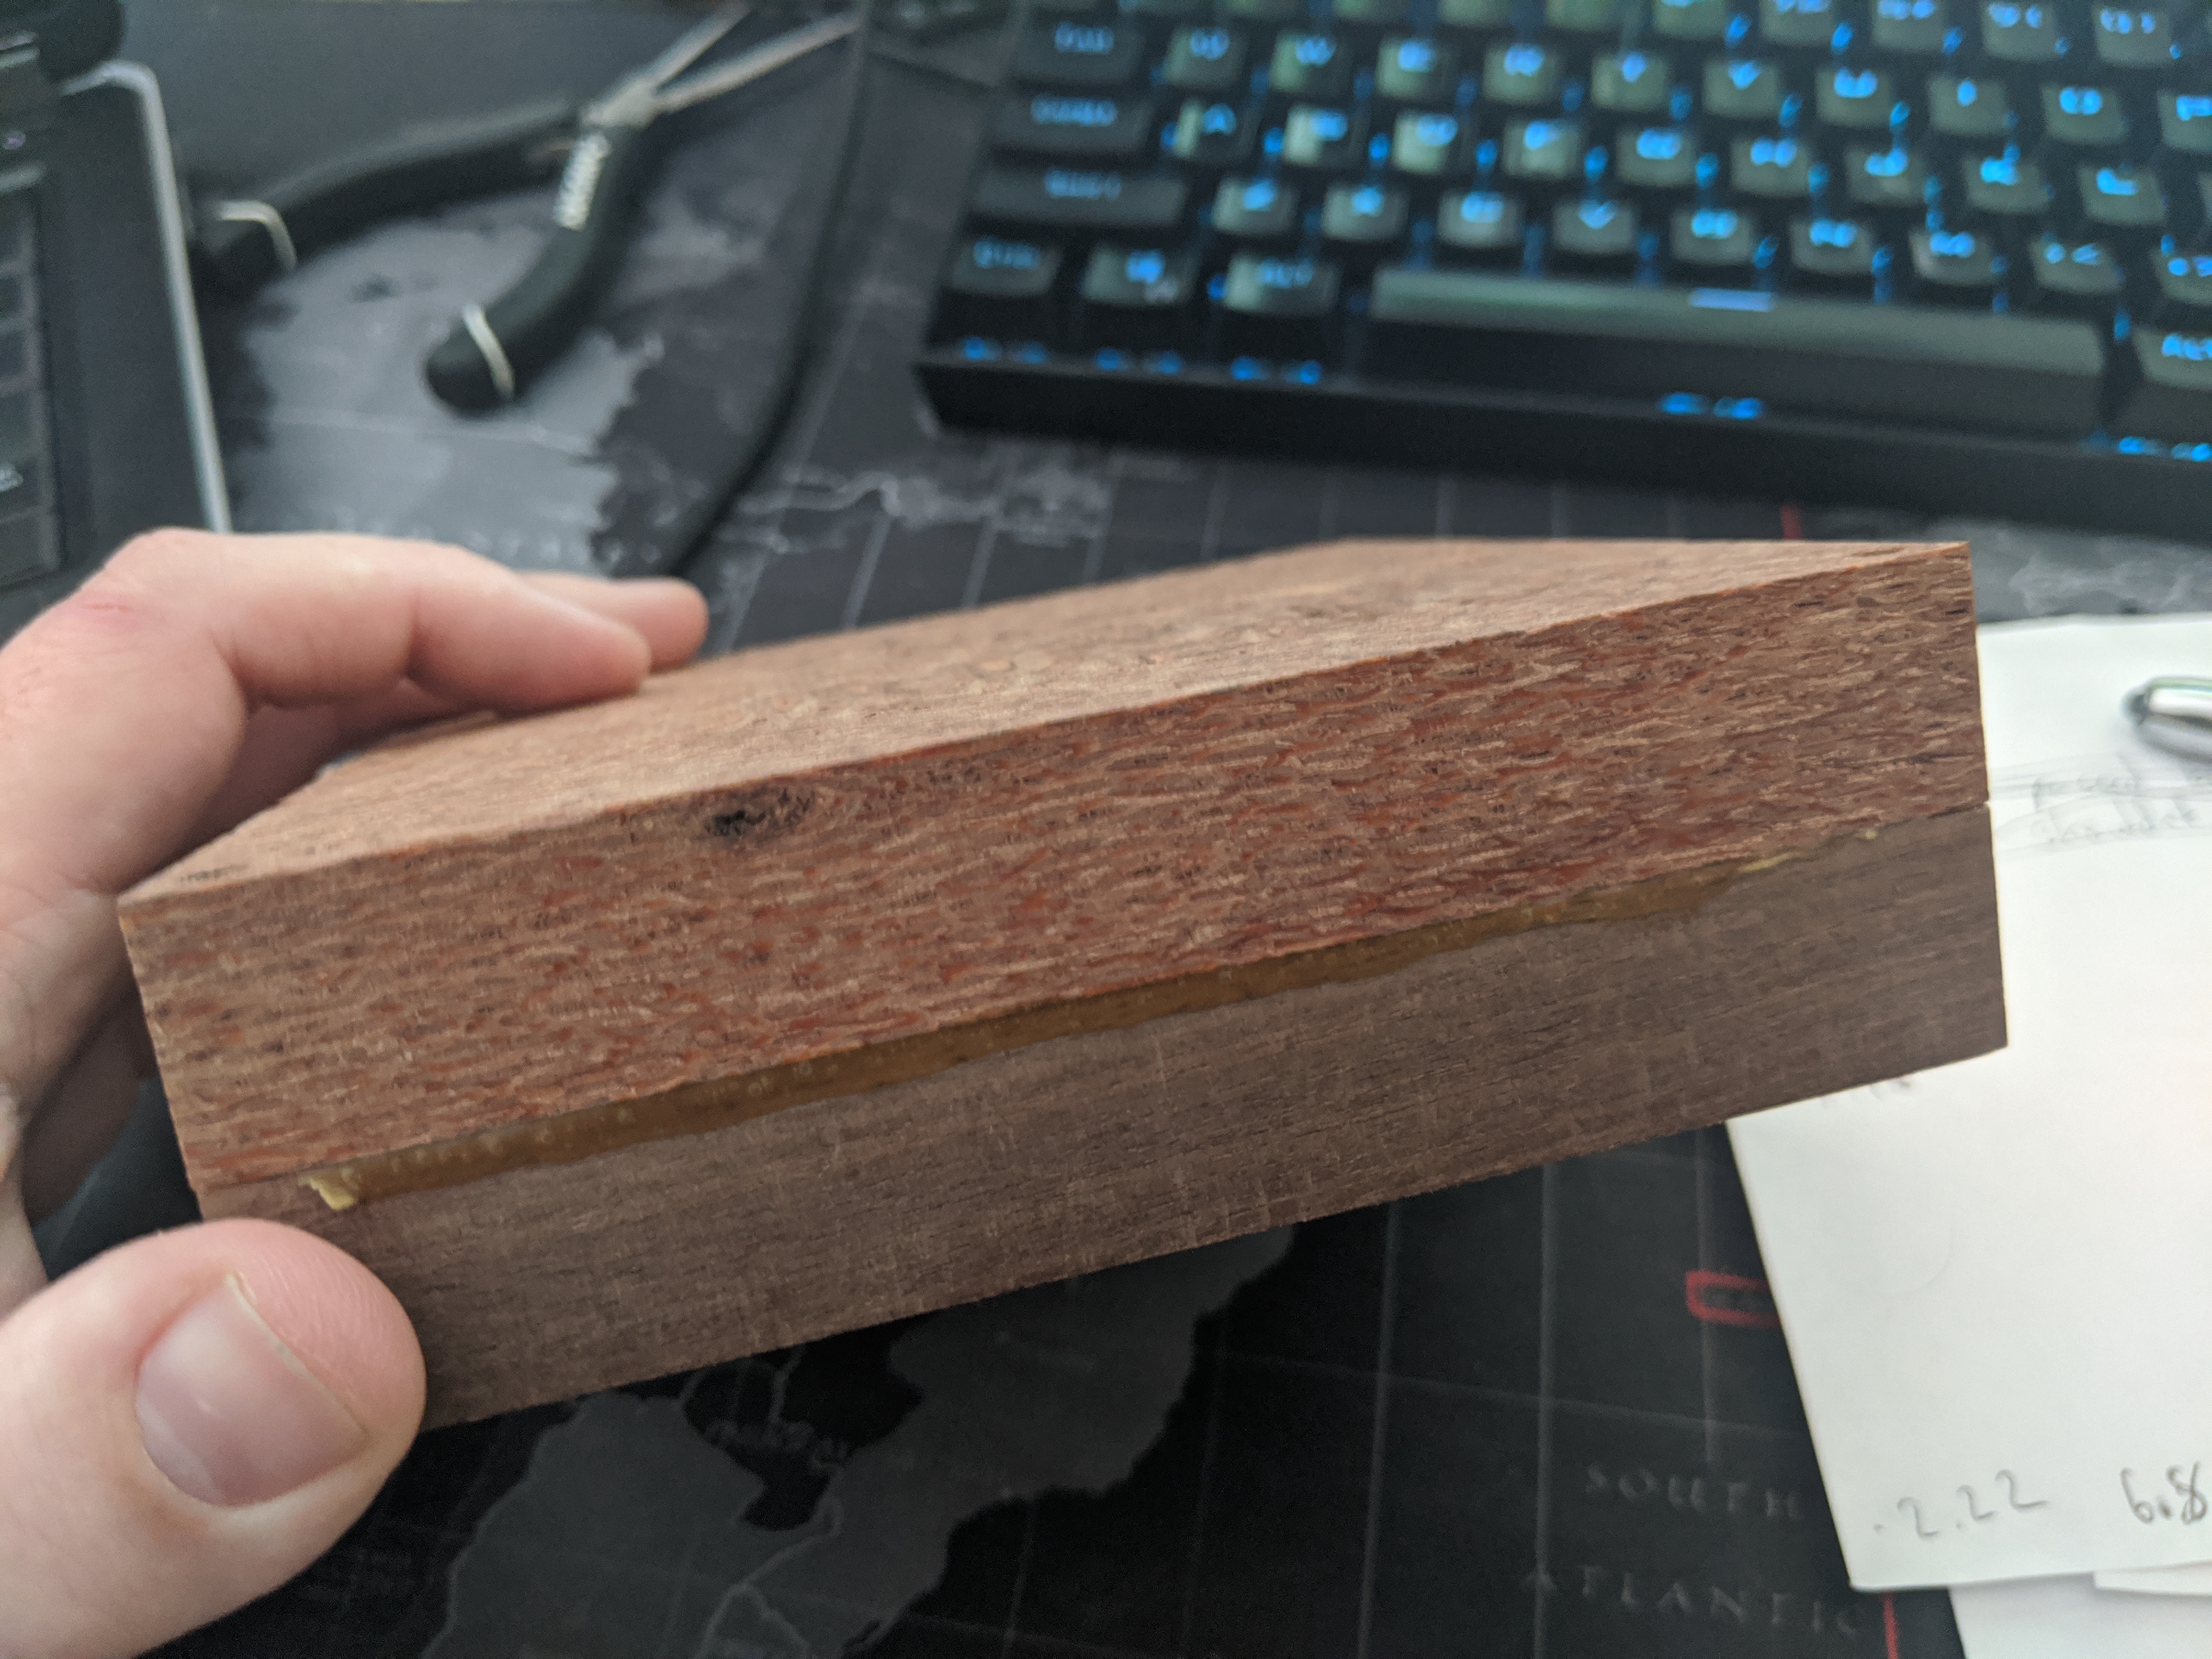
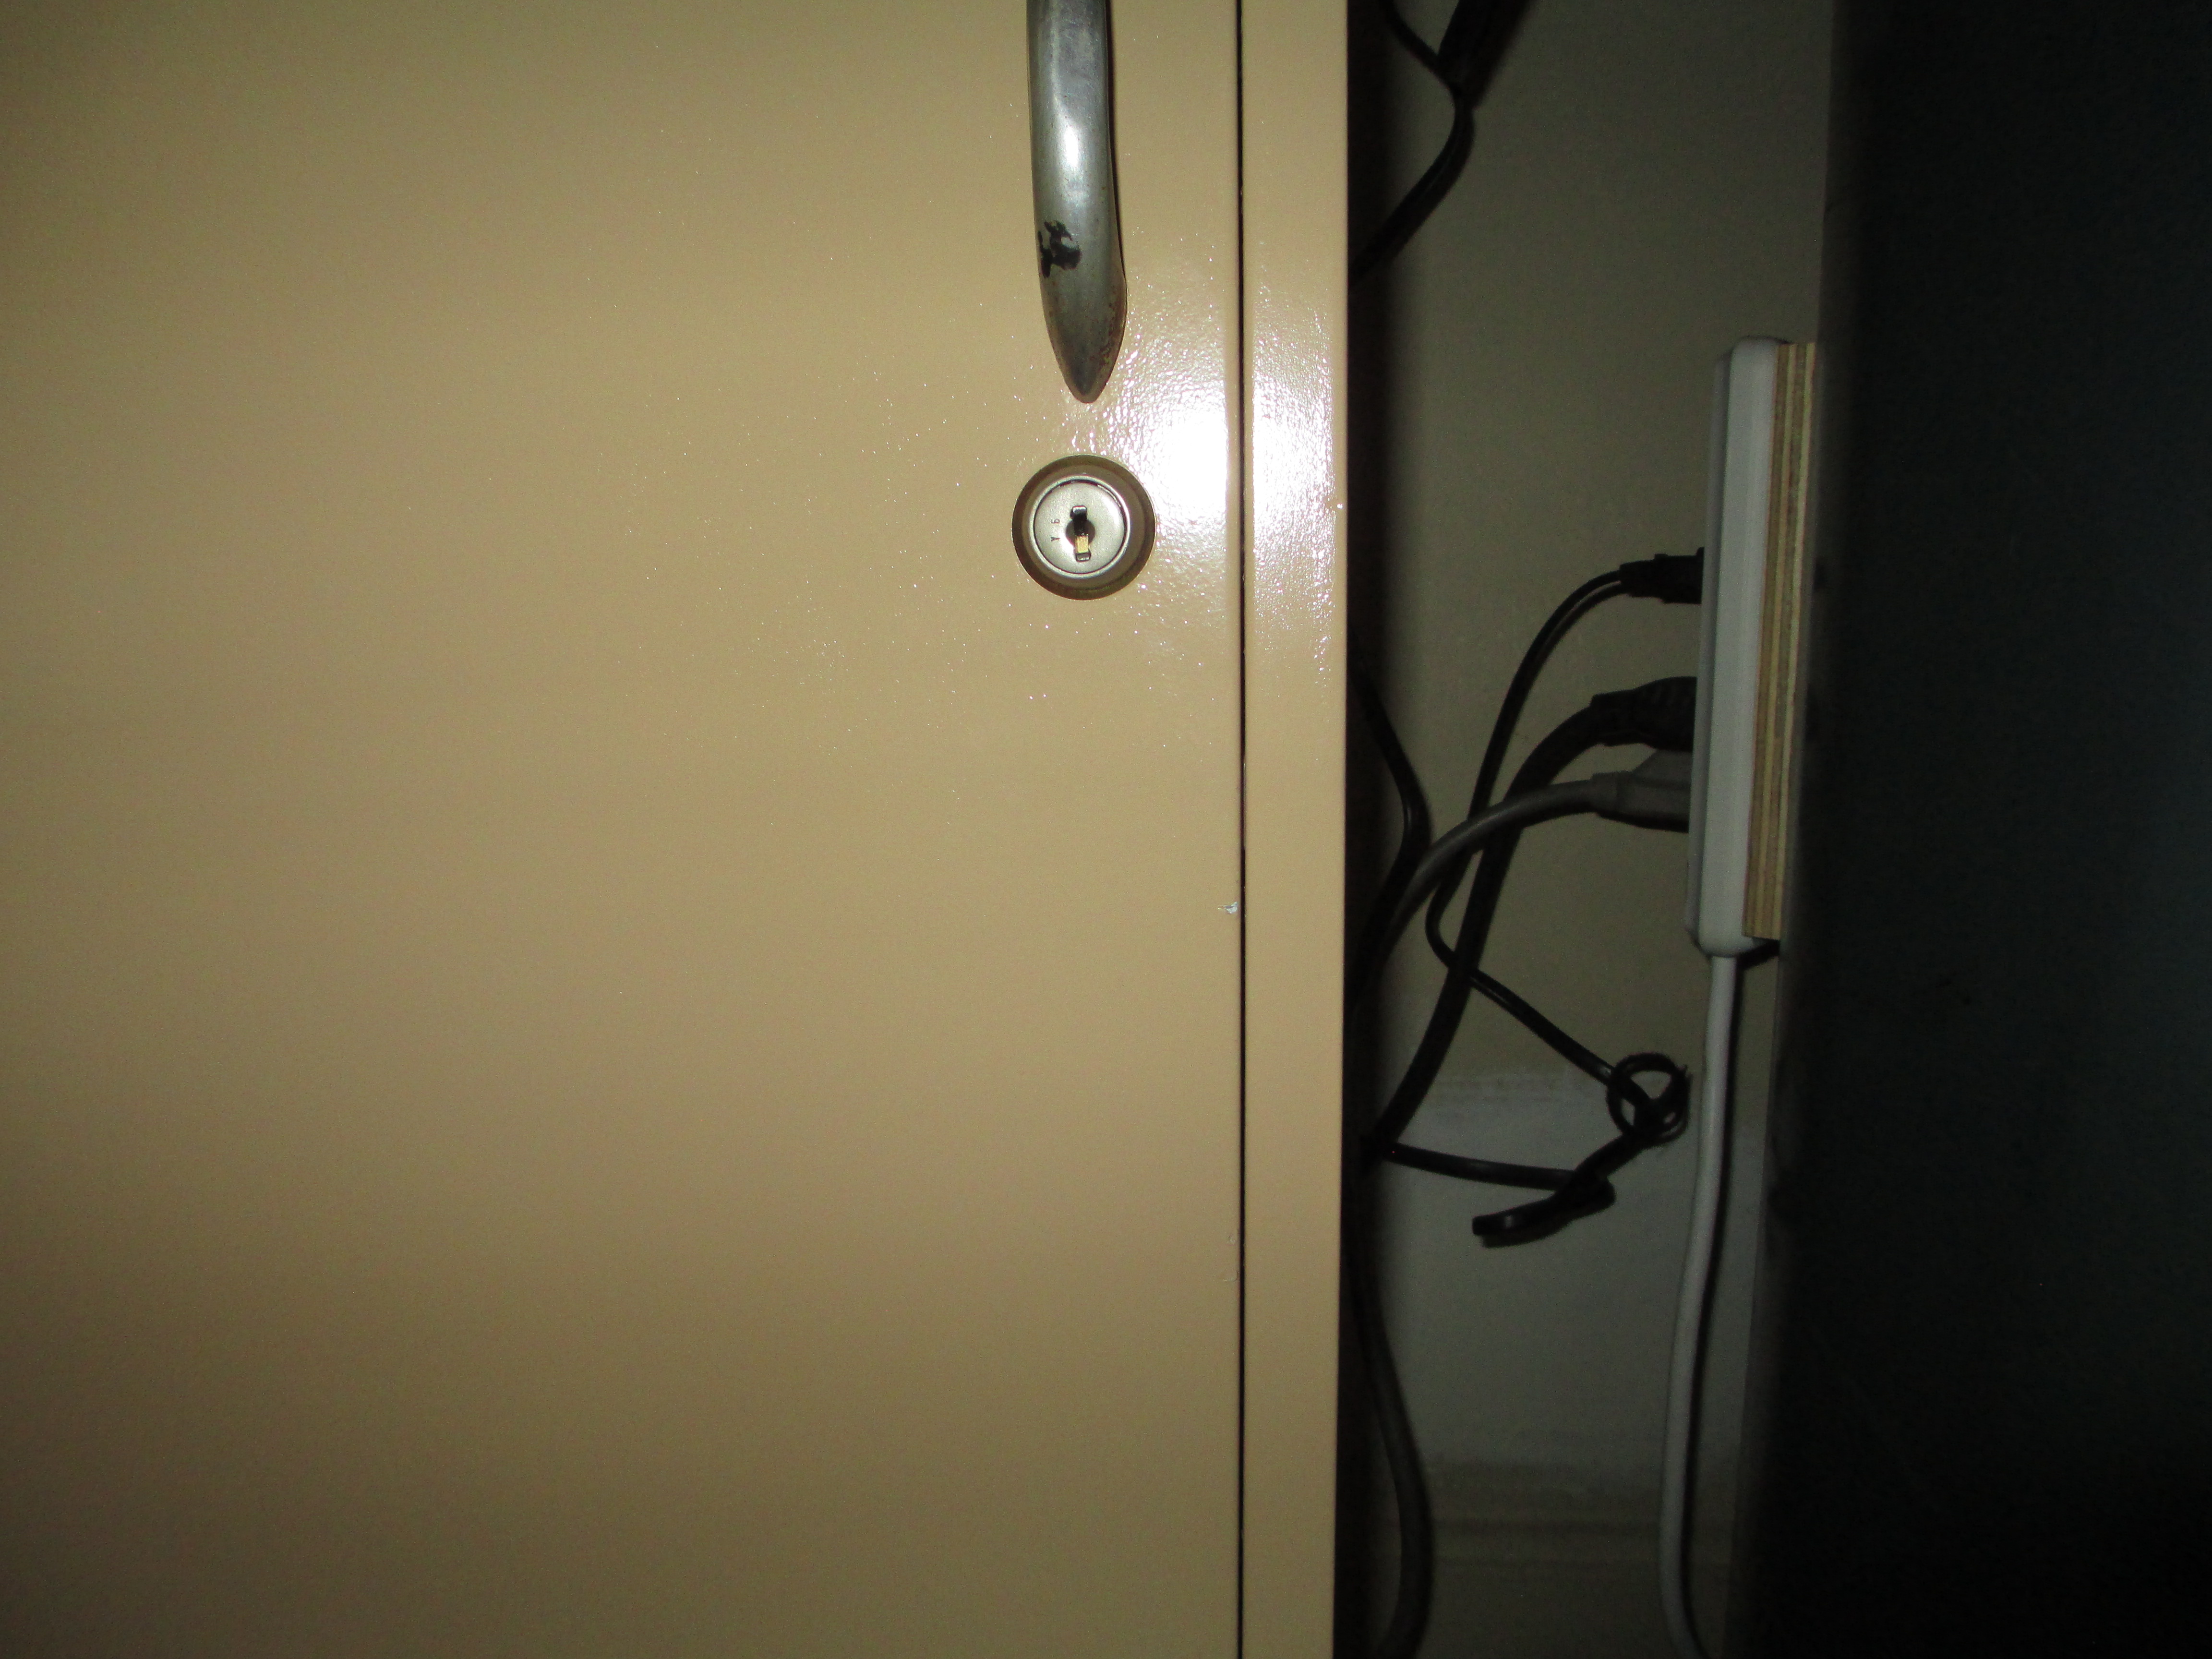
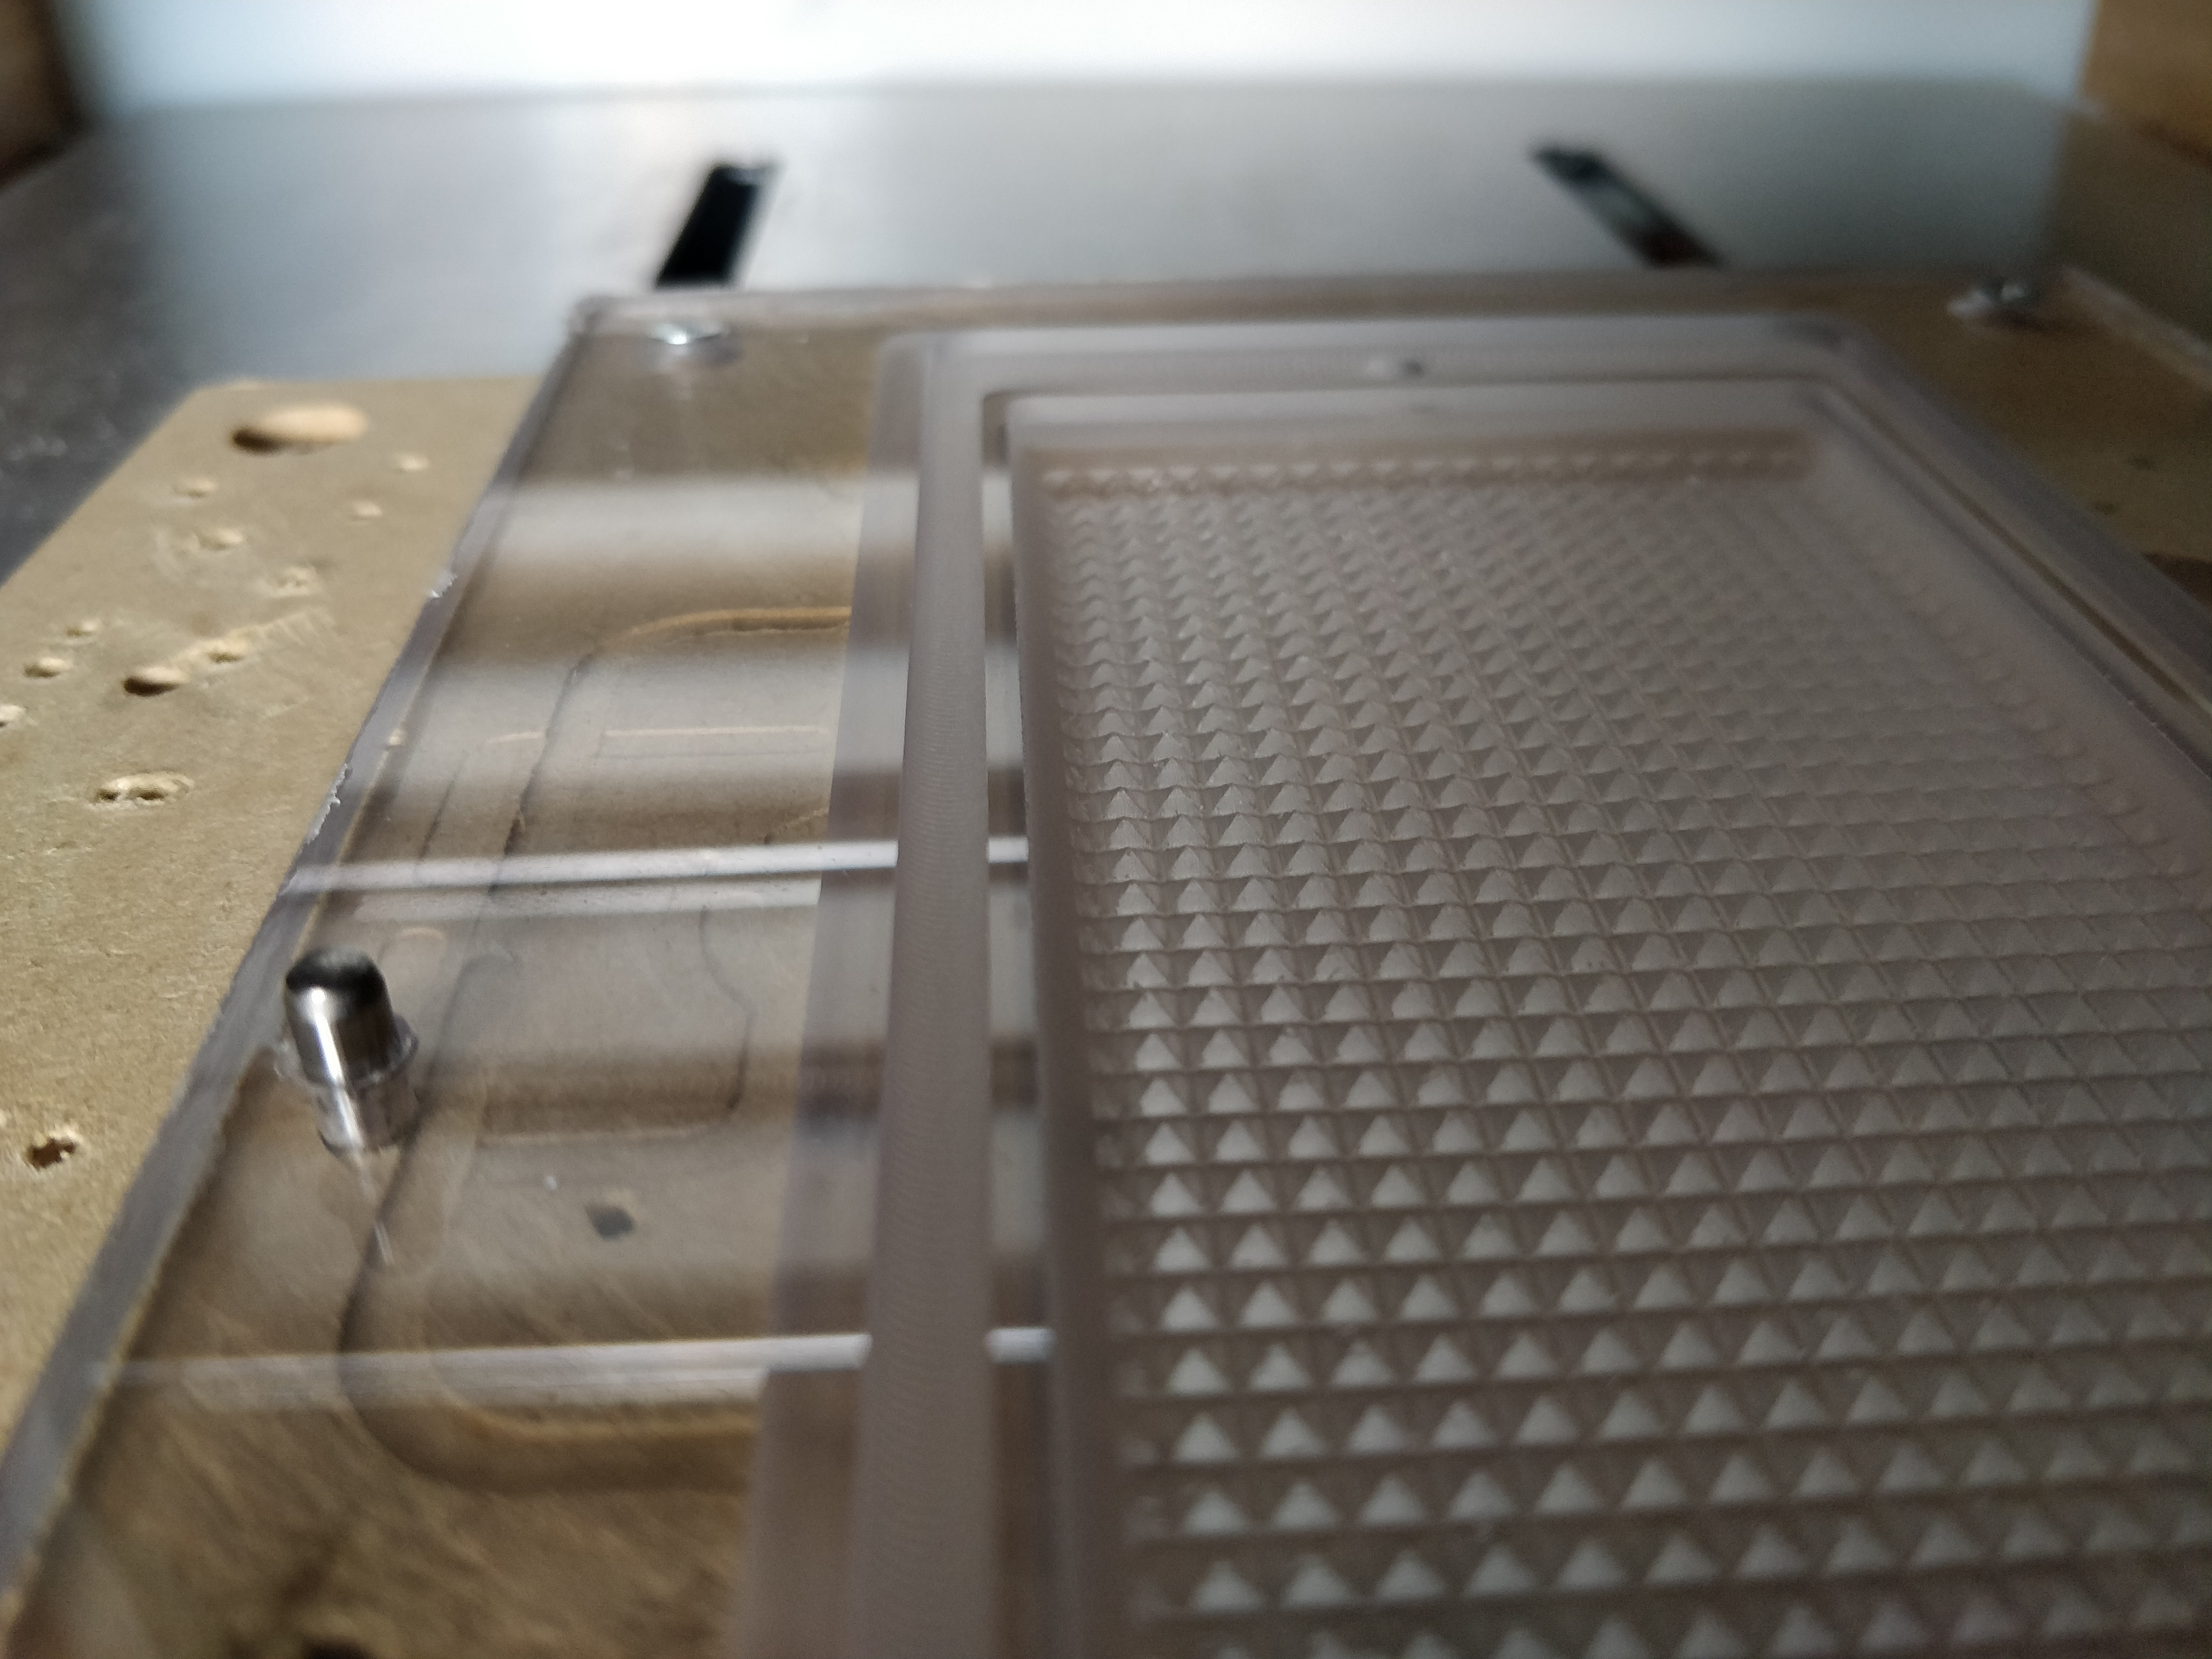
Tape and super glue have been my go to holding method. The pins help me align it to the board. I usually only use 2 pins out of the four.

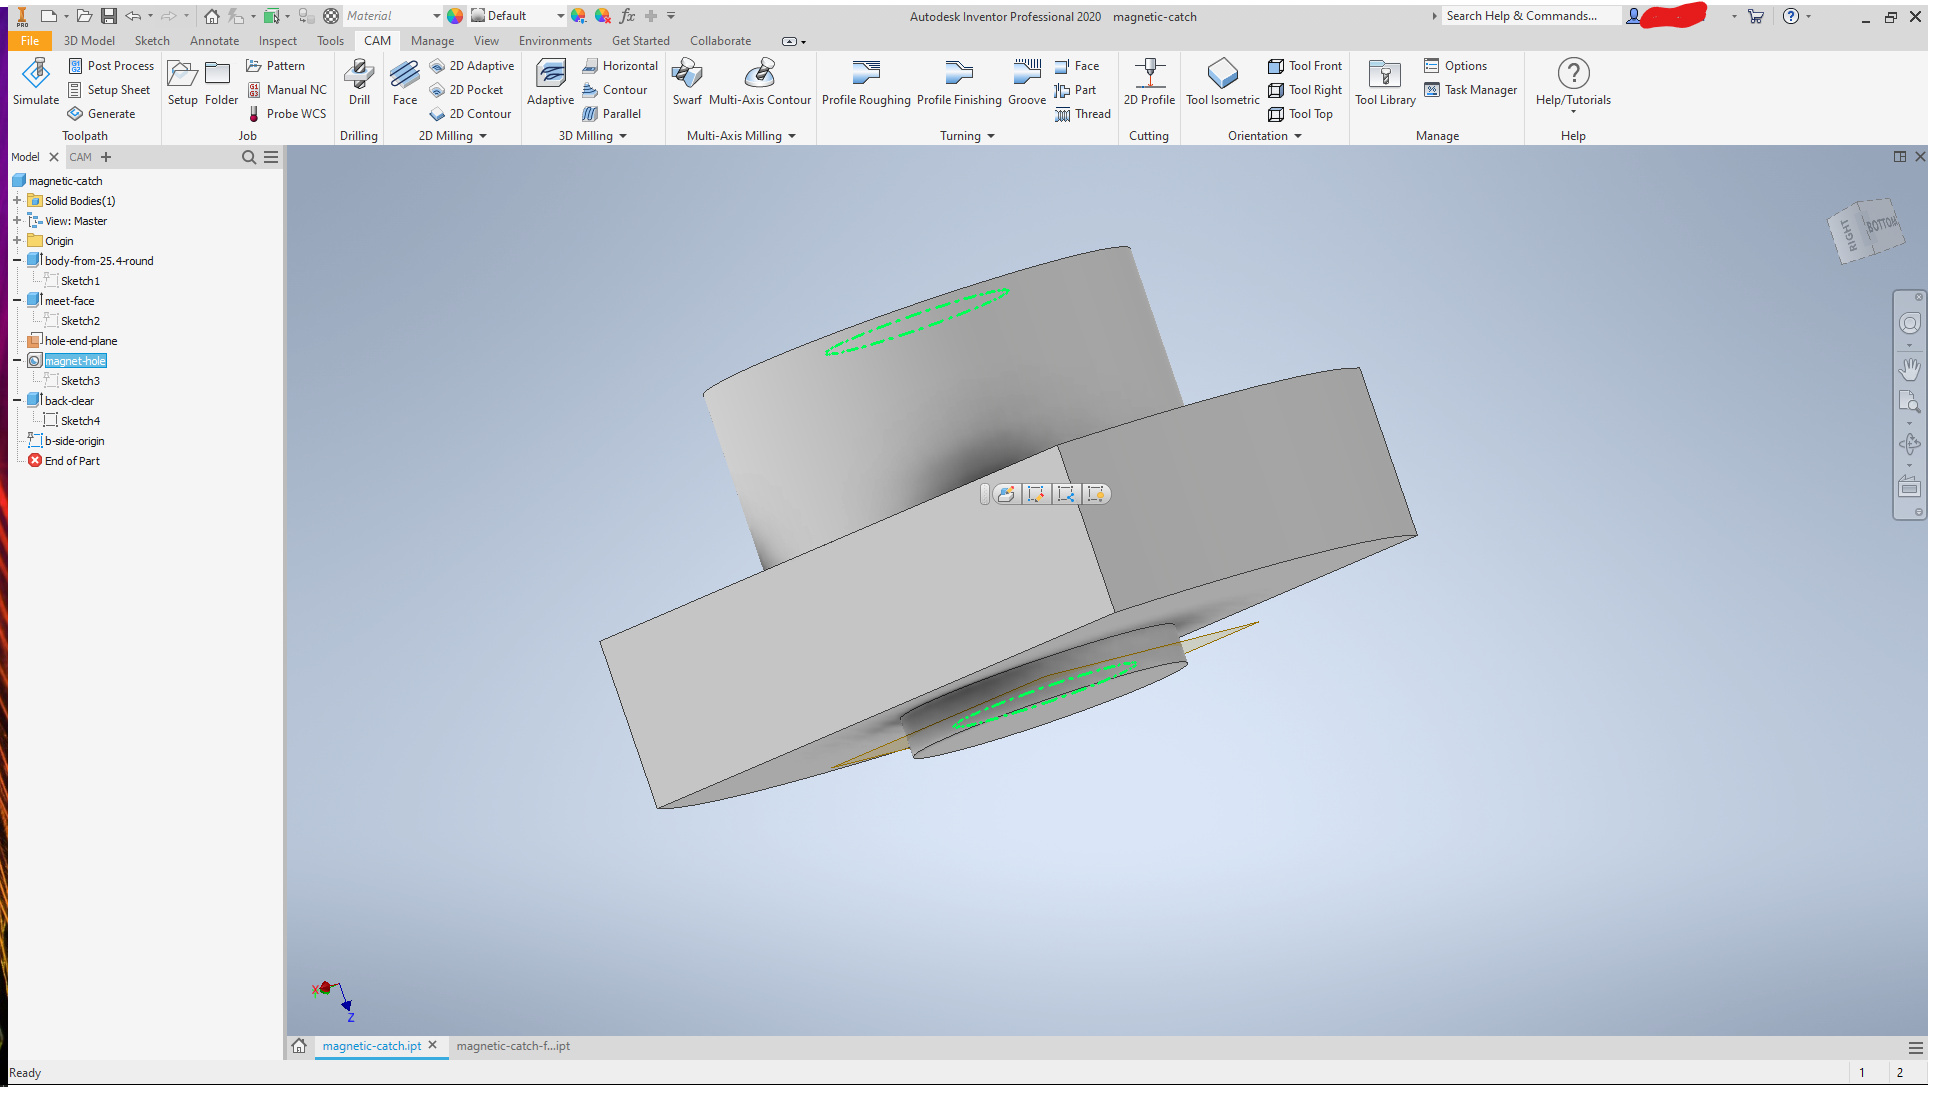
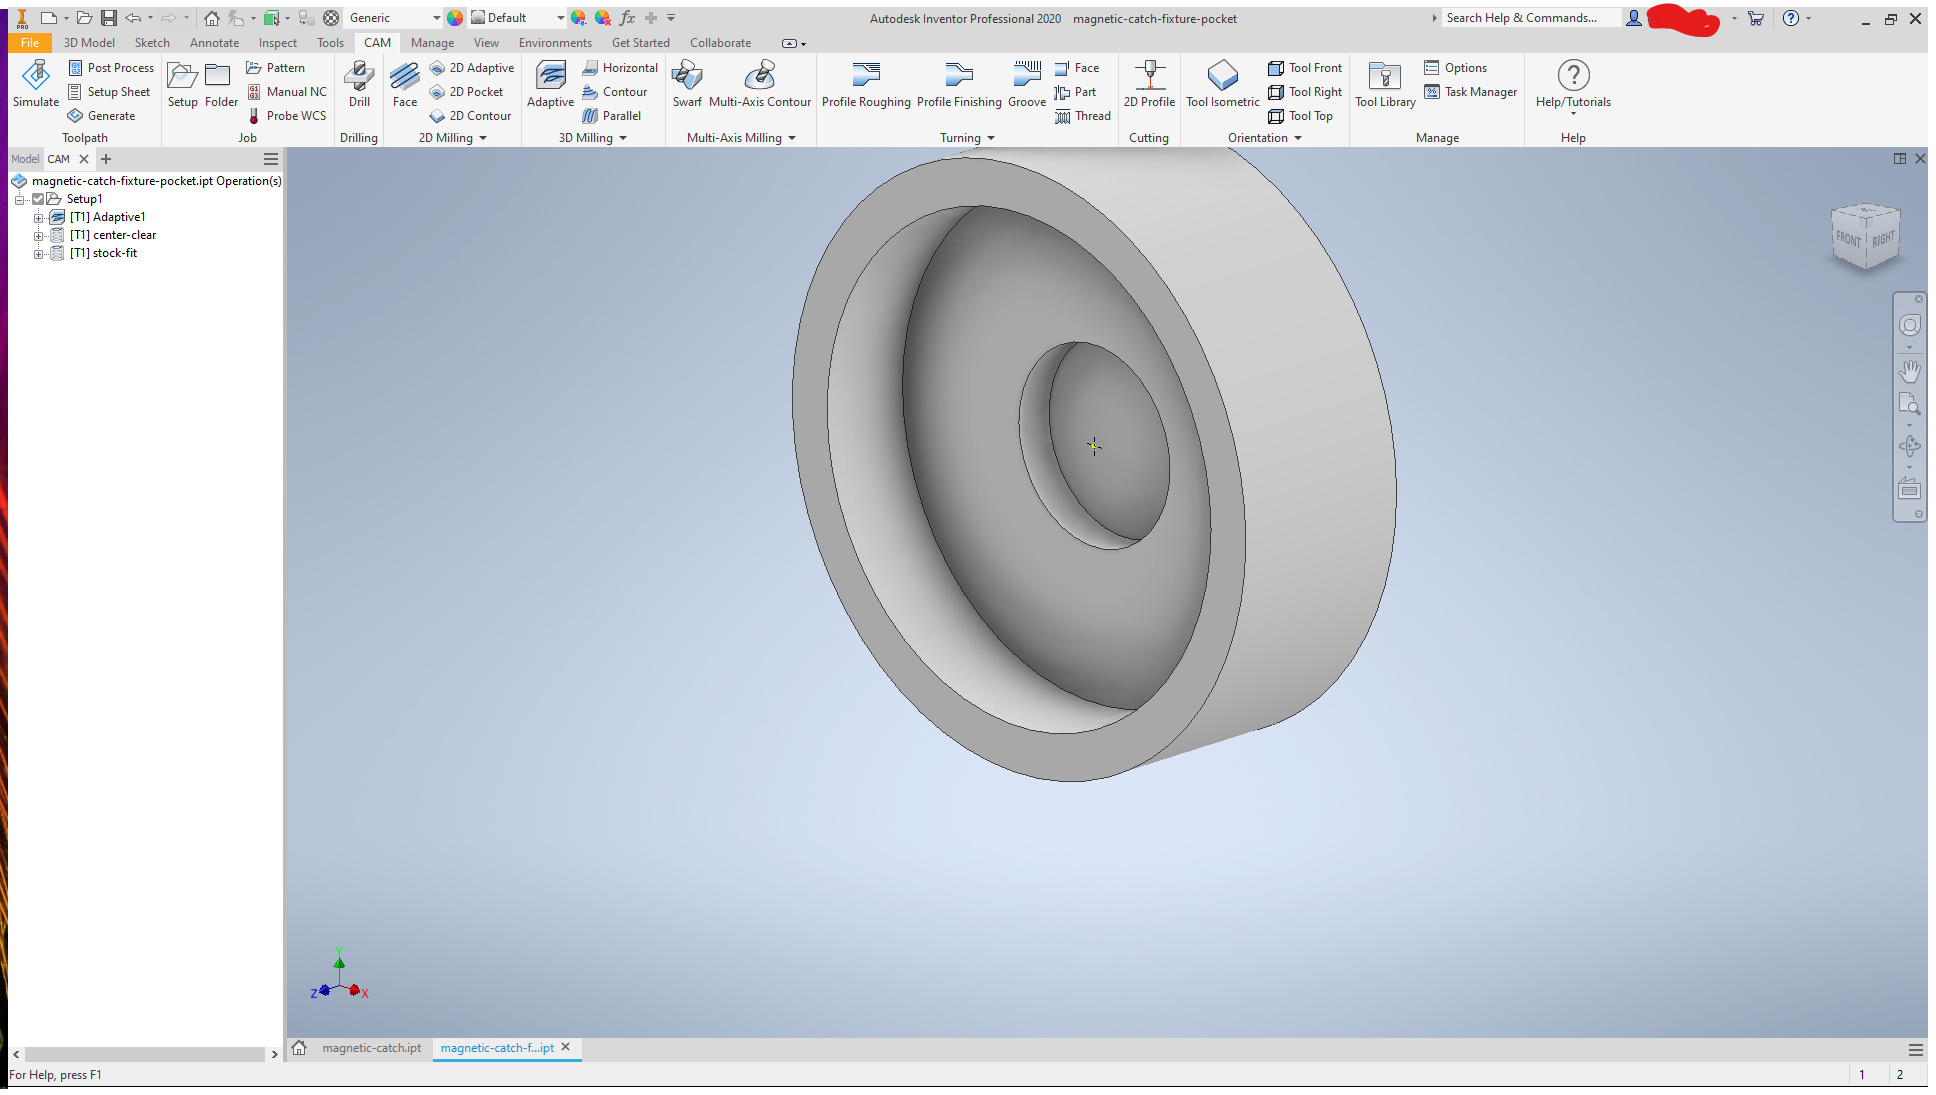
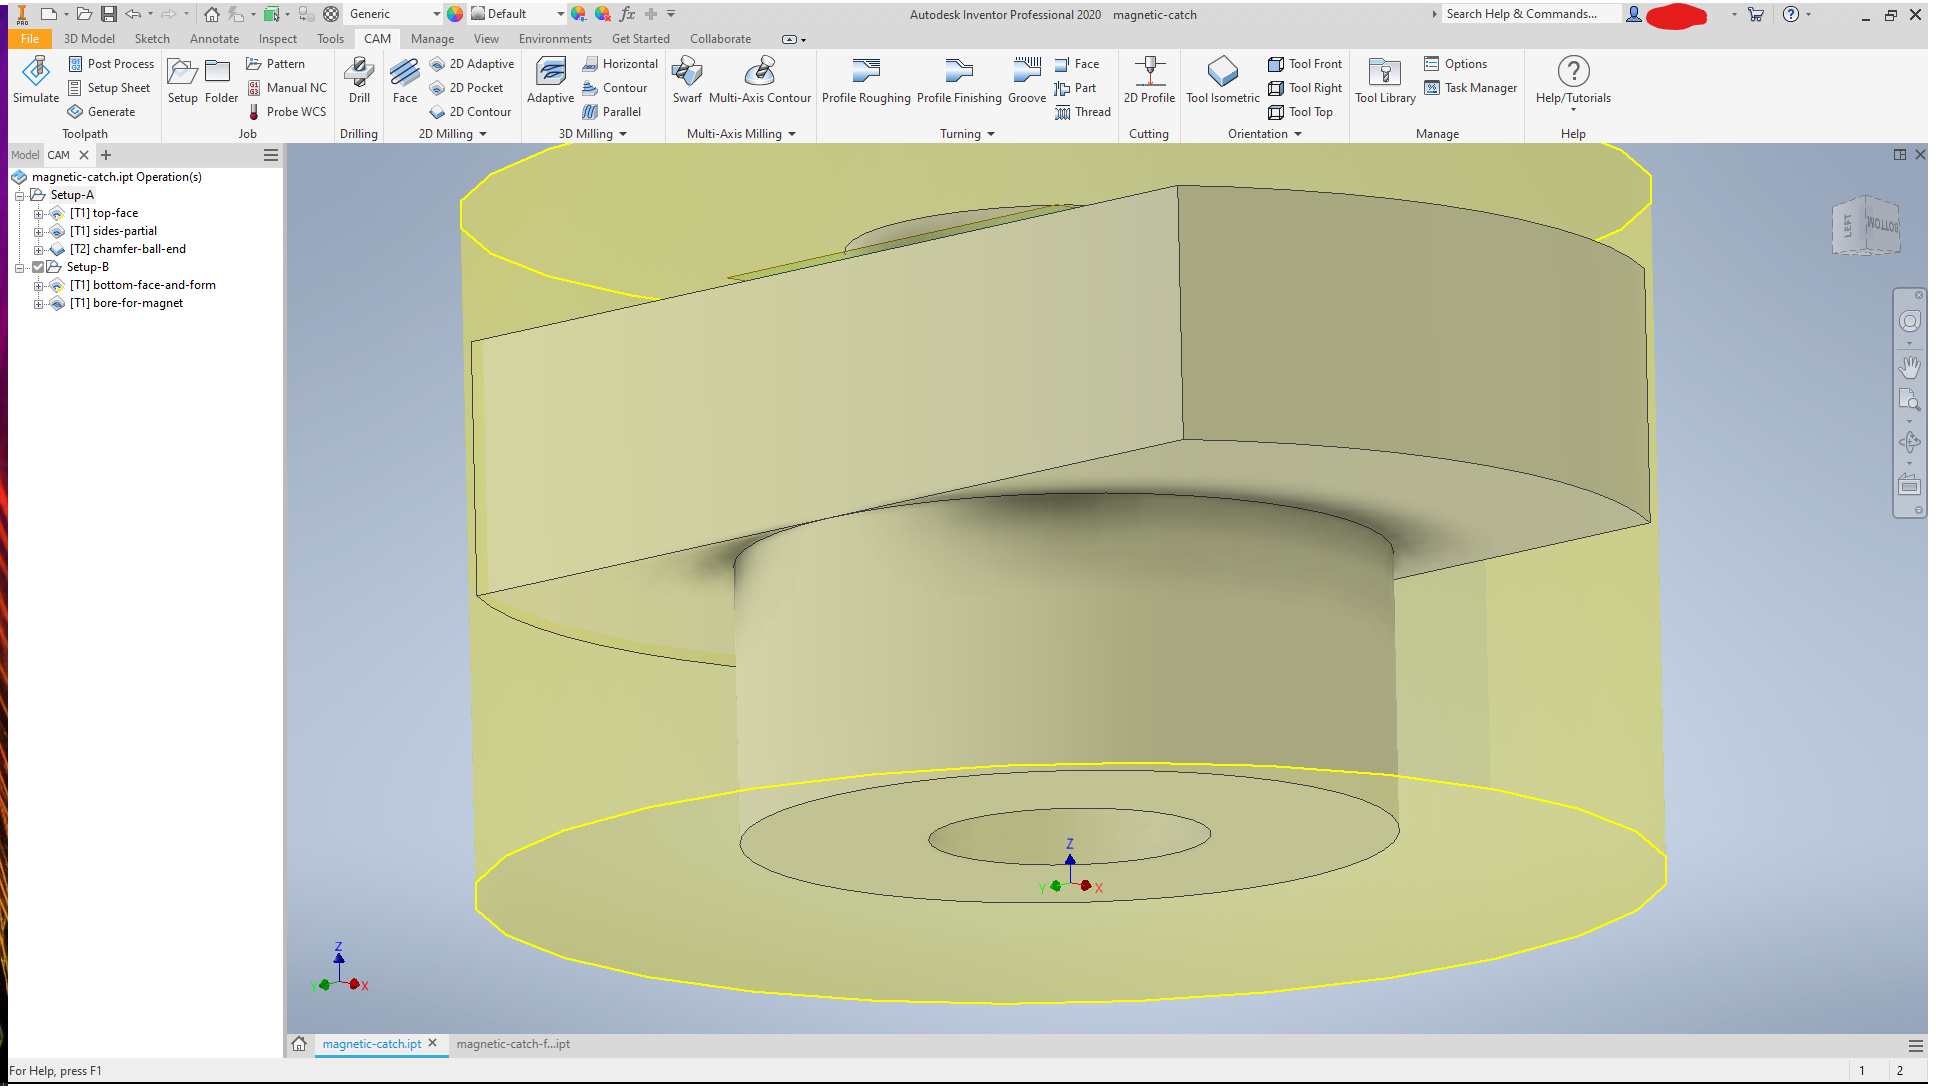
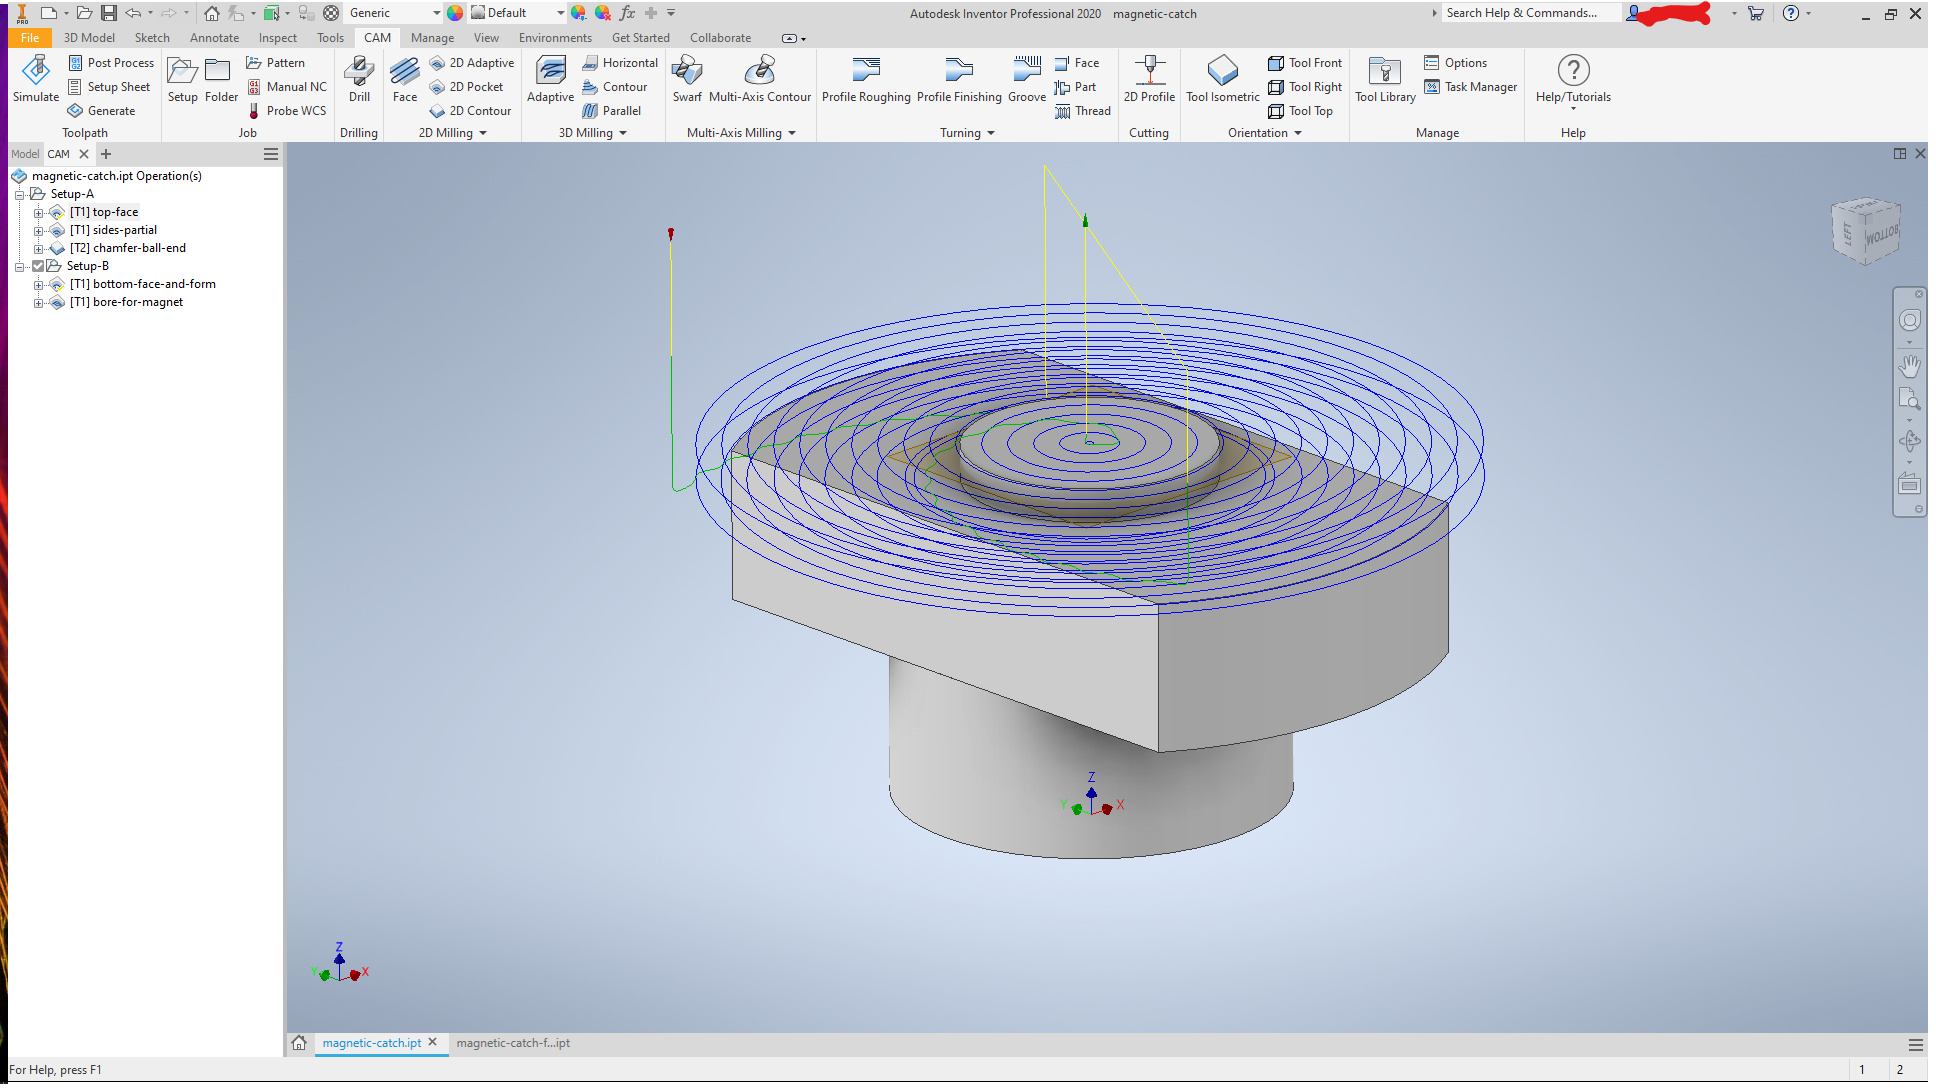
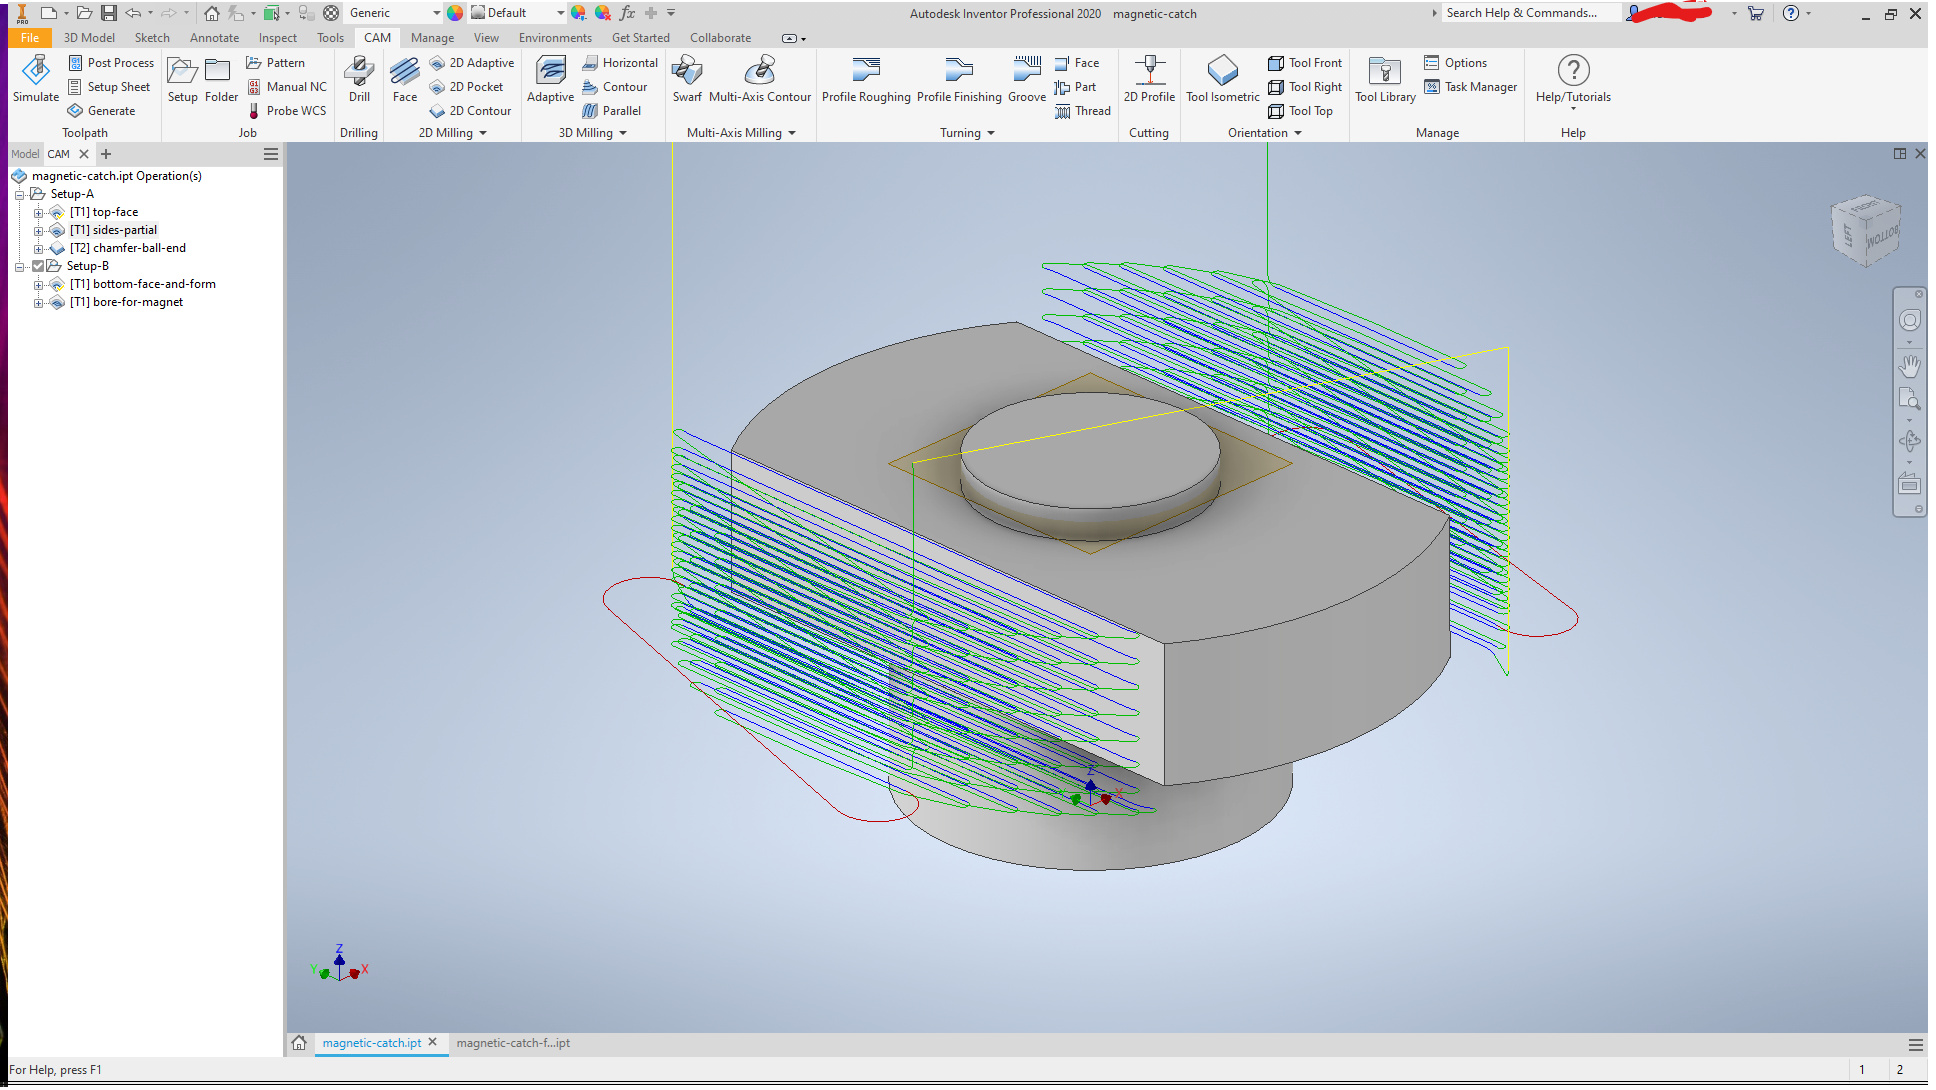
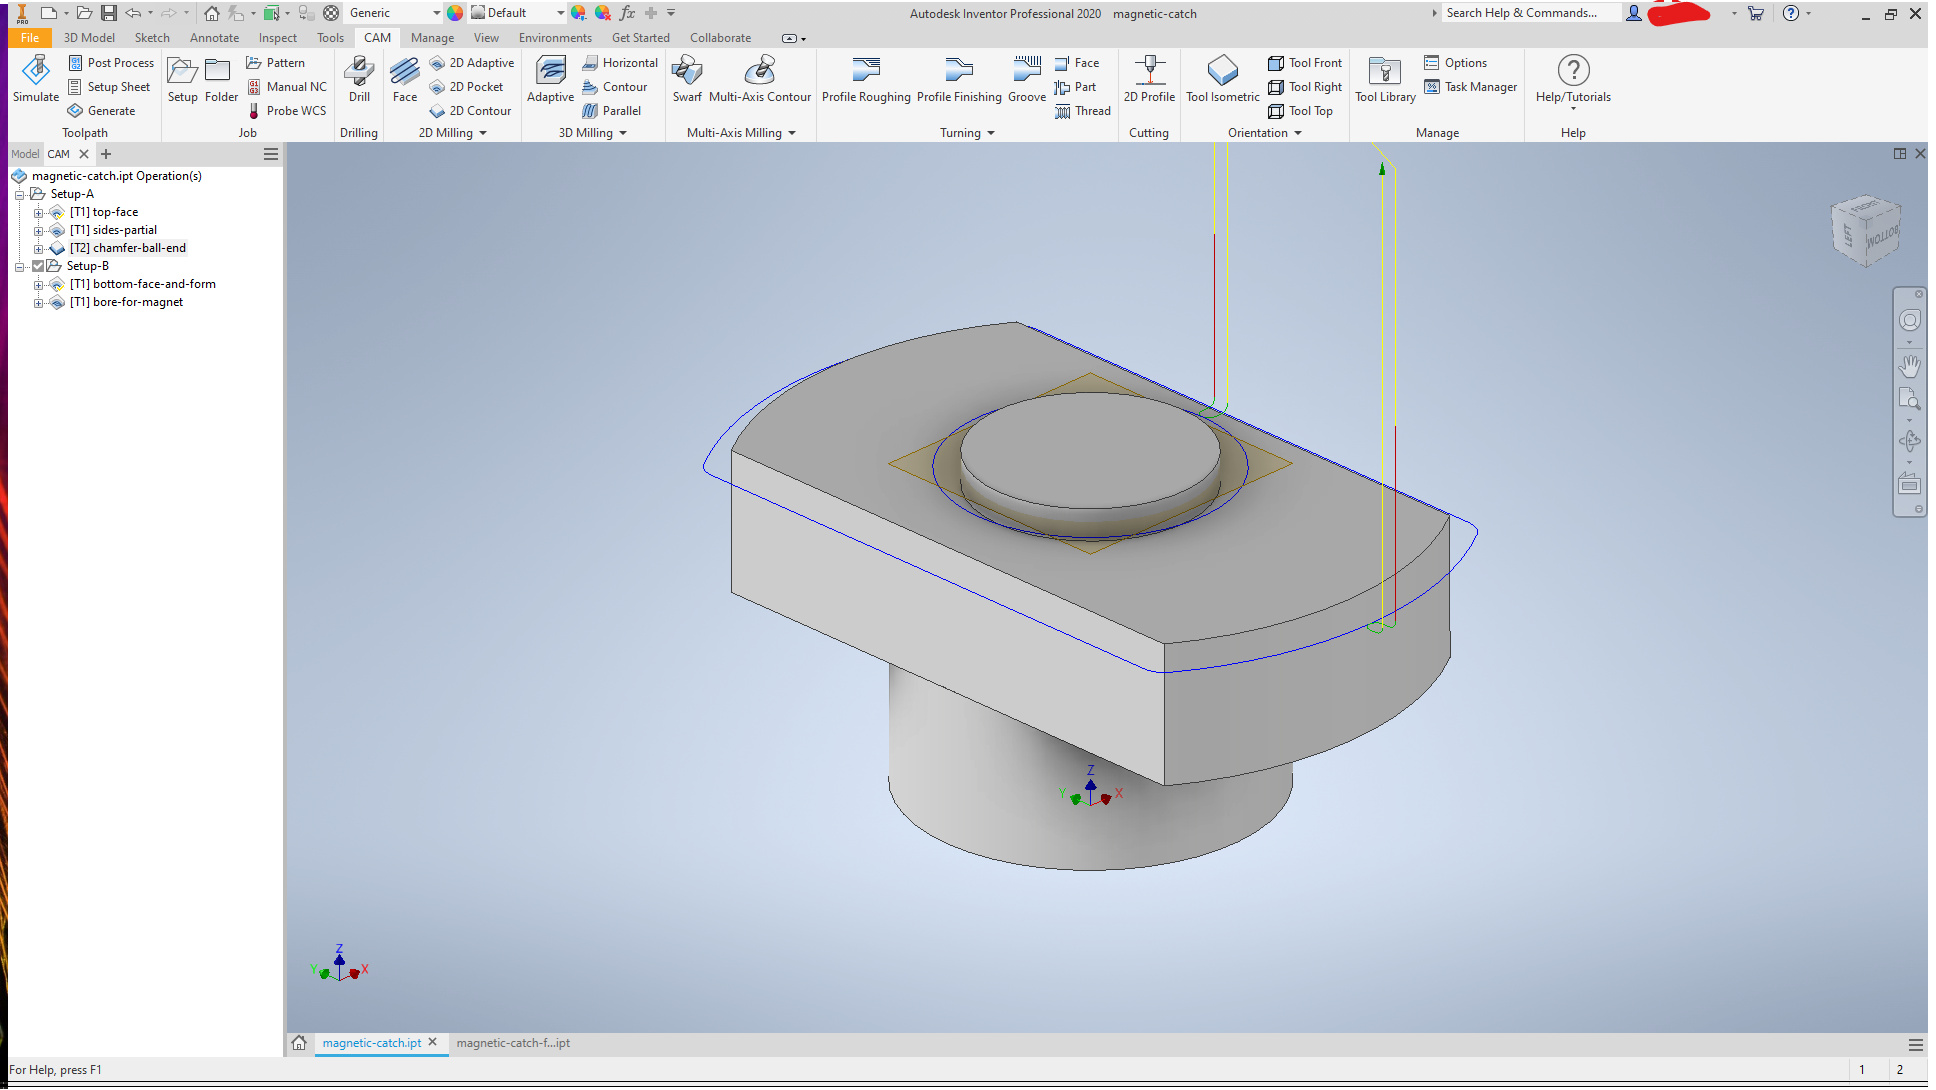
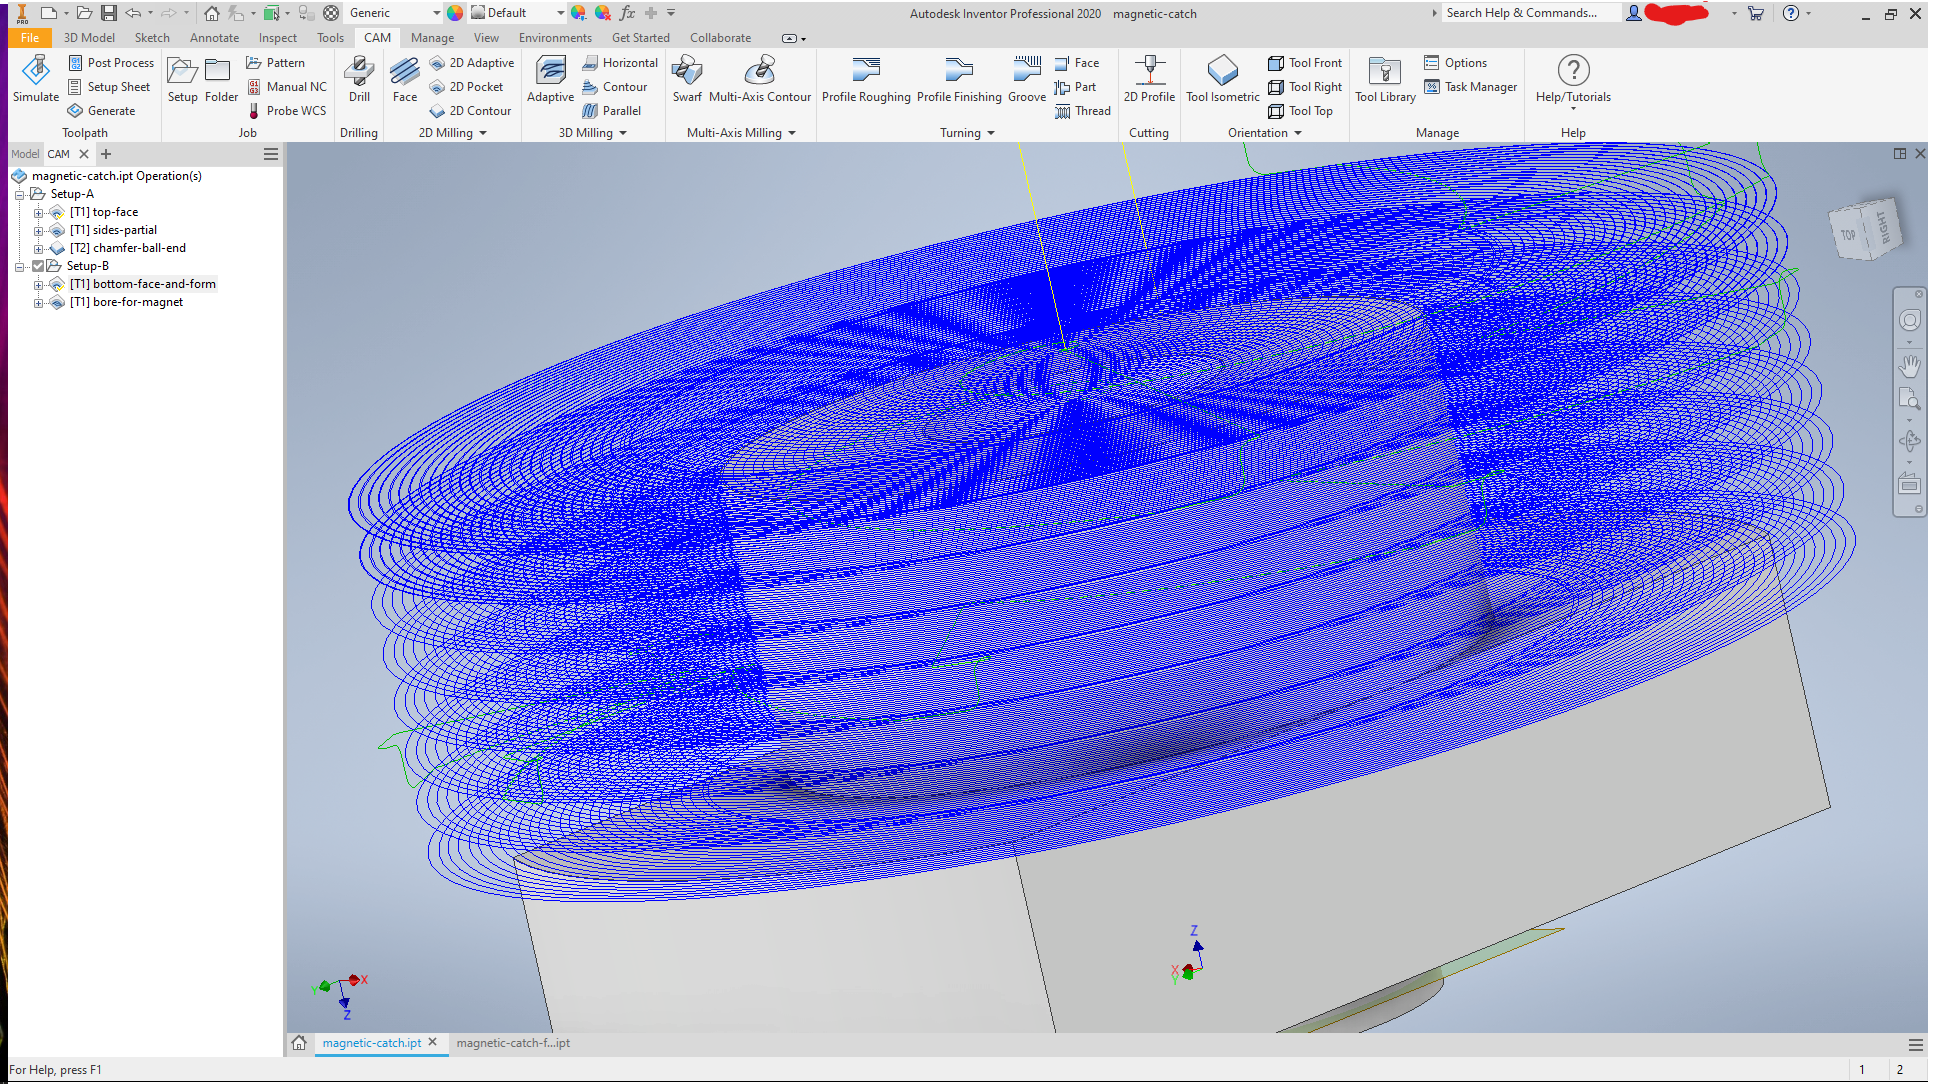
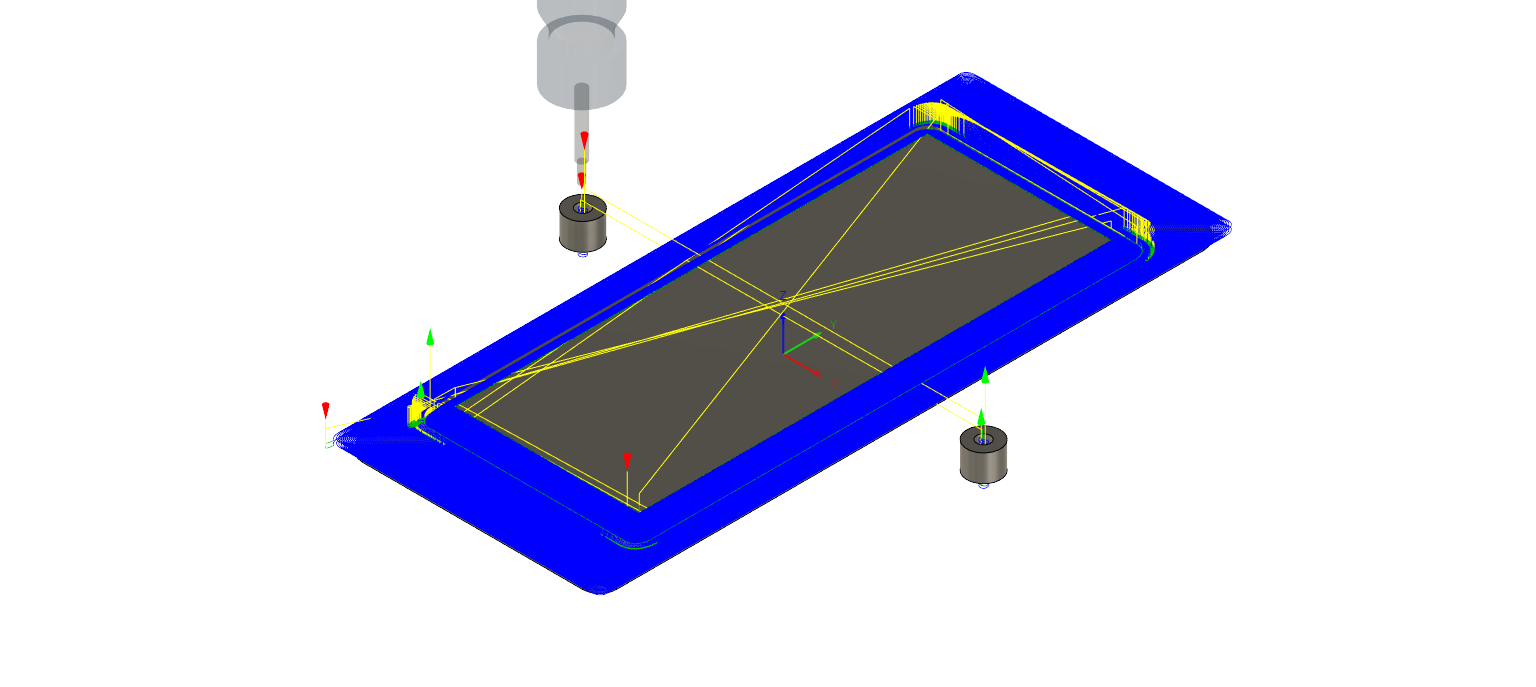
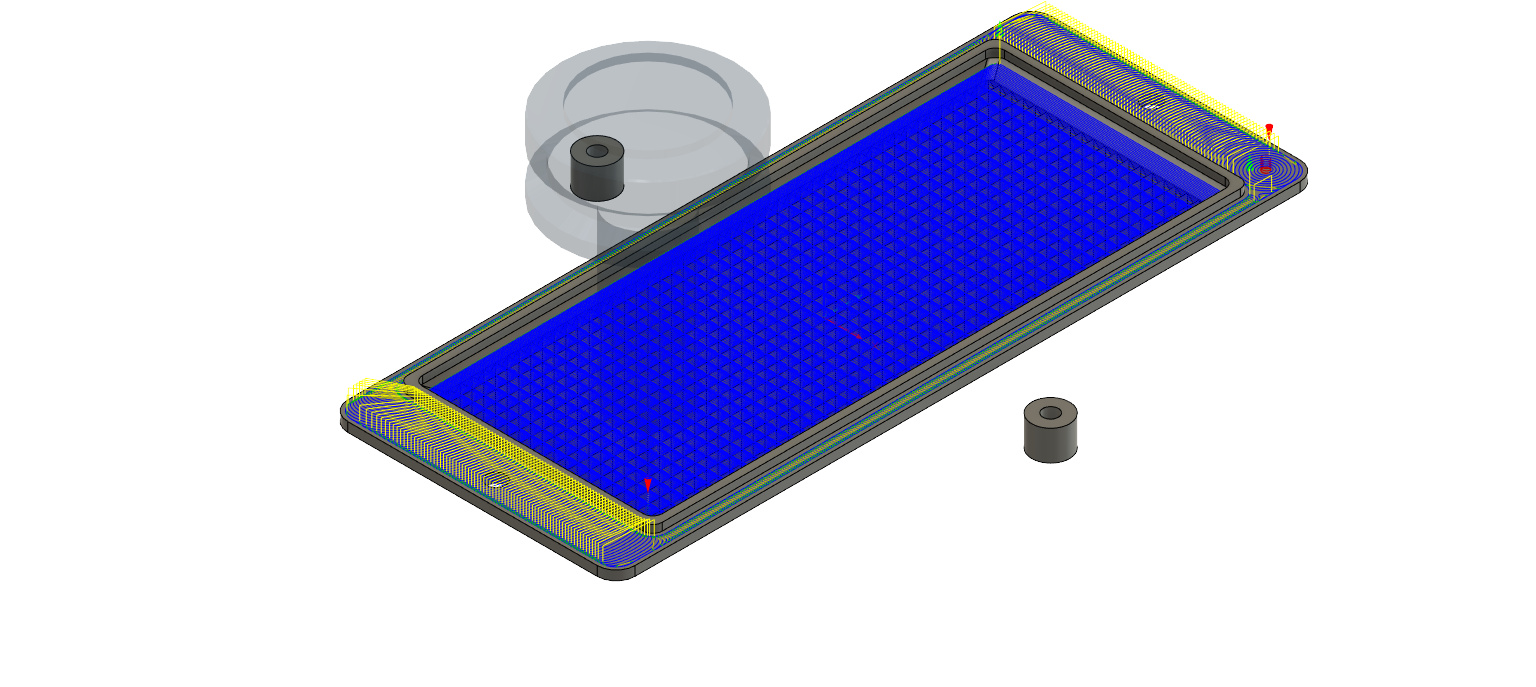
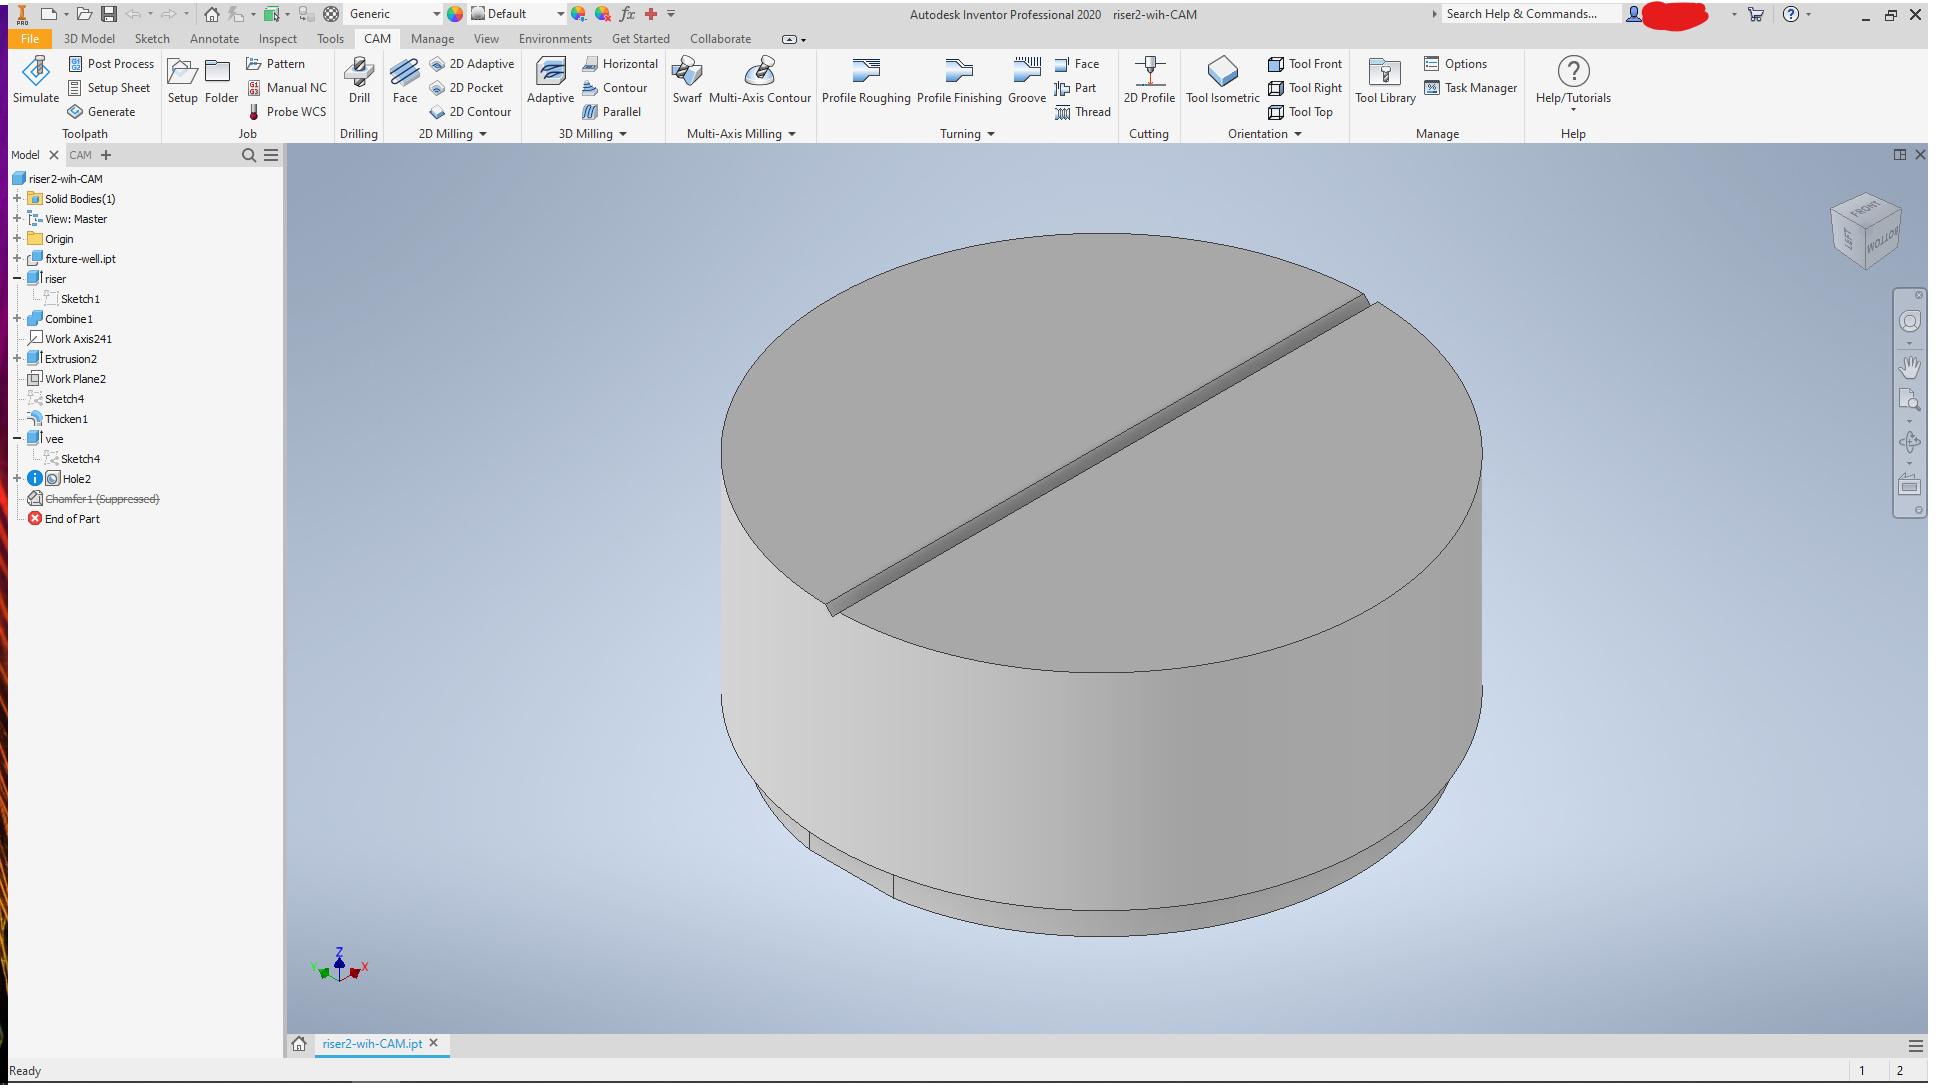
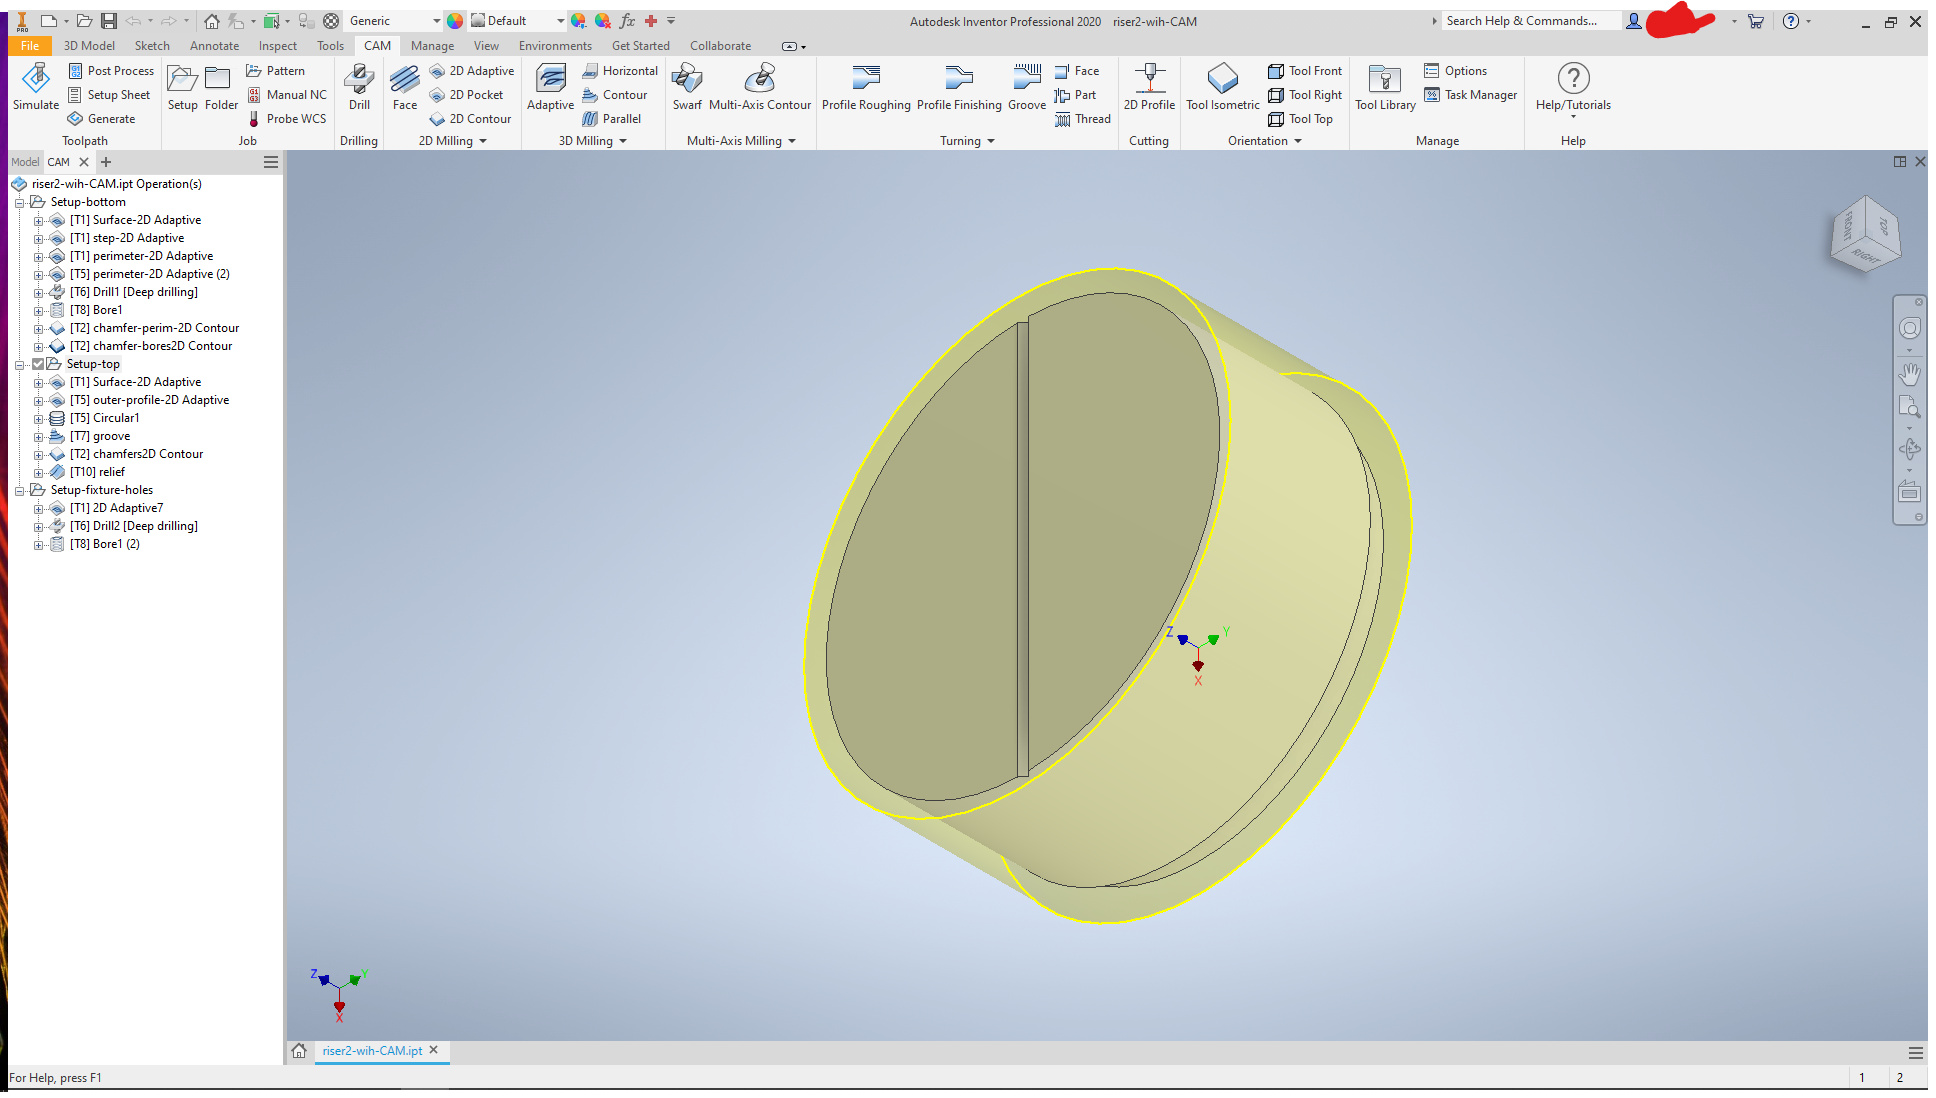
I have 2 setups for fusion, same stock size, just flipped on the corners:
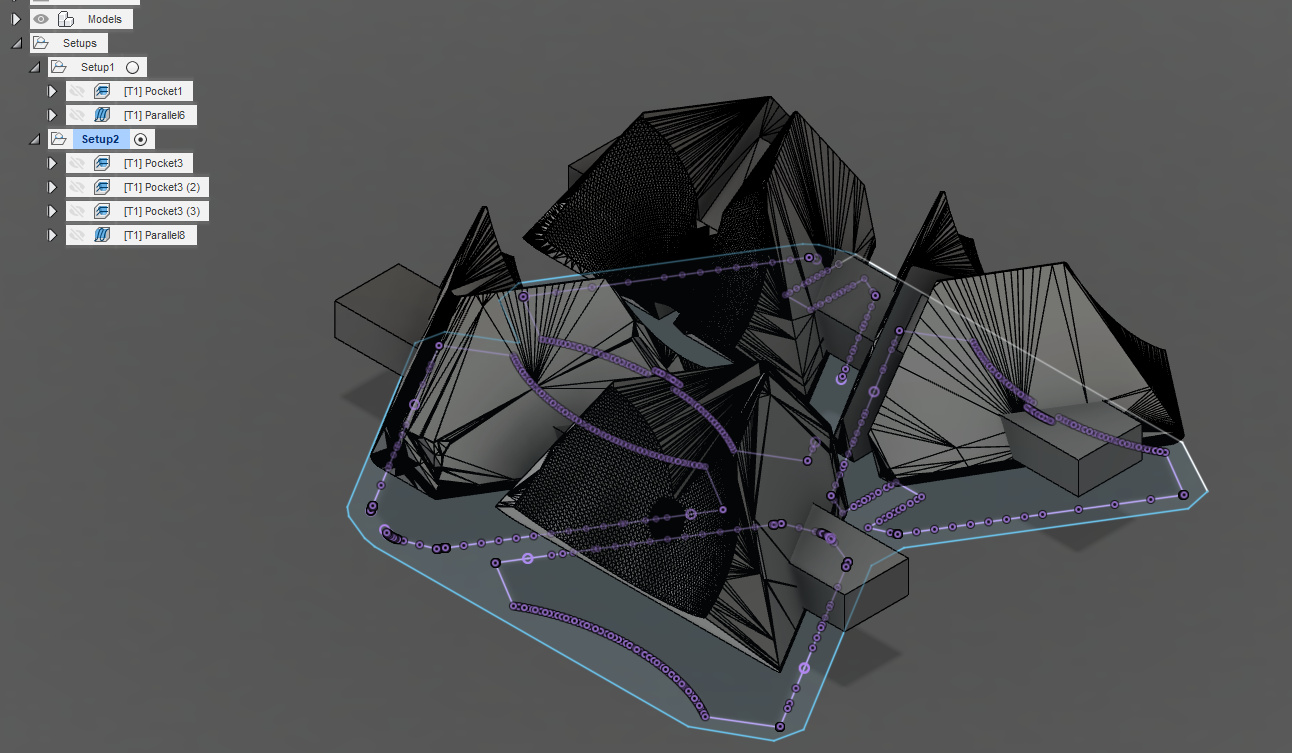
I also use heights tab to control how deep the first side machines
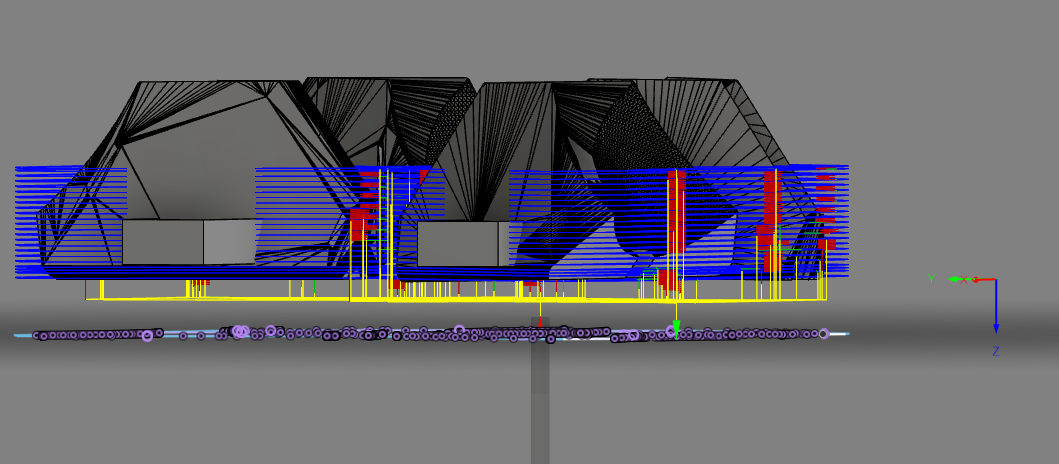

Not sure if you can see it, but pocket 3 and pocket 3 (2) are part 1 and 2 of the same job above. Pocket job 3(3) is ~4 and a half hours depending on how dense the hardwood is on my poor nomad, so I like to be able to knock that out in 2 hour chunks depending on my schedule.
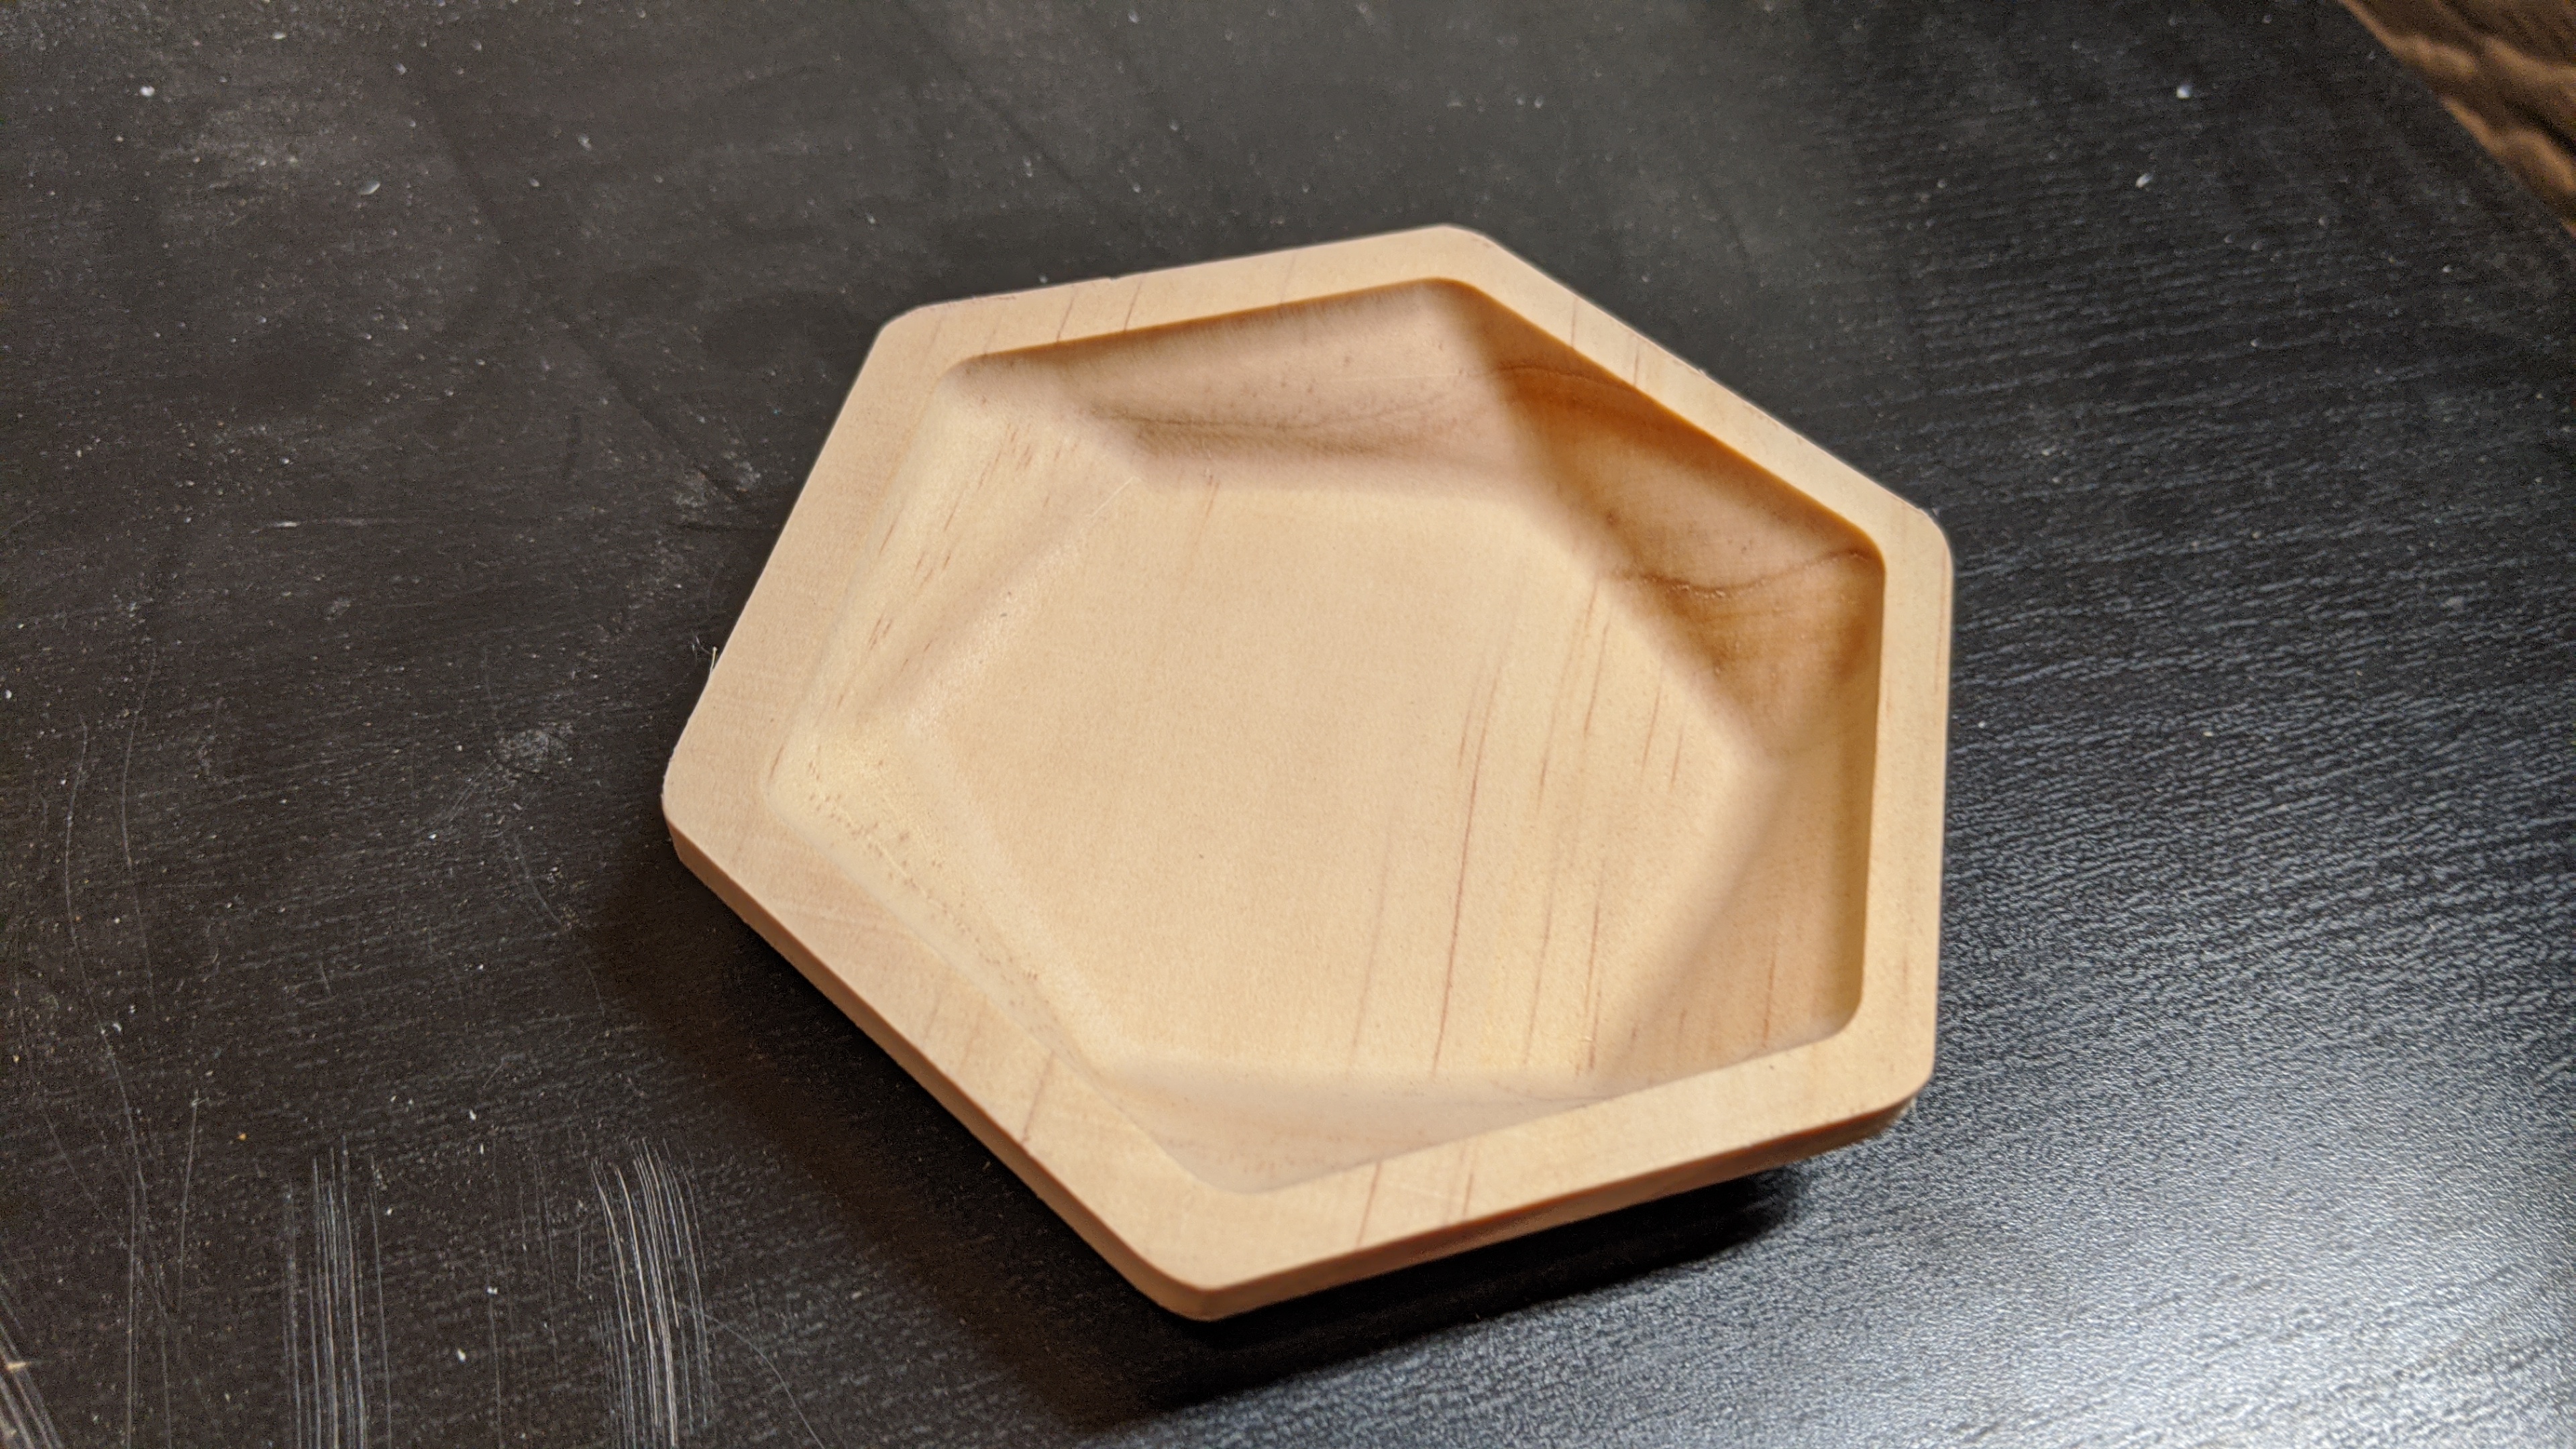
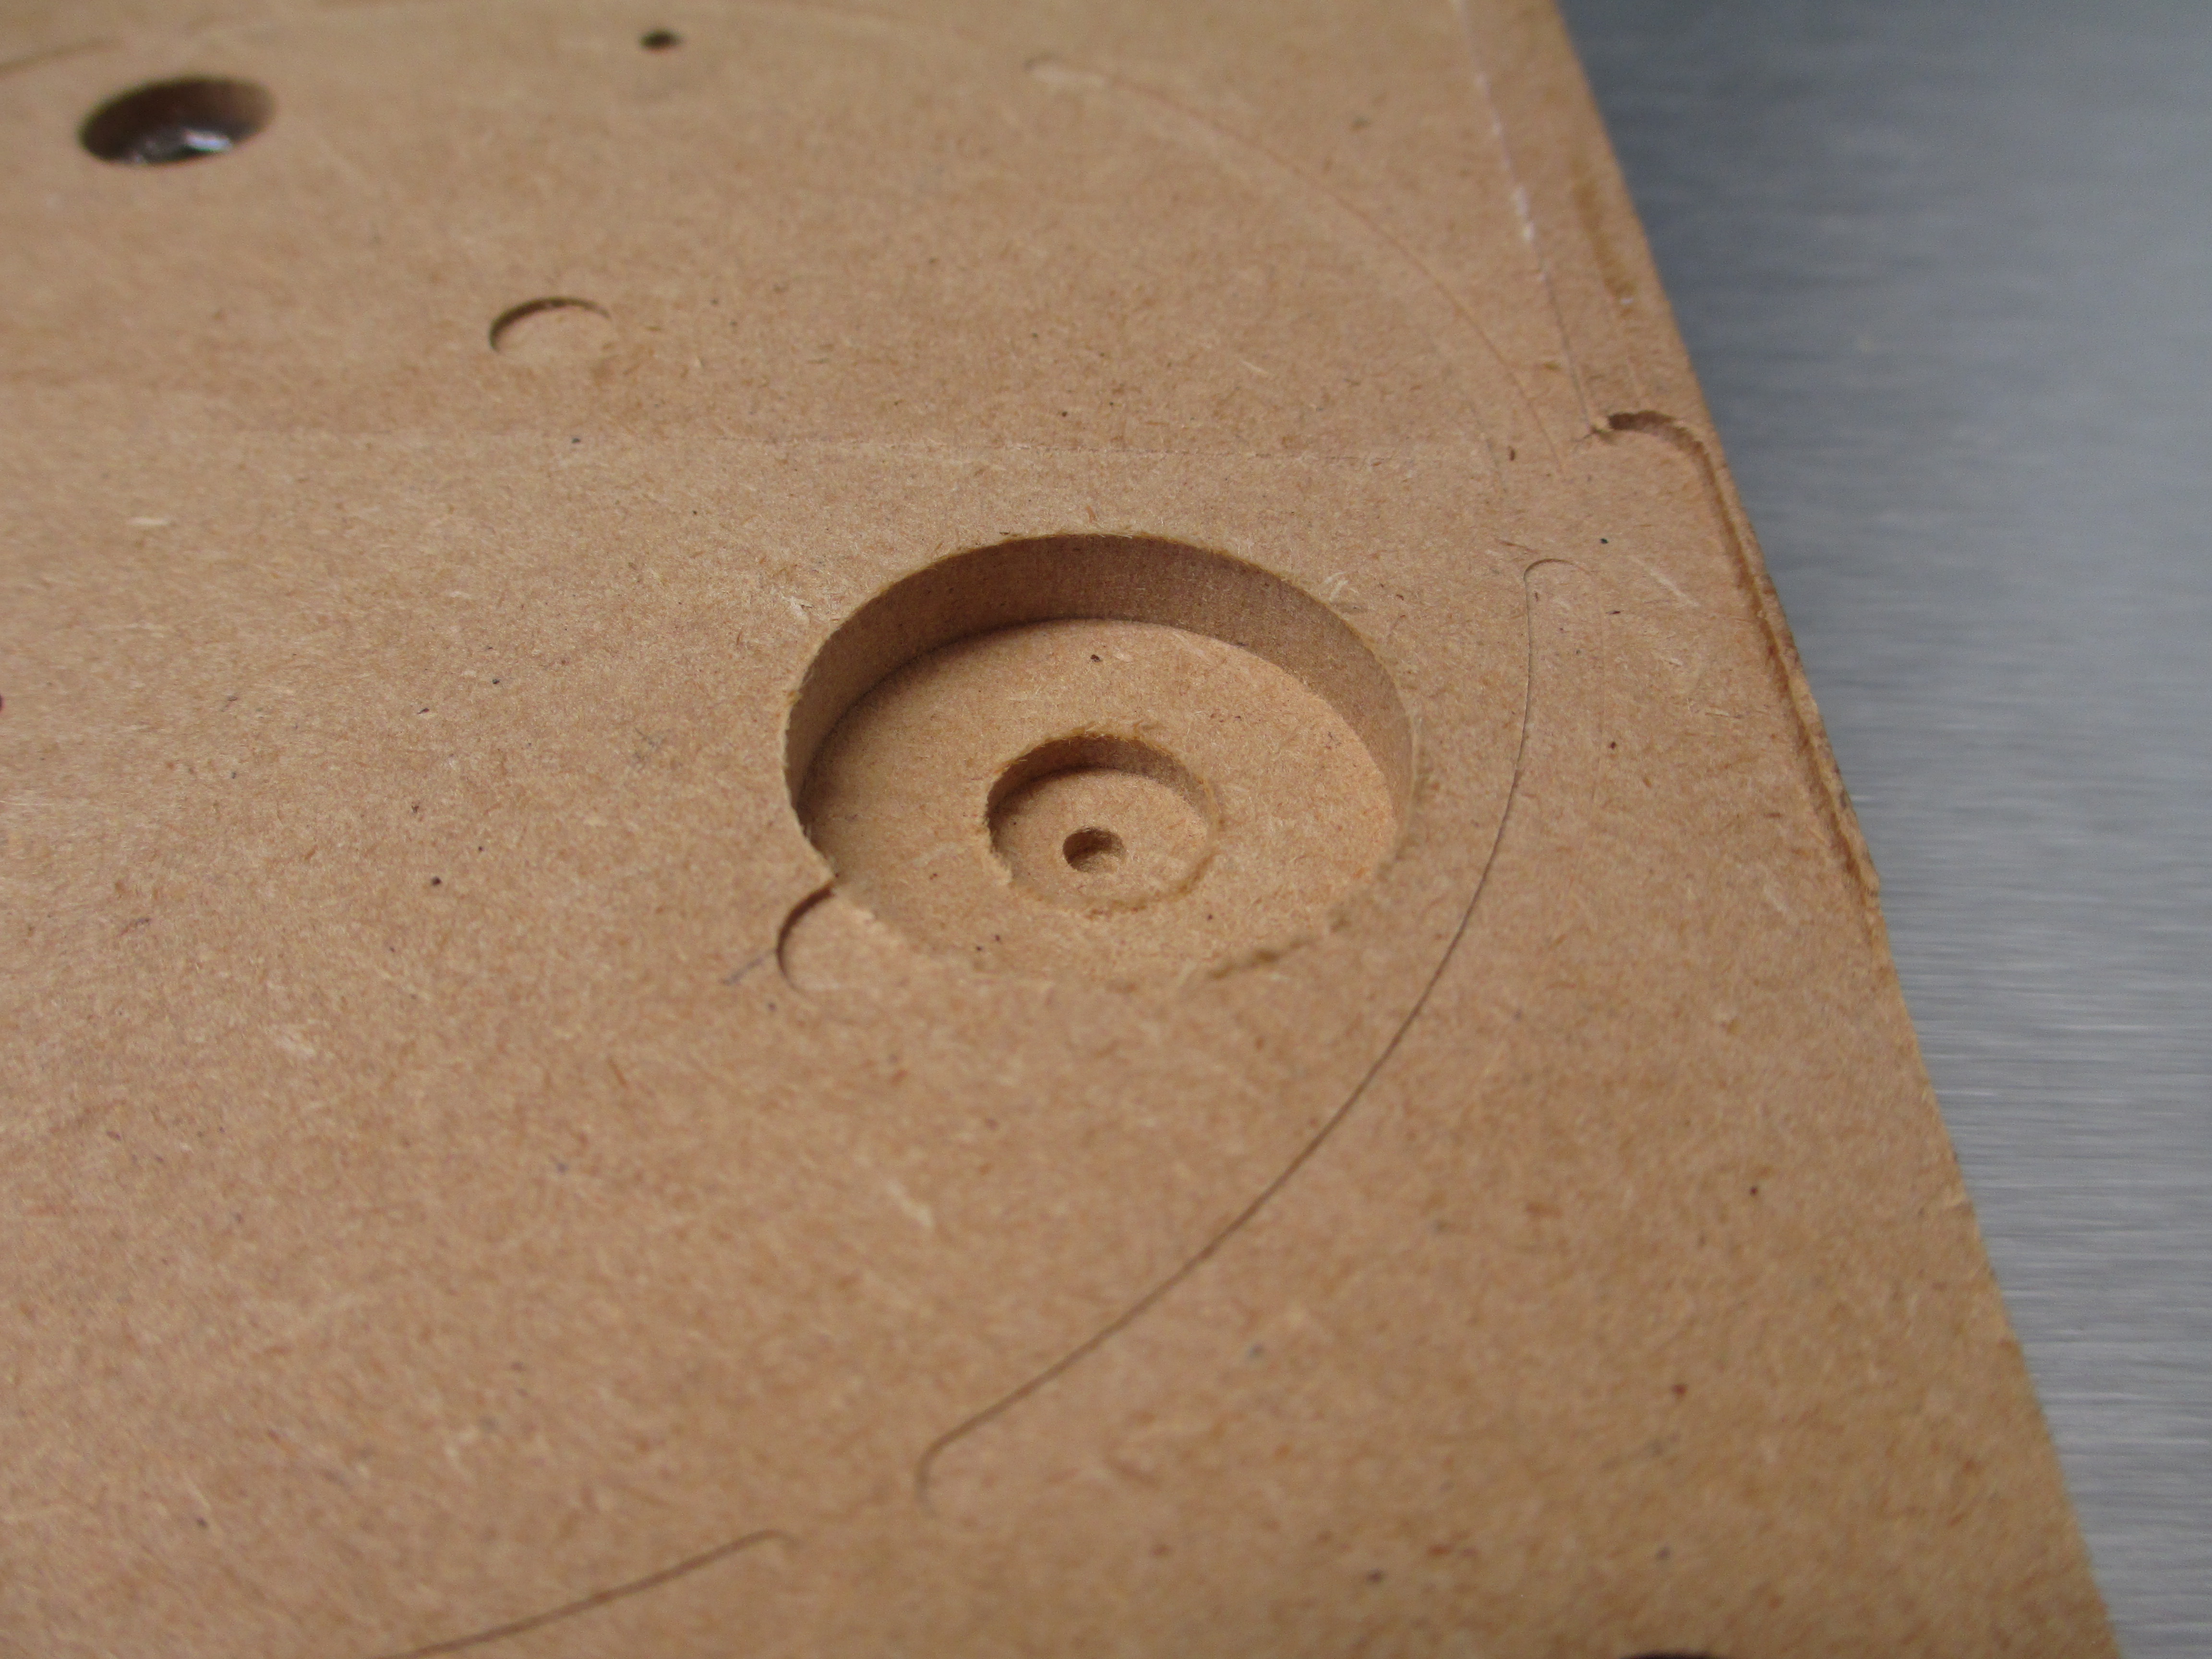
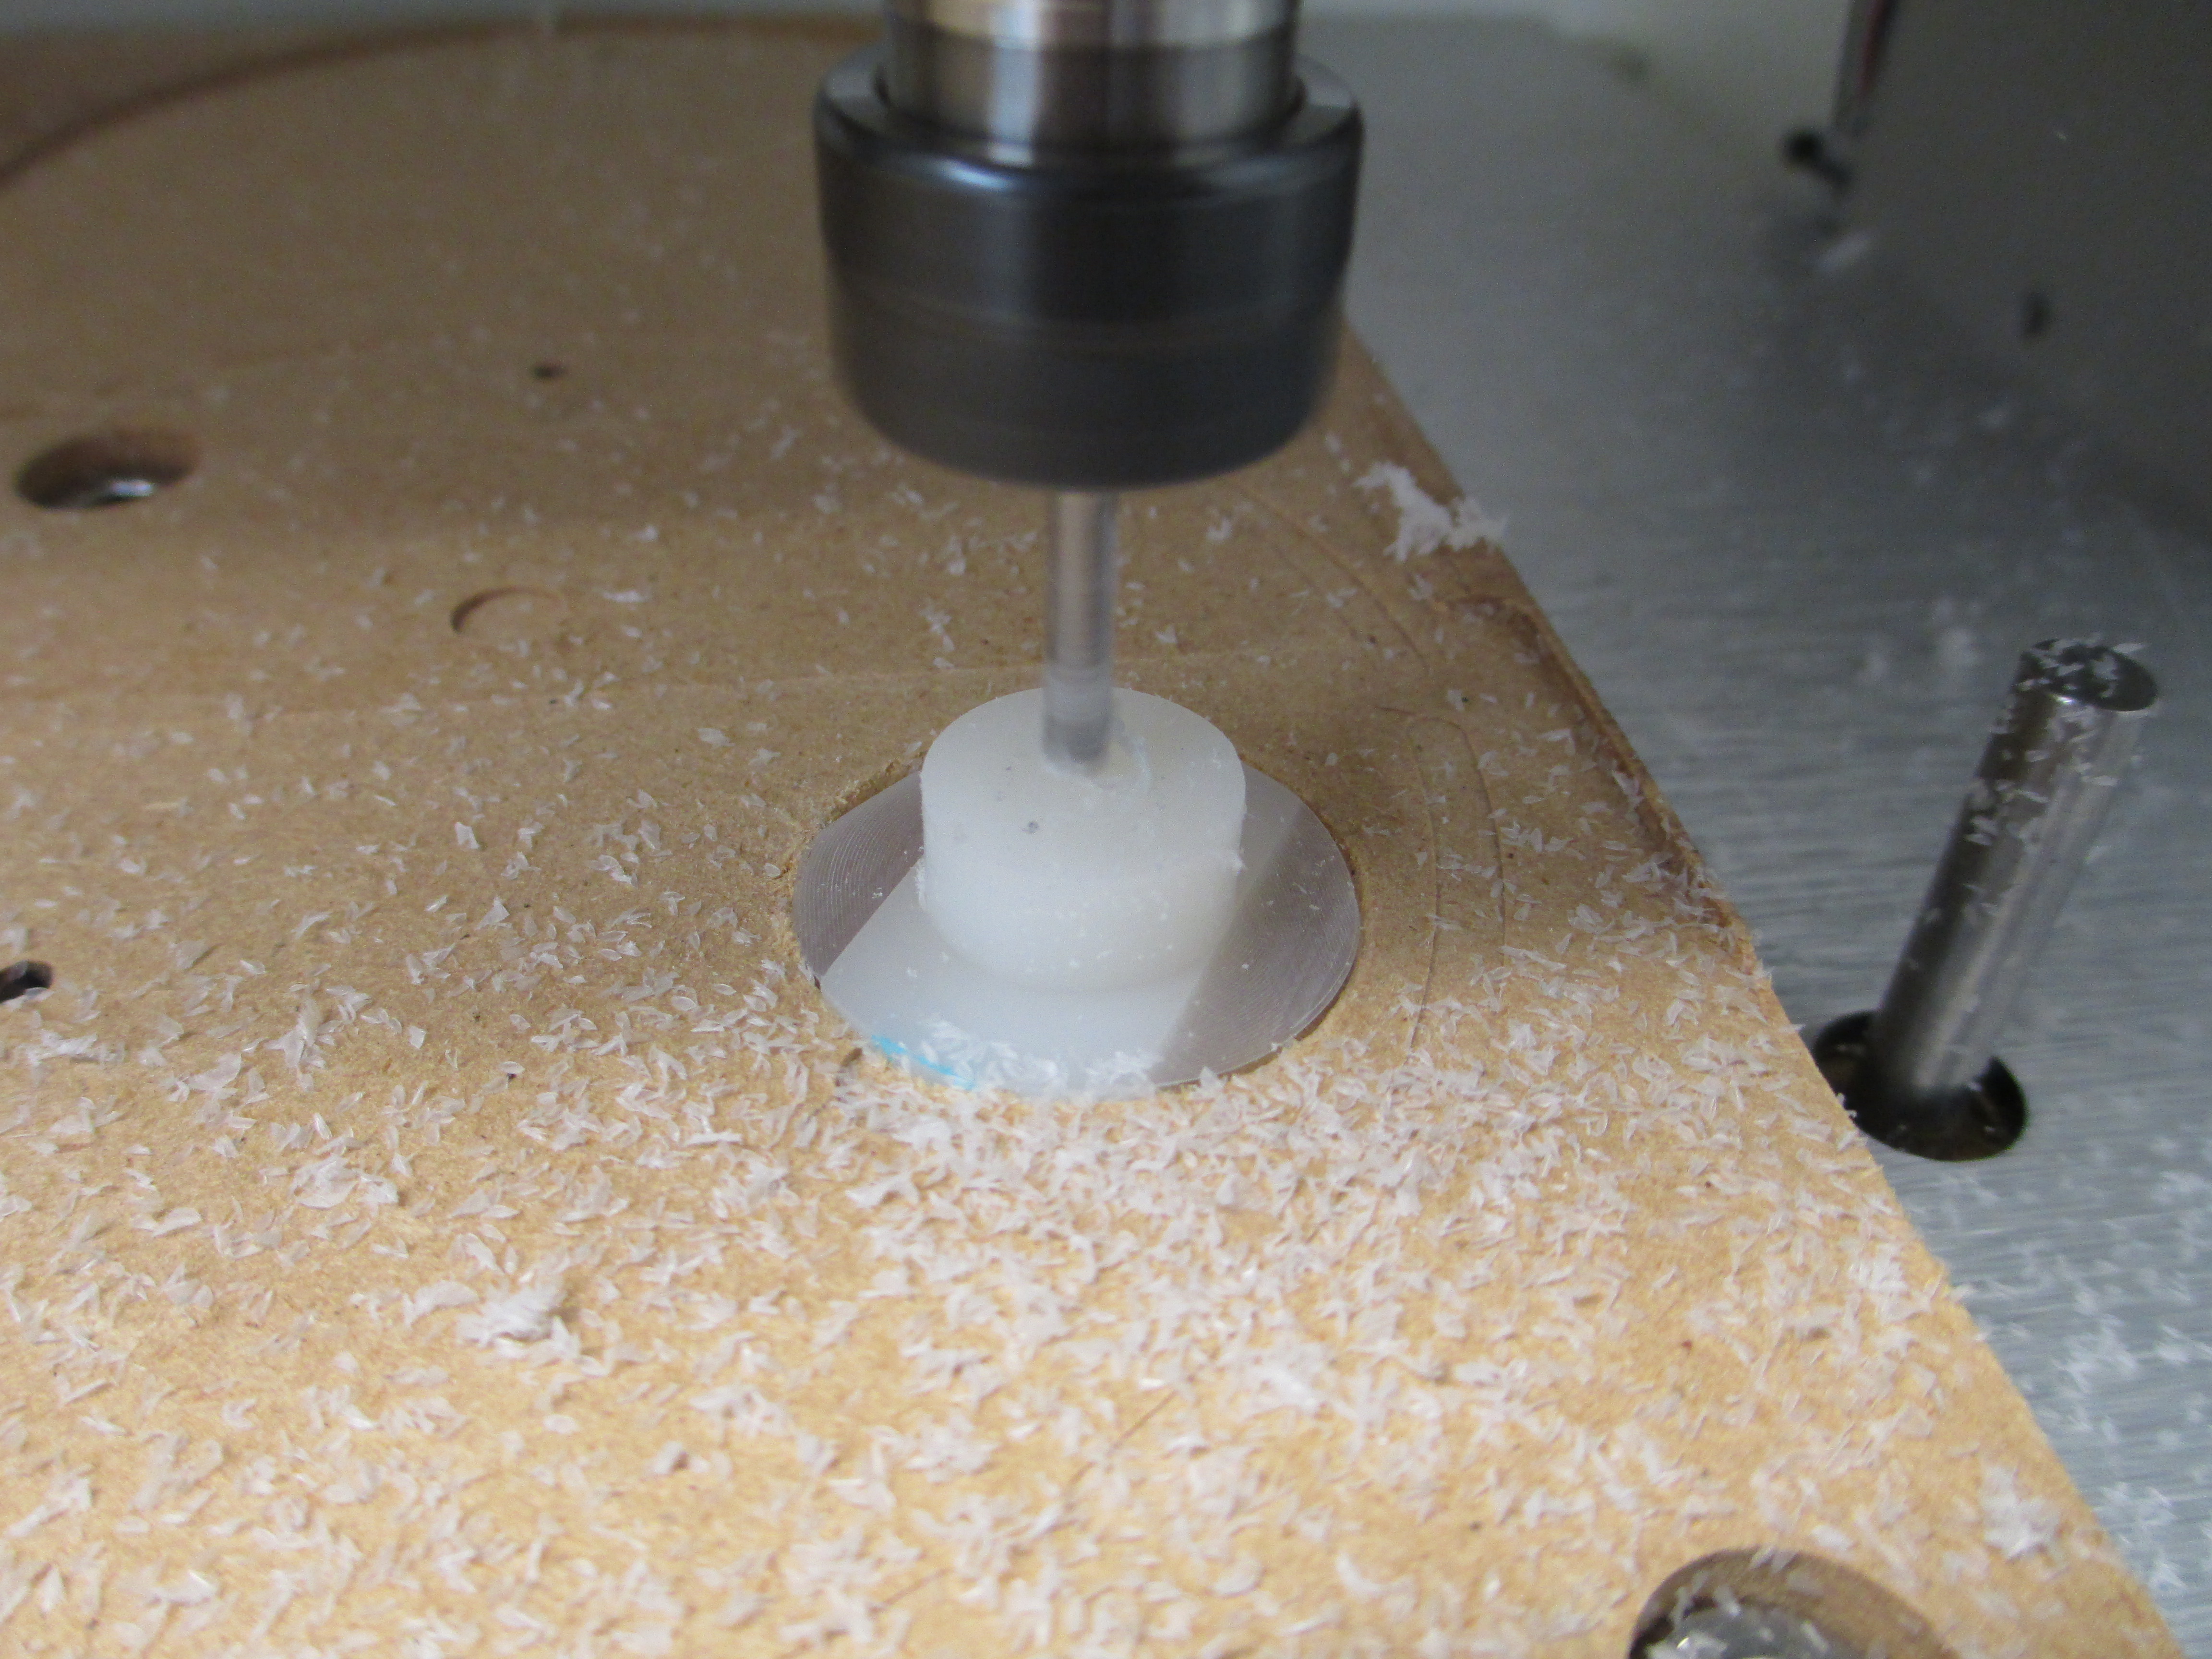
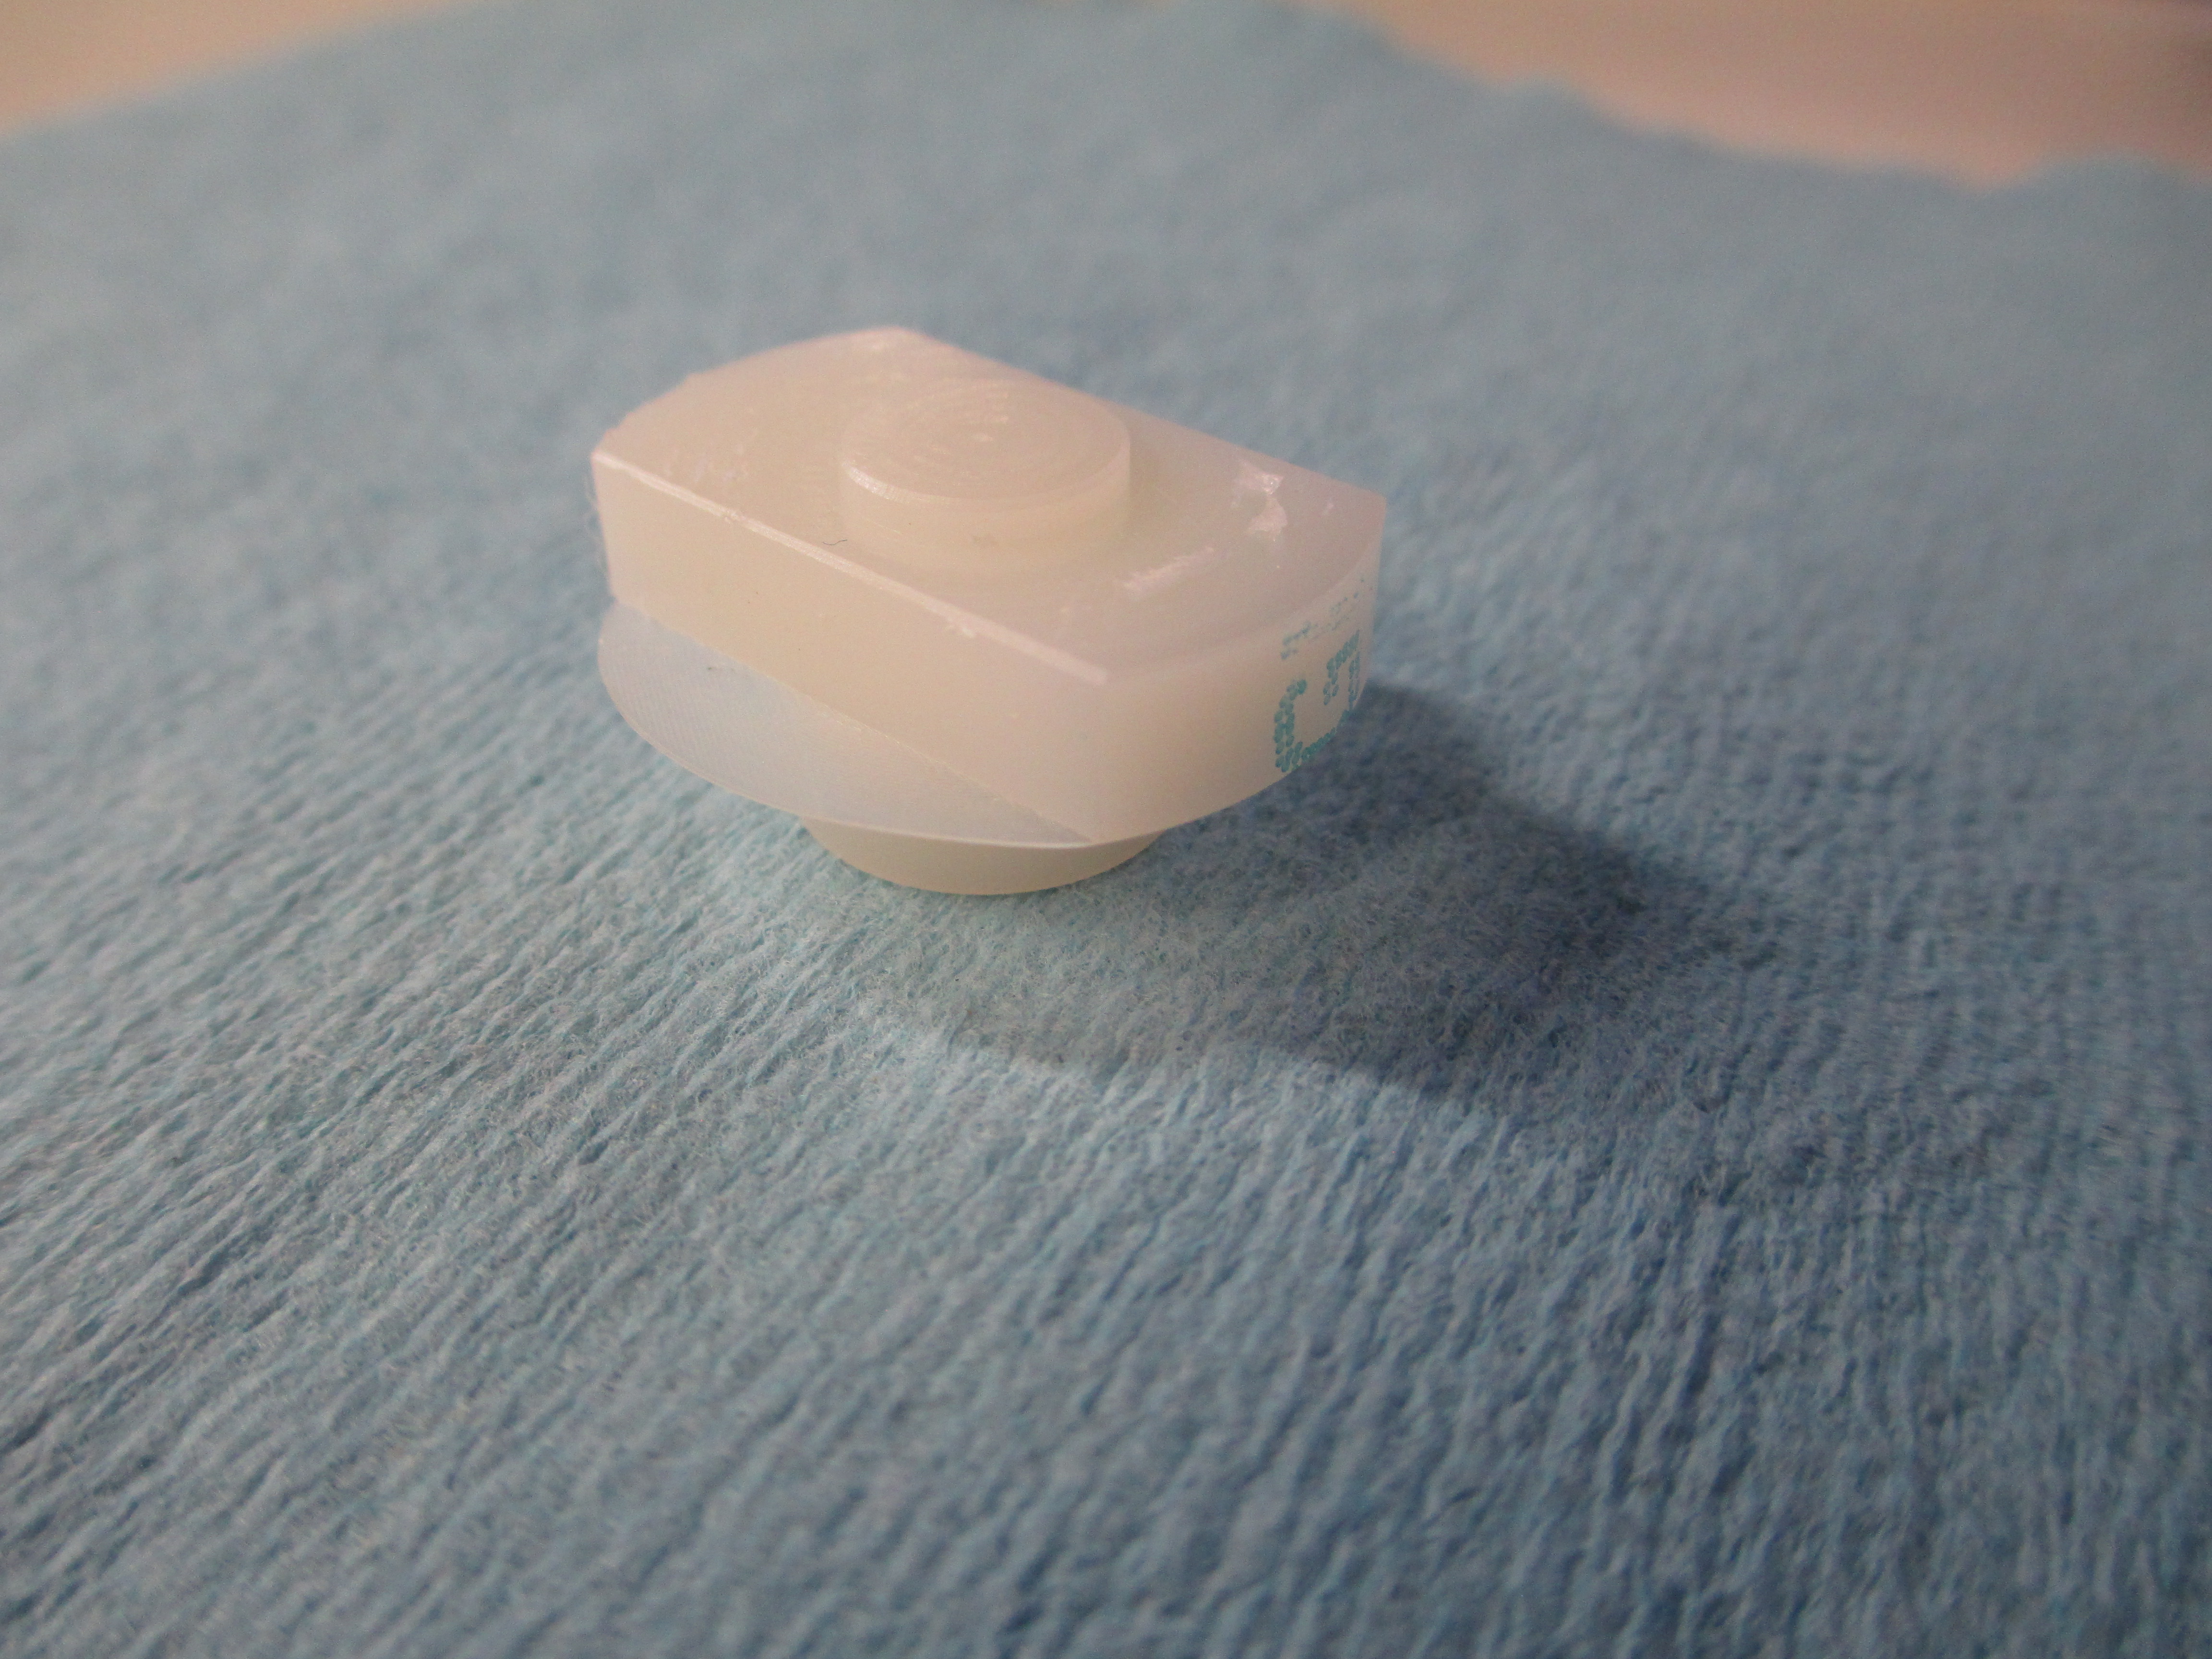
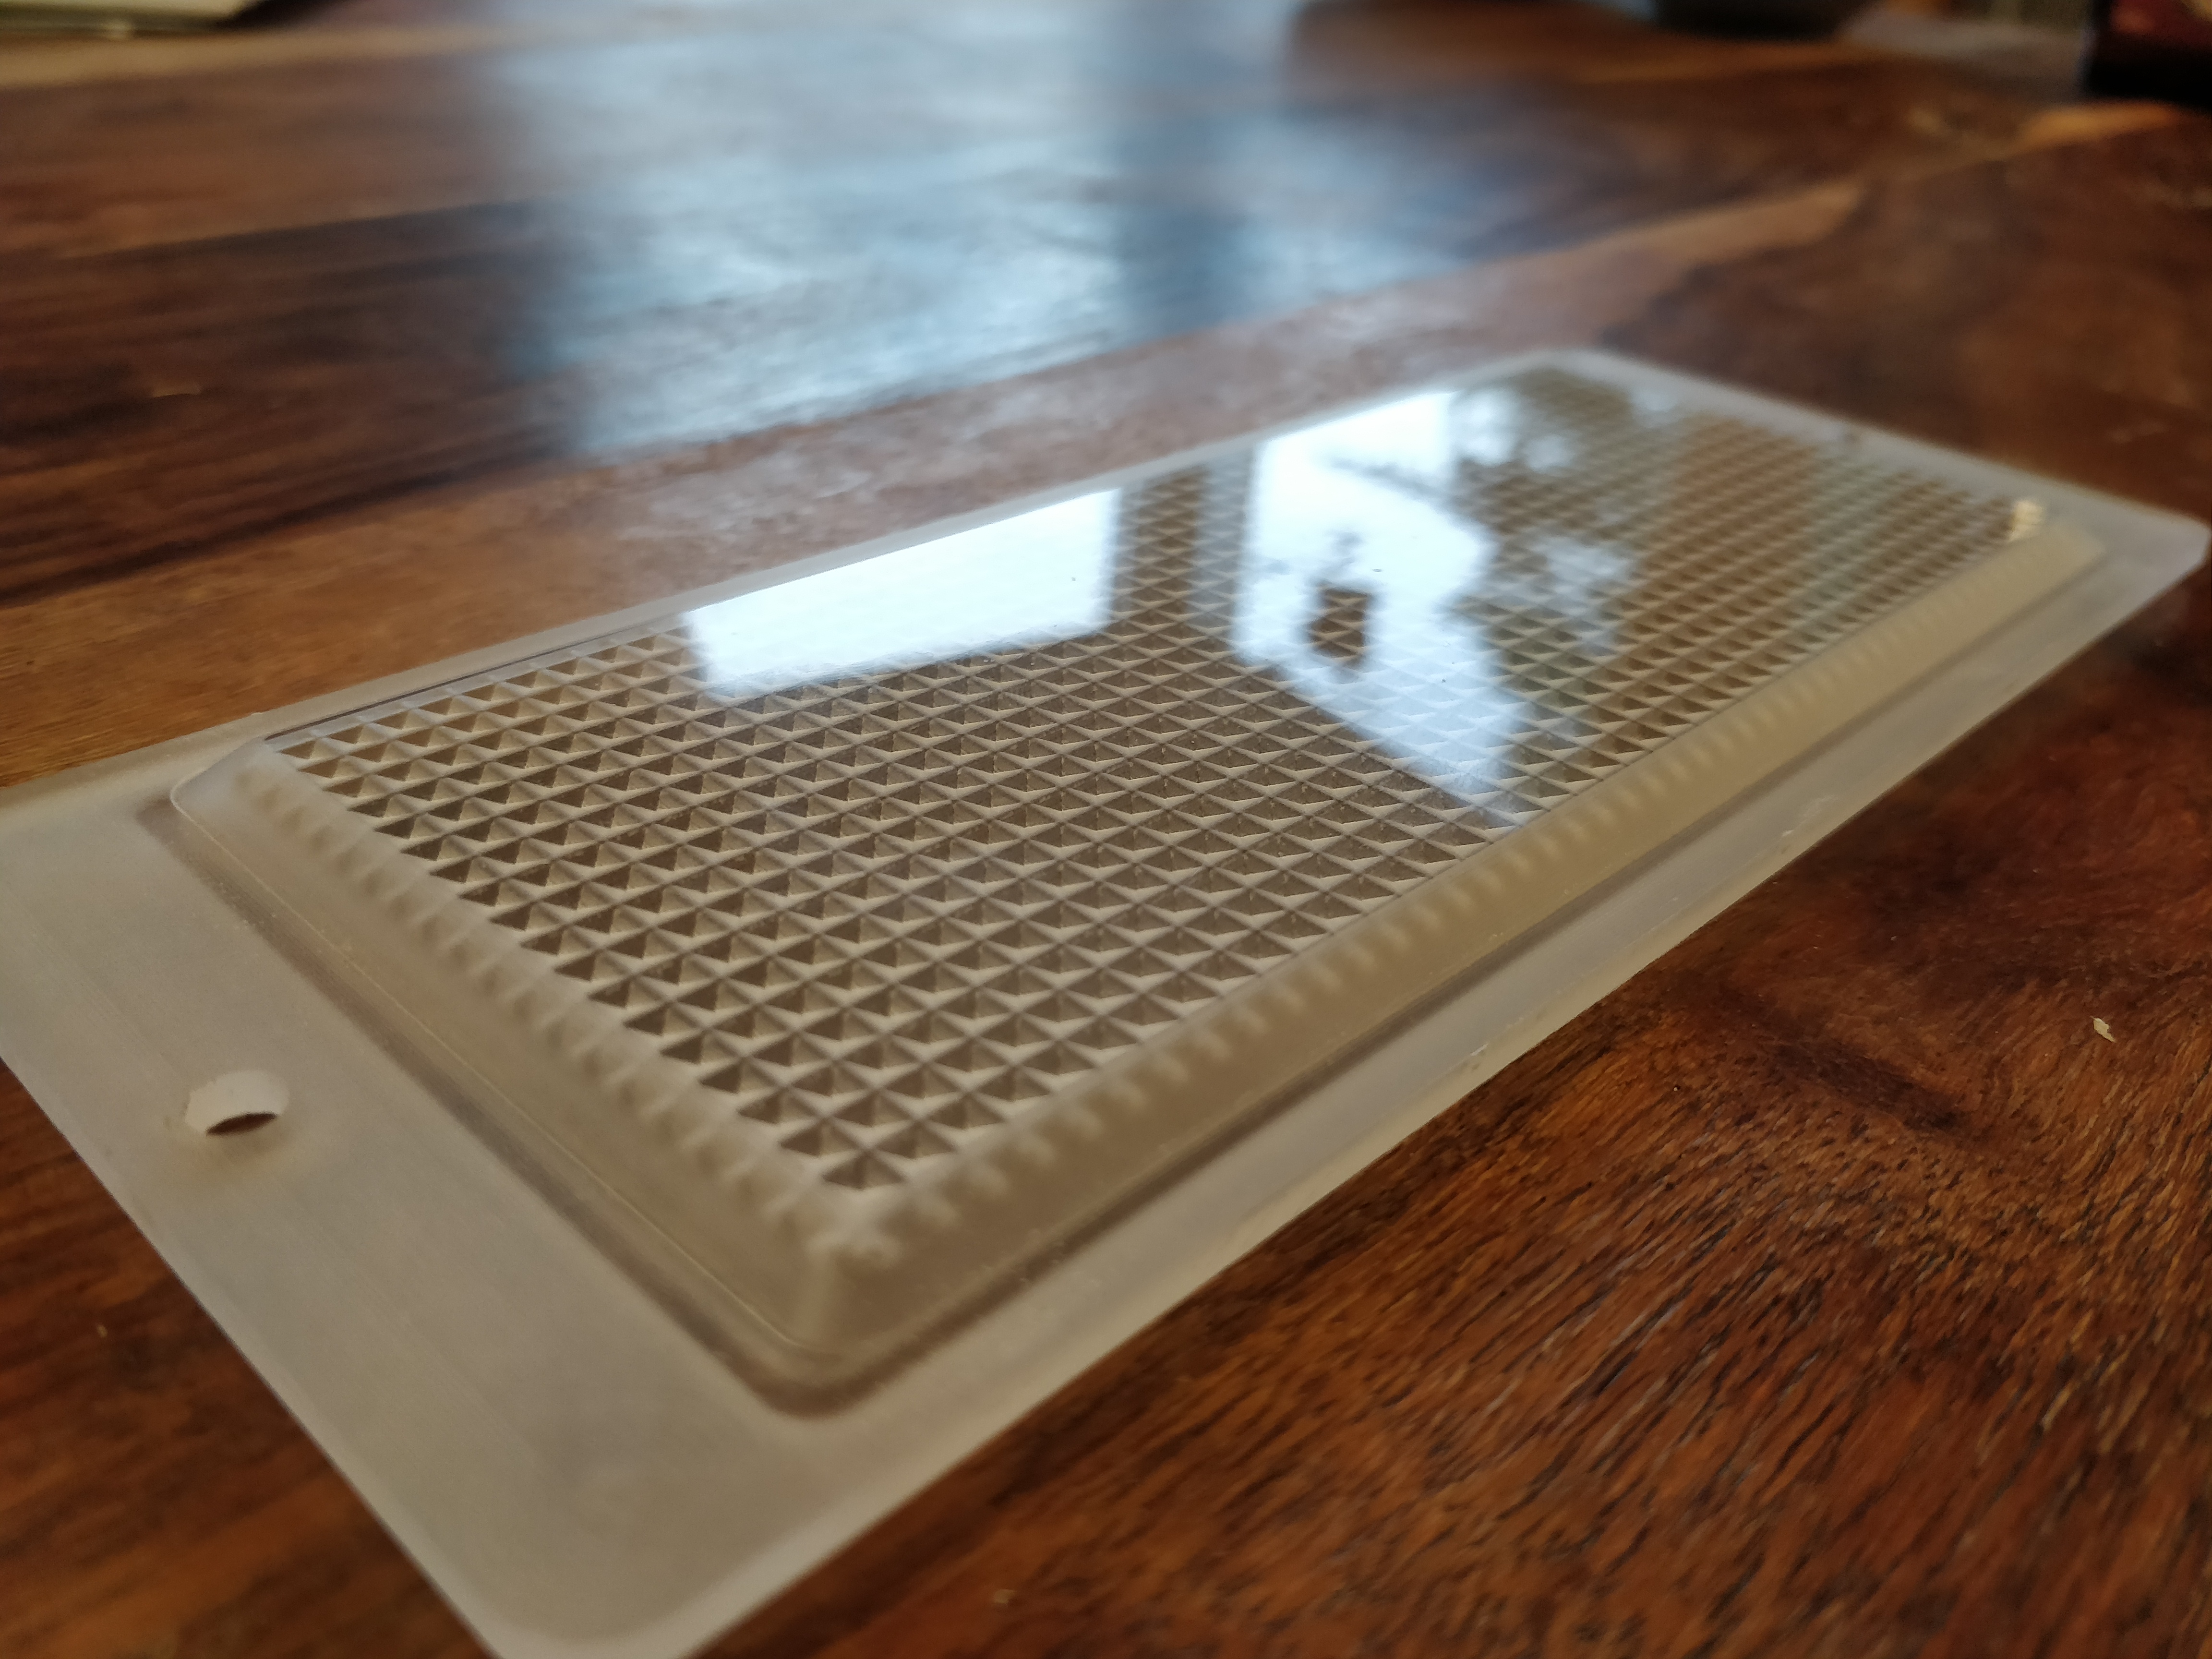
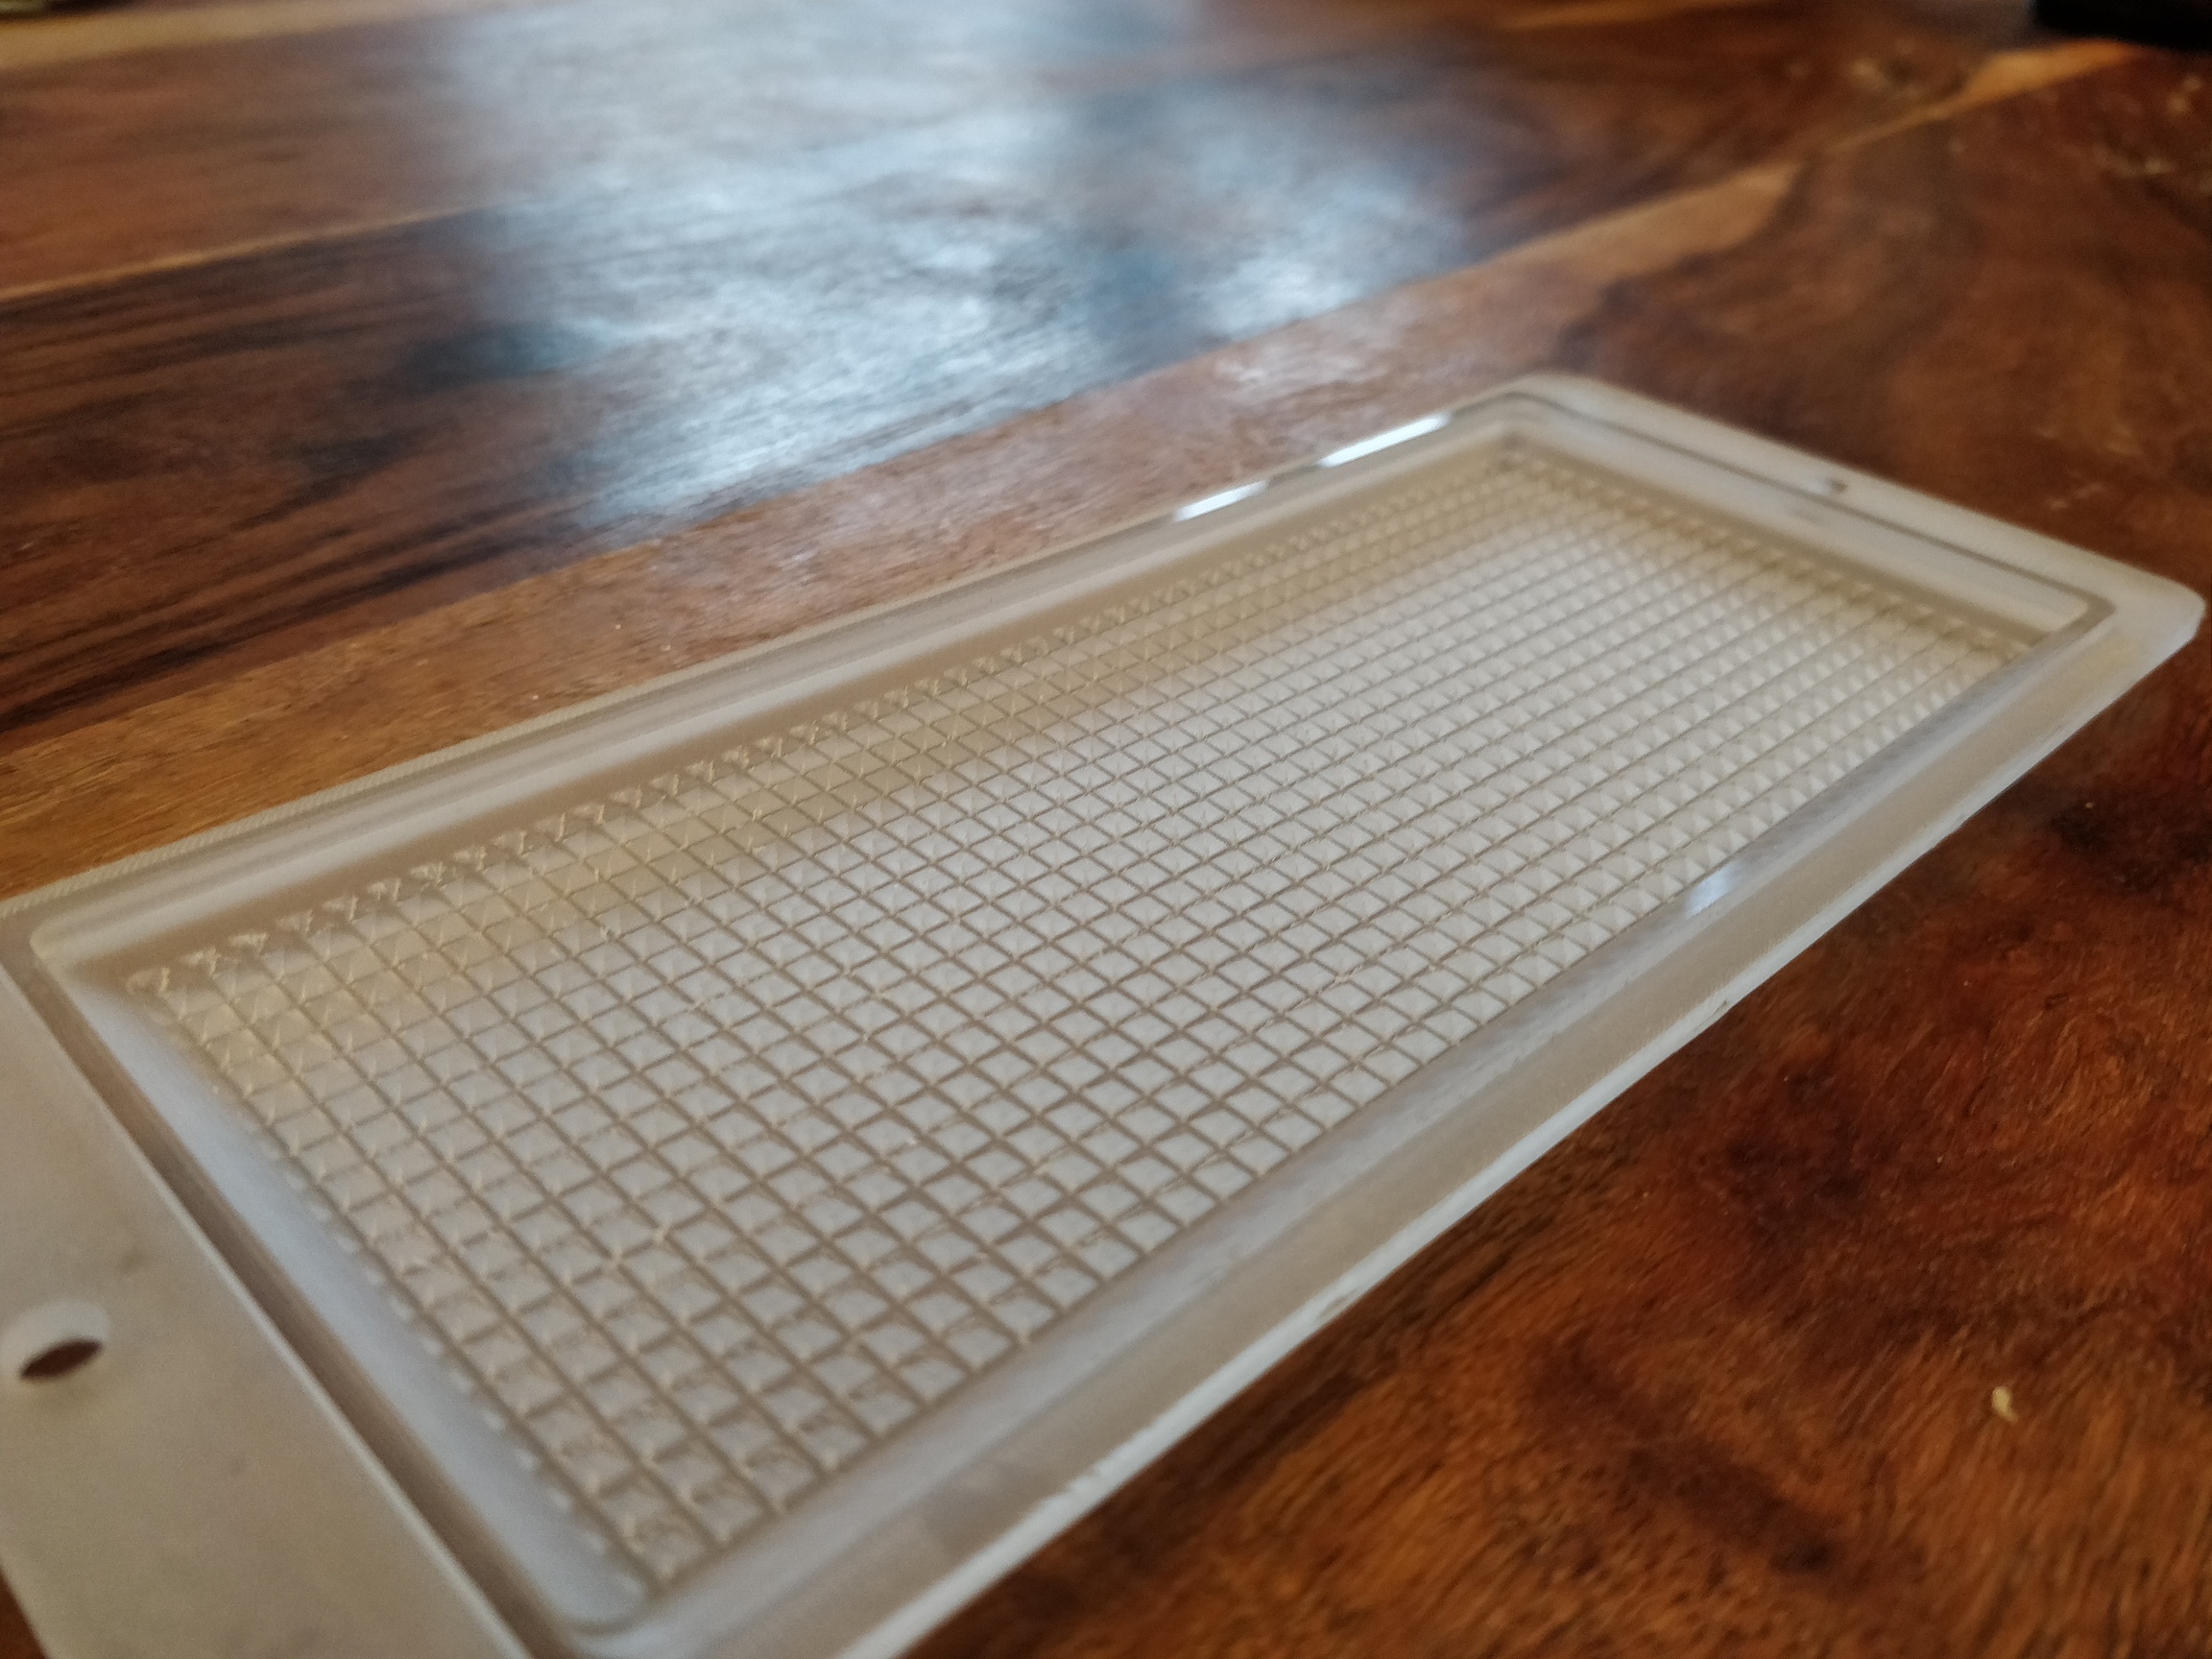
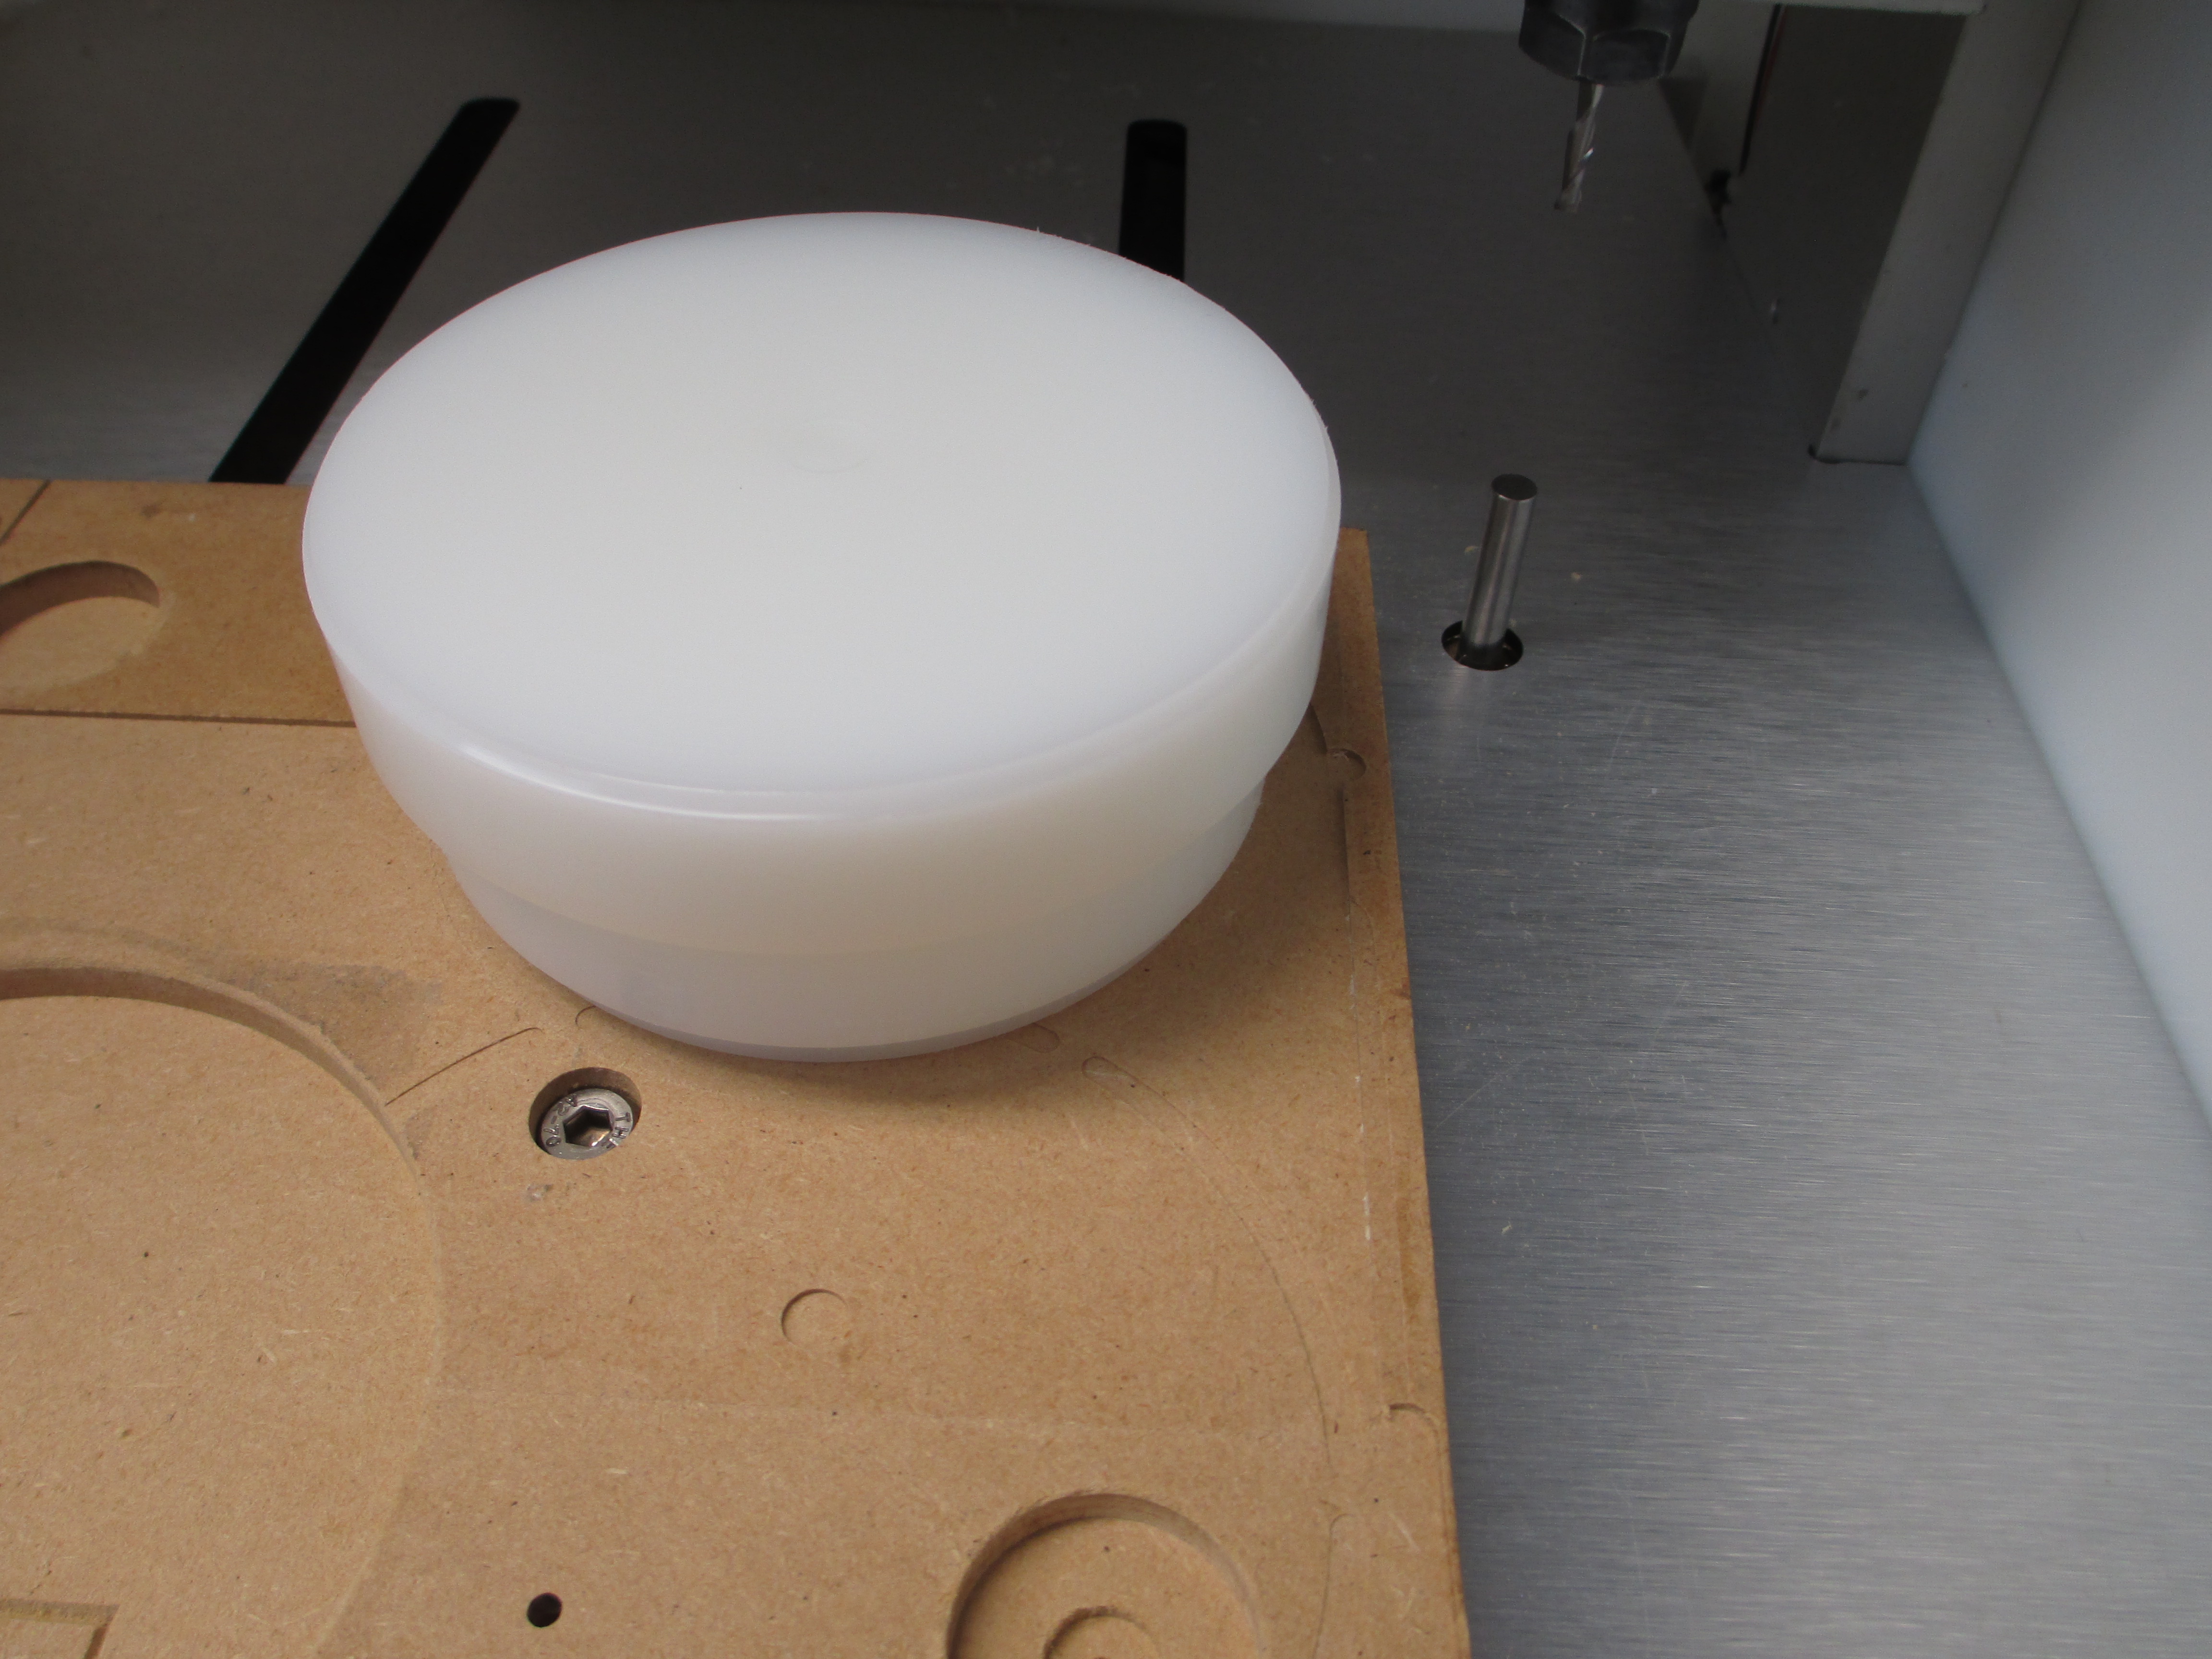
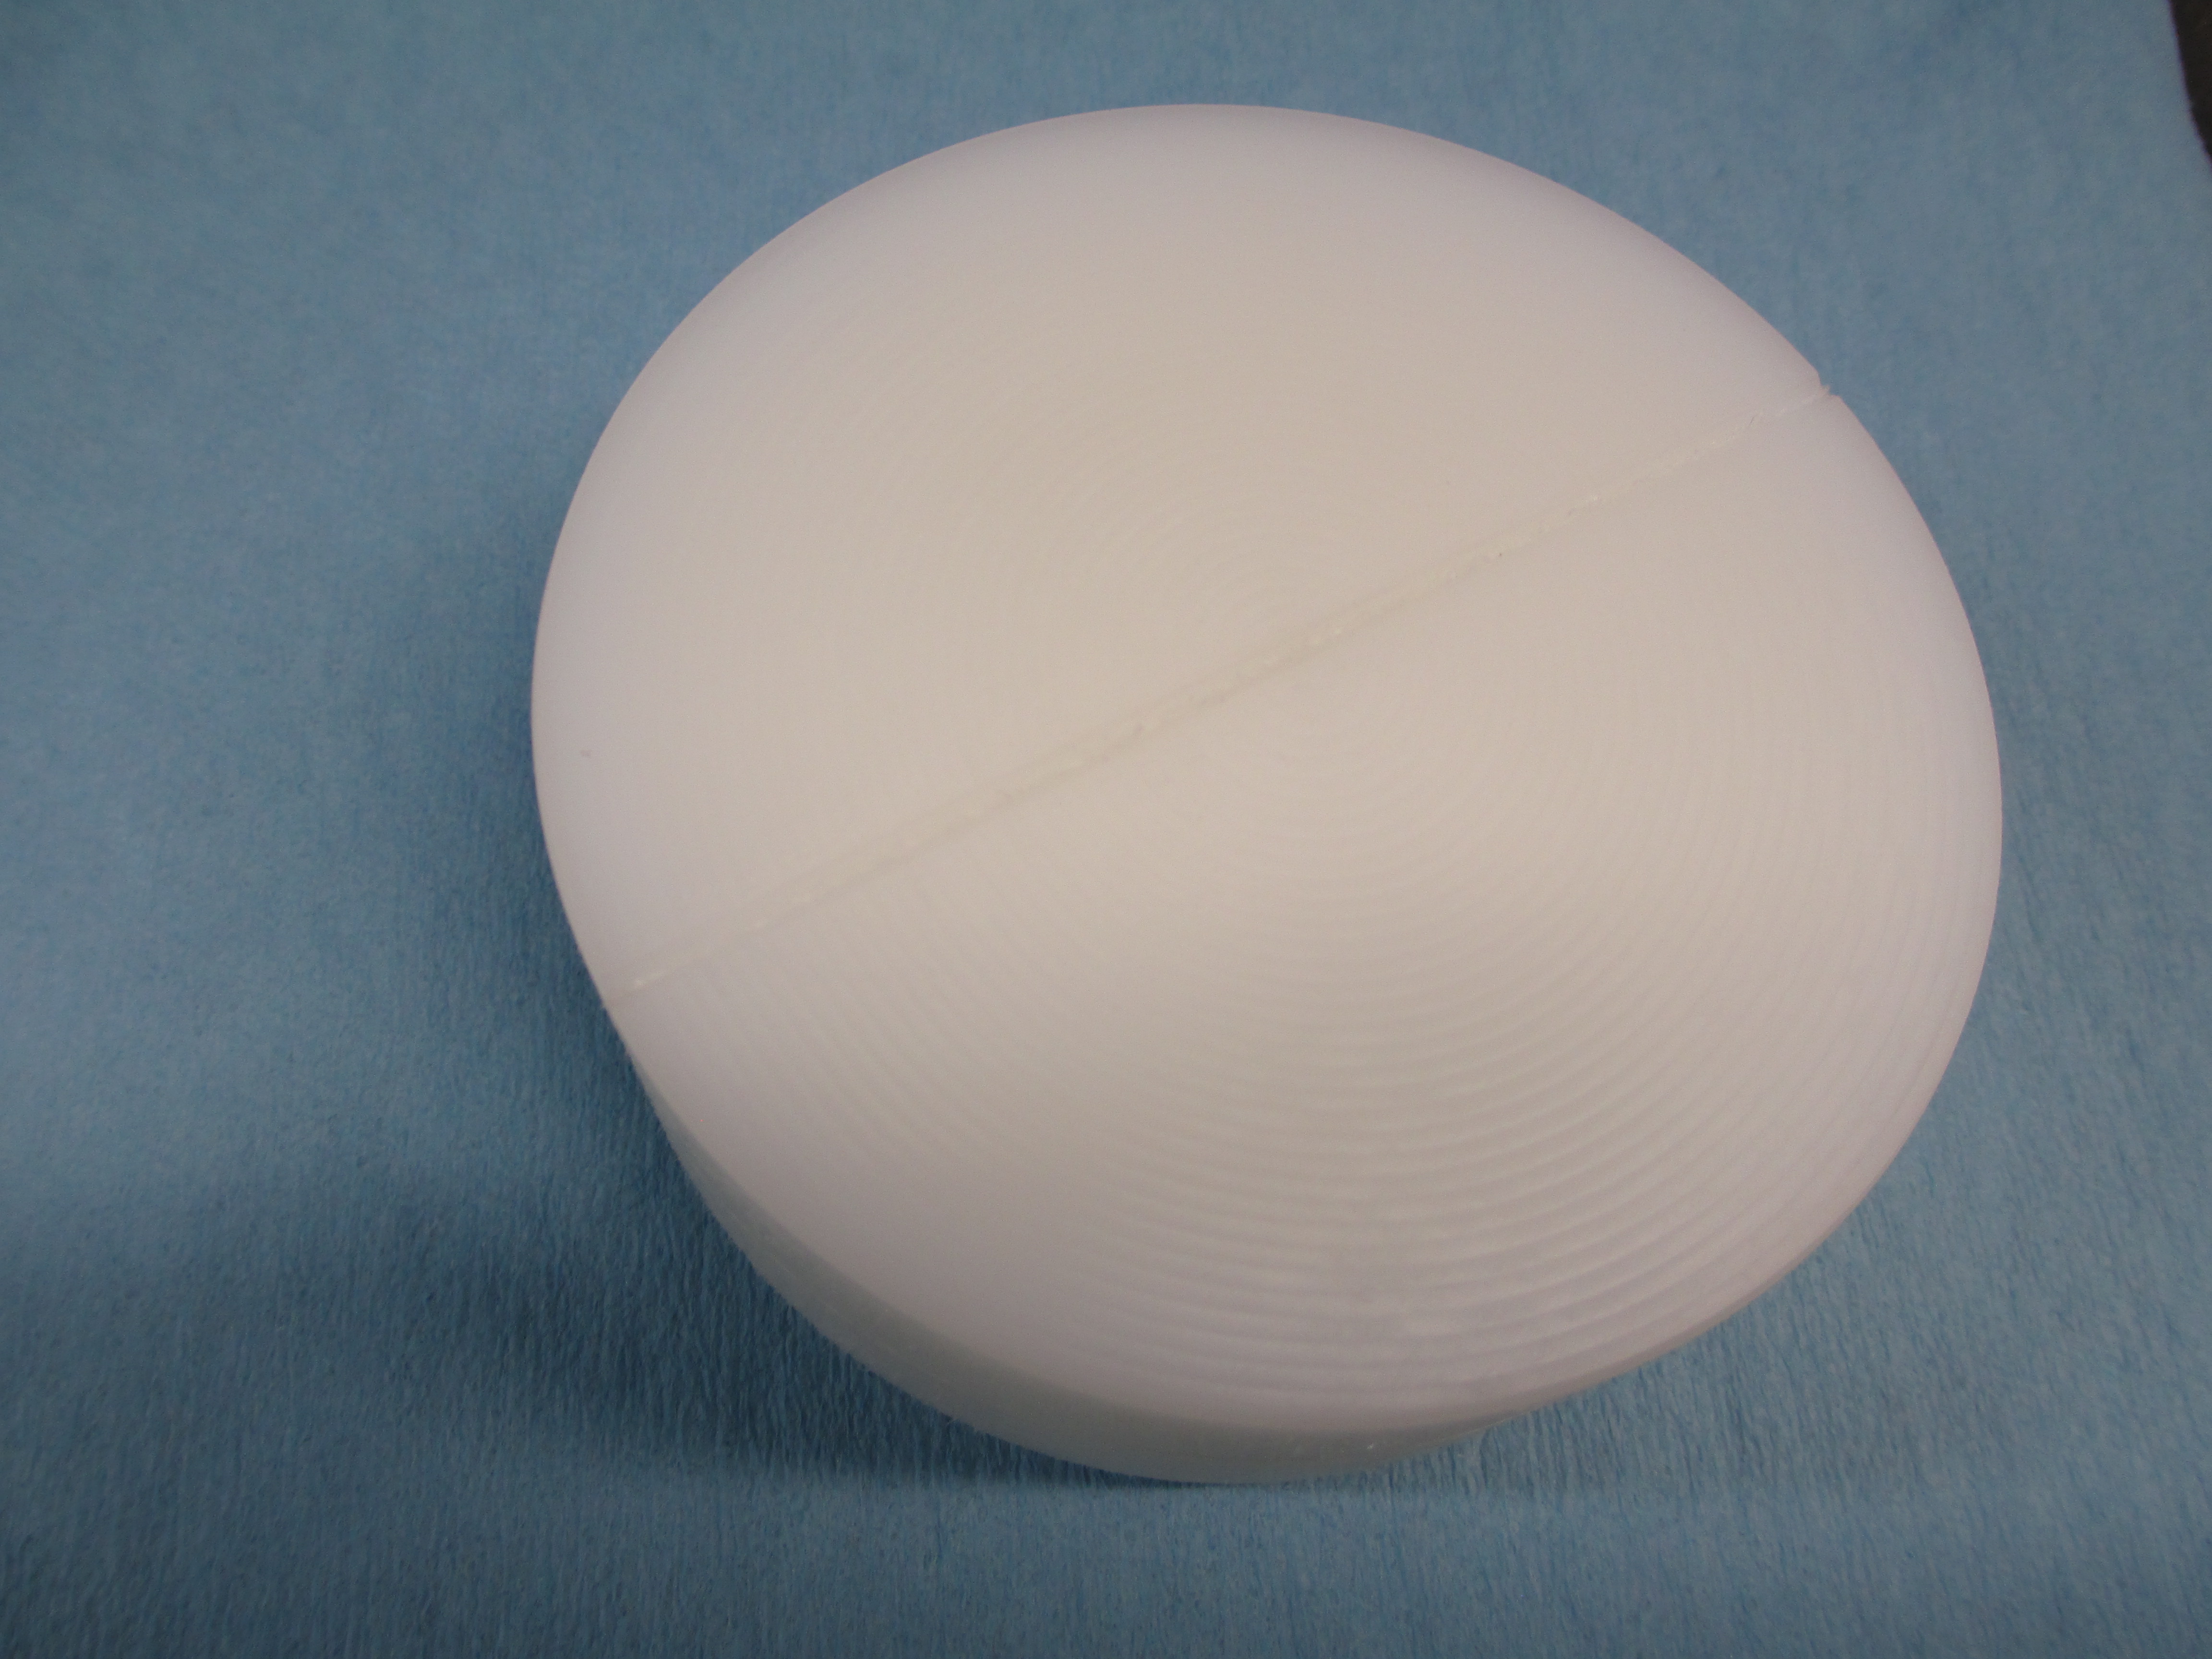
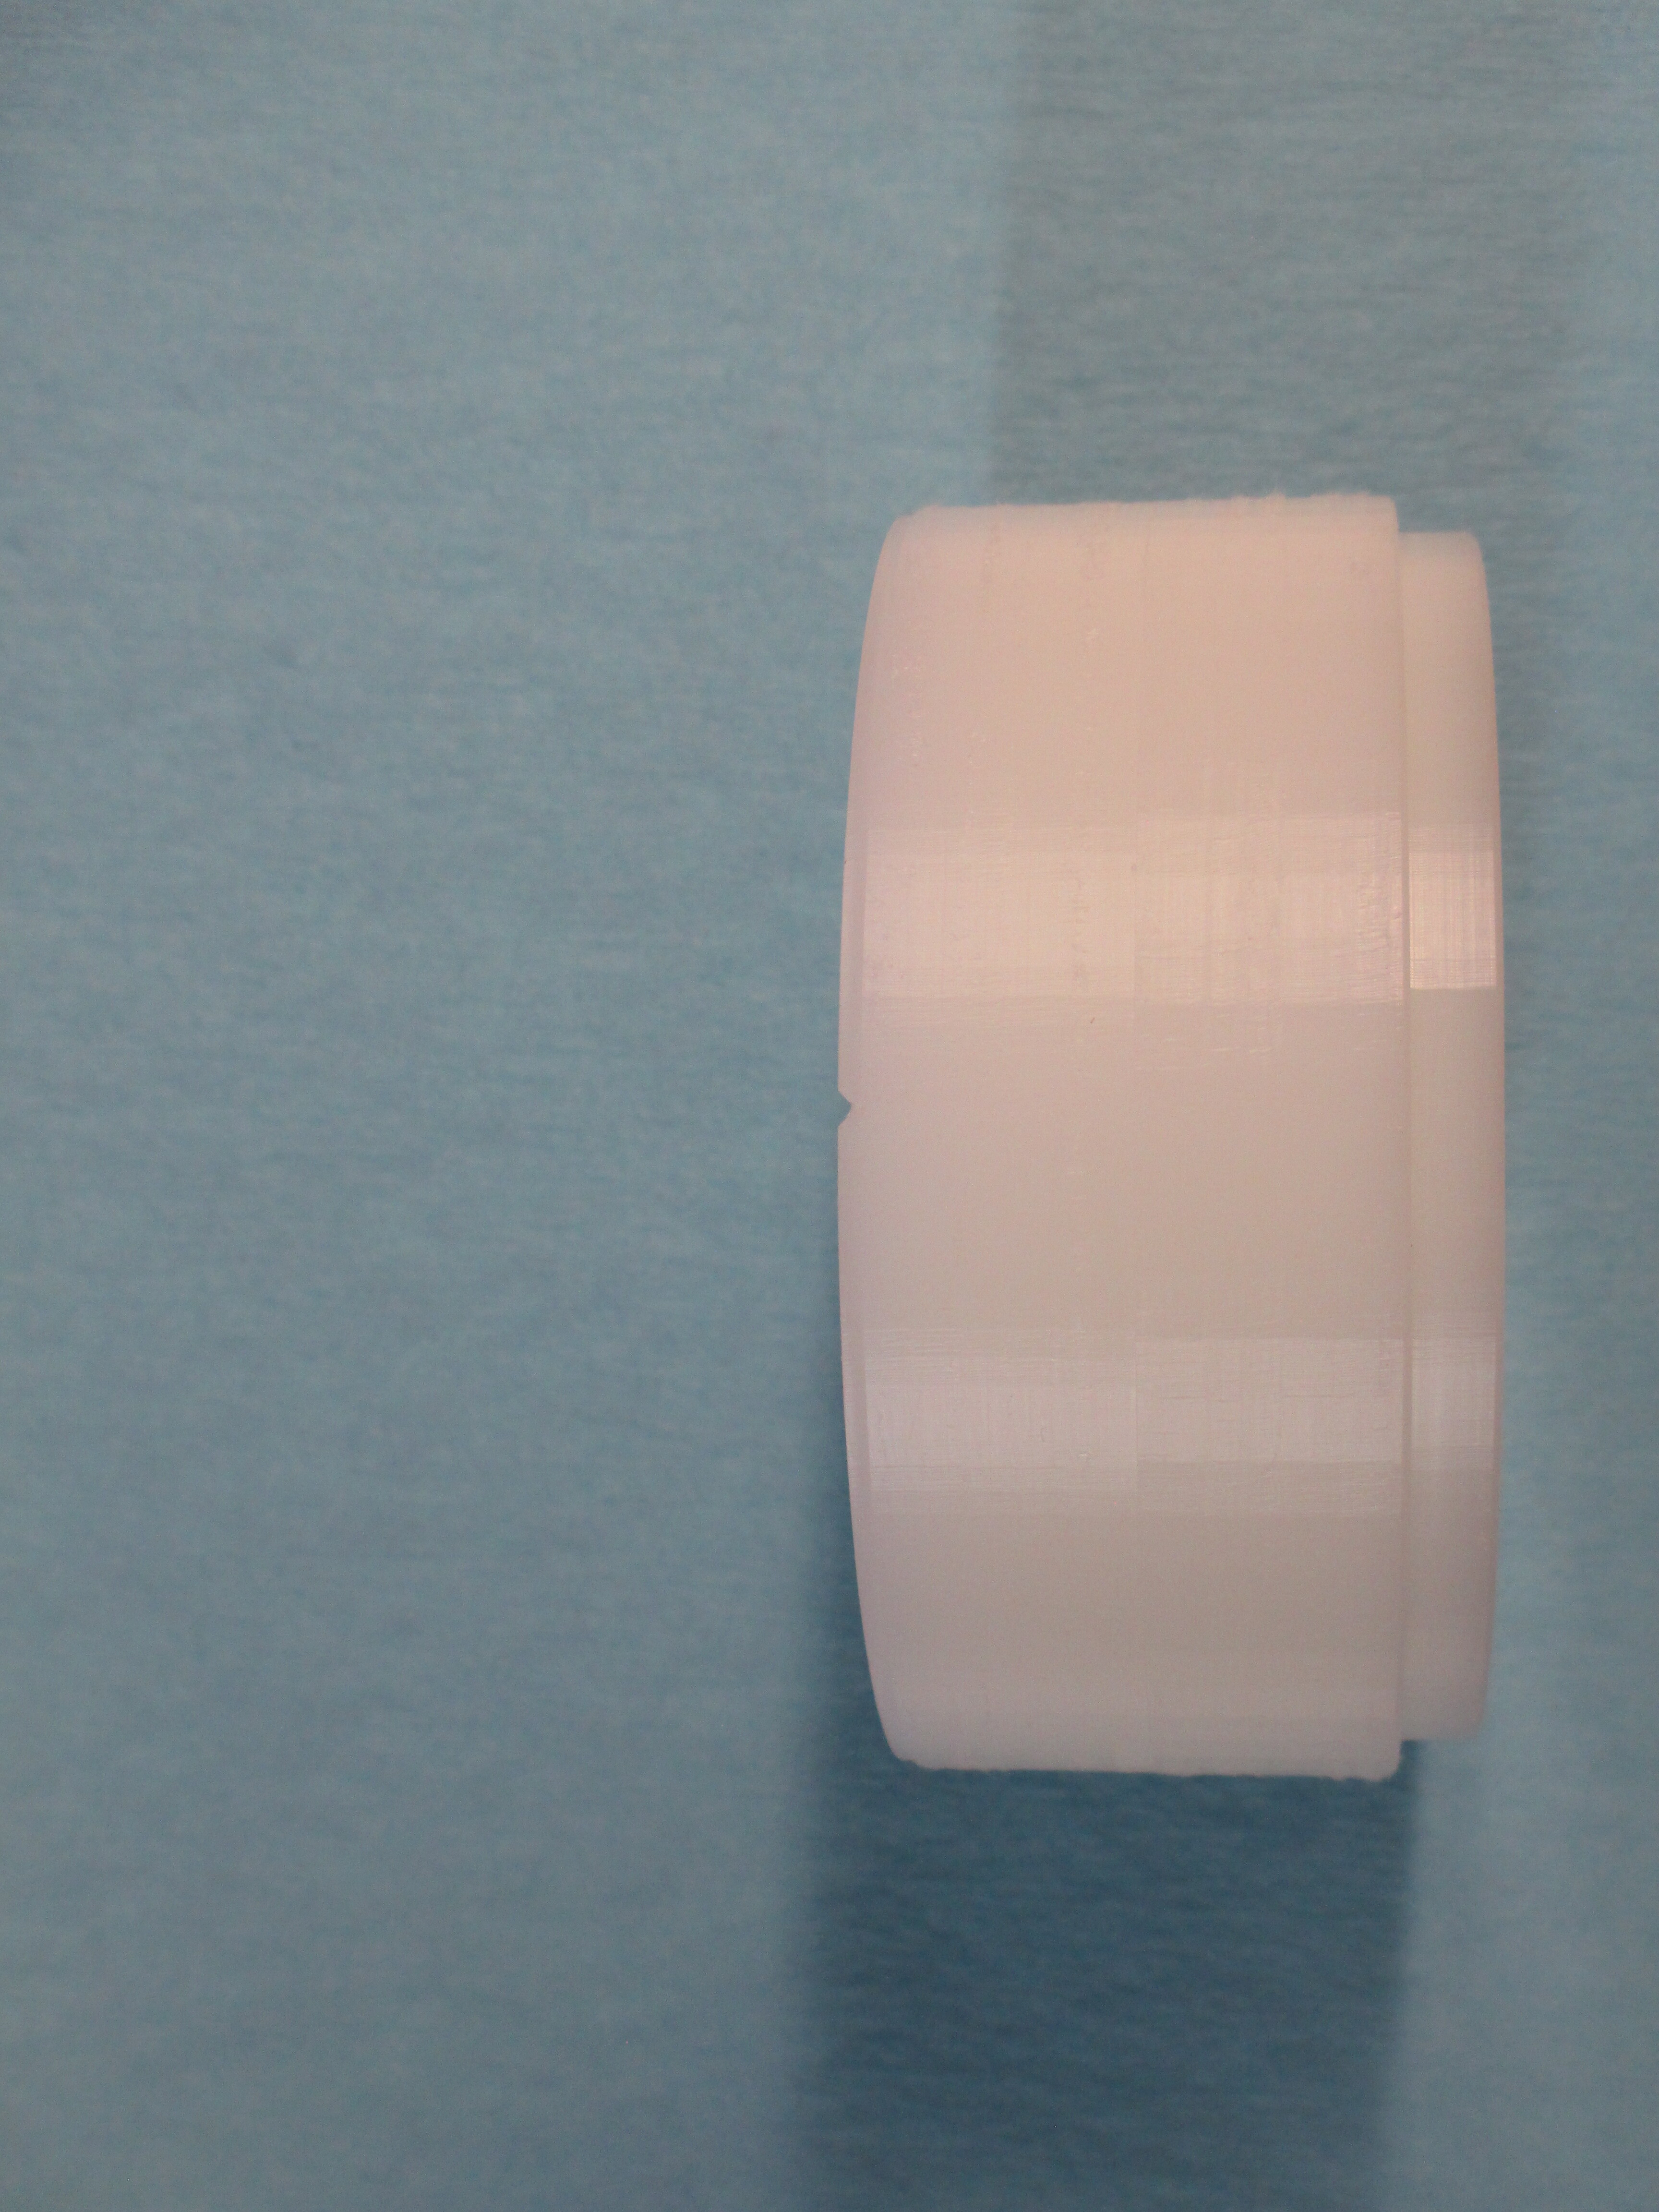
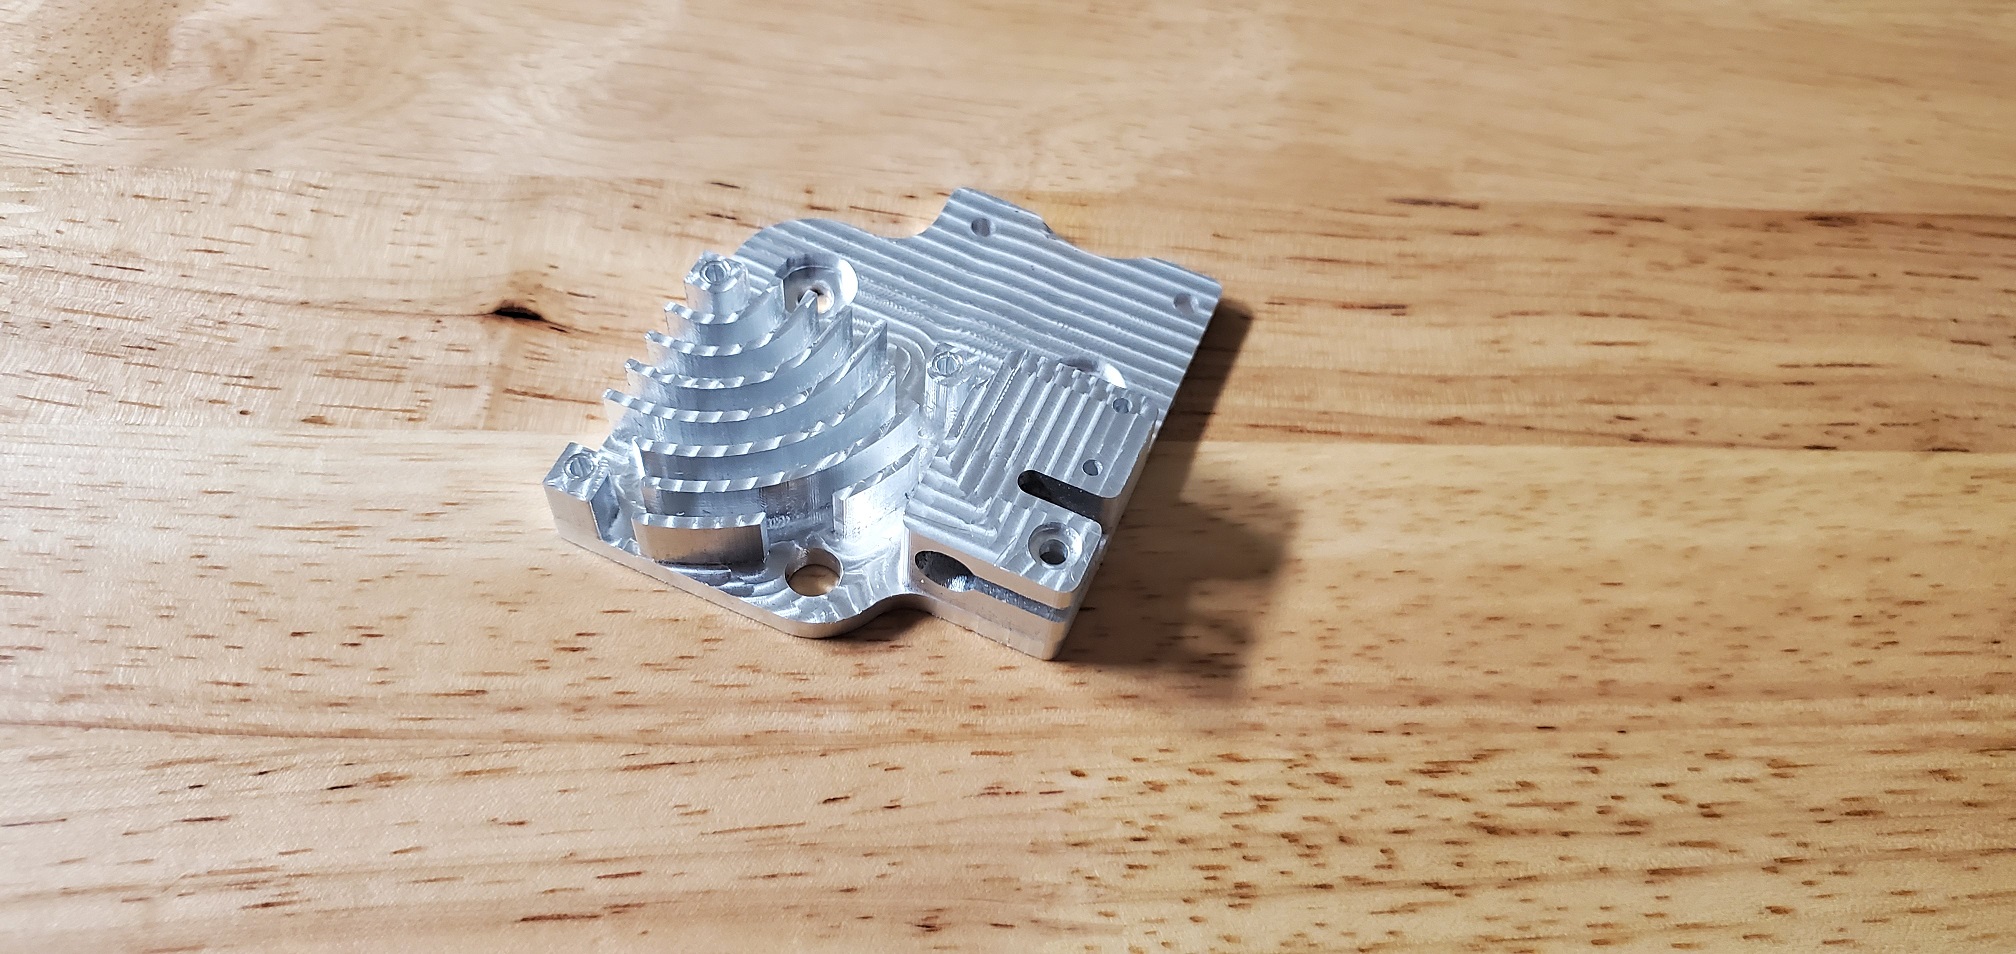
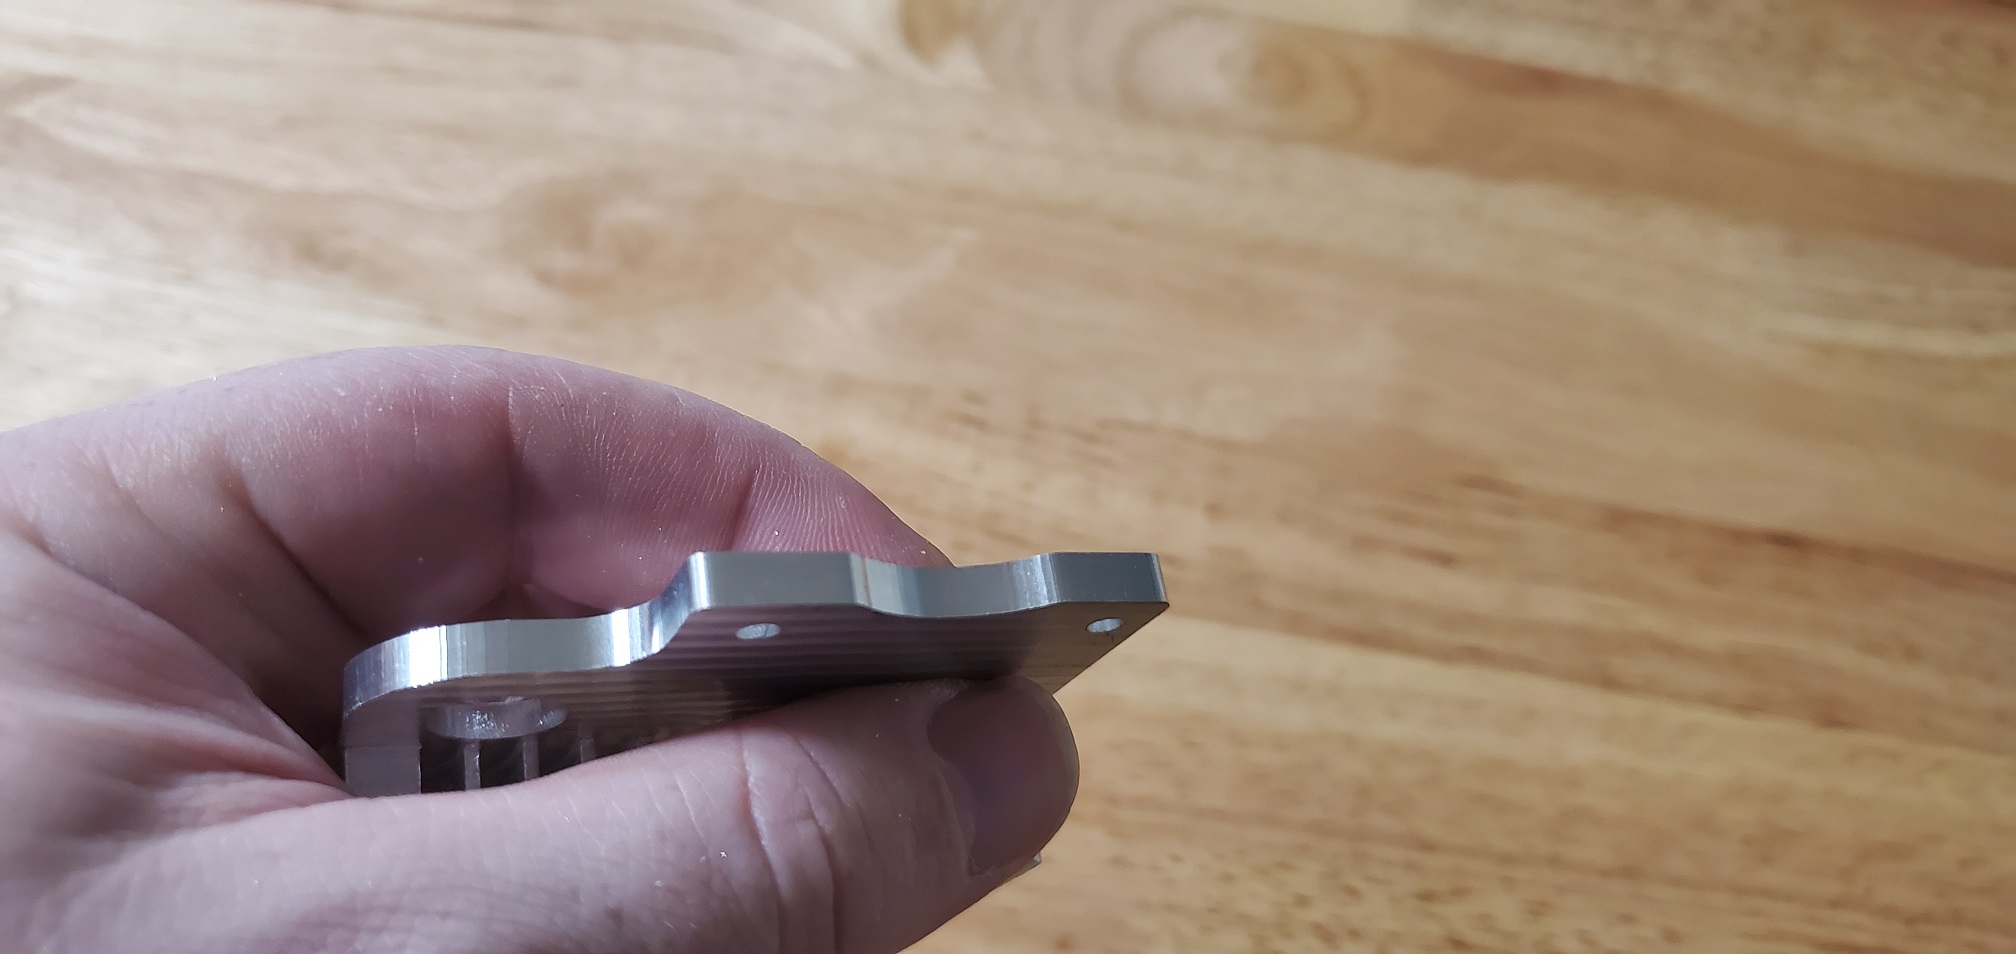
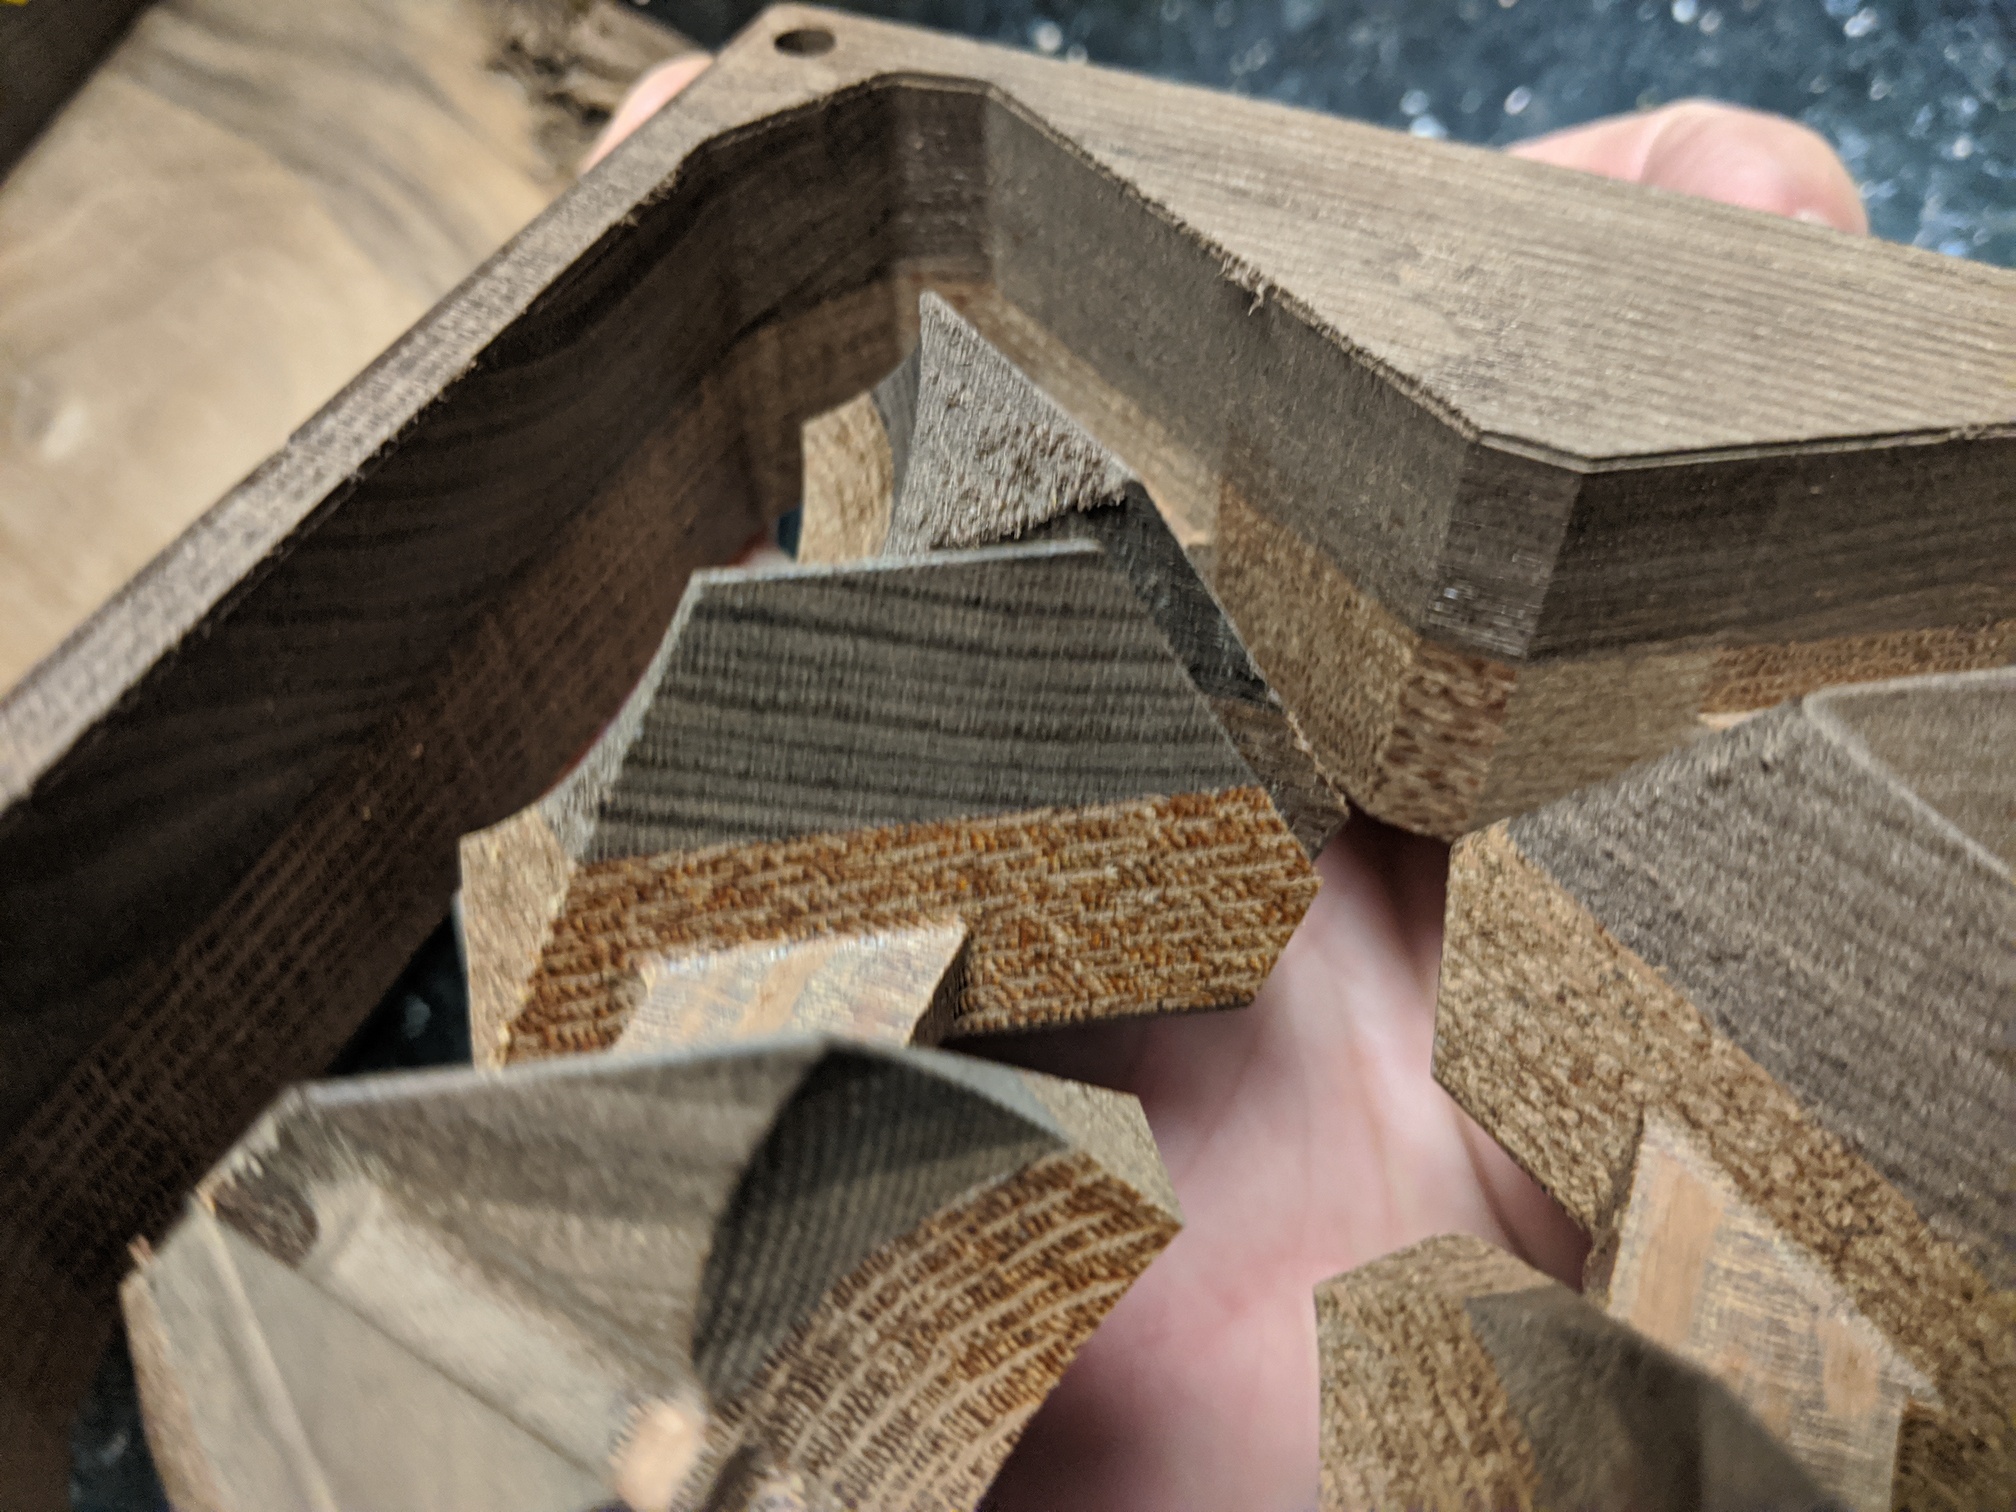
After all the machining is done I’m left with a decent finish of the parts, but I need to cut off the supports and sand them down.
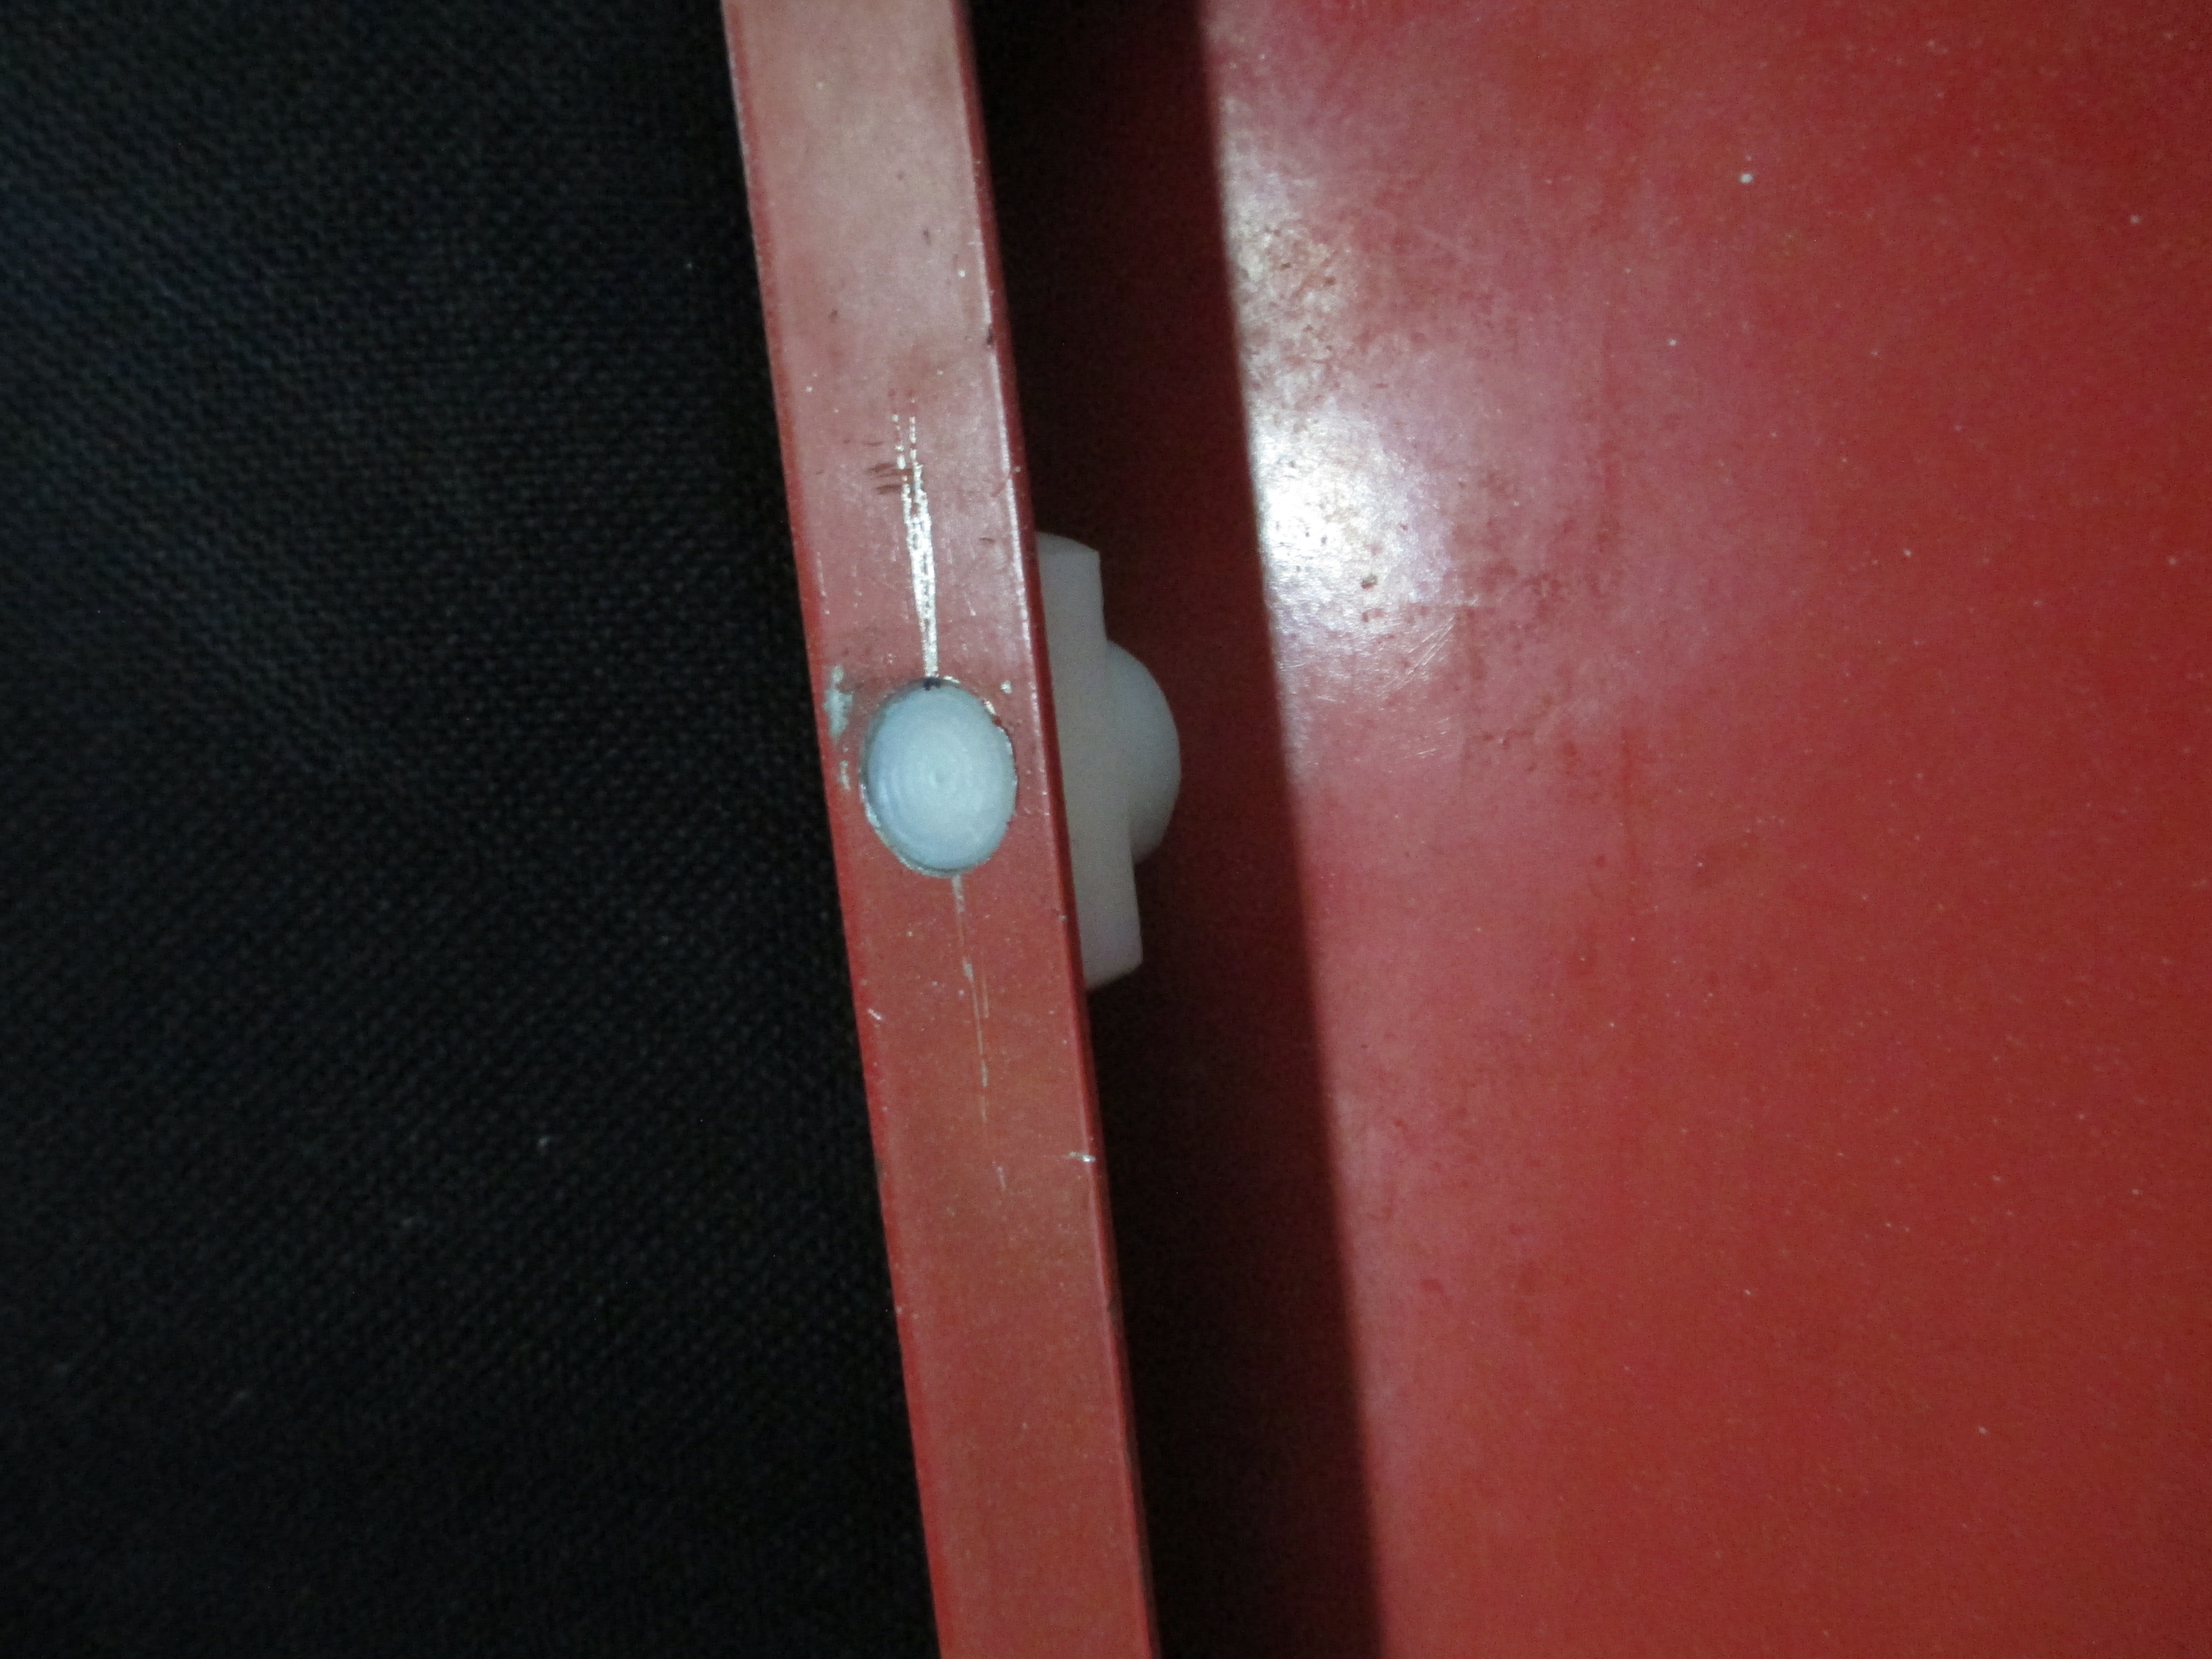
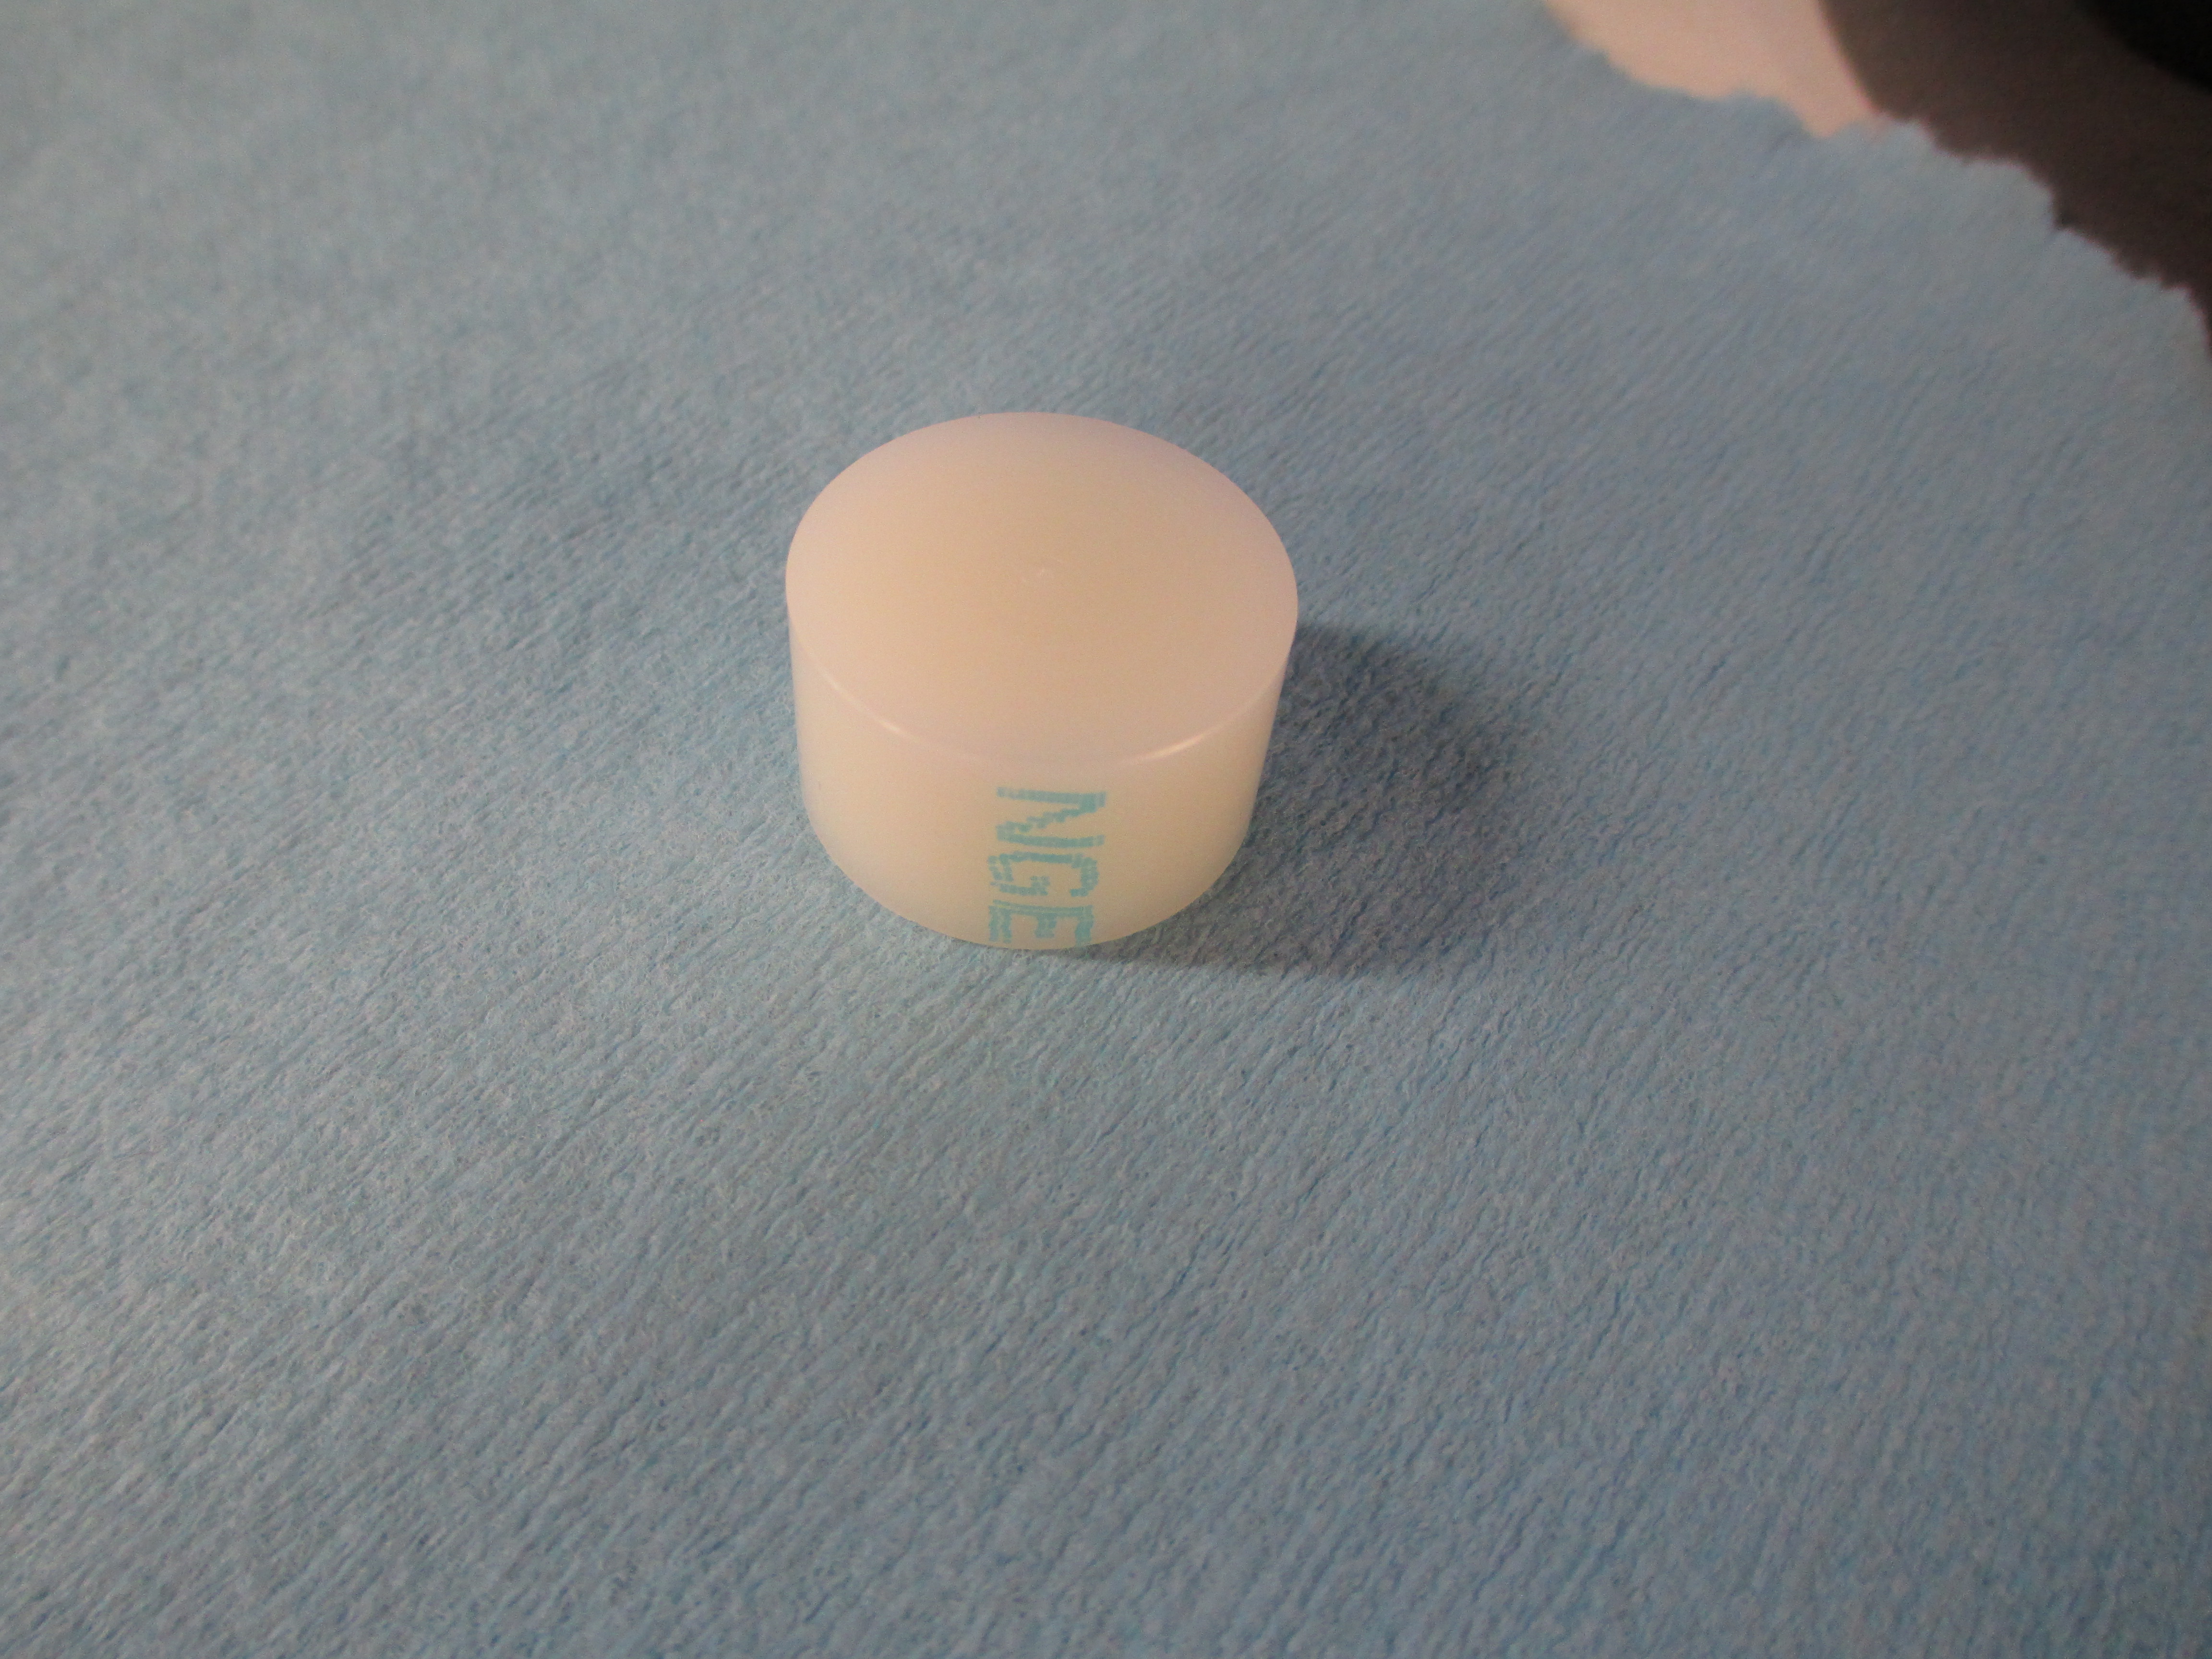
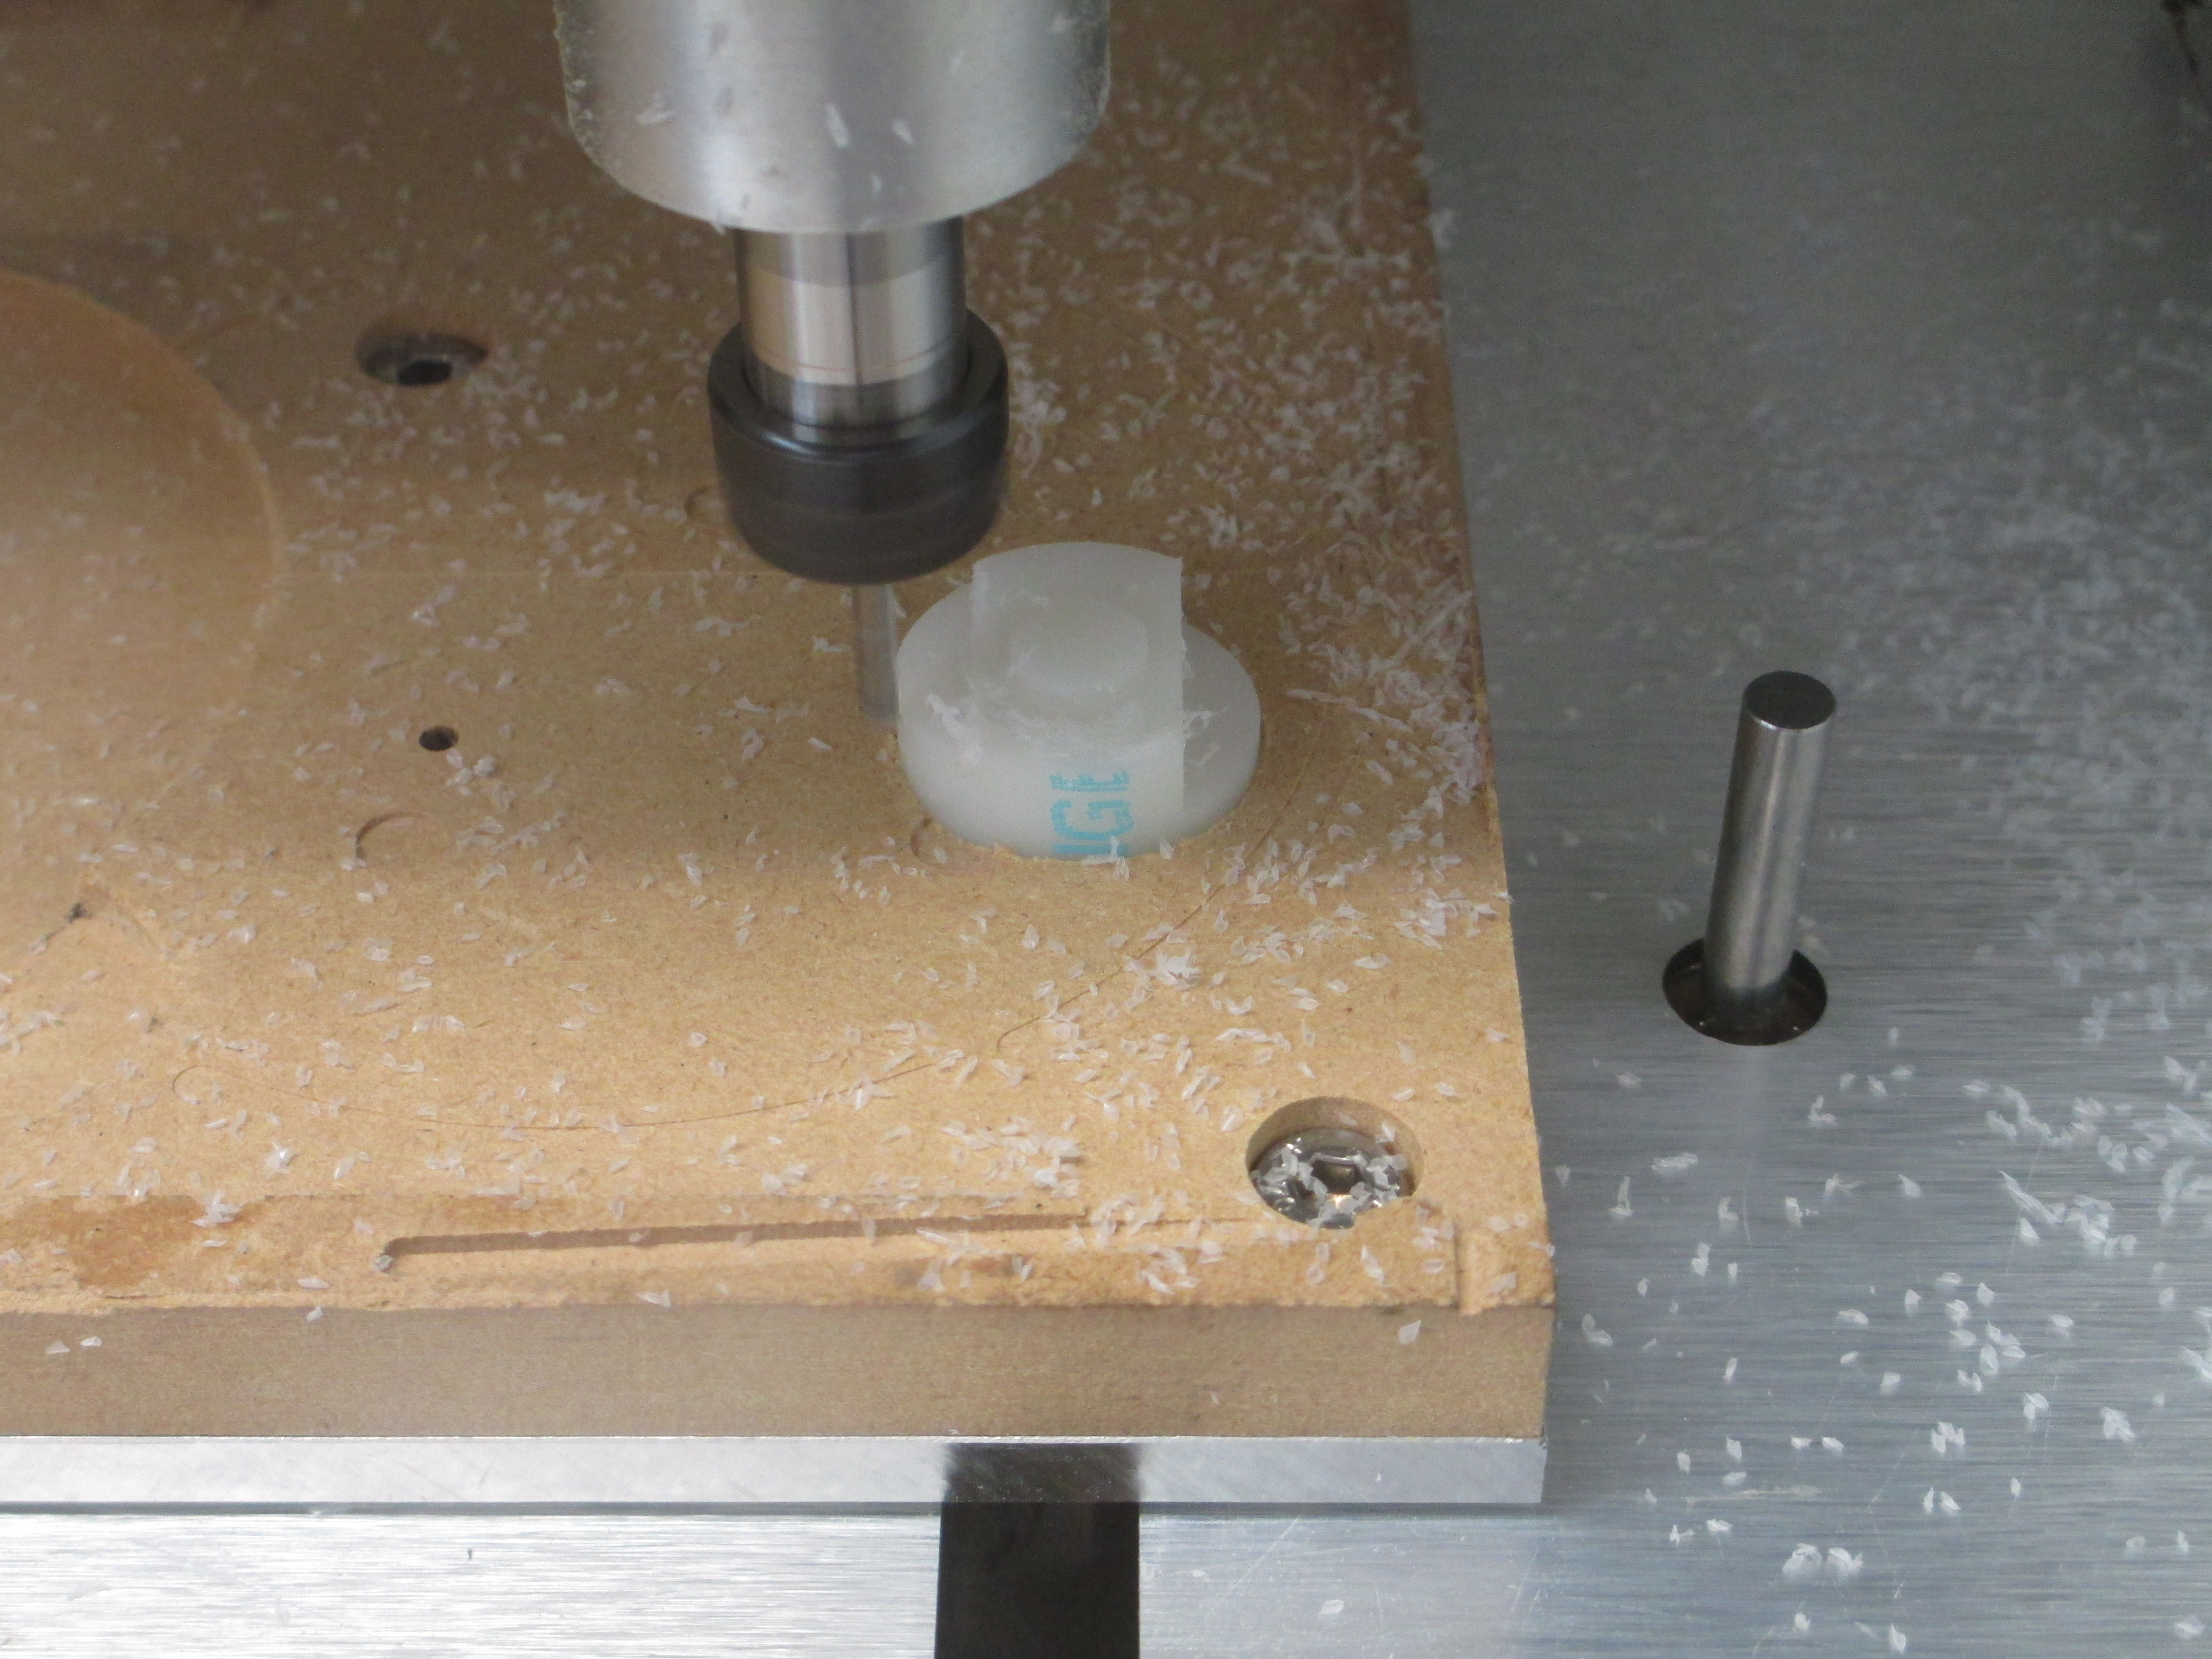
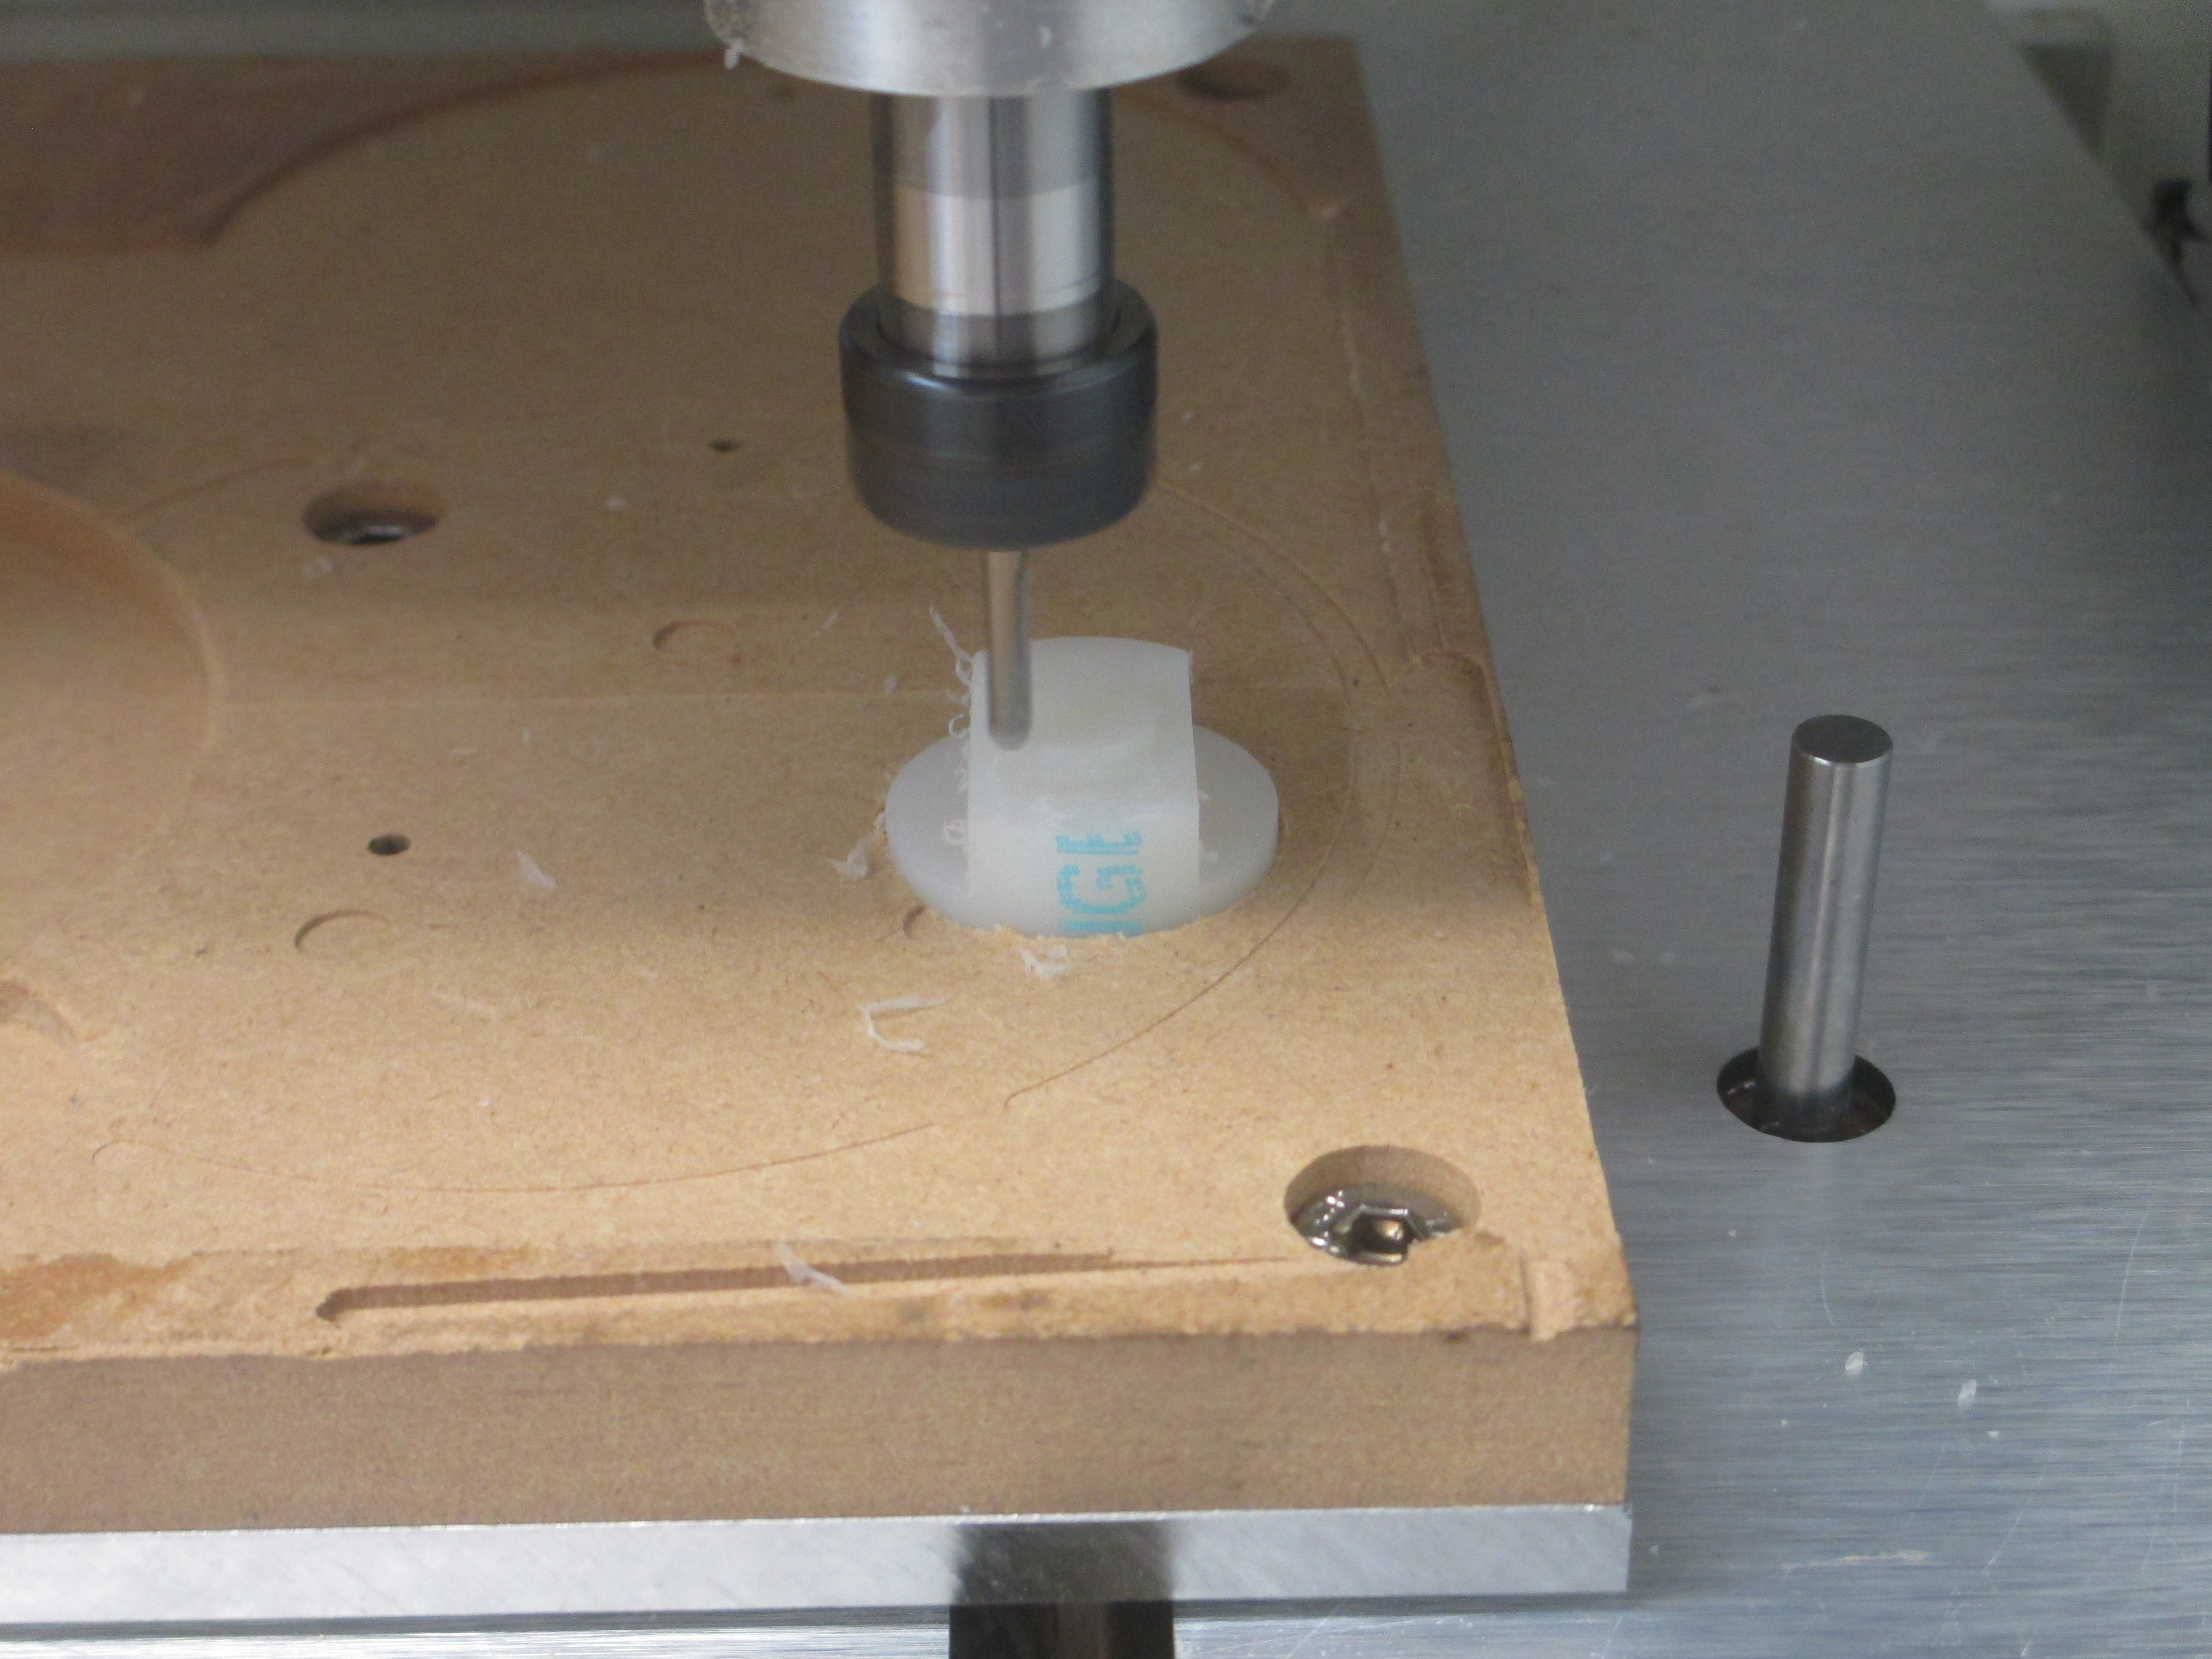
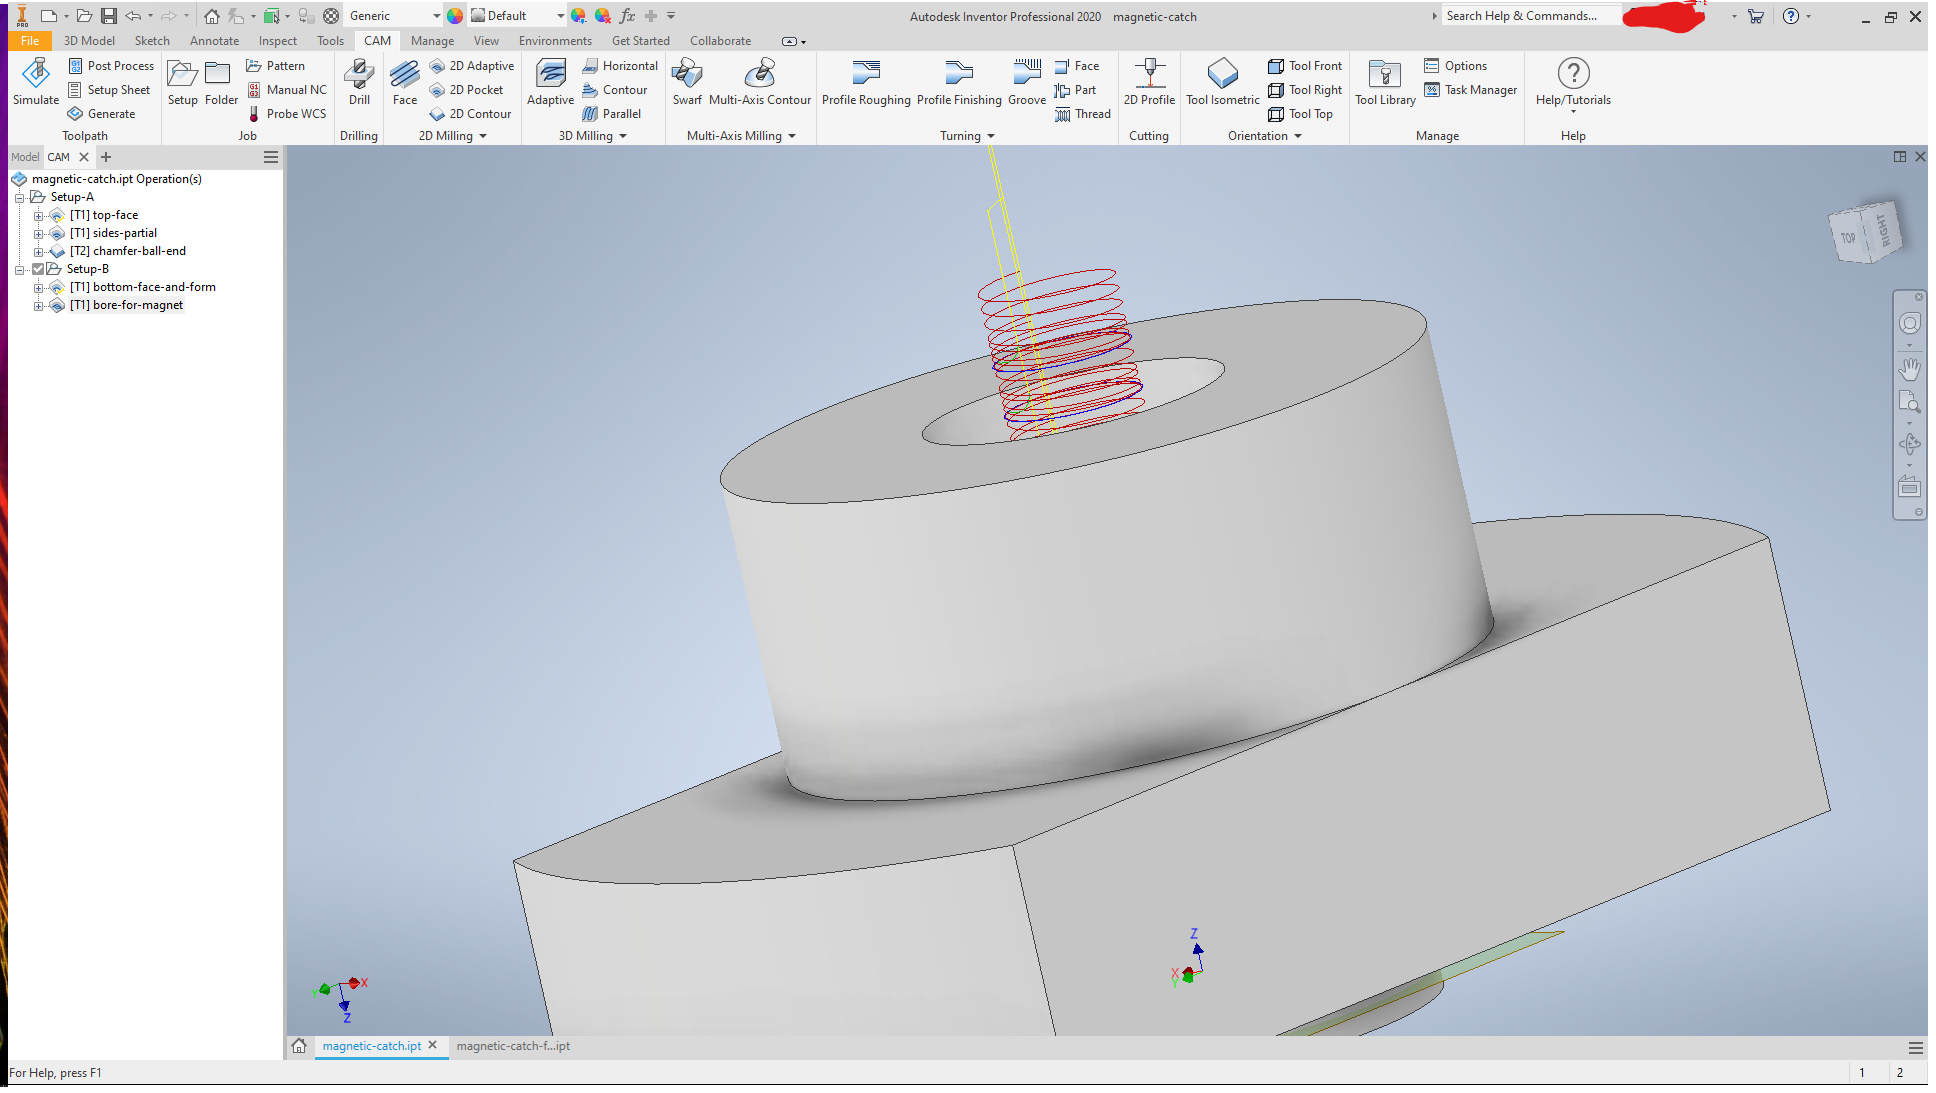
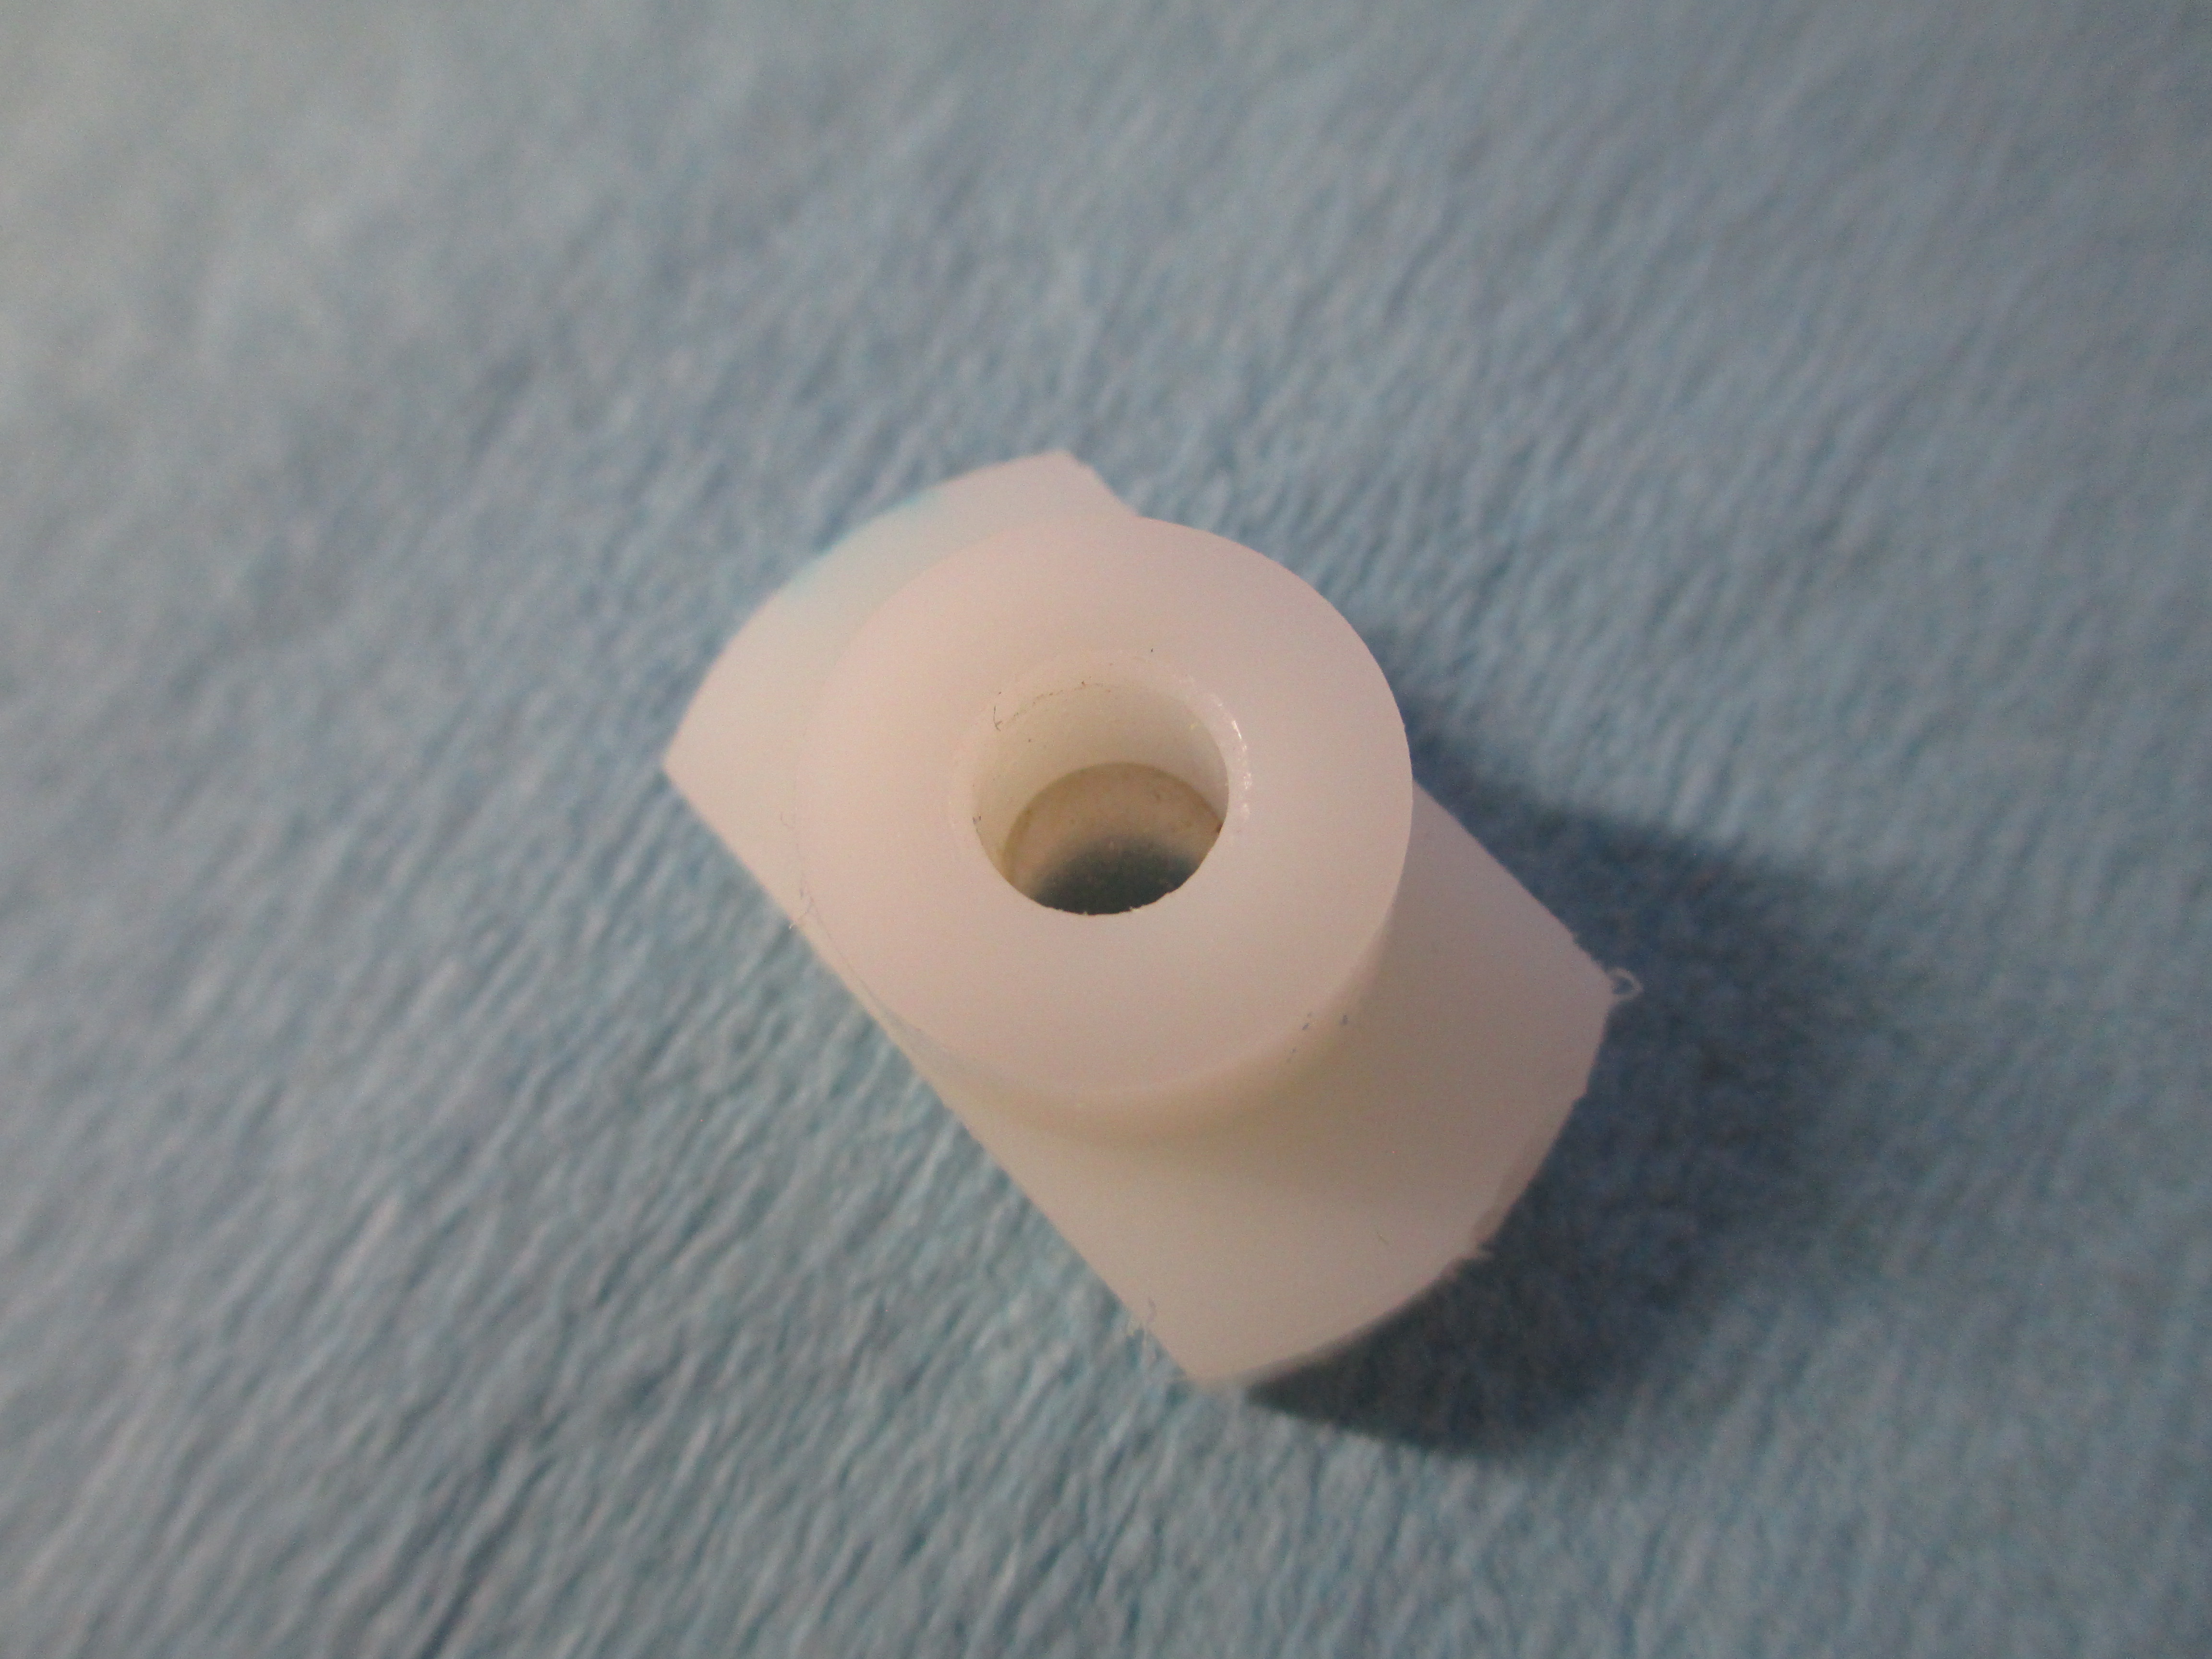
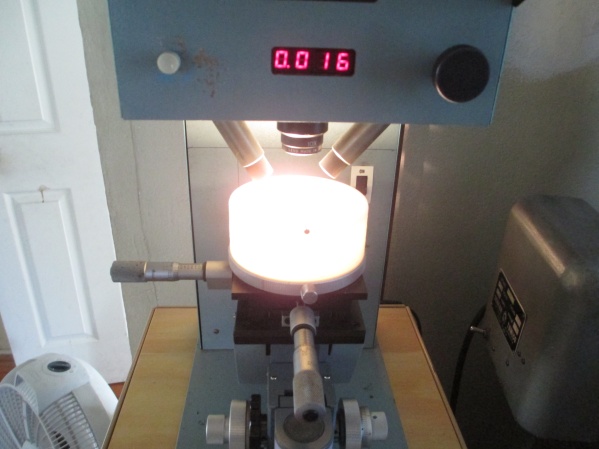
Then I need to cut a better hole for the magnet to attach to the center shpere:

I had to 3d print a jig to help me get the exact angle correct on that.
Then I machine the triangle tips which is also from the stl bundle, and then glue magnets and the tips to the body of the different wings, or insert the 3d printed part into the channel, add finish and boom ghost done:
STL file I started with: https://www.thingiverse.com/thing:747305
Fusion file link: https://a360.co/2SQ3A47
Realizing after looking things over, I could likely remove the supports and just have the model be flush with the bottom, which would save me some time.
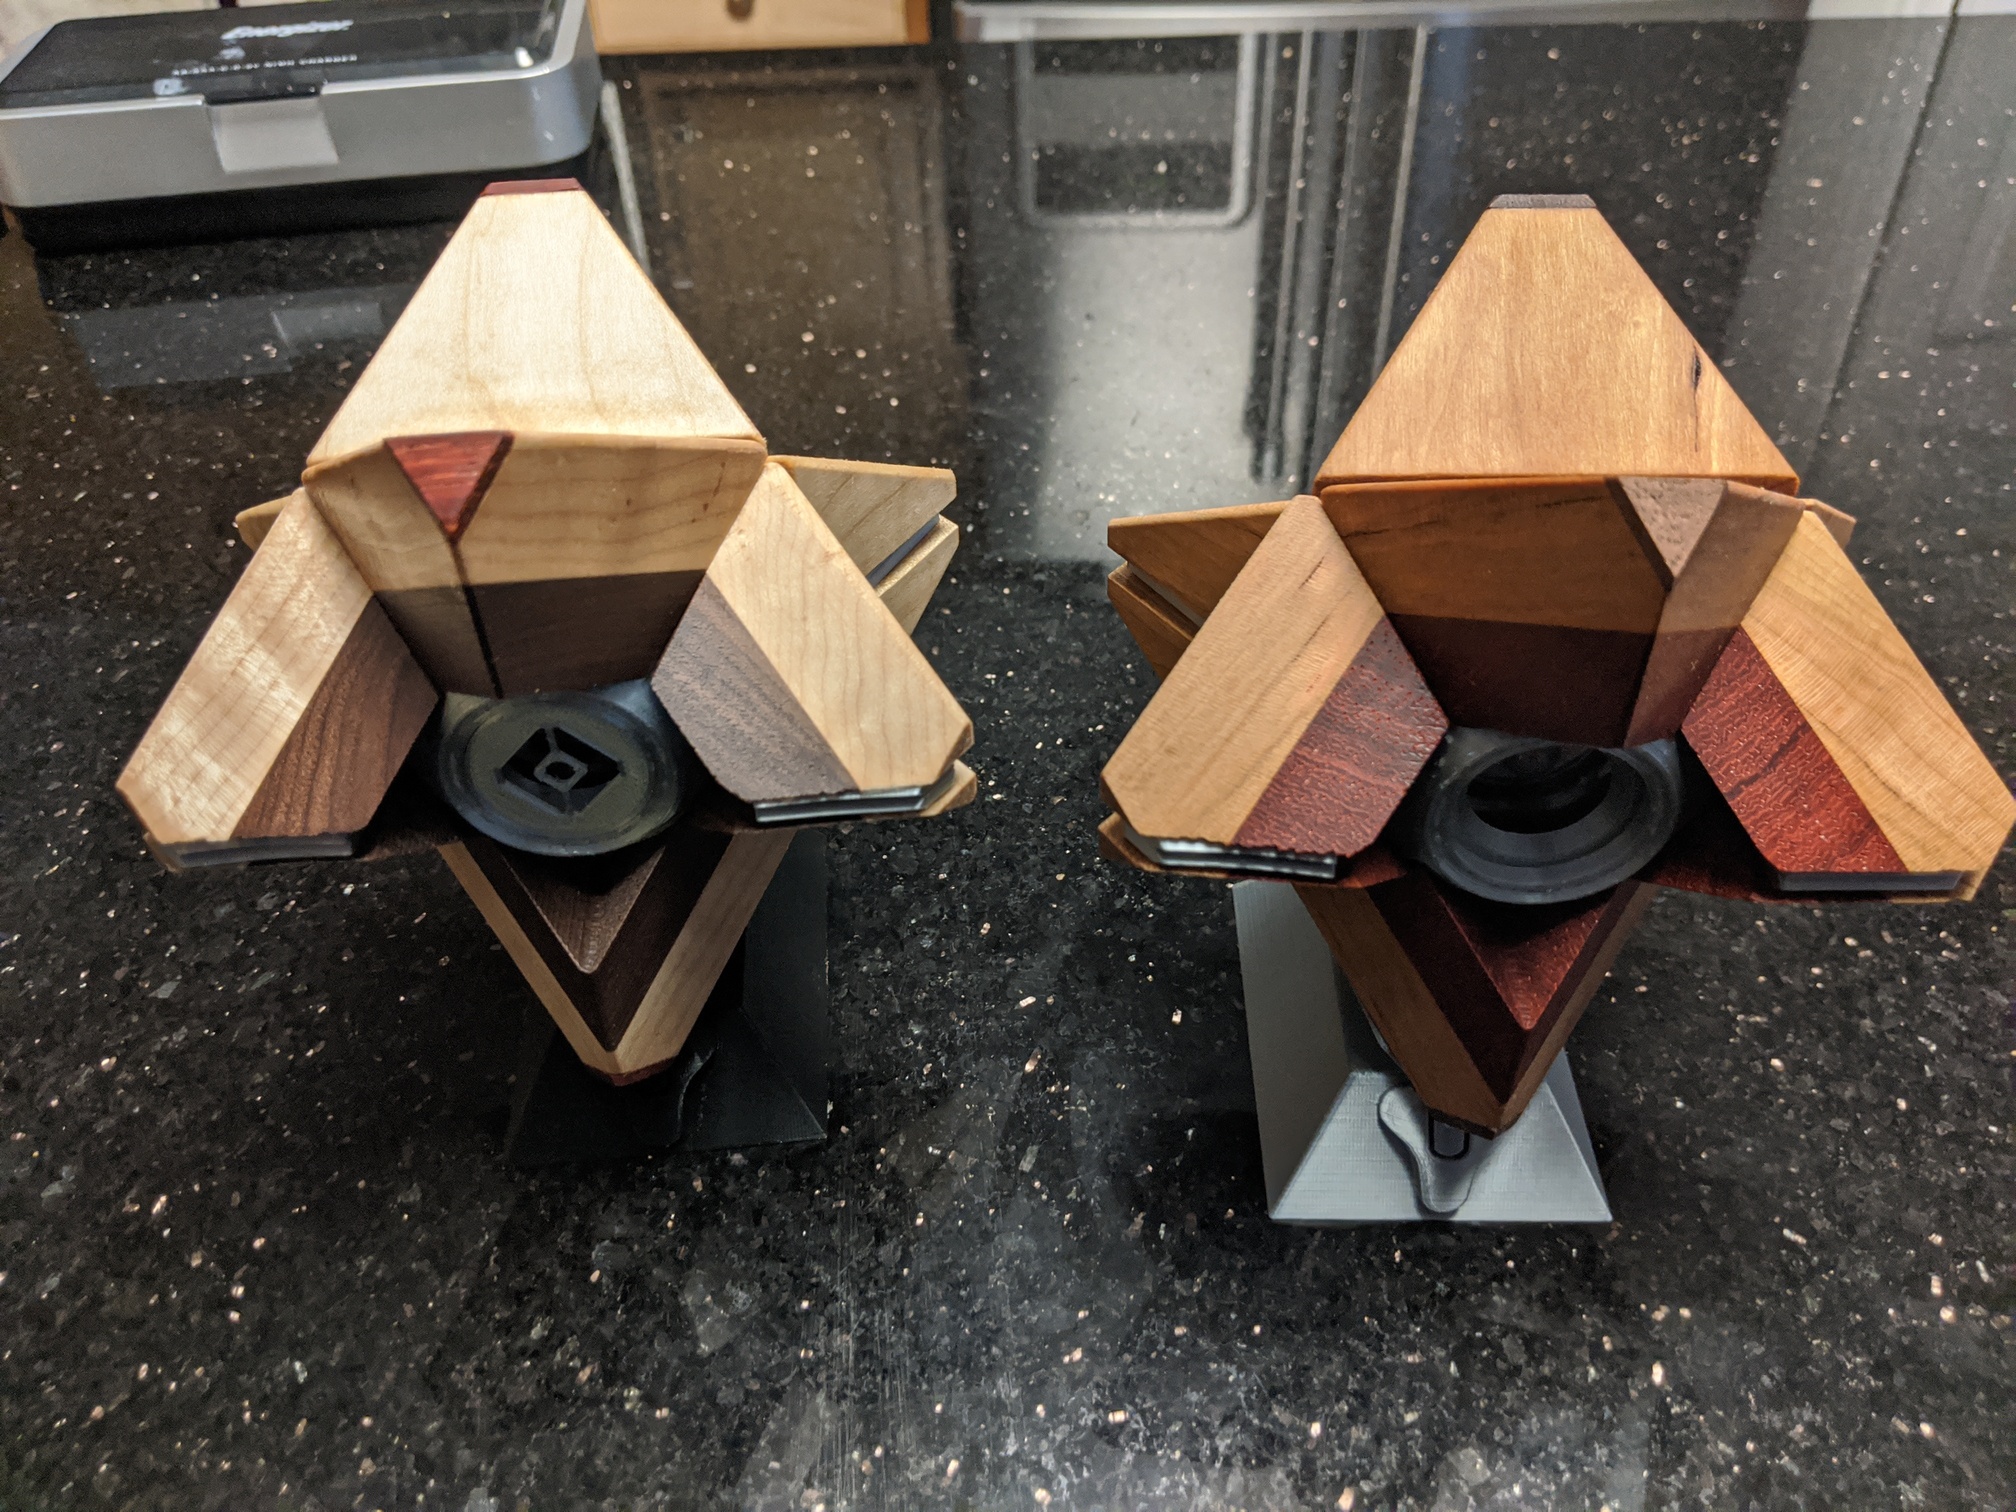
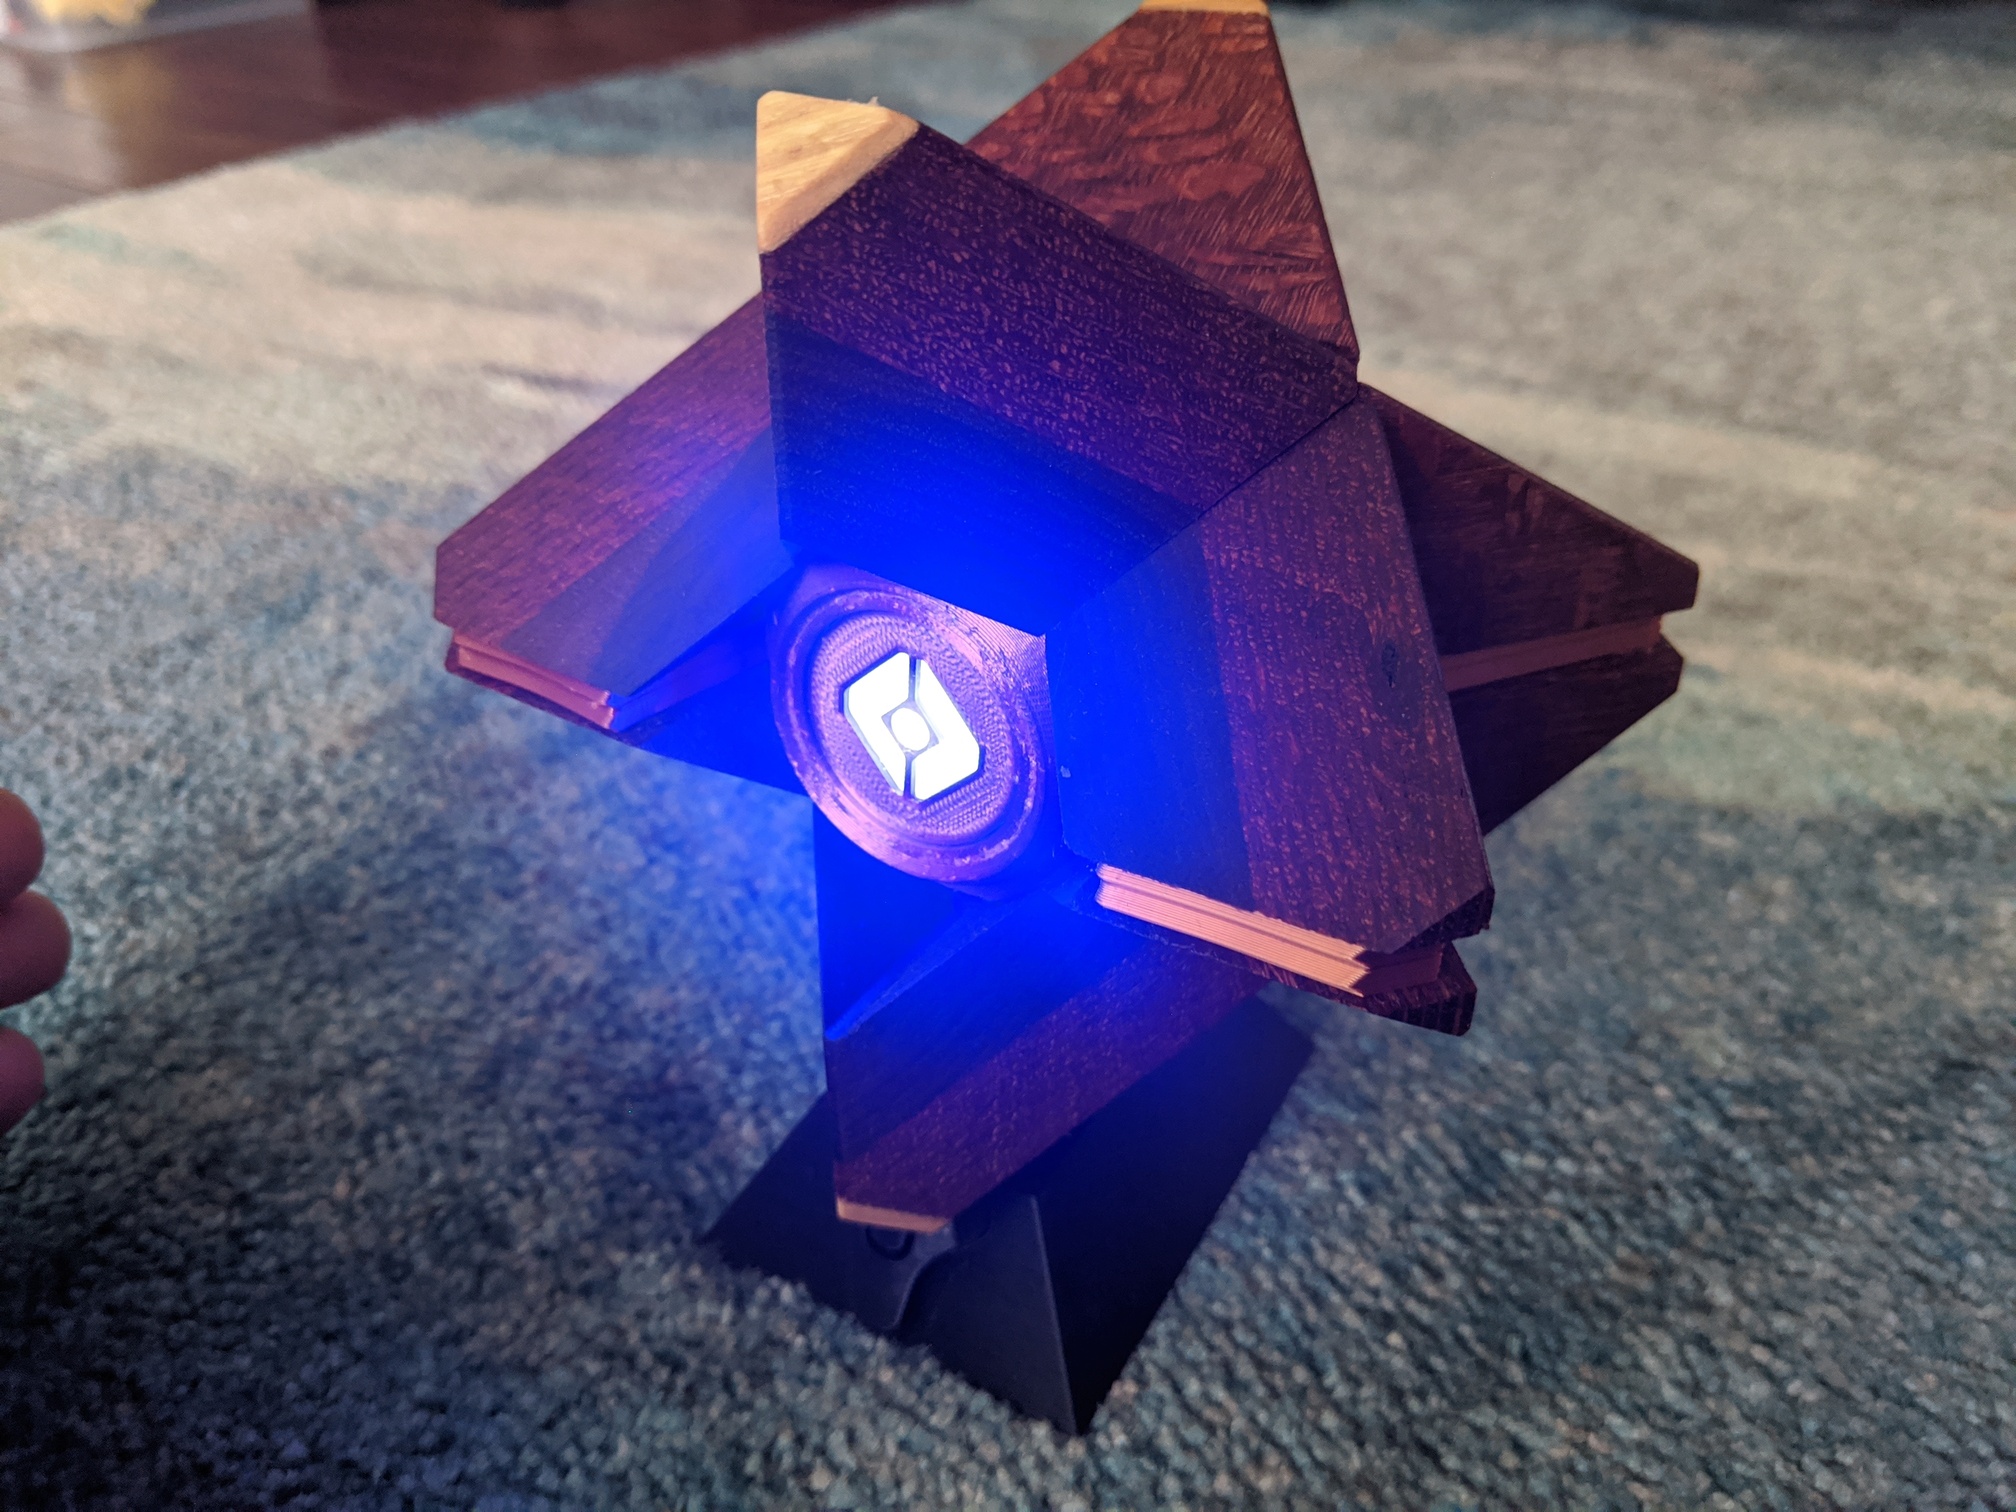
Edit: Here are 2 that I finished last night.


 . Best of luck to everyone and its awesome to see the entries already coming in!