Nice fusion of vcarve and resin inlay. I had good success for sanding using a spindle mounted, foam cushioned with Velcro mount for 2” sanding discs. Zero like normal (paper slip method) the set a ‘cut depth’ of about 1mm which compresses the foam and ensures good contact. Choose an appropriate tool path to steer the sanding and run-re-run it with successively finer grades. I then used a buffing pad with a polishing super-fine grit using the same setup
3 Likes
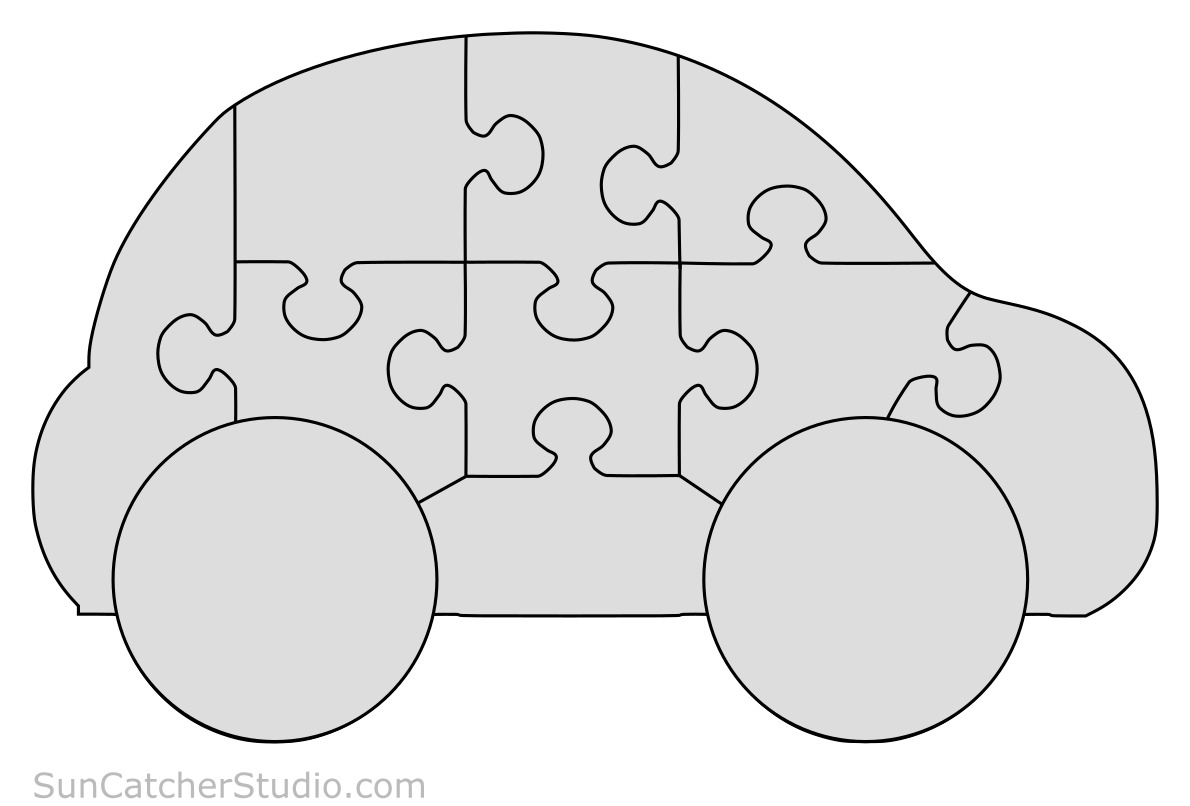
This project started with a free SVG file from Suncatcherstudio.com of a simple jigsaw puzzle before the addition of Bit Mapping to Carbide Create,
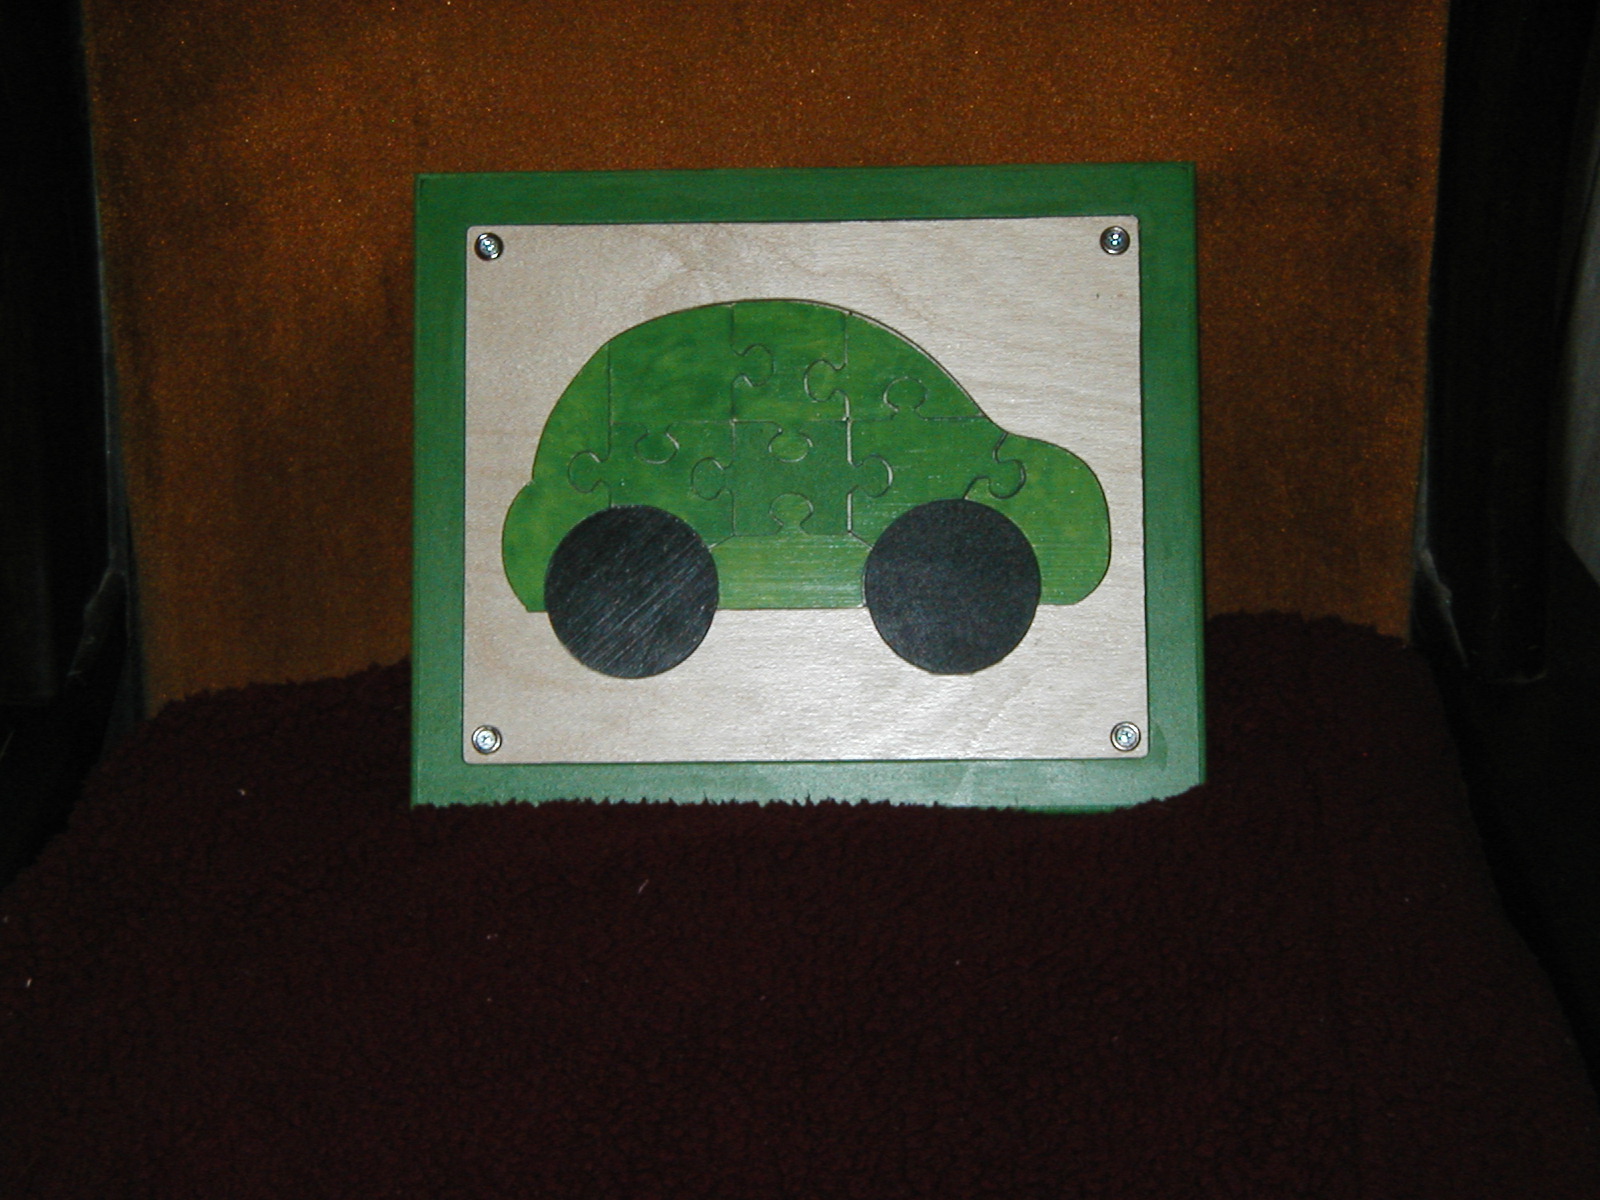
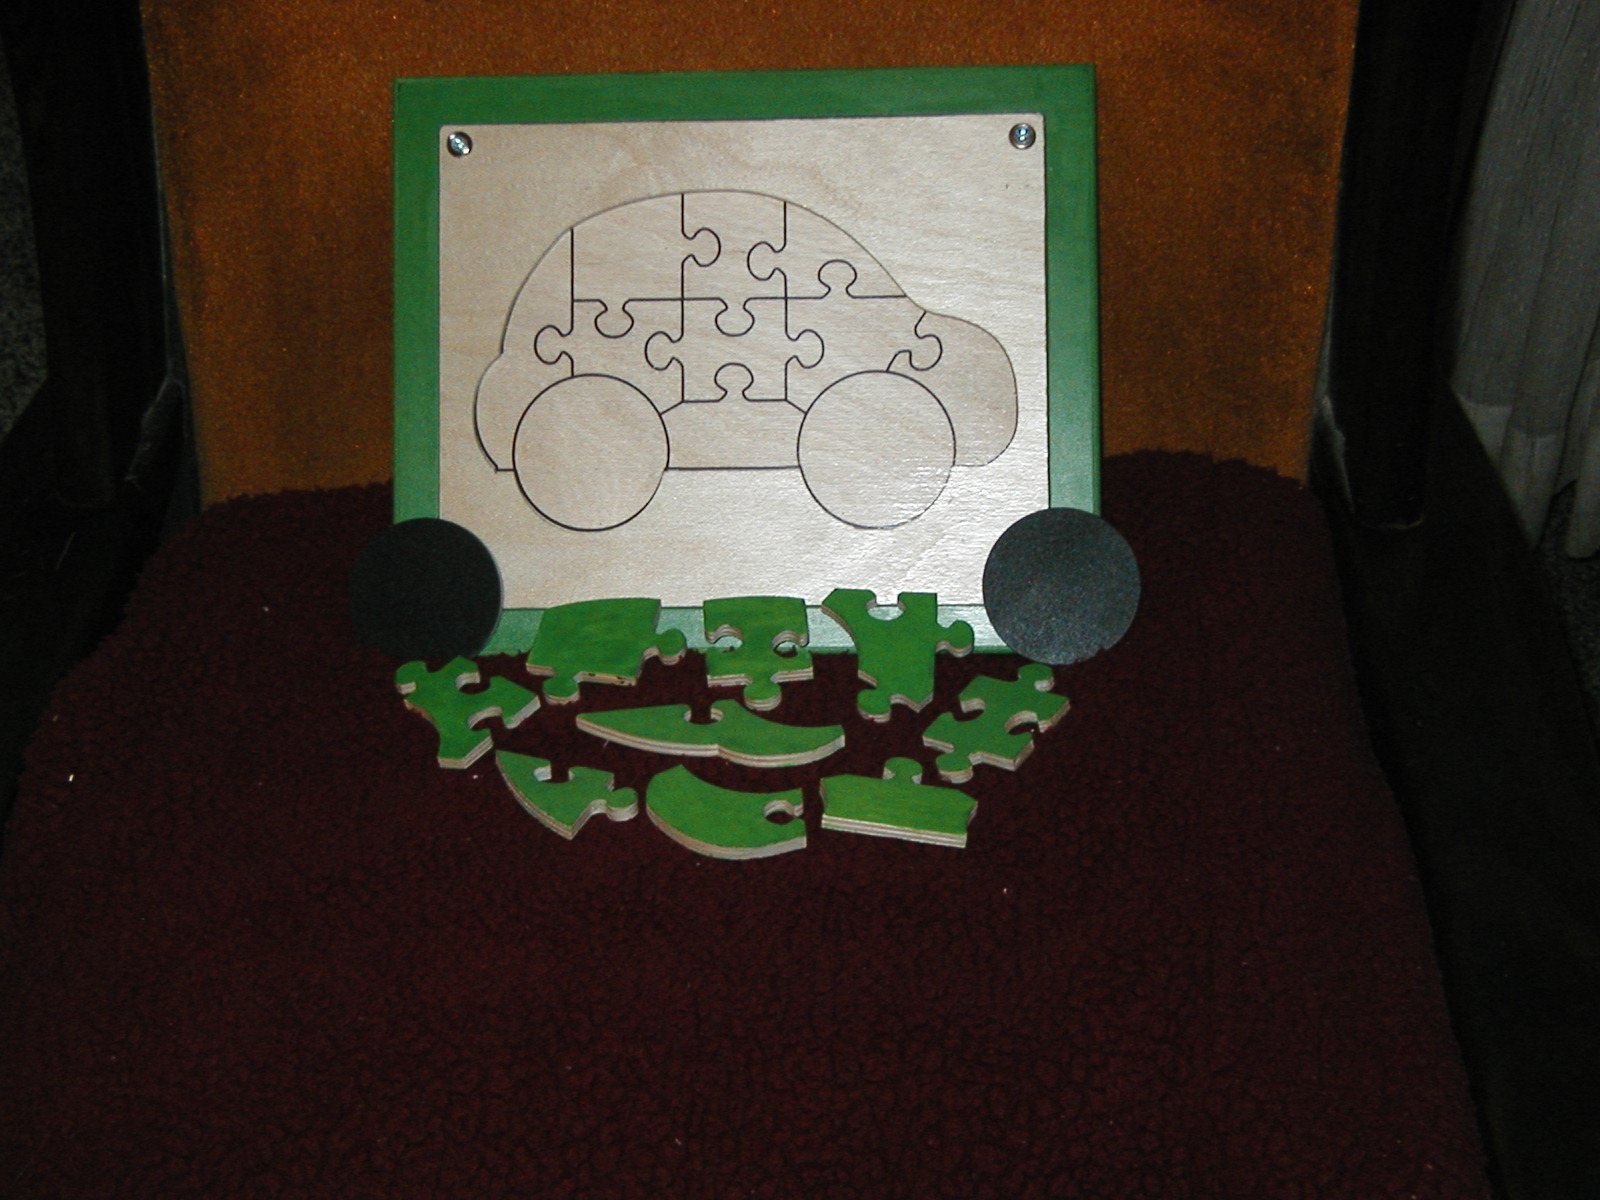
The puzzle consists of four parts
Frame - 3/4” MDF with a pocket for the remaining parts
Base – 1/4” Baltic Birch plywood with outline of puzzle and parts drawn with a Sharpie in a plotter fixture for the Shapeoko
Inlay – 1/4” Baltic Birch plywood with an opening sized to accept the parts
Parts – 1/4” Baltic Birch plywood
I used the SVG file format which resulted in an immediately usable outline of the puzzle and its parts. These were drawn with the Sharpie using a plotter fixture on the Shapeoko. The pattern was drawn using a contour tool path with no offset.
In addition the resulting pattern from the SVG file let me delete the vectors defining the parts leaving only the outline. This outline was used to create the opening in the inlay for the puzzle parts using a contour tool path on the inside of the line.
I converted the SVG to a bit map file and used the trace function in Carbide Create. It separated out each piece of the puzzle which allowed the parts to be cut out using a contour tool path on the outside of the line.
One of the other issues I had to contend with was using the Sharpie. The ink bled into the Baltic Birch plywood and also reacts with finishes that contain solvents. The solution was to apply two thin coats of shellac to the base before drawing the outline of the puzzle. Then a top coat of MinWax water based polycrylic over the acrylic paint and Sharpie drawing.
The pieces were cut to size on a tablesaw and a roundover bit in a router table was used to soften the edges of the frame. All other milling was done on the Shapeoko.
The lesson was even for a simple project like this it took a mixture of tools to get the desired result. Vectors from the bit map tracing tool, vectors from the SVG file, a plotter fixture for the Shapeoko and a tablesaw to efficiently cut the various pieces to a uniform dimension.
Car Parts Outline 1.3x.c2d (112.8 KB)
Car Inlay 2.3x.c2d (26.9 KB)
Car Parts 2.3x.c2d (184.6 KB)
9 Likes
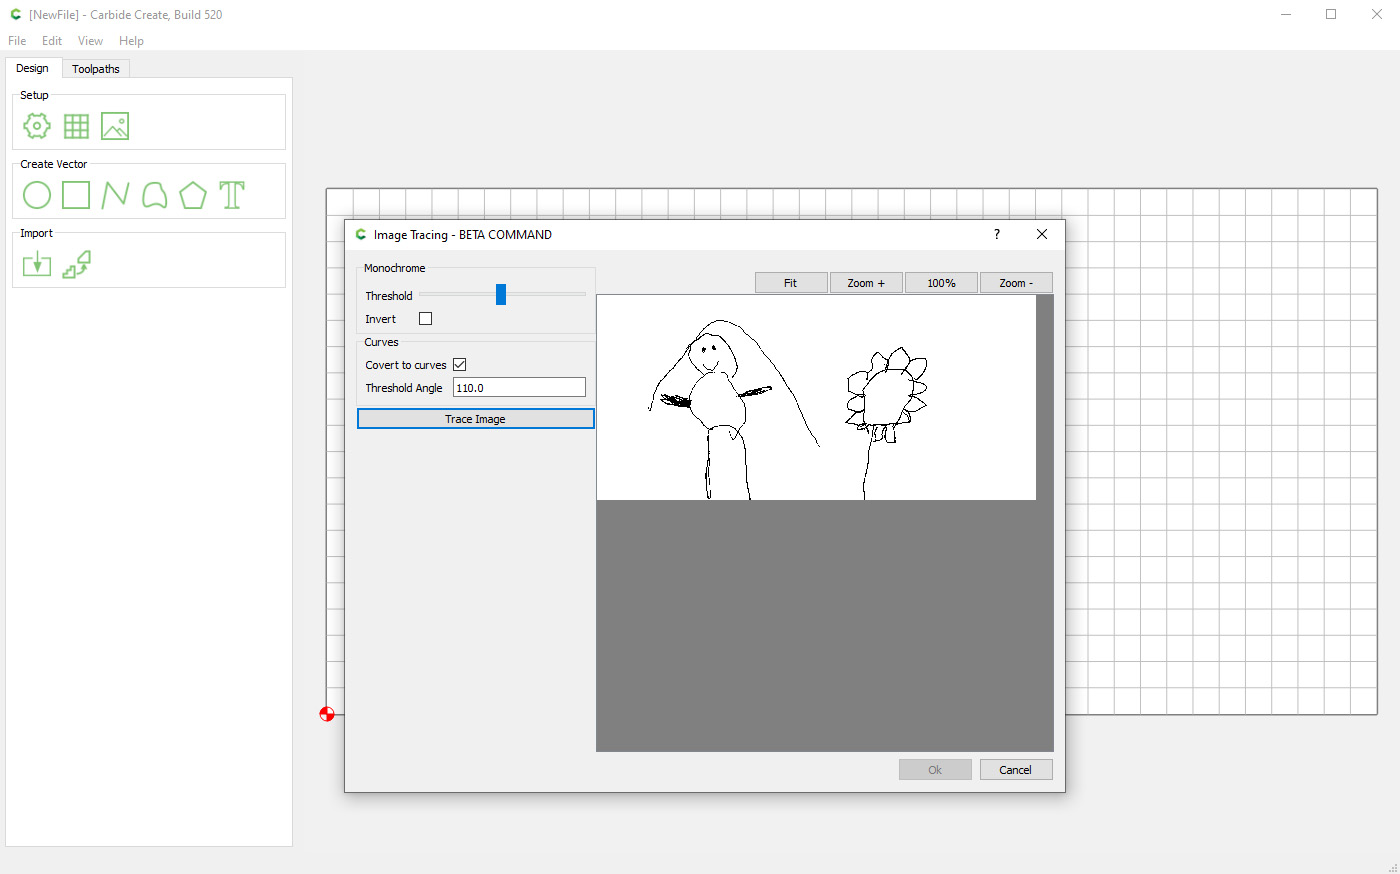
This isn’t very sophisticated, but I wanted to get my kids more interested my new CNC hobby. I made a couple of signs for their rooms using the new trace tool in Carbide Create to vector-ize their self portraits. First, I had my kids draw their own image.

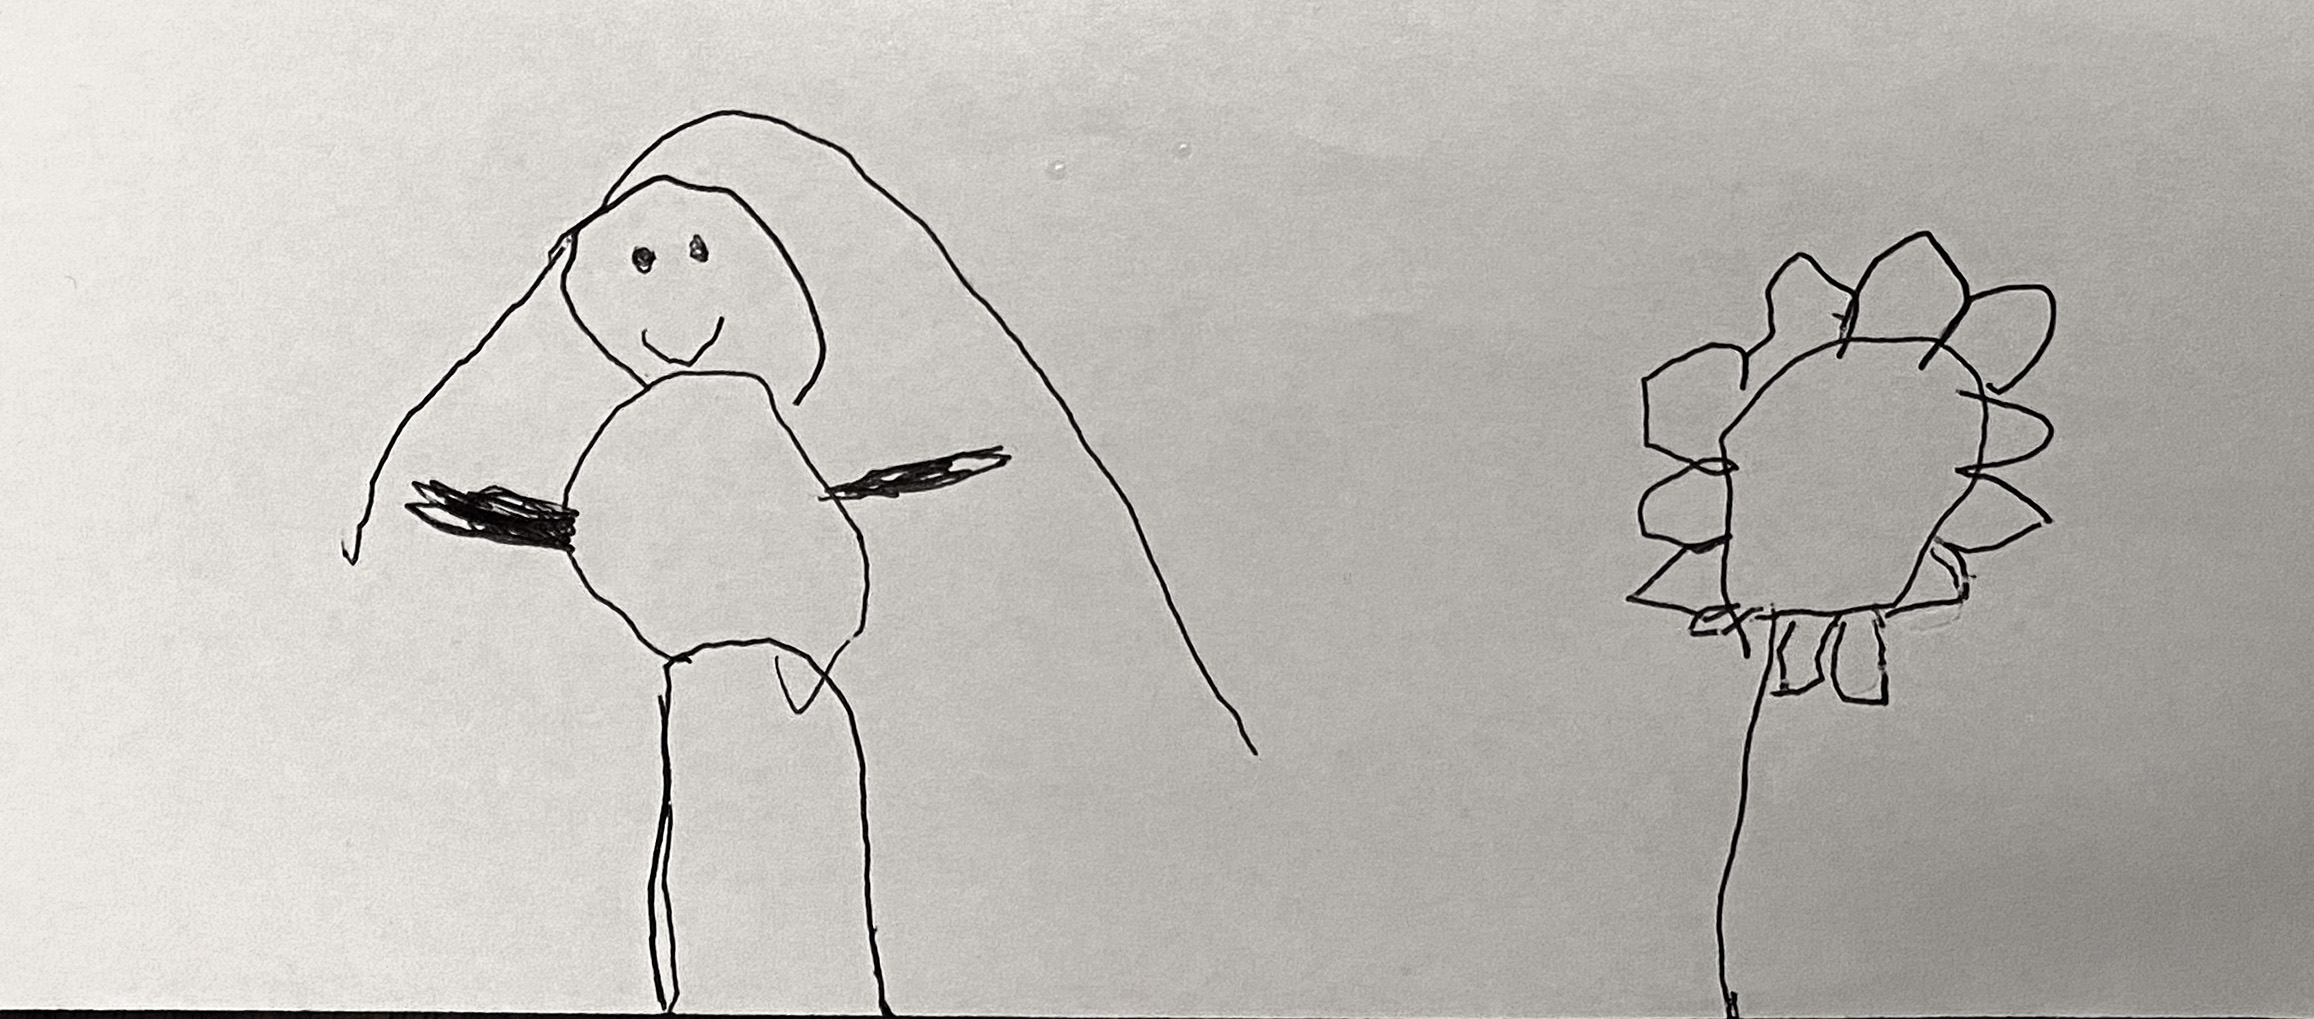
Second, I photographed those images with my phone and brought them into Photoshop to convert them to black and white images that Carbide Create could better trace. With the trace tool in Carbide Create, I converted the raster images into vector:
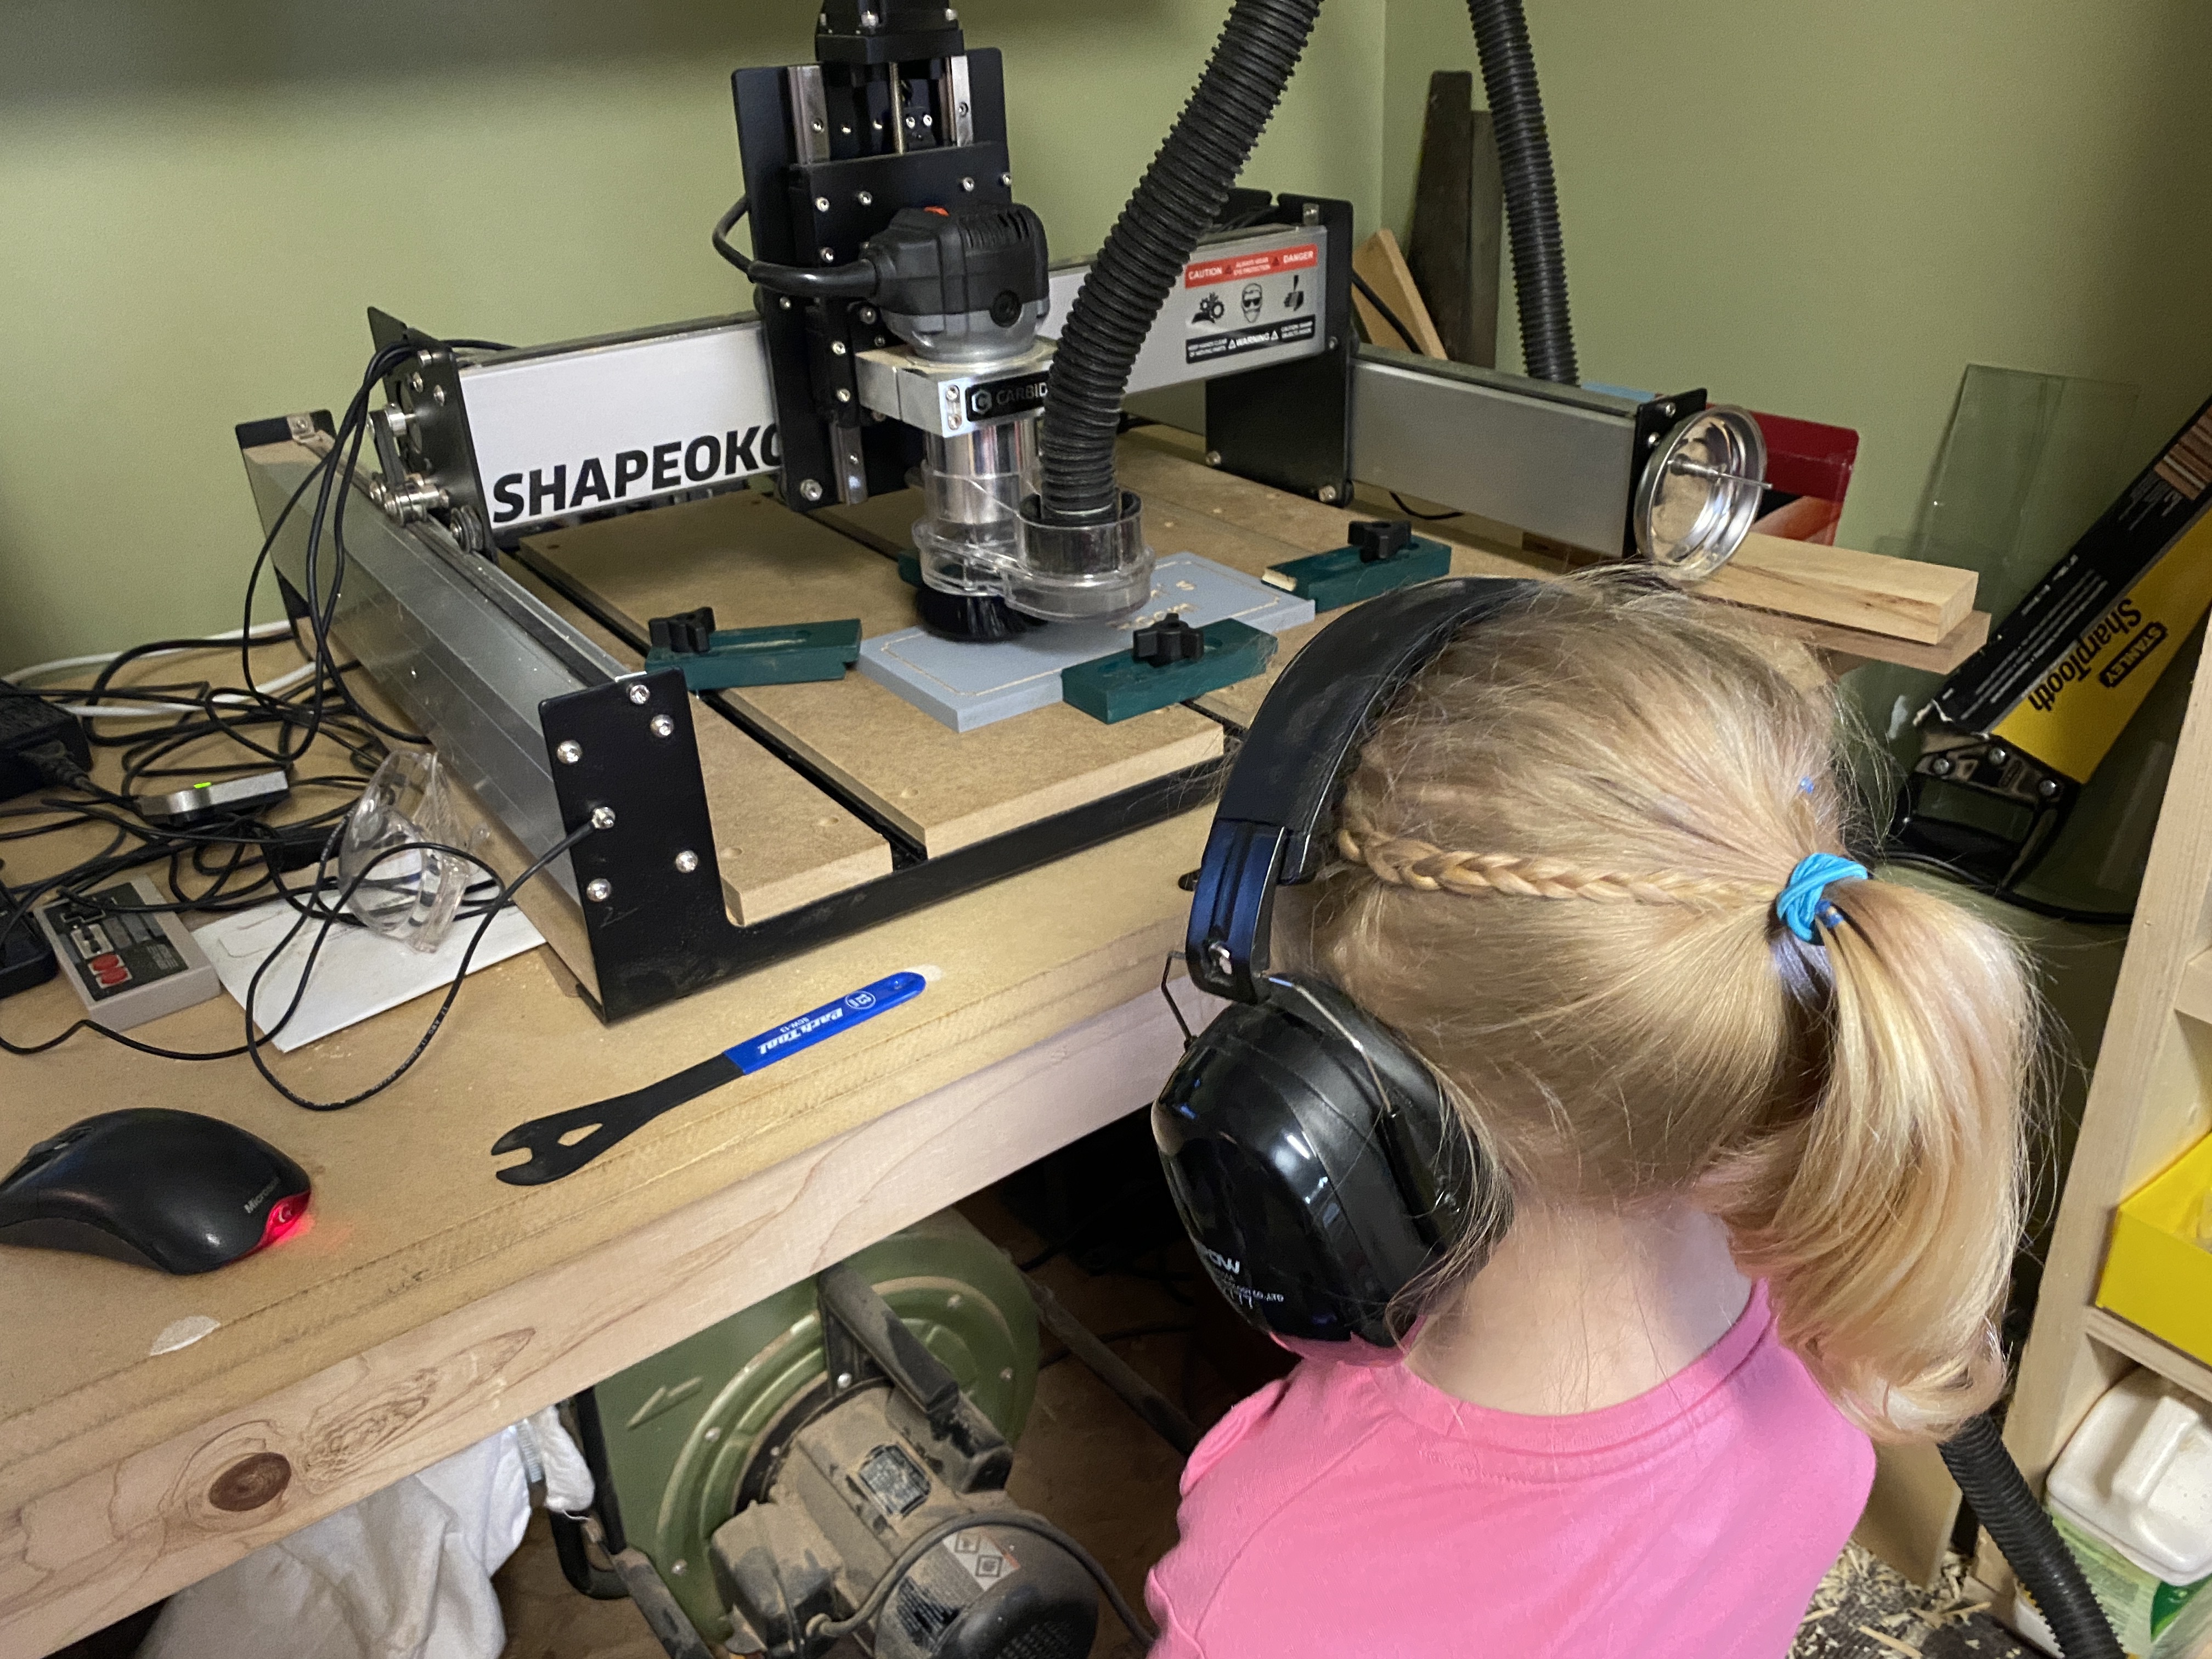
Then, I painted a couple of pieces of 1/2" MDF for the signs and put them on the Shapeoko 3.
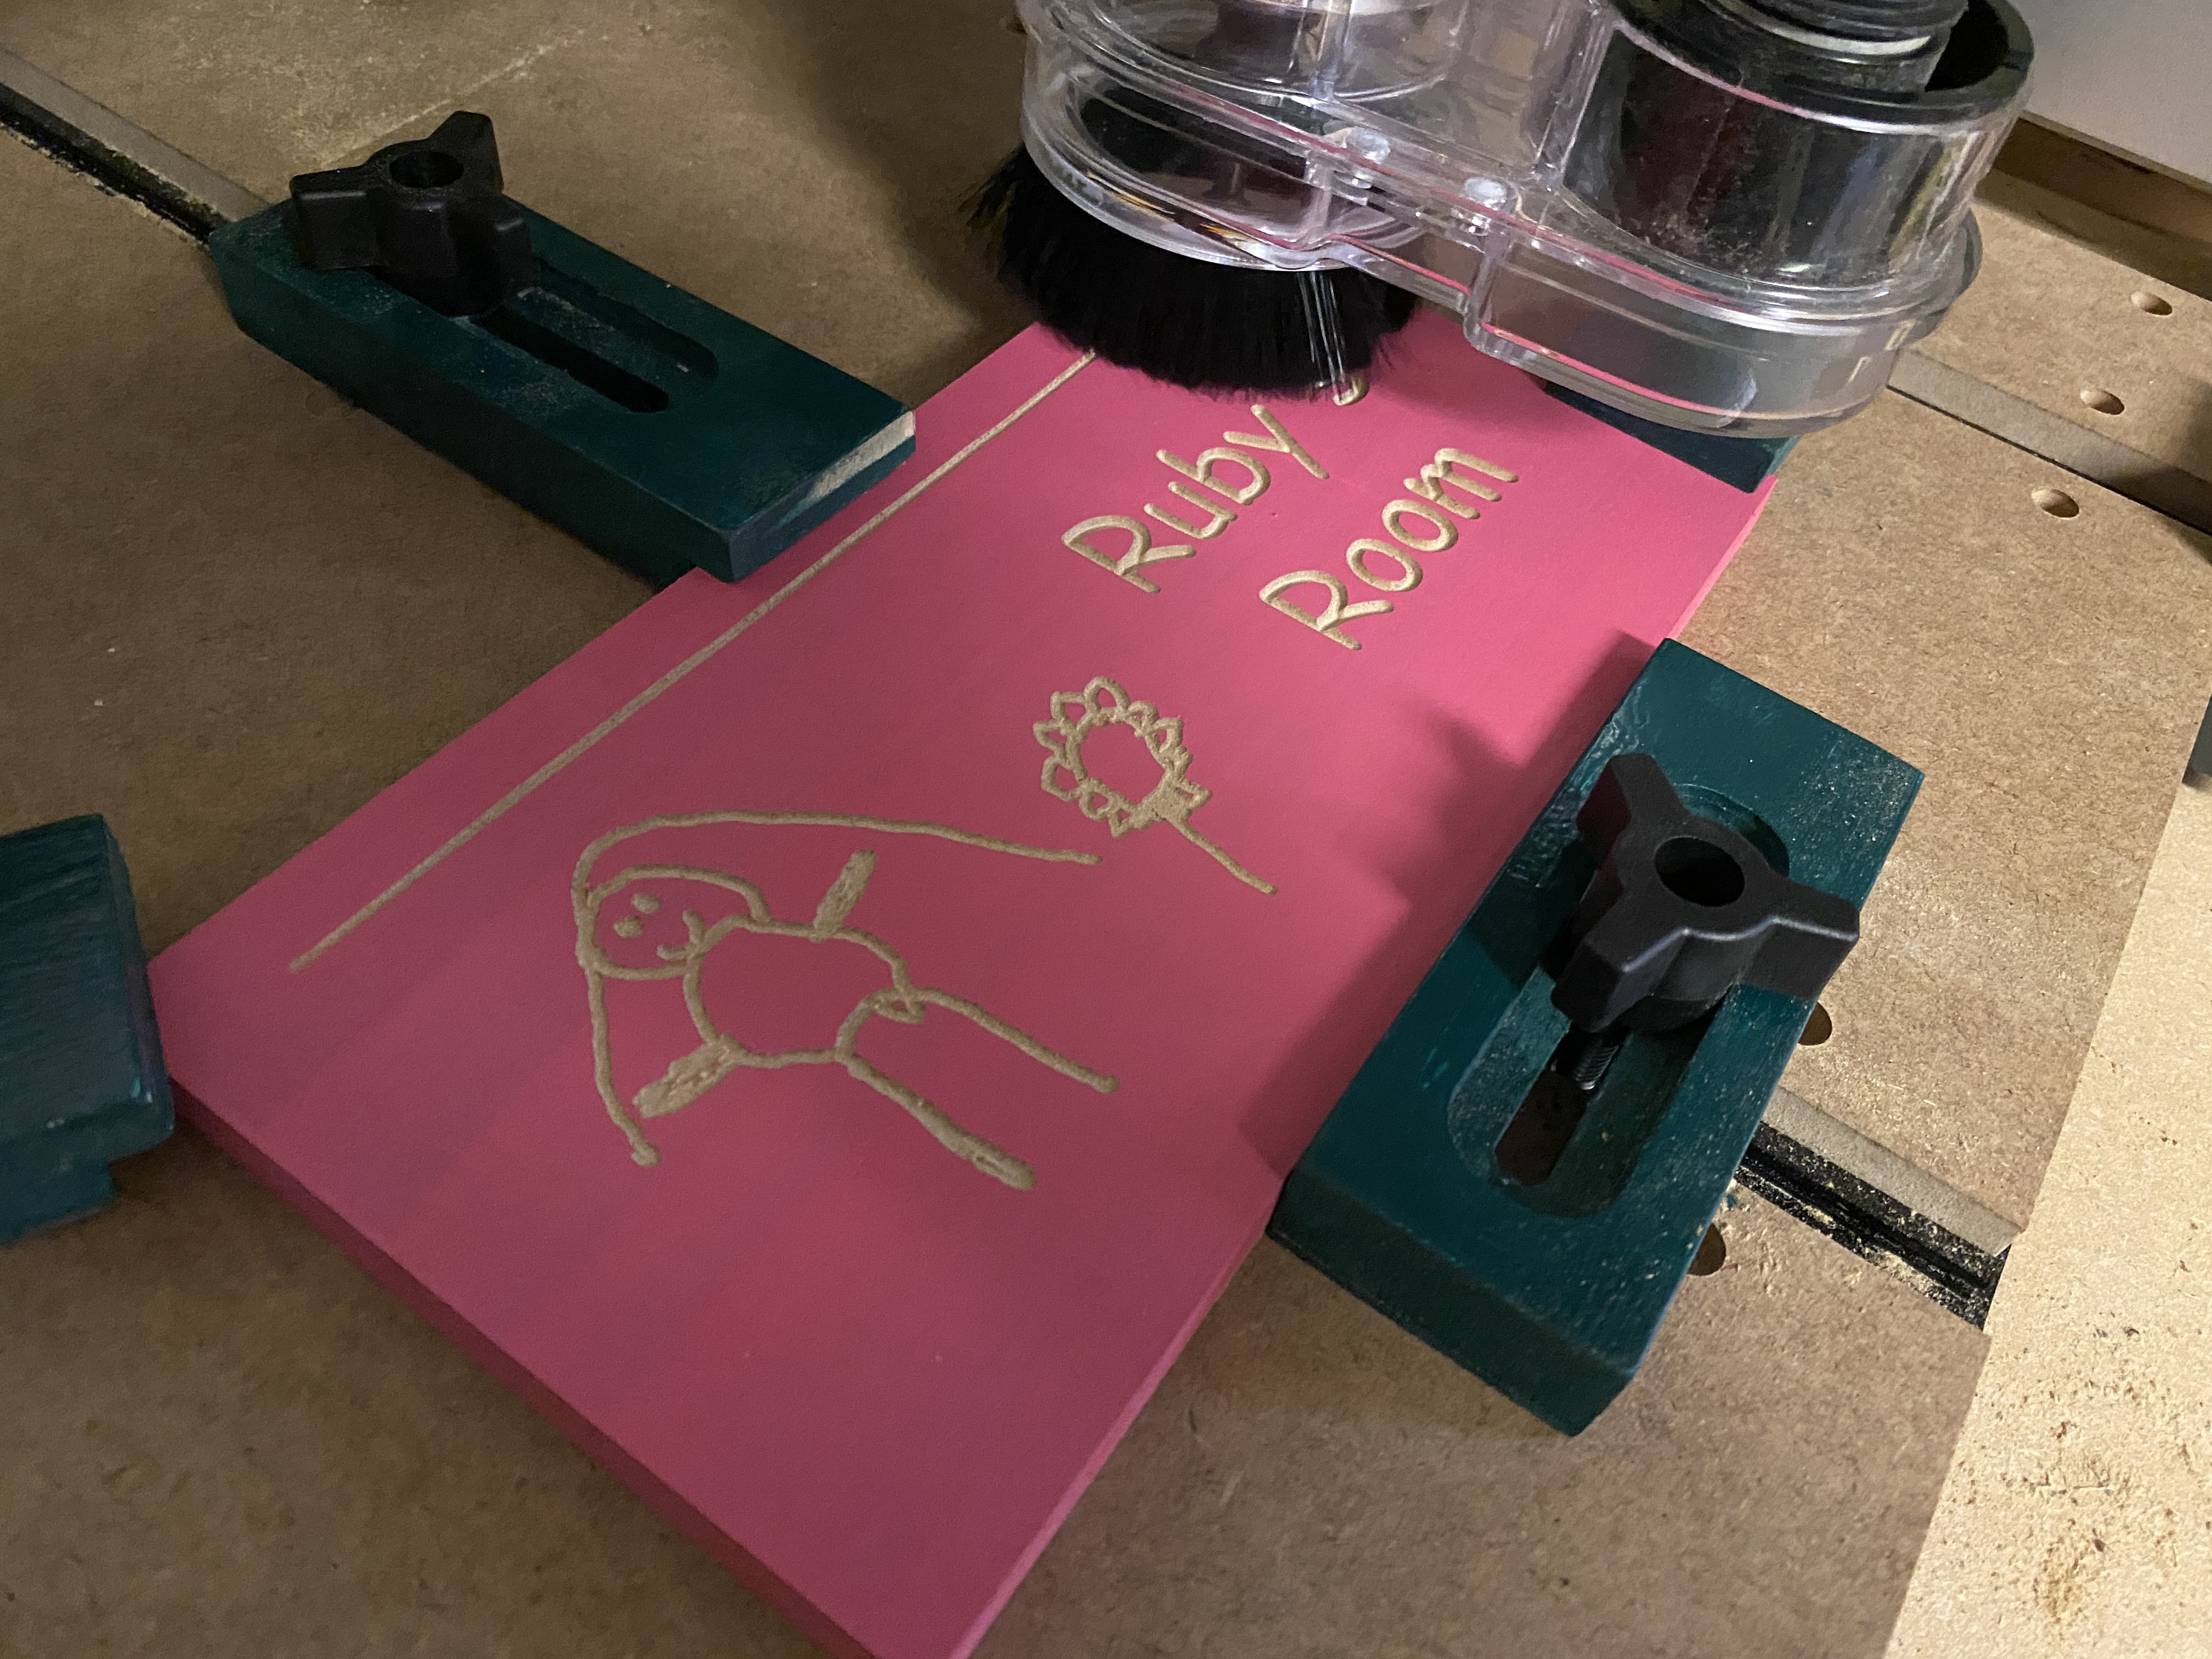
Ruby helped by supervising some of the work. So far her favorite thing about the Shapeoko 3 is using the NES controller to jog the machine.
And here’s the finished project. And yes, that’s an appropriate use of Comic Sans!
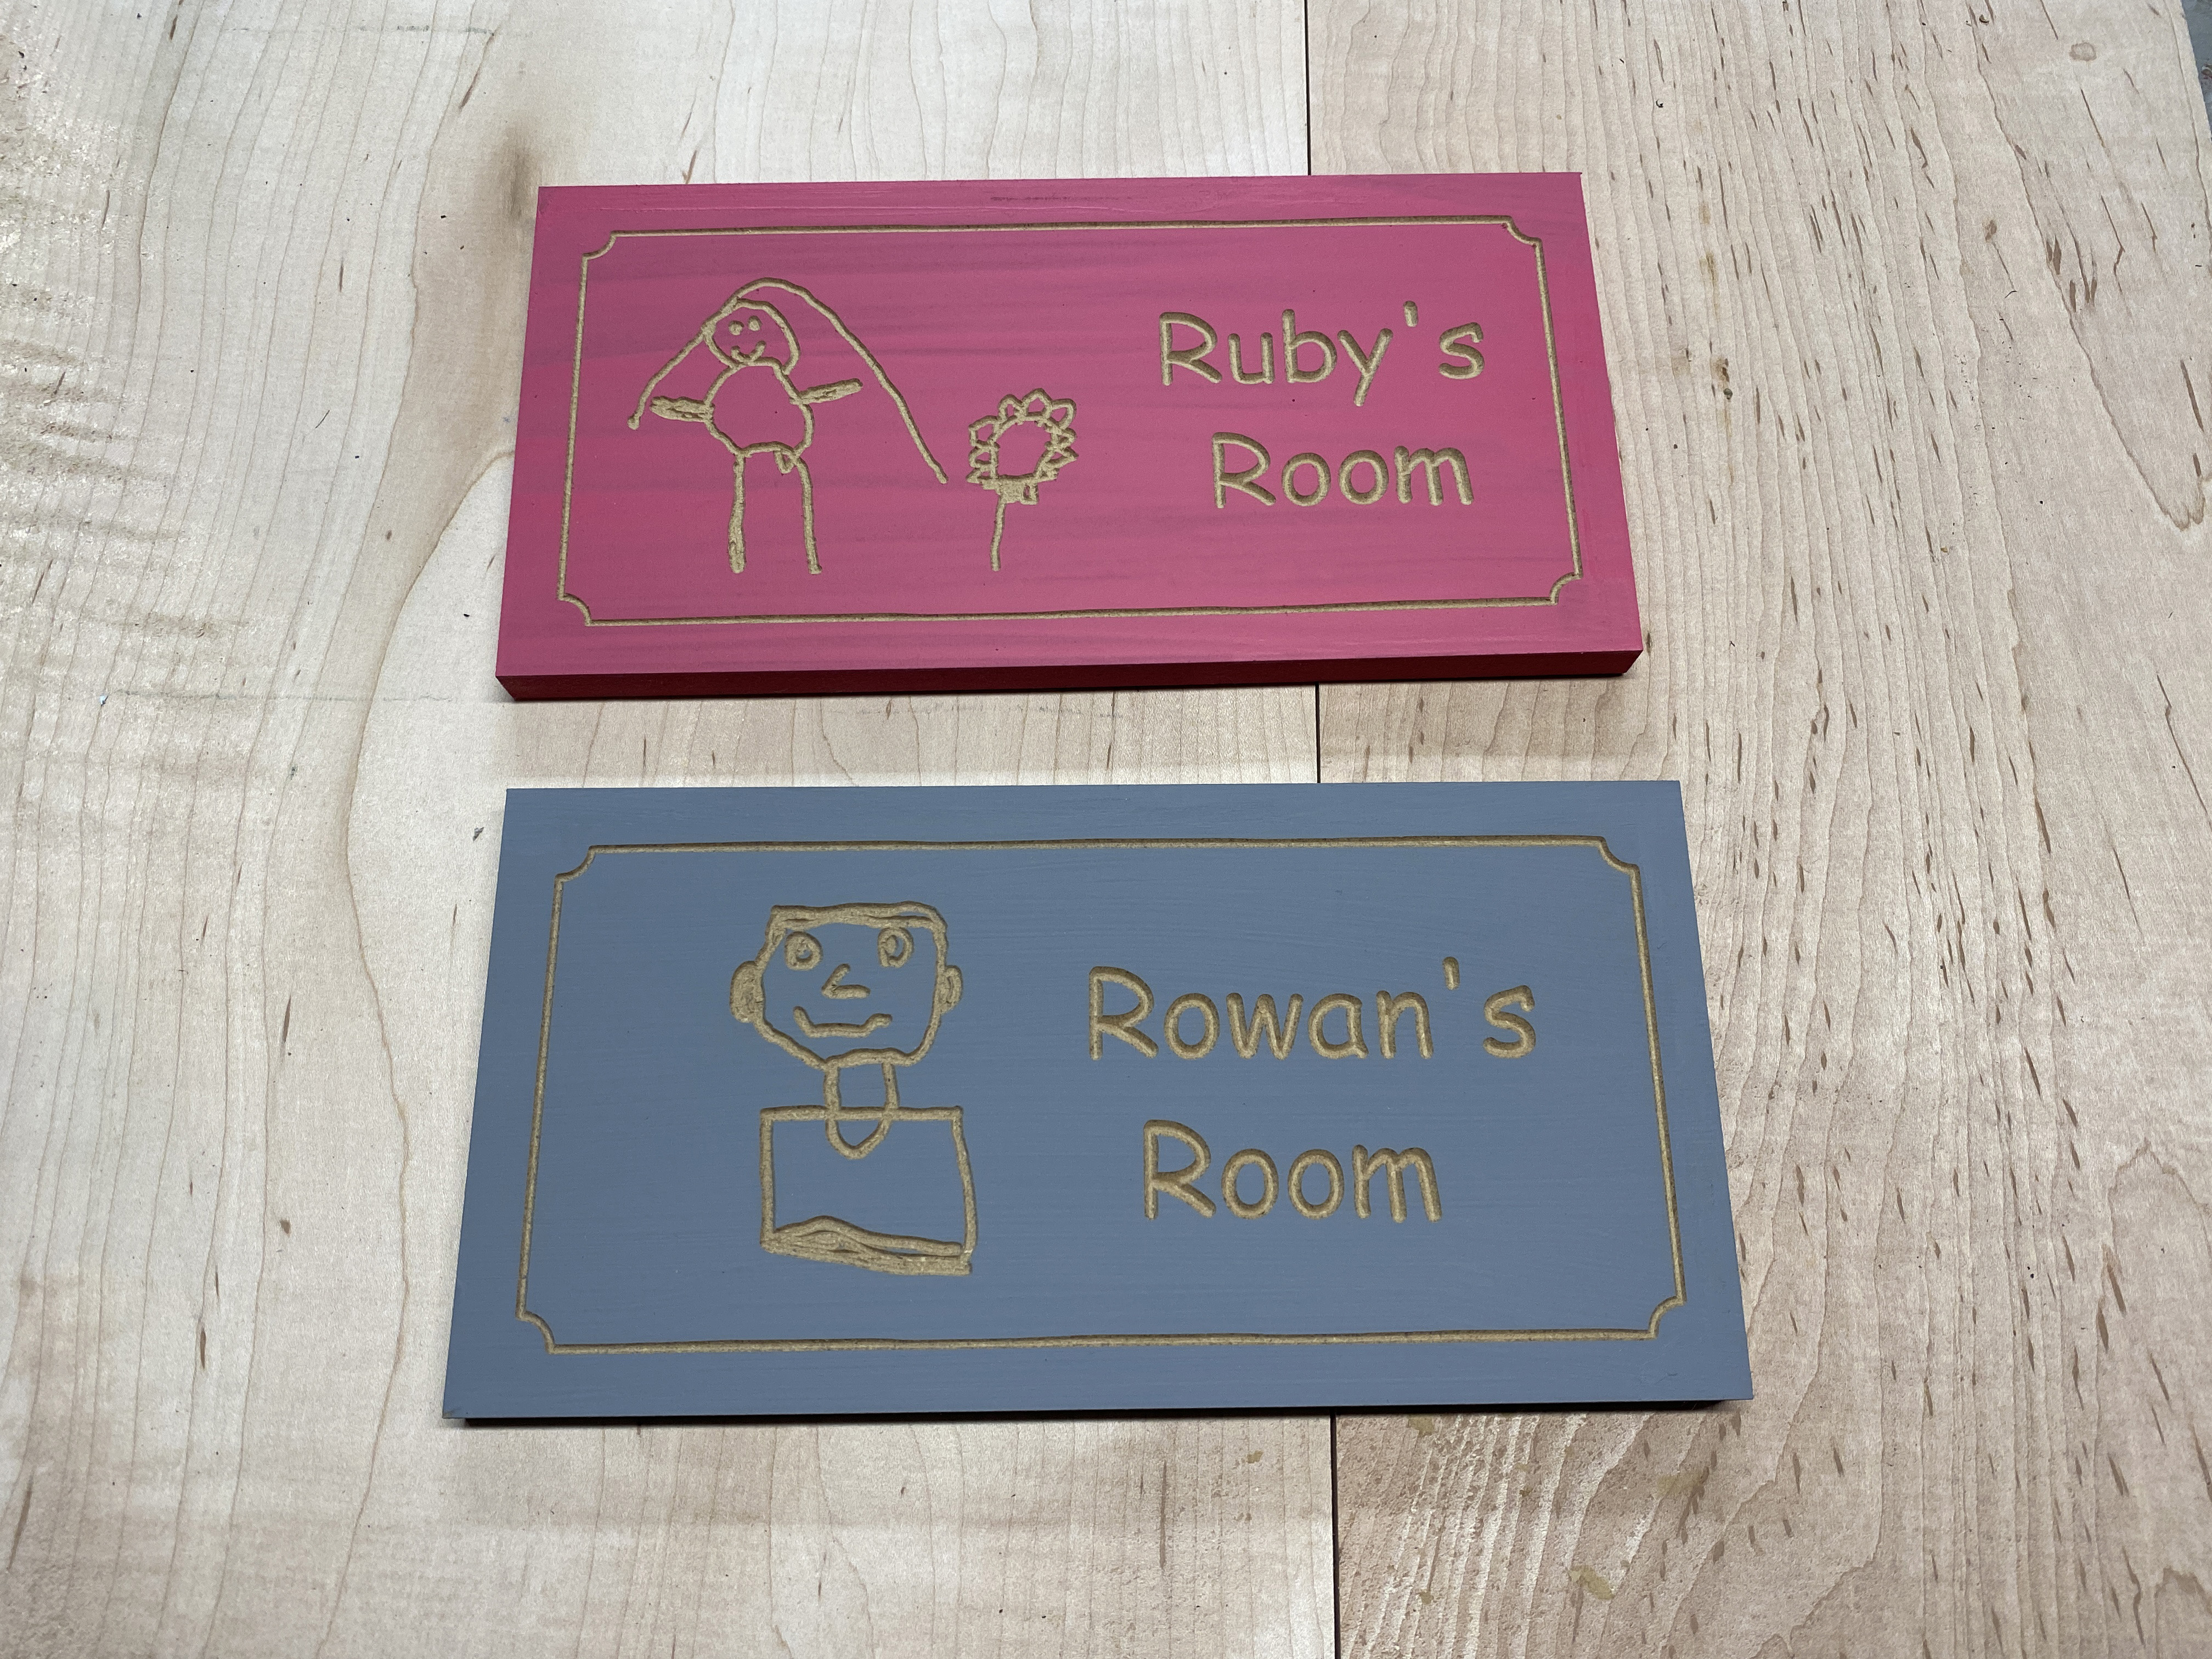
I also uploaded the files to CutRocket in case anyone wanted to see the nuts and bolts, but I can’t imagine that anyone would want to make these particular signs. https://cutrocket.com/p/6061215c56f87/
16 Likes
Here’s my last minute entry to the challenge.
I fooled myself into thinking I’d have time. Yesterday was sunny and 70°F. Today…weird sleet. I’ll still need to trim the stock and apply a finish, but this will hang in my garage.

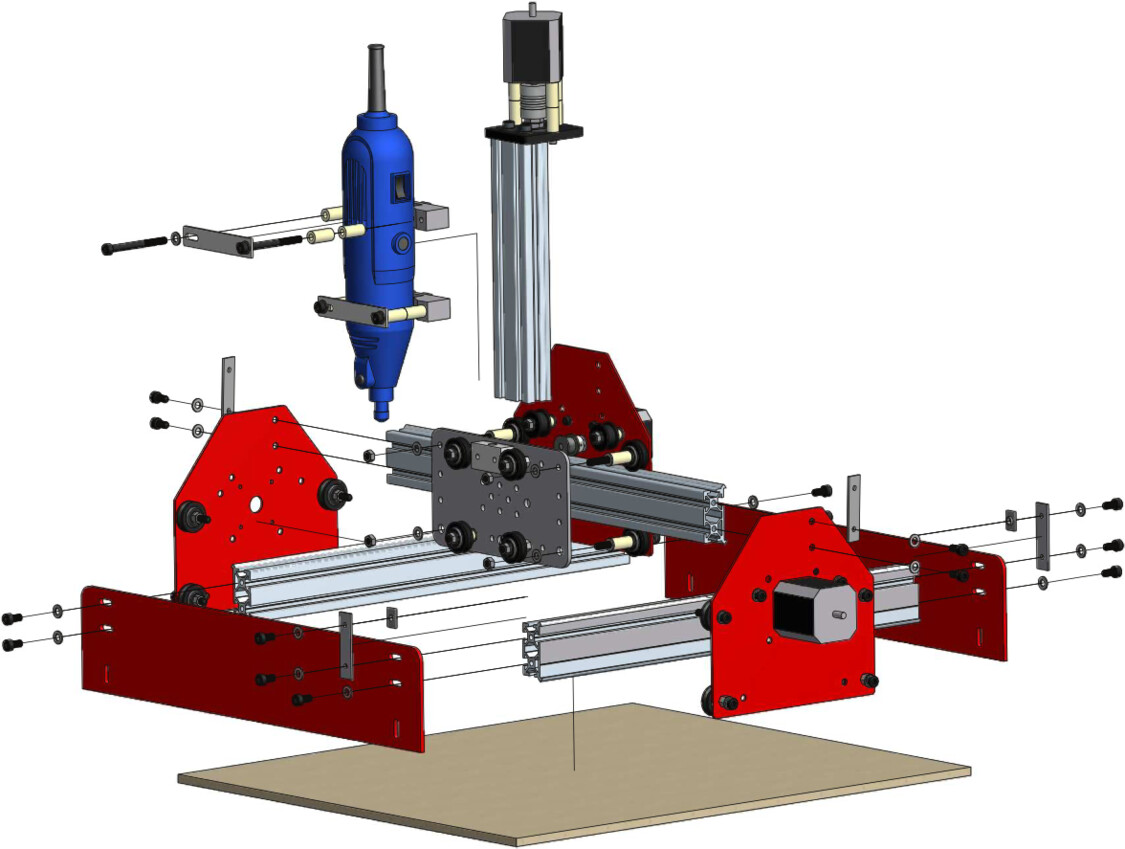
I started with an old Fusion model of the original Shapeoko 3 and added a model of the Dewalt router. From there, I changed to a wireframe view and snagged a screenshot.
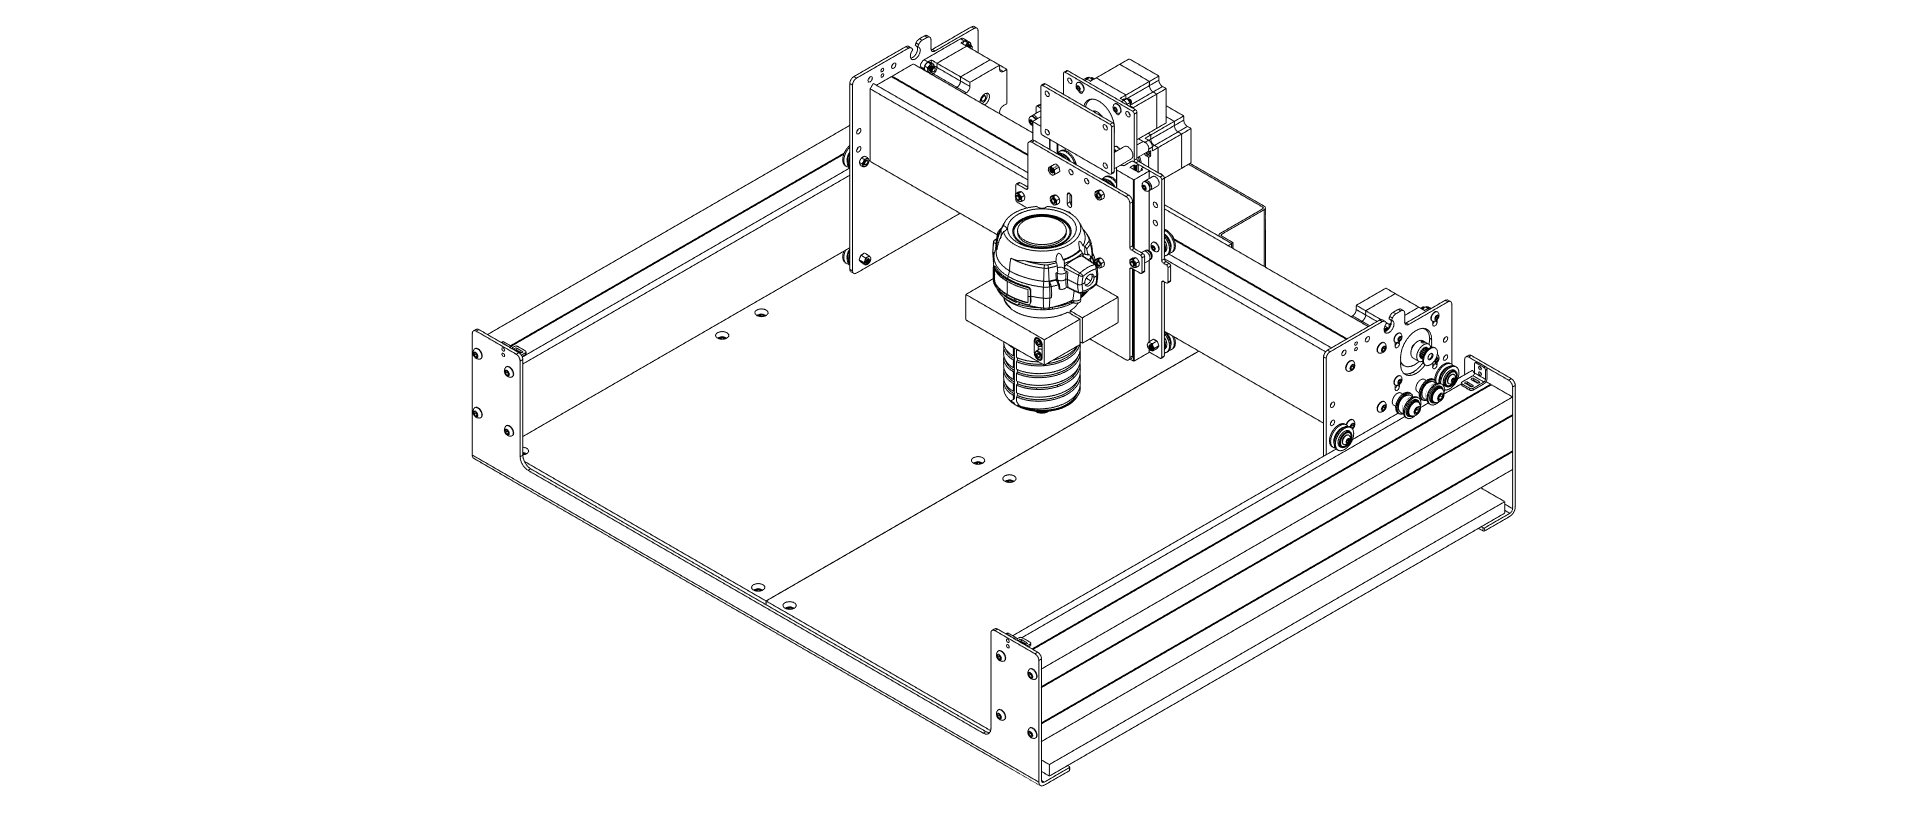
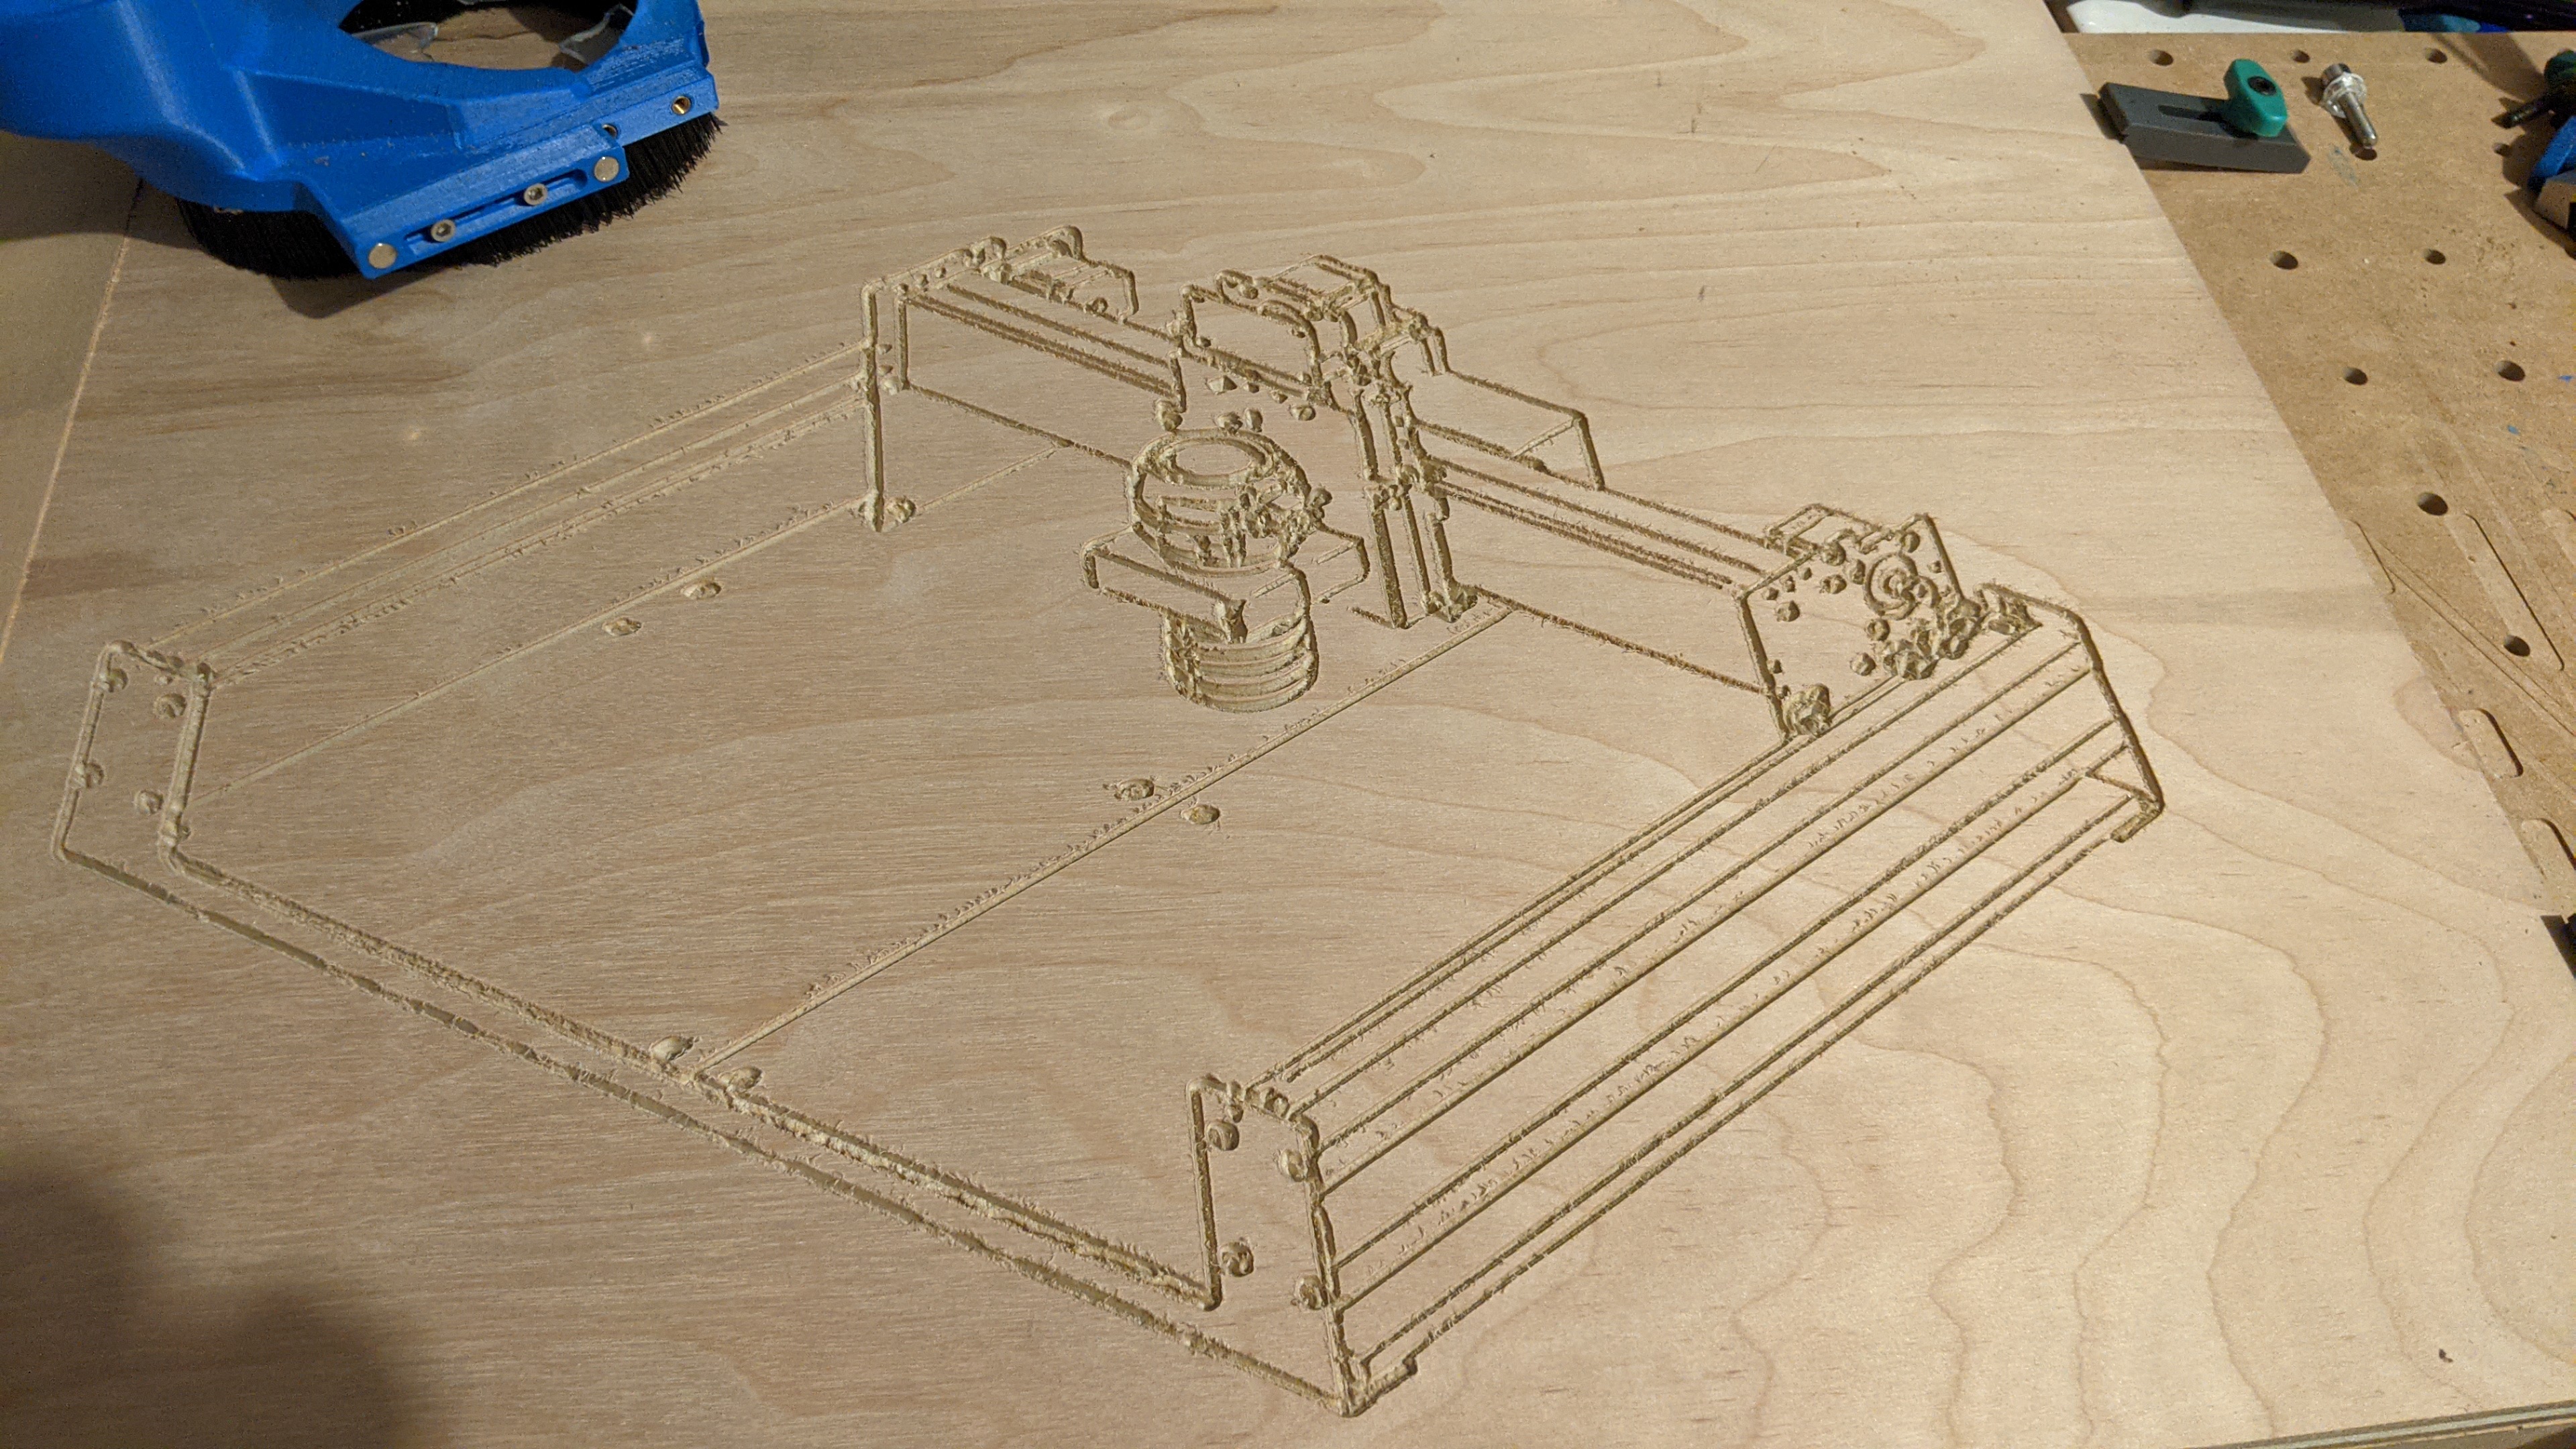
The rest was too easy. In Create, set my stock to 17.5" x 13.5", used the image trace tool on my screenshot, fixed one spot I didn’t like but left the rest “natural”.
Used a 60° CMT tool. Took about 15-20min to carve.
My 4yr old helped me paint with black Crayola project paint.
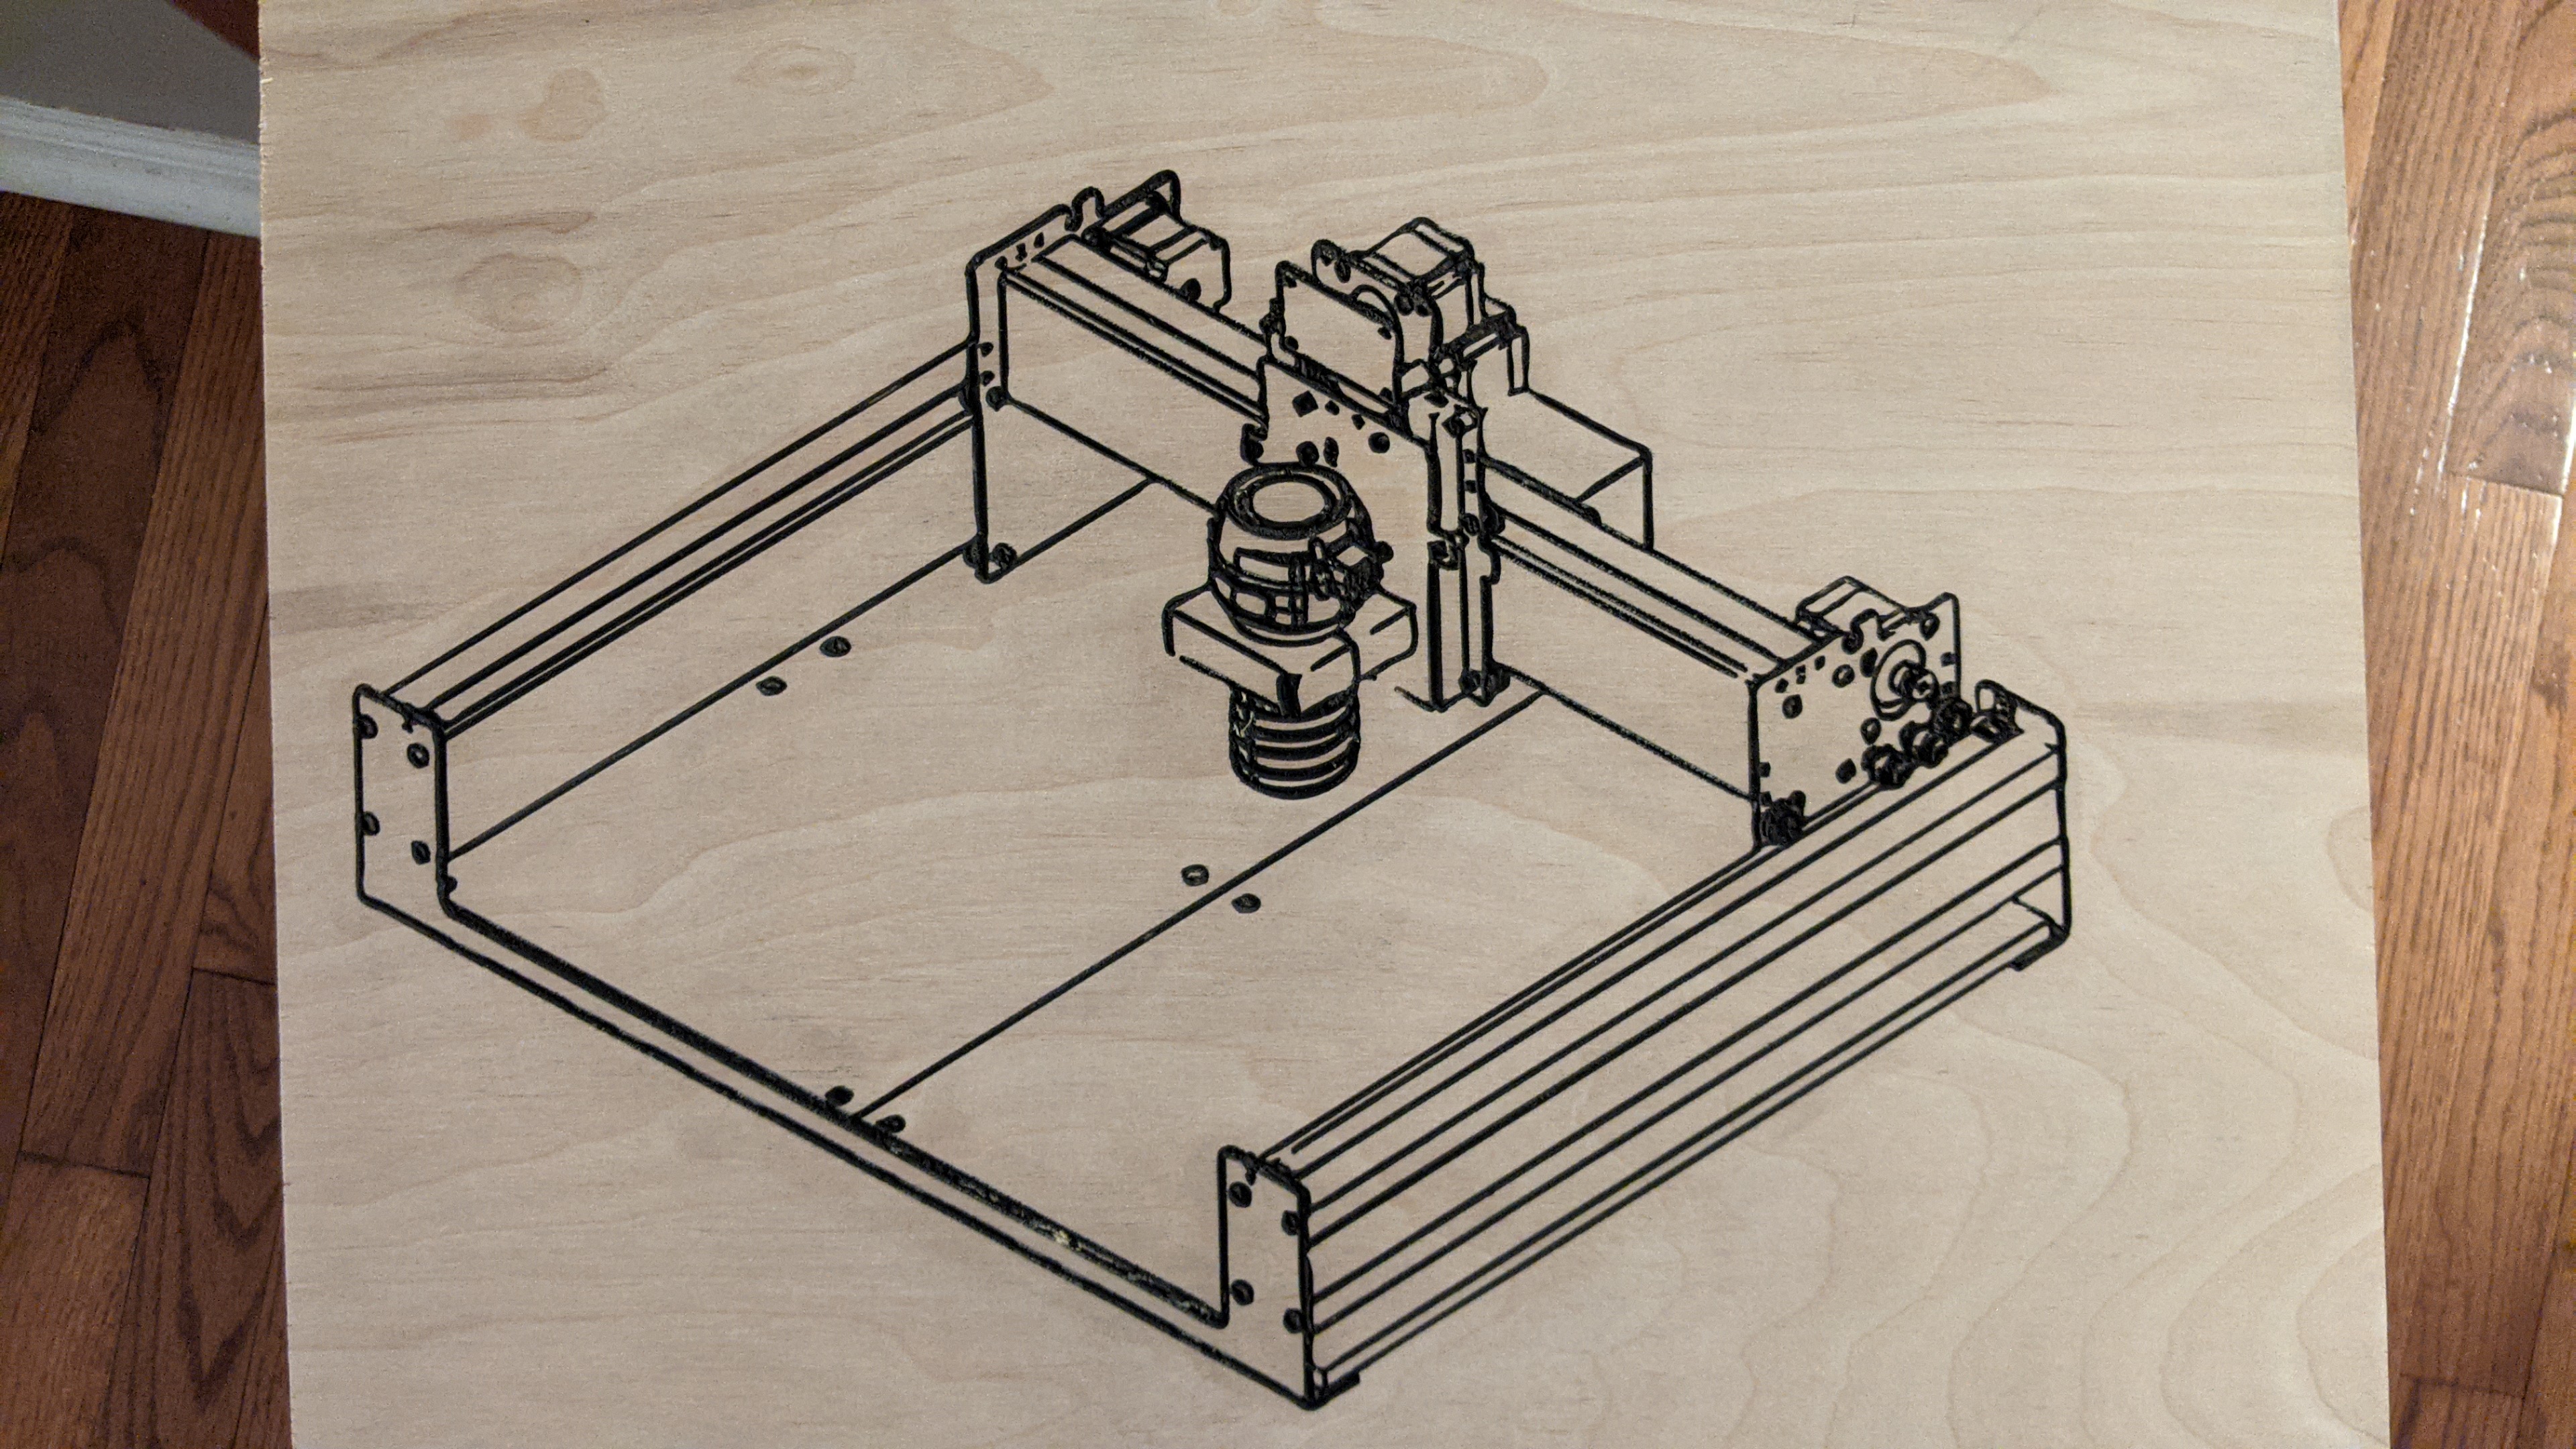
Got back to it several hours later and sanded off the slopped on paint.
I like how it looks like a rough sketch like you’d imagine @edwardrford might’ve drawn on a napkin.
It was also a quick project and I liked the ease of using Crayola paints.
My decision to purchase an SO3 in 2015 changed my life (I can’t park in the garage anymore), and I thought it deserved a place on my wall (the walls inside the house are my wife’s and kids’).
CC file: CC_ImageTrace.c2d (862.4 KB)
Gcode: imageTrace_CC.nc (282.5 KB)
Edit: Stain went a little darker than I envisioned, but…
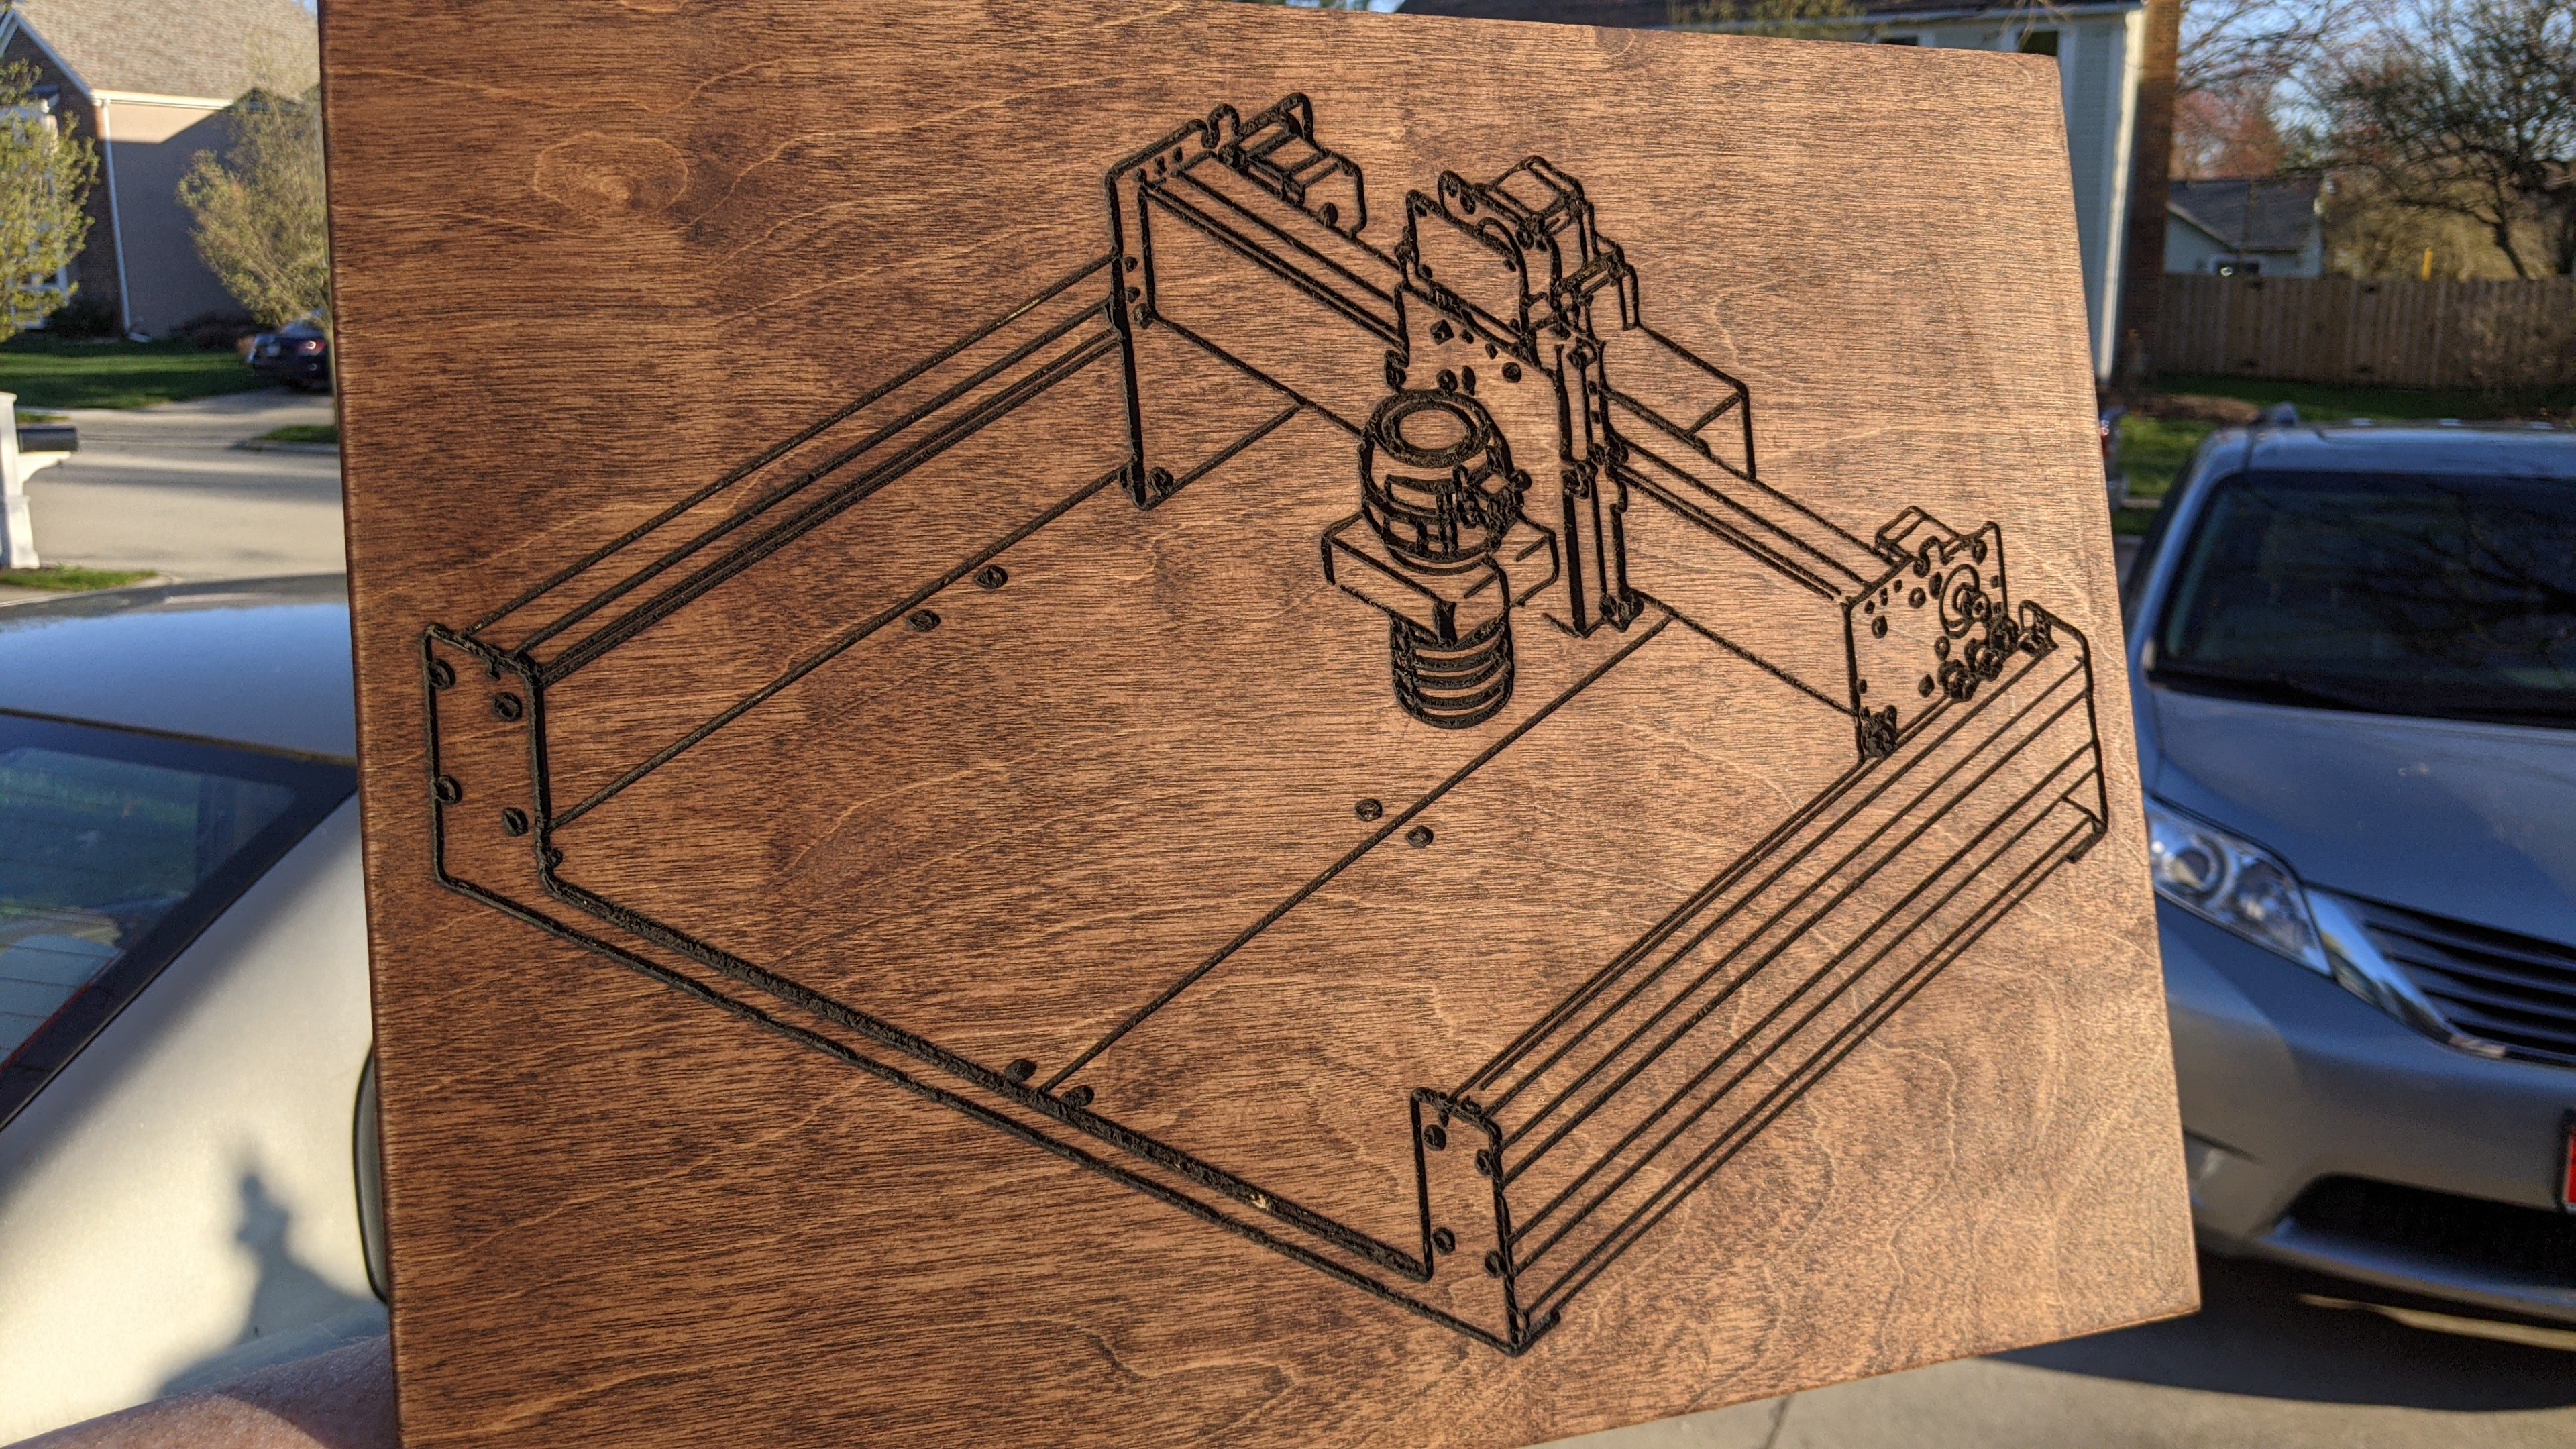
Maybe I should throw it in a maple or cherry frame? What do you guys think?
10 Likes
Not quite original, since the homing switch plate was a later addition (and it’s missing the top two spacers for the plate).
It still speaks well to what great looking designs all of the Shapeokos have been — the SO1 was almost unbearably cute (save for the belt anchors)
and the SO2 was just great looking:
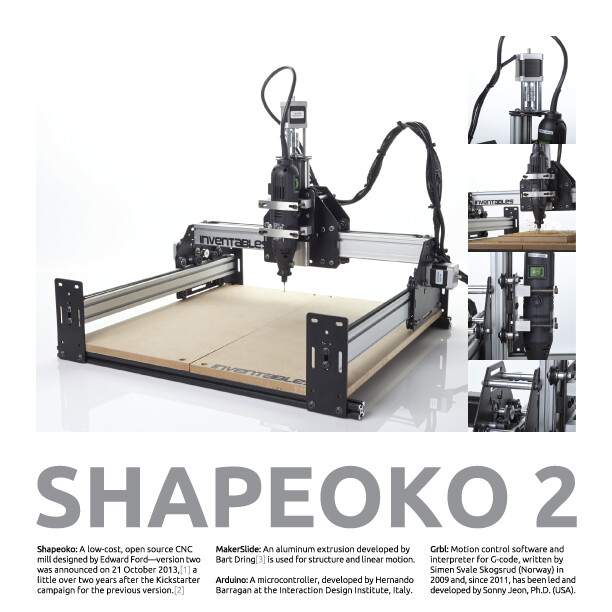
and the SO3 while not taking the greatest photos due to the proportions (XL and XXL are better in that regard) has a hefty, no-nonsense appearance in person.
5 Likes
That’s right. I nearly forgot about the exciting limit switch add-on kit.
I’m probably missing two spacers because I took them to the hardware store… I couldn’t believe that they didn’t fit any of my vast assortment of metric hardware.
2 Likes
Yes, the spacers being Imperial (#10-24 or was it 1/4-20?) was an odd decision — fortunately, we’re all in on metric now, save for the option of using 1/4-20 for workholding where appropriate. That said, the switch plate was obviously designed in from the beginning and the machine looks unfinished w/o it.
Also, the electronics enclosure is rendered as a box which looks more like the later sheet metal enclosure than the original bent alu. (the appearance of which I never much liked) and the plain unadorned box always appealed to me.
2 Likes
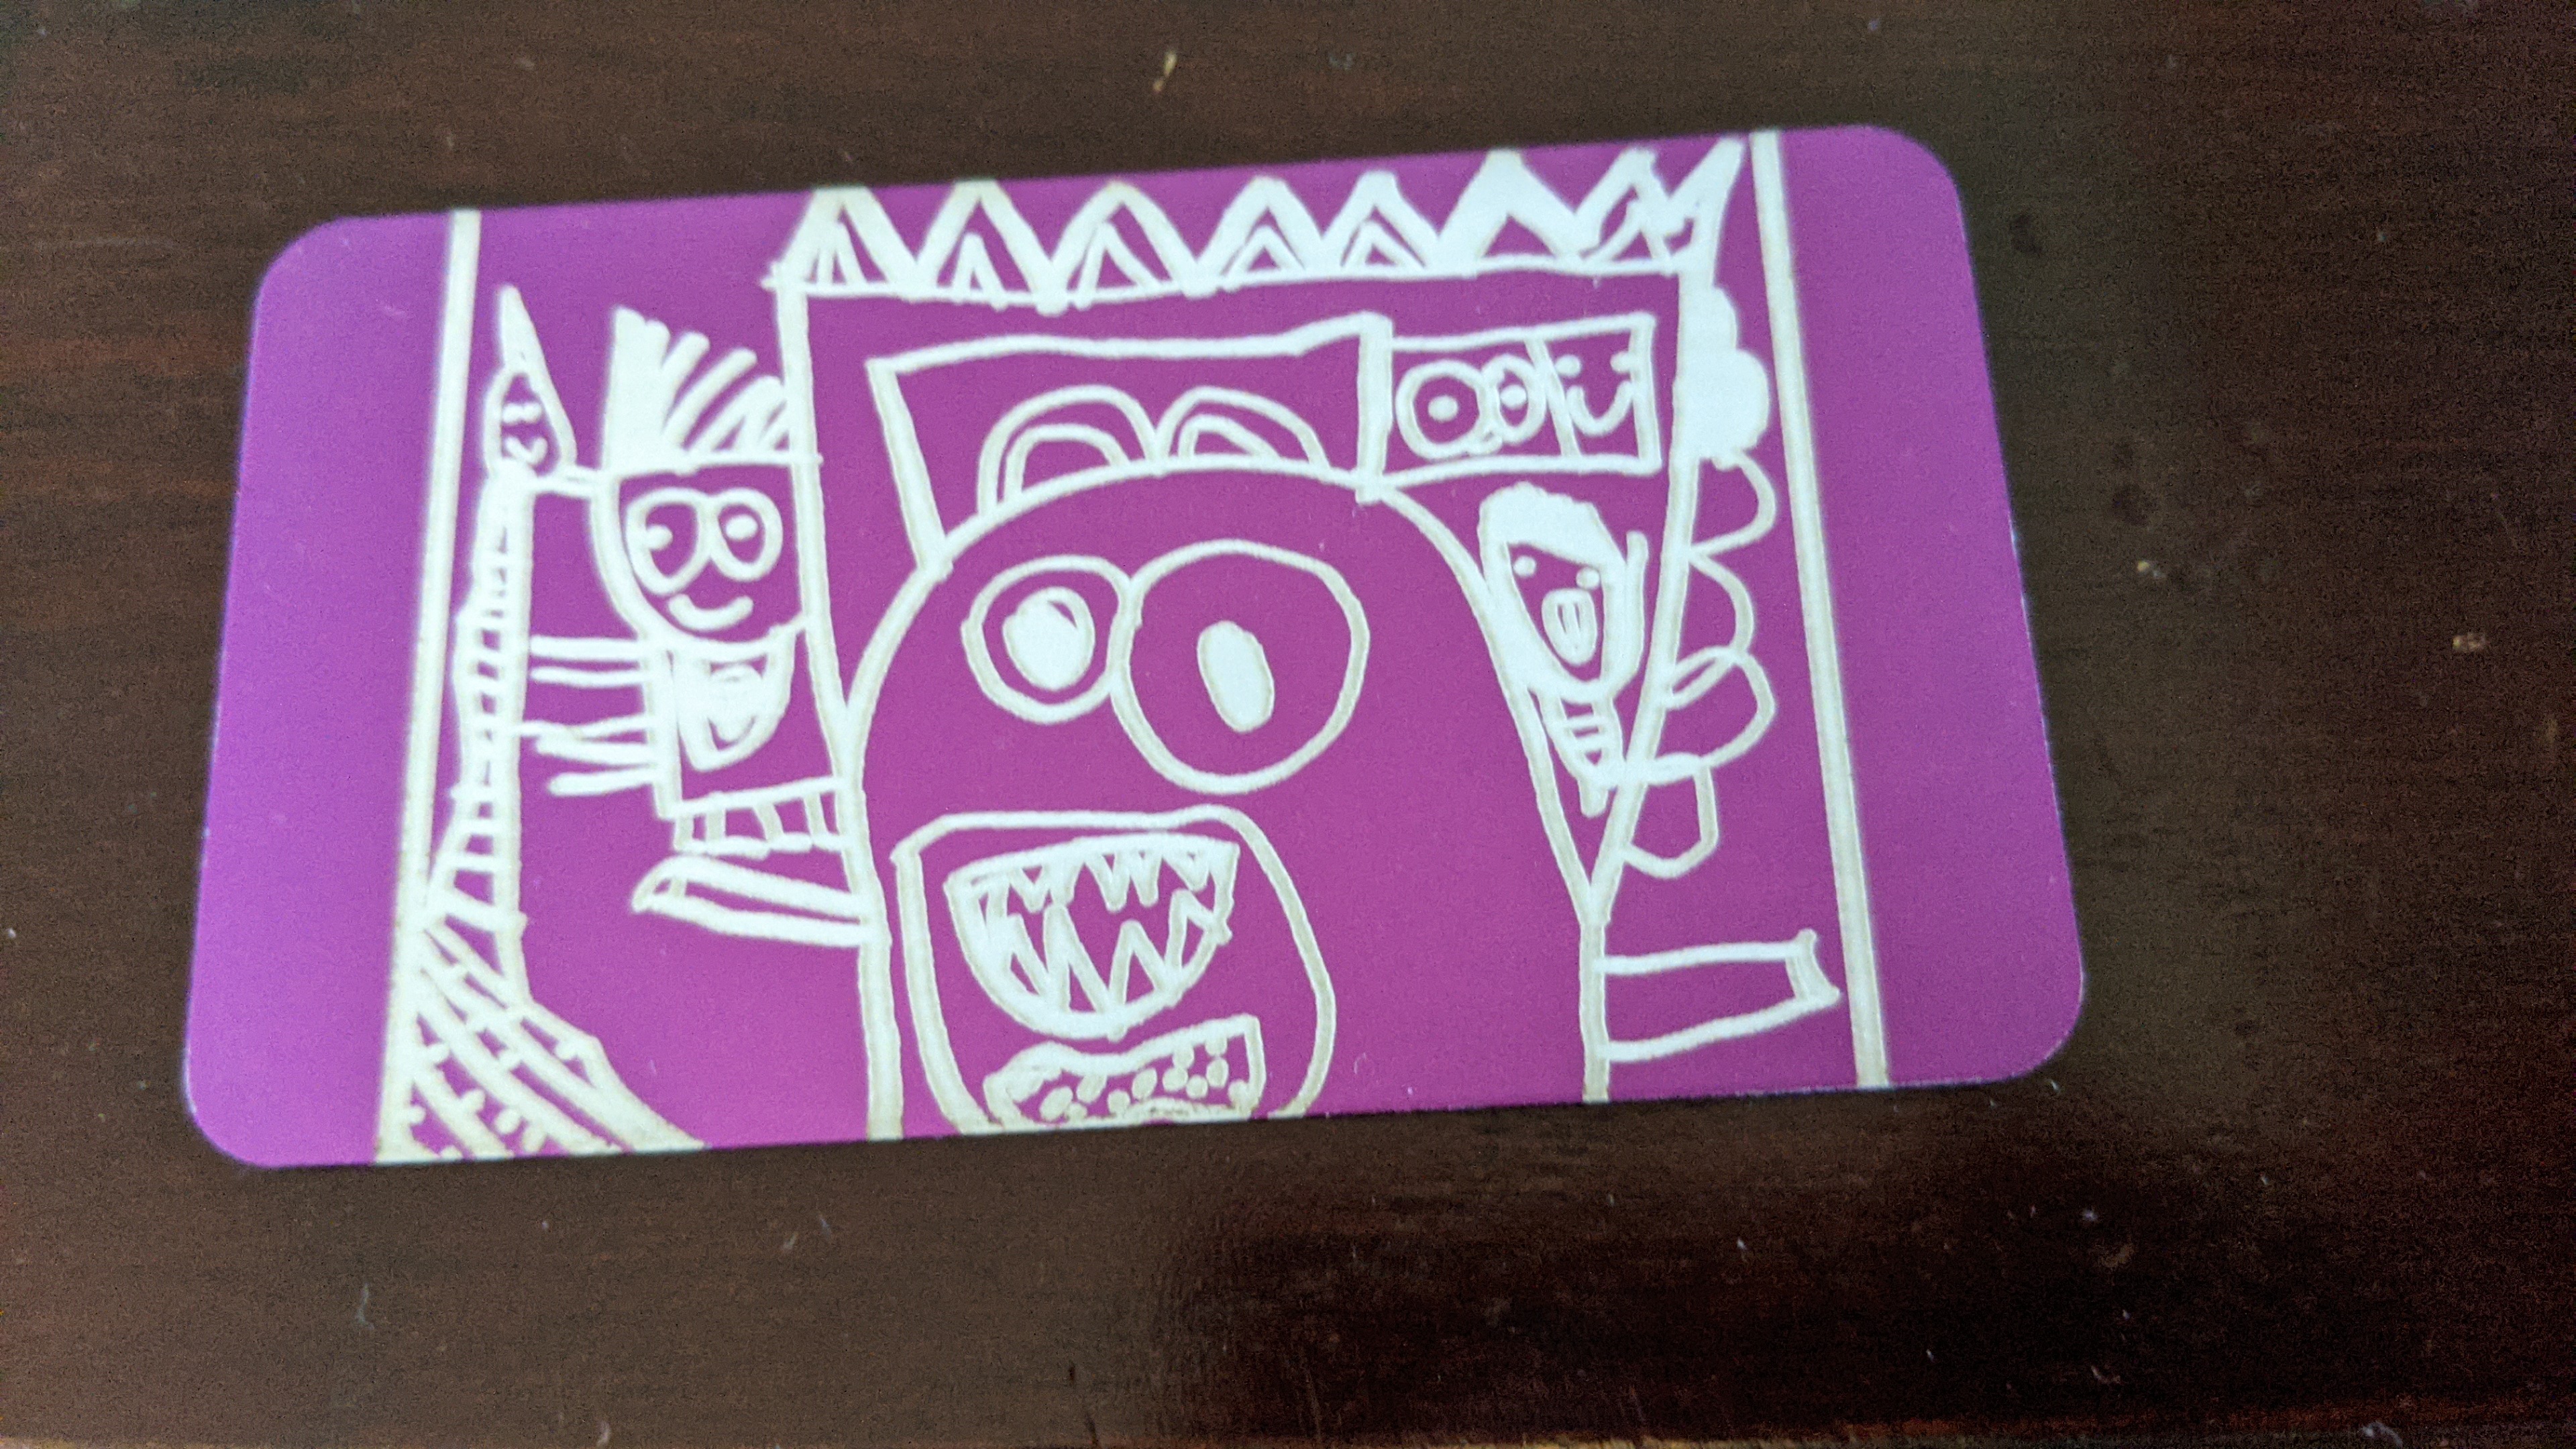
@exmateria Love it! I have an anodized aluminum card in my wallet with two of my kids’ drawings on them. I used a laser, but I could’ve done it with an engraving bit. I see it every time I use my credit card.

12 Likes
That’s some fancy kid artwork! Can you zoom out a bit? I can’t quite see your credit card.
3 Likes
Is it just me or is anyone else interested in finding out what the mystery prizes are?
2 Likes
It wouldn’t be a mystery then, would it 
Soon, soon 
1 Like
That is genius, my shoulder thanks you!
1 Like
I’m starting to think that C3B is going to announce some new accessories really soon and thus the delay in unveiling the mystery prize, maybe a Bitrunner Ver 2.0 or something else…
2 Likes
I’m hoping it’s a 3D hologram of @WillAdams or @Julien. The hologram would port them to your workshop where they can diagnose your issues in real time and help coach you as you try and get the perfect vcarve. Think this forum on steroids
6 Likes