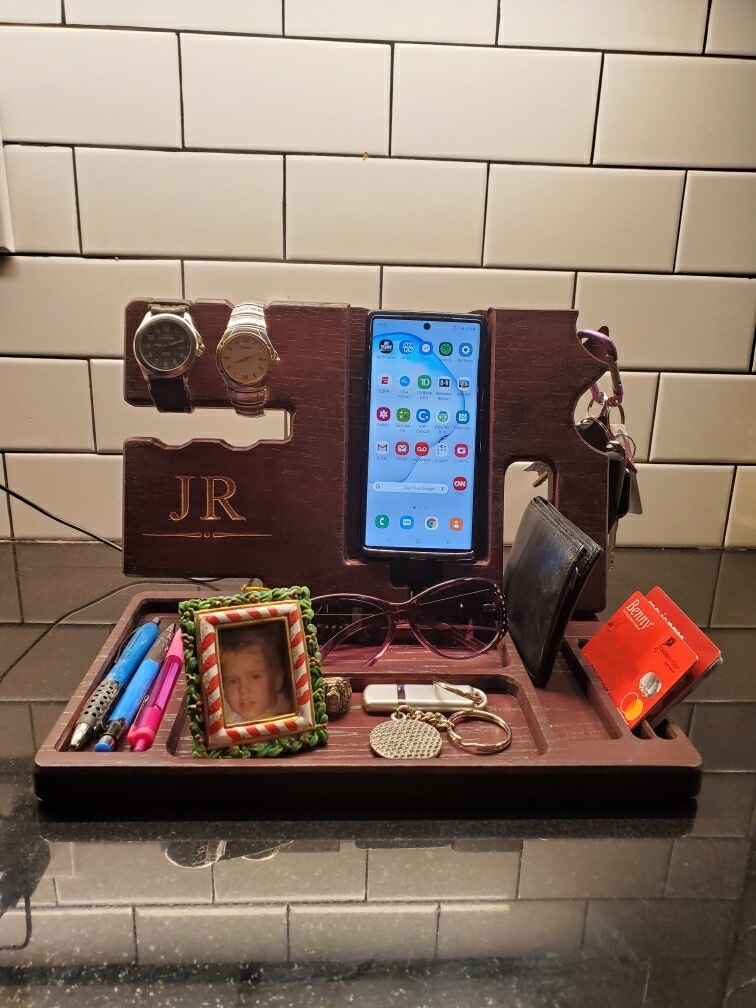
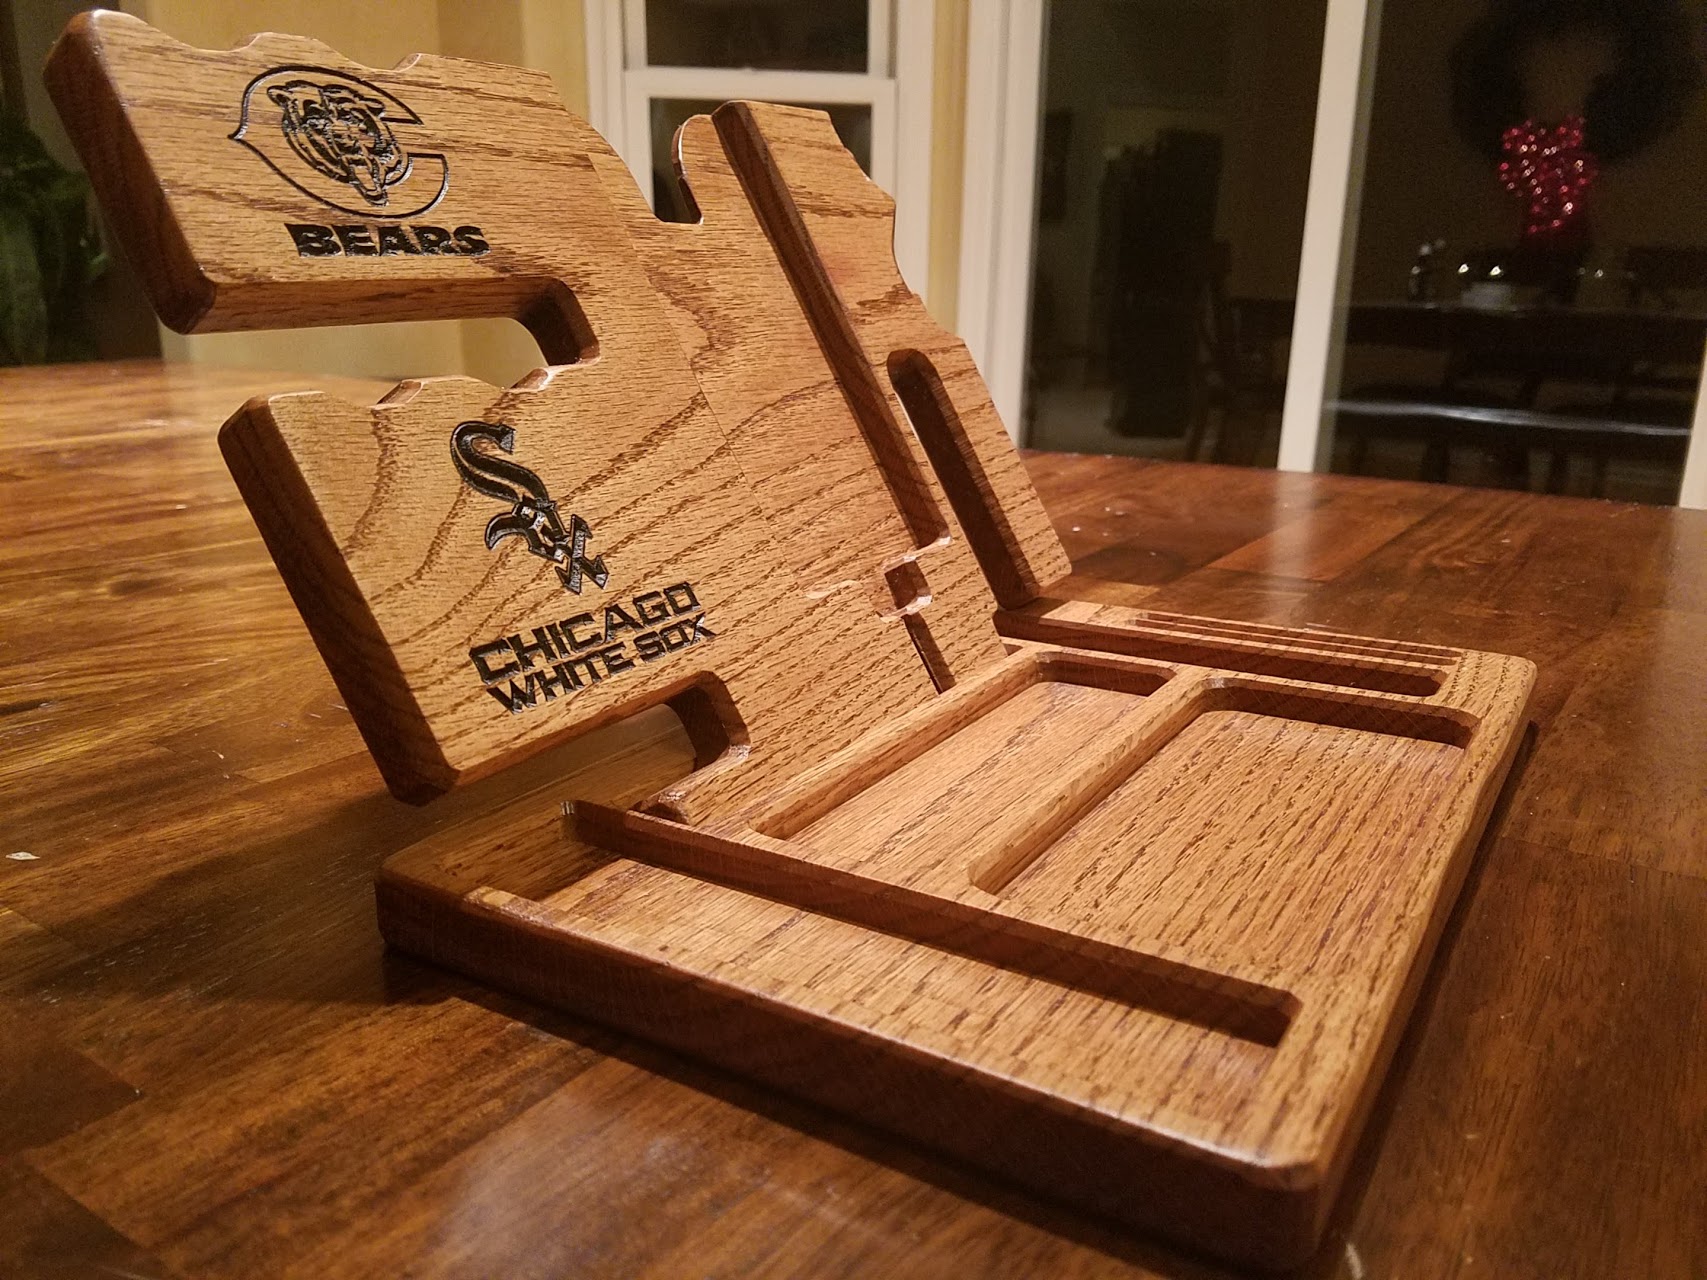
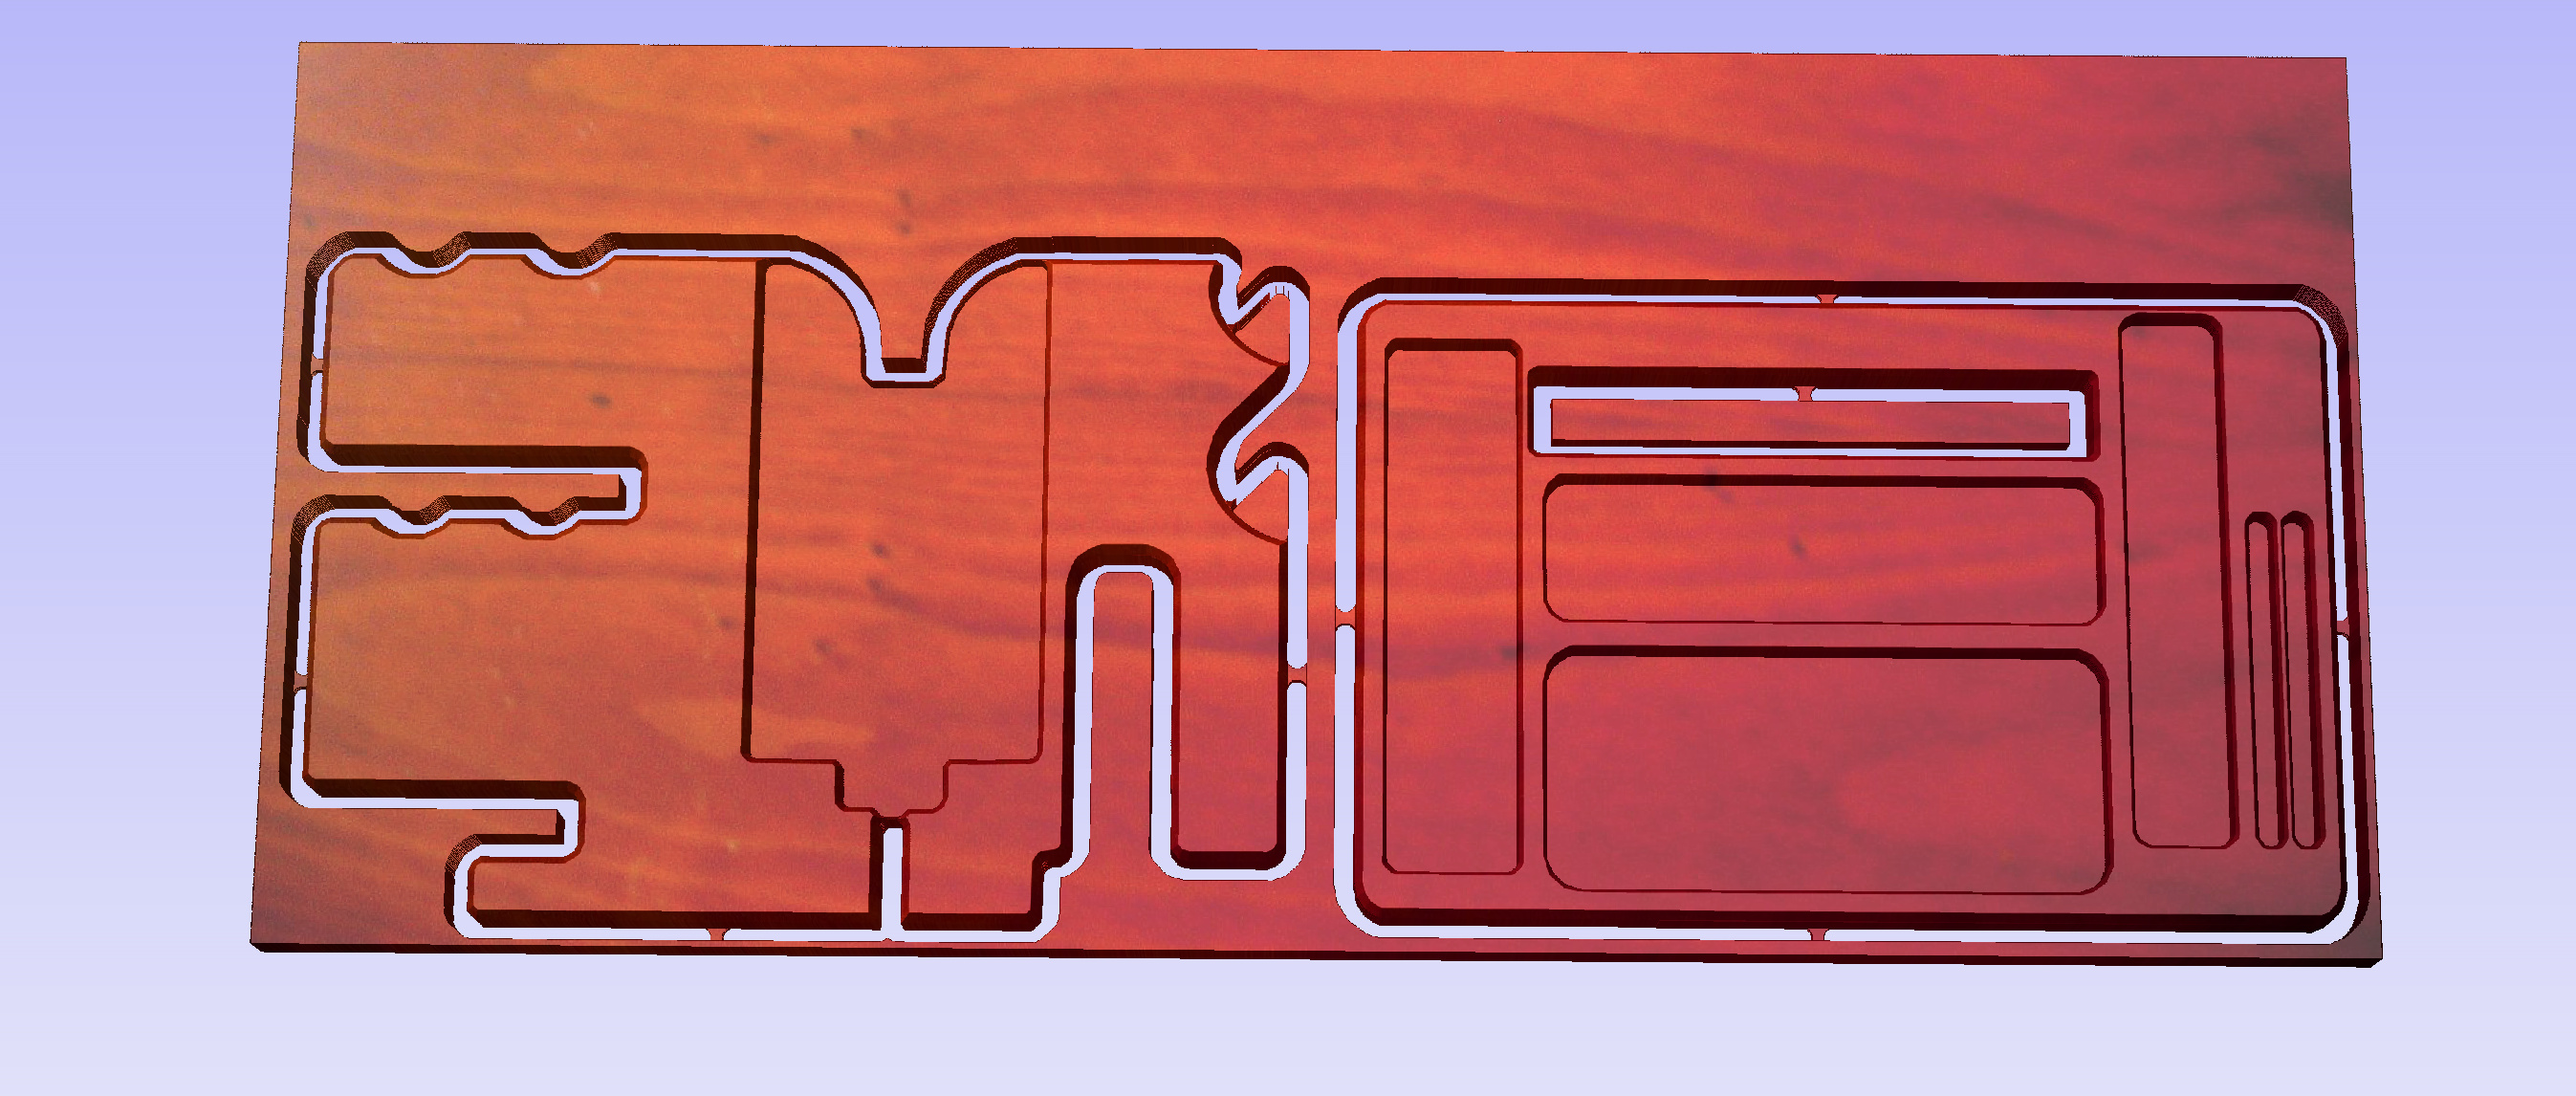
Hey all, submitting my entry which is a desktop/nightstand organizer. One of our first projects which we made as xmas presents for the guys I work with last year. They were well received, so we ended up making some for fathers day presents as well.
Cut out of 3/4" Oak, a quick sanding, stain, and lacquer and they were wrapped up in no time.
There are a ton of variations of these made by others on fb marketplace / ebay / etc. so I can’t take credit for the design. But as a new machine owner at the time I will say it was good practice drawing up the toolpaths, cutting pockets, profiles, using vbits, etc.
OK, last minute here, but I took a different approach. I don’t get as much time in my “shop” as some. I put “shop” in quotes because it’s a garage that is mostly filled with toys (and not the cool Festool toys some of you guys have…I’m talking Fischer Price). When I do get out there, I usually need to justify it. So…my wife and 5yr old daughter were working on a watercolor painting from a kit my little girl got from Santa. It’s one of those deals where you follow along with an online video. As that was going on, I was playing with my son (3yr old) at the kitchen sink because he HAD to play with his new bath toys. Coincidentally, my wife asked me if I could find something so she could prop up her phone. Excitedly, I told her I could make her something. Sensing my excitement and knowing where I was going with this, she gave me a look and said “Can’t you just get a book or something I can prop it on?”.
I obliged.
So, several hours later, after a the Christmas dinner and chaos at the in-laws, I’m home and everyone is mostly asleep.
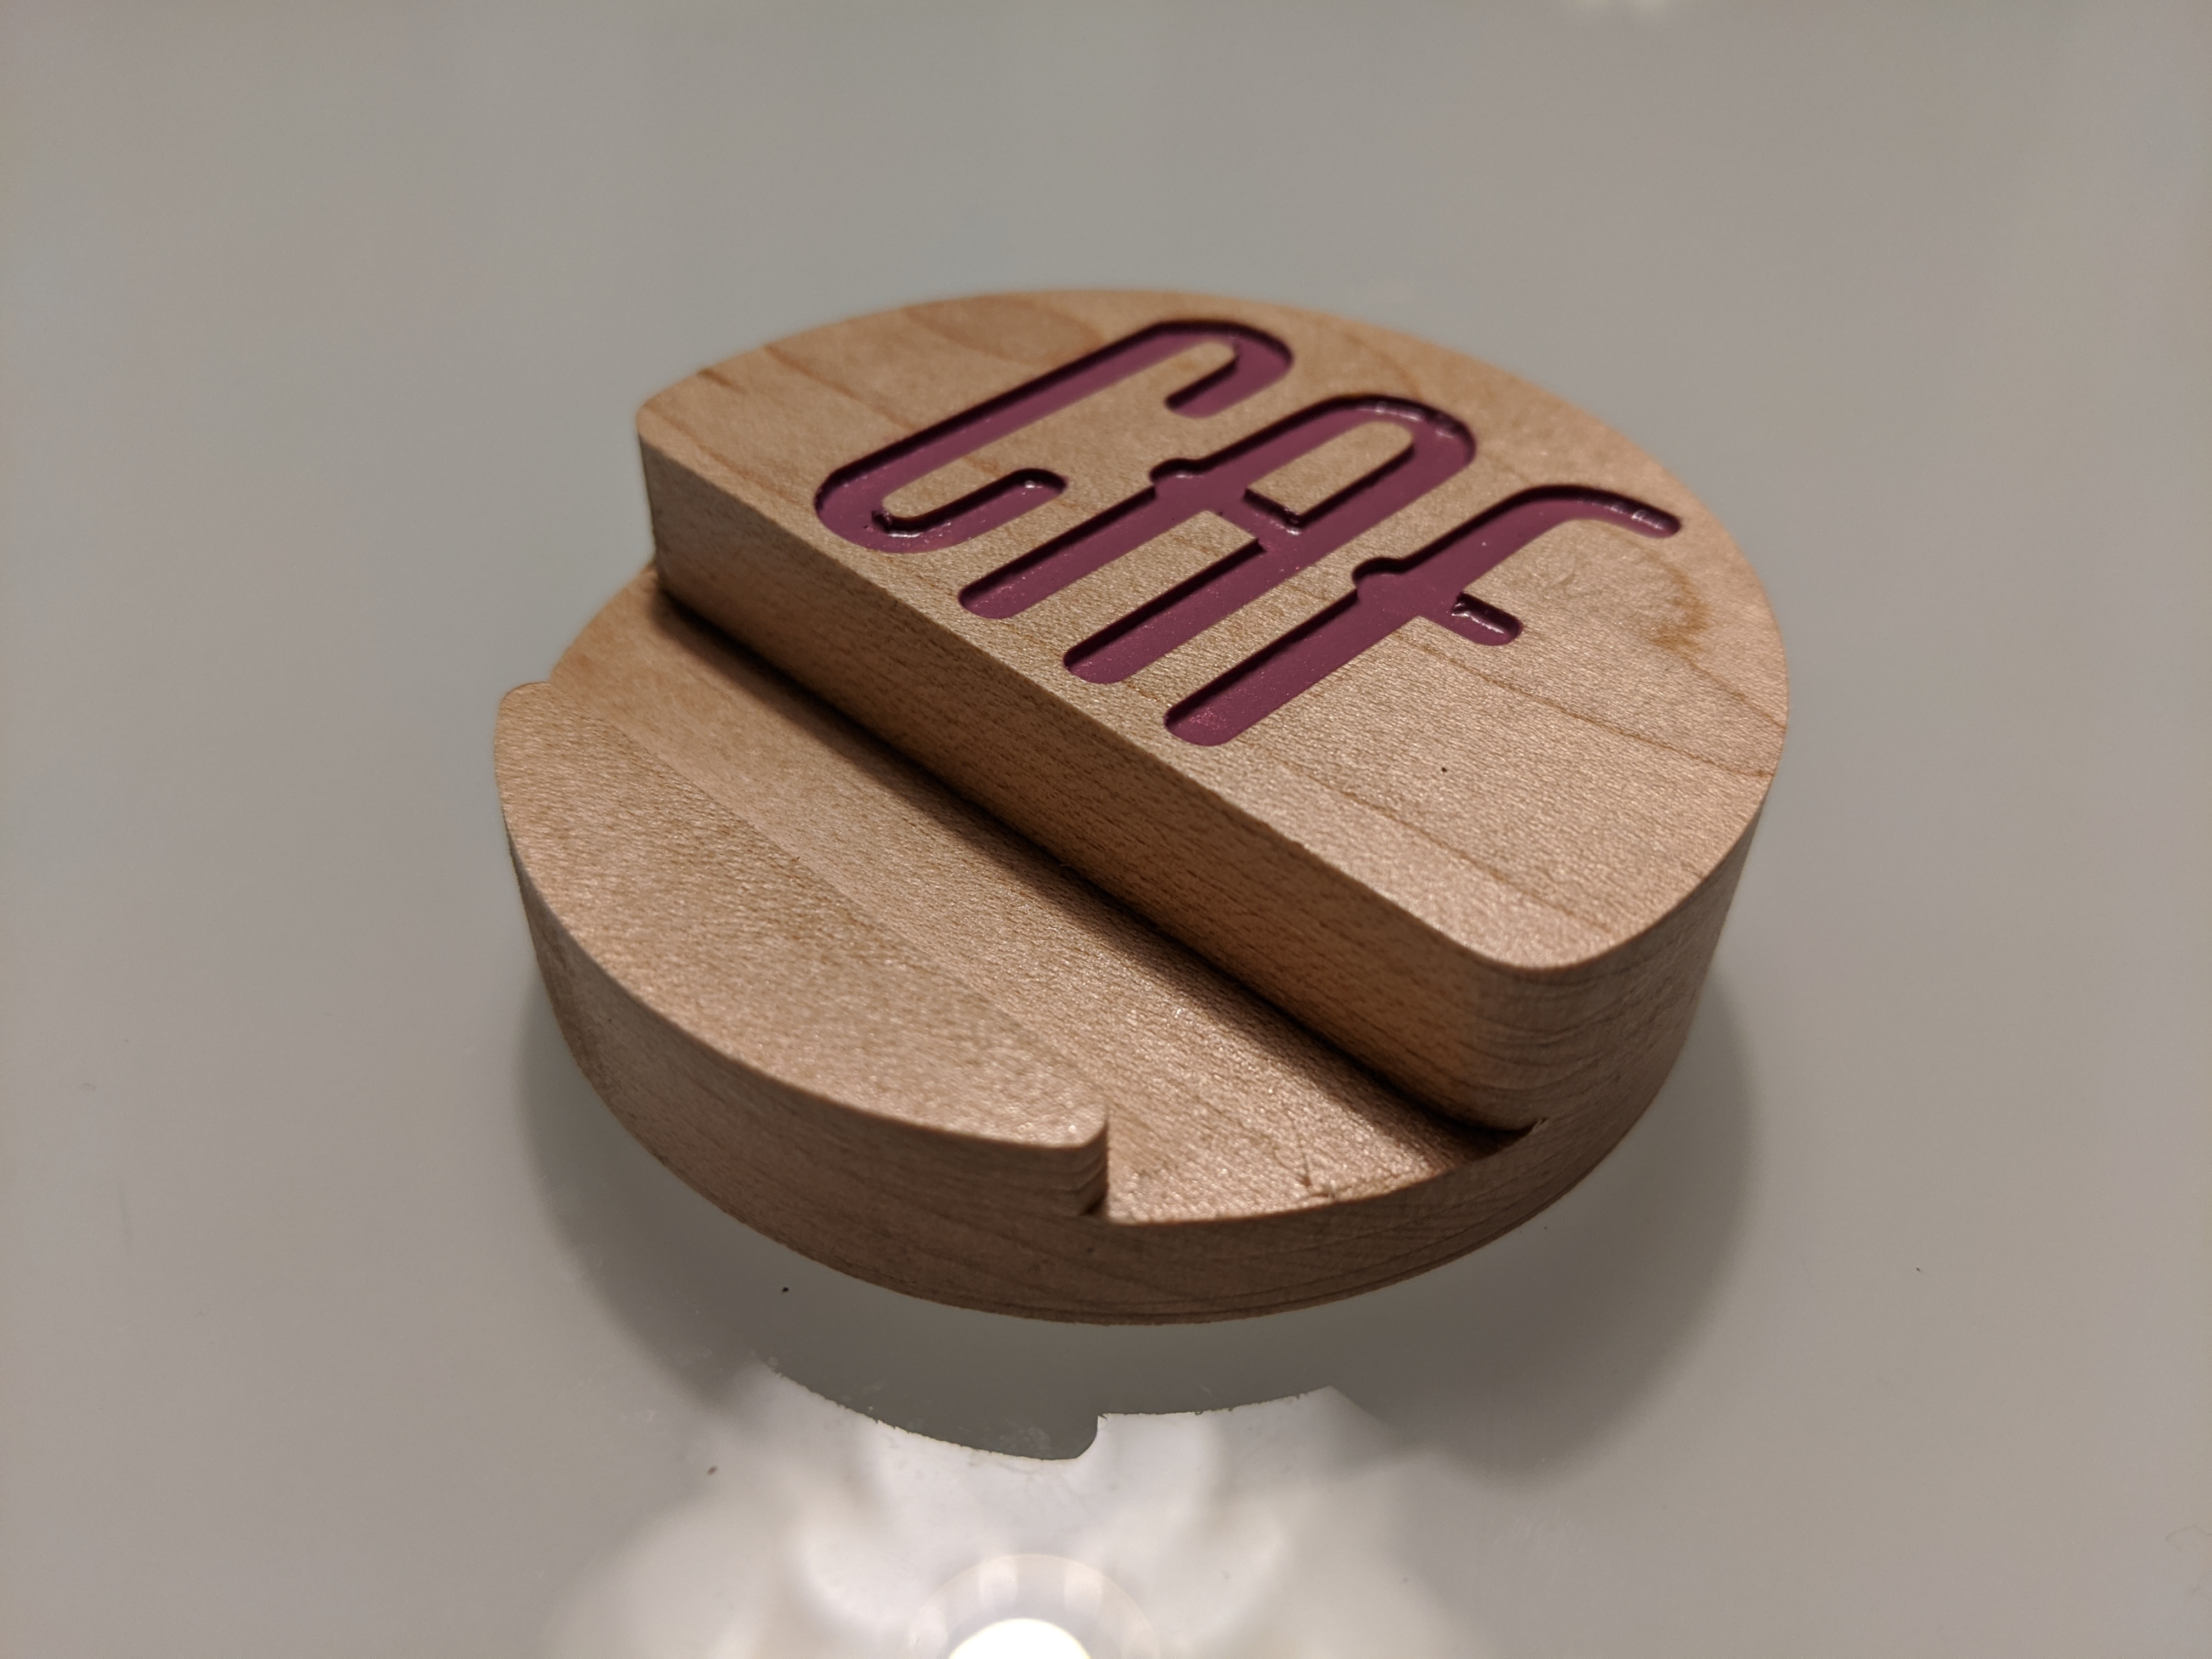
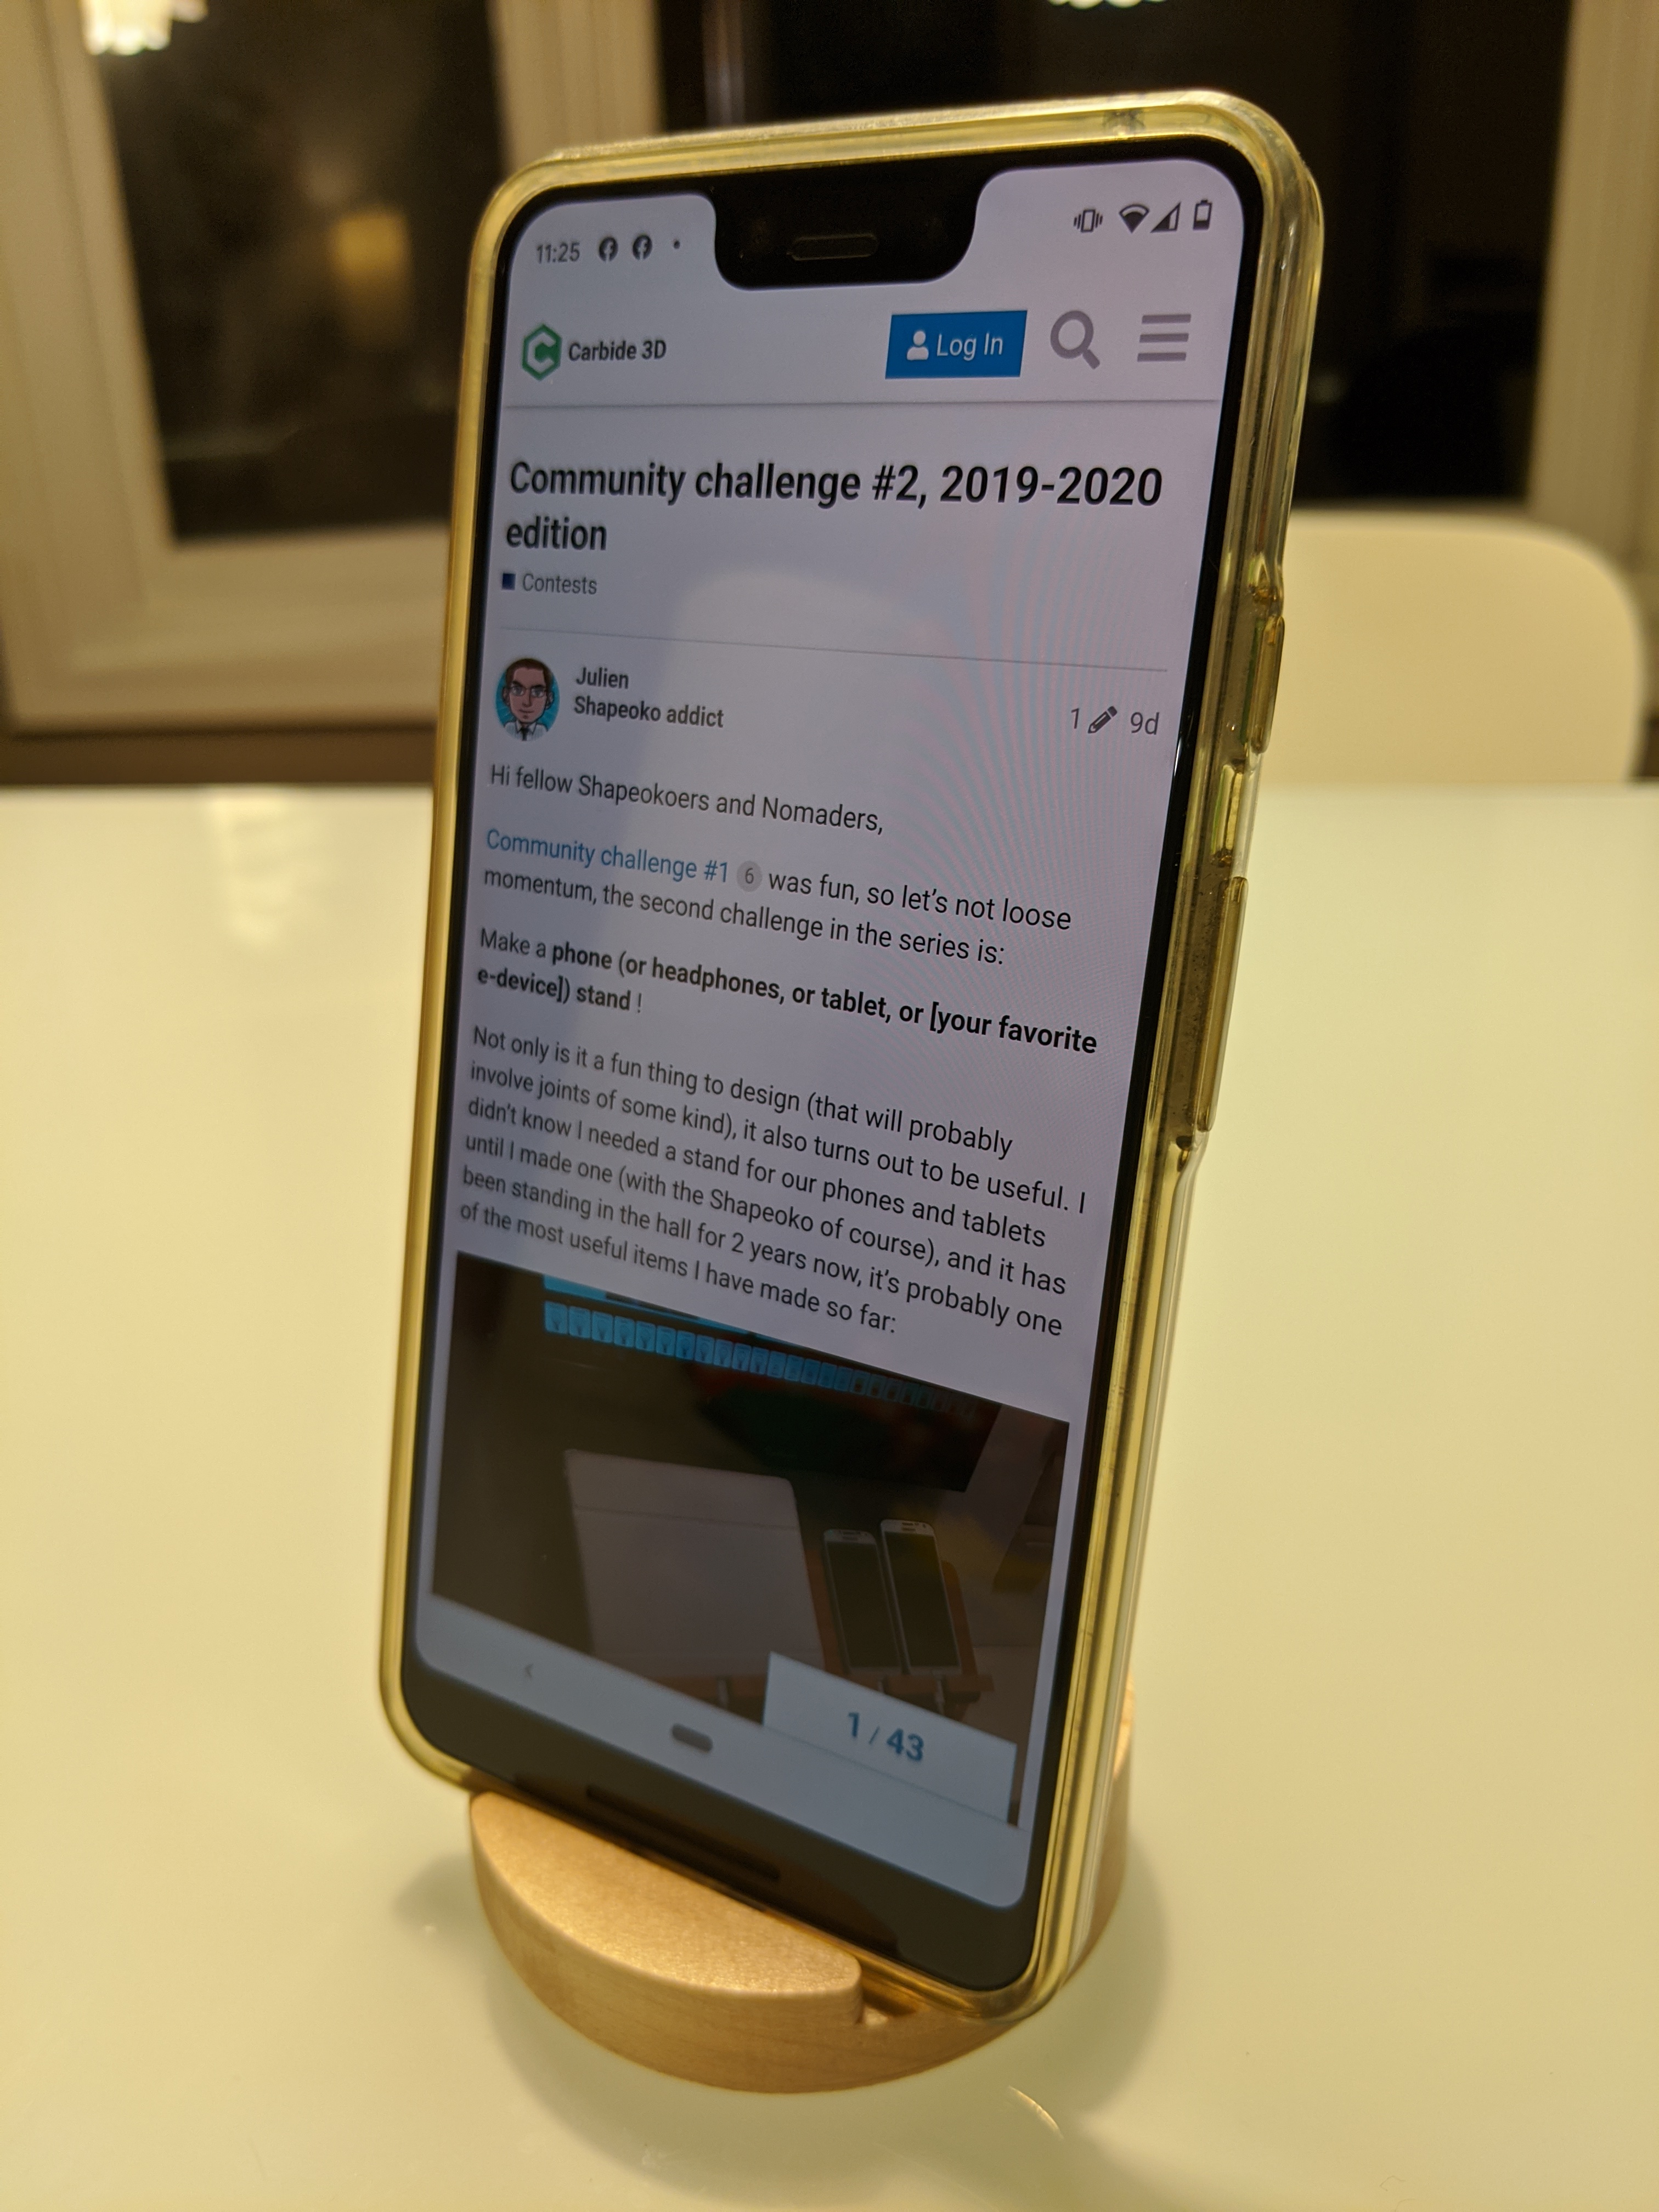
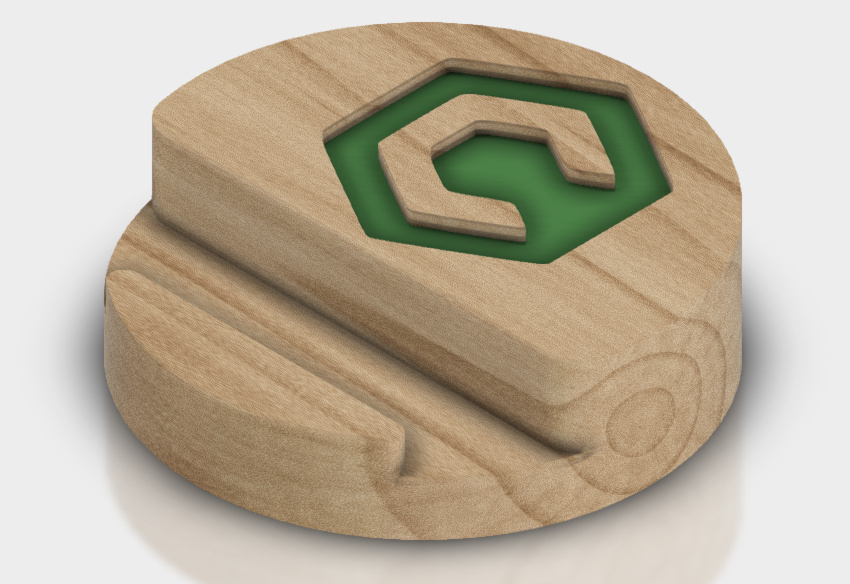
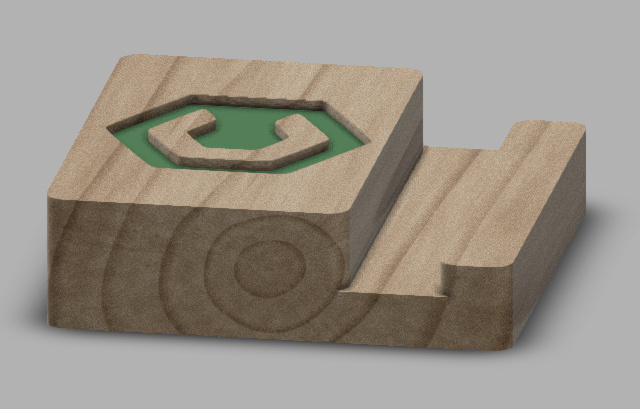
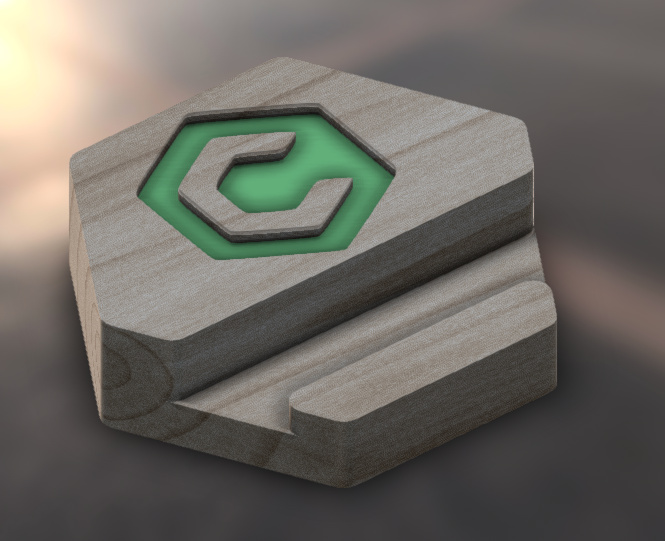
The design…I knew she wanted something small and simple that did the job without being in the way. This was modeled in Fusion 360. A simple phone stand meant for the exact purpose to stand a phone upright for viewing. It will work in portrait or landscape mode, and it takes up very little table/desk space (70mm diameter). I also included my wife’s initials in the version I made. I want to be part of the club here, so I added the C3D logo like many others for the version I’ll share here. The best part is that it takes only a few minutes to cut. I went ahead and made a series, and I was thinking that it might be a cool project for my students (maybe if Carbide 3D would donate a machine?)
Anyway, I did ask my wife what color she wanted her initials. She said pink, probably knowing that I don’t have pink paint or stain. I wasn’t going to be left out of this, so I found some of her nail polish and here you go:
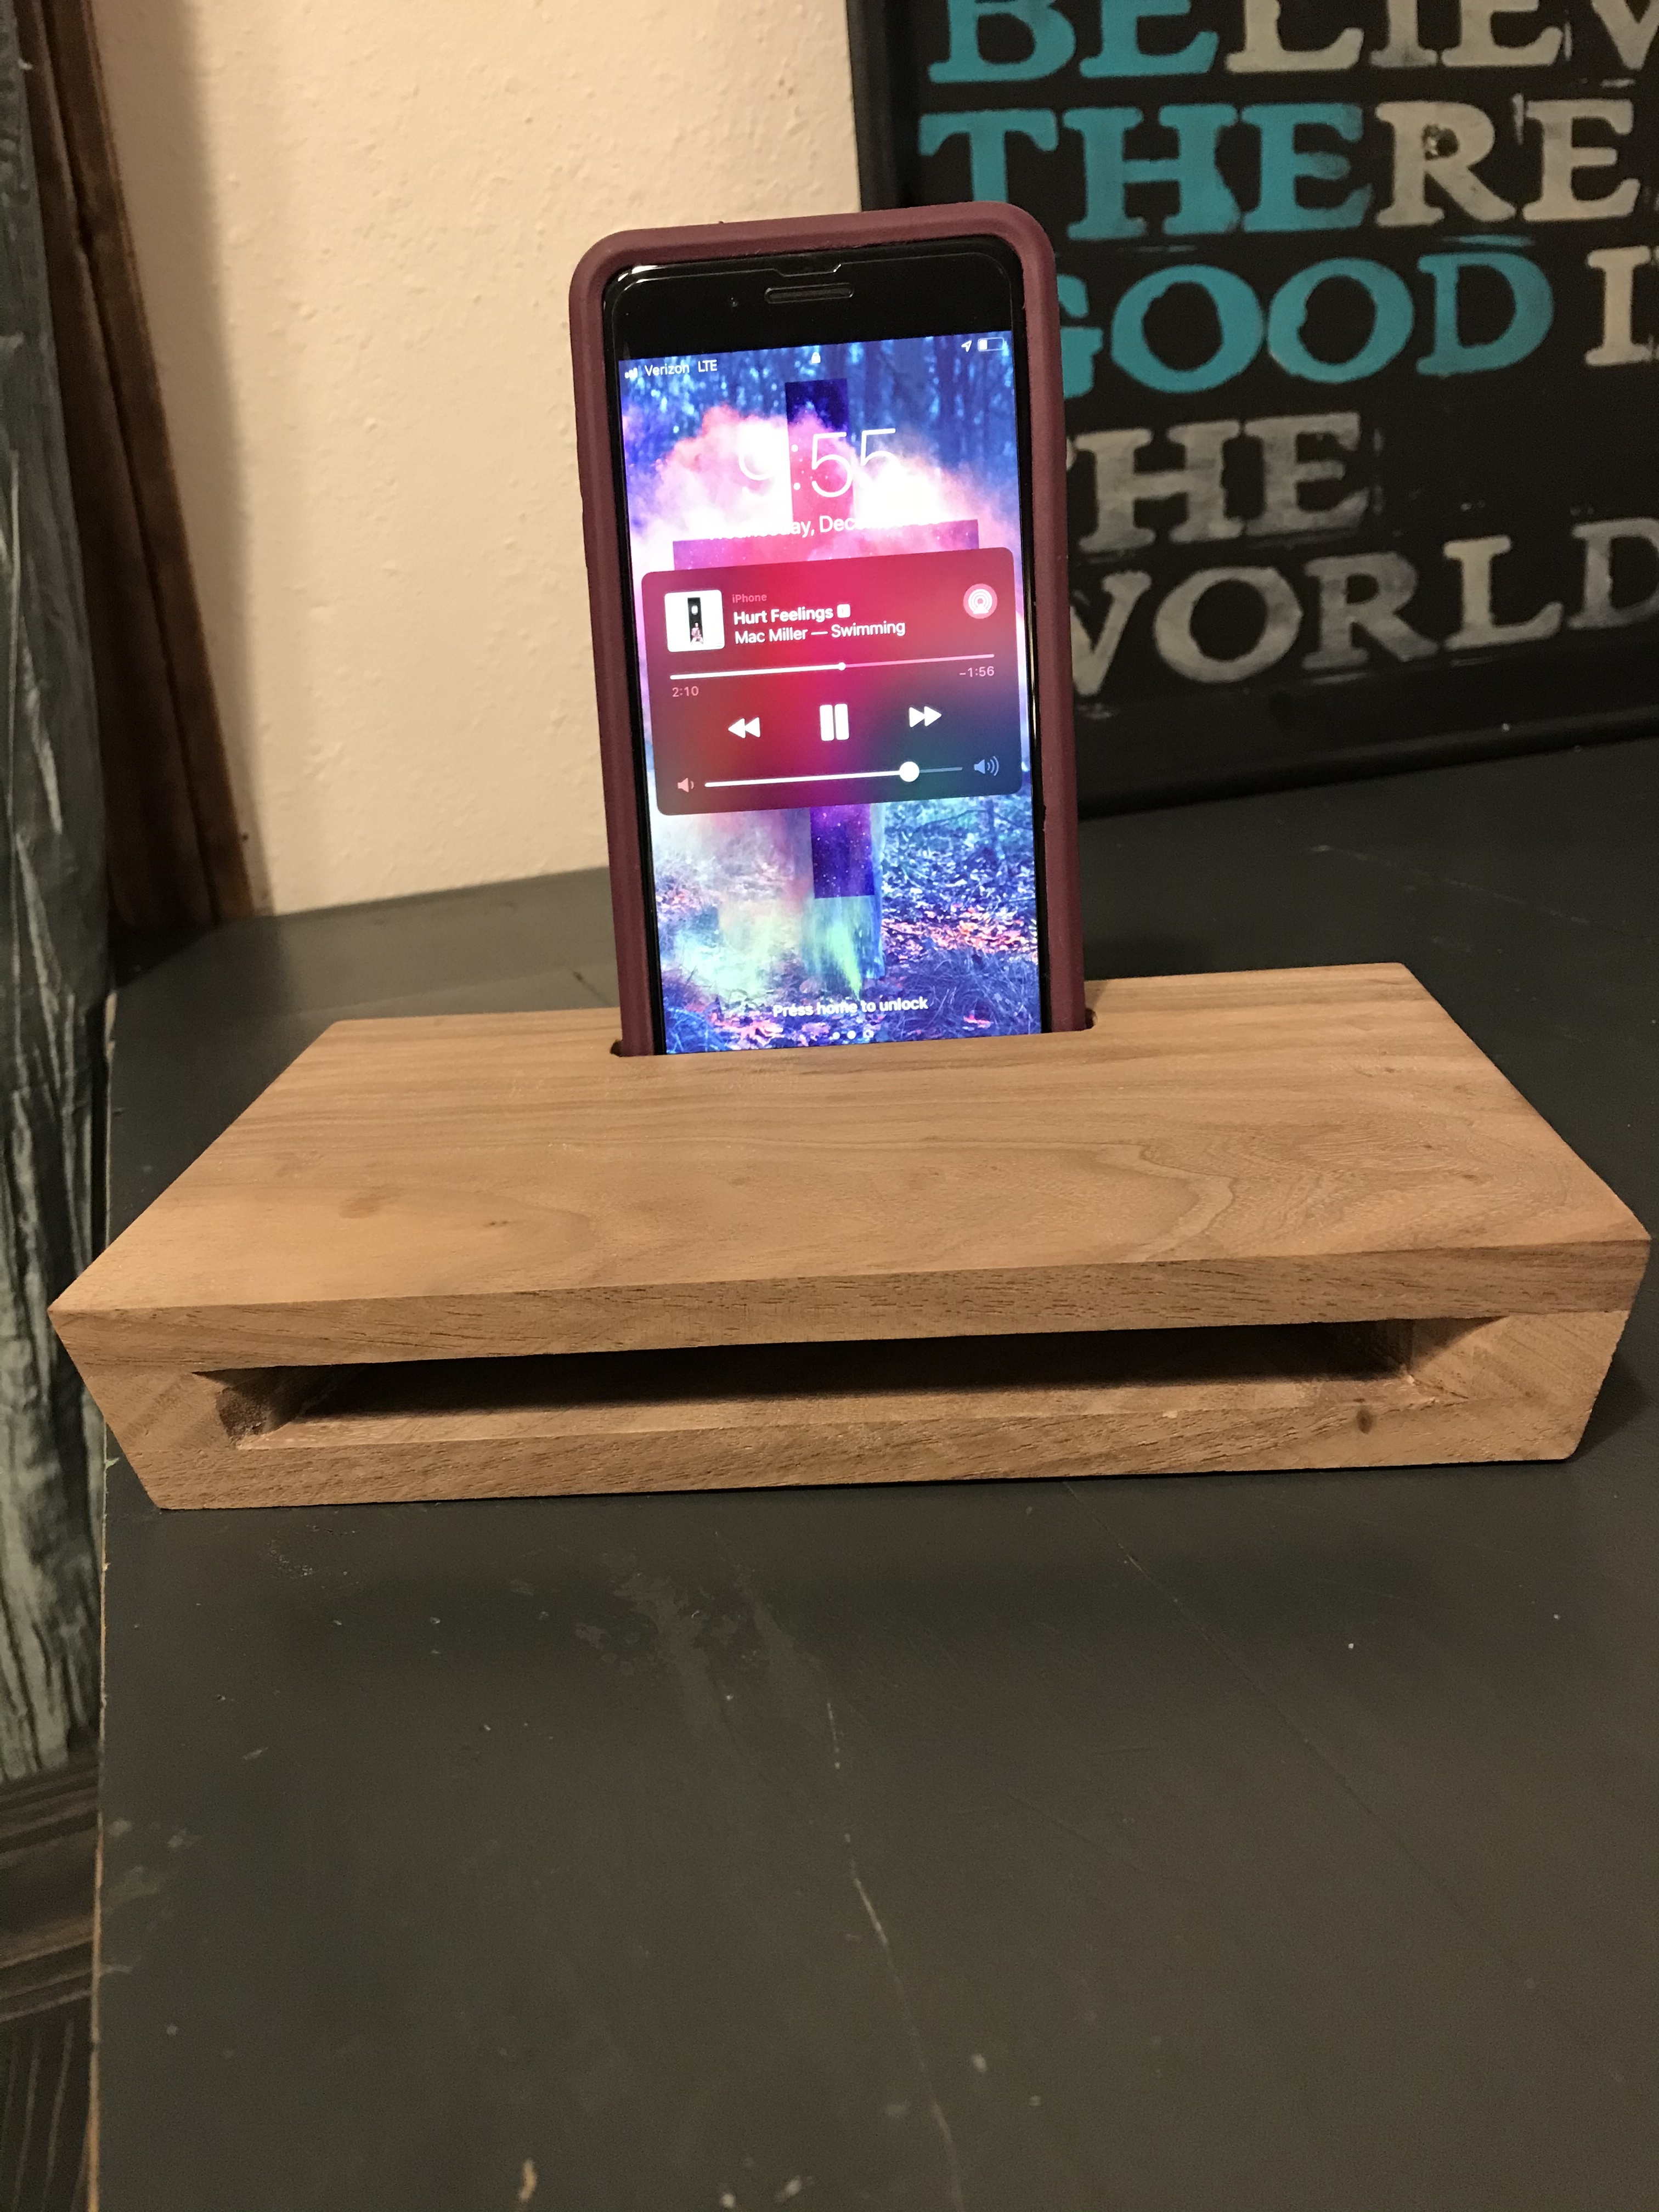
So I decided last night I would give this contest a shot. Was thinking of making a charger stand for my phone, but then realized everyone was doing that and decided to go a slightly different route (still a phone stand) and I could earn some points with the wife in the process. She is always listening to music on her phone while getting ready/showering and decided to make her a phone amplifier.
It isn’t fully finished yet, she needs to decide if she wants anything carved into the top or if she is going to design and cut something on her Cricut for it. So I have to hold off on oiling/sealing until it is decided.
Started off by glueing together a couple pieces of walnut, then pocketed out the amplifier hole and the phone hole before glueing on the bottom piece. Once the glue was dry enough I cut all four sides with my table saw blade set at about 15 degrees. I am pretty sure I could also accomplish the same angle cuts without a table saw using the ShapeOko, not sure how I would go about doing that with Carbide Create without actually spending some time trying but I know it can be done using Fusion if needed.
It is a really straight forward design that doesn’t take too long to cut. I probably could have upped the cut depth and had a finishing pass but today I had just finished the last bit of buttoning up of everything after dismantling it to add sand to the extrusions, shim it more square, and add the HDZ. So I really did not want to push it with having a deadline and using up my last bits of walnut.
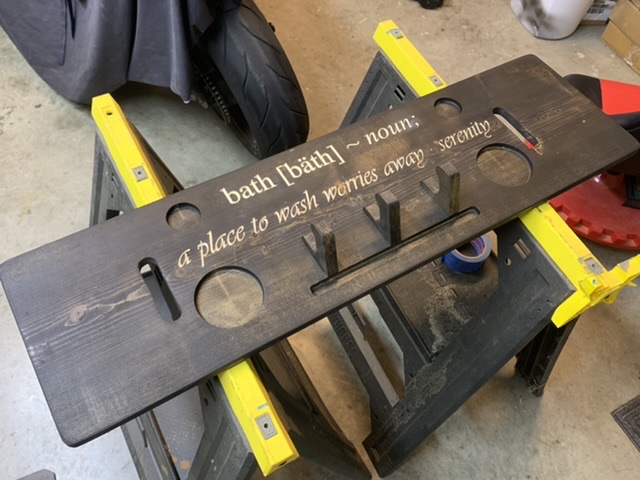
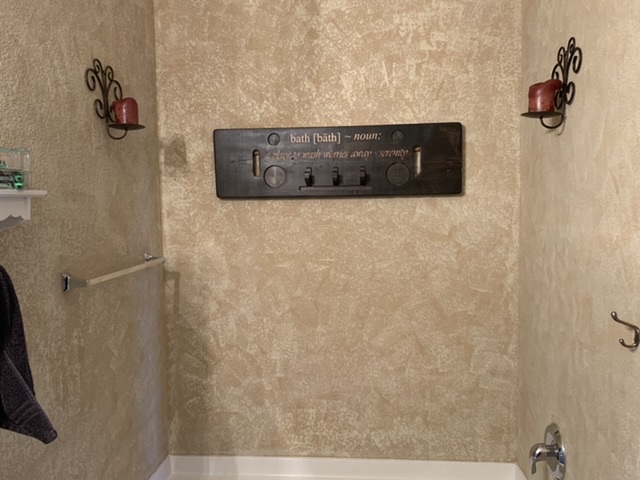
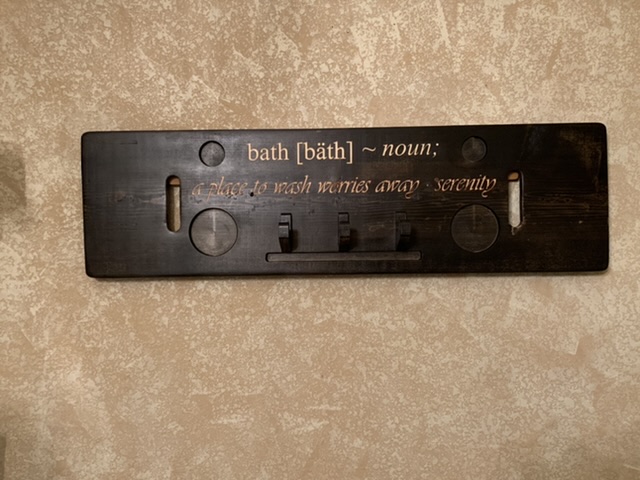
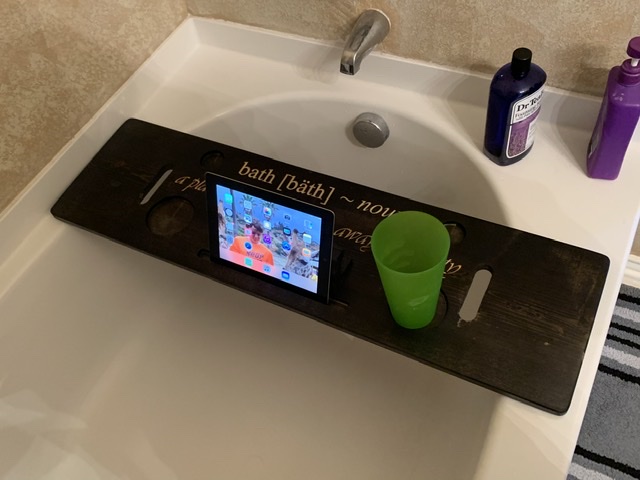
I made this last year. Not exactly a tablet holder, but it has one built in. Hooks for holding bathrobes double as back rests for your iPad. Recesses for holding candles and or favorite beverage while you bathe. French cleat on the back facilitates easy hanging when not in bath mode:
Edit: Here are the C2D files, they will have to be edited as you see fit for proper speed/feed/material. The outside of the bathboard was cut by hand to fit my bathtub. The handles were also cut by hand, but they are in the file for reference.
It’s great to wake up to four additional entries !
Time is up, thanks everyone for participating, I have created a separated thread for voting, please head over there to pick you favorite project(s) !
n.b : @DanoInTx I assumed you forgot to attach the design file but of course still counted you in, can you please edit your post just so it matches the rules ?
I’m curious to know how well does that work as an amplifier. I’m often watching YT how to videos and using my computer at the same time but the design would need to be adapted for landscape viewing.
My wife says that it is quite a bit better when I demonstrated it last night for her. I know it was easier to hear because it directs the sound toward you more. I think it would be worth trying a couple different designs in some scrap/cheap pine to see if one is better than another. I have seen ones where they are a radial (correct word?) starting as a small opening at the phone and getting larger as it circles itself just like you see with snail shells and the likes.
You can get a good “amplifier” by cupping your hand around the speaker end of your phone and thus redirecting the sound towards you instead of in an omnidirectional pattern.
The method is more of a redirector / concentrator.
Yes in a pinch for a phone call but not practical to watch a video or make a video call.
Just like an old gramophone!
I think the concept is interesting and warrants some testing to find a design that works for the use. I think your concept would probably work very well for a Facetime or Skype conversation.