Any chance for more Nomad-oriented alternatives instead of Bitrunners/HDZ?
Billet Spork?
Dibs 
4 Likes
I would love to see the work holding on that…
2 Likes

If you have a Nomad and decide to enter, and win, we’d be happy to send you a prize that’s more Nomad friendly.
7 Likes
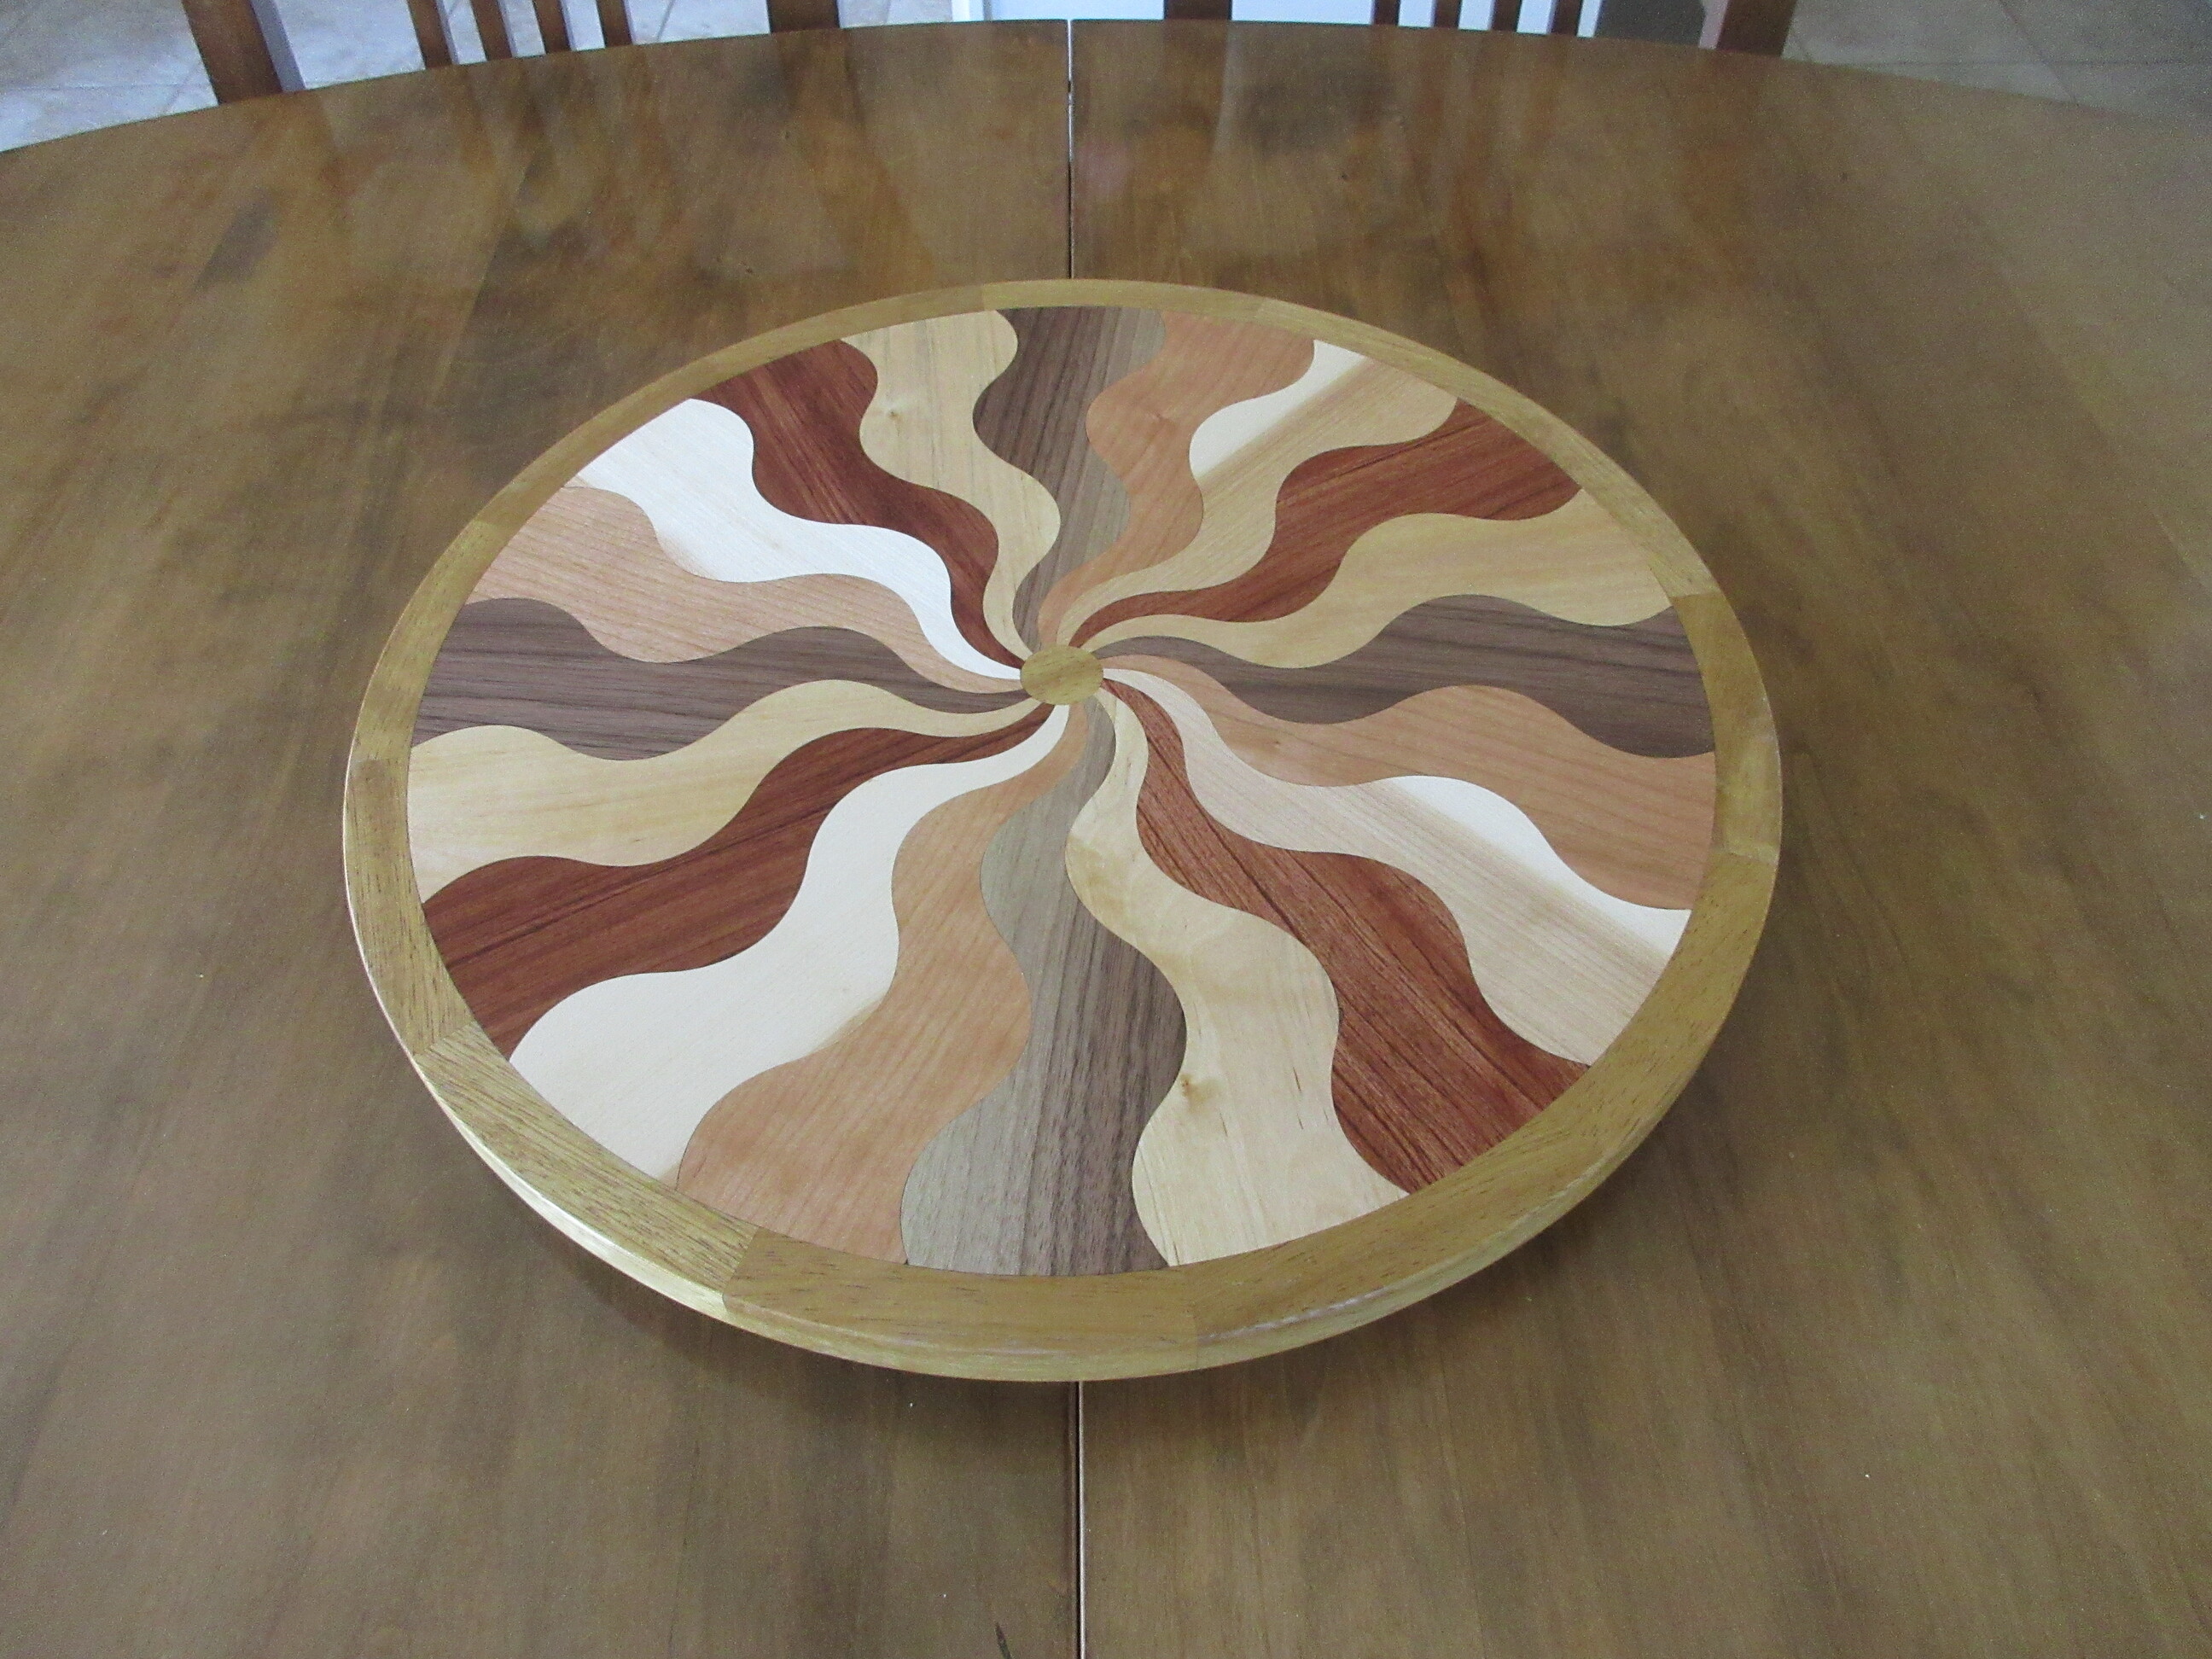
Lazy Susan for the dining table. 6 different hardwoods on plywood base. All pieces designed with Carbide Create and cut with a standard Shapeoko 3.
30 Likes
Nice! Don’t hesitate to edit your post to add “behind the scenes” details of how you designed and milled it, mishaps, tips, etc… those are usually very useful to the community.
2 Likes
Very Nice!
How much fine tuning was needed after sanding each piece? Or did everything just go without issue?
No fine tuning or sanding to fit required, I made sure that the curves had no discontinuities in them. I did tune fit the outer ring around the main assembly. I machined the ID of the ring and then put the main assembly on the Shapeoko and machined it in 0.005 increments until I got a snug sliding fit. I went 0.005" under in the end to allow a bit of space for glue. My machine has always been very accurate as long as I use good bits. i.e. bits with an accurate cutting diameter.
5 Likes
It is a very Cool project. I like it a lot.
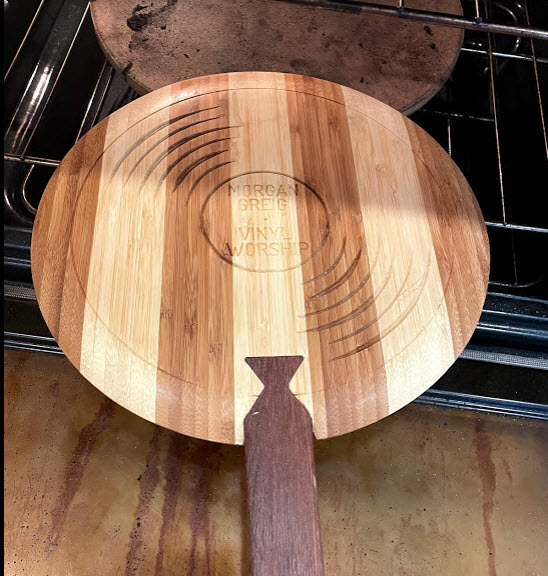
I made this record shaped pizza peel for a friend with the name of his album on it. Two sided 3d carve done on MeshCAM, Vcarve and pocket done in Carbide Create. My first successful 2 sided 3d carve. Carved on Shapeoko XXL. CAD model done in CATIA, exported as .stl for MeshCAM, and .dxf for Carbide Create.
-J
PS: I can’t seem to publish to CutRocket. Where’s the FAQ for CutRocket? Maybe it just doesn’t like my CATIA design files. Seems to be geared toward F360.
17 Likes
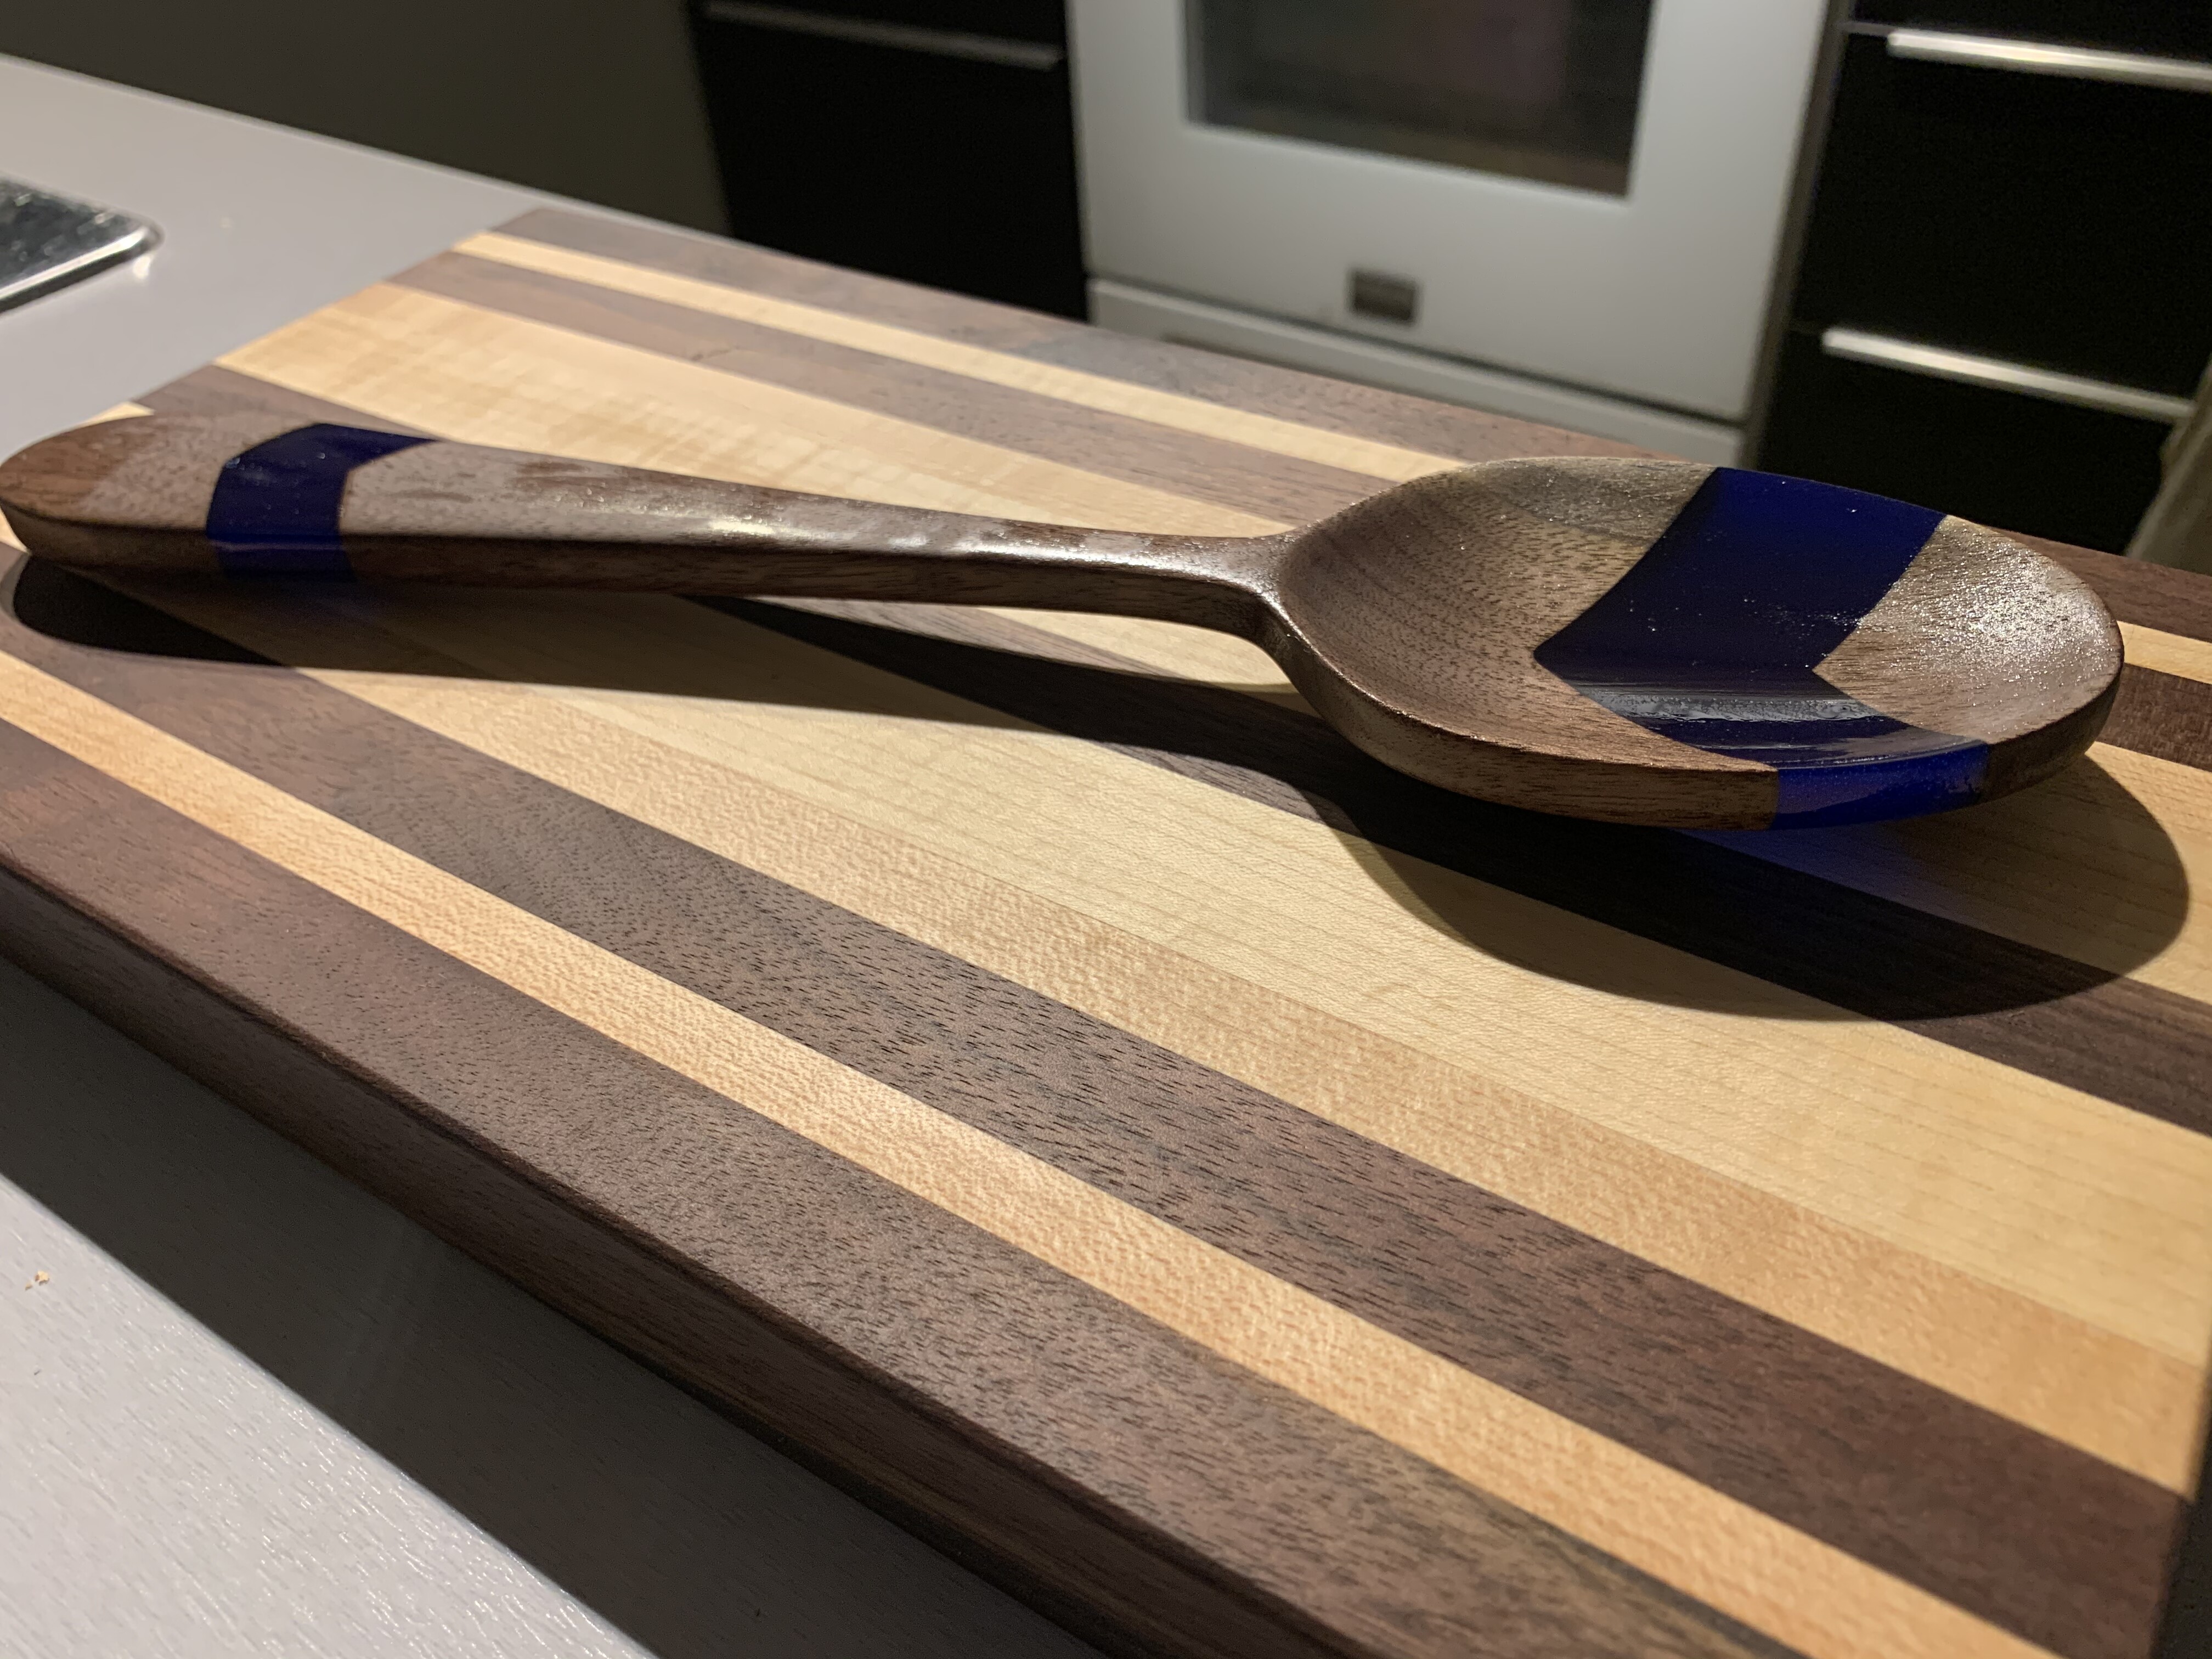
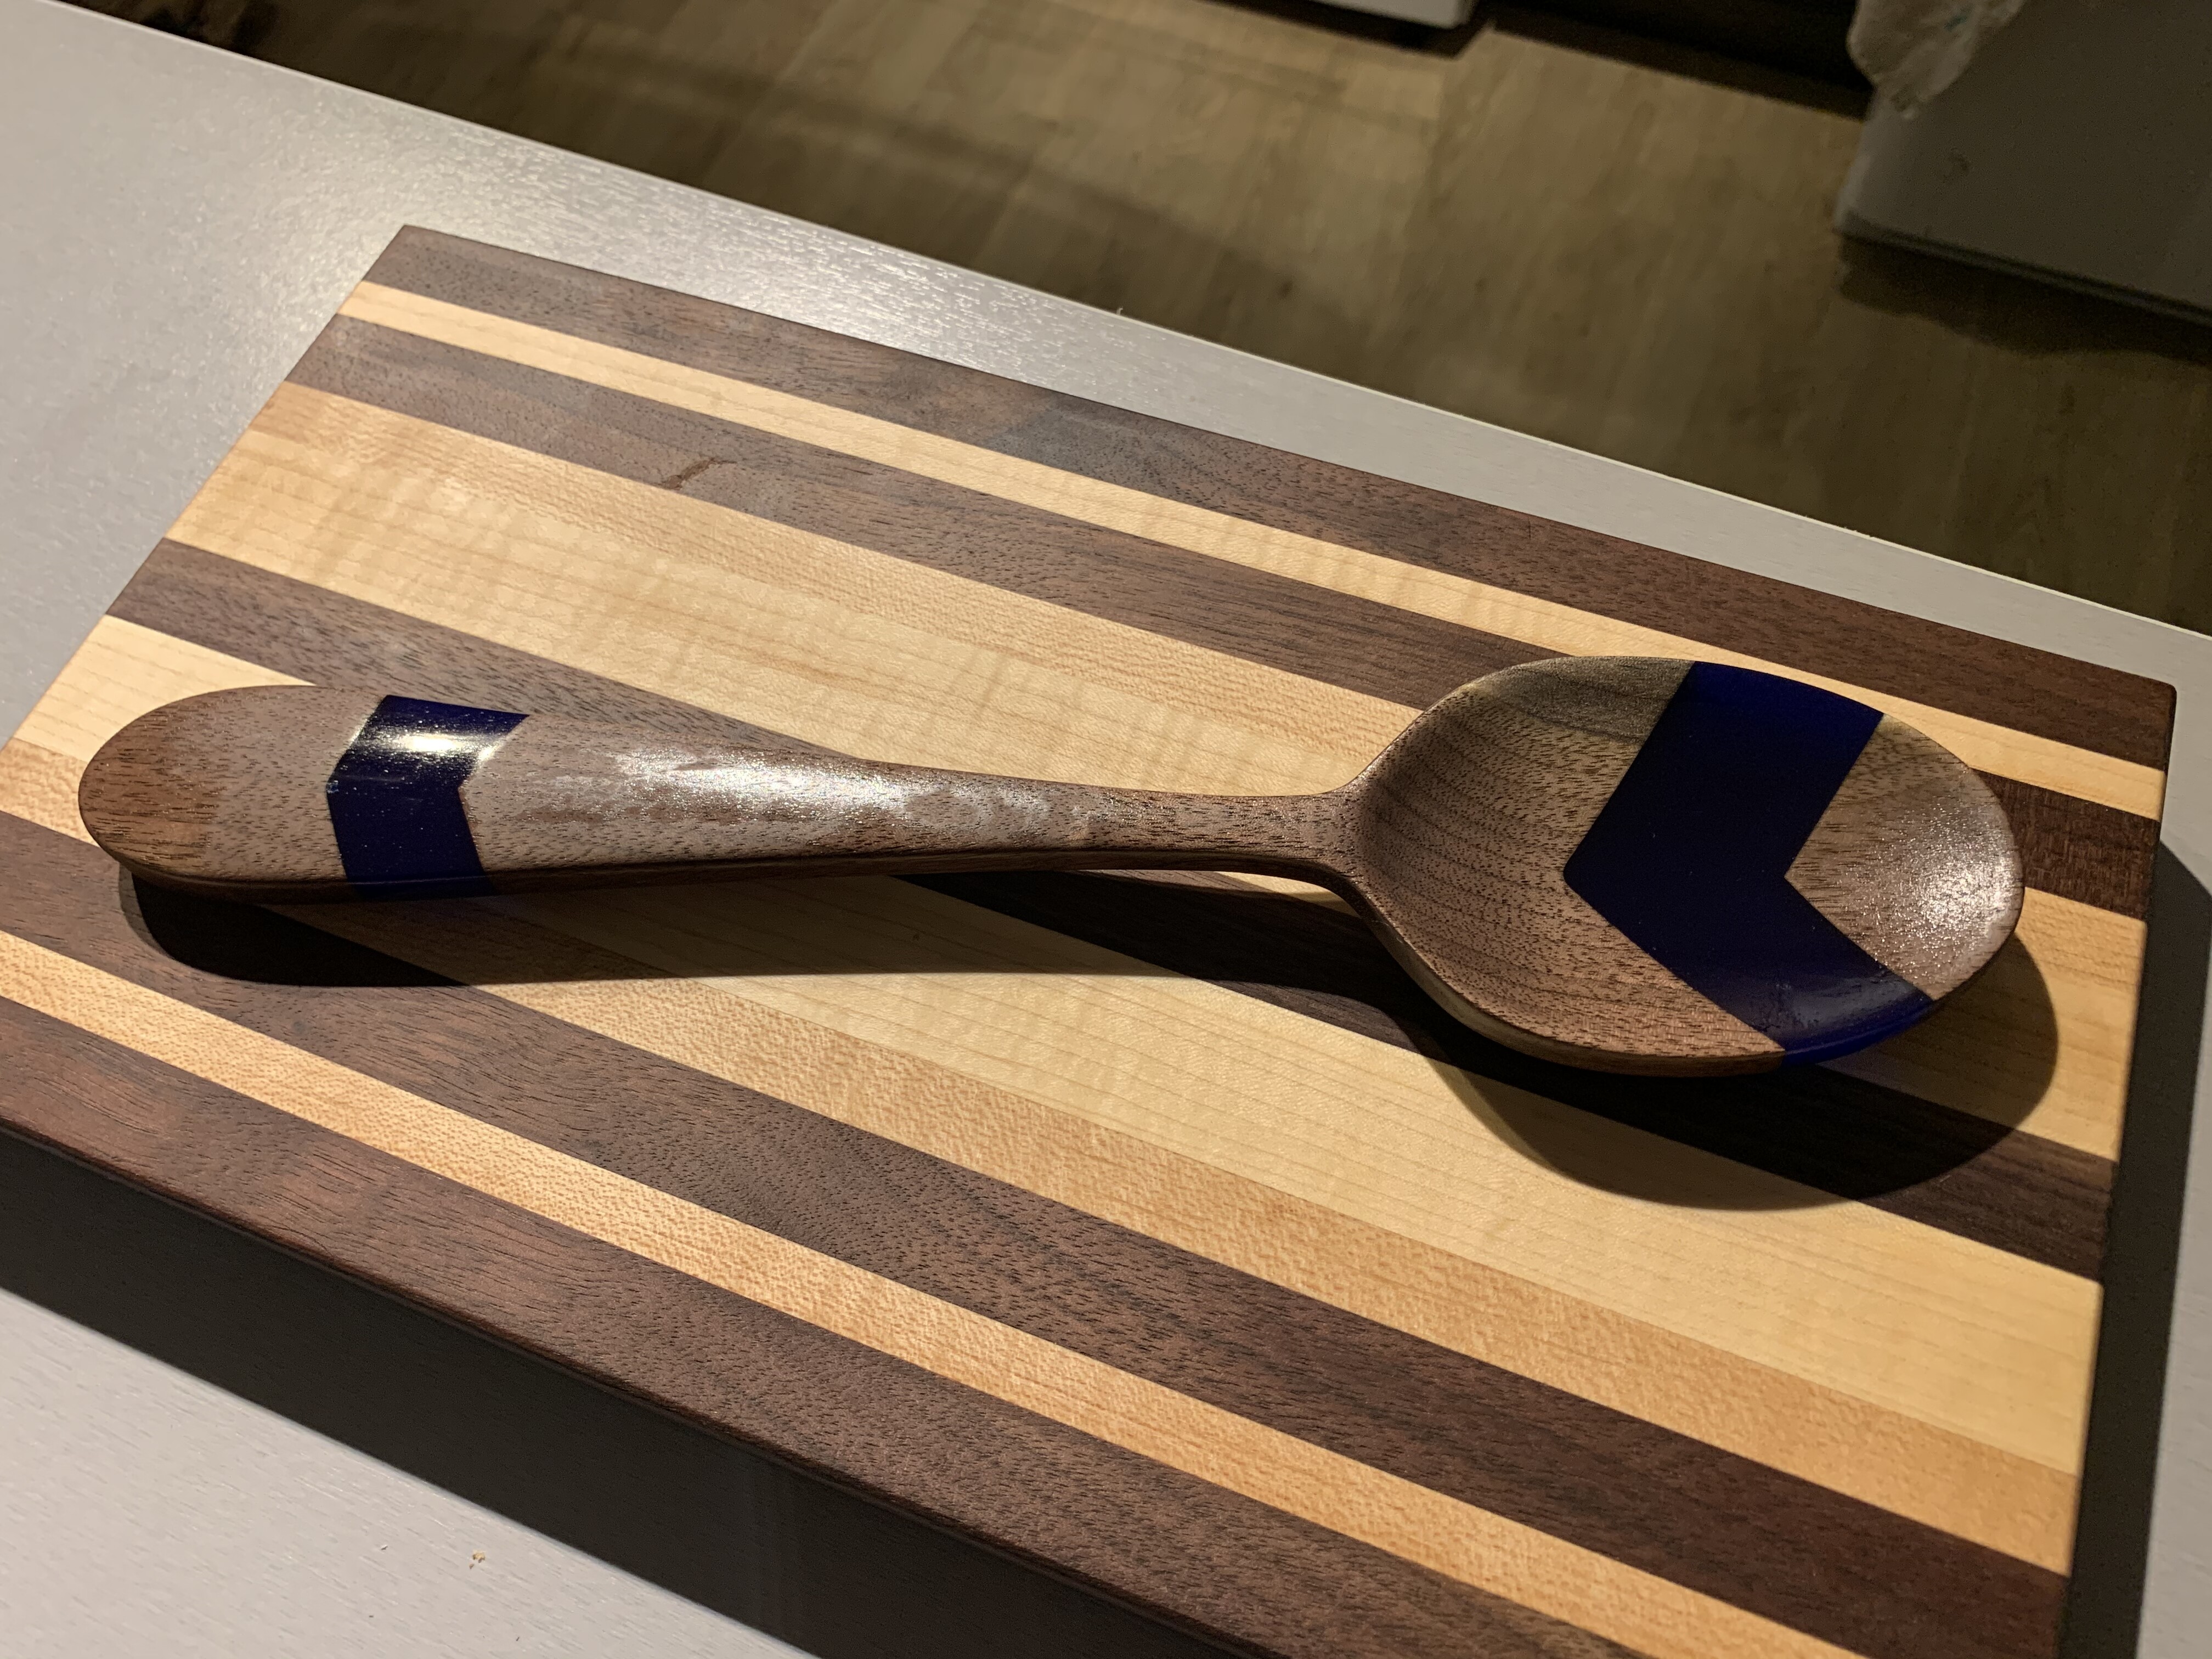
I hope I’m doing this right. First time entering one of these. Here is a spoon with epoxy. All done on my XXL with CC and CM.
Unfortunately I didn’t take any video of the machining of the epoxy spoon as it wasn’t my first attempt. So TheseVideo are the same procedure just on a non epoxy version
For the 2 sided machining, I used two bolts to locate the blank in front and took my Y zero.
For the second side I moved the bolts to the top and flipped the blank also retaking my Y on that side. This way if my the blank wasn’t exactly the size in CC things would still line up. I then moved the bolts before machining as to not hit them during the process. I took X on both OP’S

17 Likes
Yeah it currently supports c2d files and Fusion360 links. If you have a Carbide Create project where you imported a DXF, you can upload that
1 Like
Cool idea (the wood and epoxy mix for a spoon). If you have “work in progress” pictures, and a description of how you handled 2sided machining, that would be helpful, you can edit your post until the deadline to add this or any other info you feel is interesting to share
1 Like
I made a edit. I tried to upload two videos but wasn’t able to. Gave me an error.
1 Like
Yes, for videos one needs to upload them to a file/video sharing site of their choosing, and then insert a link in their post. The forum does not support direct upload of videos. If it is a small one you can zip it, since the .zip extension is accepted (but there is a small size limit)
2 Likes
Thanks. Another edit. Inserted hyperlink
1 Like
I have a YouTube account I’ll be linking to very soon.
Sometime after Tuesday.
will a drip coffee stand work as a kitchenware?
1 Like
It should!
Because it’s used in the kitchen!
1 Like