The better ways would be:
- using Boolean subtraction
- insetting by the radius, then offsetting to the outside by that radius — that will round all sharp points (by design) — see: 2D Drawing - Design into 3D
The better ways would be:
Oh Geez - I feel so dumb now… This now makes total sense and I could have saved lots of time and could have surely fit better. Thanks Will for providing the information. At least I’ll know better next time. Thanks again!
Anytime you find yourself worrying you’re not doing something optimally, feel free to post here or send in an e-mail to support@carbide3d.com and we’ll do our best to work things out with you.
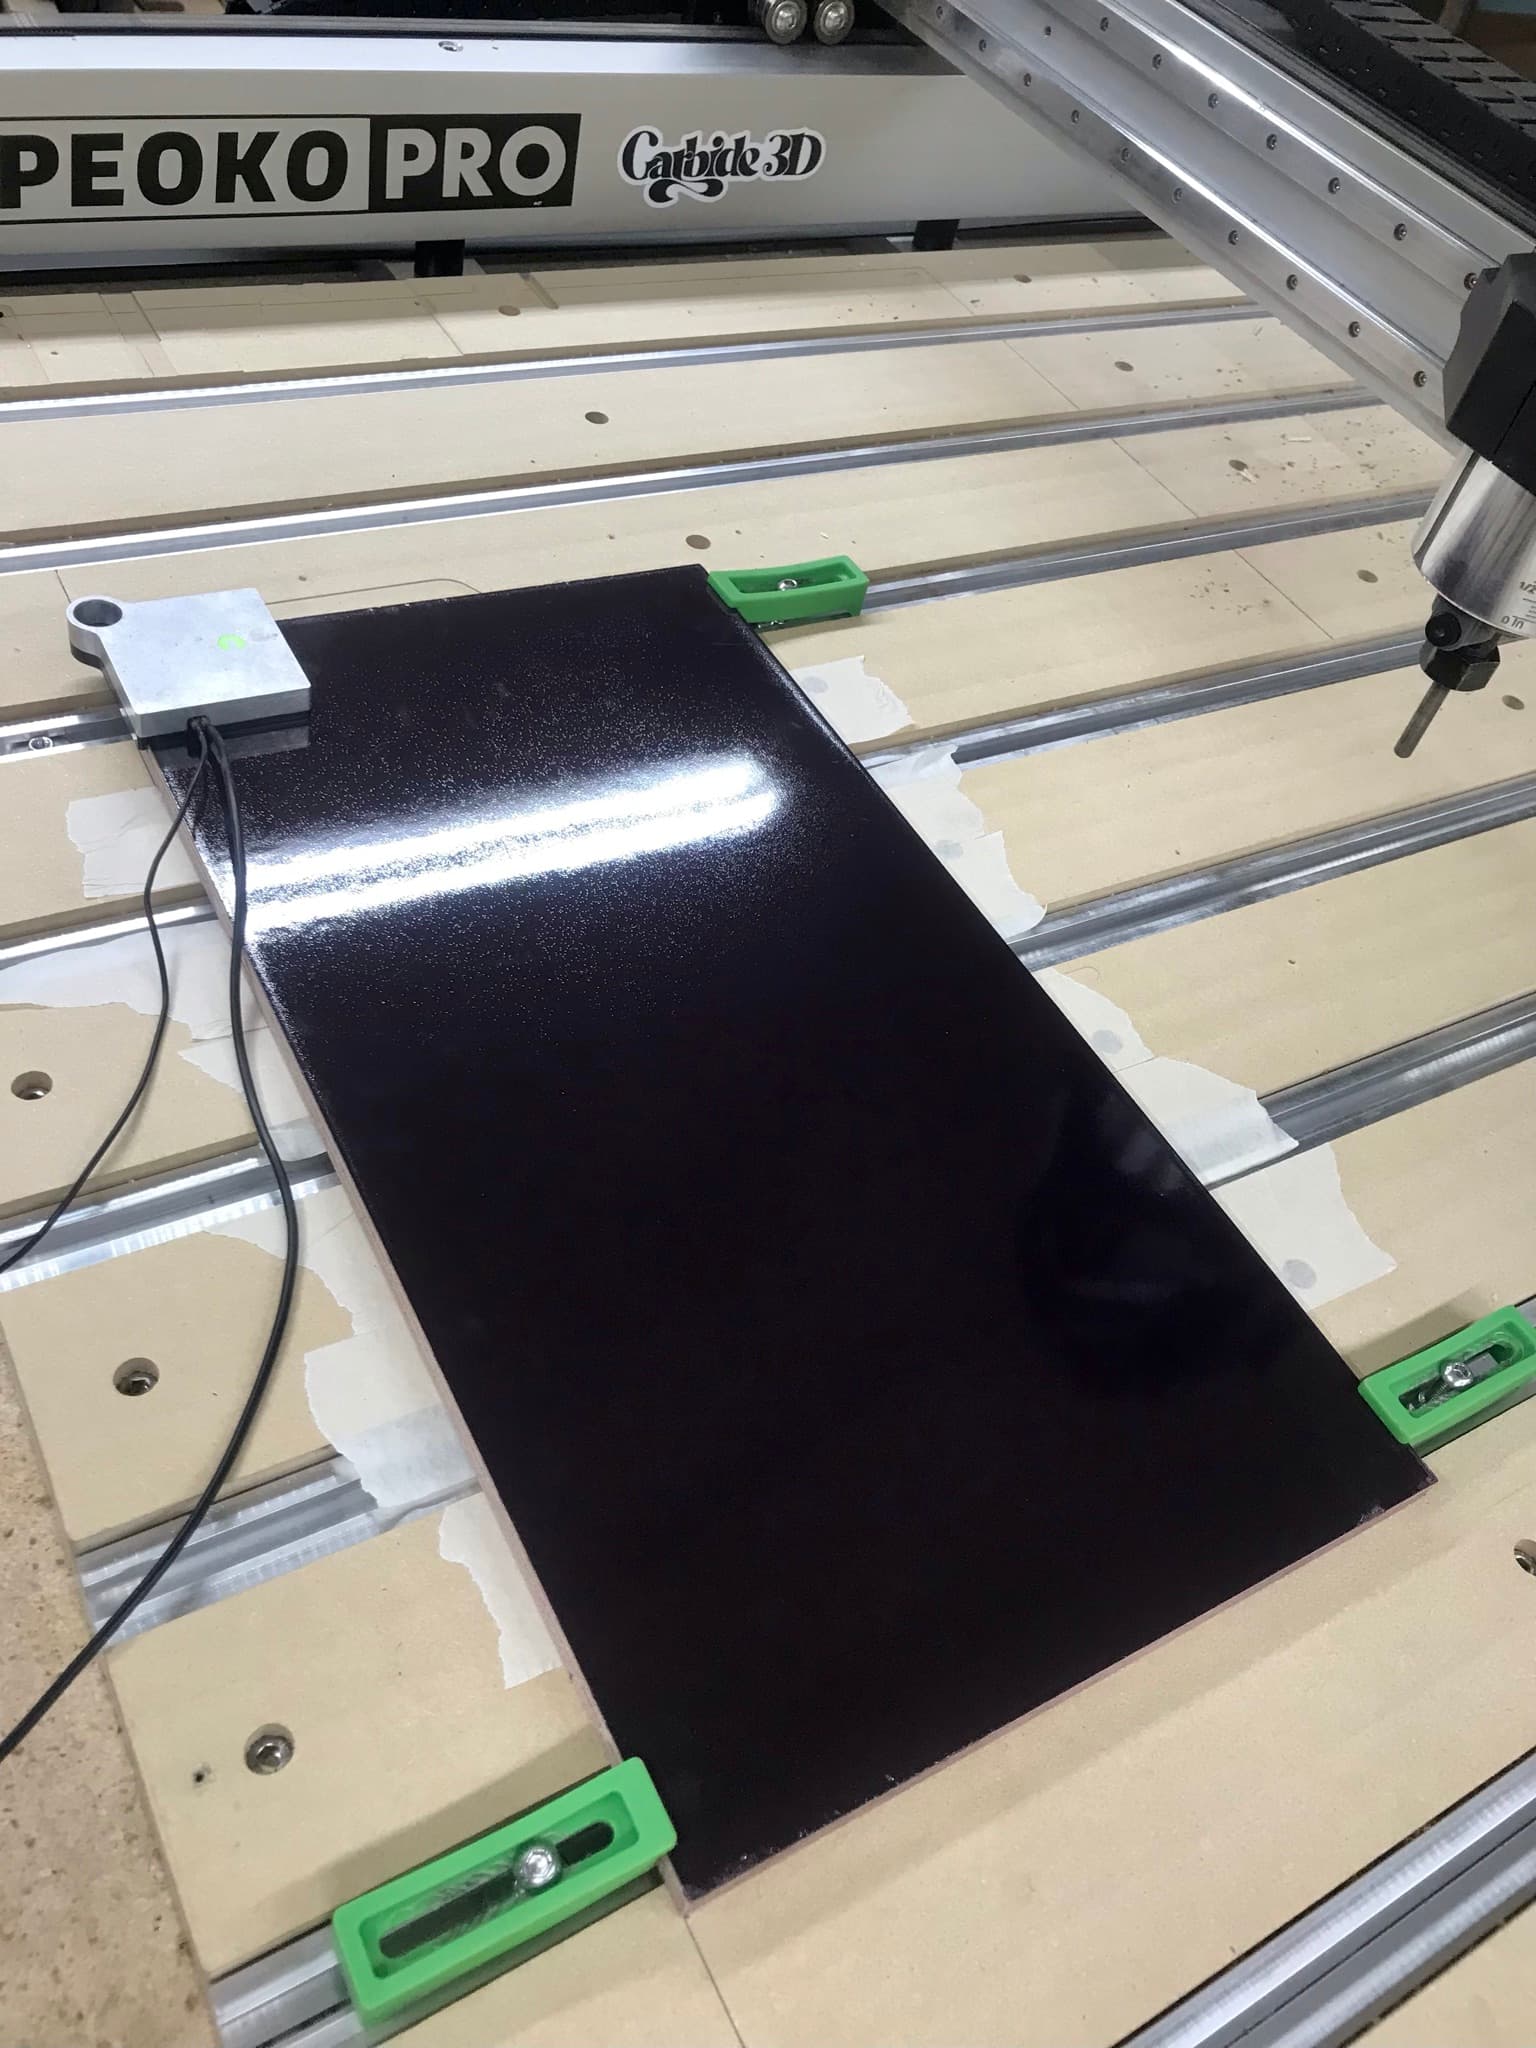
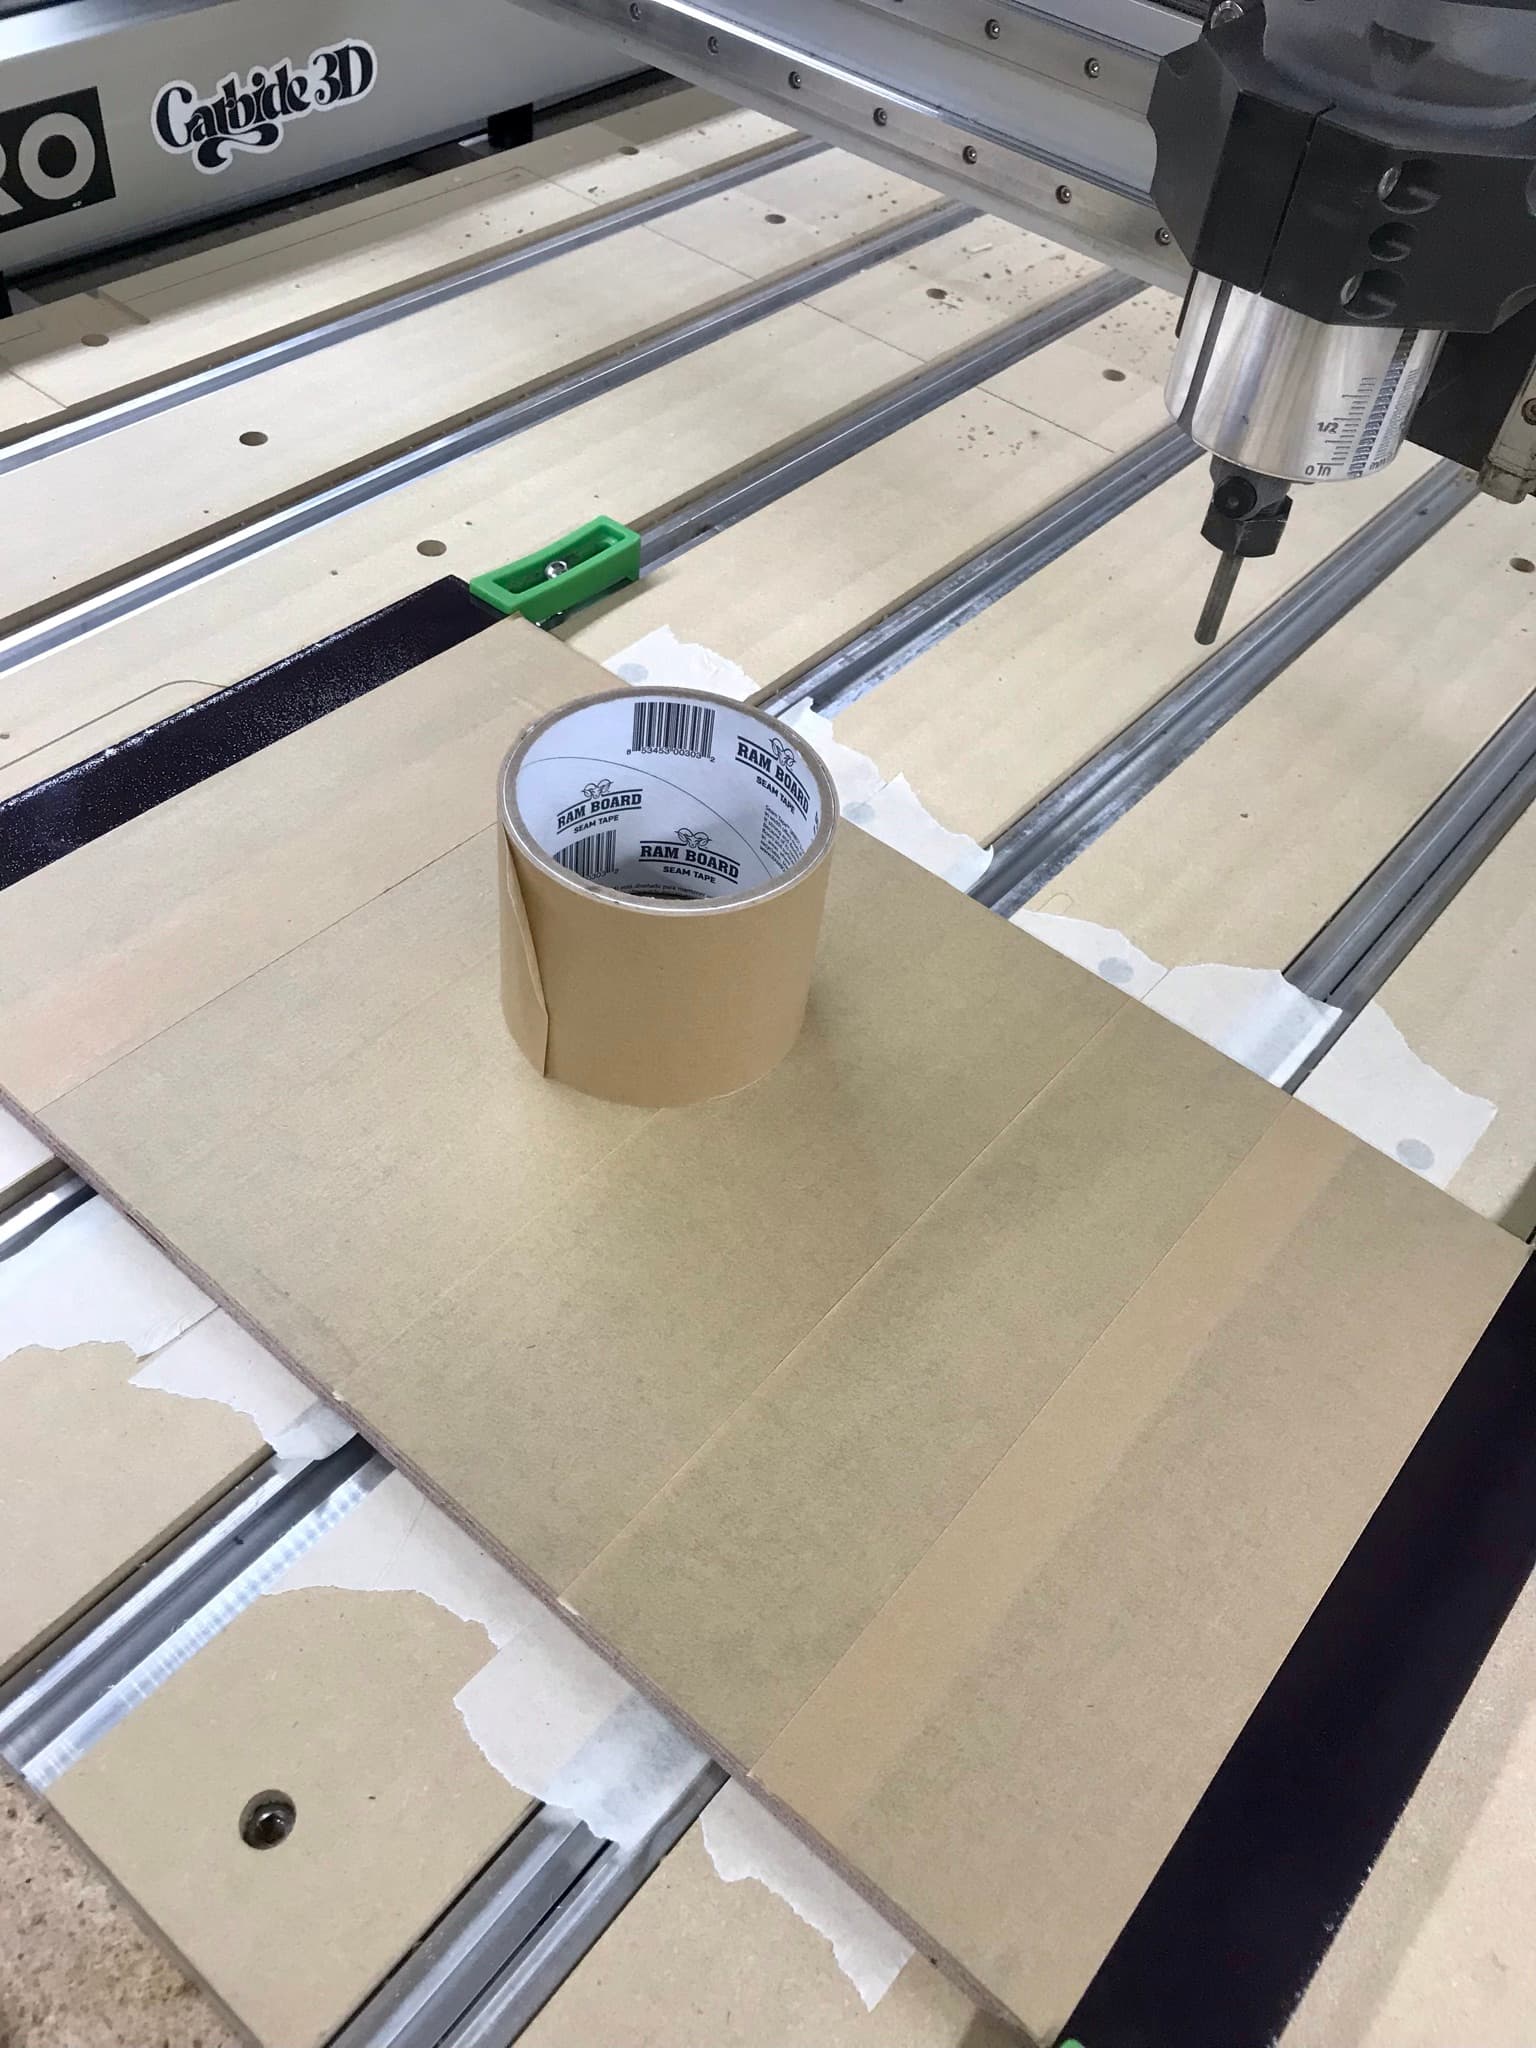
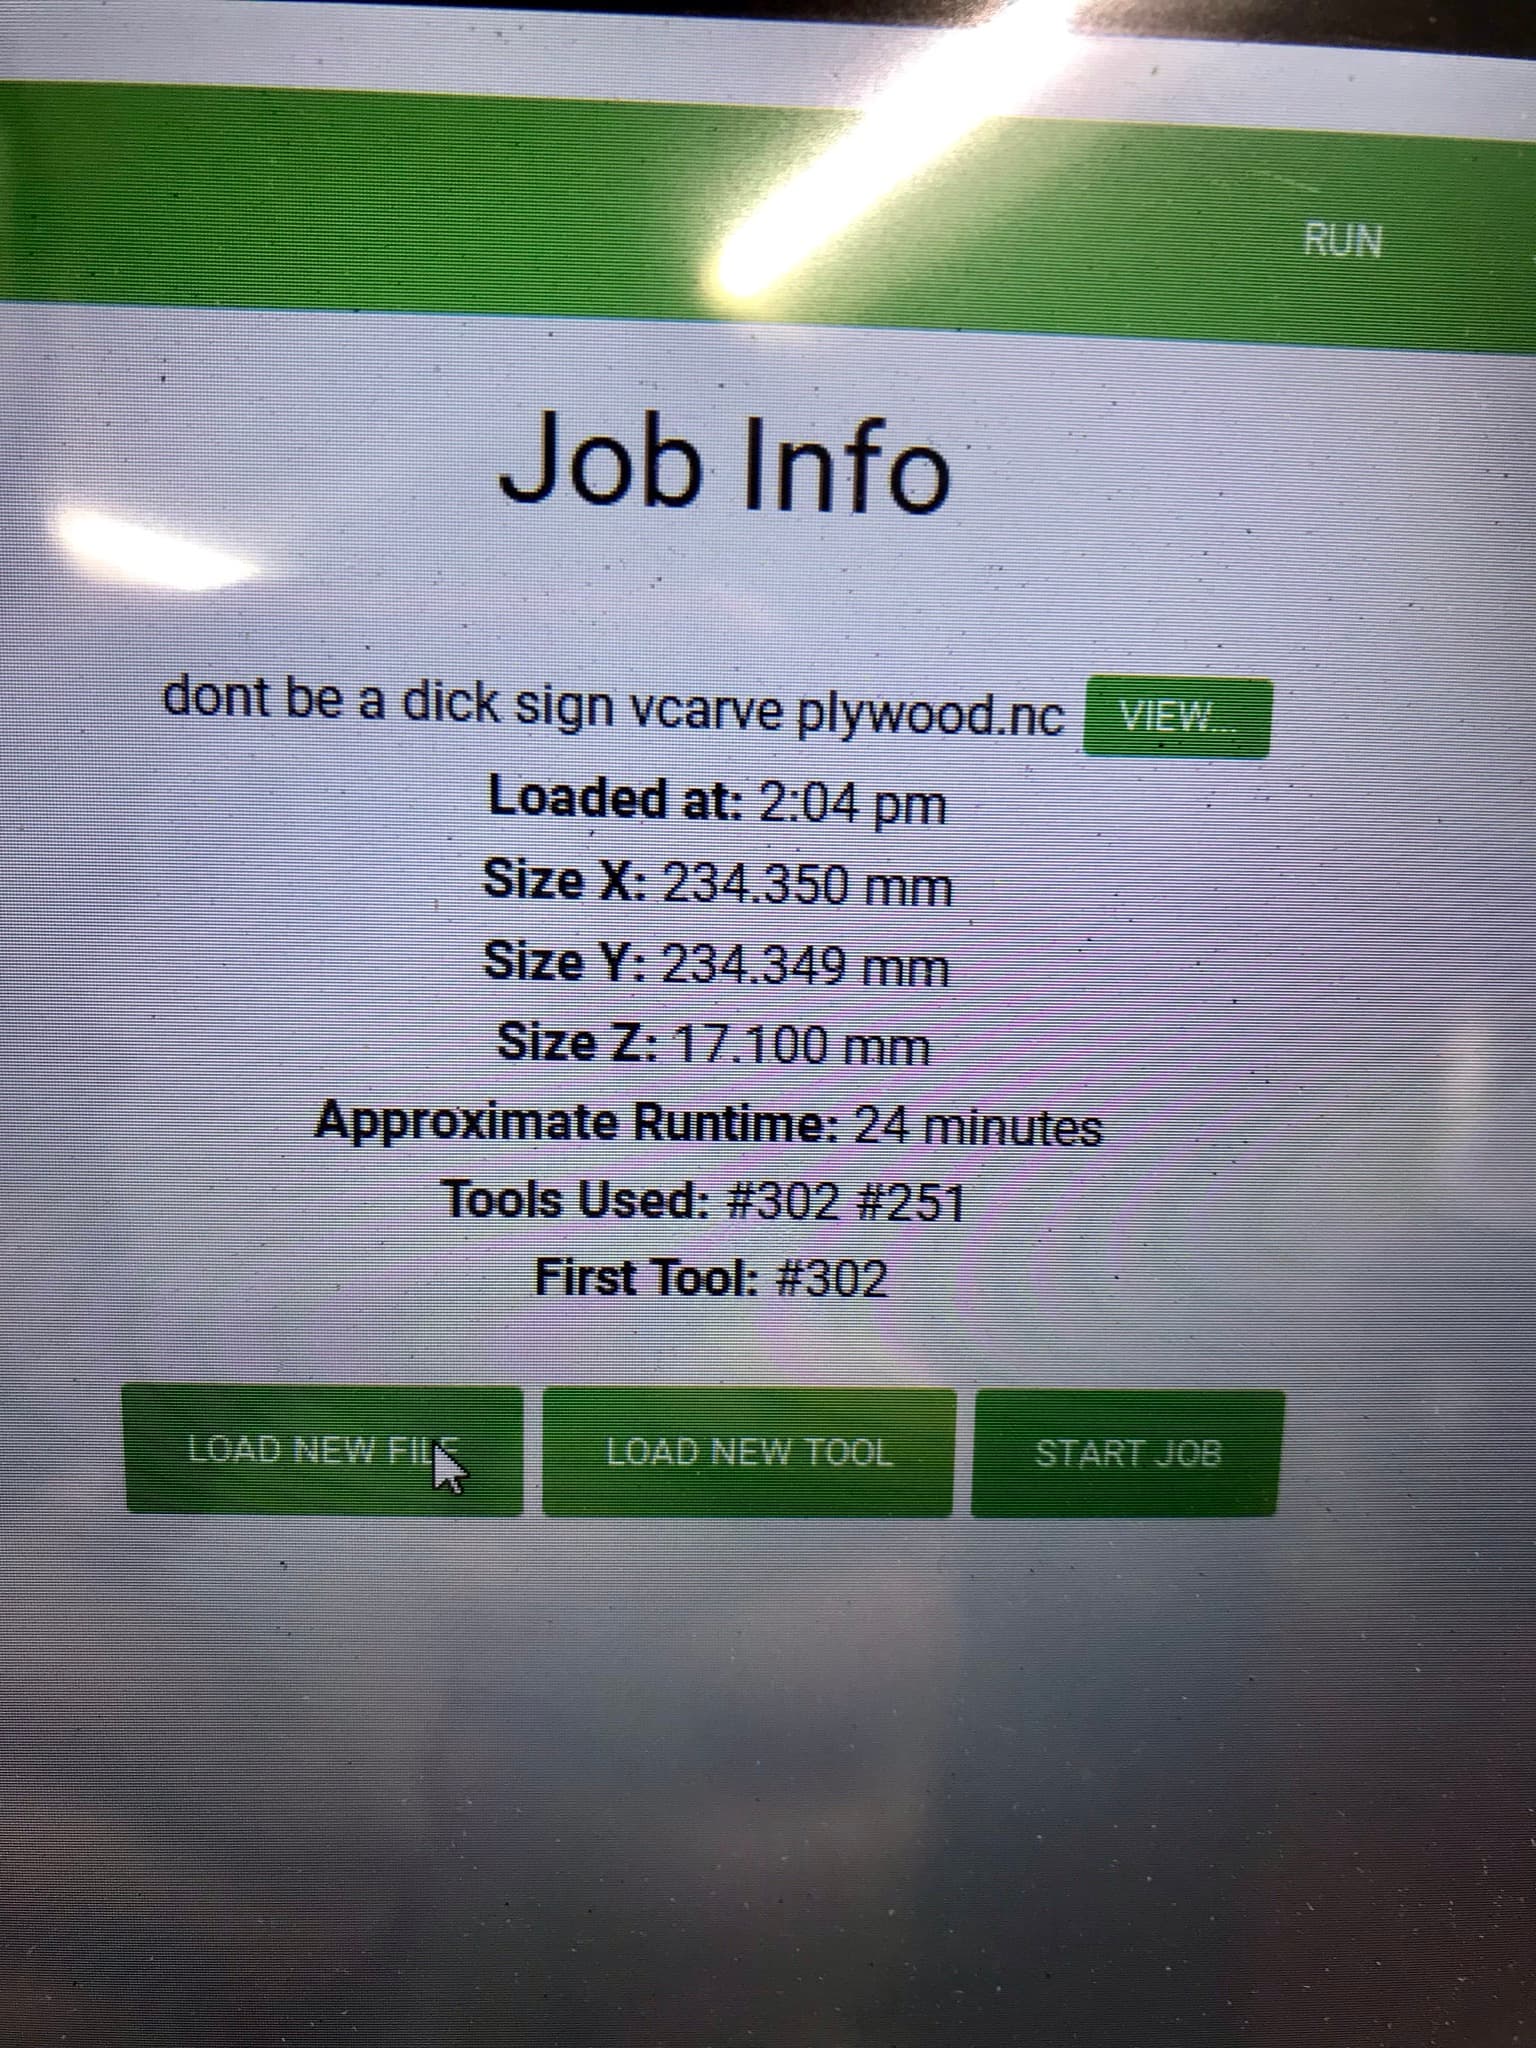
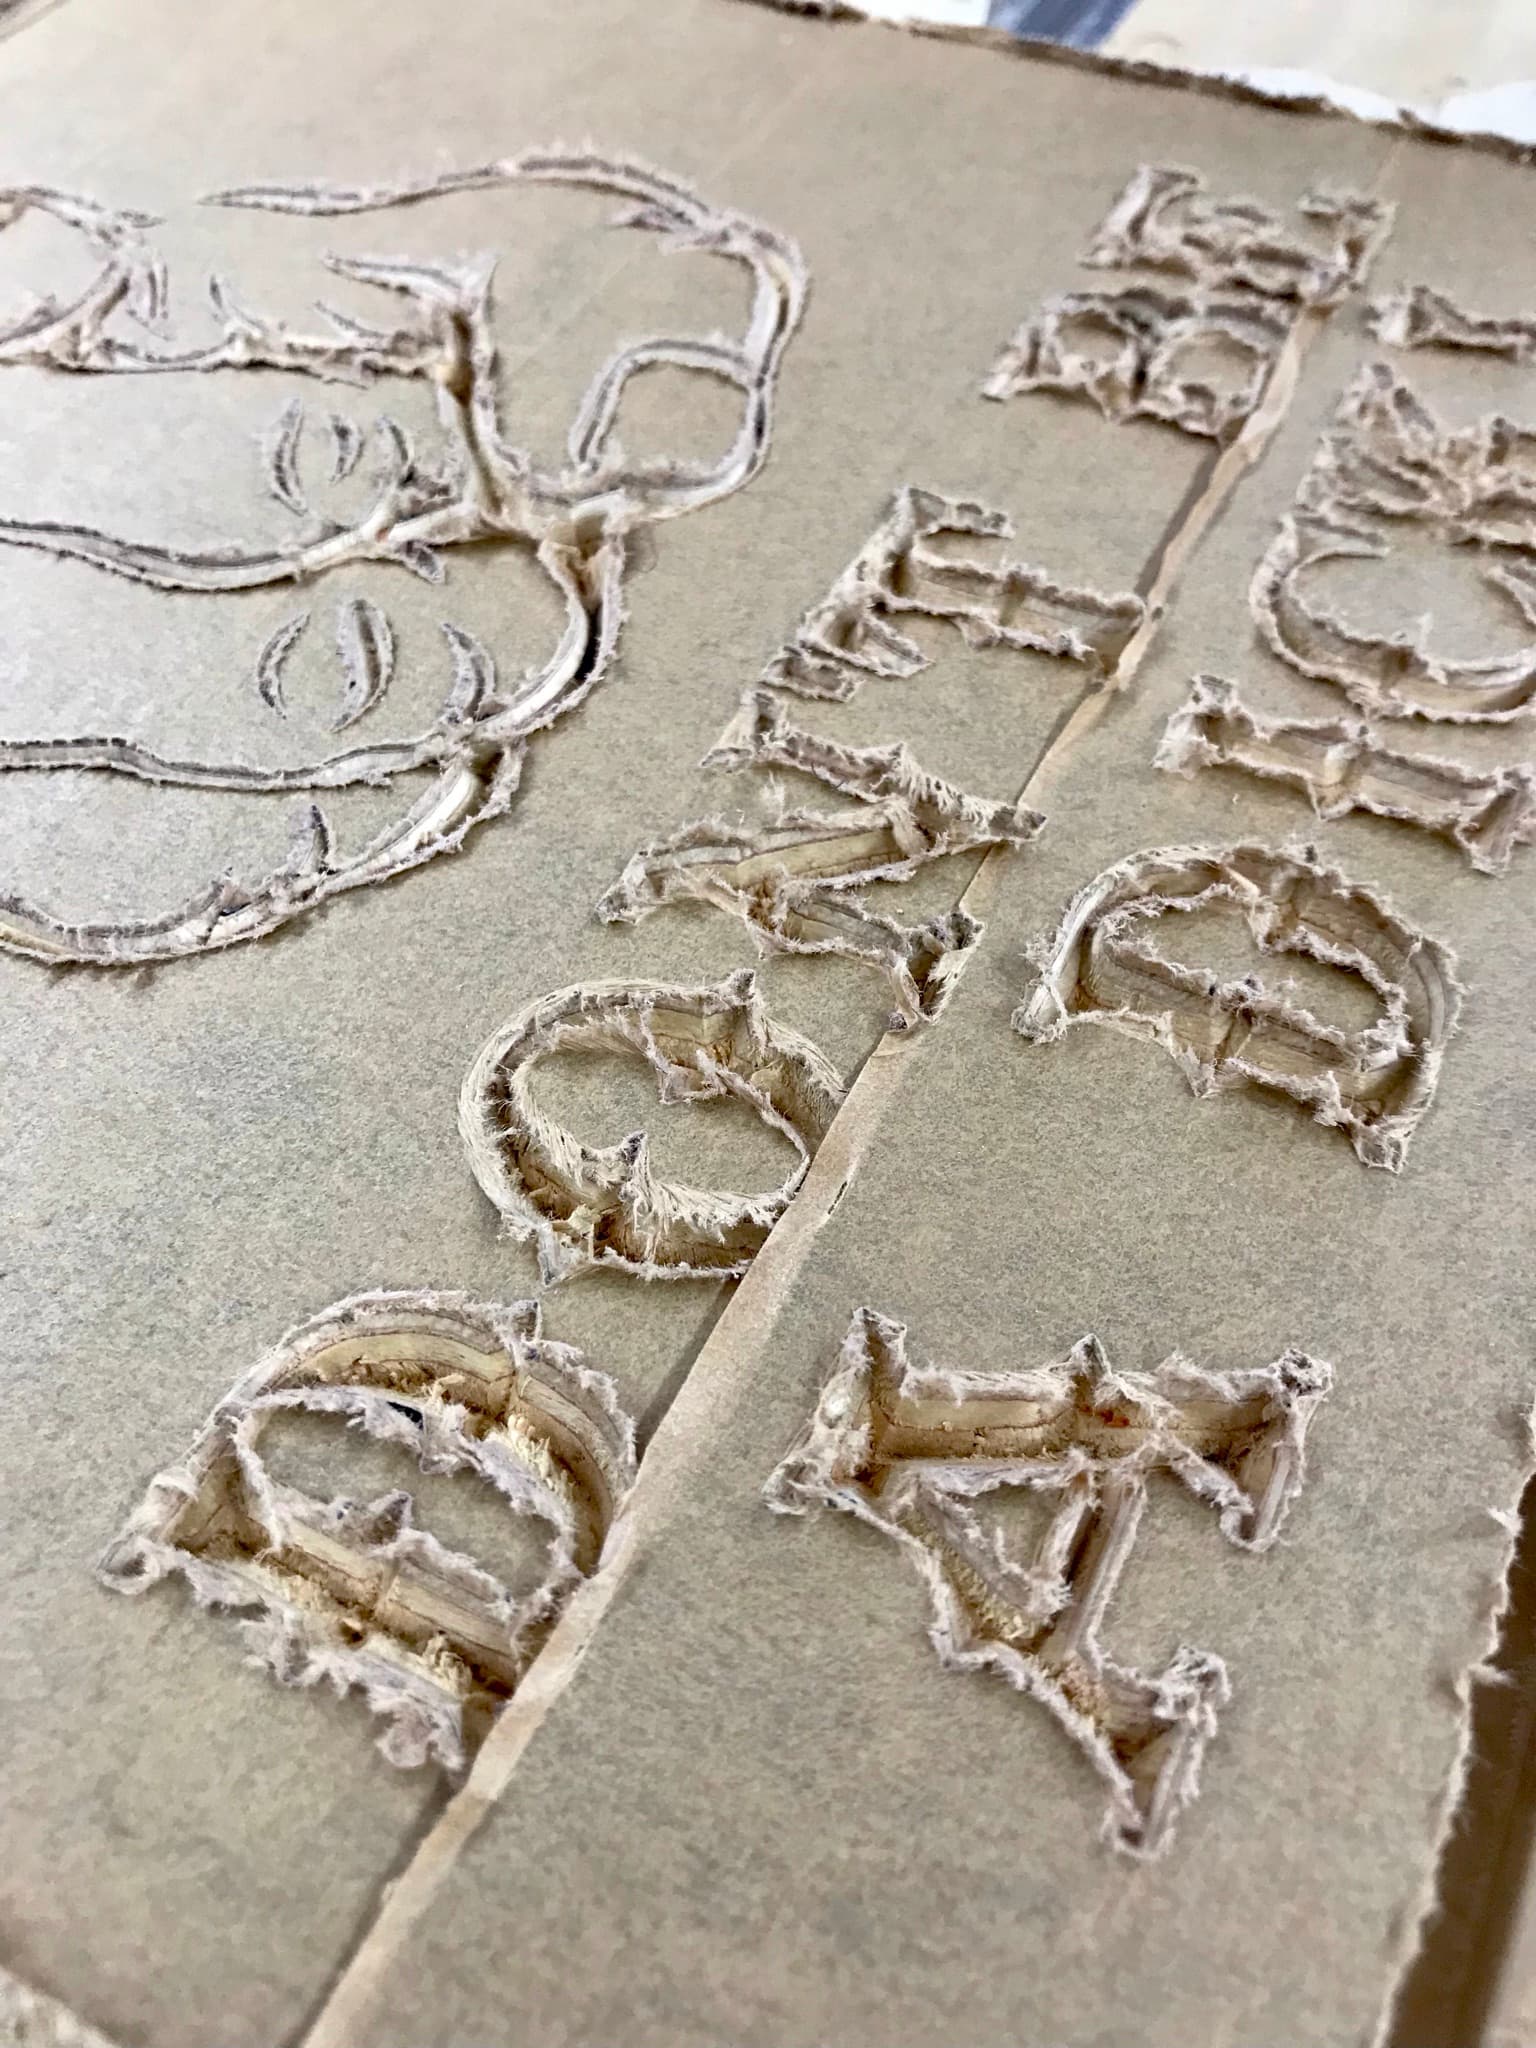
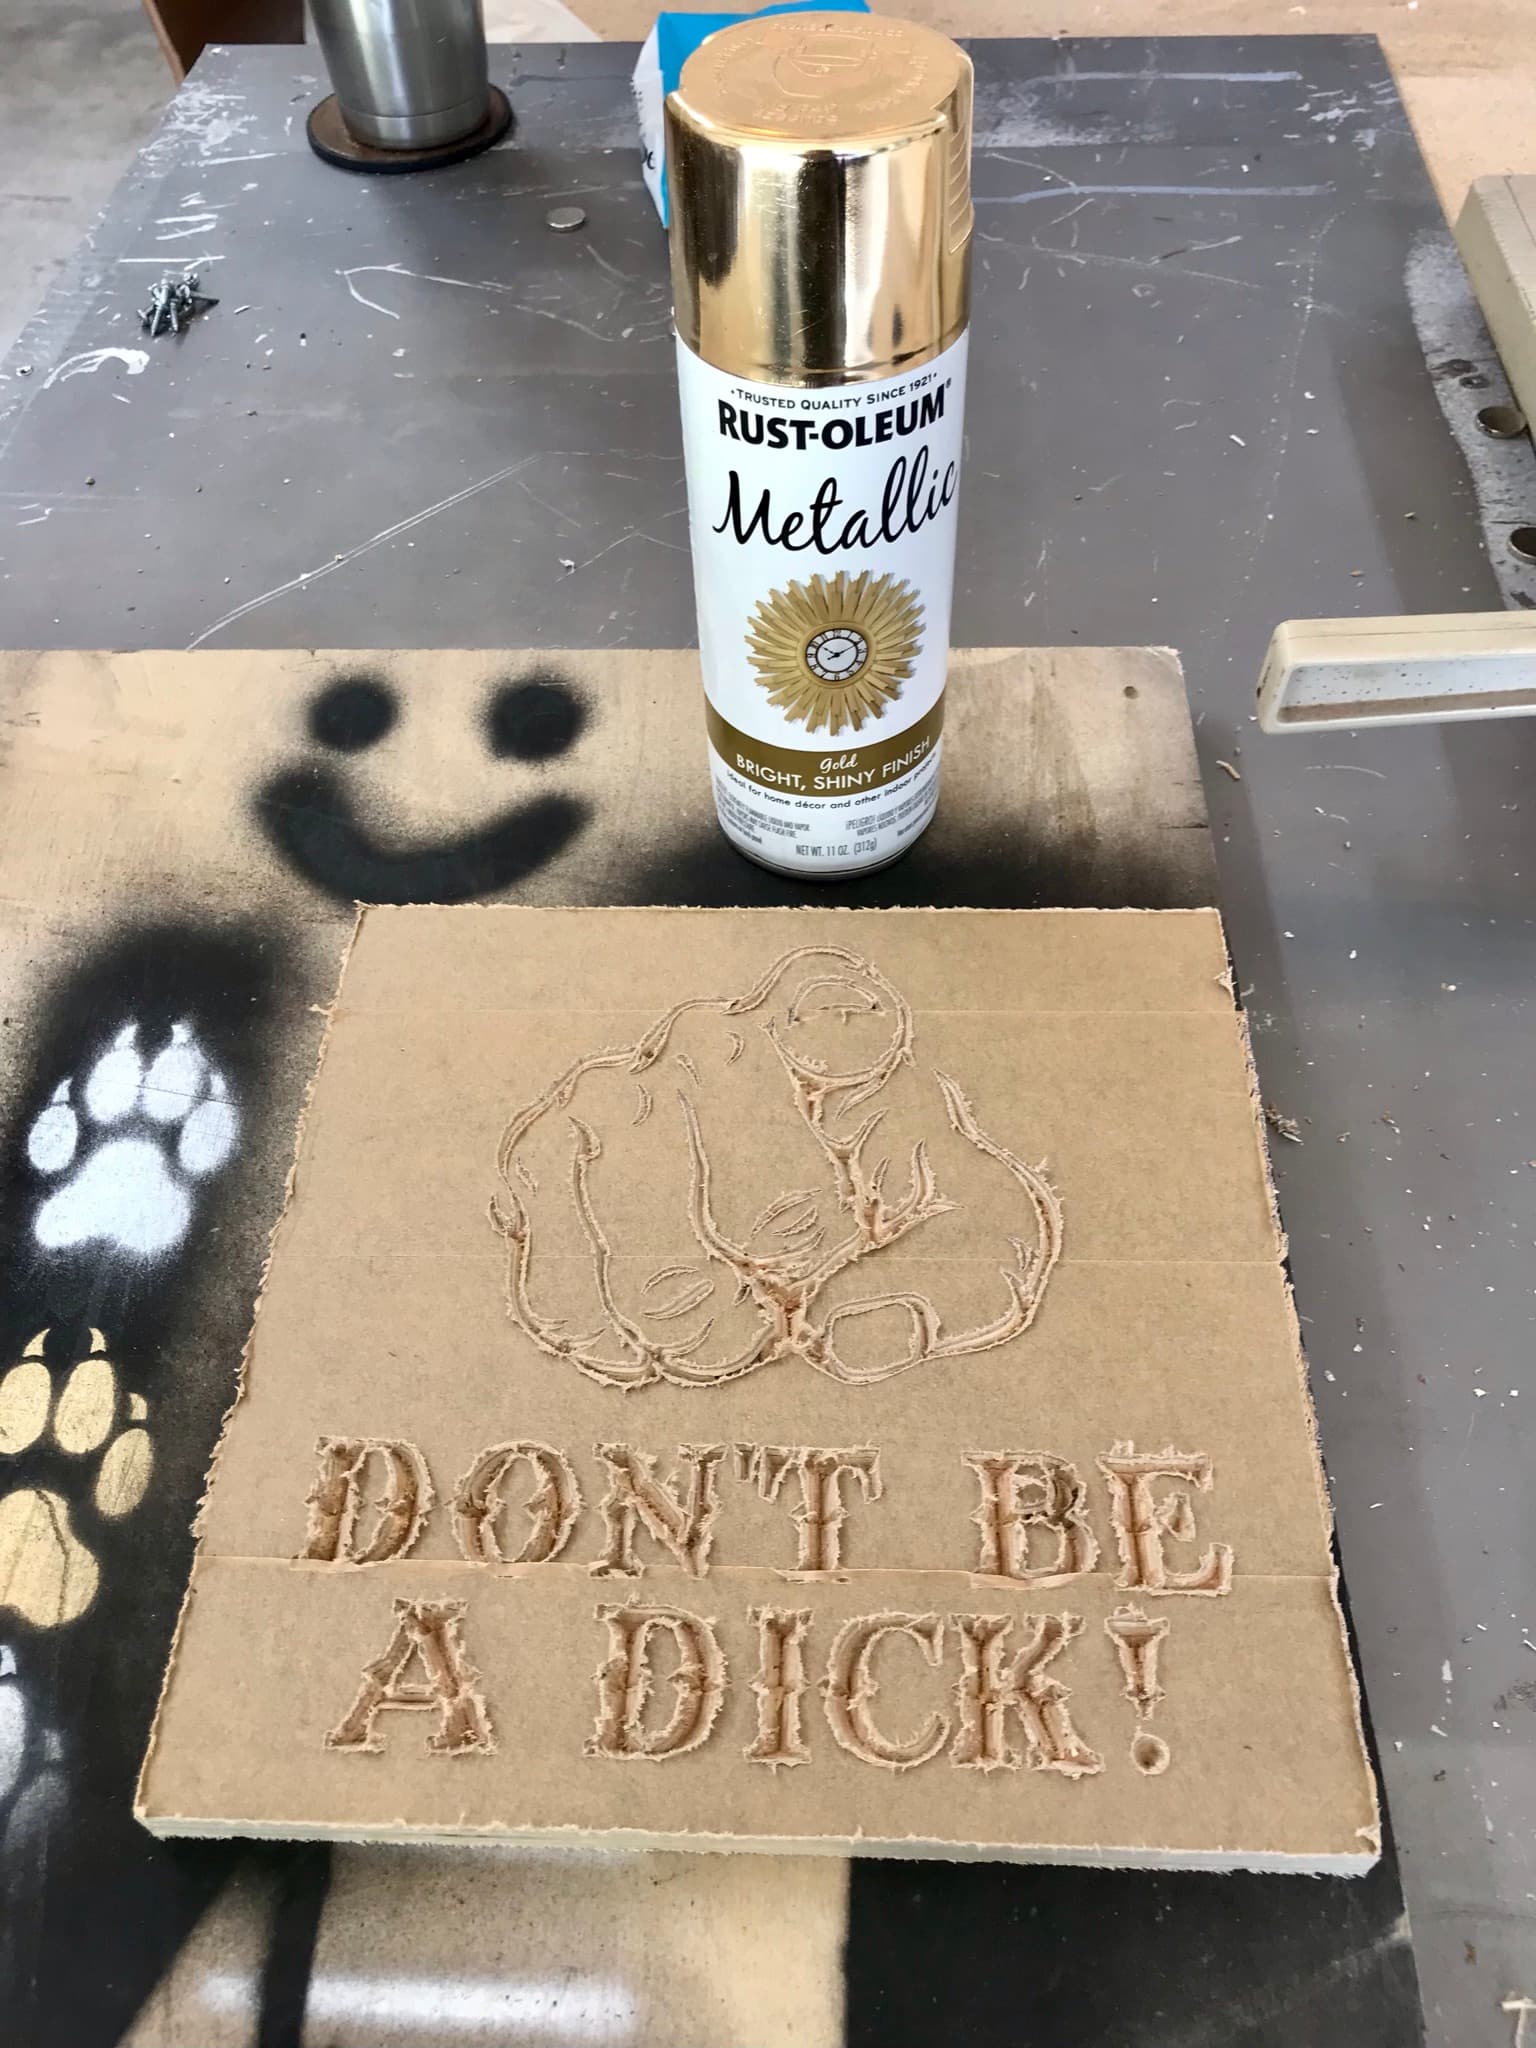
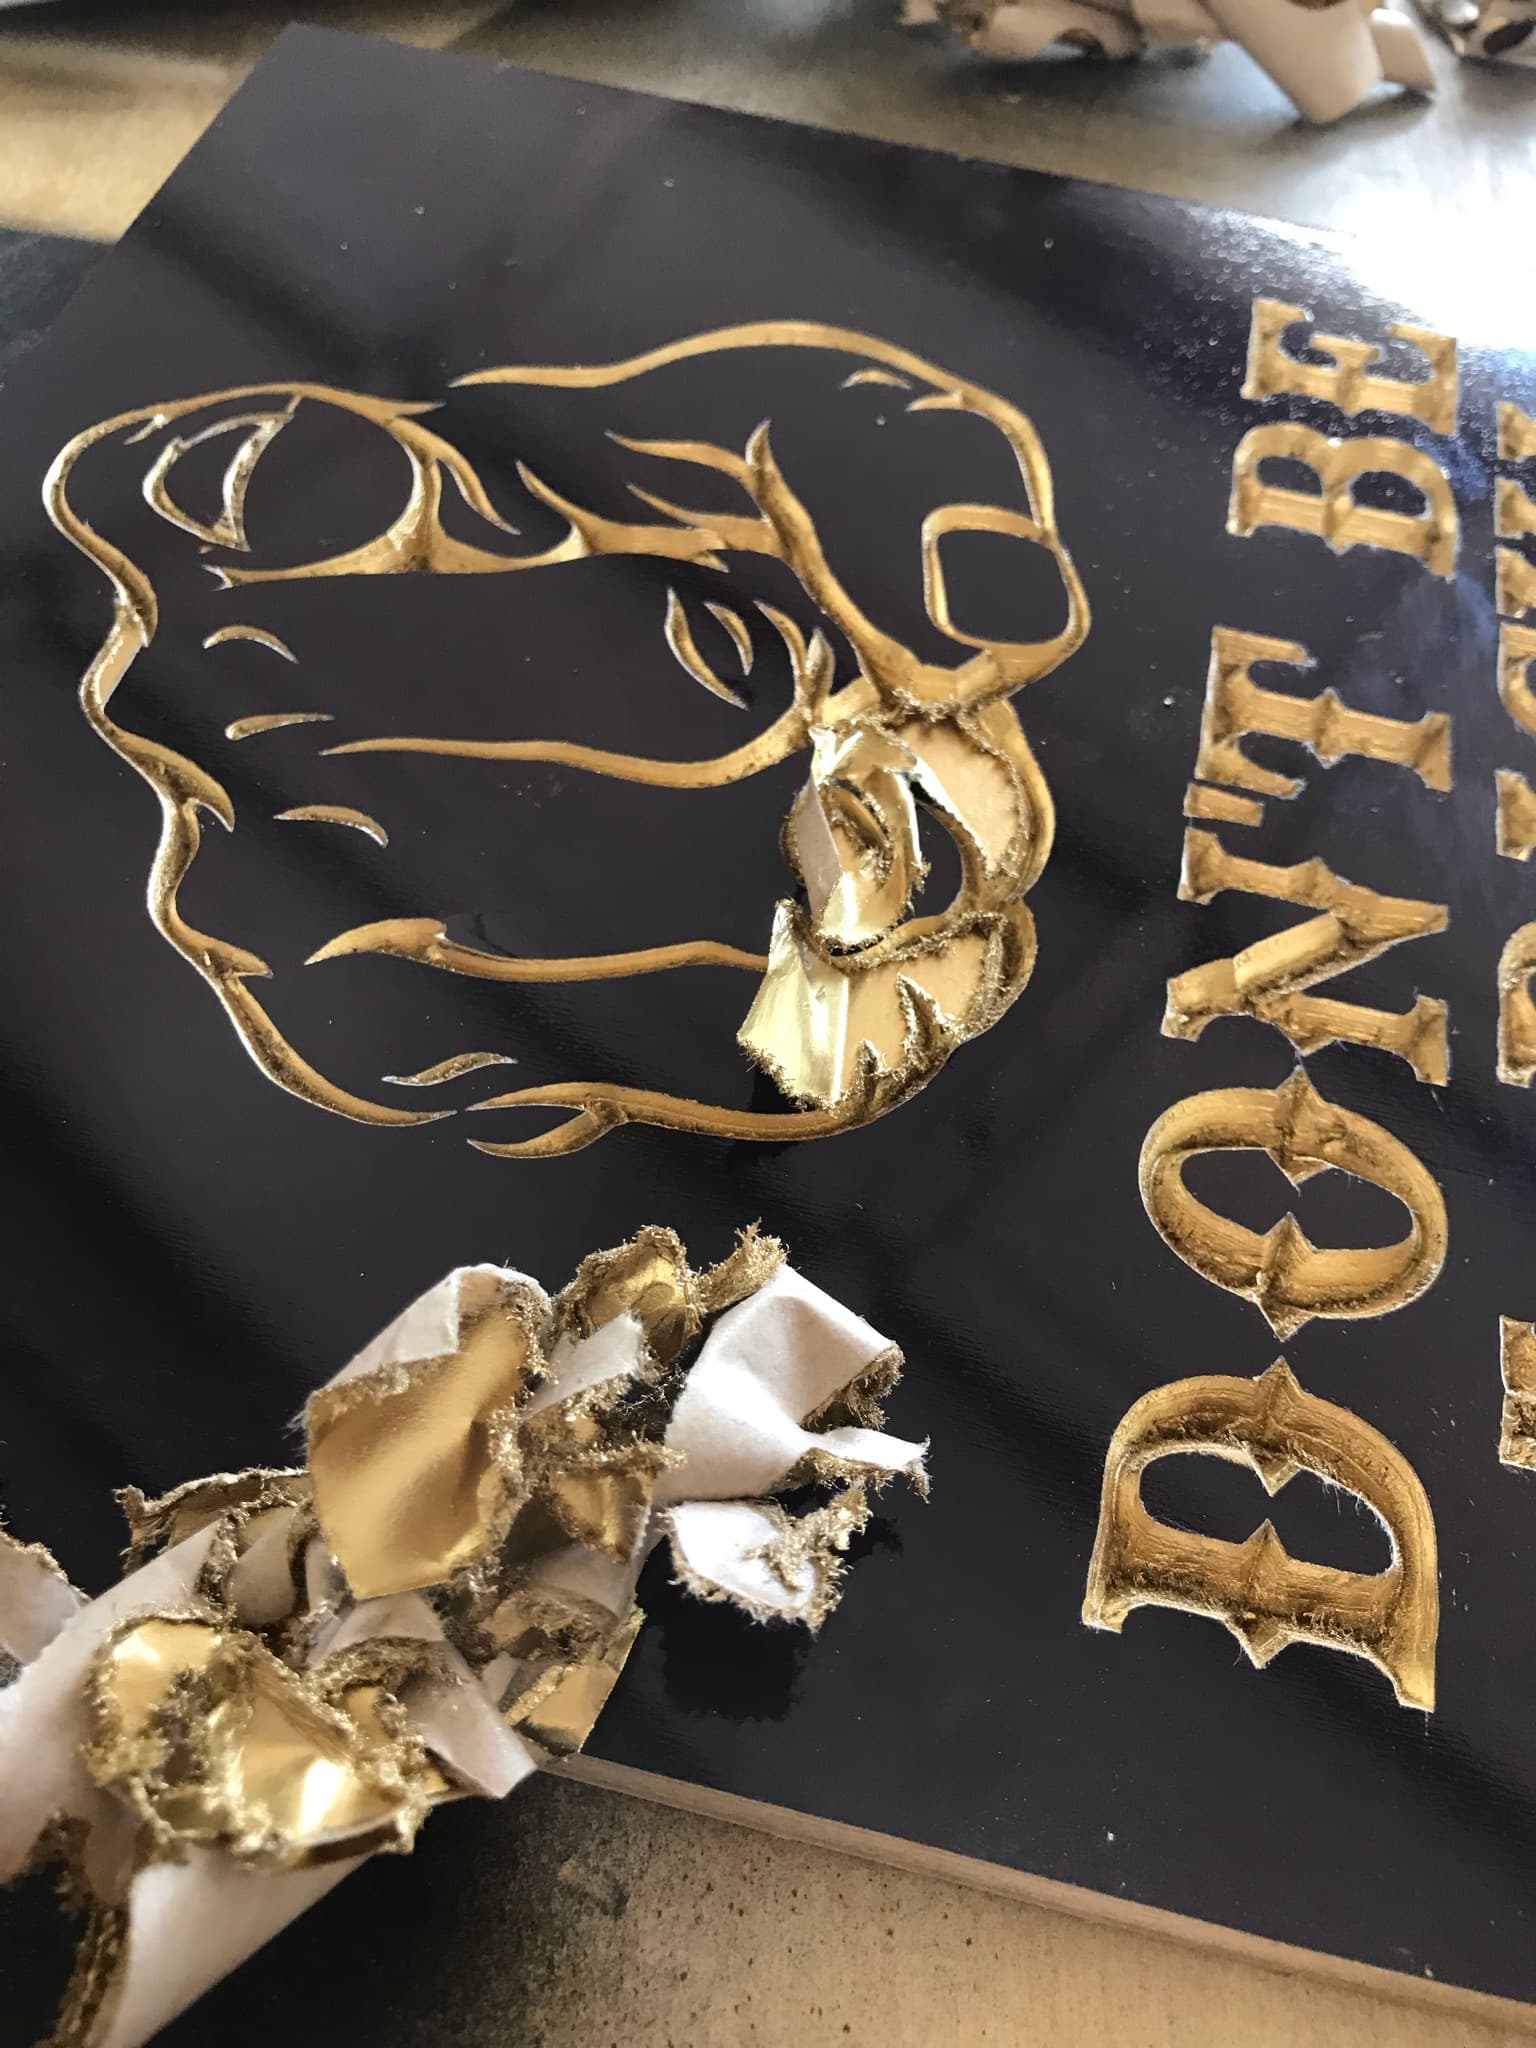
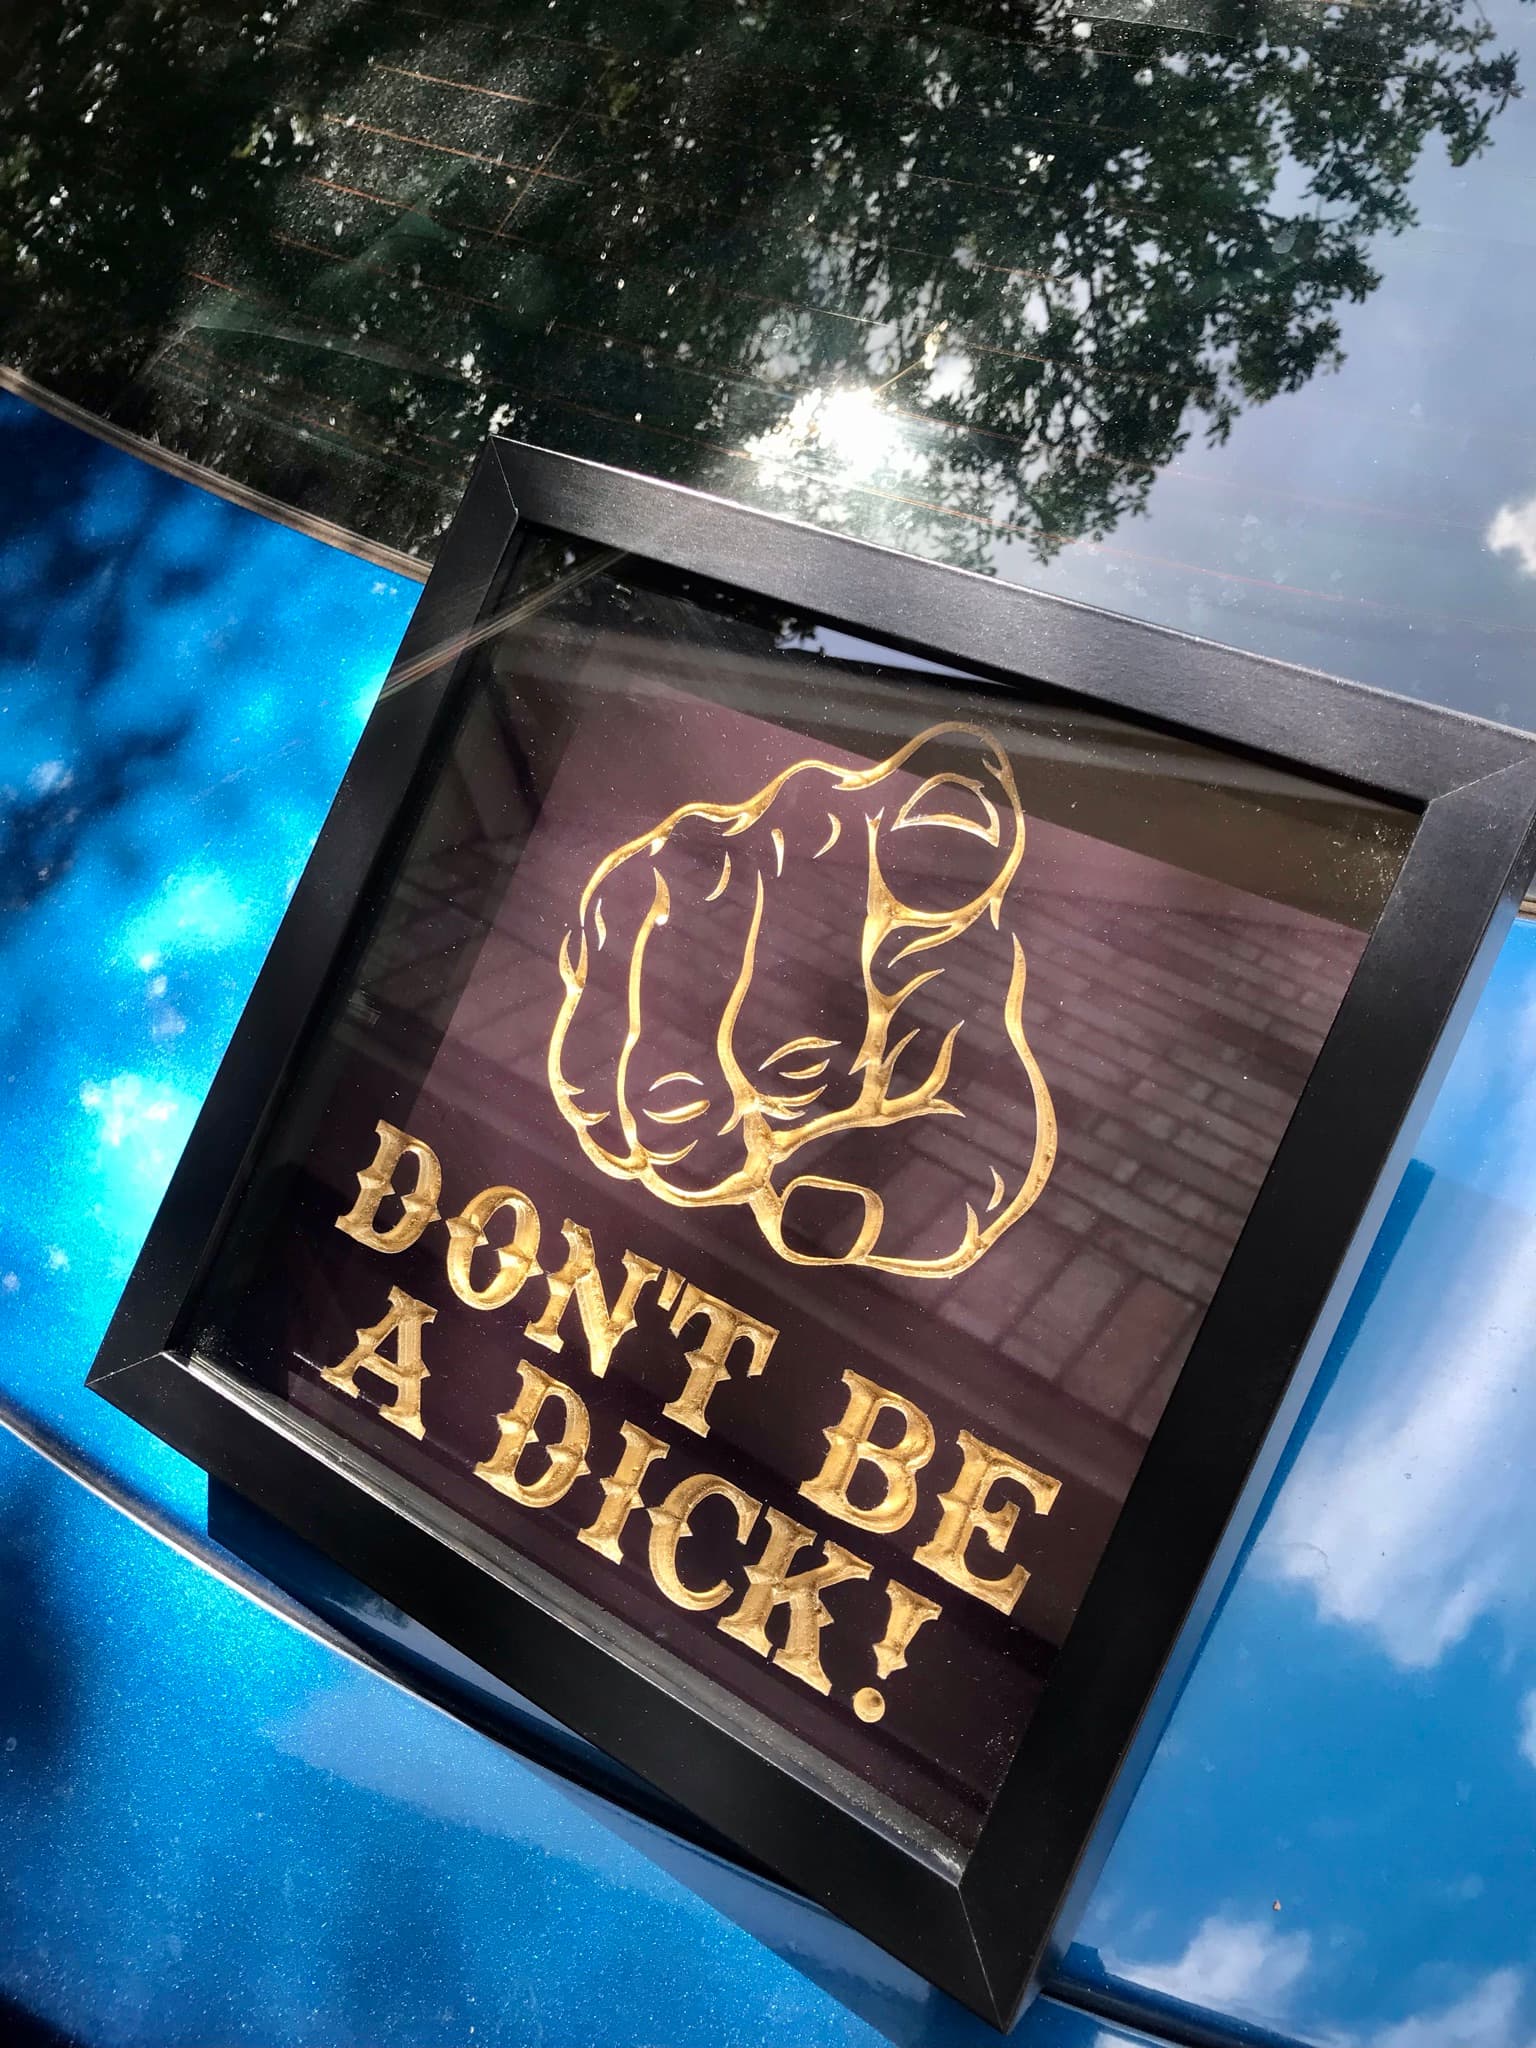
Alright! Round 2! This time I used a piece of plywood scrap that I had painted high-gloss purple at work. Just did a regular Vcarve. Masked the workpiece with Ramboard tape before cutting–this worked ok but I feel like it was the wrong choice of tape… It gets really gummy & frayed during machining. Maybe next time I should try blue painters tape instead? Anyway once it was done, I spray painted the carving gold with Rustoleum, peeled the tape off, and voilà! Some now golden words of advice:
Nice work.
I am your neighbor in Covington, WA
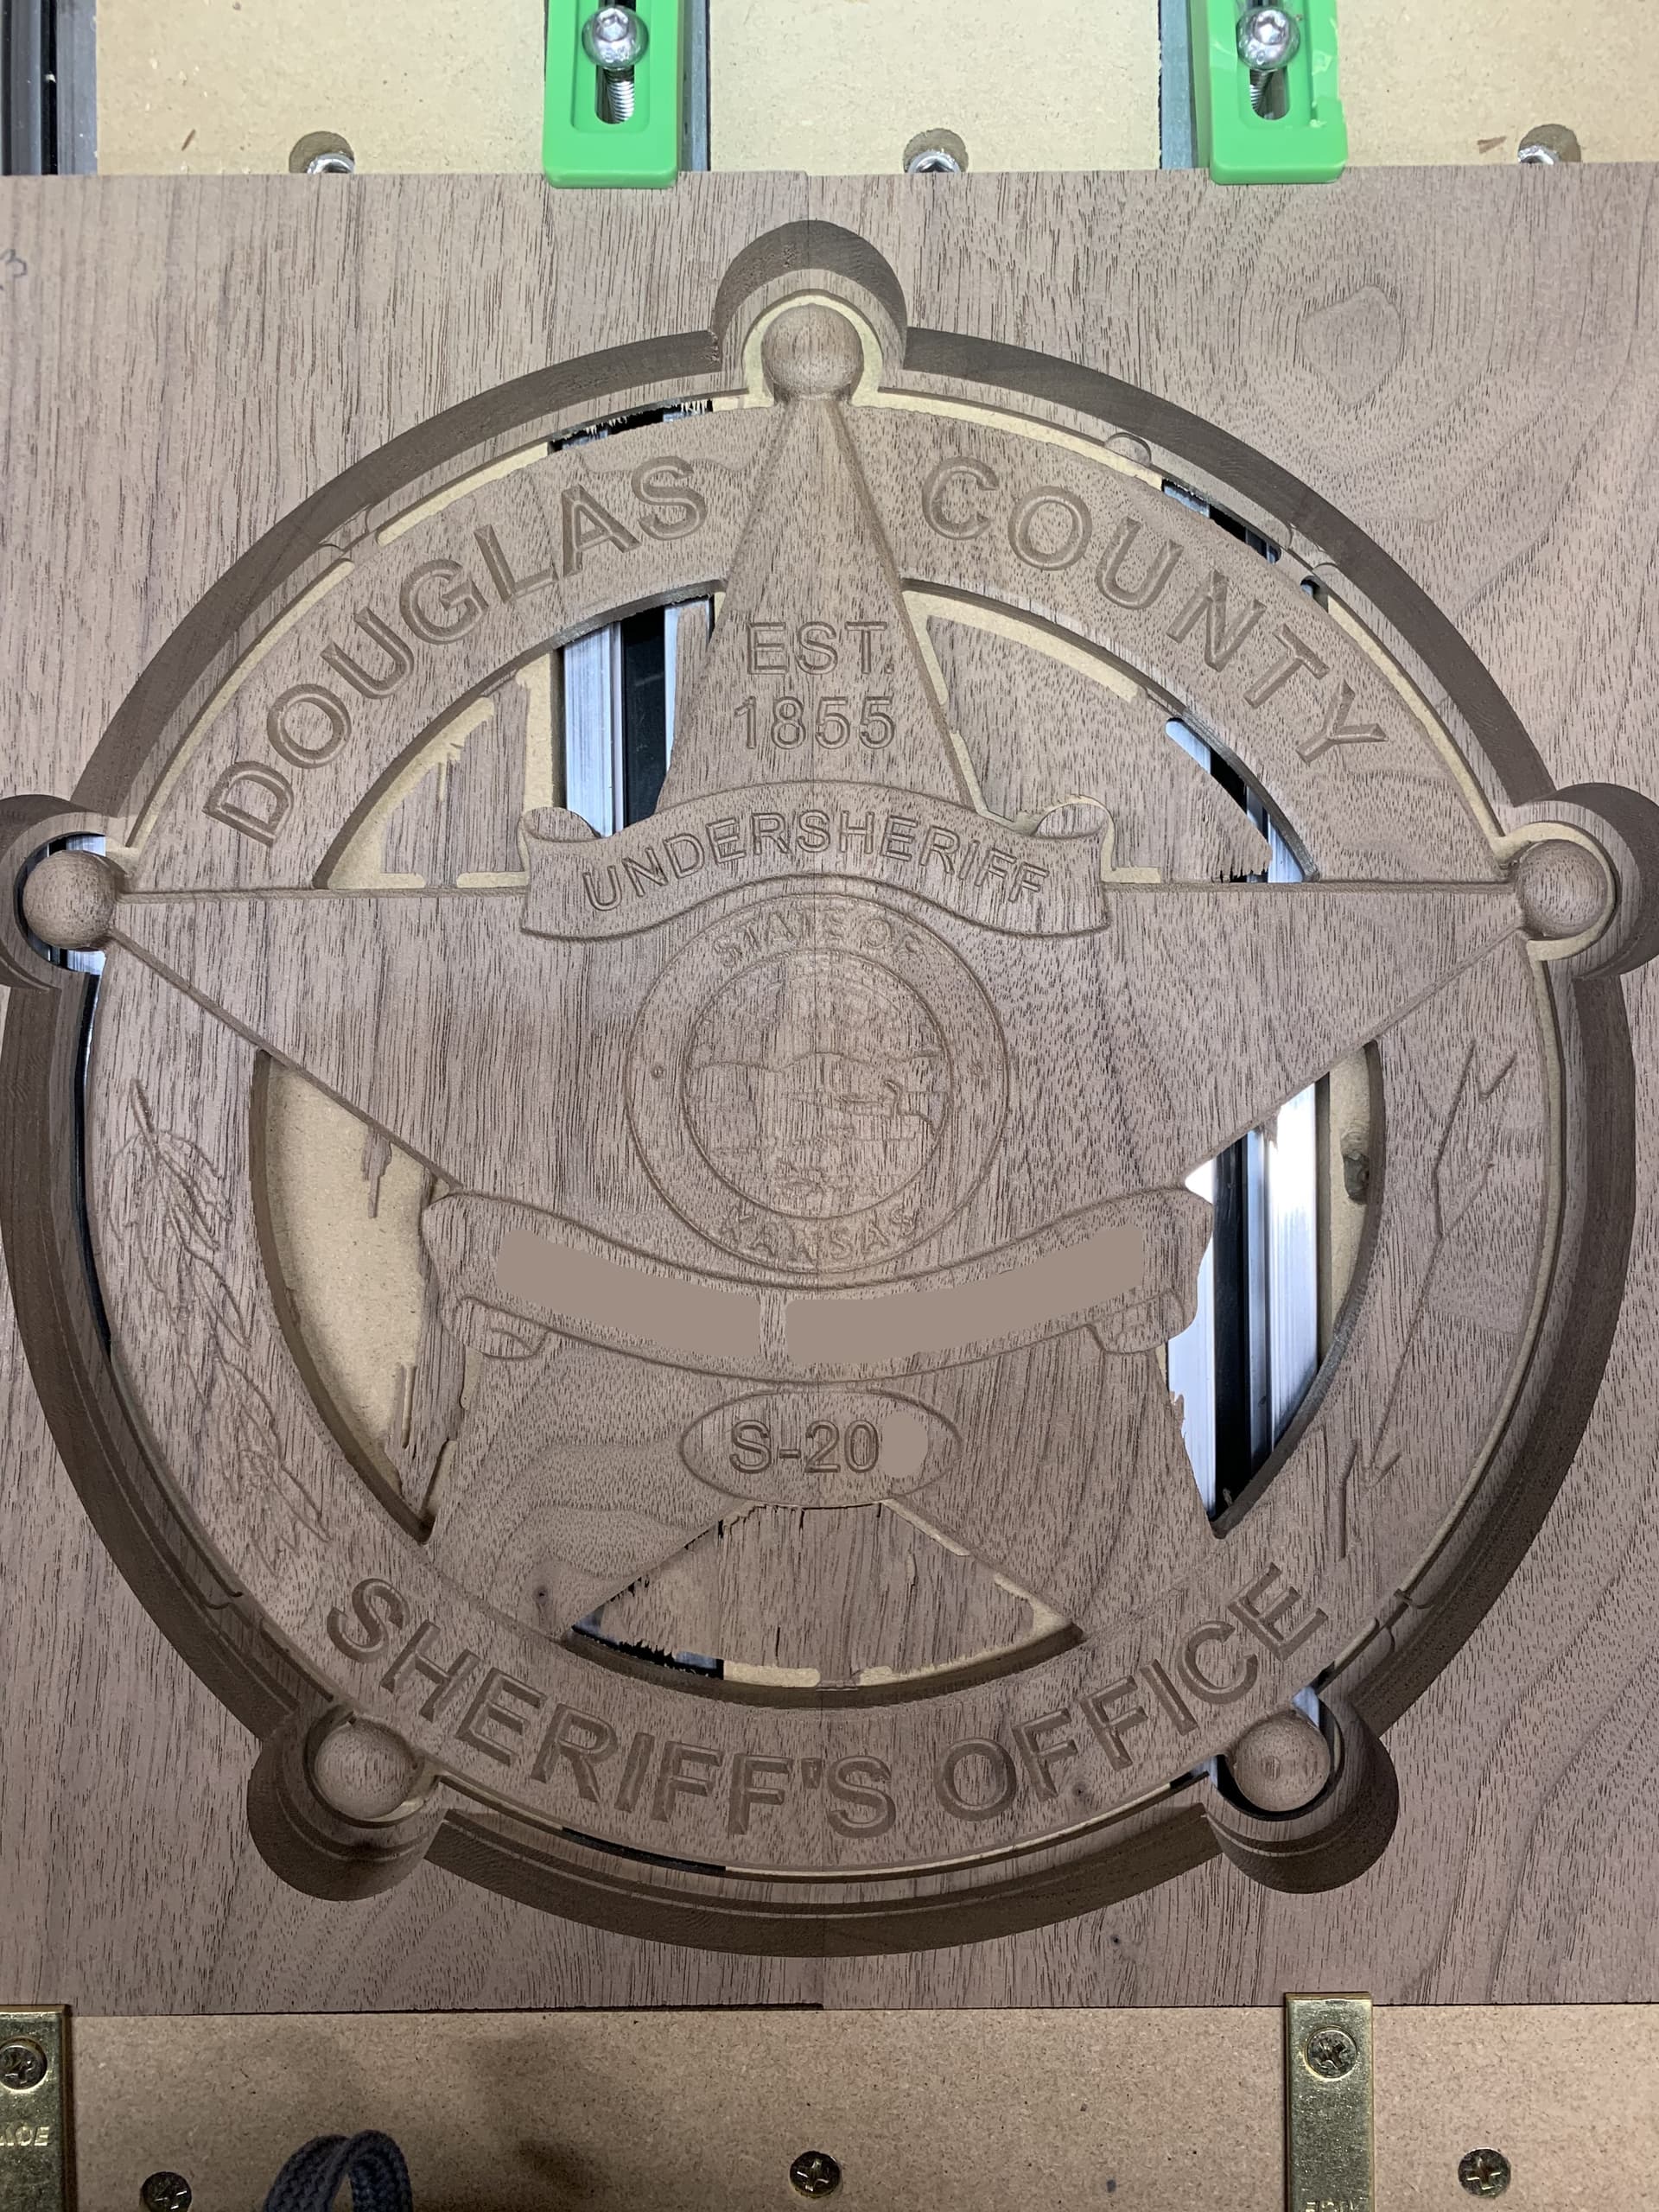
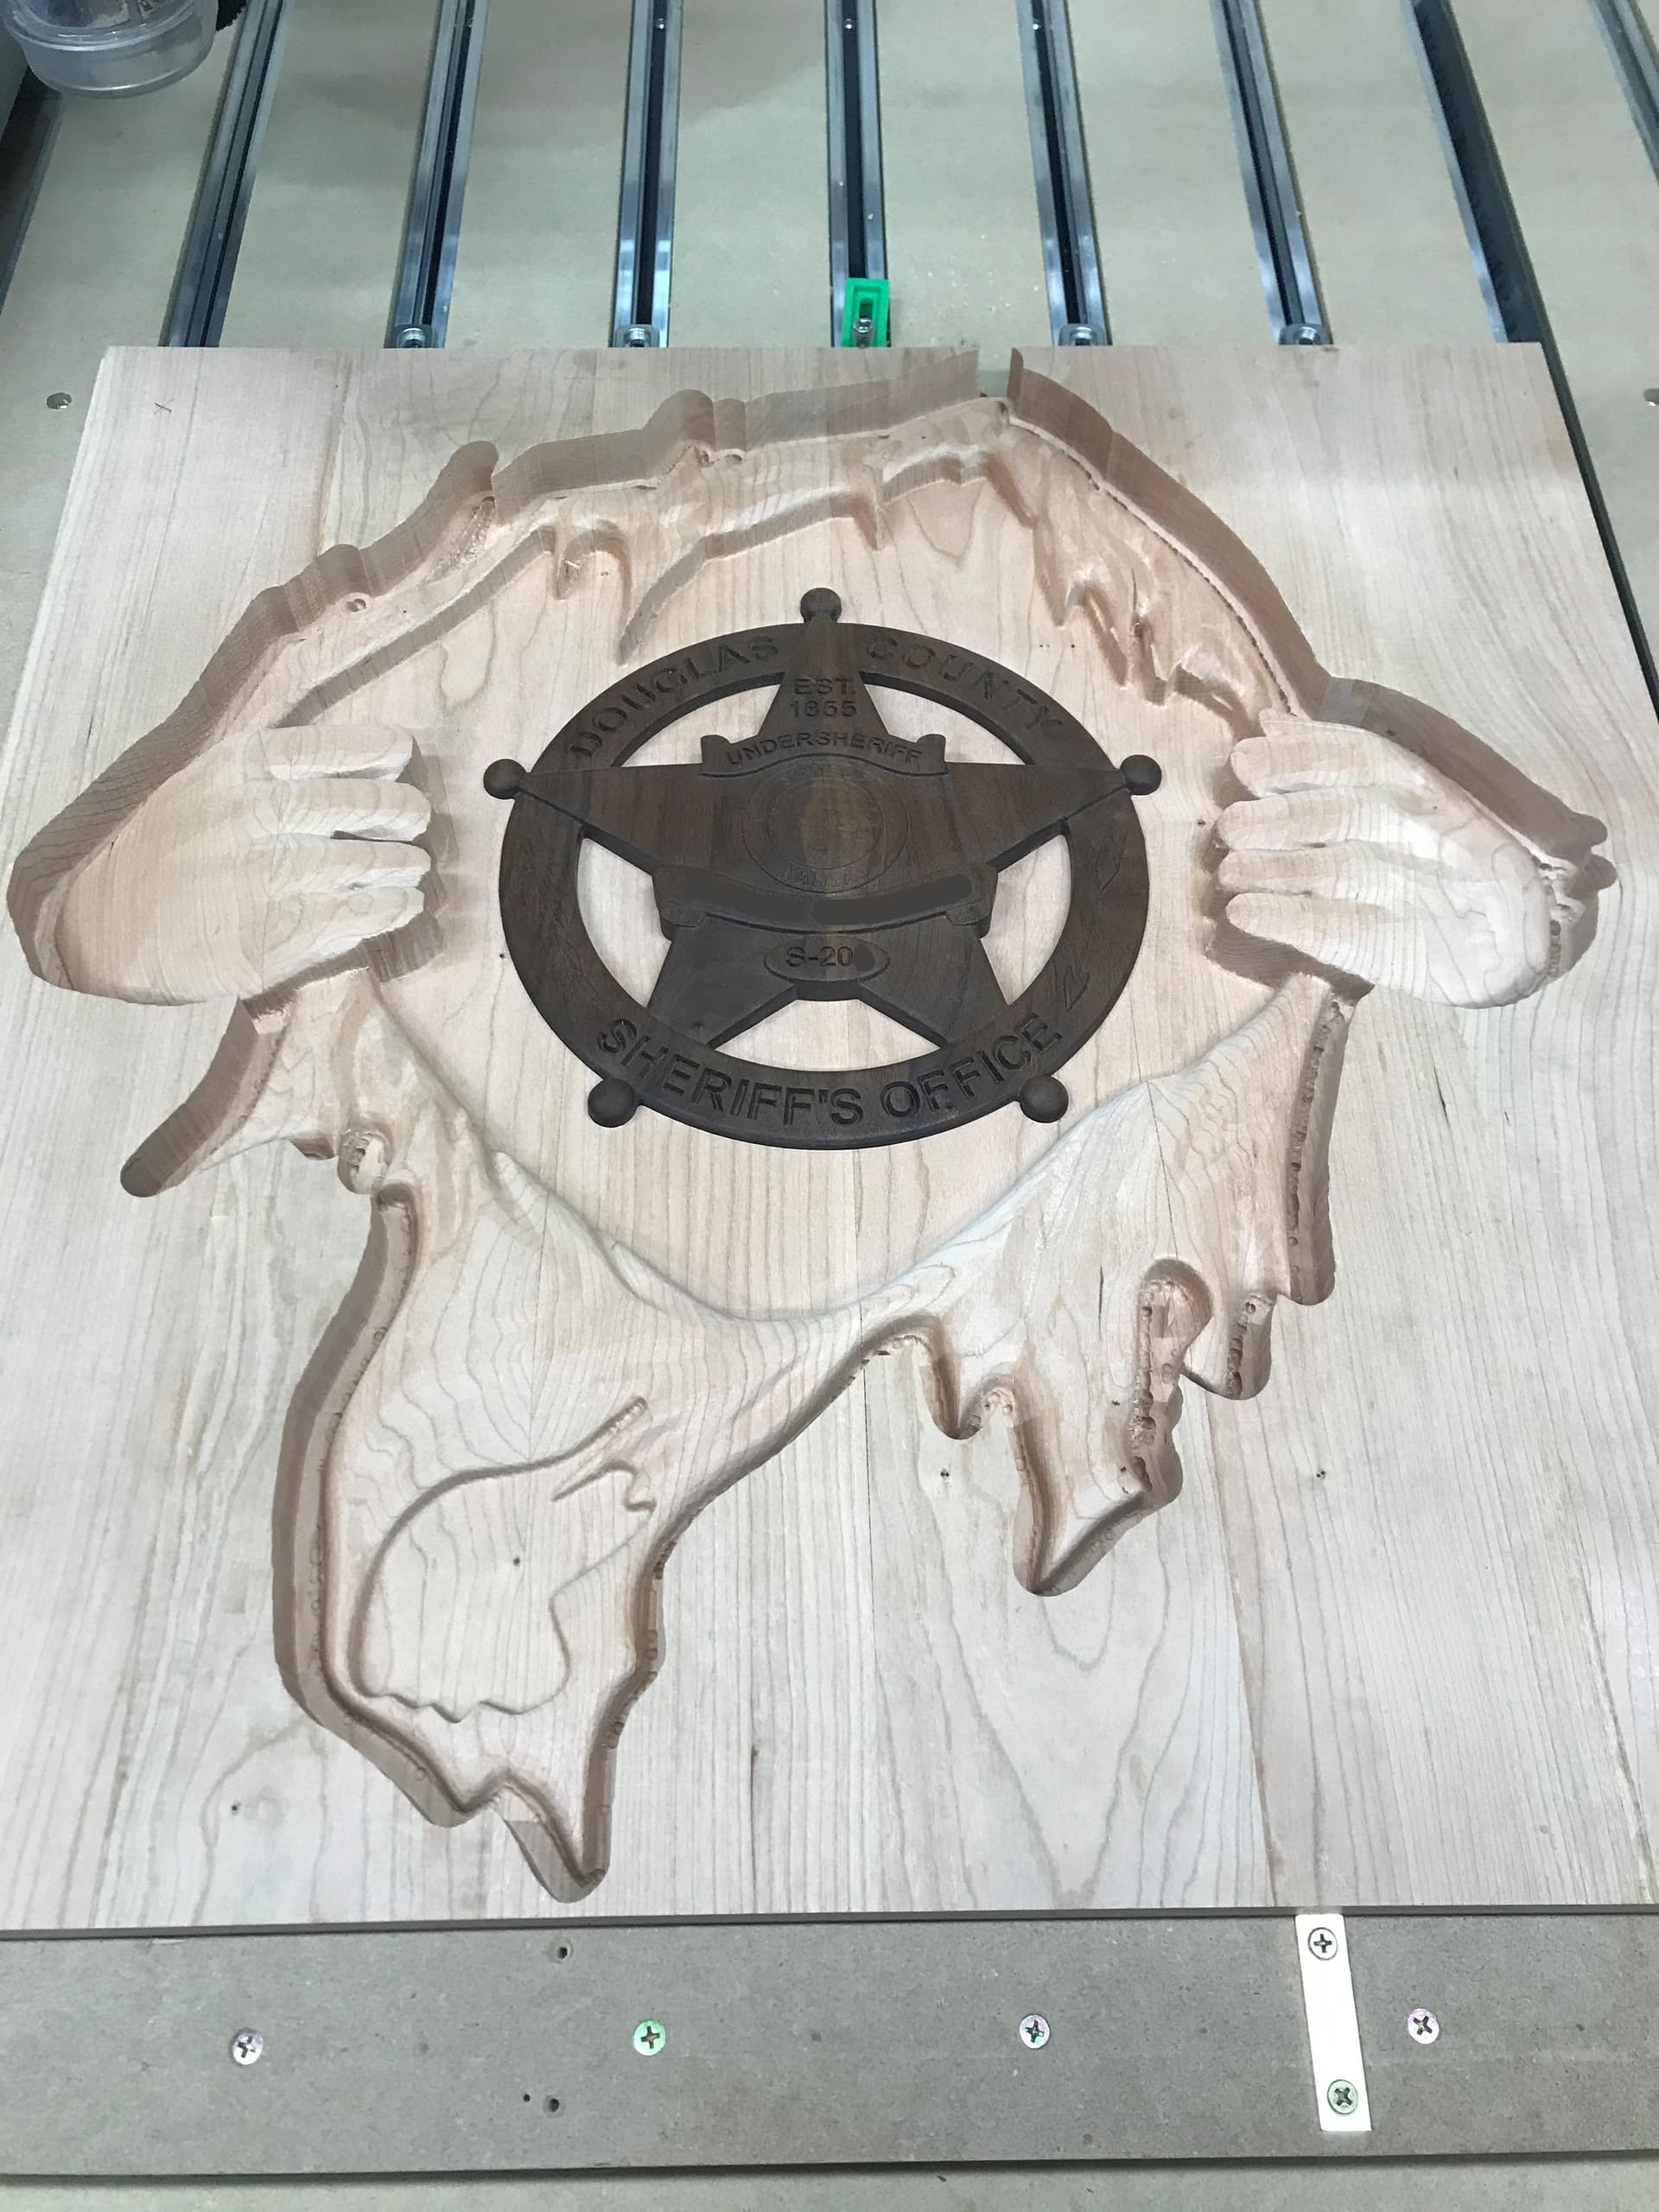
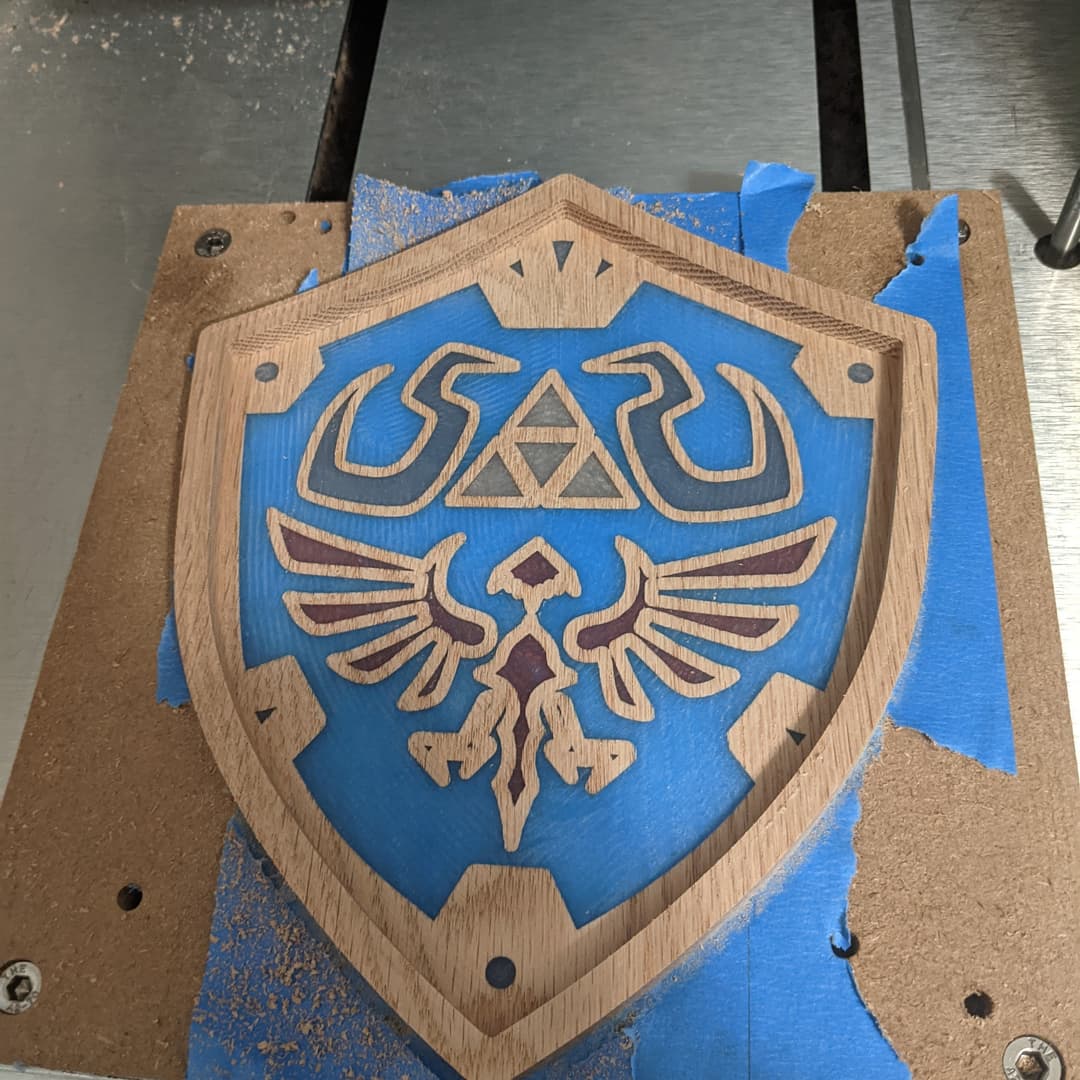
I have been doing a lot of 3D projects lately. This one is an office sign that I made for a friend of mine who is a female law enforcement officer. She was recently promoted to the number 2 position in the agency and is the first female to ever fill that position. Since the agency was founded in 1855, I thought that was a good milestone. I am pretty proud of her career accomplishments, and she is just an all around really good person. Over time she has earned the nickname, “Super + her last name.” She is a pretty humble person and had no influence on the project, so I took my ideas and went to work.
I used 2” Cherry for the background shirt portion and 1” Walnut for the badge portion. The final project size ended up being about 21” x 23” for the shirt and 10” for the badge. All of the project work was done using V-Carve Pro on my Shapeoko Pro XXL.
For material prep, I cut all of the wood into 3” to 4” strips, planed and joined as needed, opposed the grain, and then glued up the pieces. I cleaned up the dried glue and planed again for a flat surface. The 2” shirt portion was too thick to cut through with the end mills that I have, so I needed to turn it into a double a sided carve to cut the profile all of the way through and v-carve my logo on the back. For this, I just ran that project piece through the table saw several times until it measured square.
I already had the STLs for the shirt and badge. The STL for the badge was created by Brian Koehler at DisplayVETS, and he did an outstanding job.
First, I began work on the badge. I needed this done, because I wanted it to be inlayed into the shirt portion of the project and needed it for test fitting when I reached that point on the shirt project. I first did a profile cut around the outside of the model with a ¼” endmill leaving about 1/8” of material. I then completed the 3D carve portion using only a finishing toolpath with a 1/16” tapered ball nose bit. For settings on my bit, I used 160 ipm feed, 70 ipm plunge rate, 8% stepover, and 20,000 rpm. Next, I v-carved all of the text using a 60 degree v bit. When this was complete, I cleaned up the vertical lines of the inner and outside edges with profile toolpaths, a -.01” allowance, and cut all the way through leaving tabs for removal. This portion of the project took about 3.5 hours.
Next, I began work on the shirt portion and started off by cutting a profile around the model about 1” deep with a ¼” end mill. On this project, the depth of the carve was going to be pushing the cutting height limit of my tapered ball nose, so I used both roughing and finishing toolpaths. I set these and my boundary offsets to a point where the end mill or tapered ball nose would not dive too deep into the profile pocketed area. I discovered that I had to readjust this some for the roughing pass, because the end mill was coming a little too close to bottoming the collet into the surrounding wood.
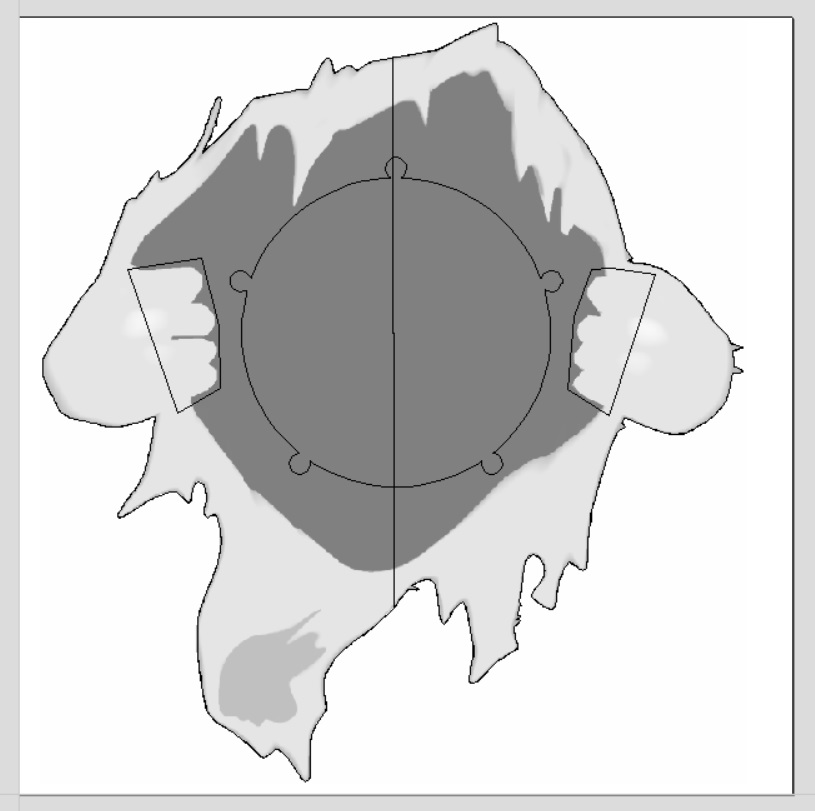
I did the roughing passes in two parts by splitting the project down the middle with a vector and then created two separate closed vectors for each side of the project. I completed one half of the roughing pass one day and then finished the second half the next day. Each half took about 3.5 hours. For feeds and speeds on a ¼” down cut end mill, I used 100 ipm feed, 30 ipm plunge rate, 40% stepover, and 20,000 rpm. These settings have been working very well for me finish wise when cutting hard woods.
Once the roughing passes were complete, I moved on to the finishing pass. I was able to do most of the project with a 1/8” tapered ball nose with good detail. I did this part on the weekend, so I just completed the whole project at once instead of splitting it into halves. For settings on my bit, I used 160 ipm feed, 70 ipm plunge rate, 10% stepover, and 20,000 rpm. This portion took about 5.5 hours and worked out very well for most of project.
I did need a second set of finish passes, because I needed more detail on the hands/fingers that were holding the shirt open. I drew two closed vectors around those areas and set up another finishing pass using a 1/16” tapered ball nose with the same settings as the 1/8” bit except at 8% stepover. Again, this worked out very well taking about an hour to complete.
For the badge inlay, I copied the vector boundary around the badge to this portion of the project. Known from previous projects, I used a .01 allowance for the pocket that the badge would fit into. I used a 1/4’’ flat end mill for this portion using the settings of 75 ipm feed, 30 ipm plunge, 30% stepover, and 20,000 rpm.
I then flipped the project for the second side of the carve. I finished cutting the profile all the way through leaving tabs in the middle of the wood. I also v-carved my logo onto the back.
My finish pass settings are something that I have been experimenting with lately. I have read a lot where some say you want your plunge rate to be about the same or at least 80% of your feed speed. I have tried this and end up with very small horizontal lines in my projects requiring more sanding, so I reduced the plunge rate to a point where there were no lines. I still need to experiment with this to see if I can increase it some. I am not sure that is even attainable though, since the z-max rate is set to 1,000 mm/m. I would really like to hear any feedback that any of you have on this also.
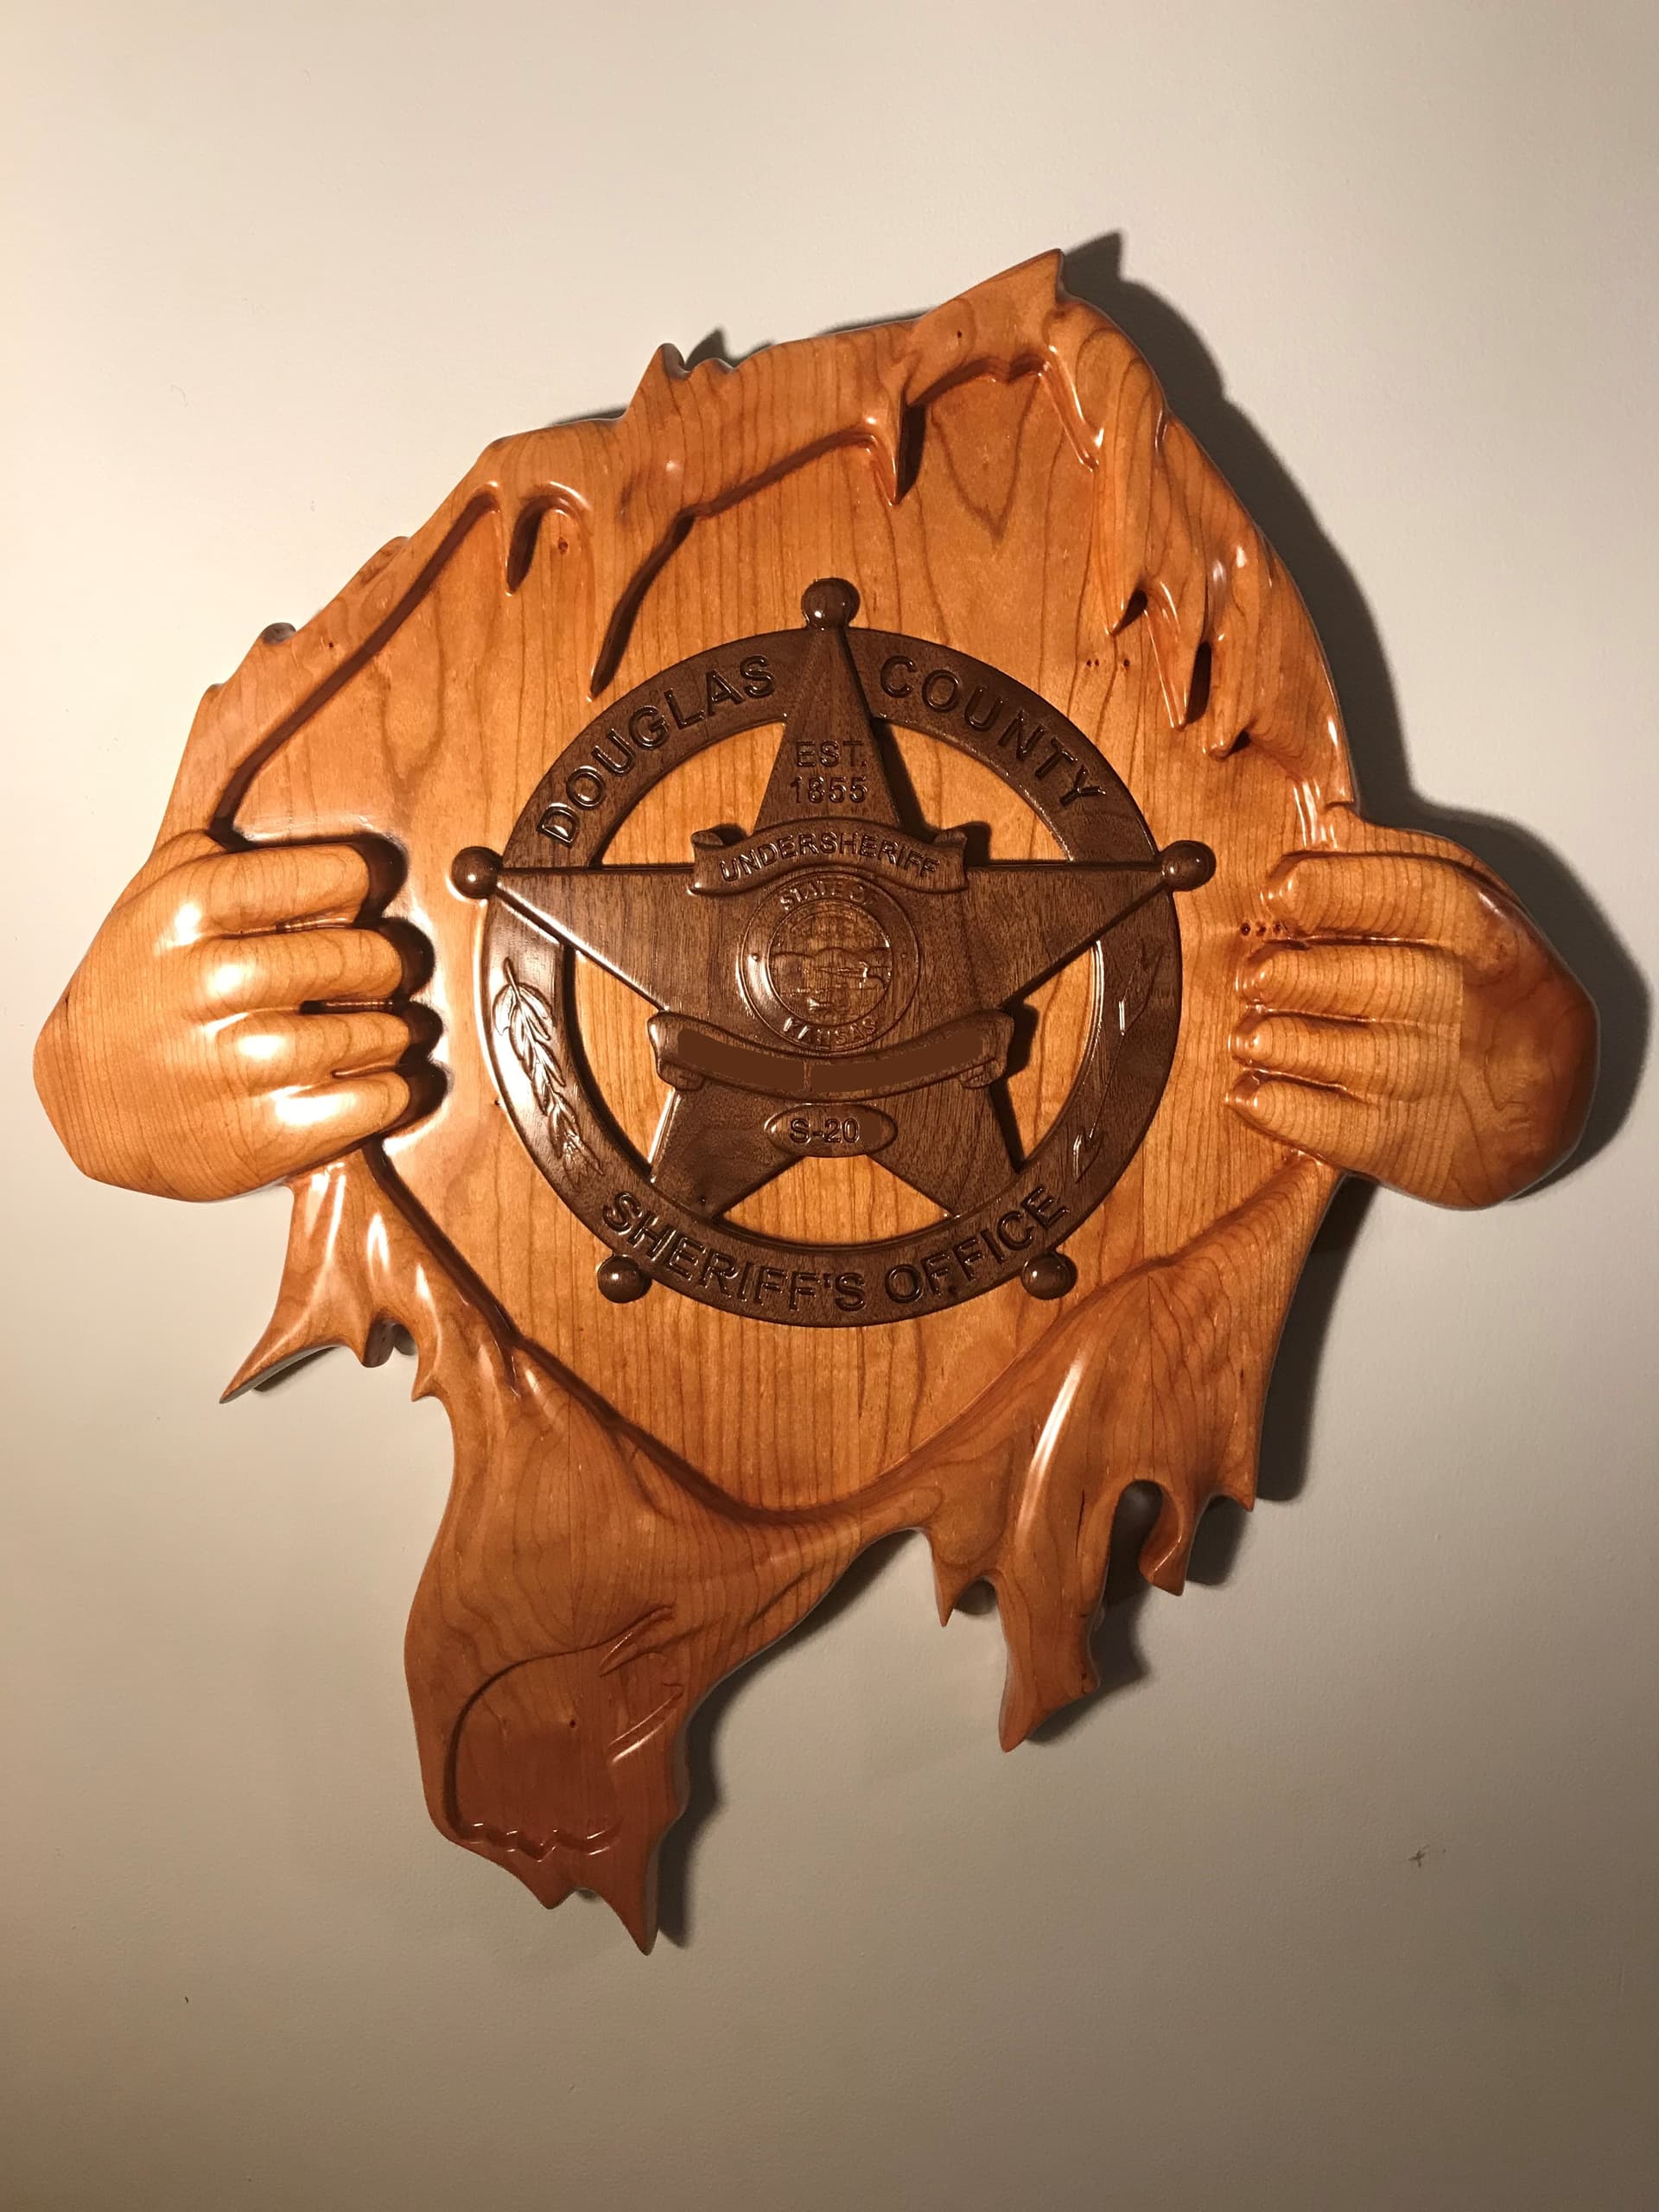
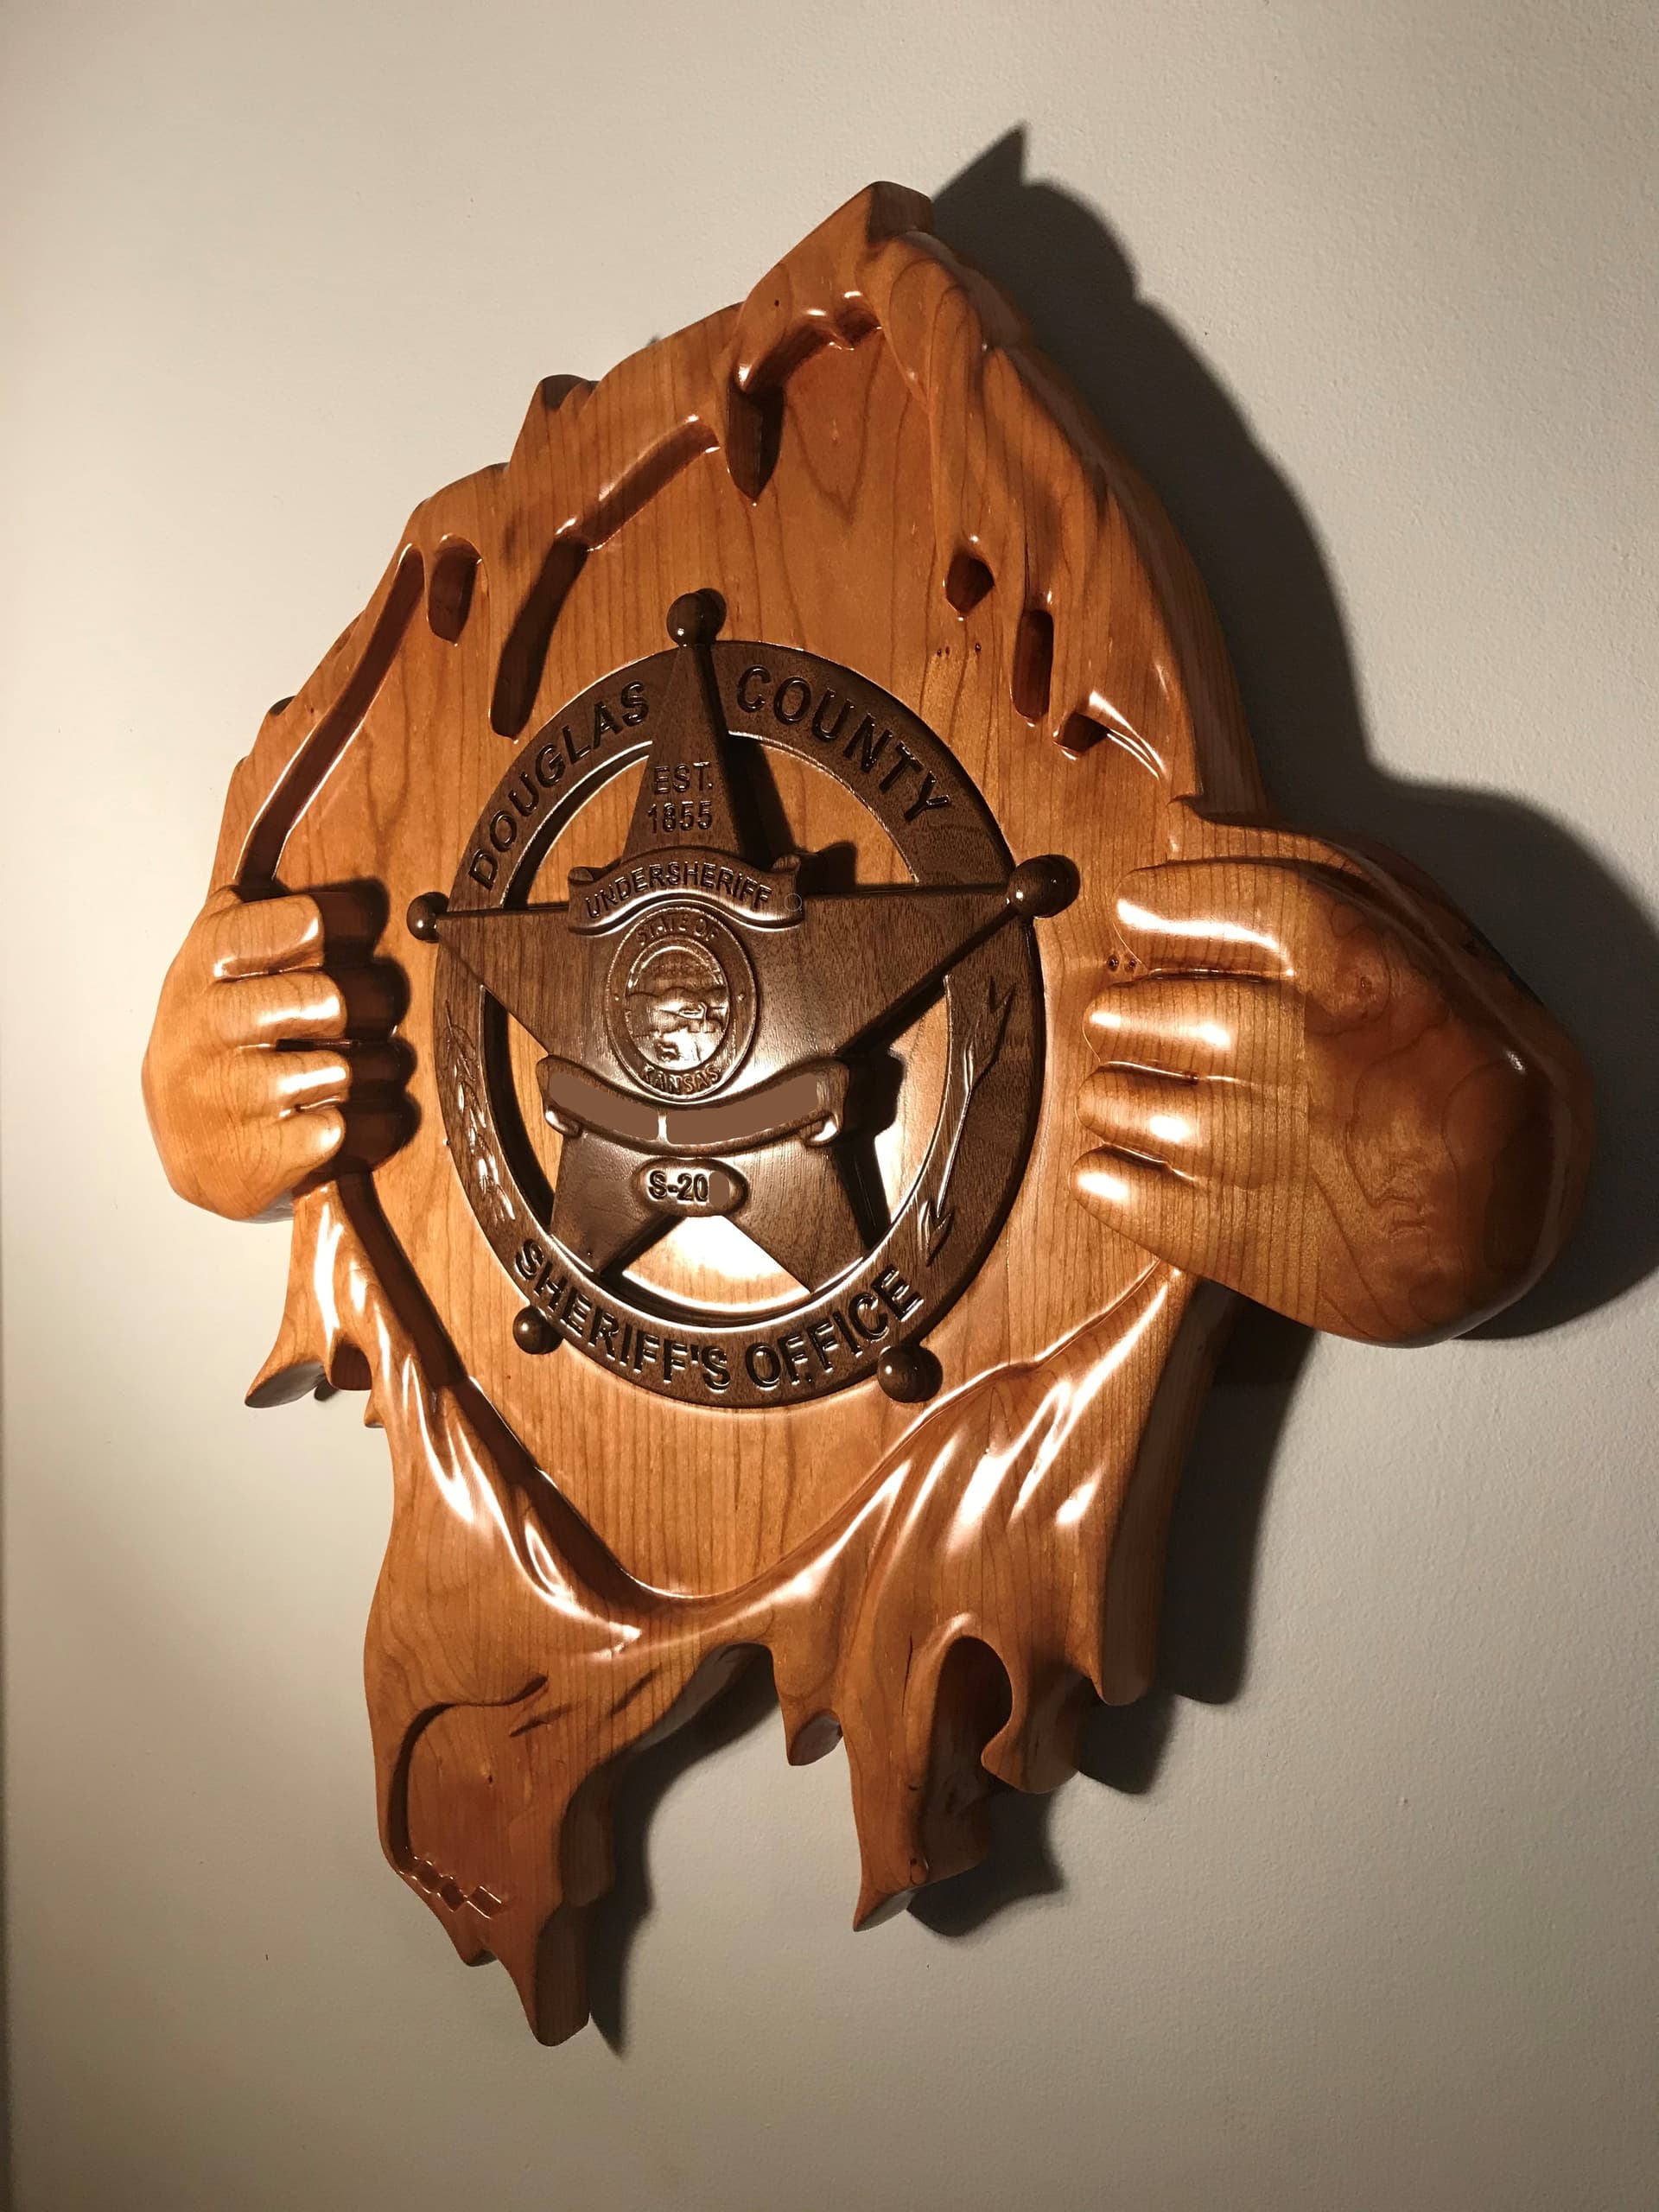
The model height on the shirt portion was about 1.2” with a base height of .4”. This left a lot of vertical carve lines on many of the steep inner areas of the project. It took about a day and a half of sanding just for this portion to remove those lines. Once all of the sanding was done, I glued and clamped the badge onto the shirt portion. After it was dry, I sealed the project with Seal-a-Cell and then coated it with several coats of polyurethane.
I am relatively new to CNC work, and this project was my largest and most in depth so far. I apologize for the long post…hopefully some of this helps someone. I would also really appreciate any feedback or suggestions that anyone has to offer to improve my processes.
Great work!!!
That looks great Chris! Awesome job! I personally like seeing all the material and notes as you were making the sign.
I had some workspace limitations, since I couldn’t use the makerspace shapeoko and had to use the nomad at home.
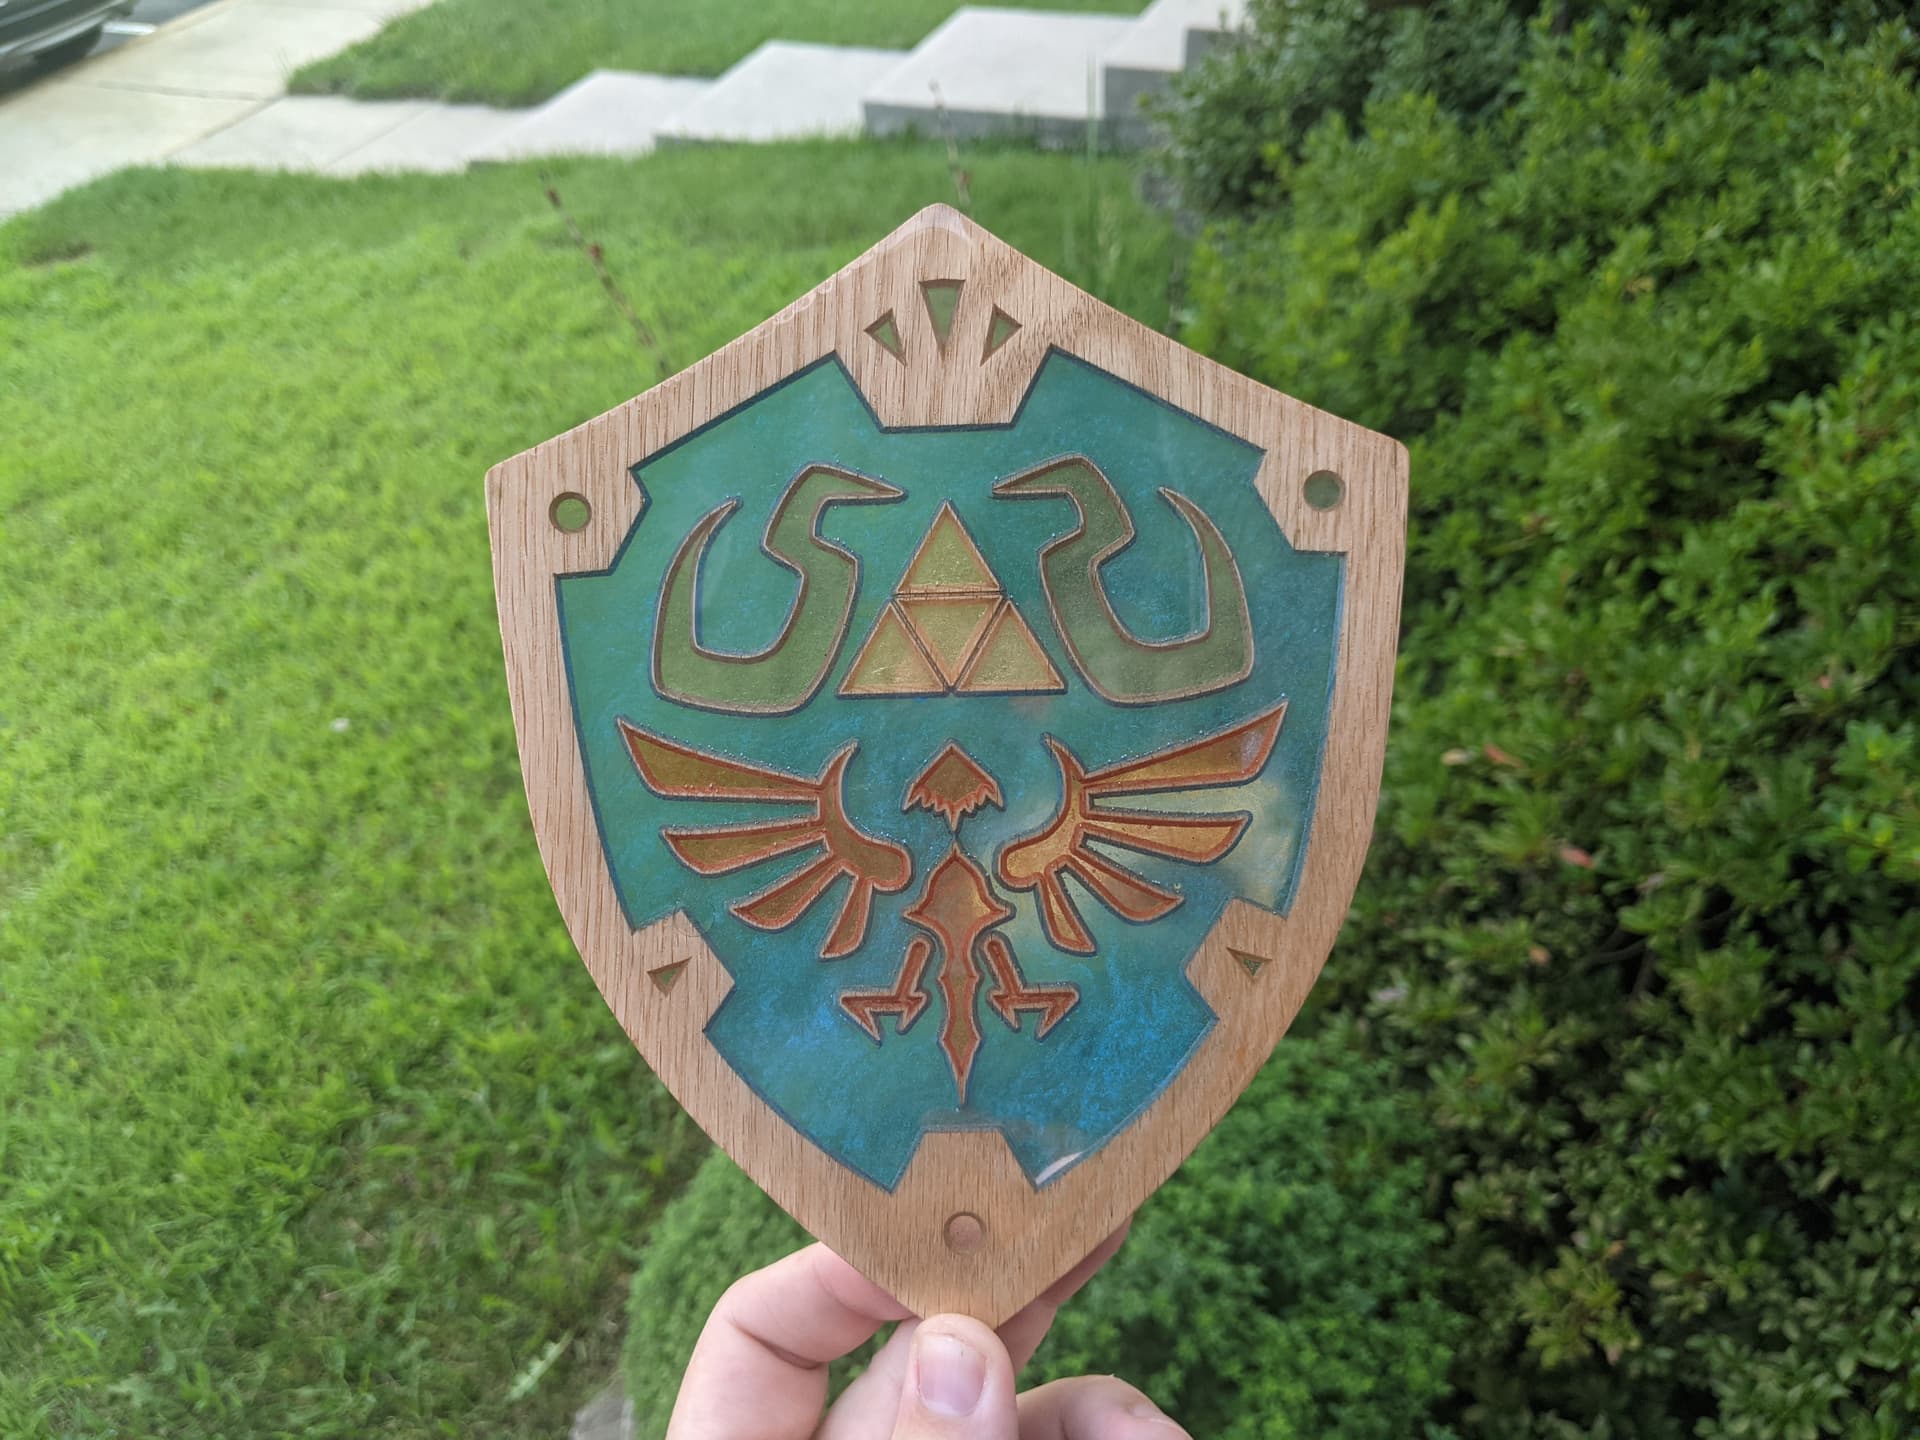
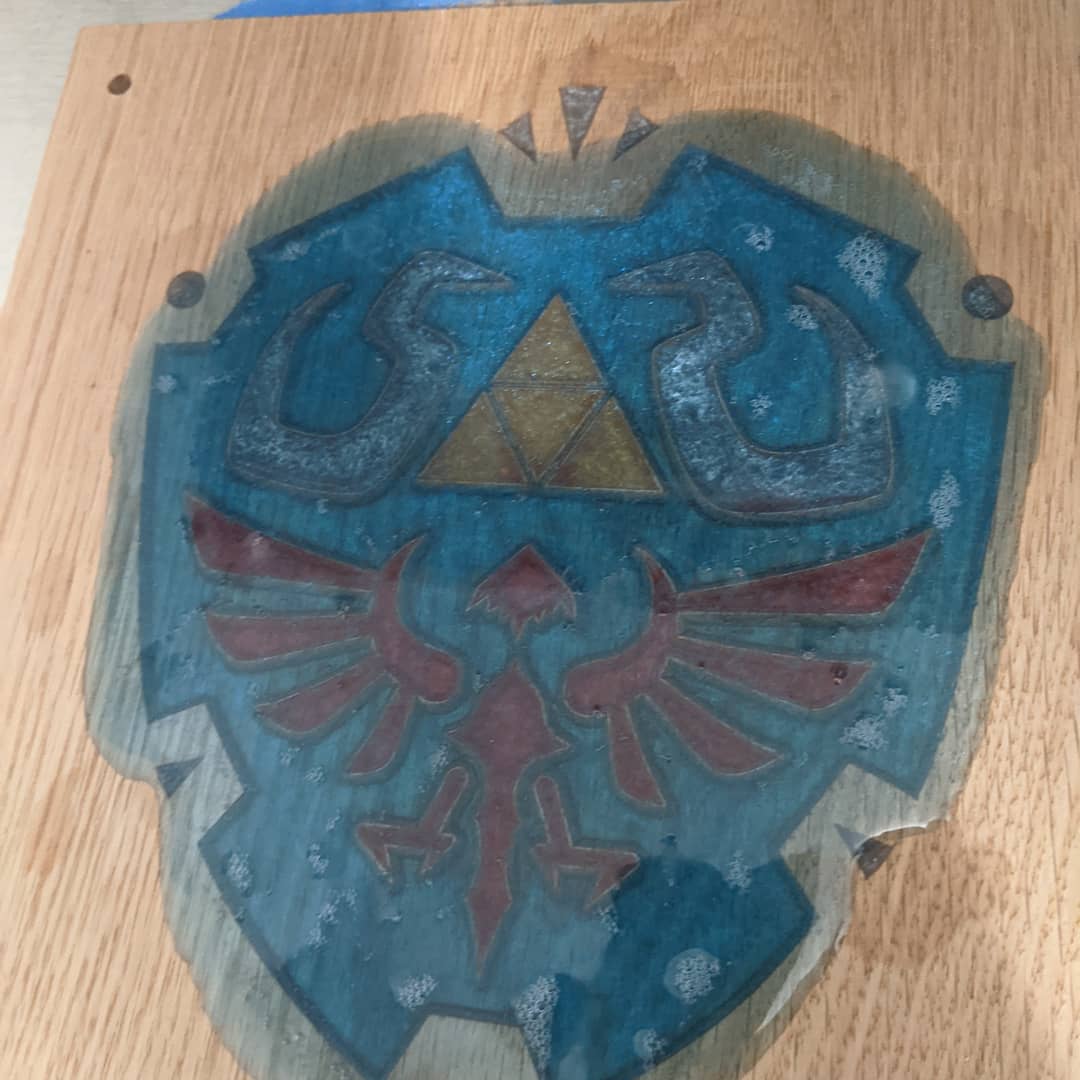
I’ve been kicking around the idea of doing something like this for a while, so this was a bit of a proof of concept. Some lessons learned up front. Doing multiple colors is harder than expected, at least without some sort of way to precisely pour. Also some colors are going to be harder outright. Alcohol ink might be easier instead of micah powder. Trying to get the mix just right to have it sort of see through. Removing wood from the backside made it bow a bit, so leaving more parts in the middle might be something to try next time.
I quite like how the wood from the vcarve is left to give a distinct line for the stained glass look.
Process was pretty straight forward, it just took forever. I used some oak I had laying around, so put that on the machine and faced it. Then used advanced vcarve with a 3mm max depth and 1/8endmill and 60degree vbit.
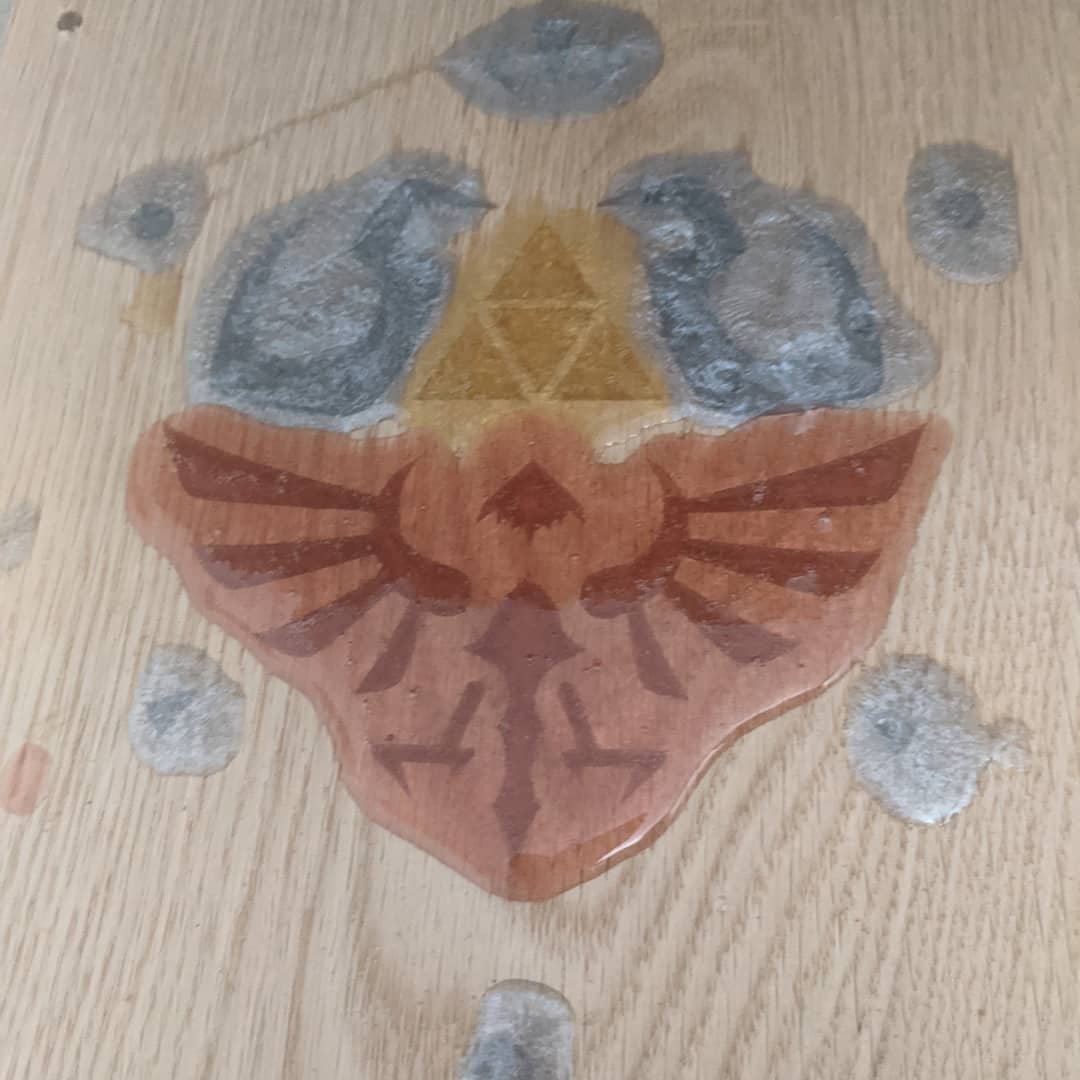
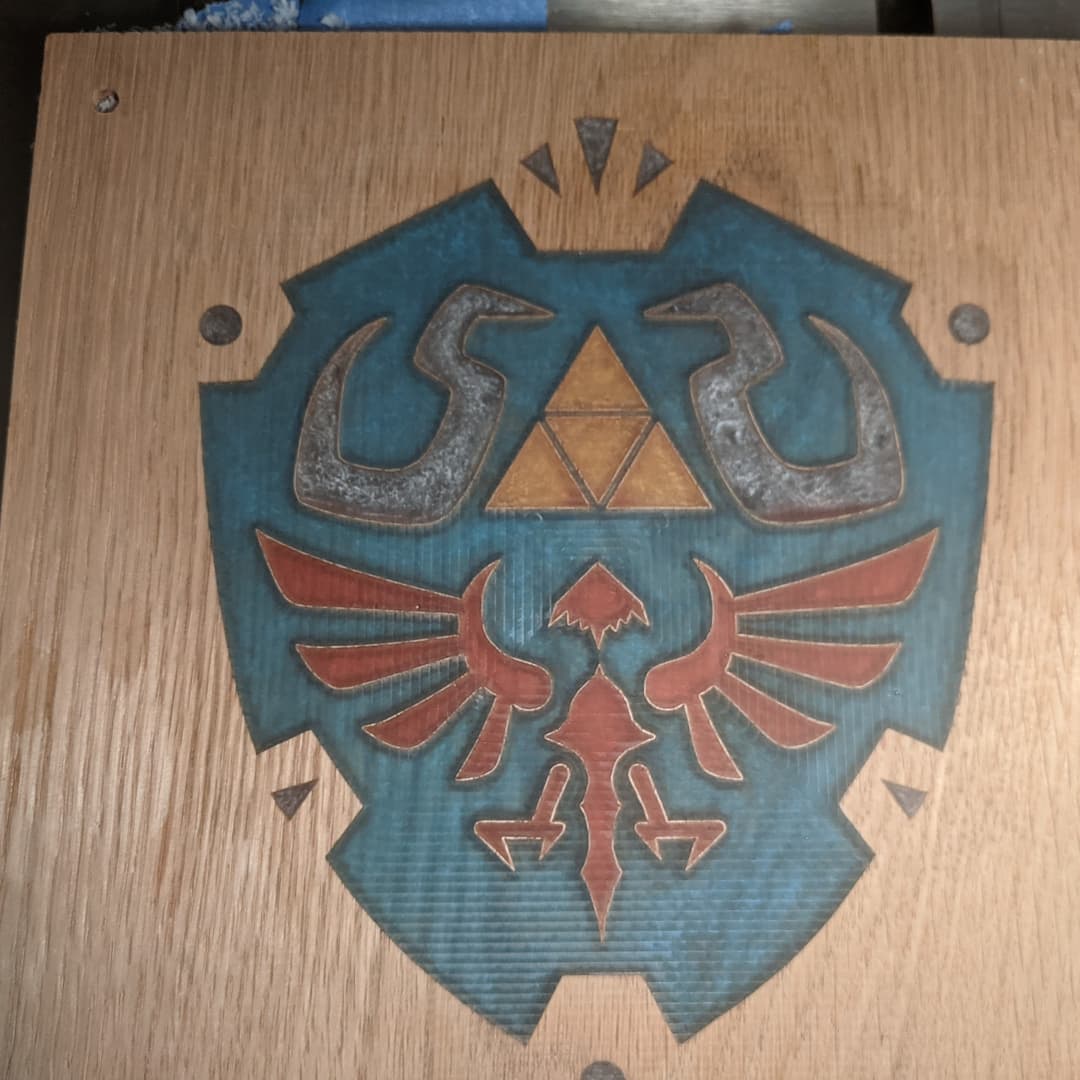
Picked sections that were far apart to try and limit this to two pours for the resin. I left the part on the machine throughout this process
Faced the excess resin then did the next section
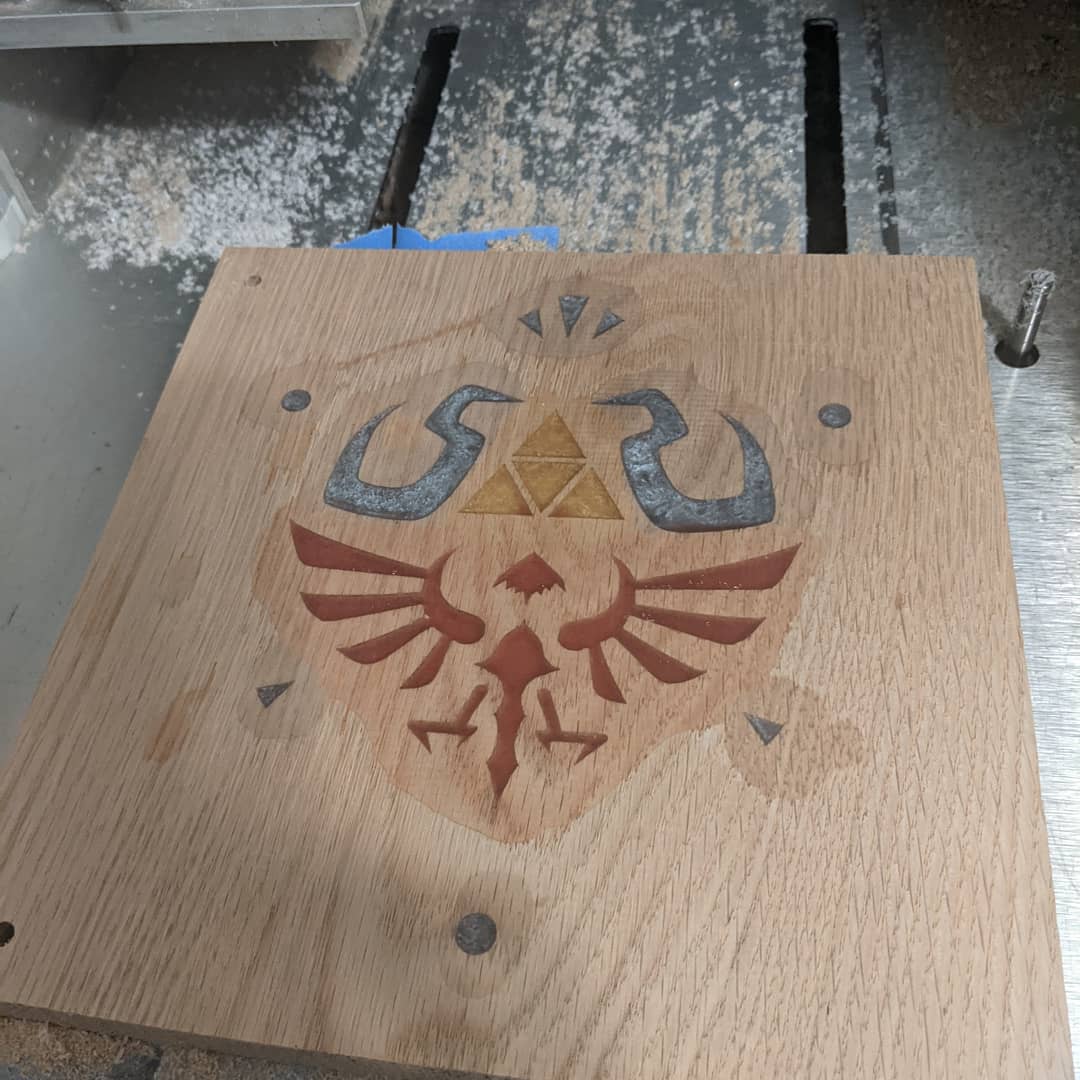
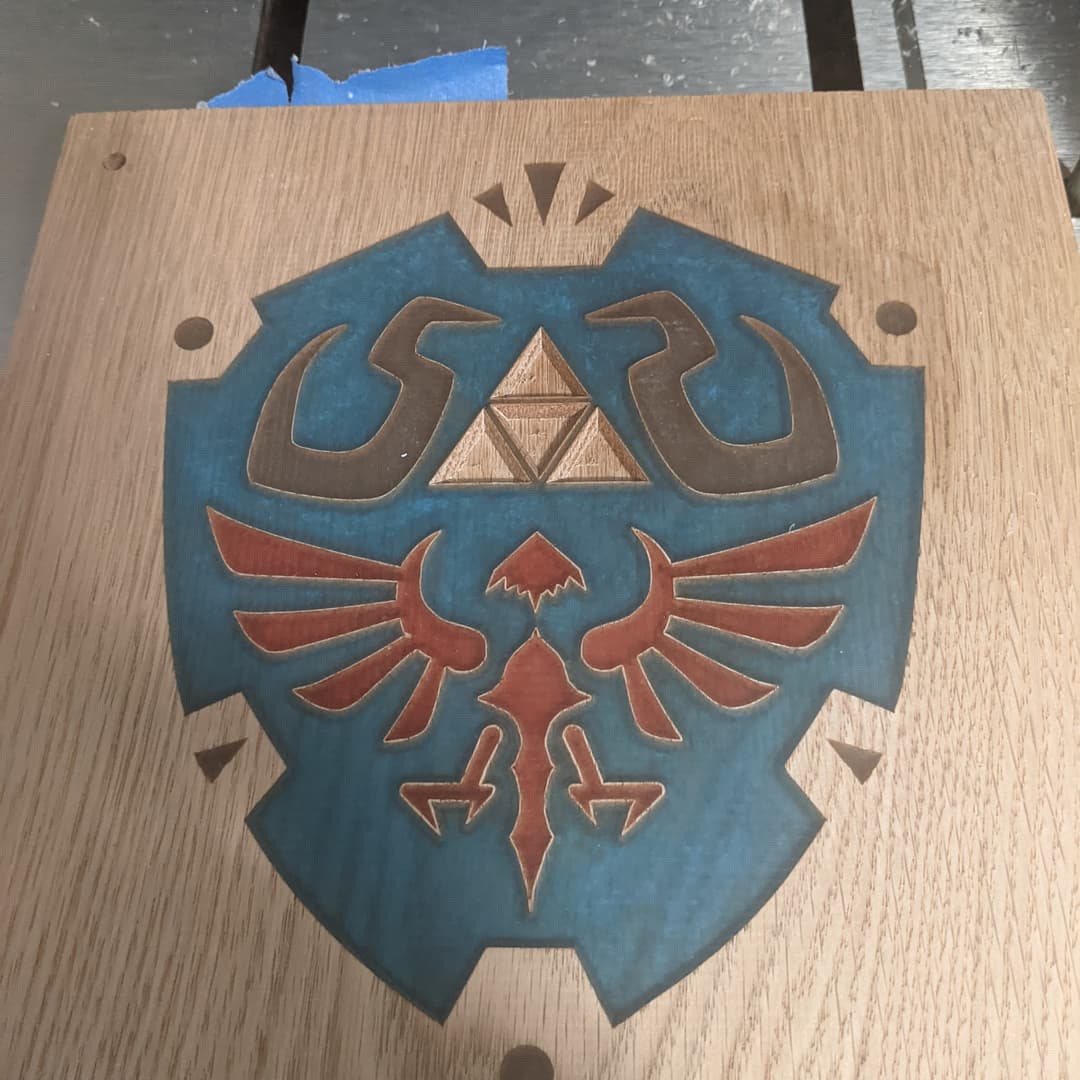
I then needed to go back and redo color because I was worried I went too heavy with the Micah powder and had some color bleed. Was pretty cool to see the machine only remove the resin.
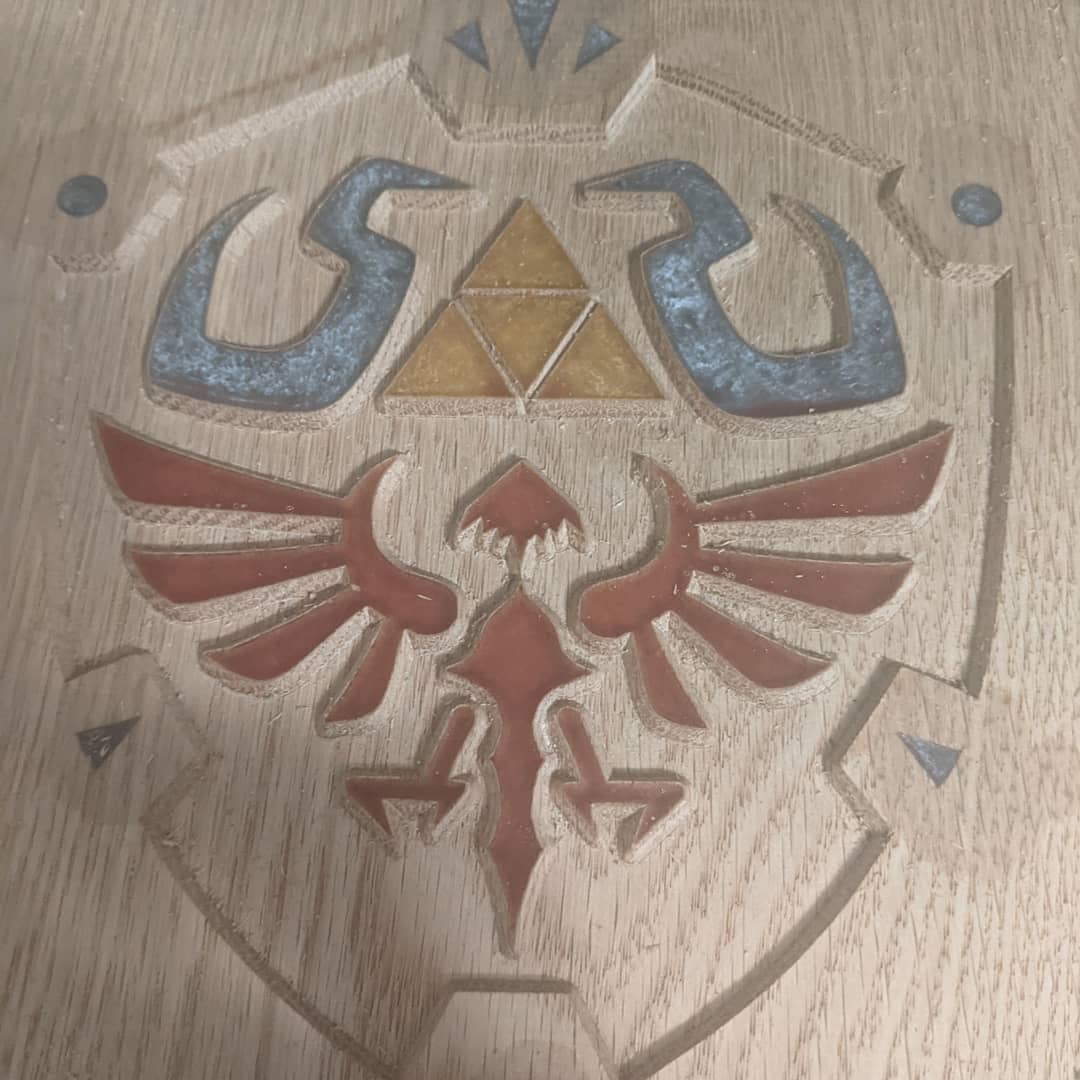
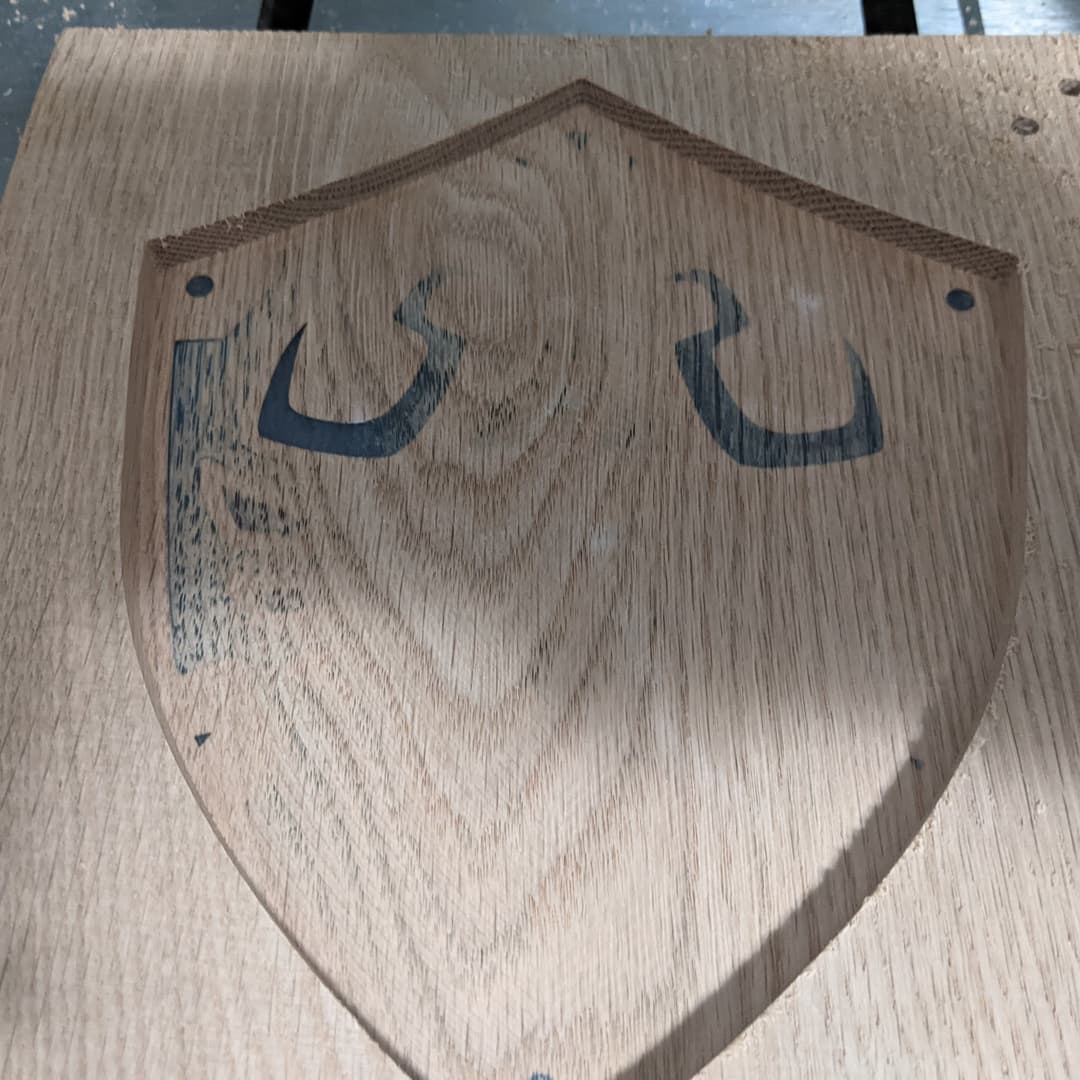
Once I was happy with the colors I flipped the part by using locating pins in the waste board and holes I had placed in the stock.
Then I cut the part out and put a thin coat of resin on the back and front to remove the tool marks.
I’ll upload the carbide create file later tonight, since it’s on a different computer and wanted to upload all this before i forgot.
Going to do this again on a larger scale and make a light box and mount it on a wall.
Excellent job with the epoxy technique! 
Guessing the new mystery gizmo is the C3D spindle and VFD.
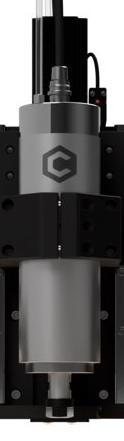
But with the HDM announced, why need a NDA?
Because it’s not shipping yet and Carbide don’t want to get burned by a Chinese supplier like they did on the ER collet router?
I can’t find the comment in the beginning of this thread (I think it got deleted) but someone at Carbide 3D said that it was something that was more suited for the Shapeoko because it is better for large projects but that it would also work on a Nomad. Therefore, I don’t think it is a spindle and vfd.
It’s in the rules for the challenge, first post.
That turned out awesome looking, great job and for being new to CNC, you are certainly off to a great start.
Nice Job Kevin, that is something my wife would like to, gives me a great idea… Fall is her favorite time of the year…
Thanks…
Wow! Super impressed. Looks great.
Your colour work is awesome! Great job 
This was made on a Shapeoko 3 XXL
Materials used: MDF and fir plywood
I’ve finally stopped lurking, and decided to contribute to this community! I’m a hobbyist sign-maker, so this challenge felt safe enough for me to come out of my shell.
The person this sign was for had a pretty clear vision in mind. She reached out to me with a few details, and ultimately wanted something simple for an outdoor cooking area. She shared with me that her family loved their outdoor pizza oven, and took every chance they had to use it.
The pizza oven had been in her family since she was a kid, and now she and her husband were moving it to their backyard. It originally belonged to her father and mother, but her parents had since downsized and no longer had the space for it. She wanted the sign to celebrate her father because her father was recently diagnosed with stage 4 cancer. She shared all of this information because she wanted to know if there was any way I could speed up my turnaround time. She wanted her dad to see it.
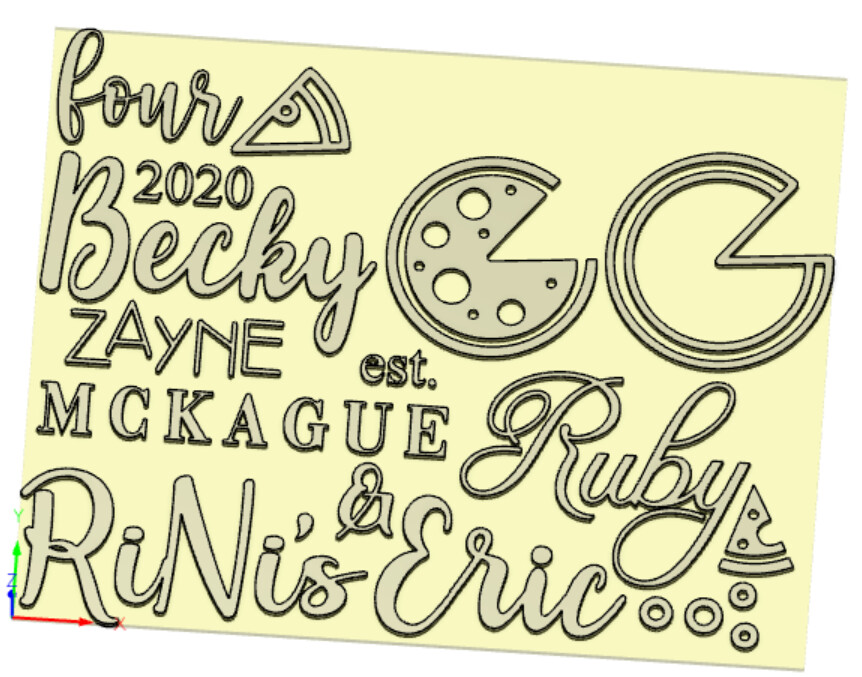
We made quick work of the design process and she chose between the options below.
Unfortunately, I don’t have enough pictures of the process to share, but I hadn’t programmed or cut inset pieces before. Needless to say, I had to cut the pizza more than once 
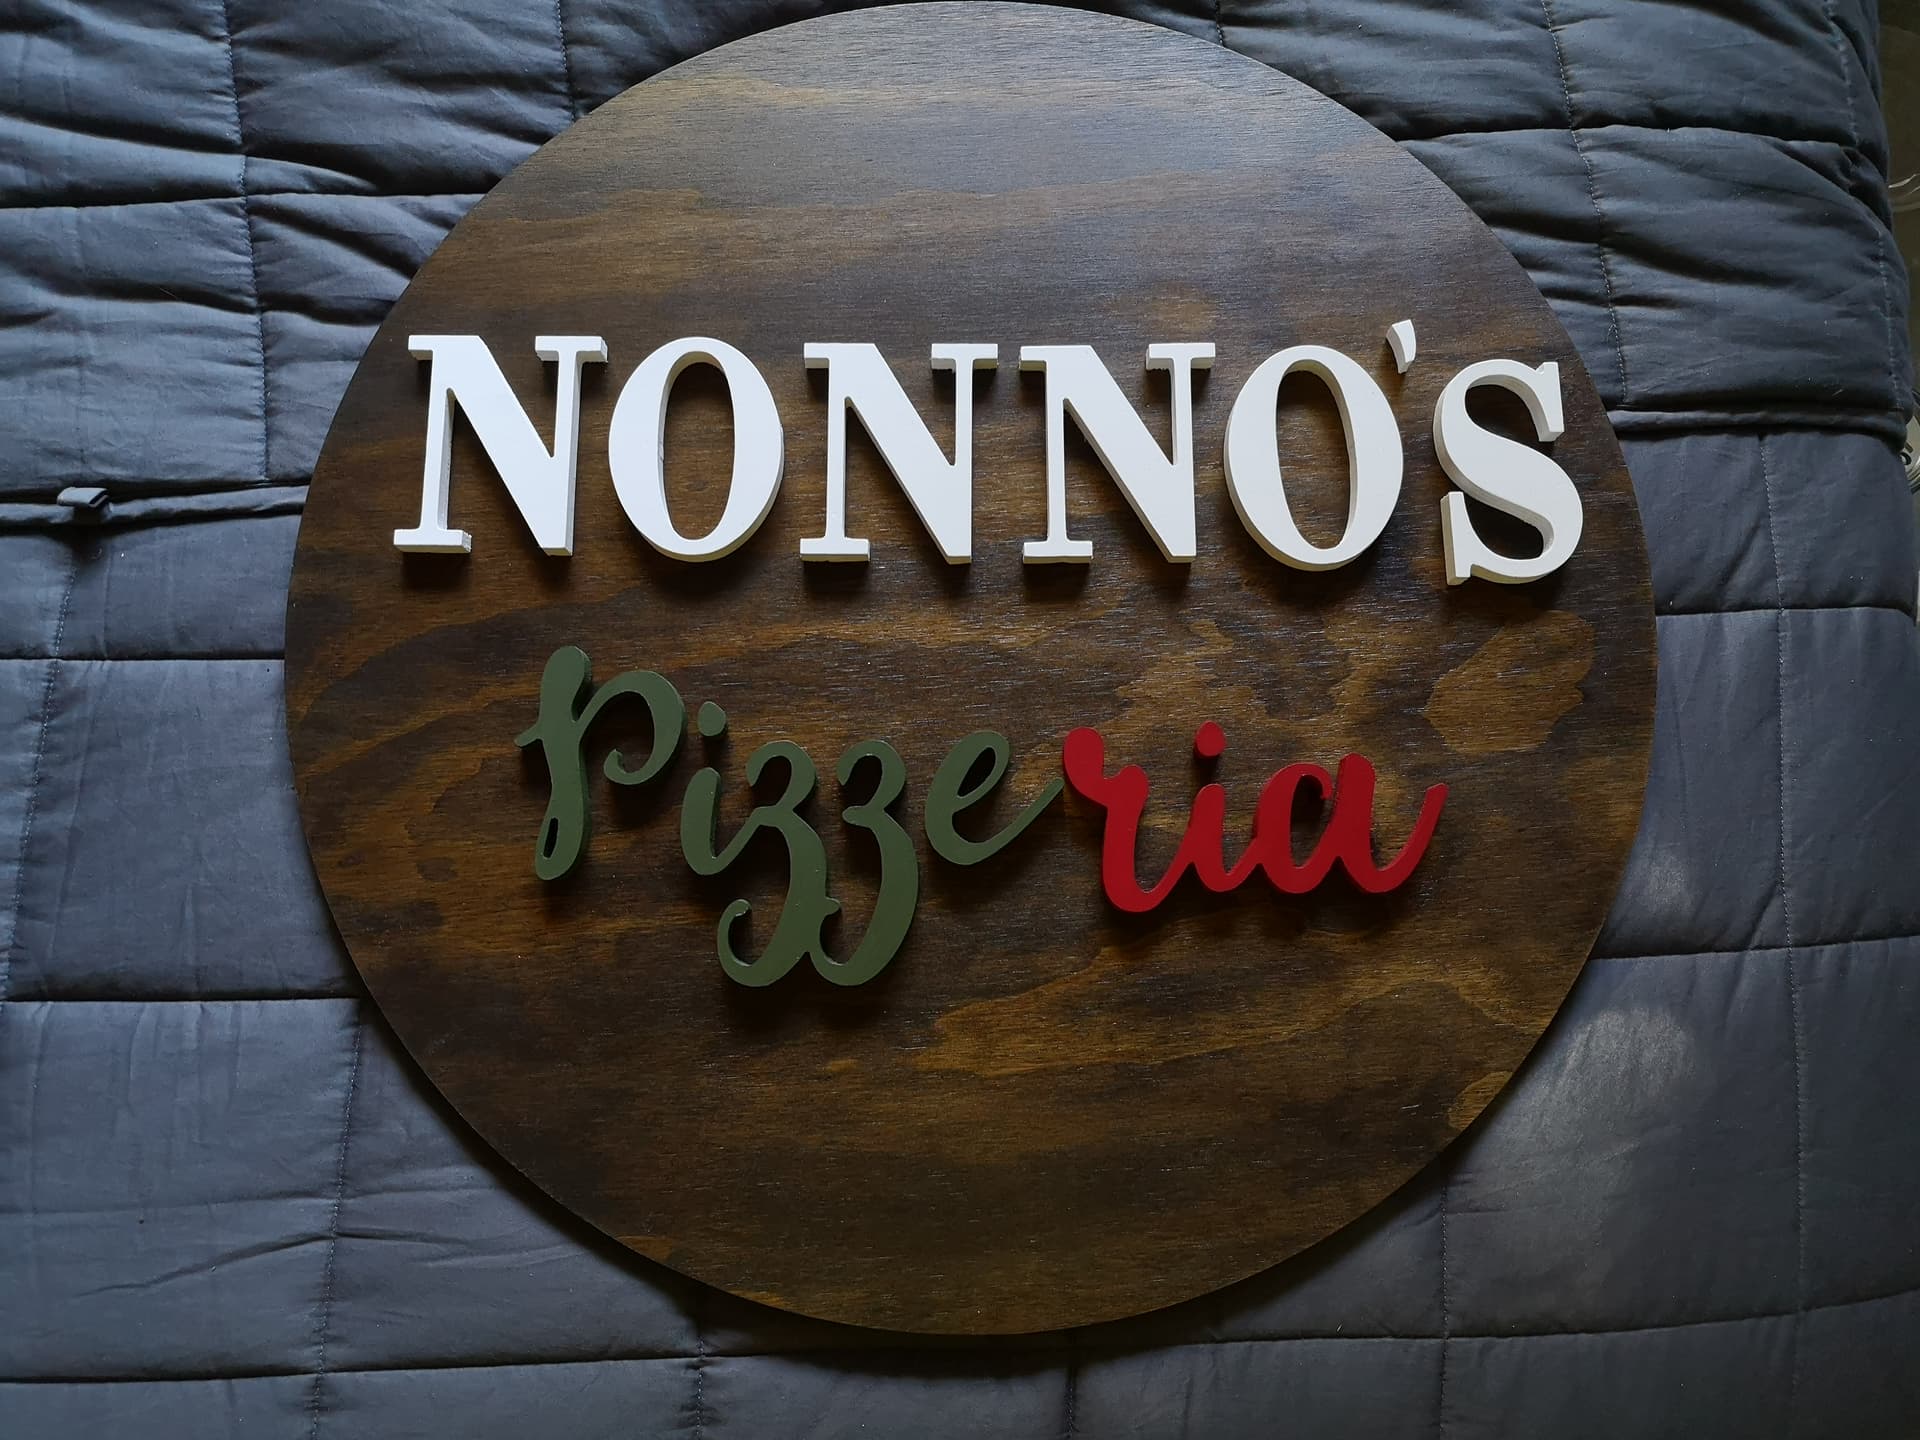
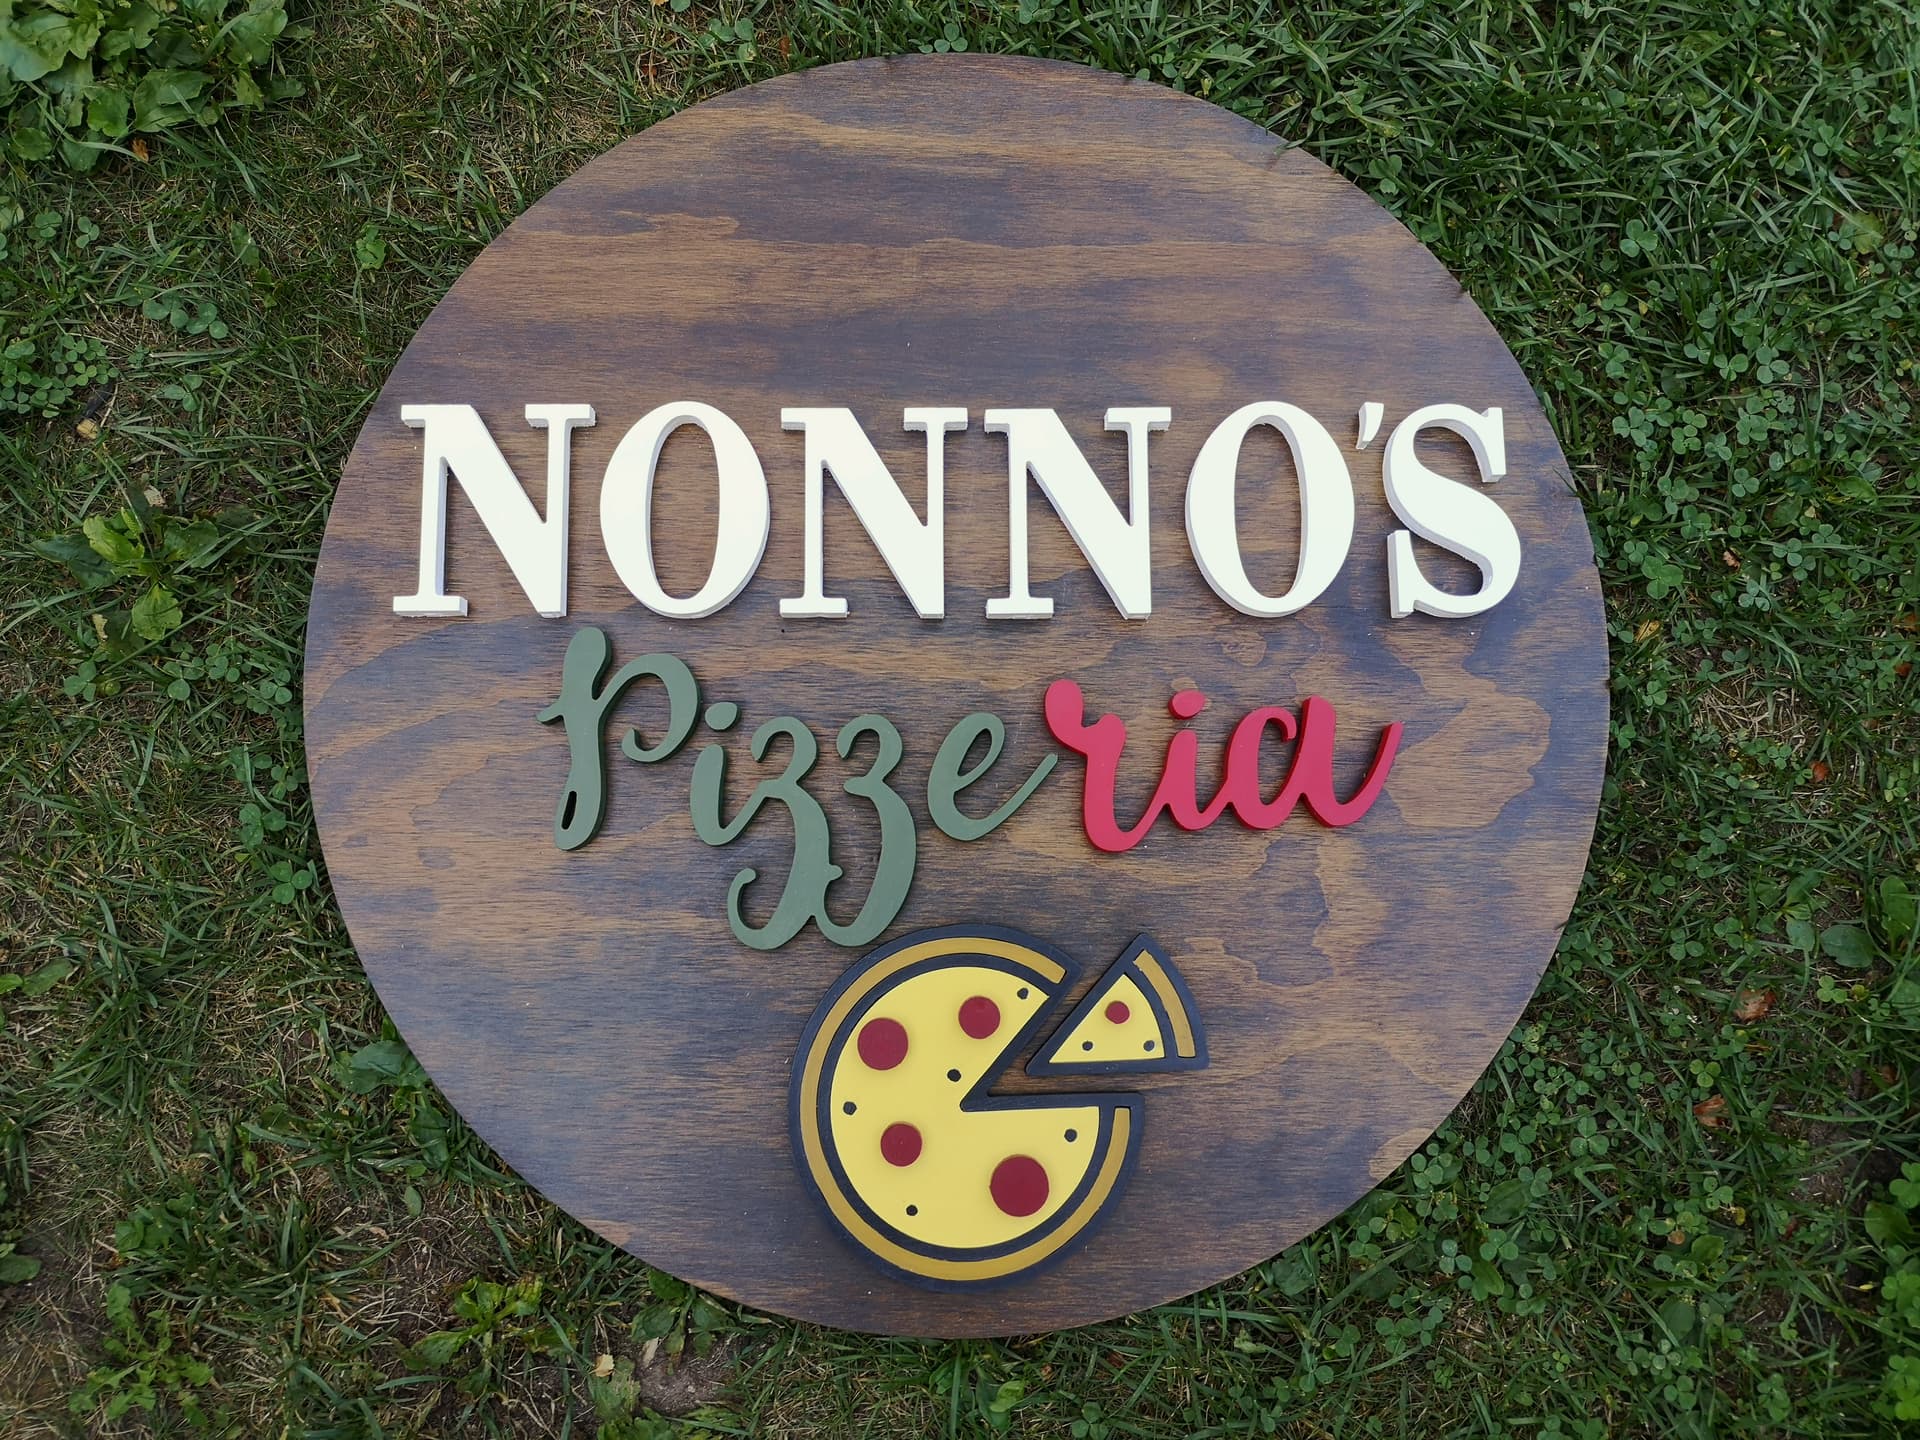
Even with just the letters, the sign was taking shape! I used ½” birch for the letters and ¼” pine for the pizza. I used spray paint and sealed it for outdoor use.
I was really happy with the end result! I learned a few things and it was special to be trusted with such a personal gift.