I’ve had an neon-style LED sign on my project list for a while, but we just haven’t really come up with a good place for one in our house. Two of our favorite people are getting married this fall, so we offered to make them one and they requested a 3 foot wide sign with their names to hang in front of the bar.
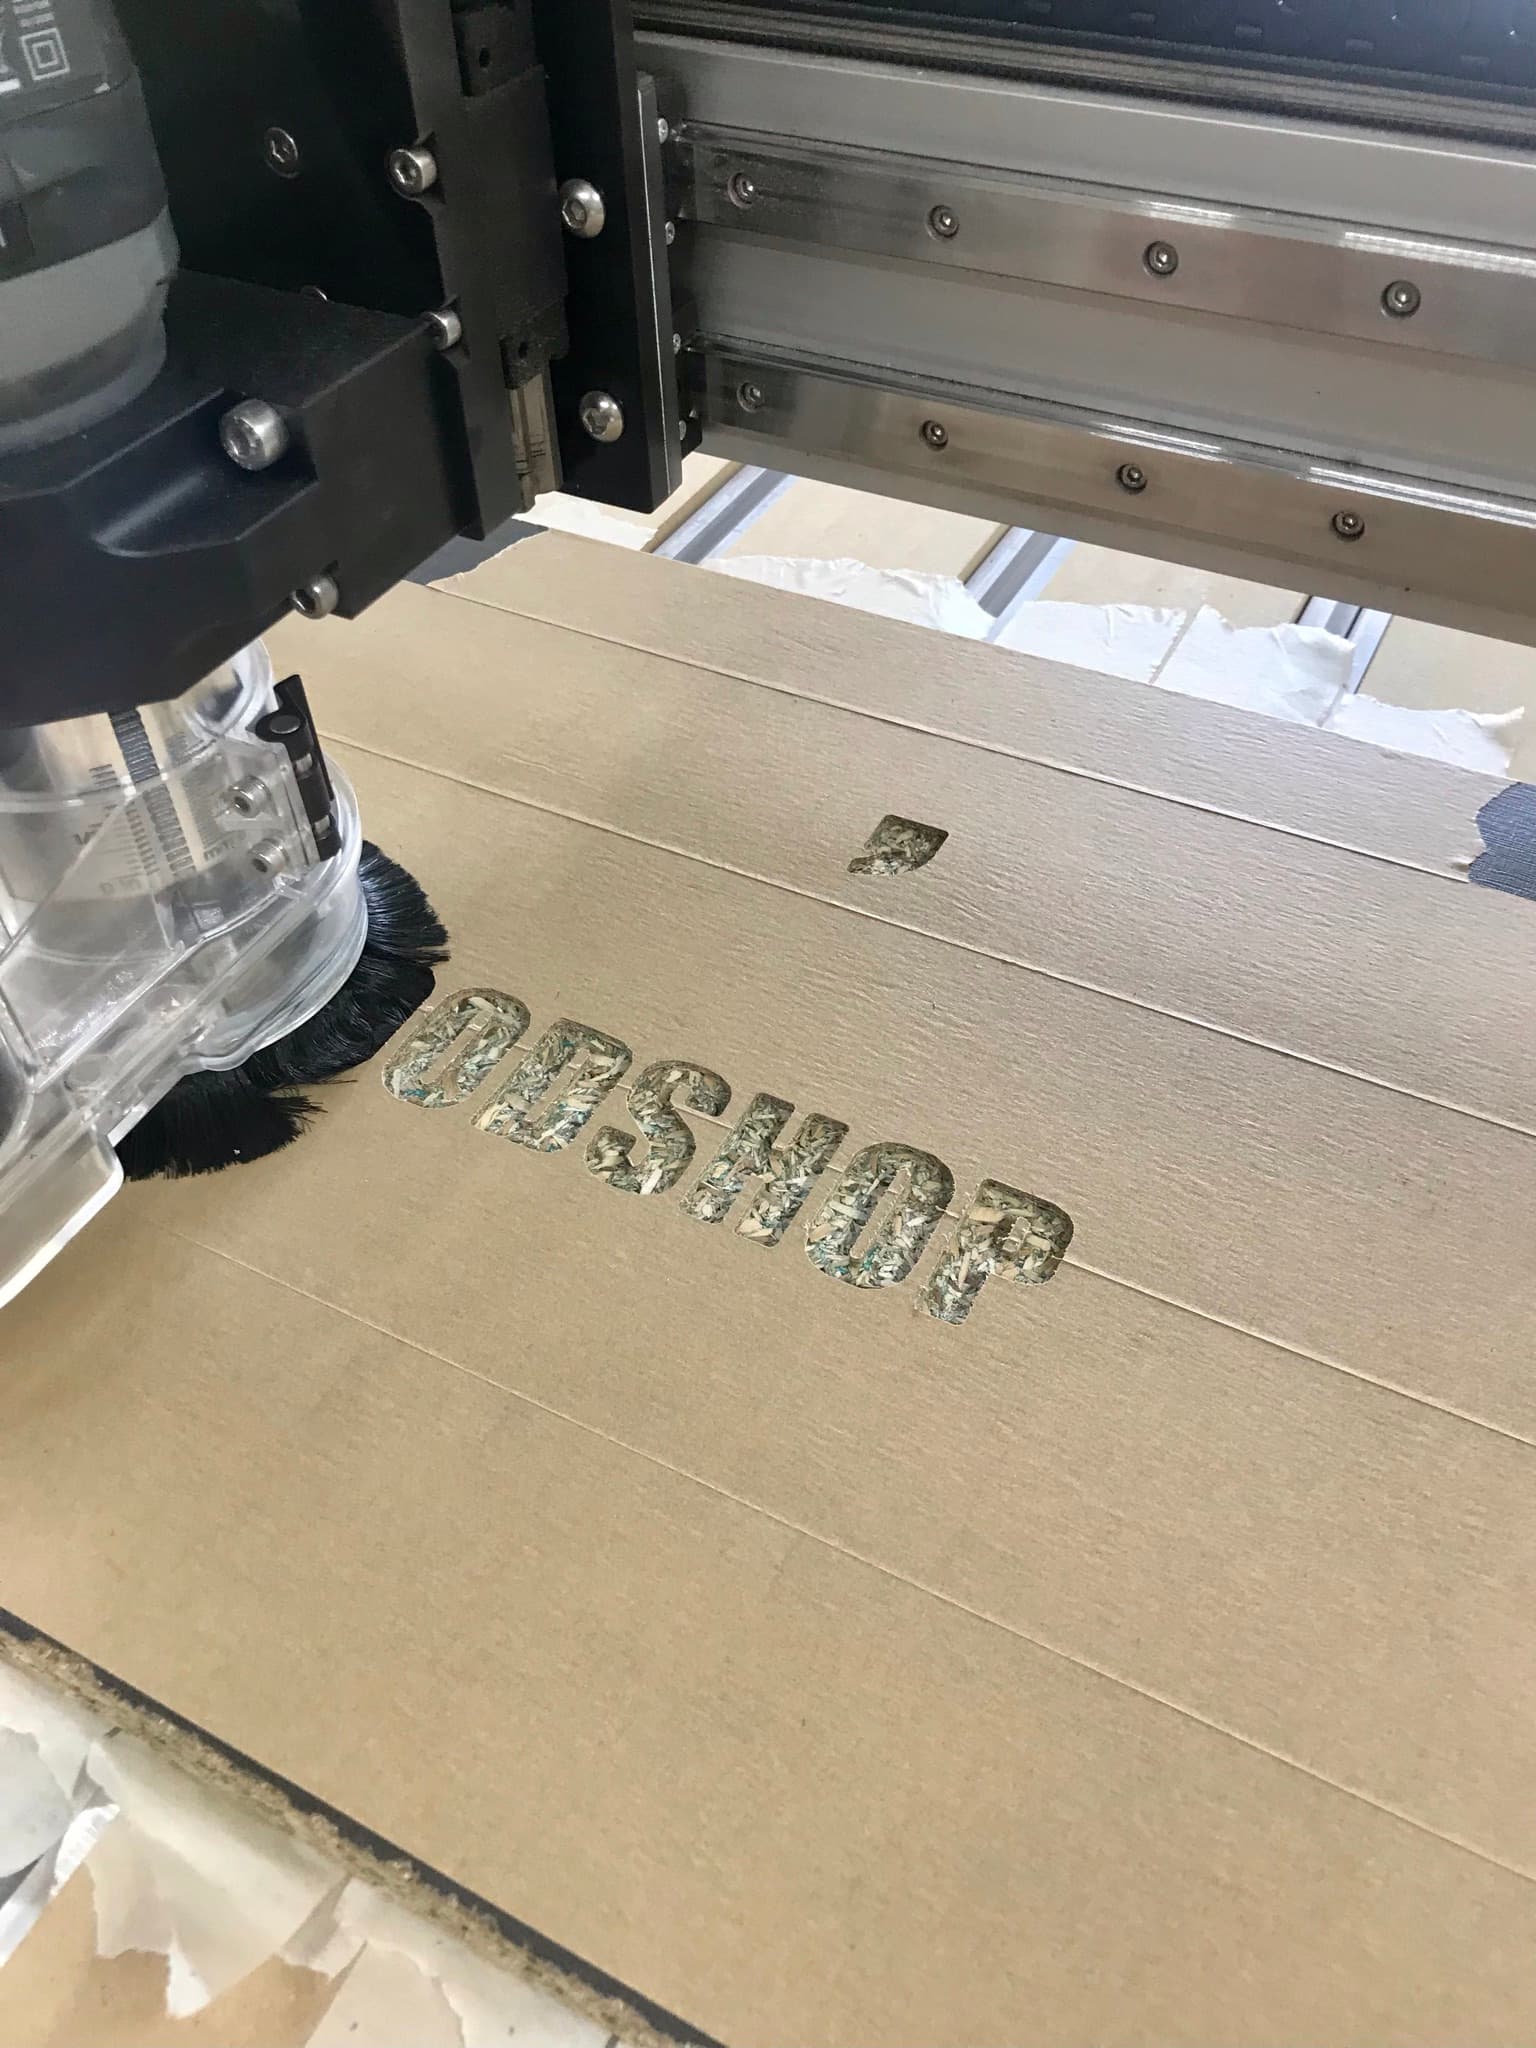
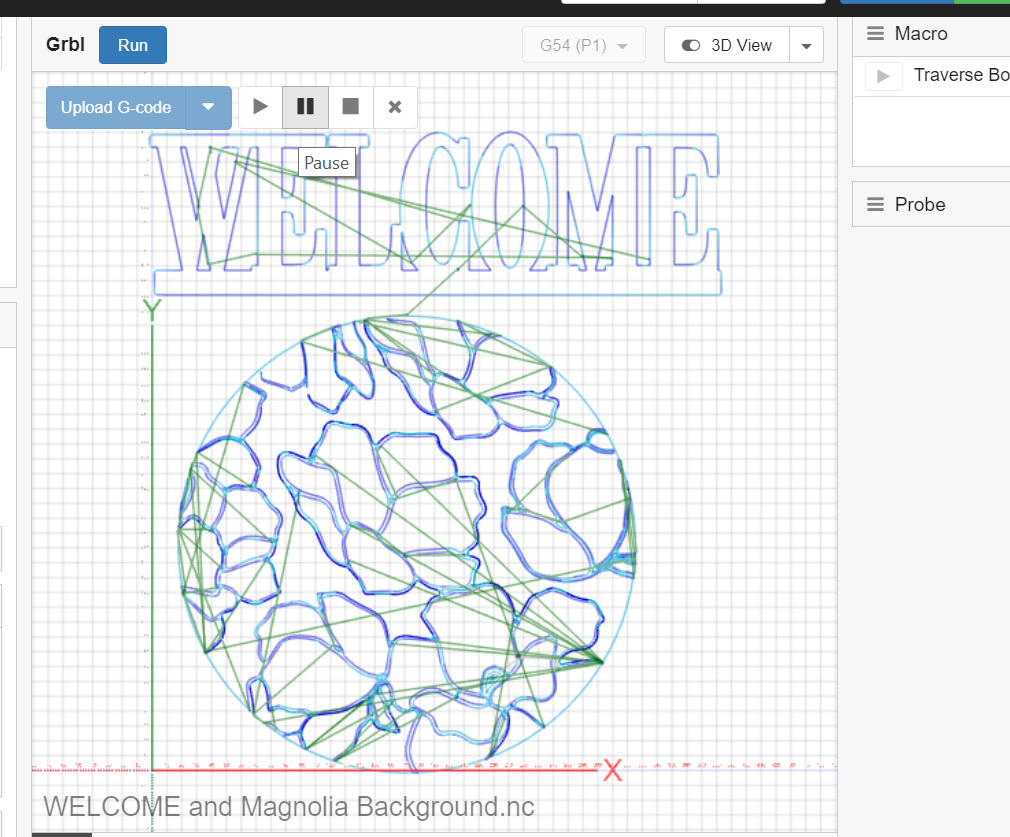
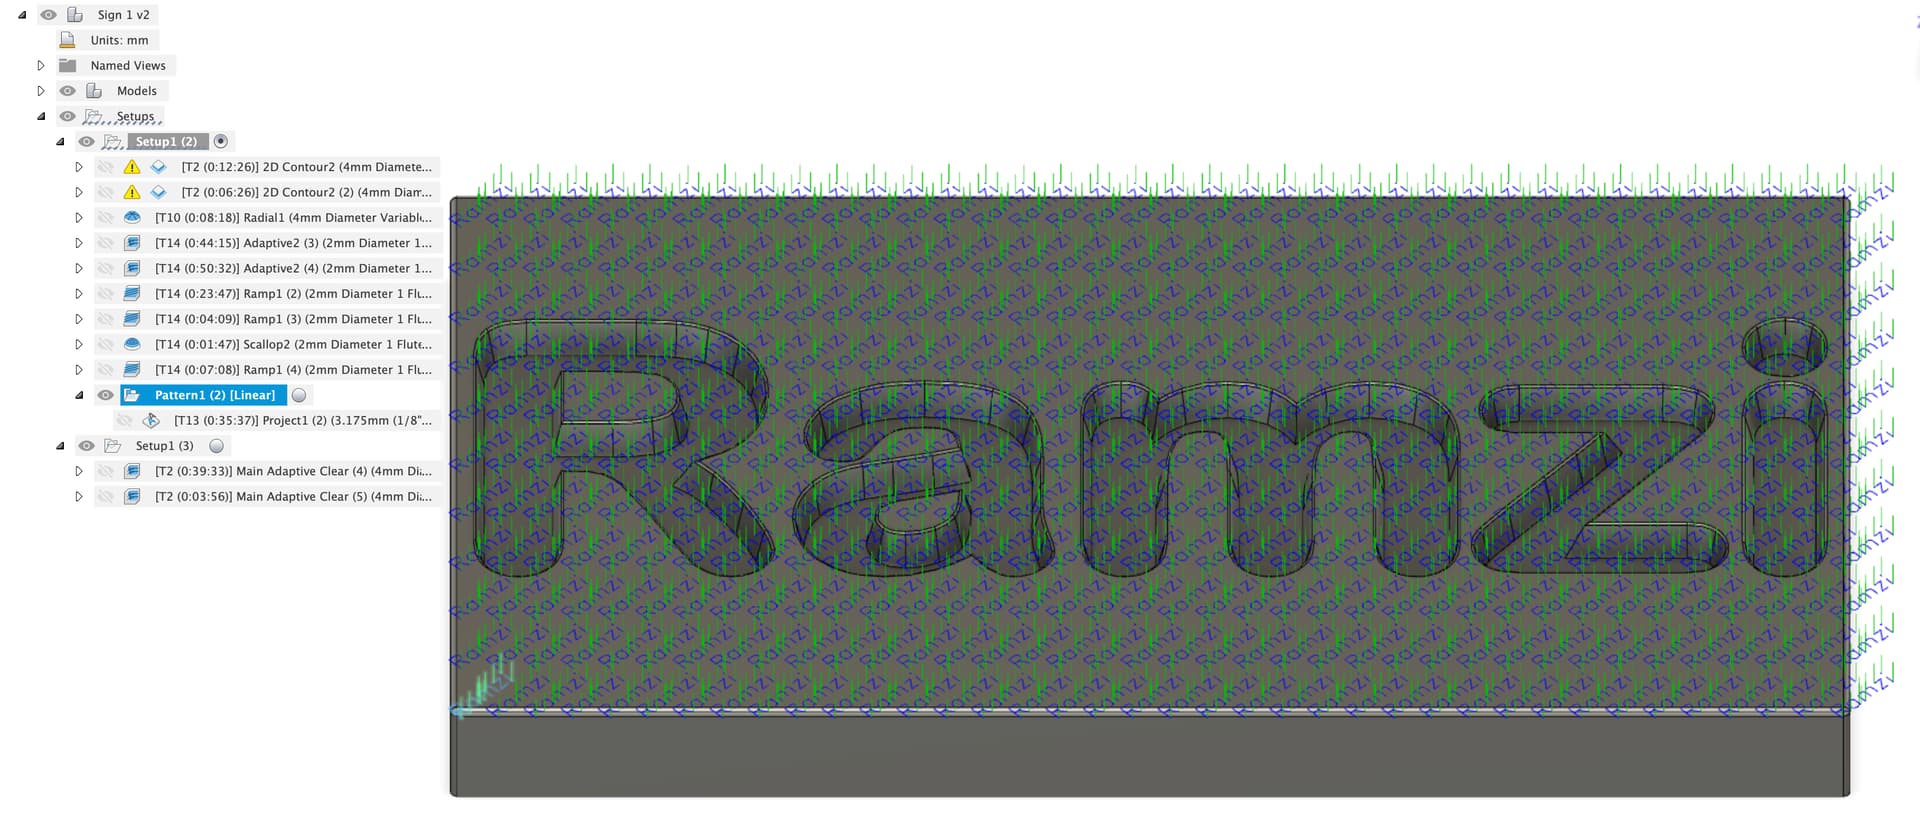
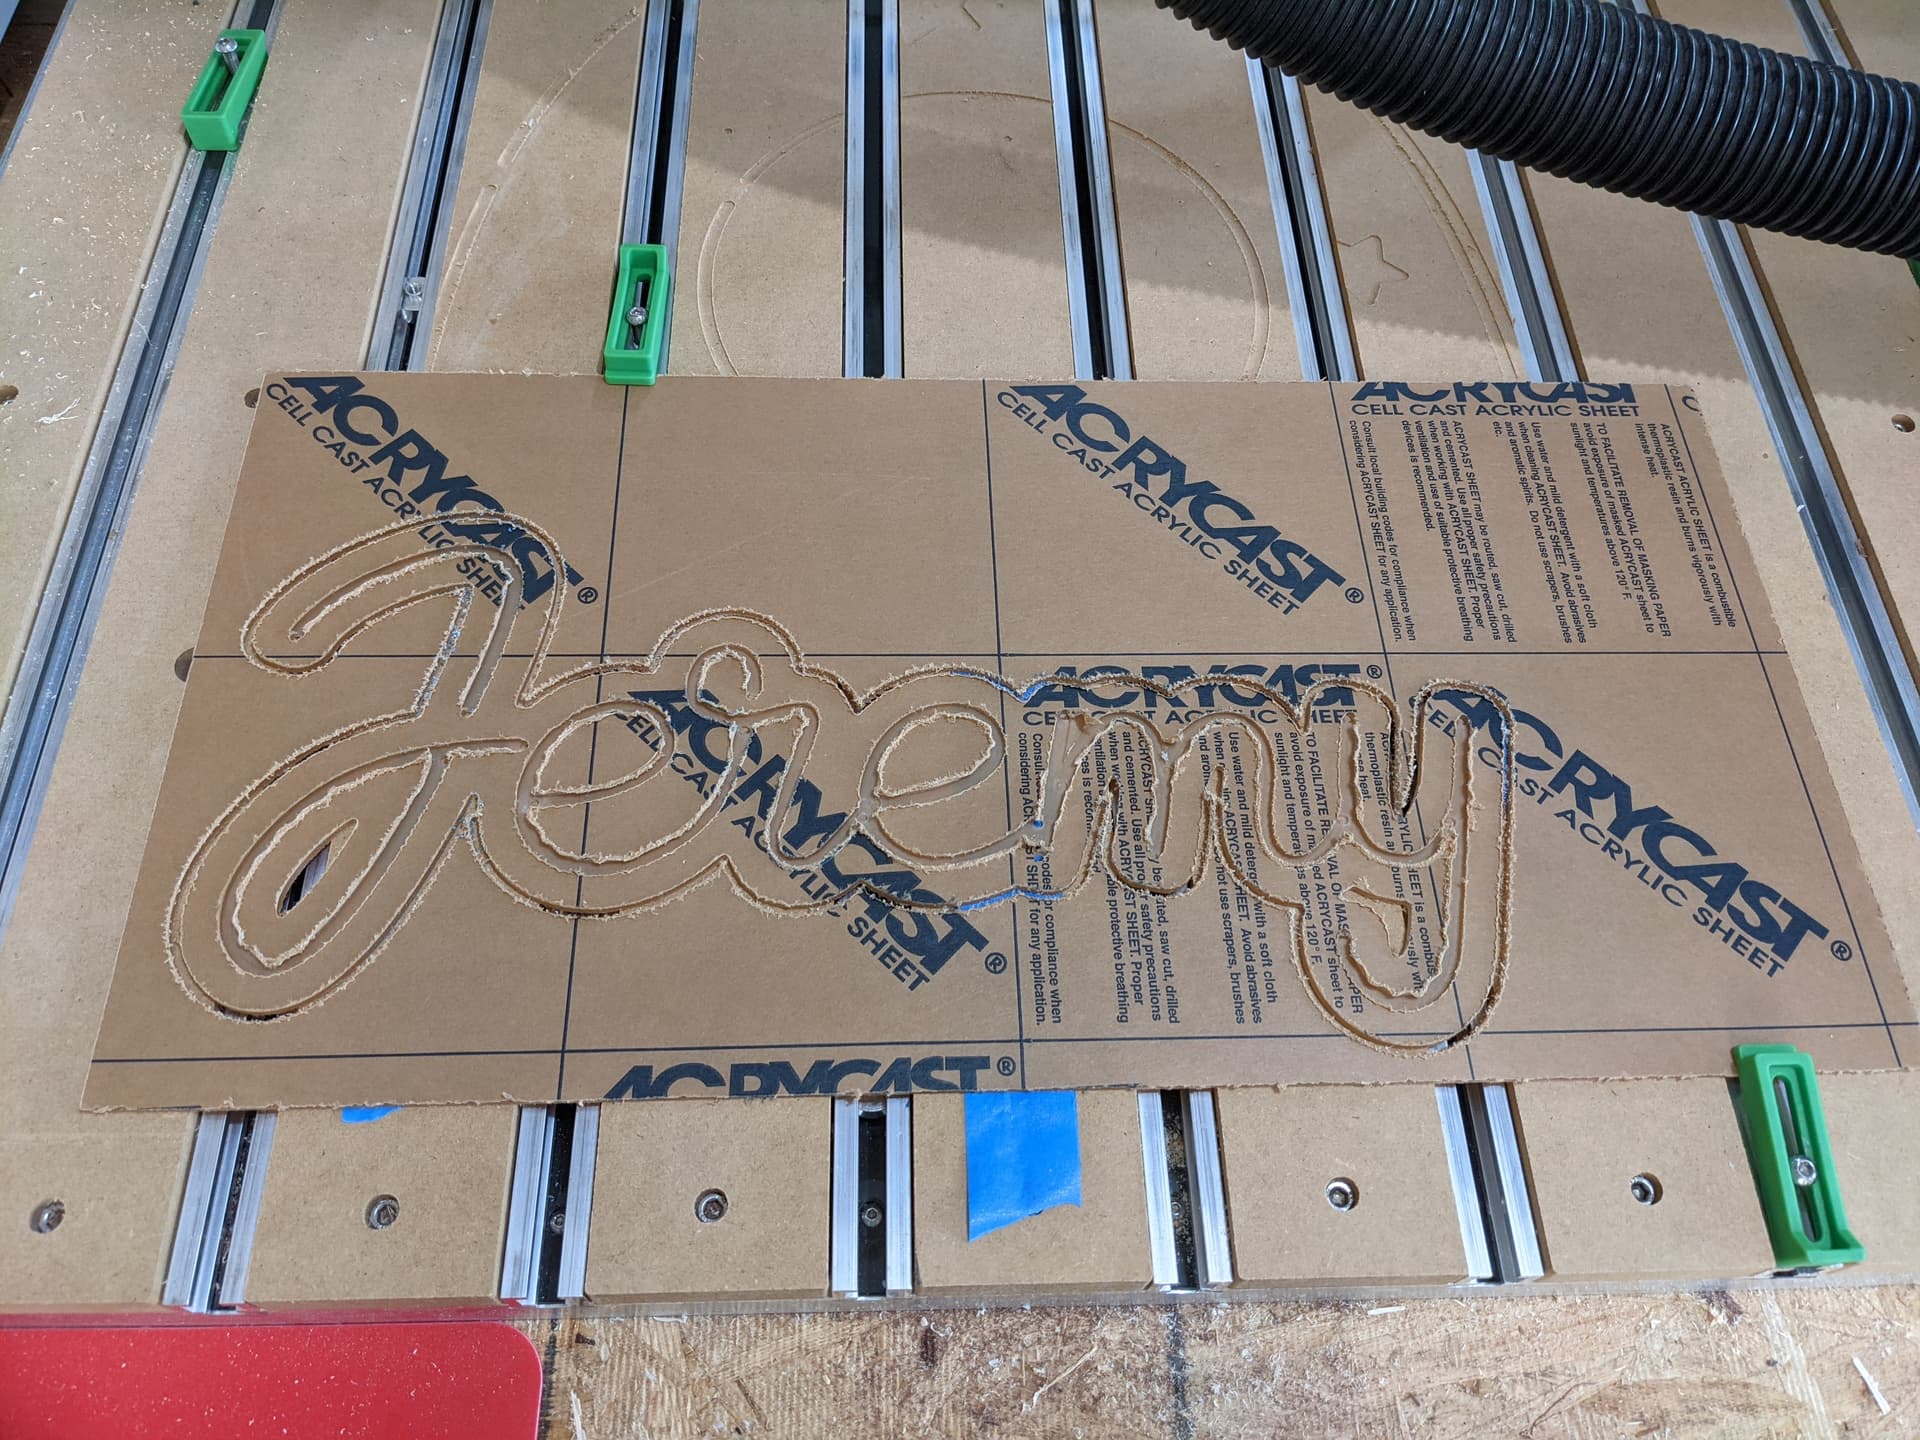
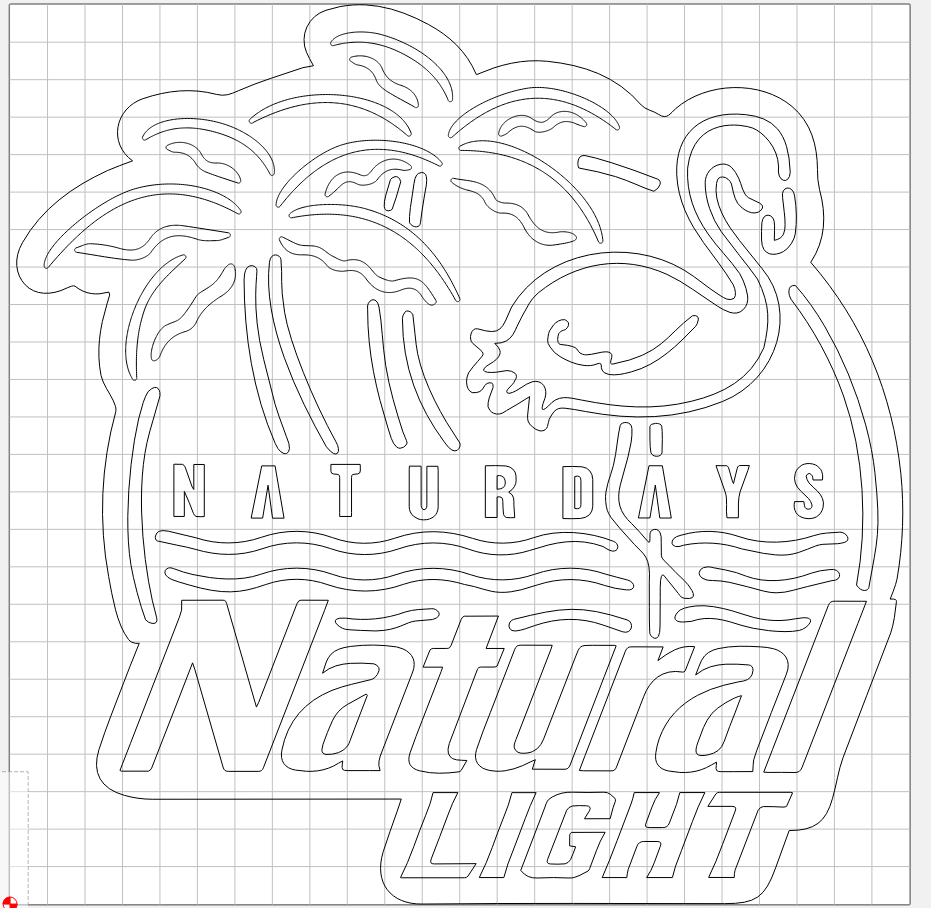
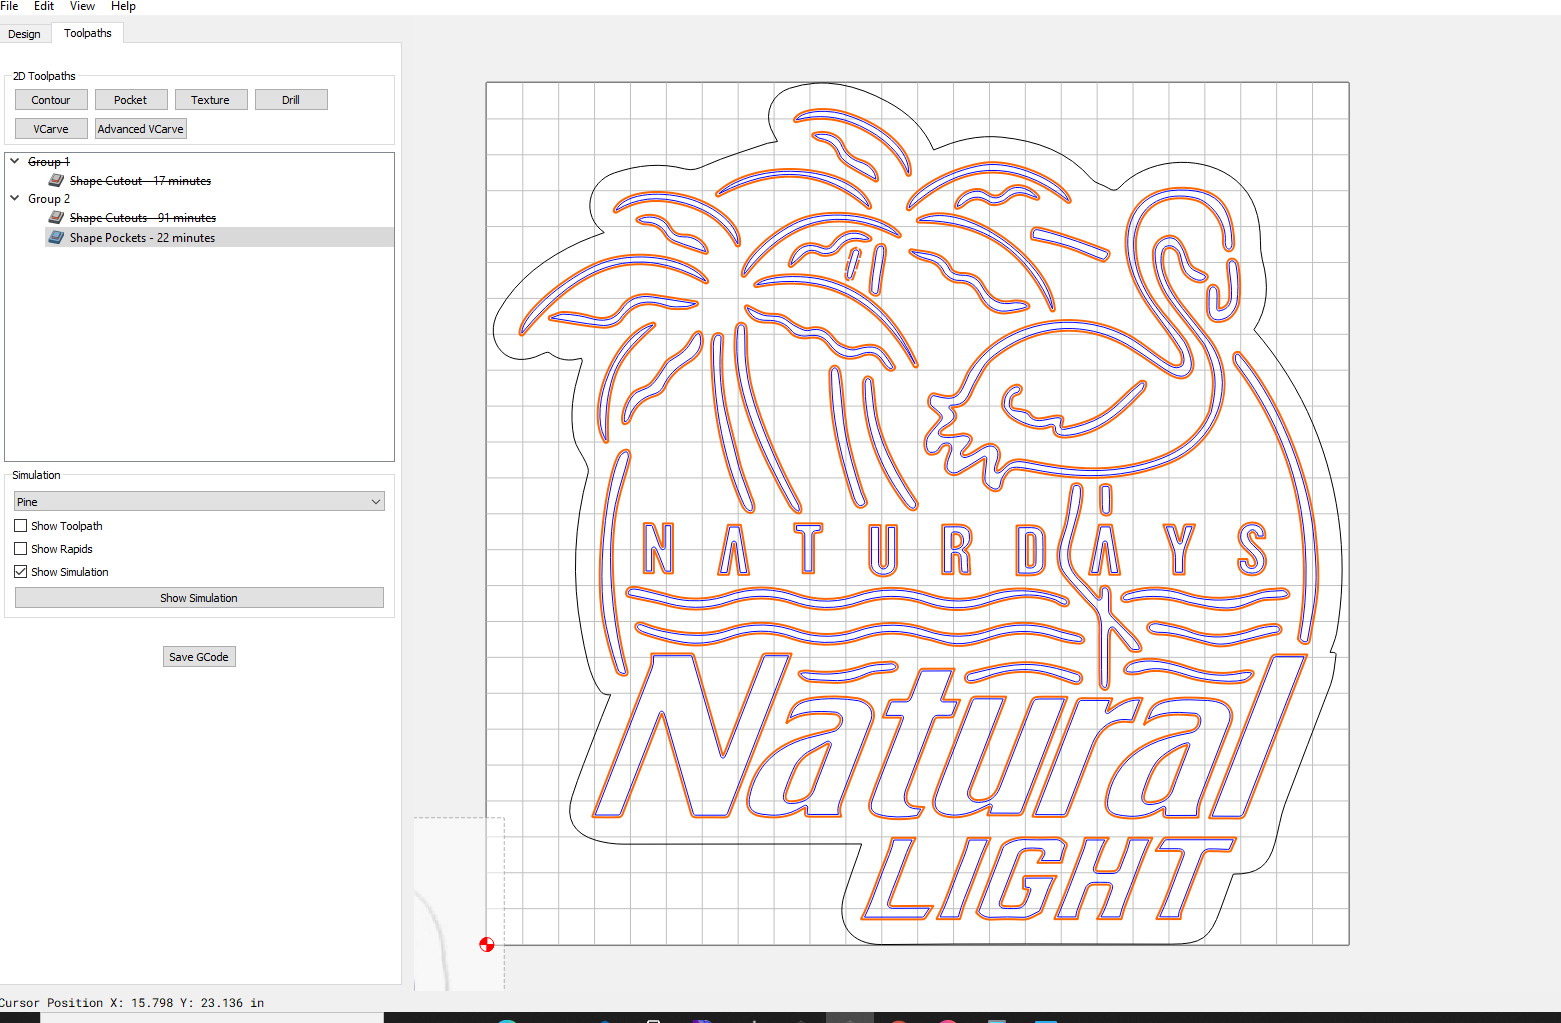
The easy part of this project was the CNC part! I started with a fairly monoline font, but then traced it as a vector line so I could rearrange a few things and set the line width to the width of my LED tape (got this one from amazon). I offset the path to make a structural base and added holes for the wires to connect each piece.
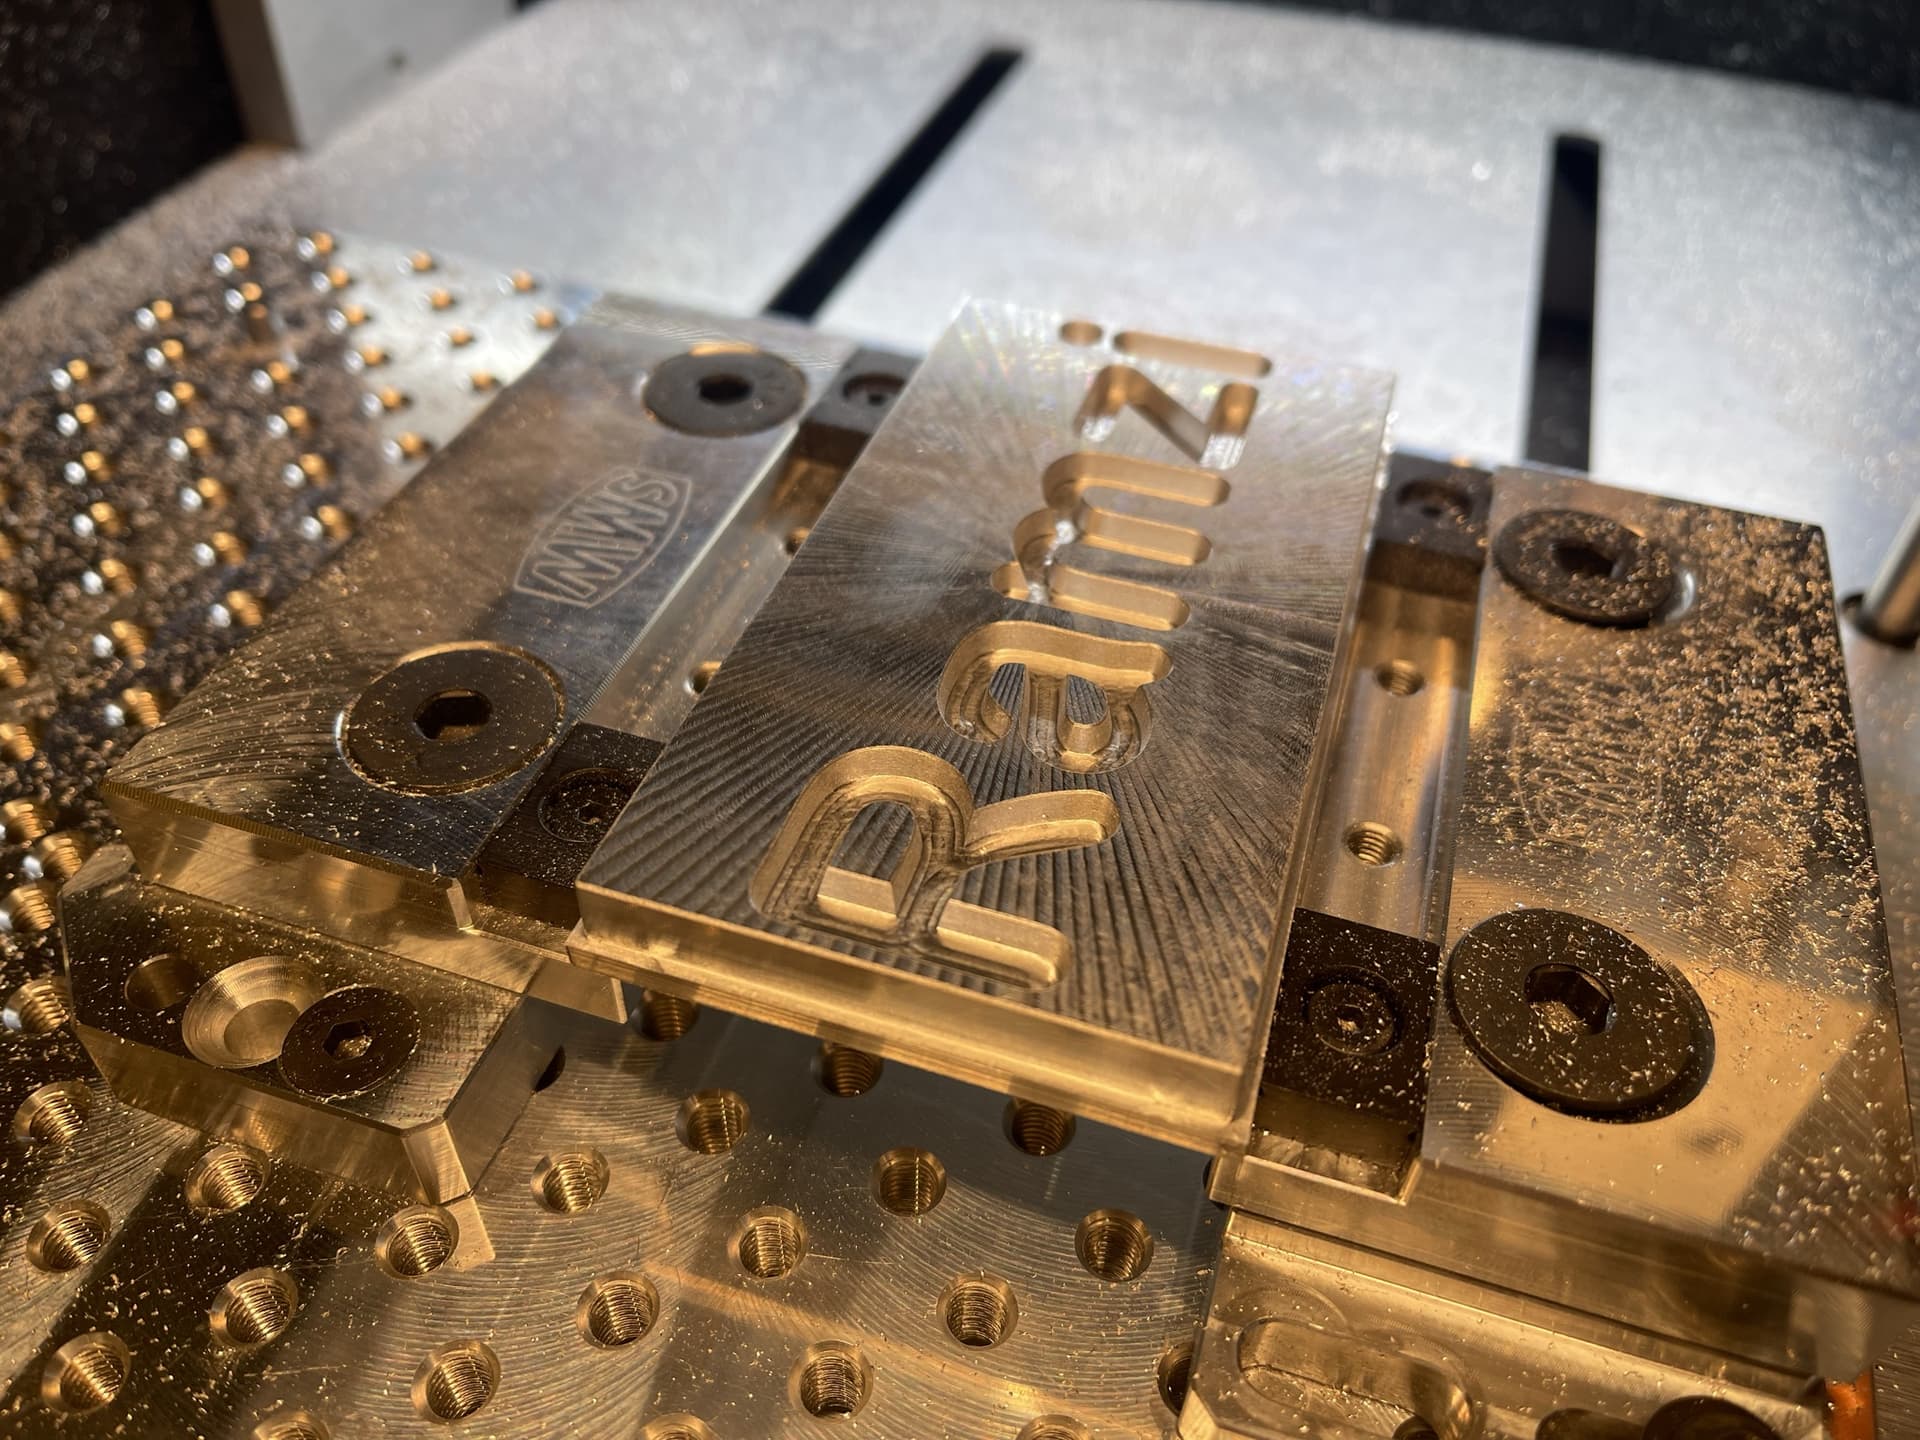
I cut each piece out of 1/8" clear acrylic, because we have a lot on hand for our laser. If I was to buy acrylic specifically for it, I would probably get something a bit thicker to have a deeper channel for the LEDs. This is the first acrylic I’ve cut on the CNC, and I was really happy with the cut quality on the outside cuts, but especially in the engraving. This would have technically been possible with my laser, but the channels are so much smoother and cut so much faster on the CNC than they would have engraved on the laser. The larger bed size also helped speed things up vs if I’d tried to do it with my laser.
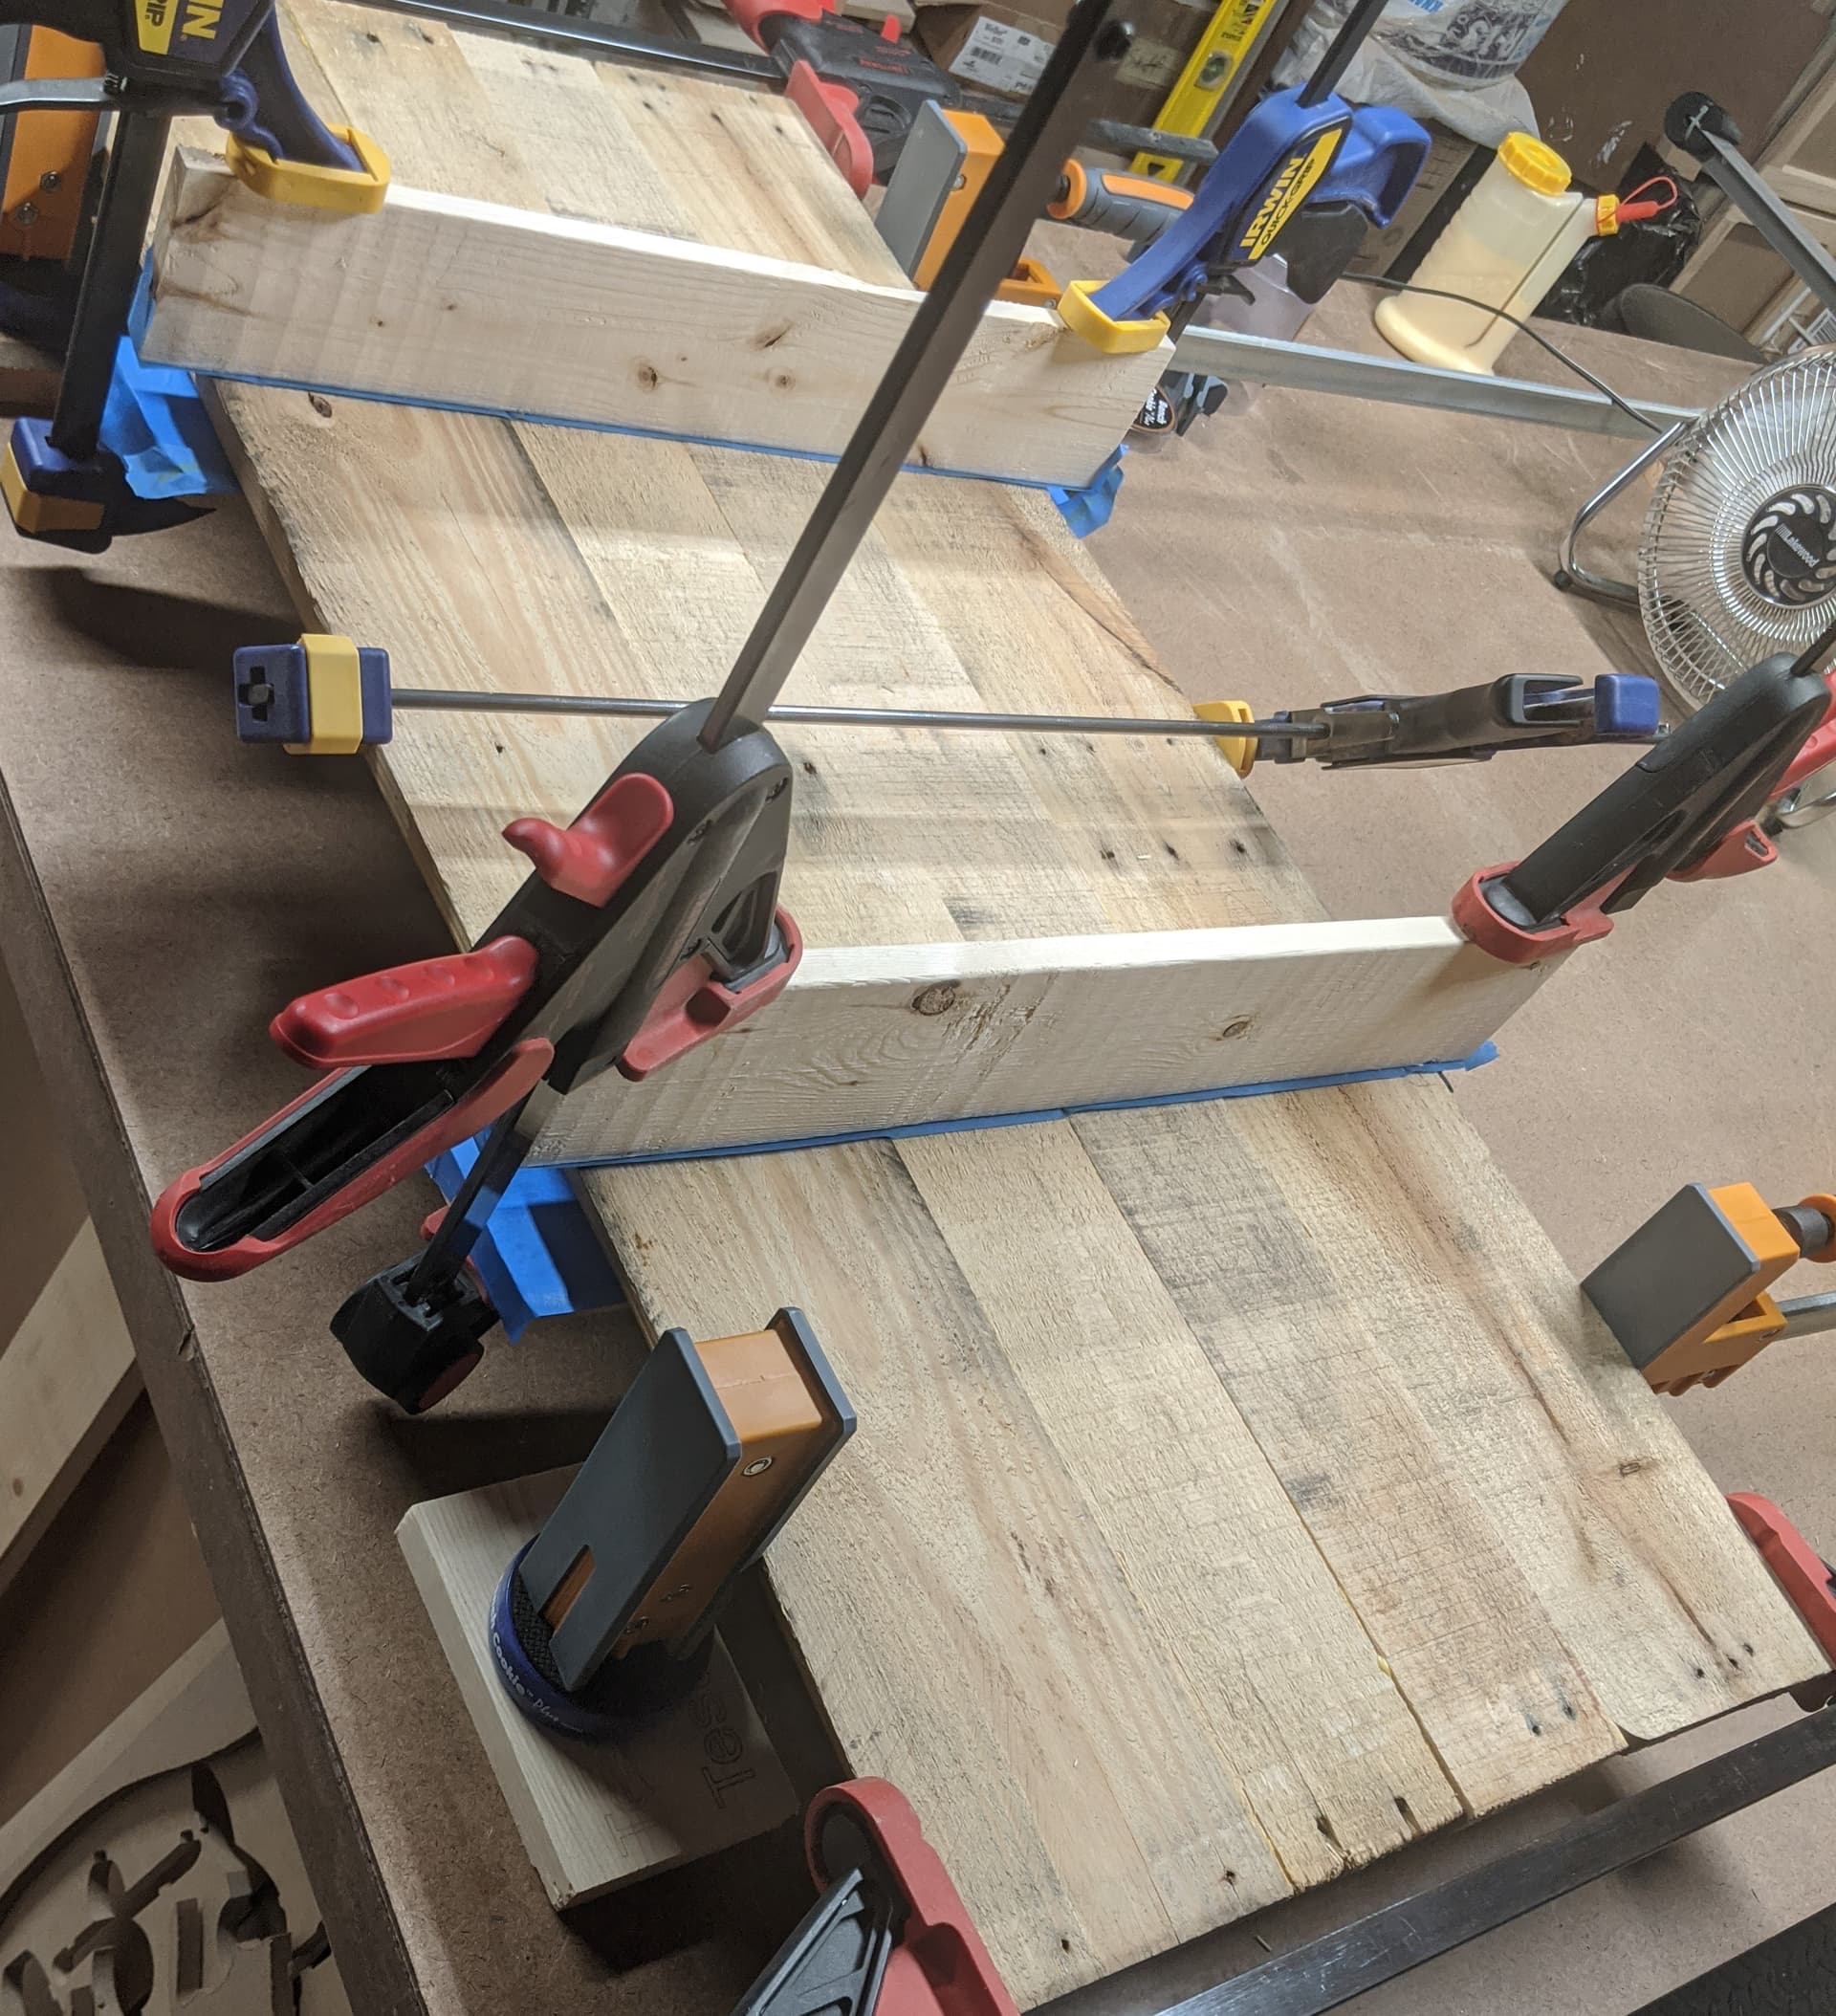
I used a carbide3d #102 because it’s what I had on hand. The chips looked very chippy and not very melty, which I think means my default settings were ok, but the bit does look like it has some acrylic gunk built up on it. I left the paper masking on, and it was pretty ripped up, but the acrylic edges were all super smooth. This was also my first time trying blue tape and super glue for workholding (although I did add a couple clamps for good measure), and I was so happy not to have to add and clean up tabs.
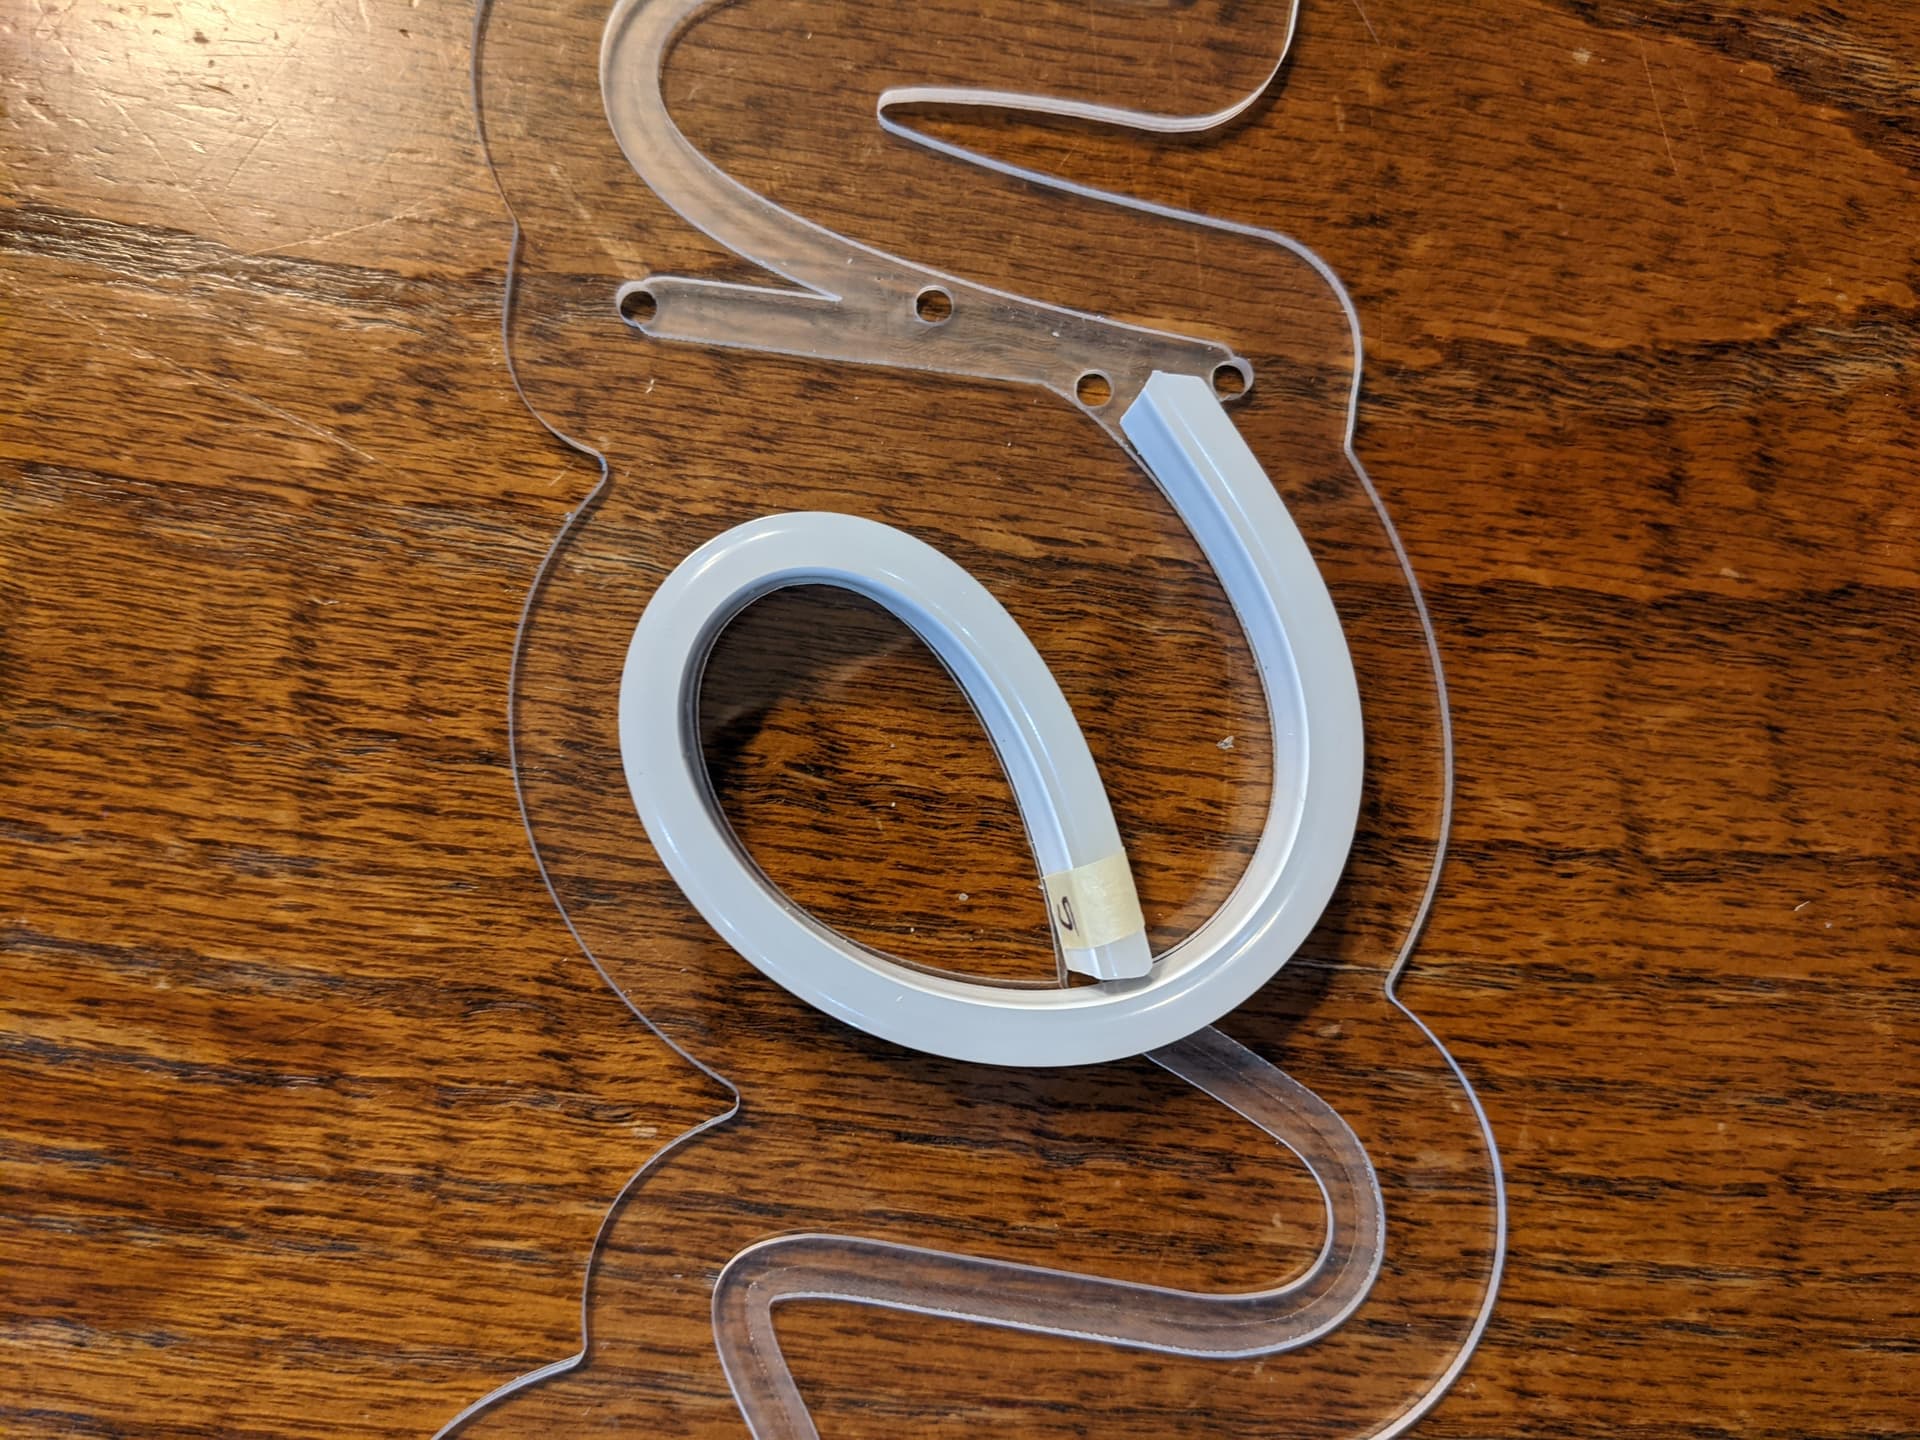
Once the acrylic was cut, I prepped all the LED bits. I dry fit them in each of the channels, cut them to size, and marked them to keep track of which was which. Most of the bulk of the tape is just diffuser material, so I was able to cut it at a bit of an angle on certain pieces to help fill in corners better. I picked this brand largely because the segments are shorter than some of the others I’d seen.
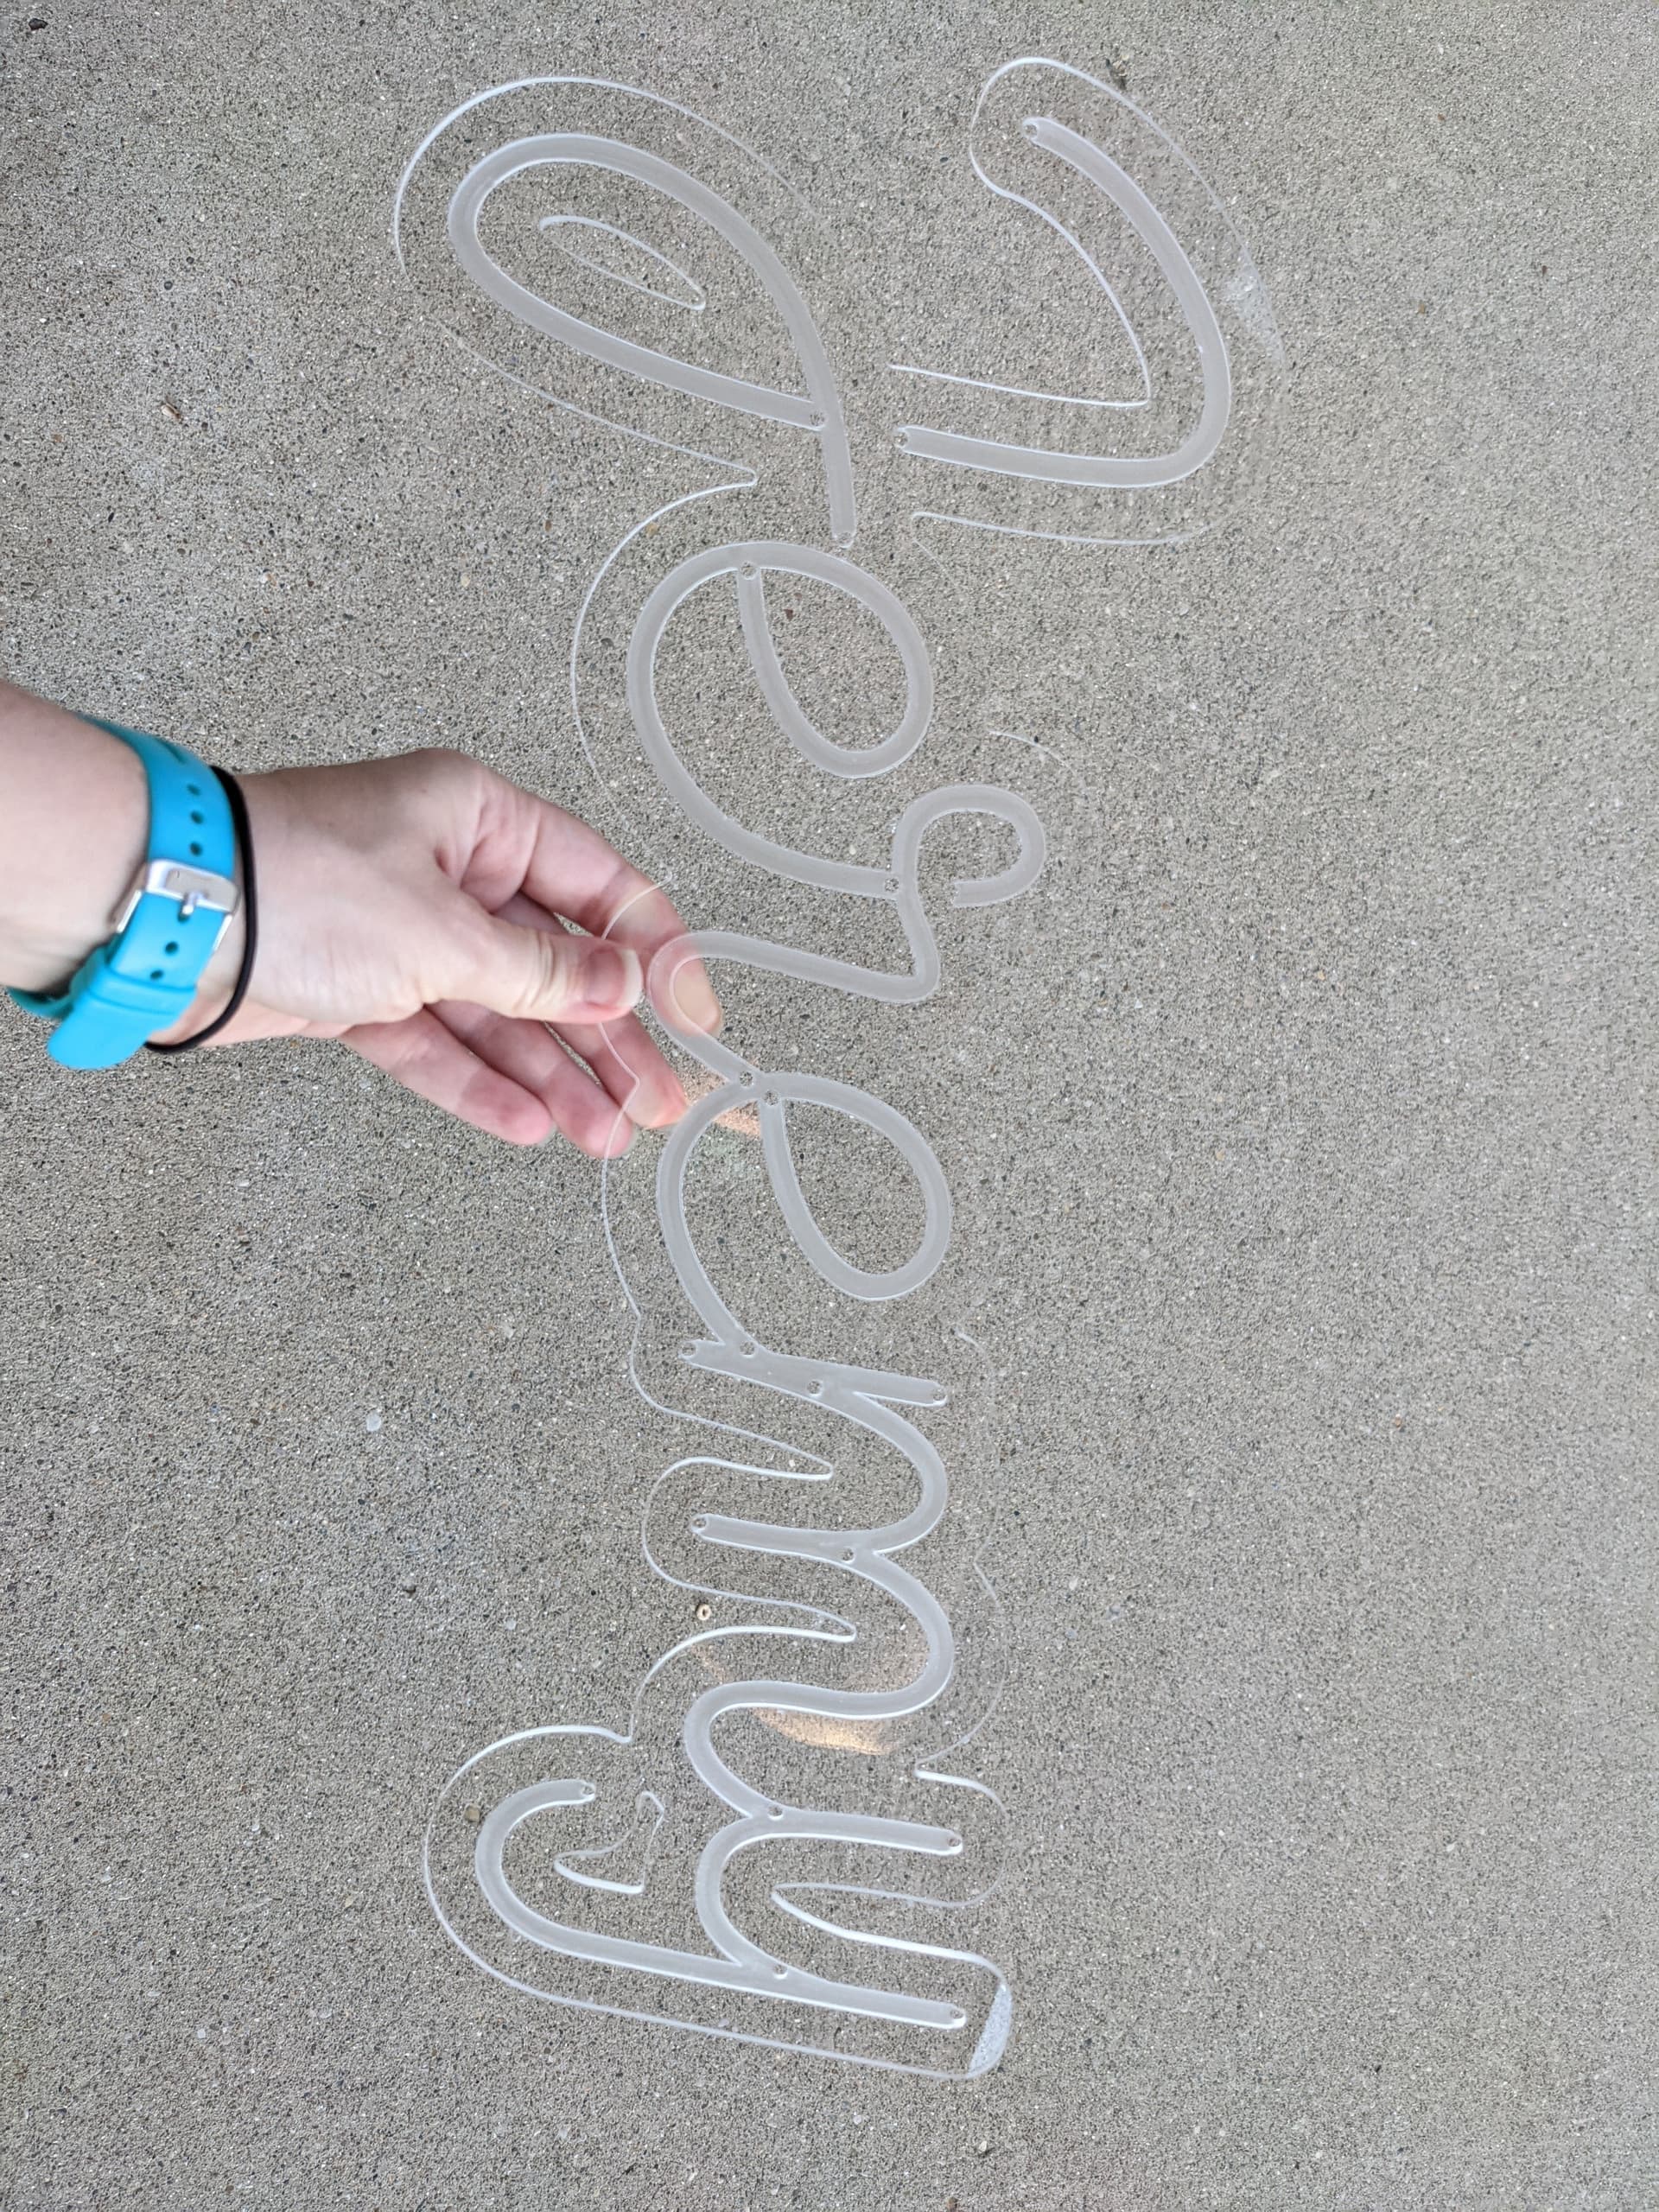
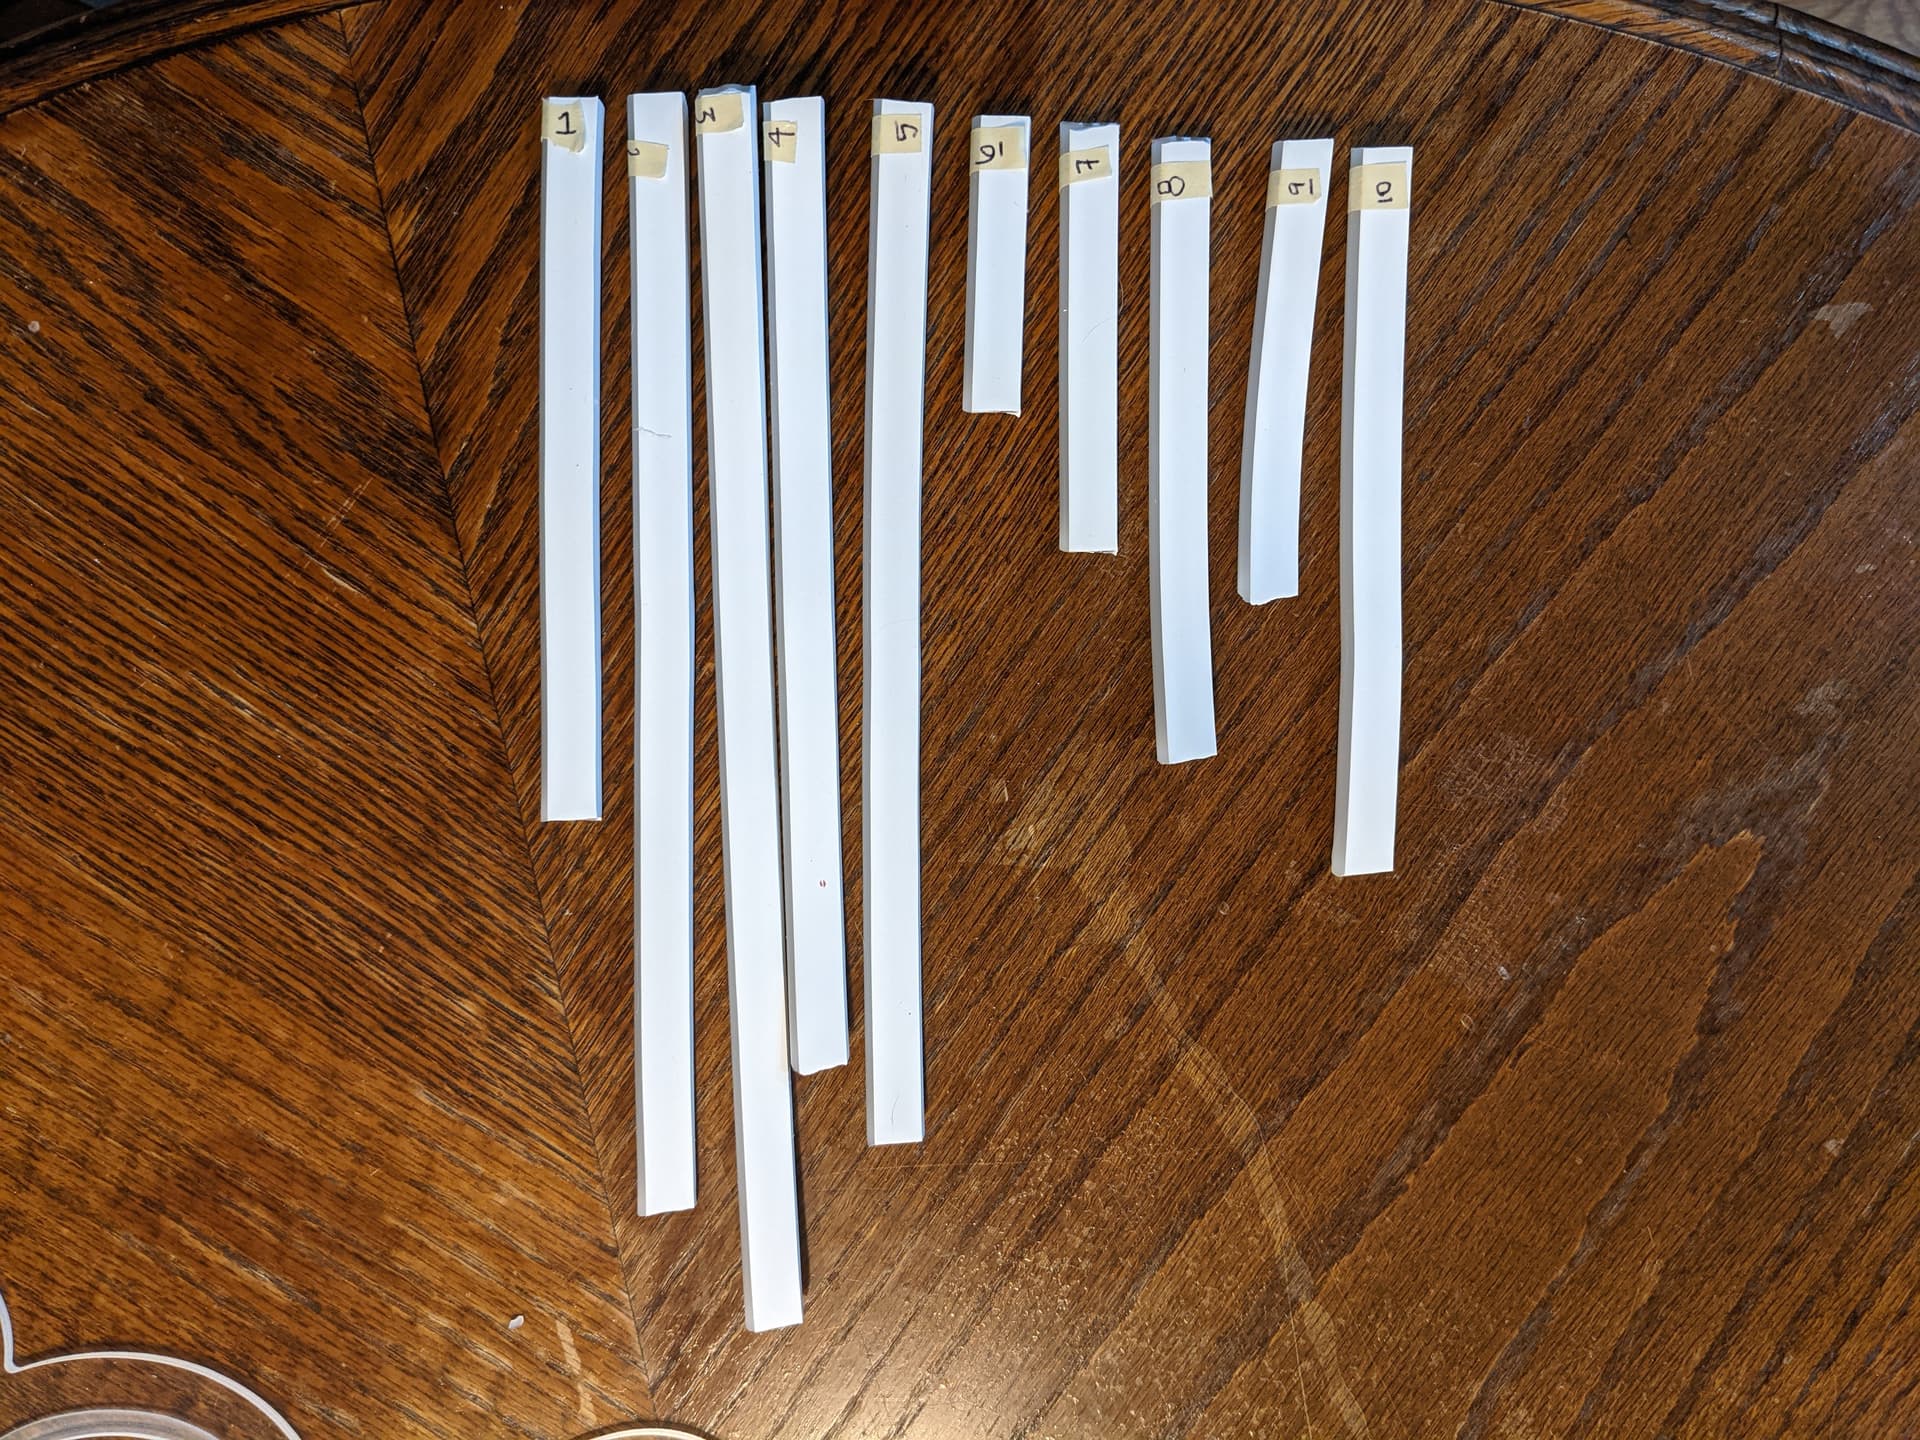
These are all the pieces for ‘Jeremy’. My 5m purchase was plenty of tape for the whole sign with plenty leftover.
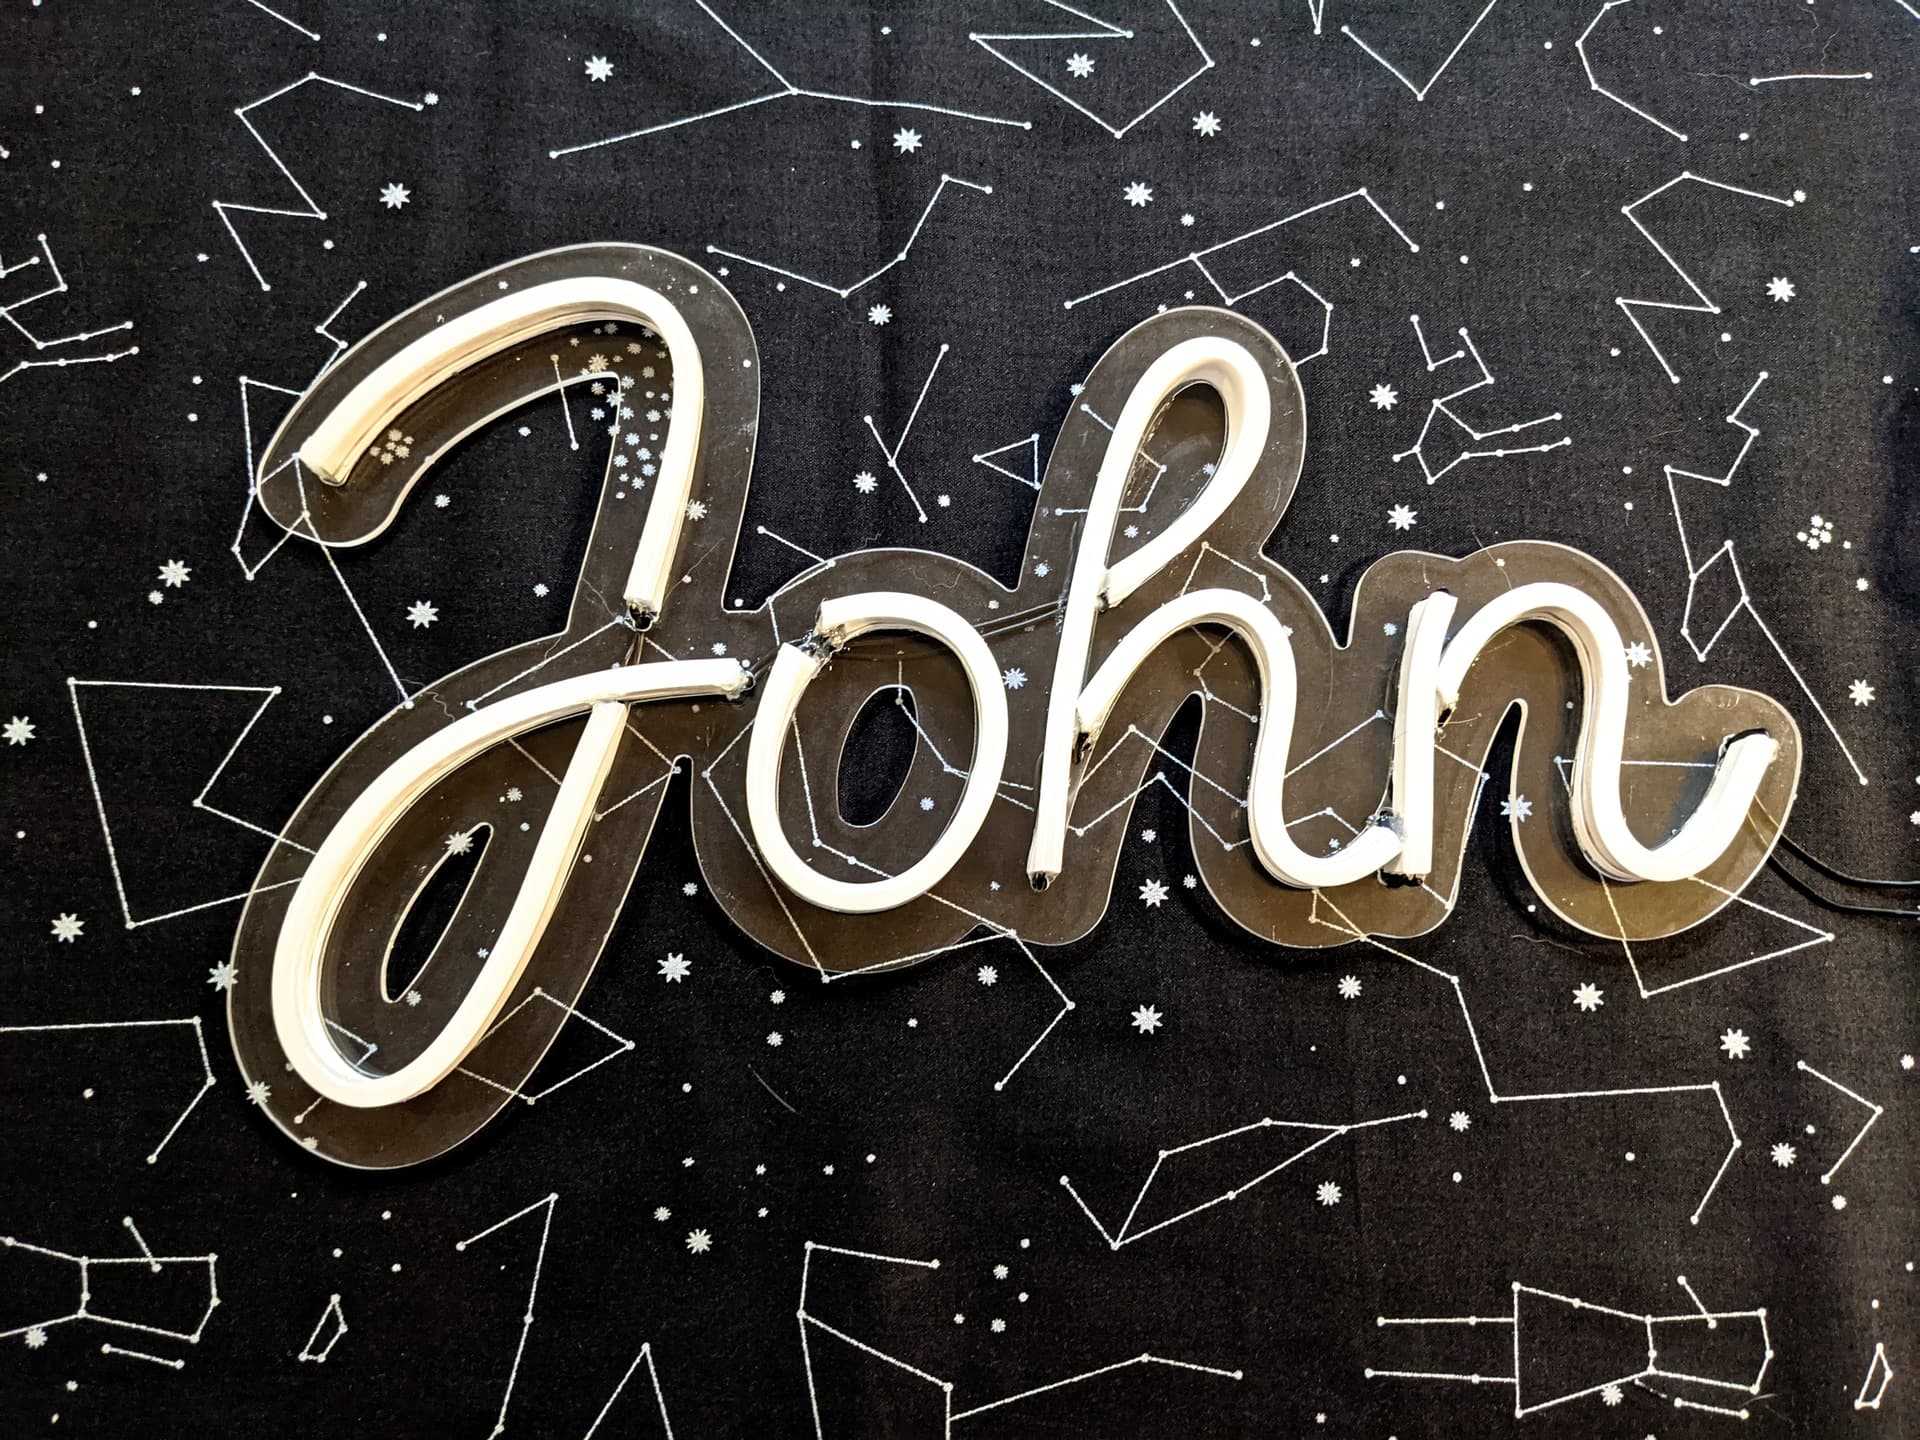
My husband then soldered all the LED pieces through the holes on the back. This was easily the most time consuming part of the project. We did eventually decide to cut away the silicone around the solder pads altogether, which is barely noticeable on the finished sign. Once it was all connected, I used gorilla brand two part epoxy to stick all the LED pieces in their channels, and added some hot glue around the soldered joints to give them some stability.
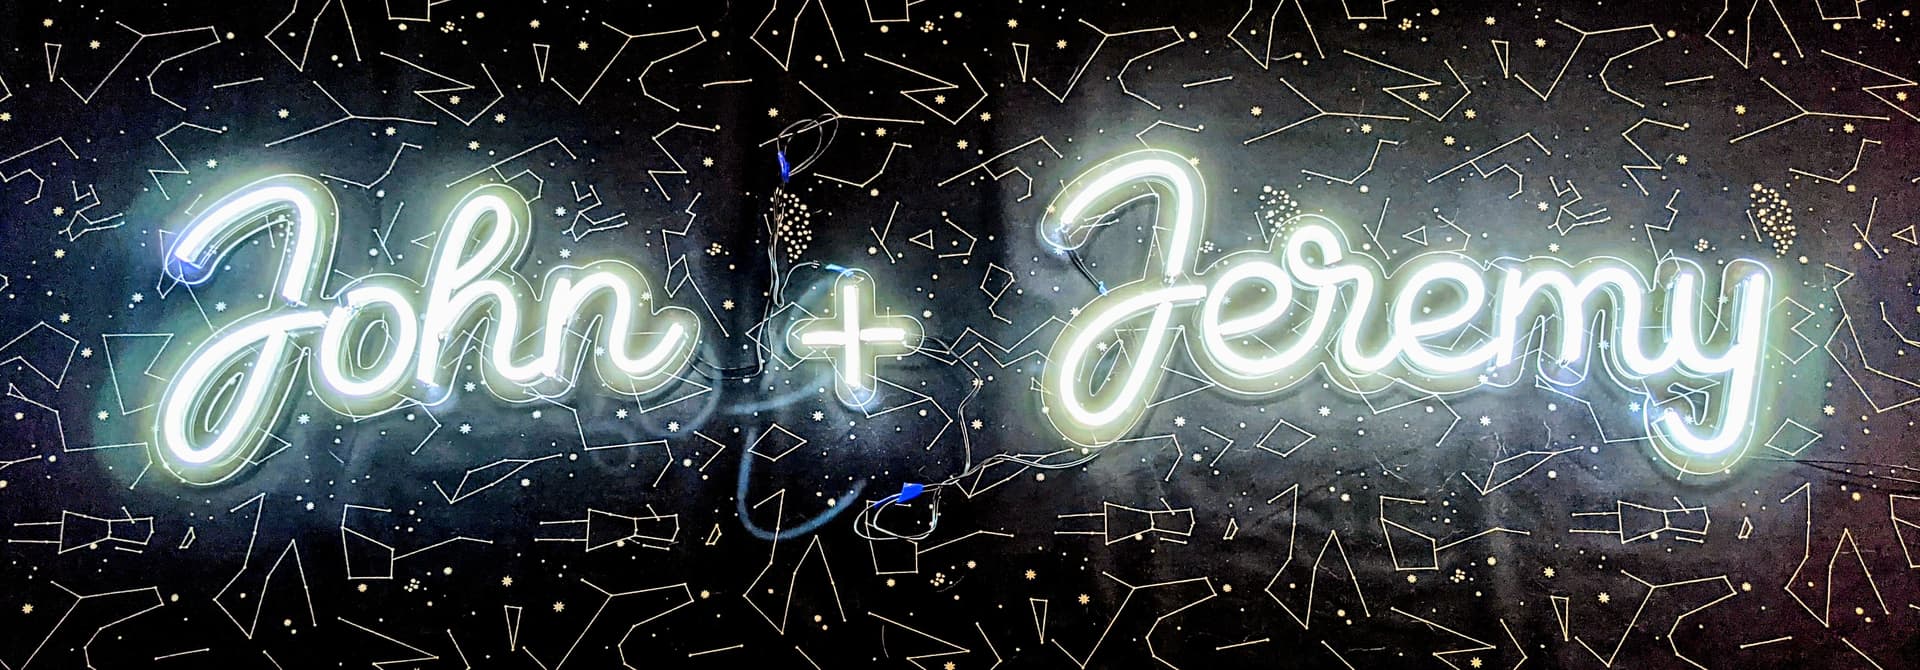
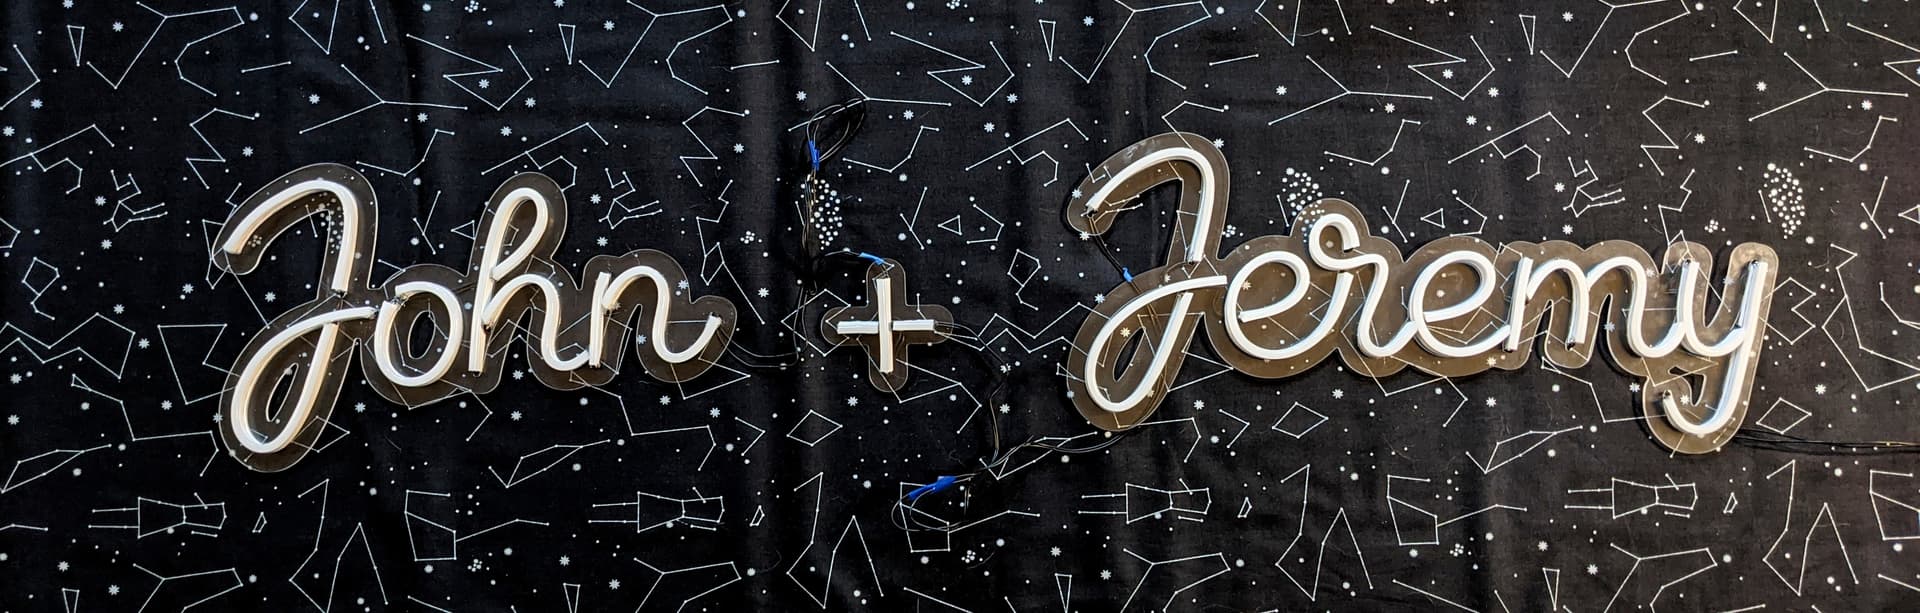
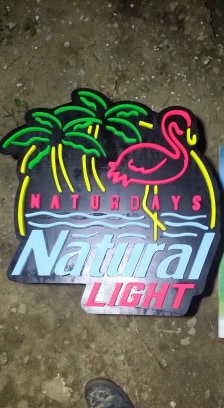
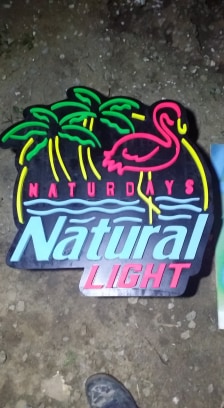
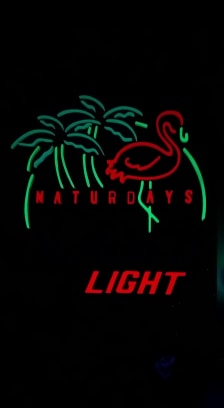
I did break a couple of joints while sticking everything down, but thankfully my husband was able to get them back together pretty easily. Here are pictures of the sign on and off. They’re very bright in person!
The only thing I thought to take a picture of for scale was my feet - so if you don’t need to see a size reference (it’s roughly 3 feet wide) or don’t like feet, maybe just ignore the next picture.
I need to talk with our friends some more to figure out how we’re going to hang the three separate pieces and whether we need to get a battery pack to power it or if they’ll have a power outlet available, but we’re pretty thrilled with how it turned out.