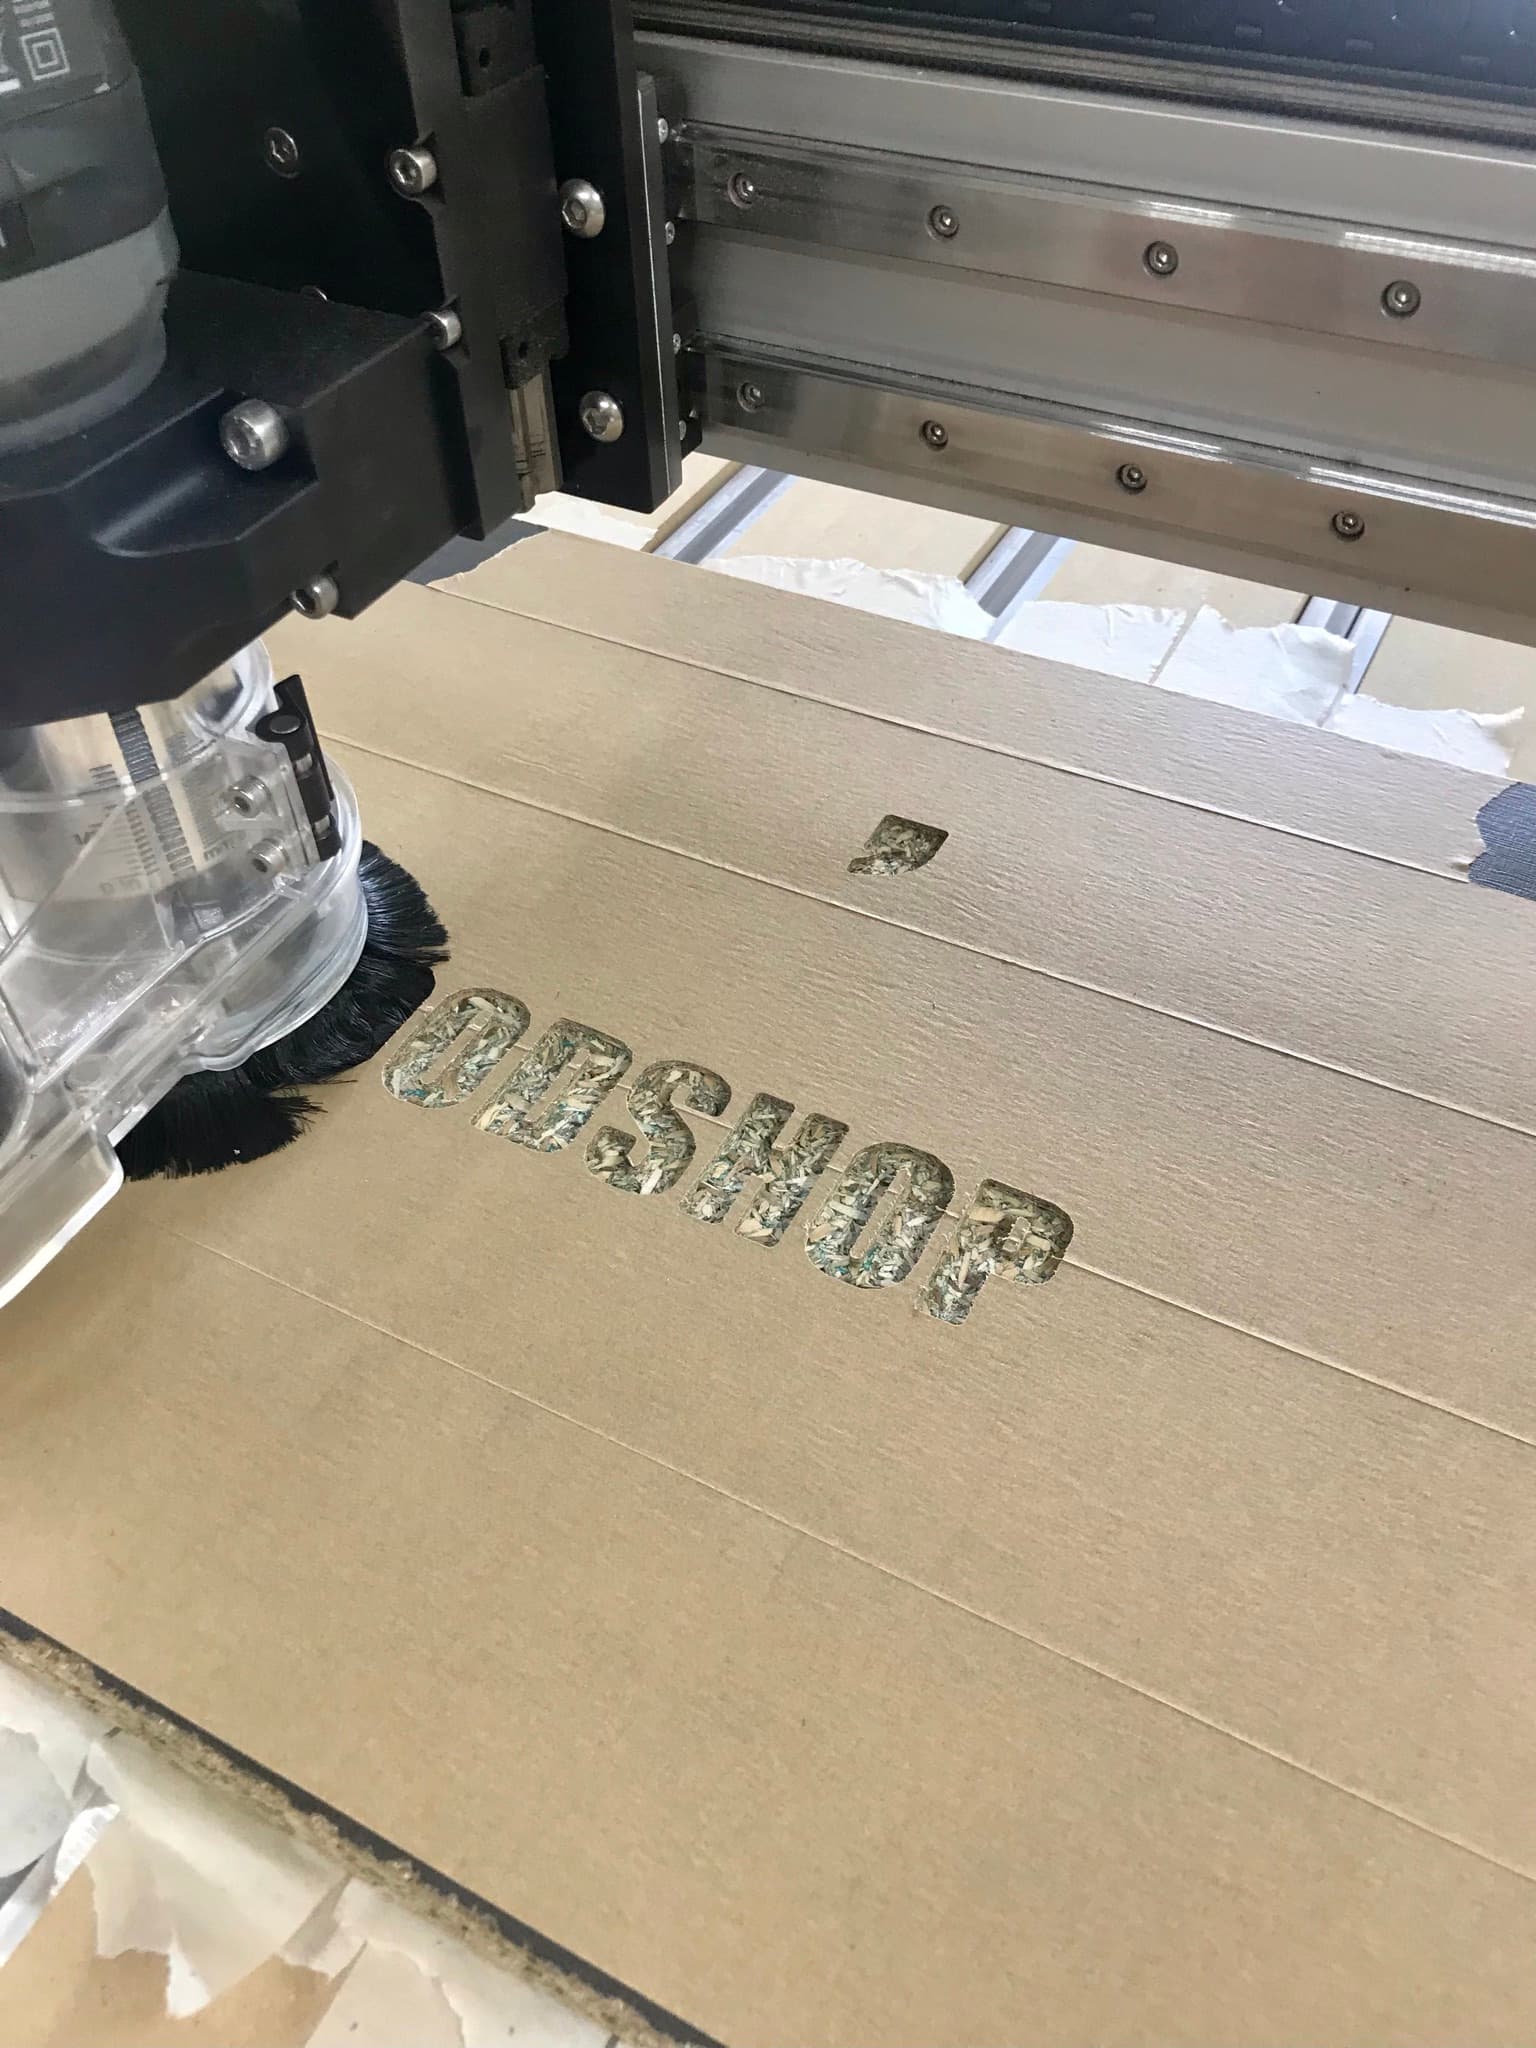
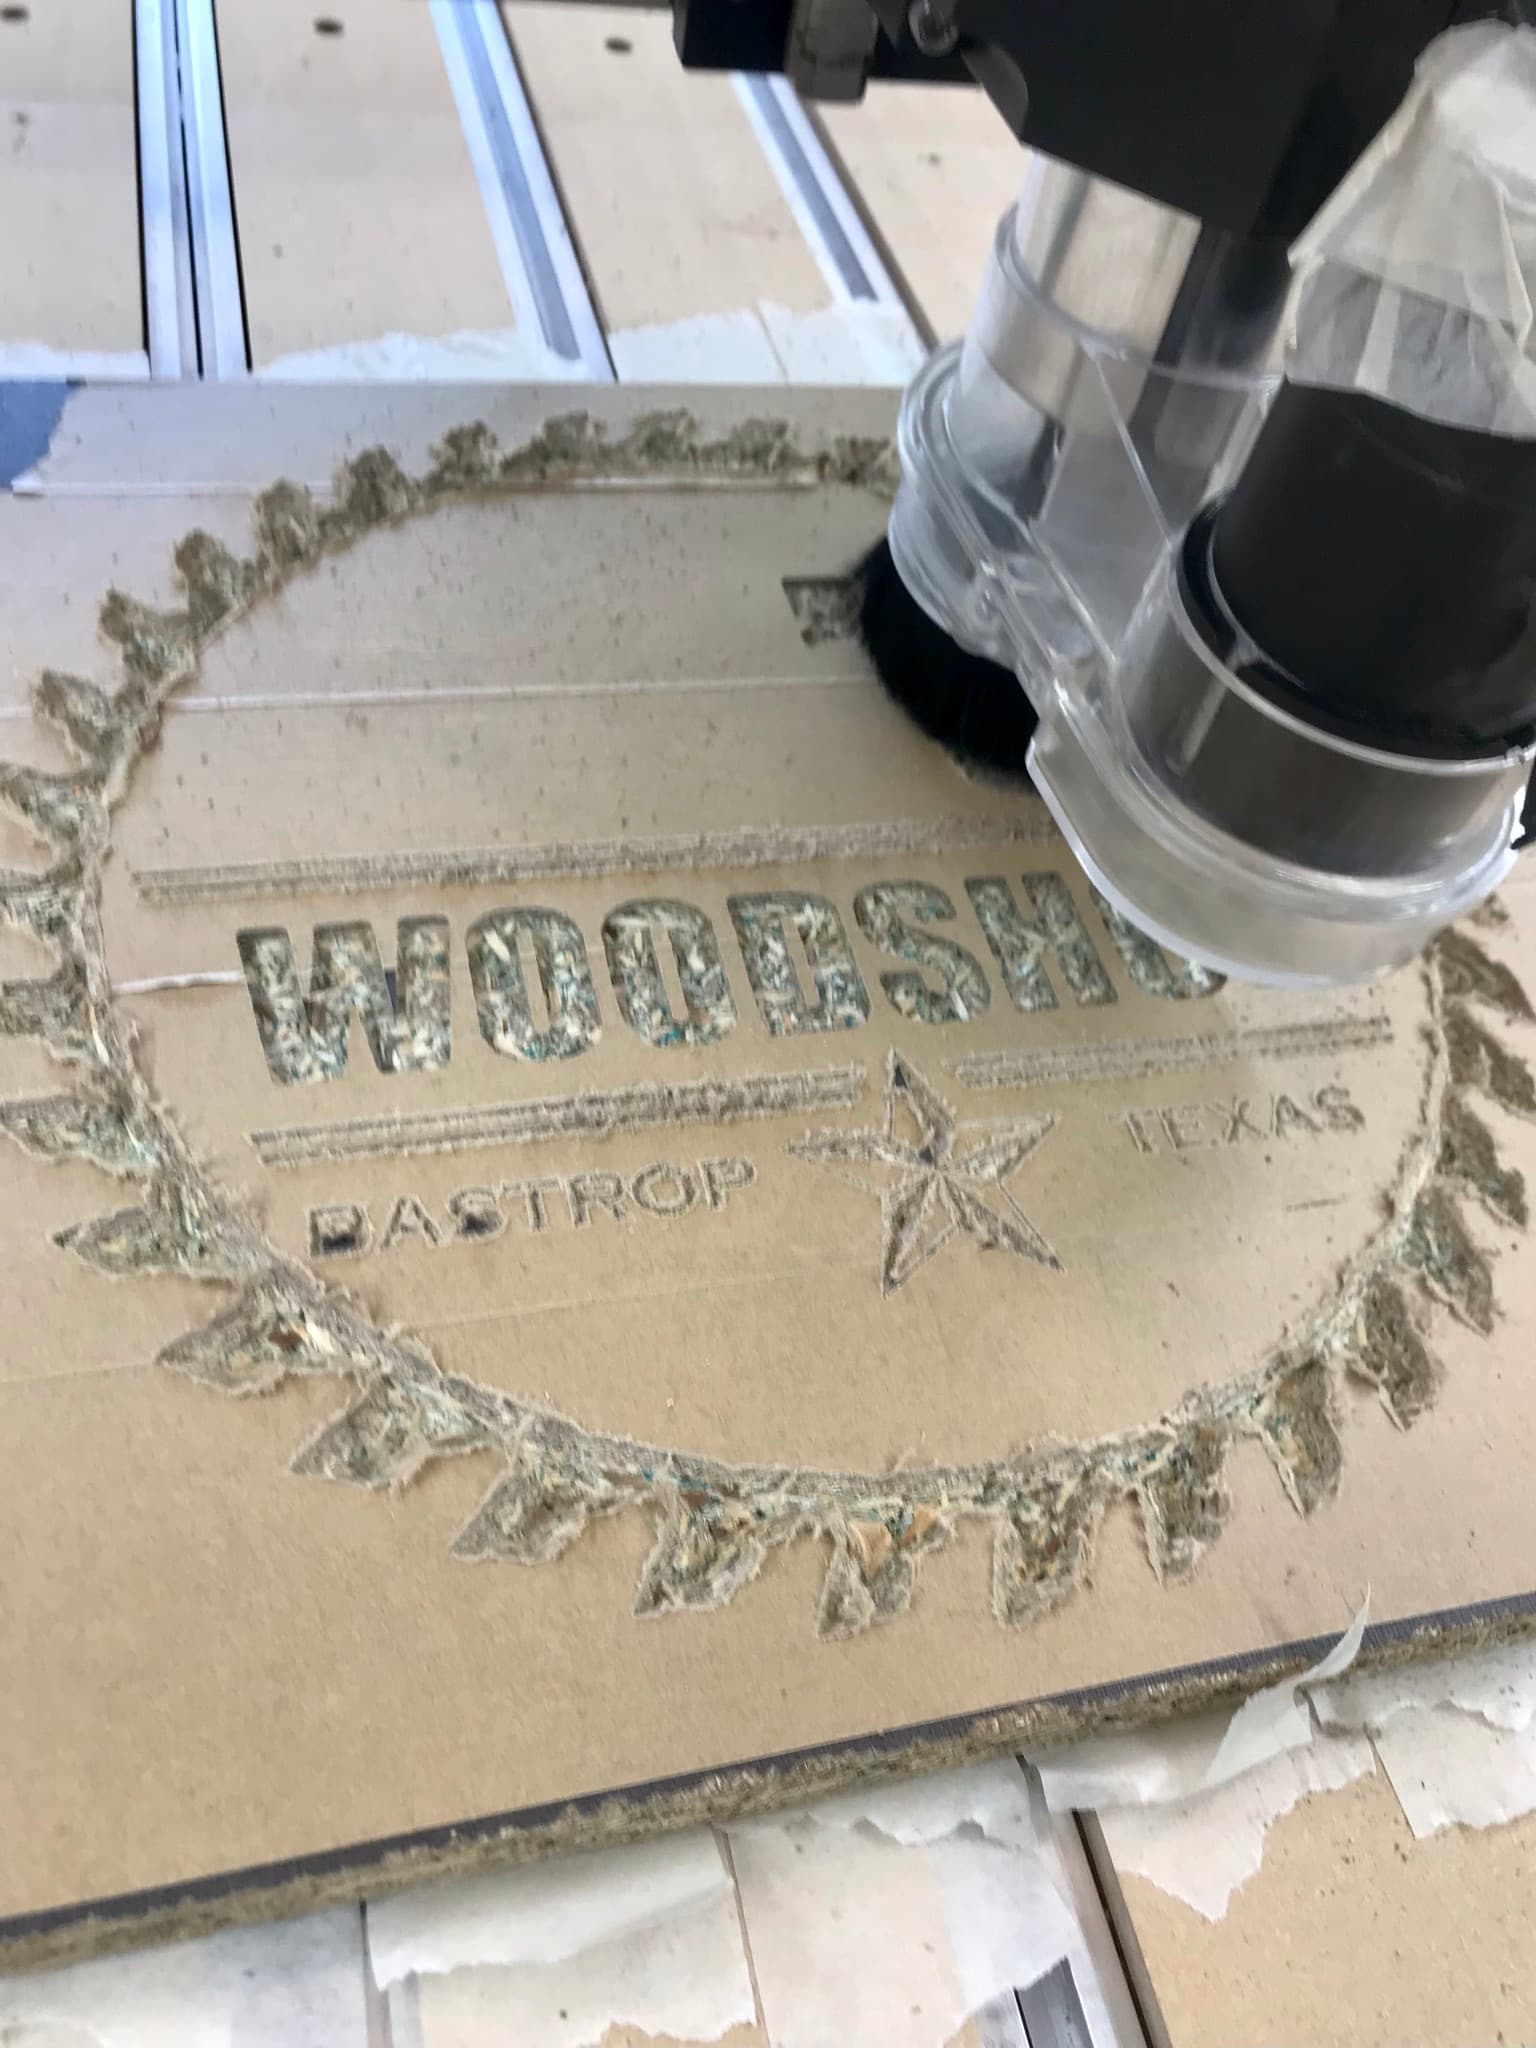
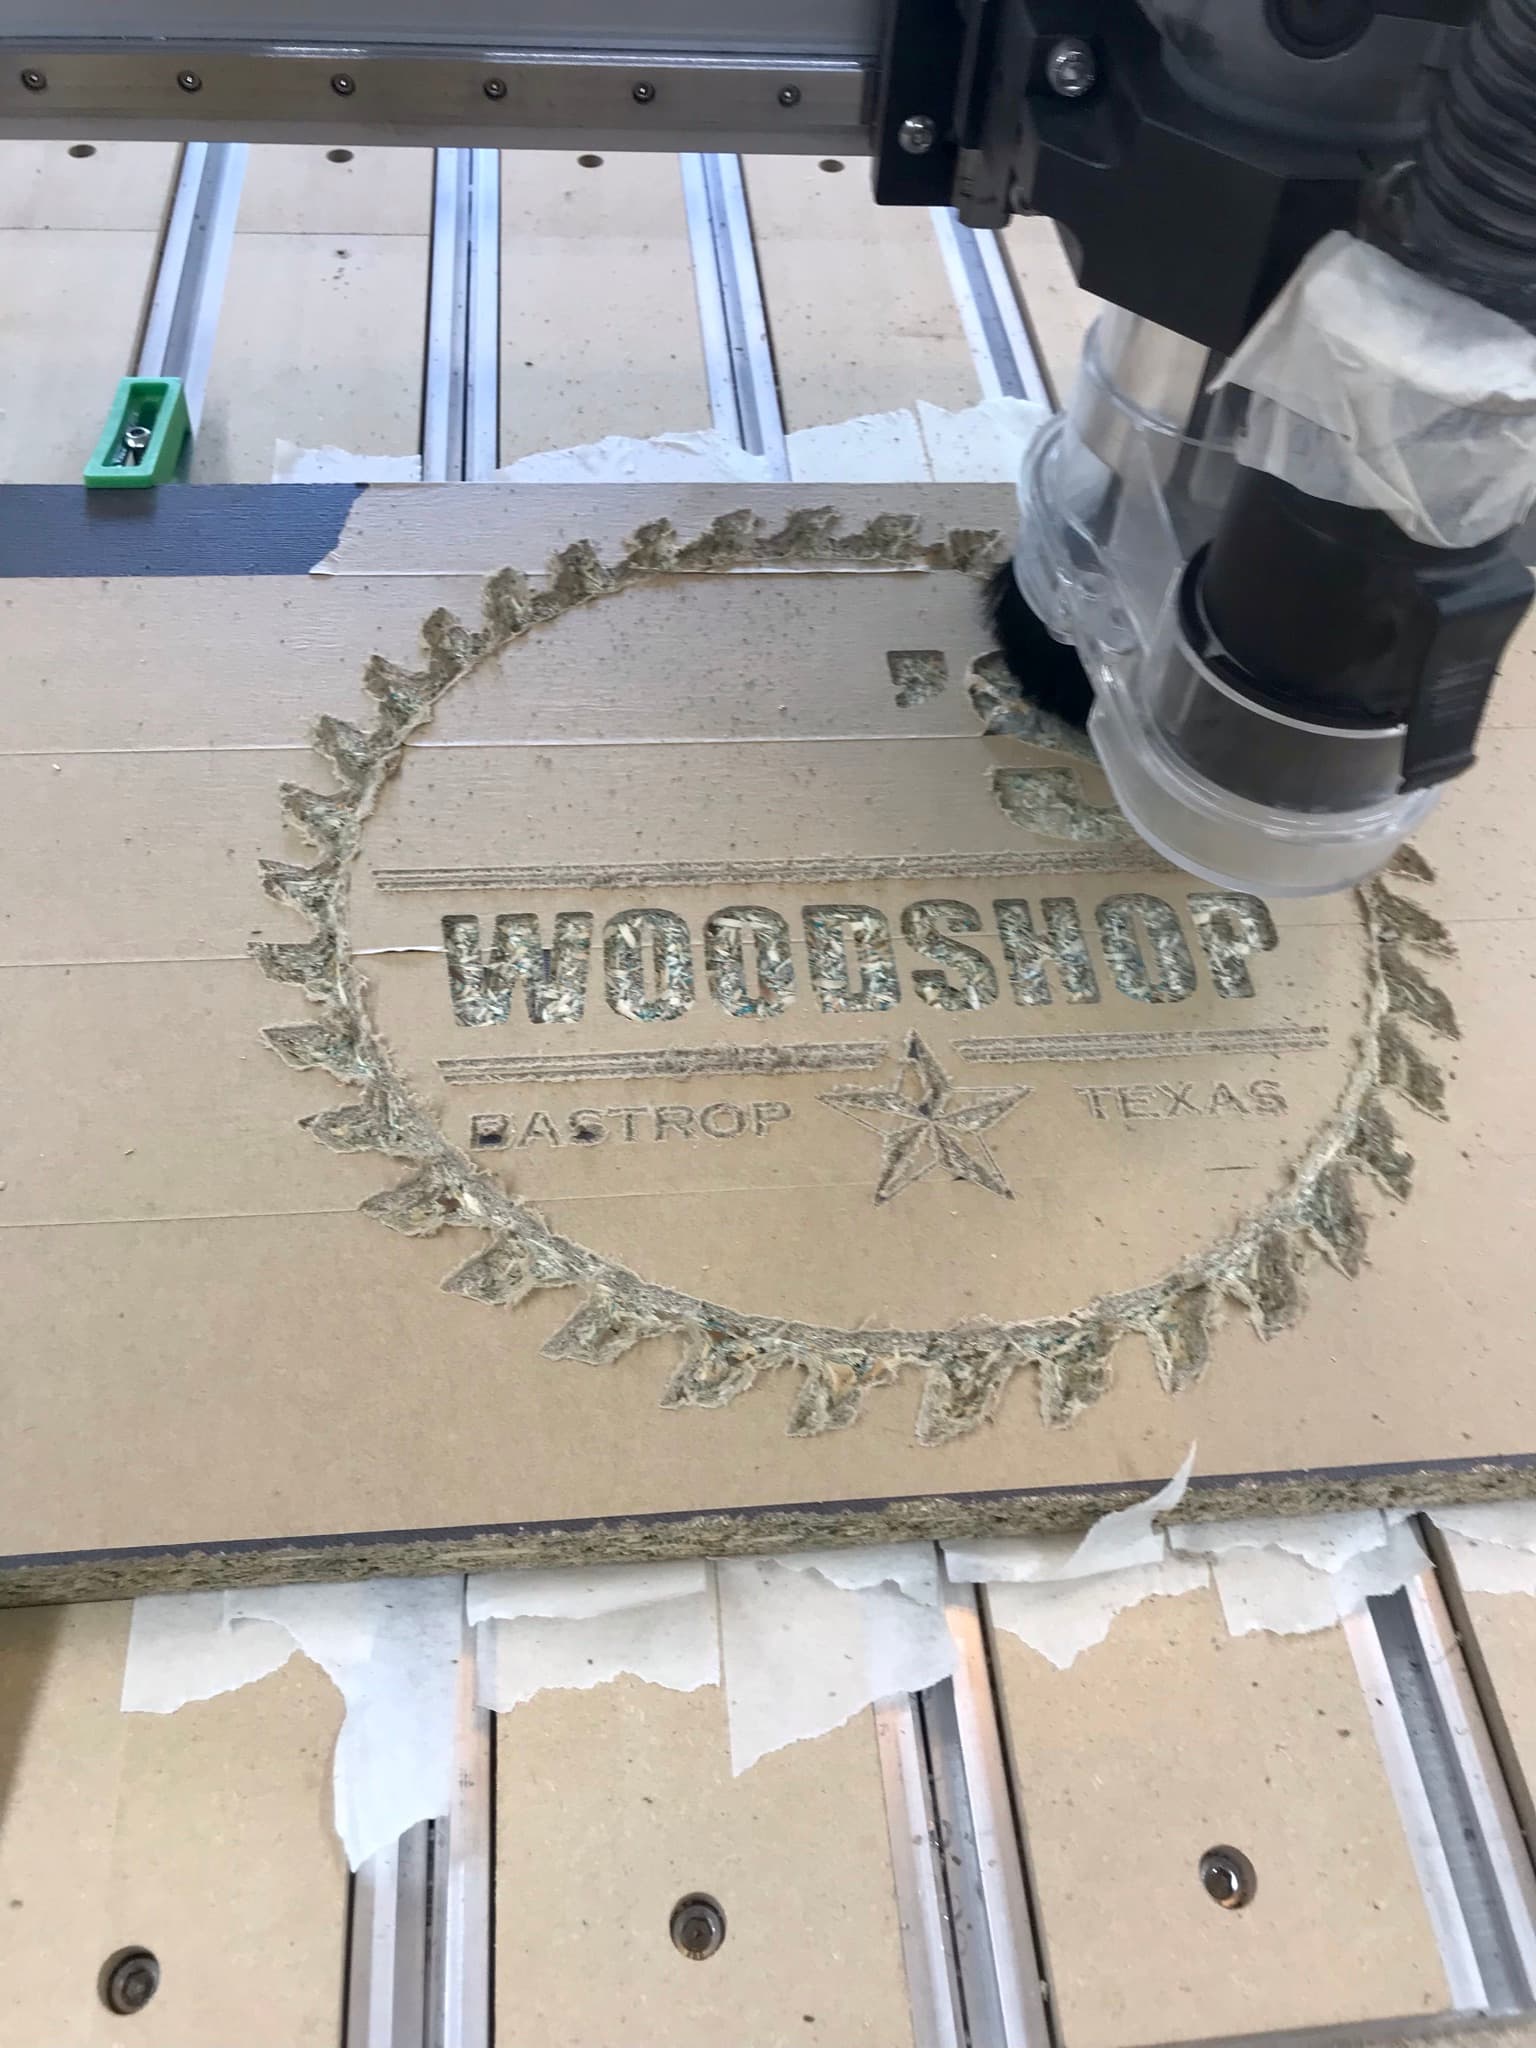
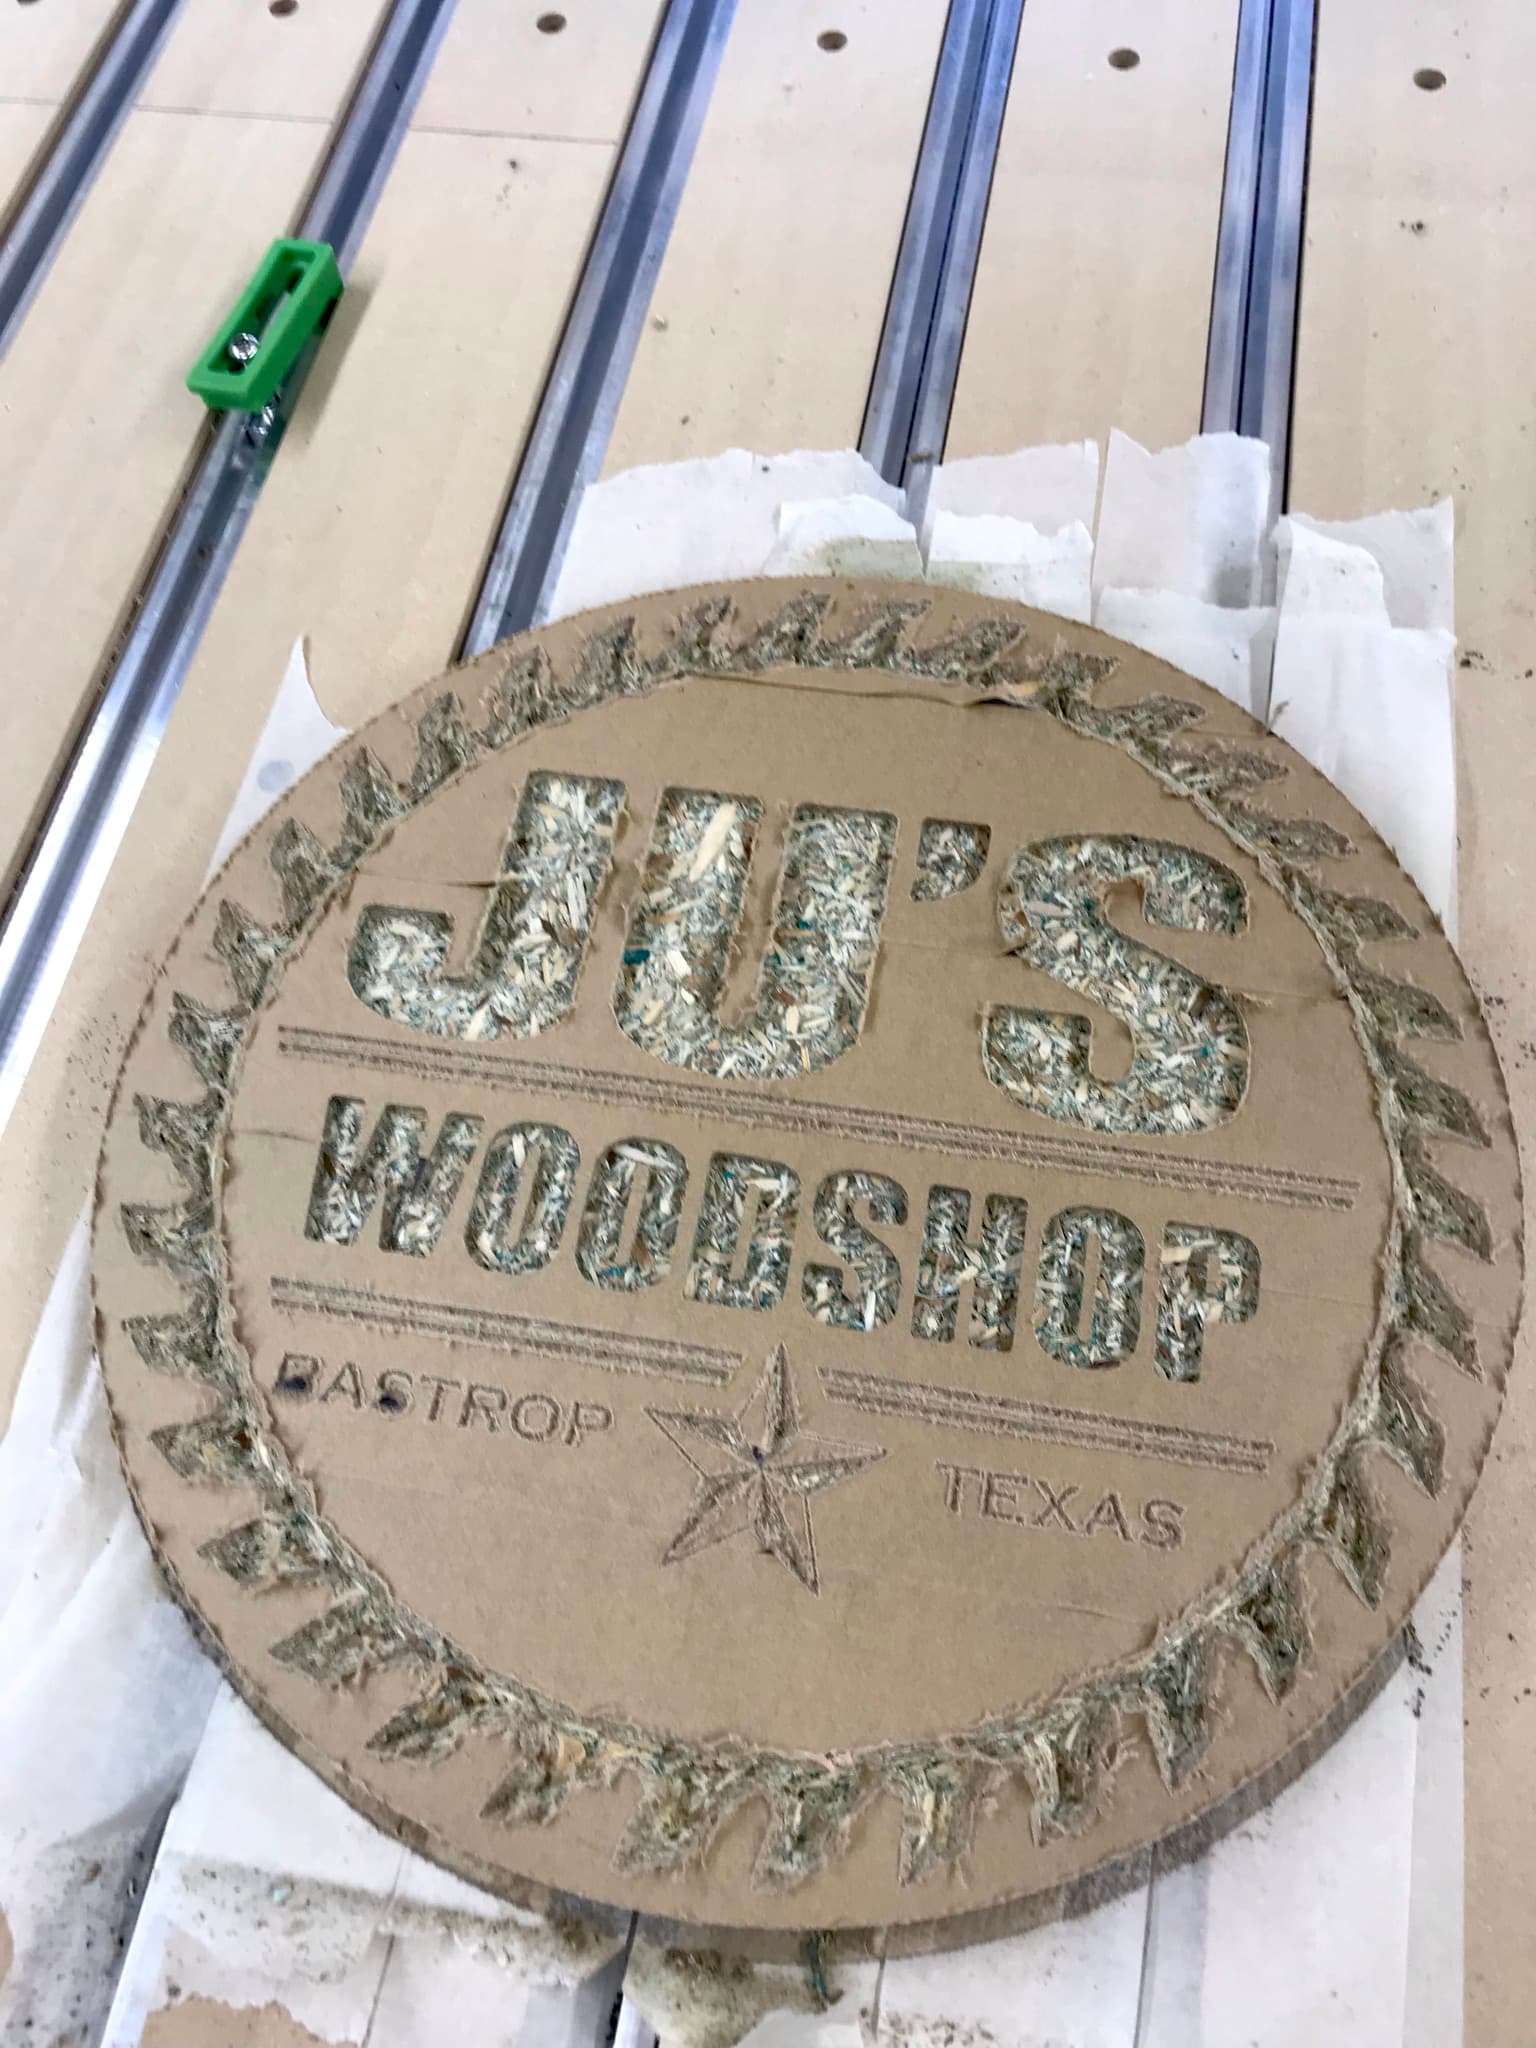
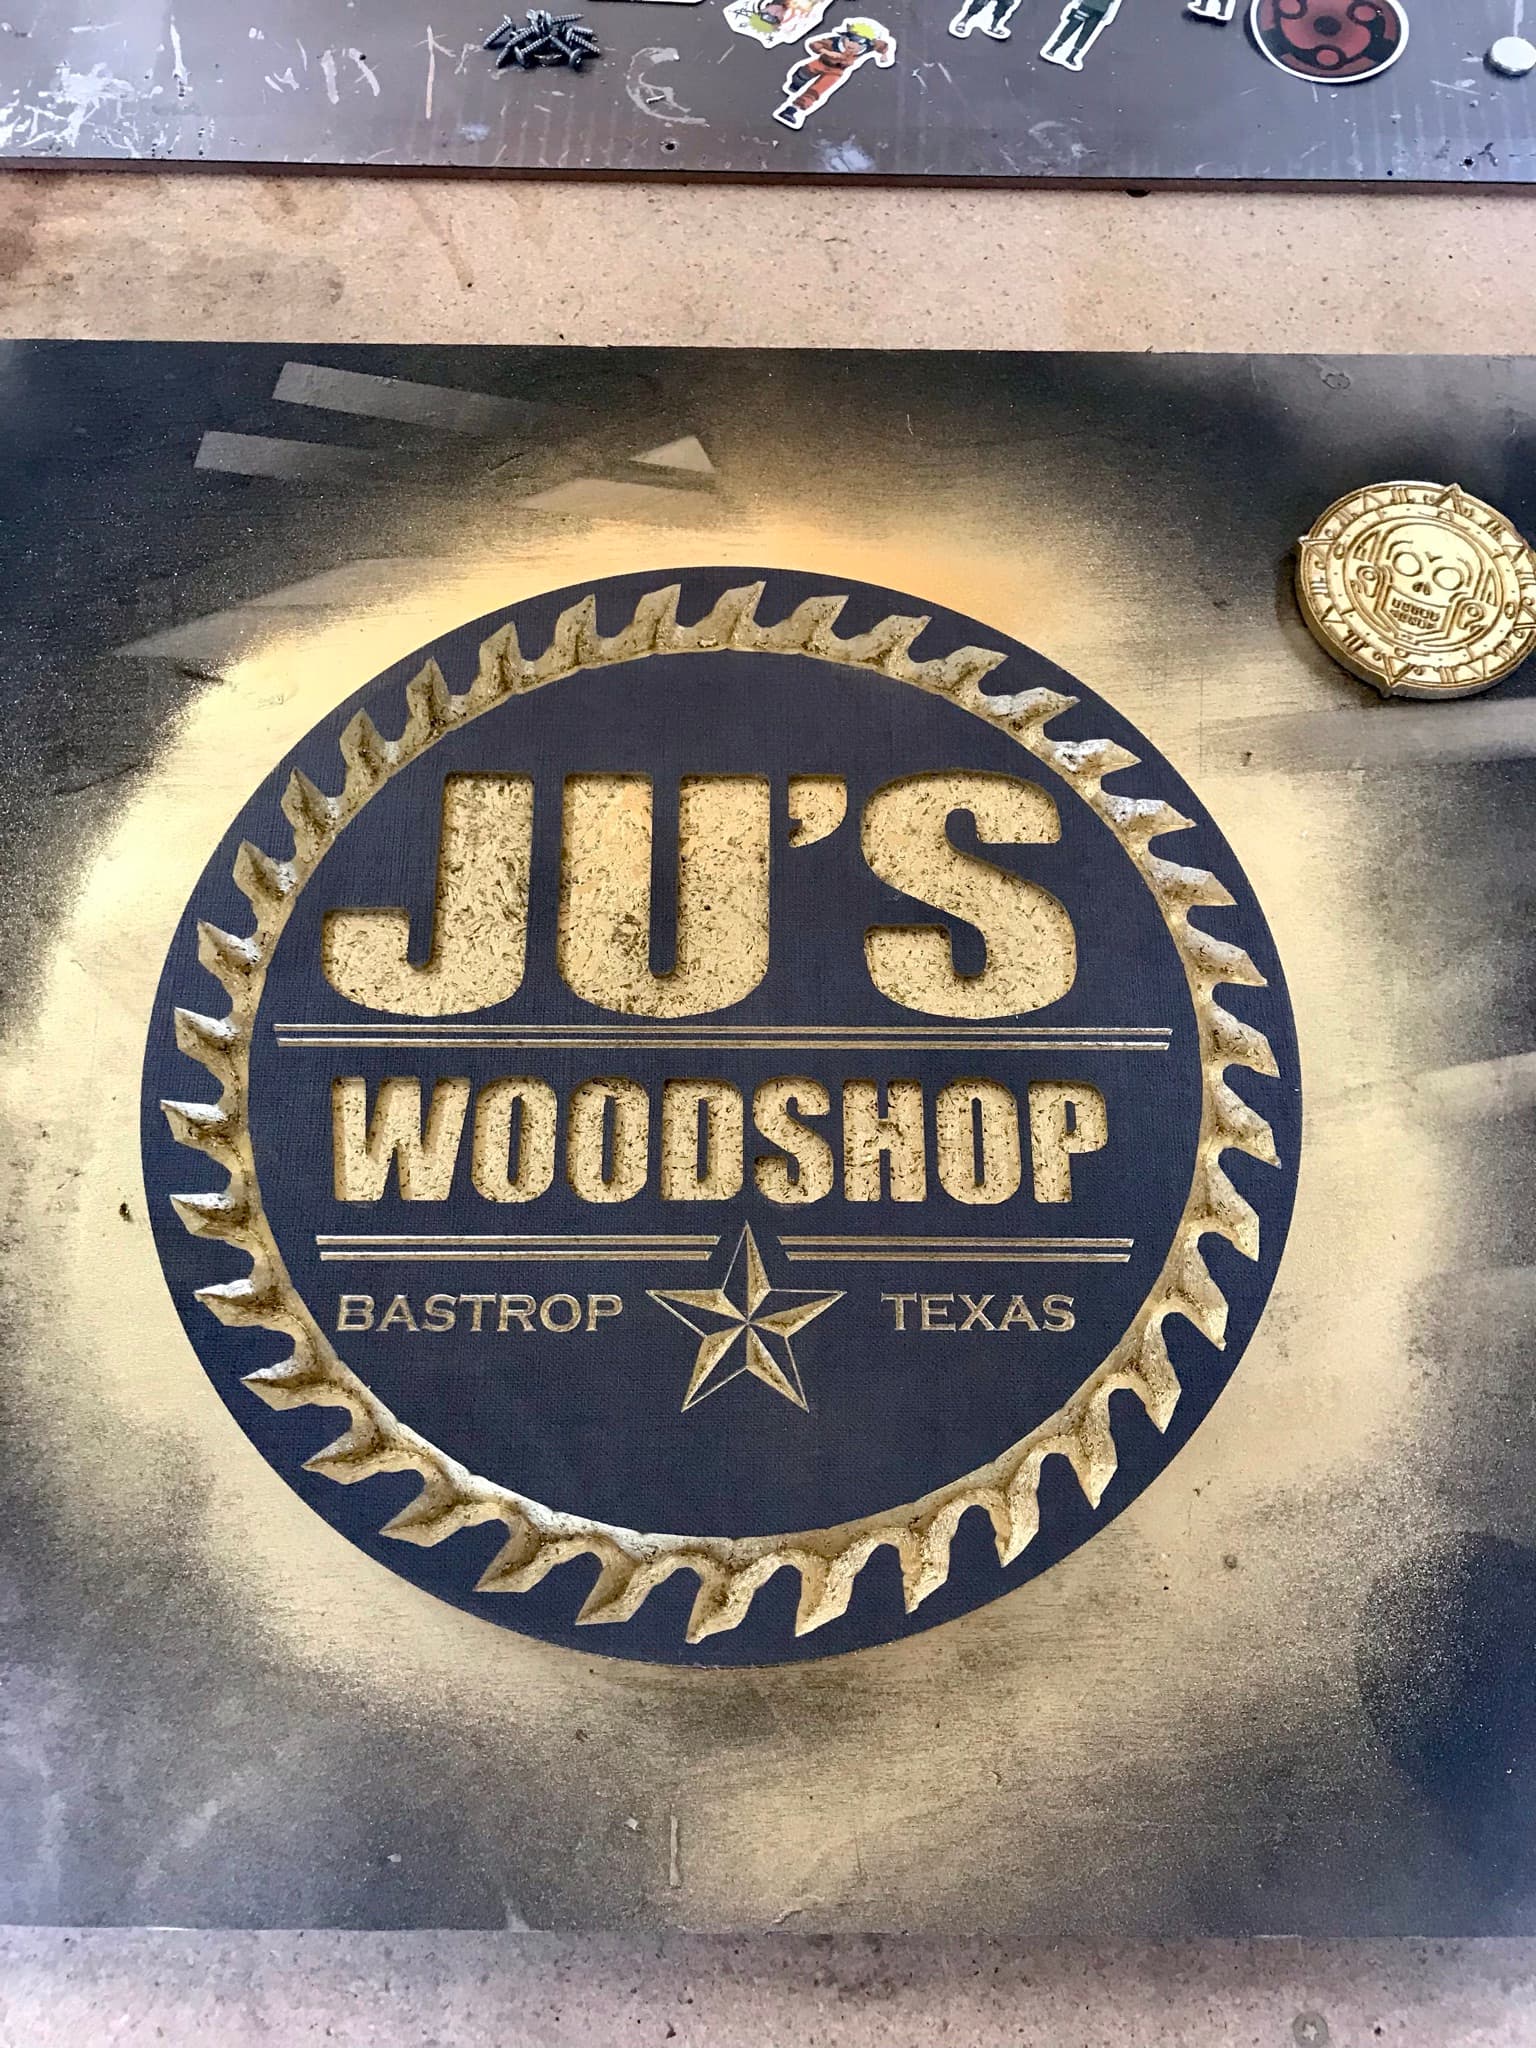
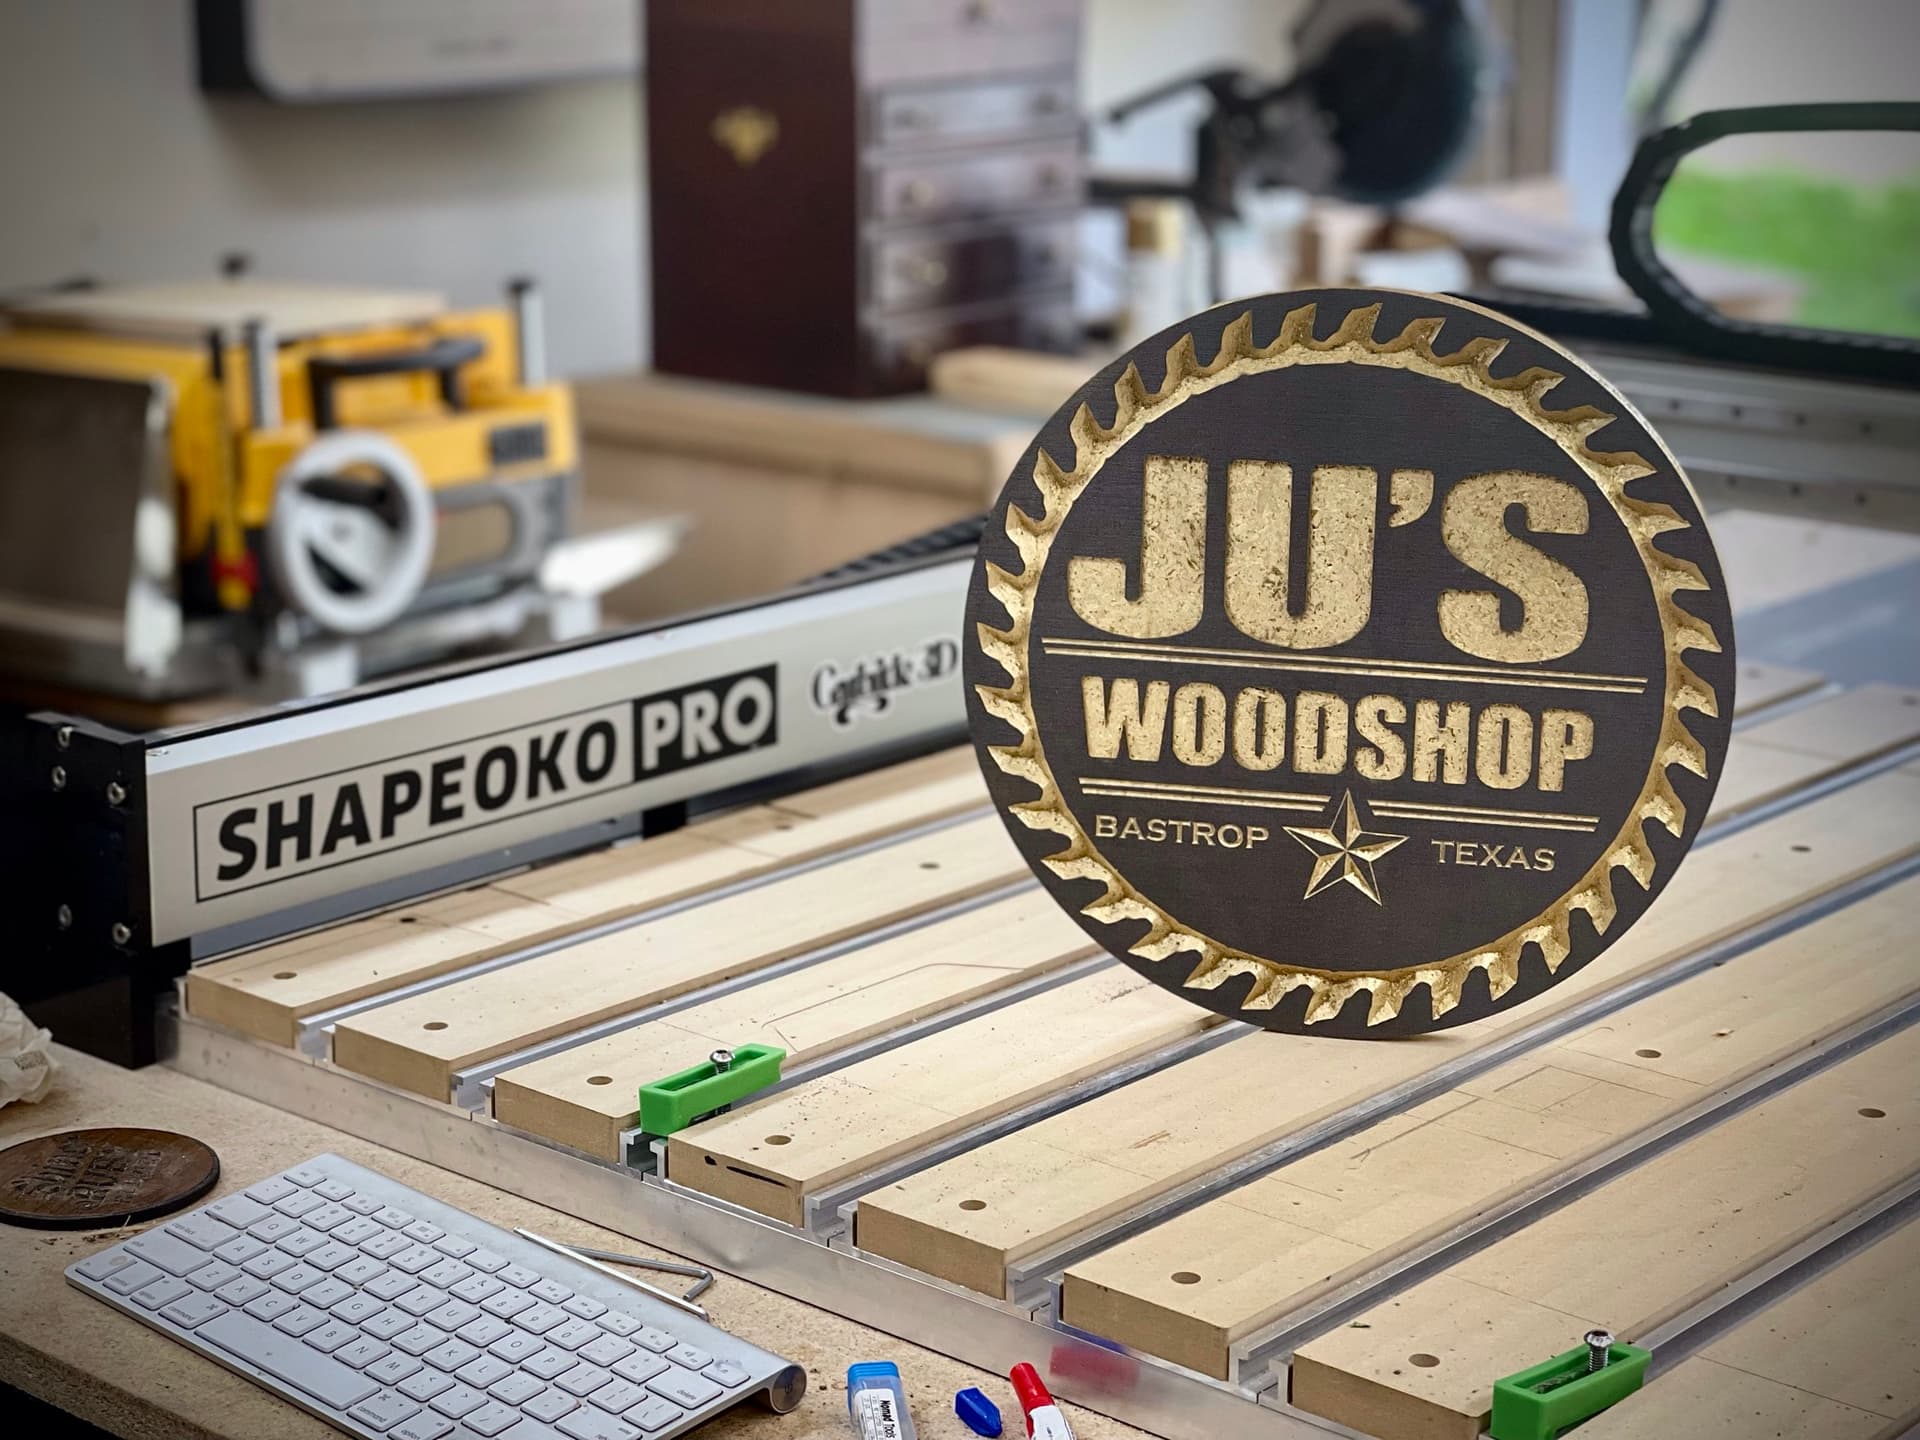
Hey guys! Here’s another quick sign my buddy and I whipped up for his friend’s woodworking meetup today. This is his shop’s logo so it made a great gift! Used all the same techniques as last time. The ramboard tape seems to hold up better with downcutting endmills (#326 & #251). The #301 definitely tears it up. Someone recommended Oramask Stencil film for next time, it’s an adhesive plastic used for masking! But no worries because where the paint seeped through, we just touched up with a paper towel and isopropyl alcohol and it wiped right off! 
14 Likes
This was made with a Shapeoko 3 XXL
Materials used: MDF
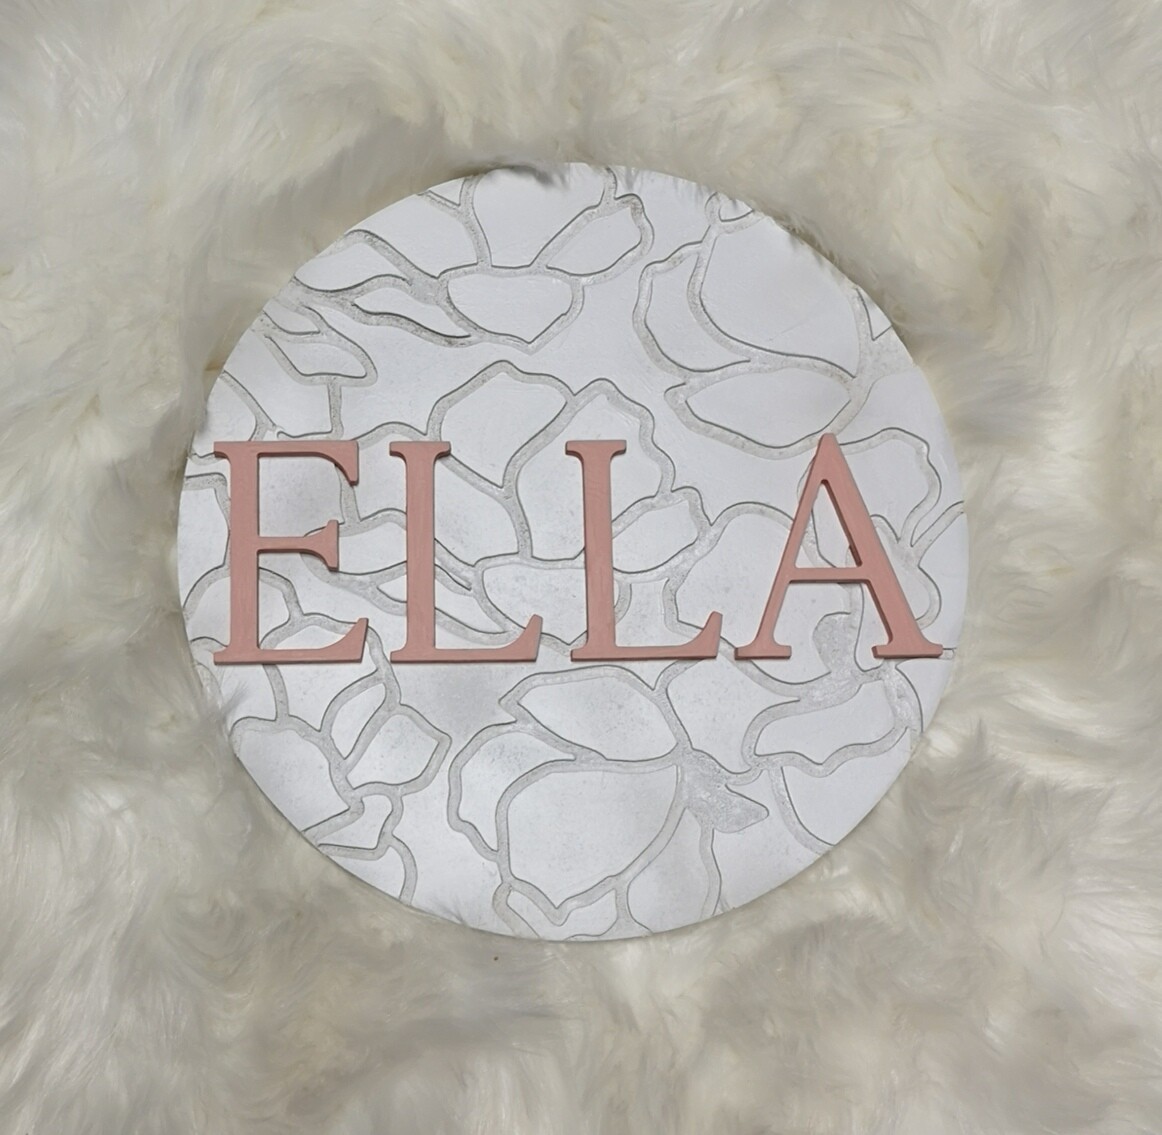
This was an experiment. I started the project by drawing magnolia flowers in Procreate on my iPad. From there, I worked in Adobe Illustrator to tile my florals exactly how I wanted them on my round. I saved the SVG and got to work.
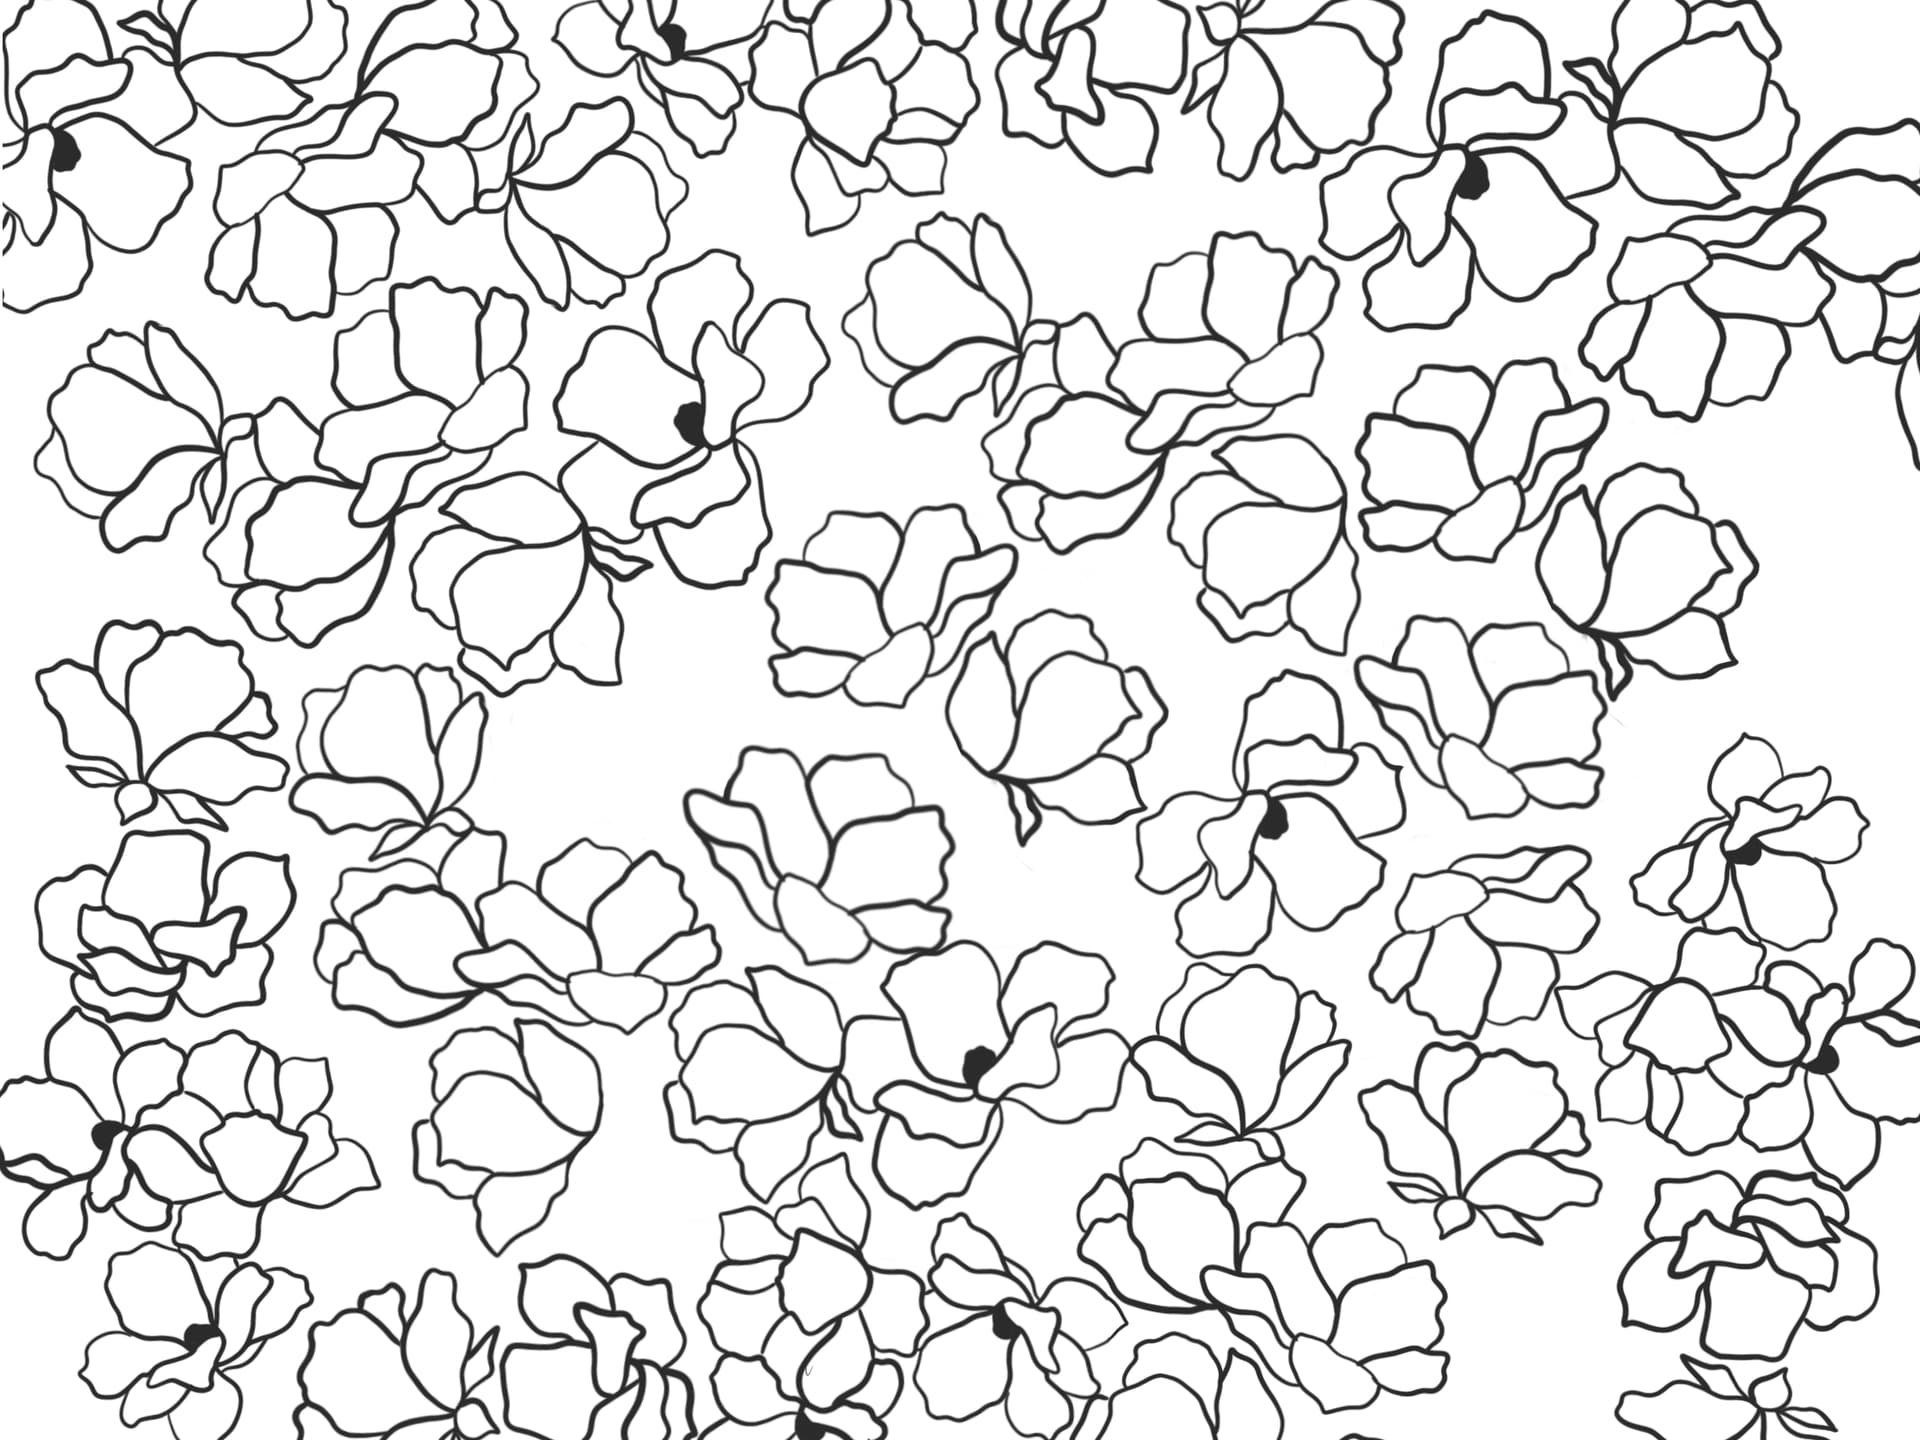
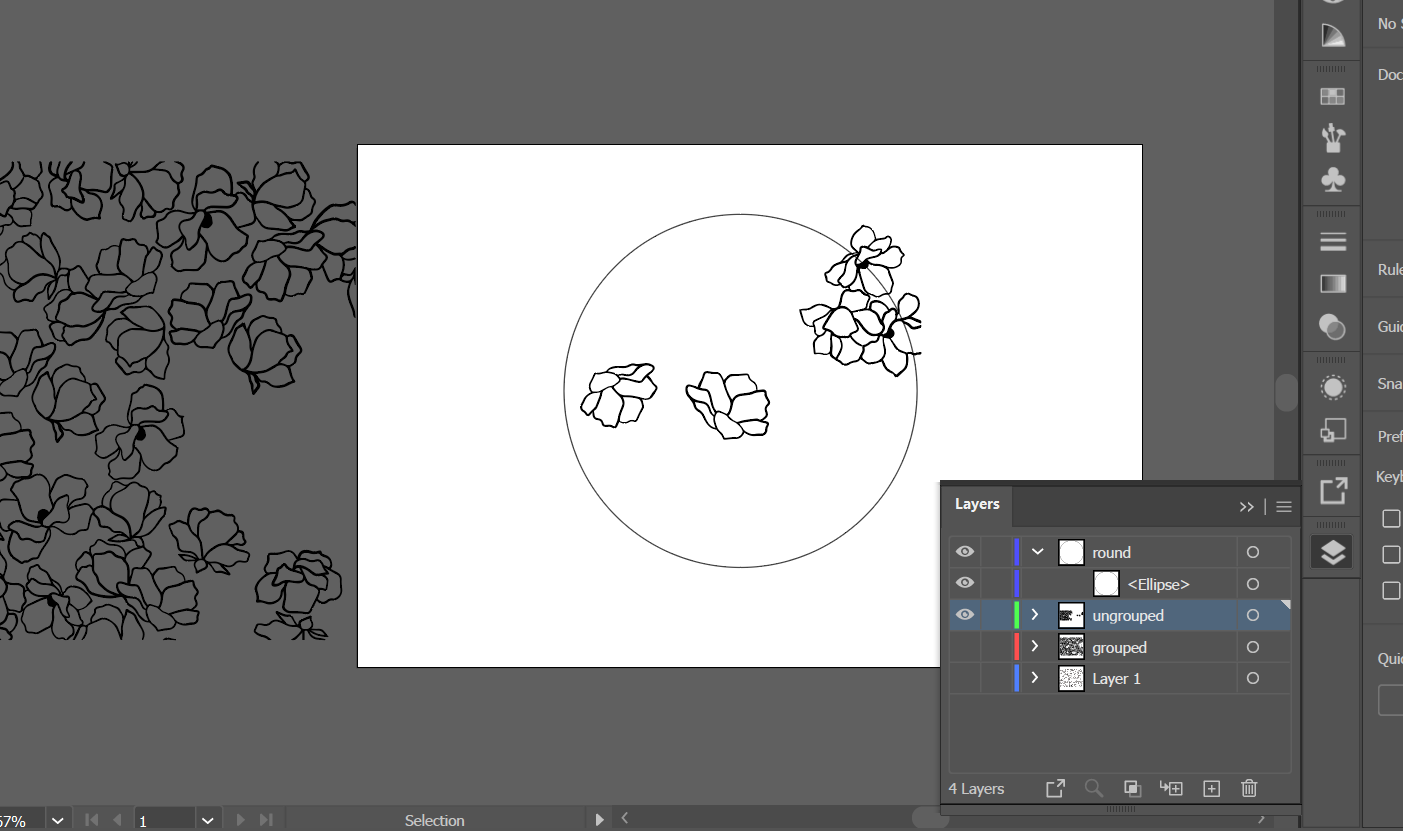
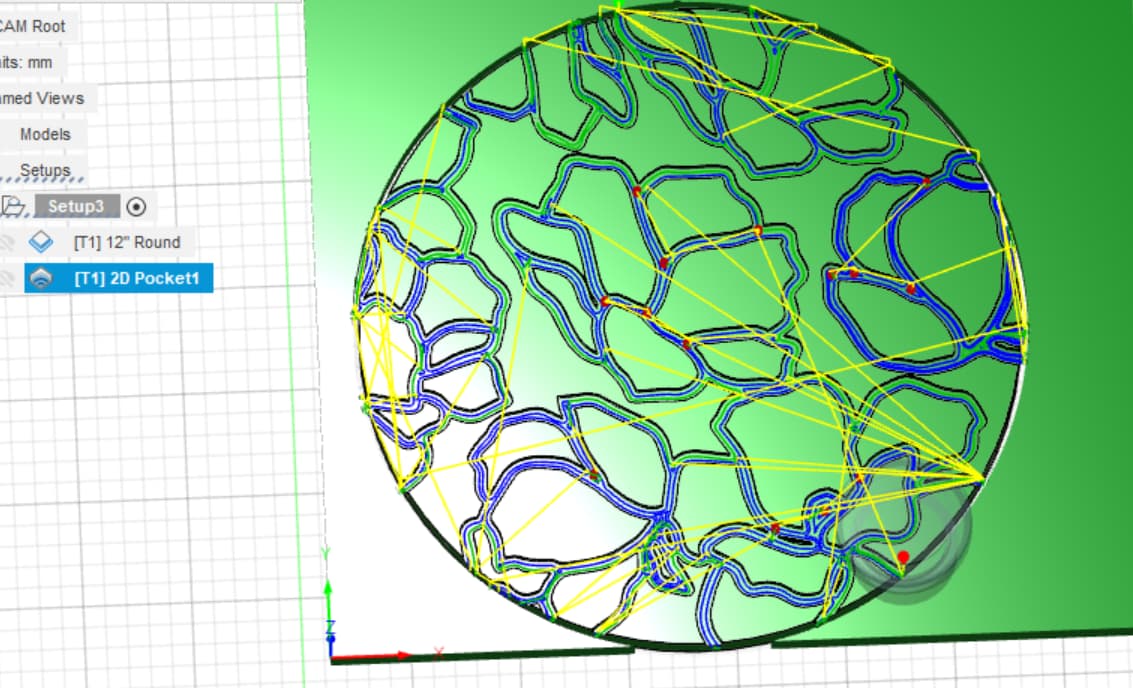
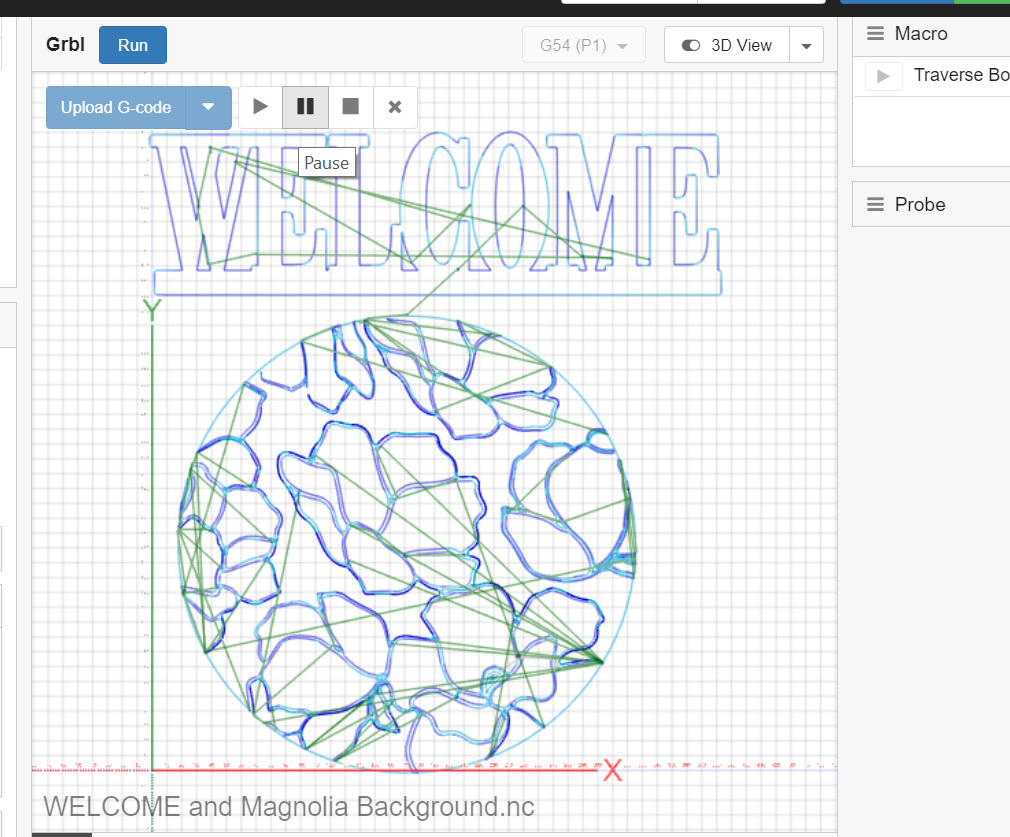
It was a bit of a challenge to get the lines to work while programming, but I eventually managed. The lines weren’t thick enough to machine a pocket with a ⅛” bit. I went back and changed my artwork – offsetting my path and hoping that would be good enough. With a little bit of help from a friend, I was able to figure it out!

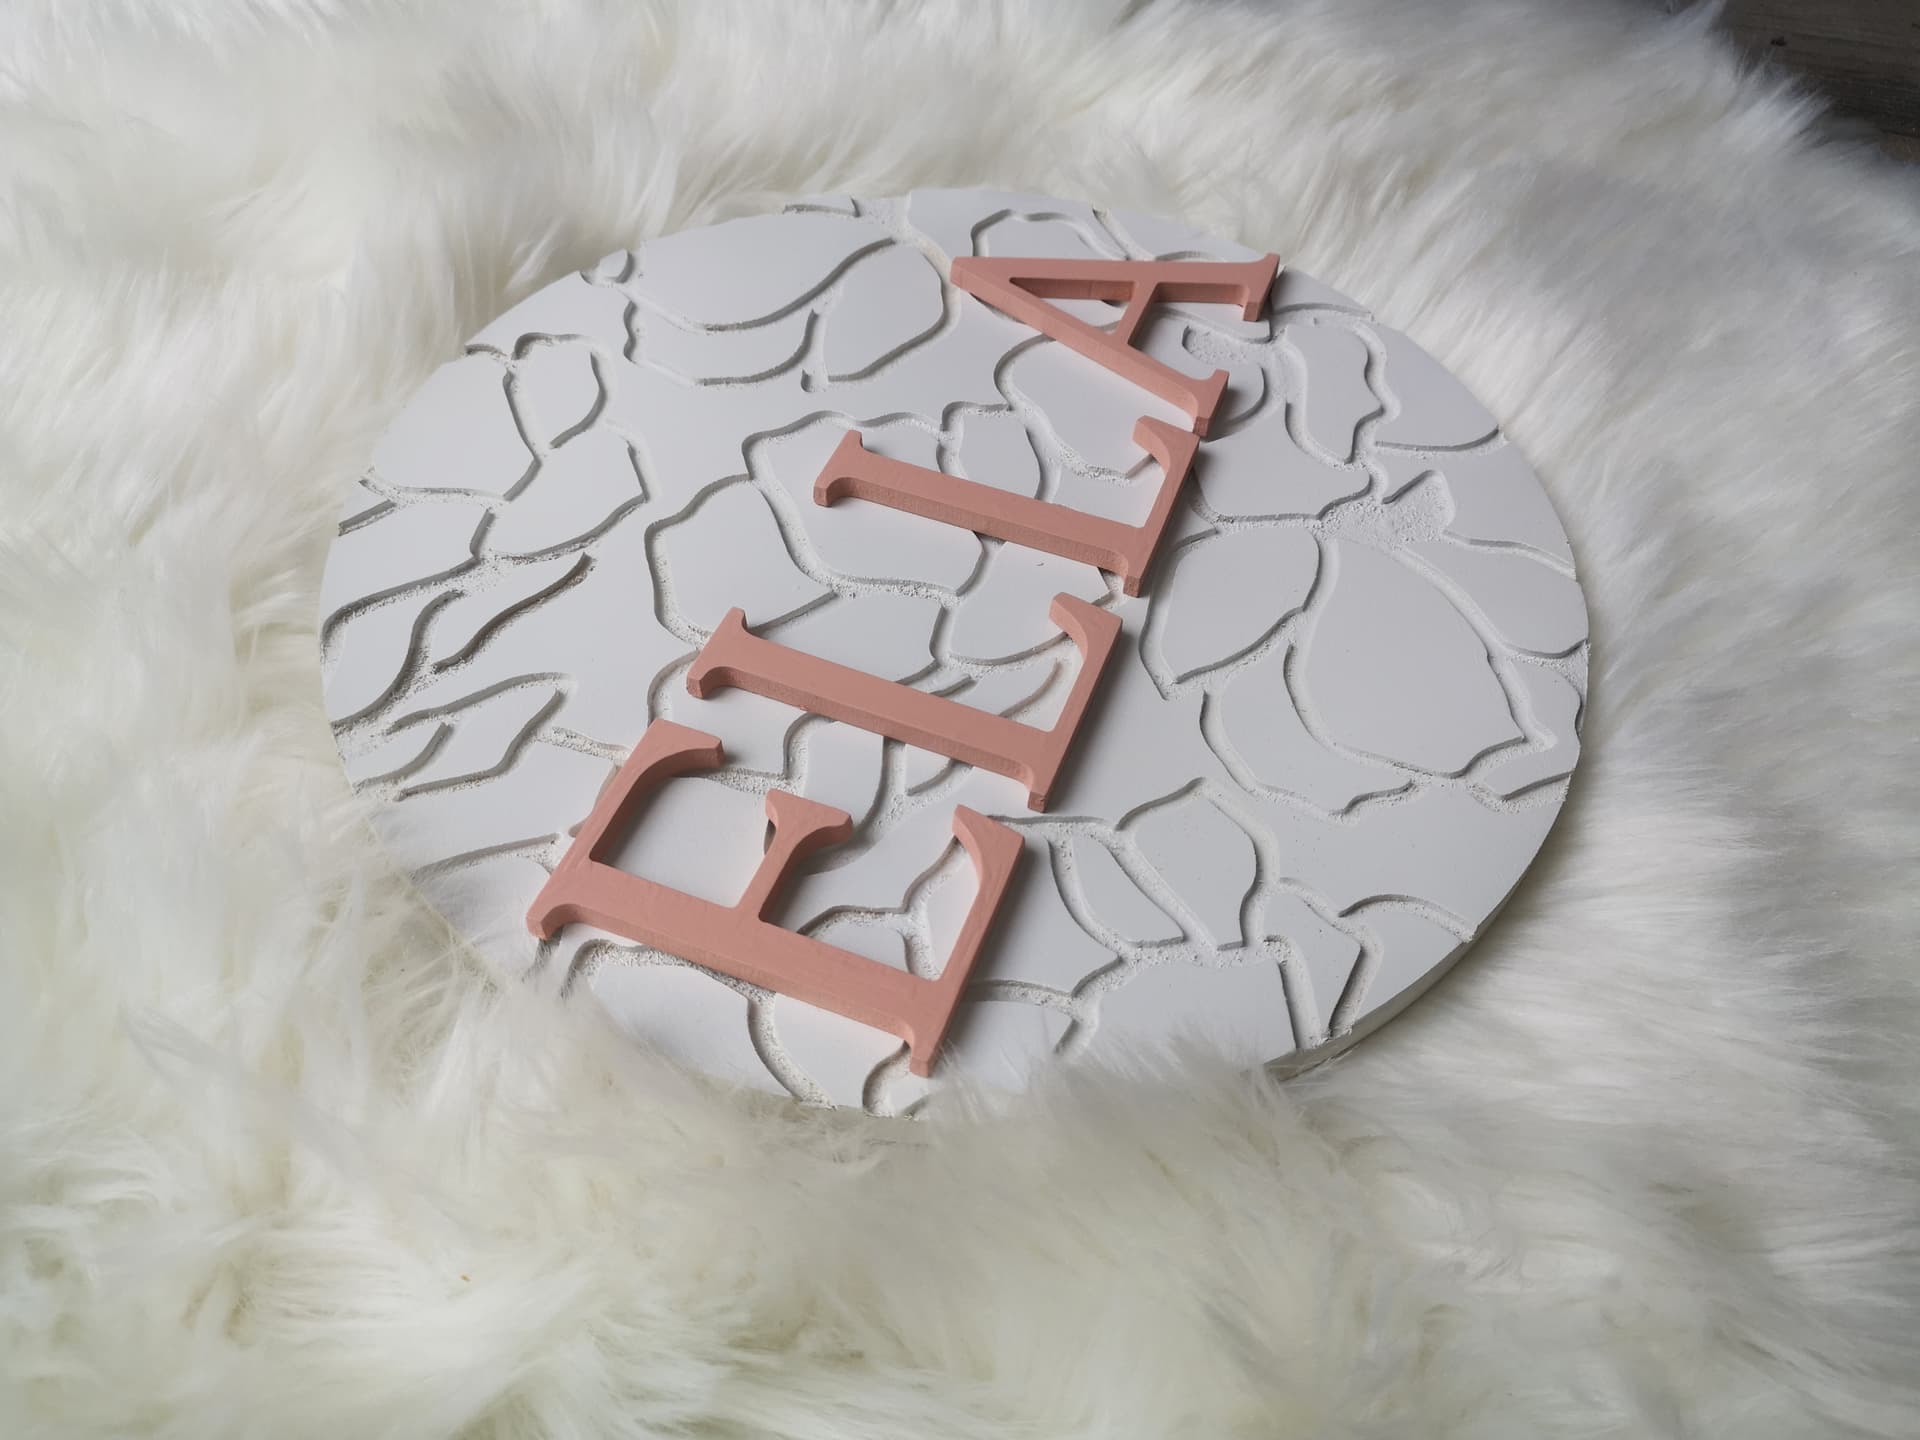
As you can imagine, this was a pain to sand. My MDF was fraying at the core in a bad way. There are so many things I would do differently next time but like I said, it was just an experiment. I feel very encouraged to continue with decorative pocket cuts as well as my own artwork!
13 Likes
Wow! The Hylian shield turned out awesome! Great job, man! Big Zelda fan here, and epoxy pours are always cool too. Would be fun to try this out with your file! 
1 Like
You did an amazing job on this project, Rob! I wood have guessed that you painted like this all the time!
I got this finished just in time. Very excited to enter the challenge. 
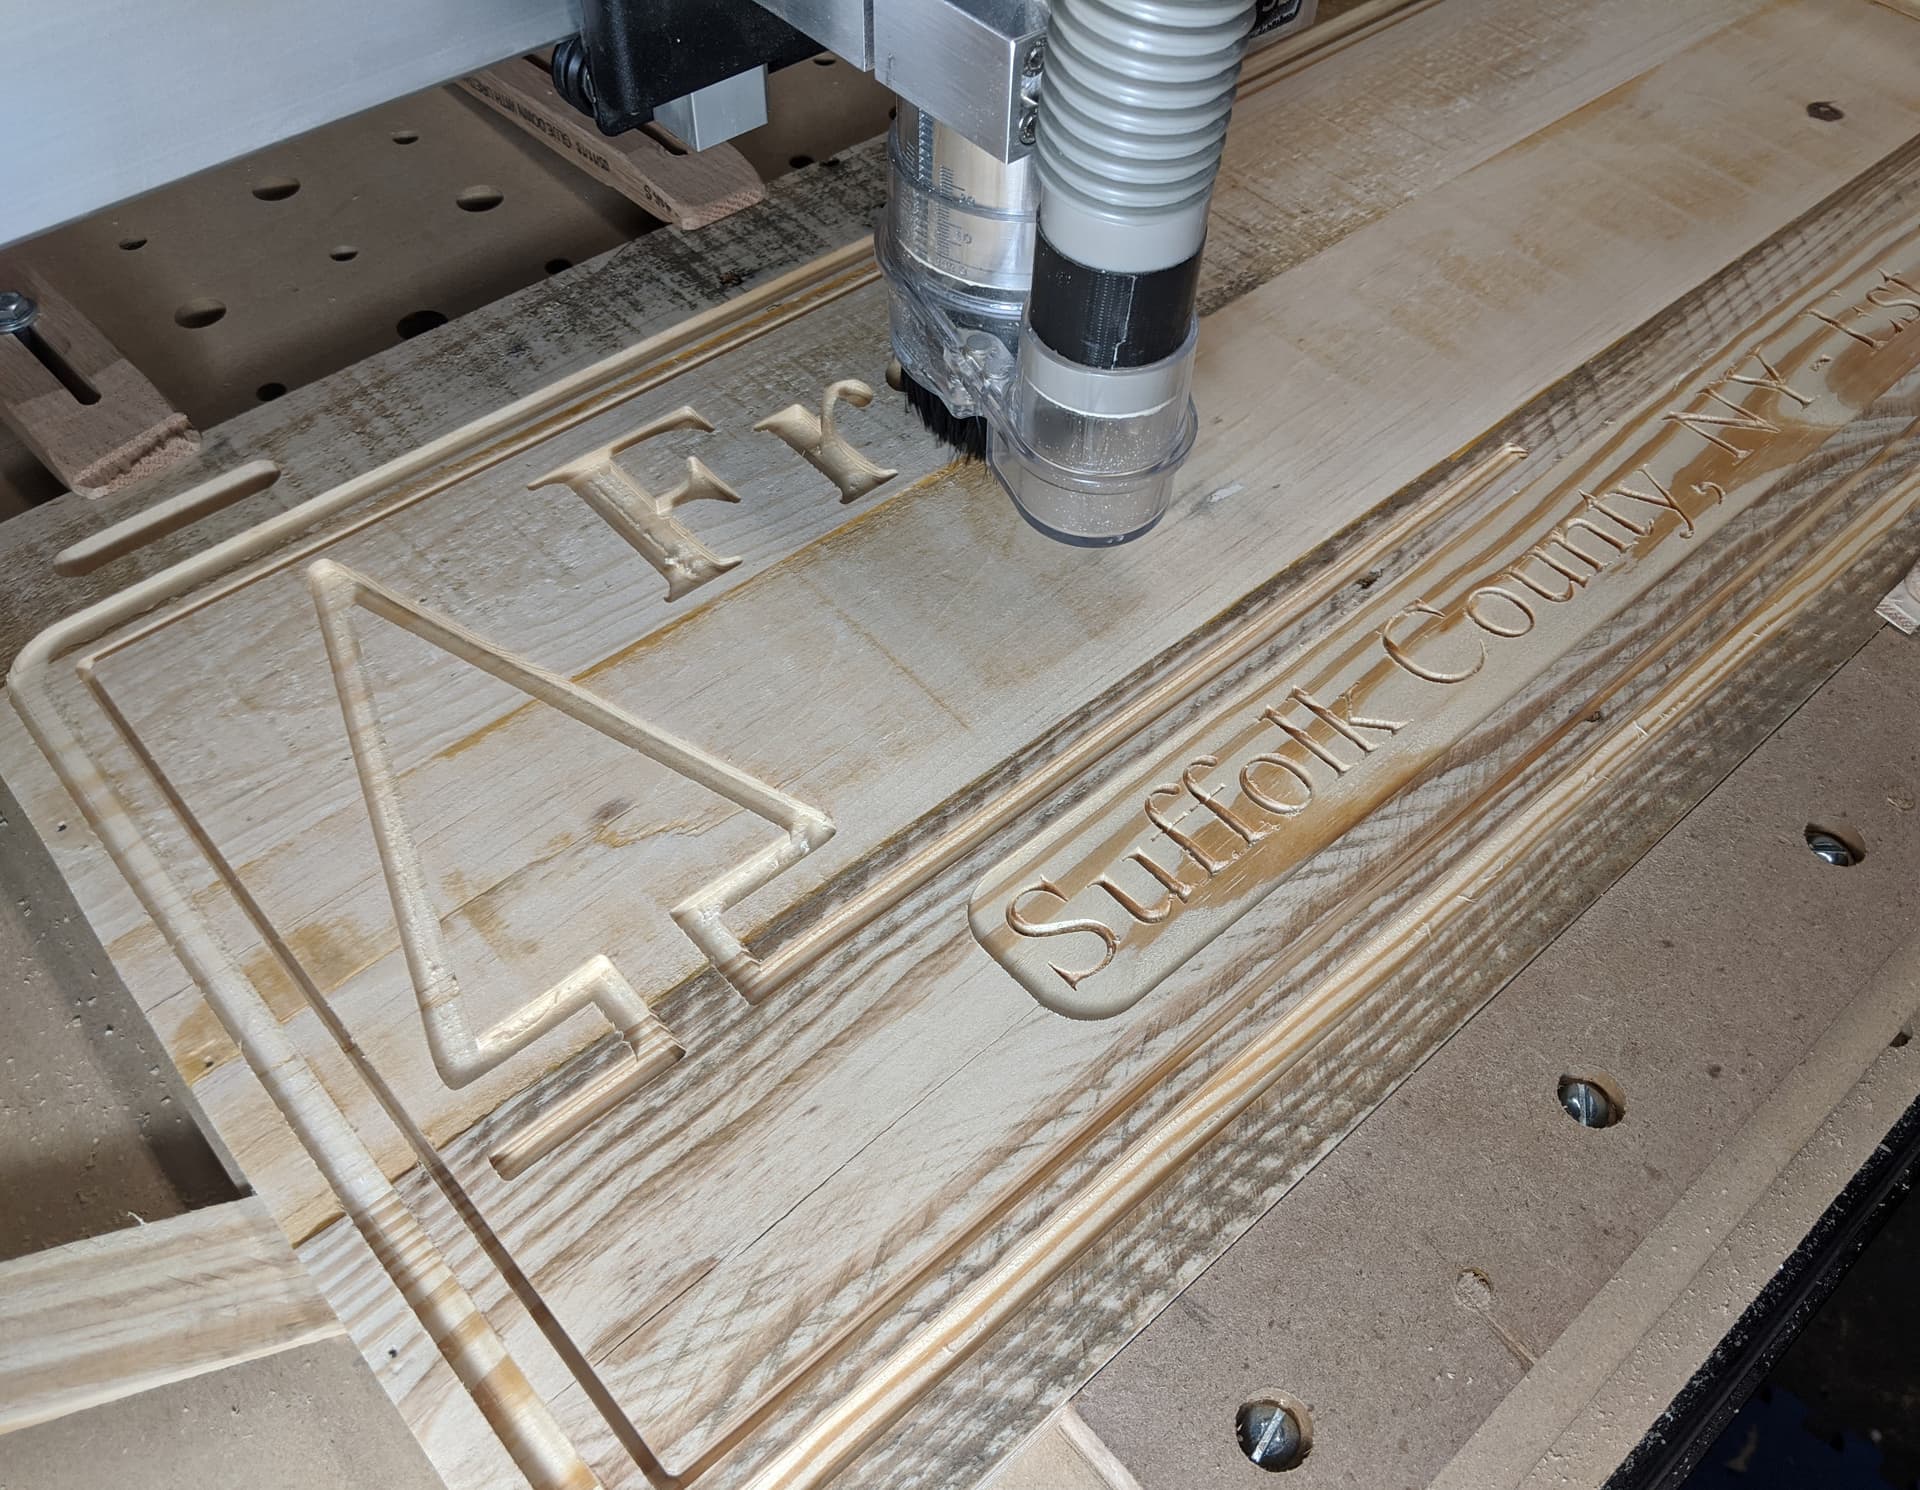
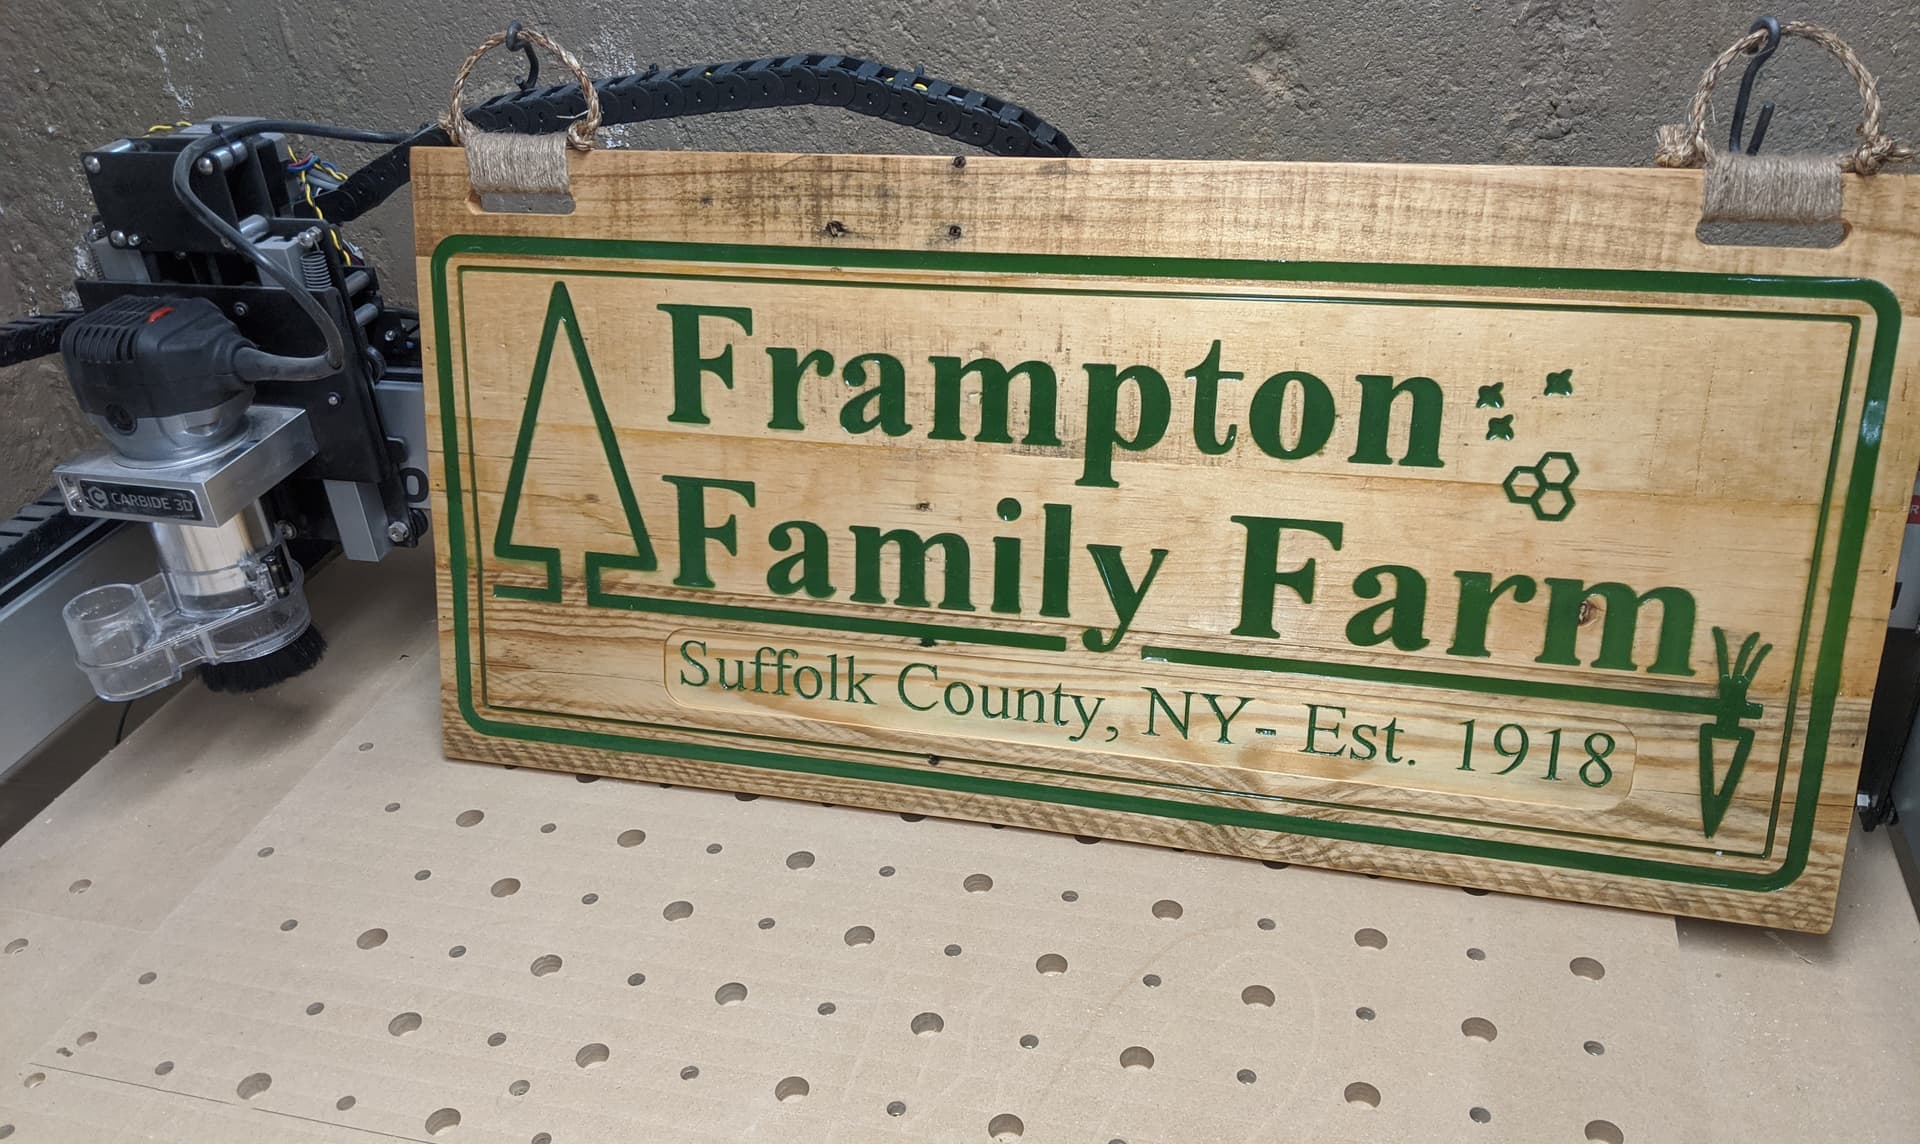
A friend of mine is a school teacher that does not take easily to relaxing on summer break. This year he decided to plant a plot of land currently owned by his father, previously owned by his grandparents. So farming skipped a generation while this entire area was swallowed up by suburbia, but it is now once again producing vegetables. He created a super simple logo that I thought would translate very well into a carved sign. The plan was pocket and epoxy fill the lines and large letters and V-Carve and paint the smaller text.
The complication here was that I wanted it to look ‘rustic’. I quickly found out that it’s way easier to make something look perfect than to work with rough materials.
I started with some planks of wood from a pallet and glued up a panel.
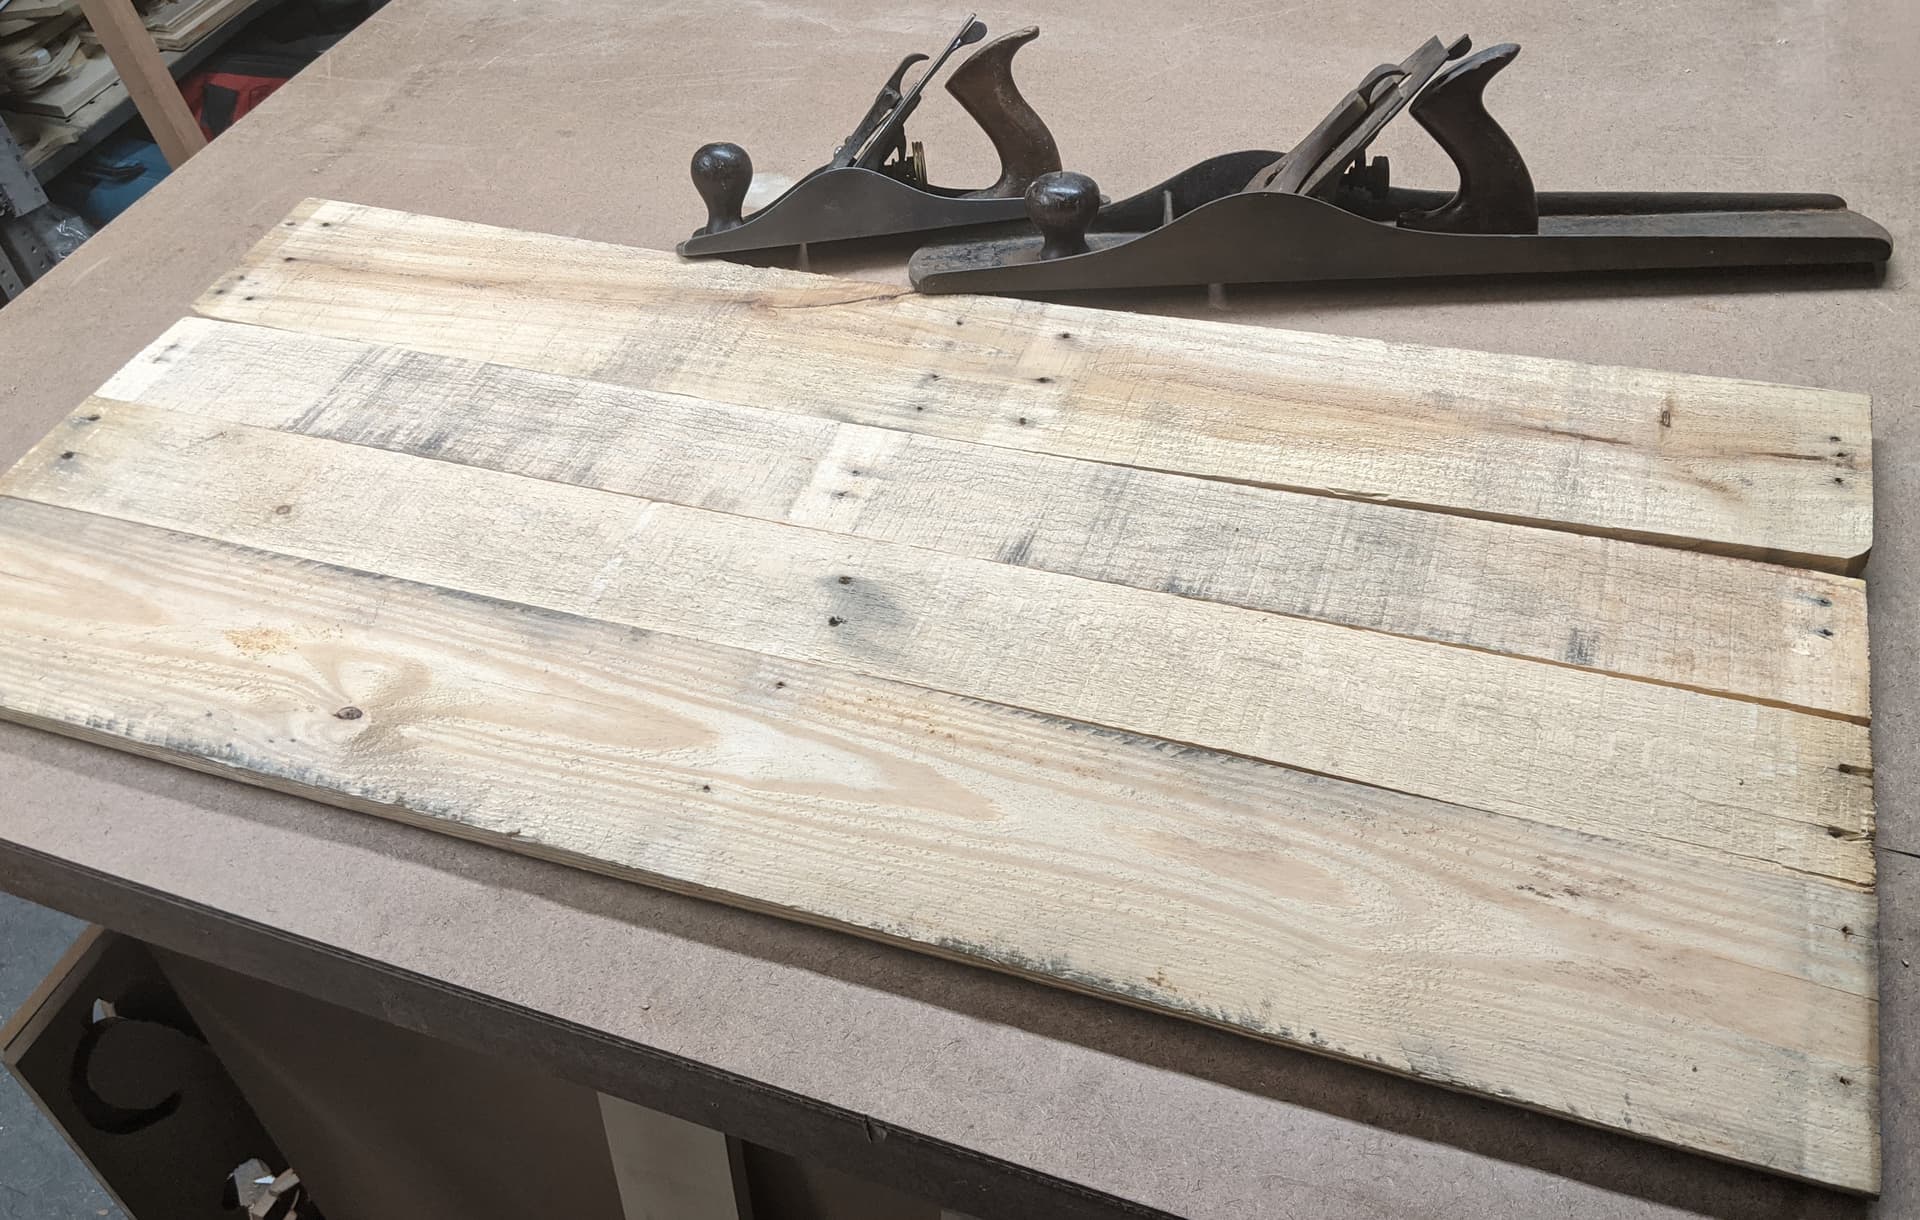
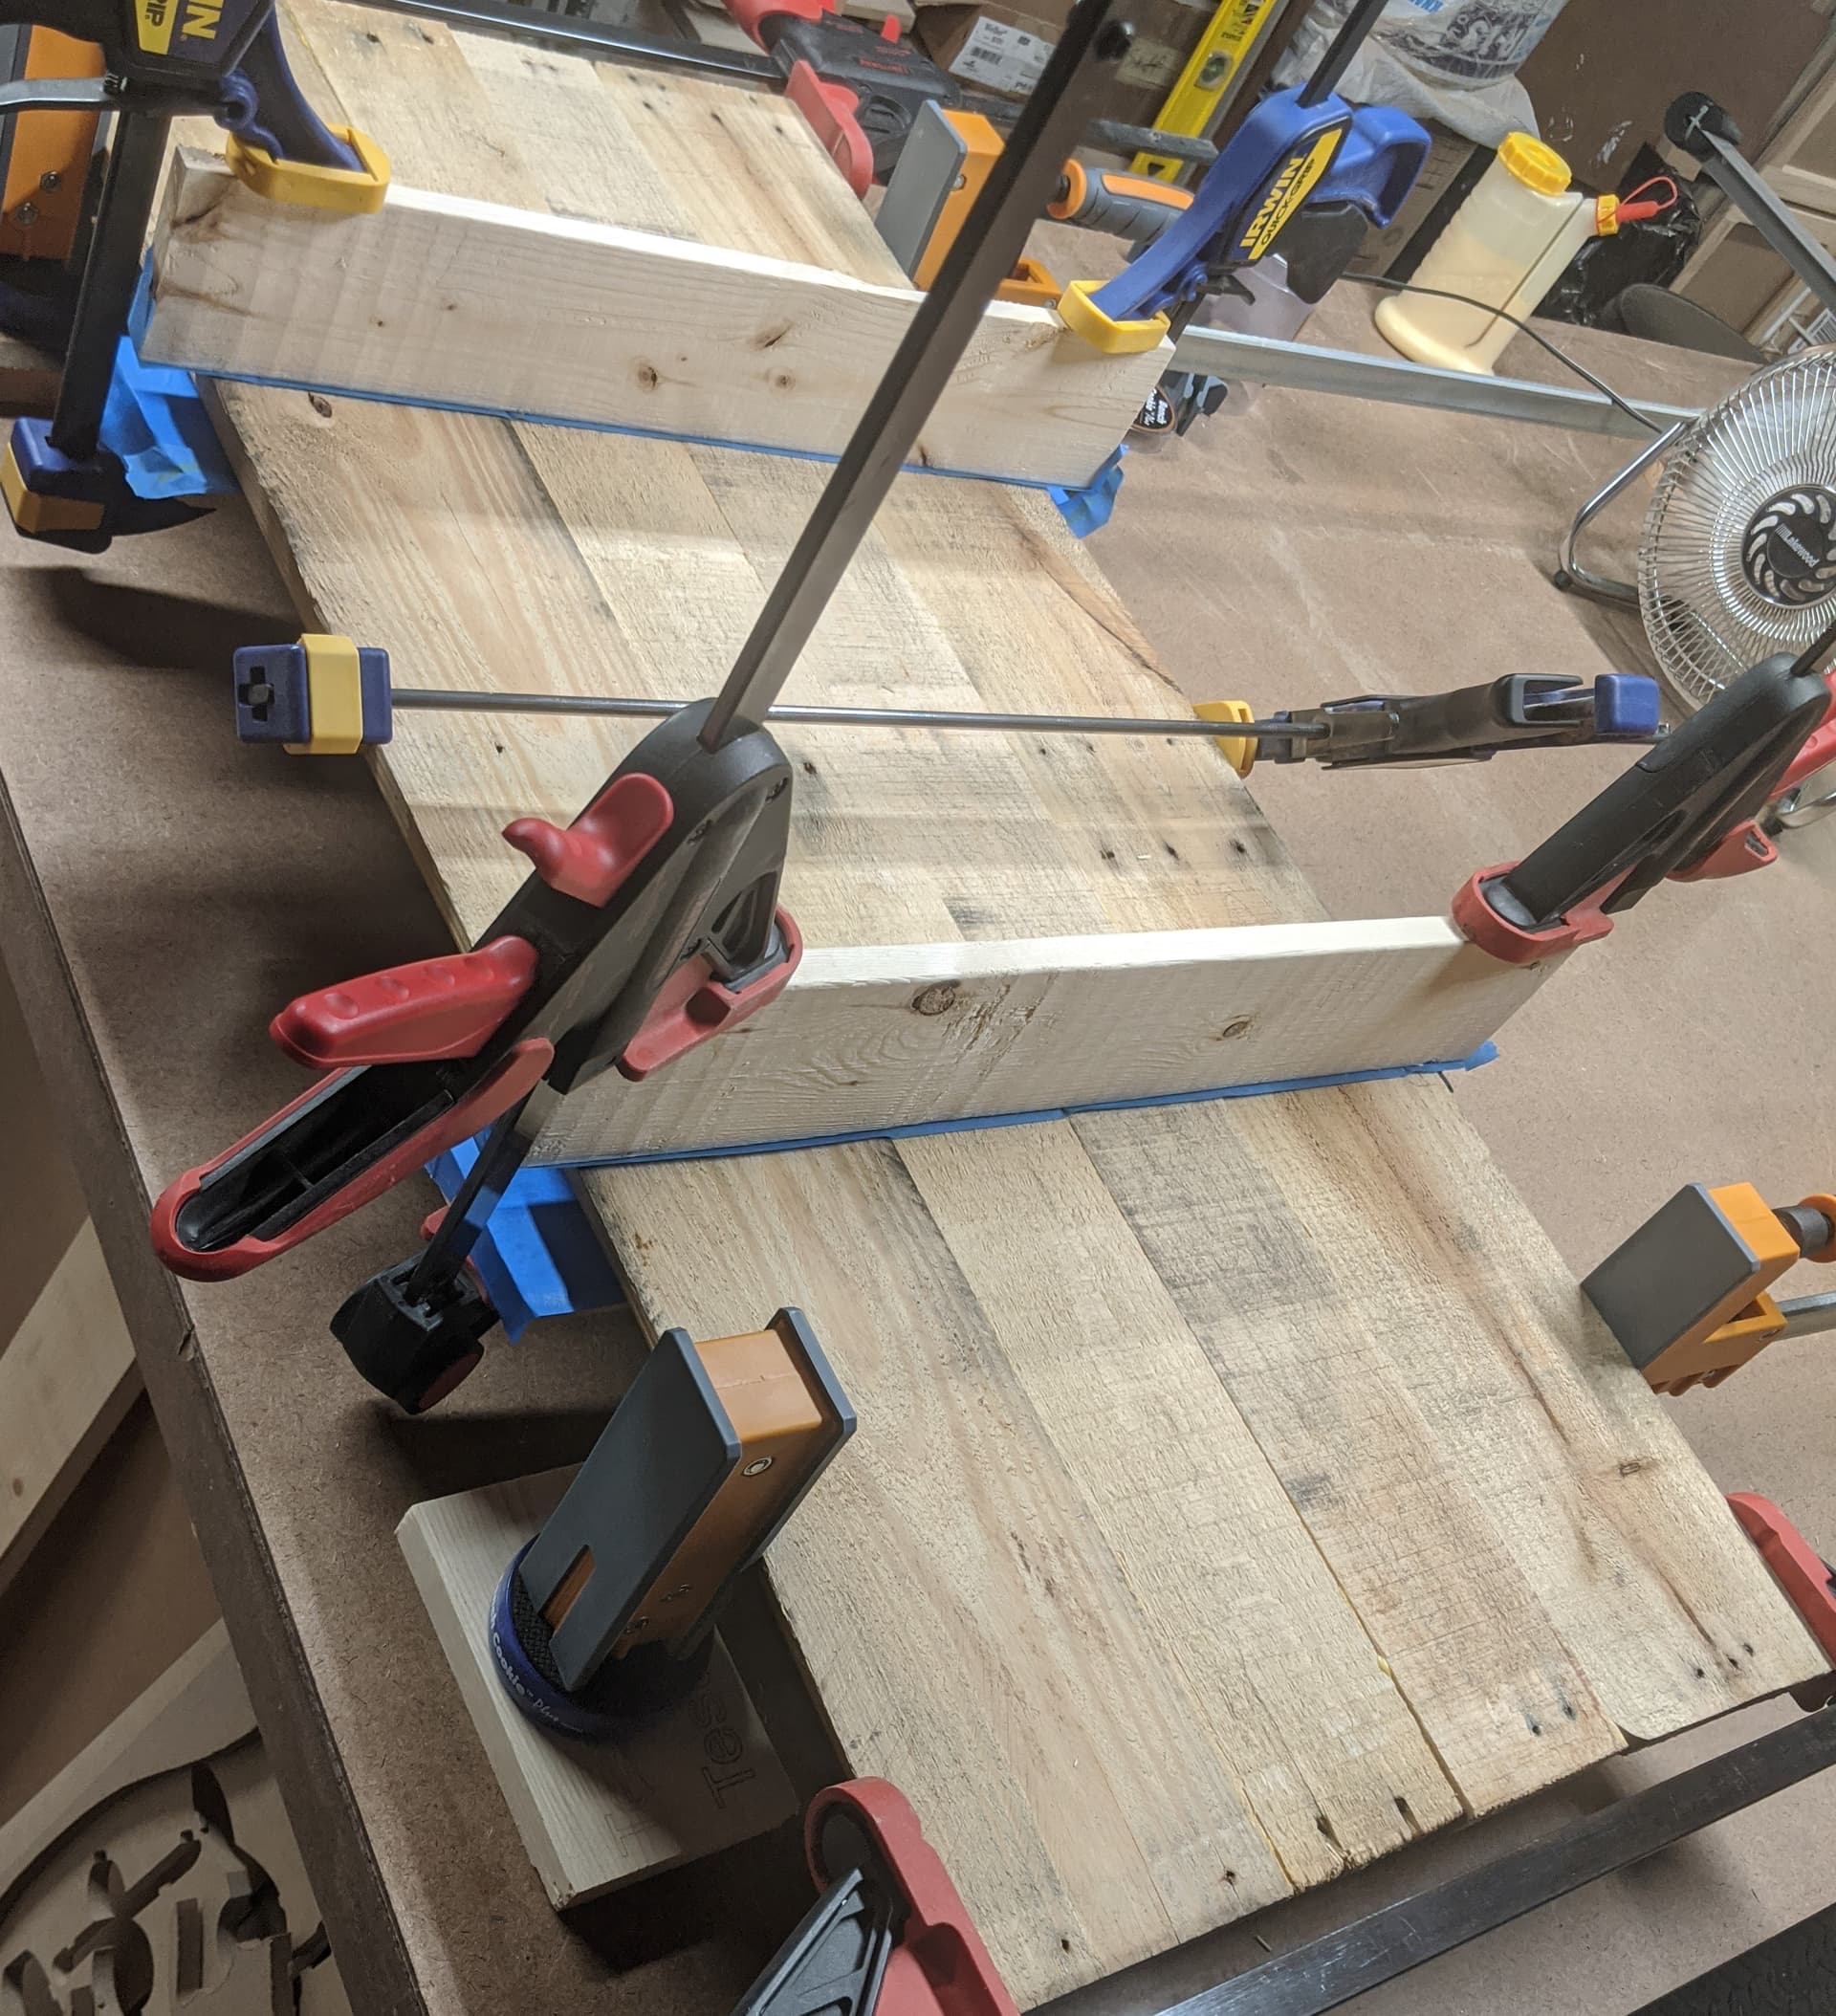
I really liked the look of these boards, but I failed to realize why I liked the way they looked. I put the panel on the machine and ran a tool path to flatten the uneven, rough boards to prepare them for carving and immediately hated what resulted. All the character was gone and it just looked like a glue up with really poor wood grain matching.
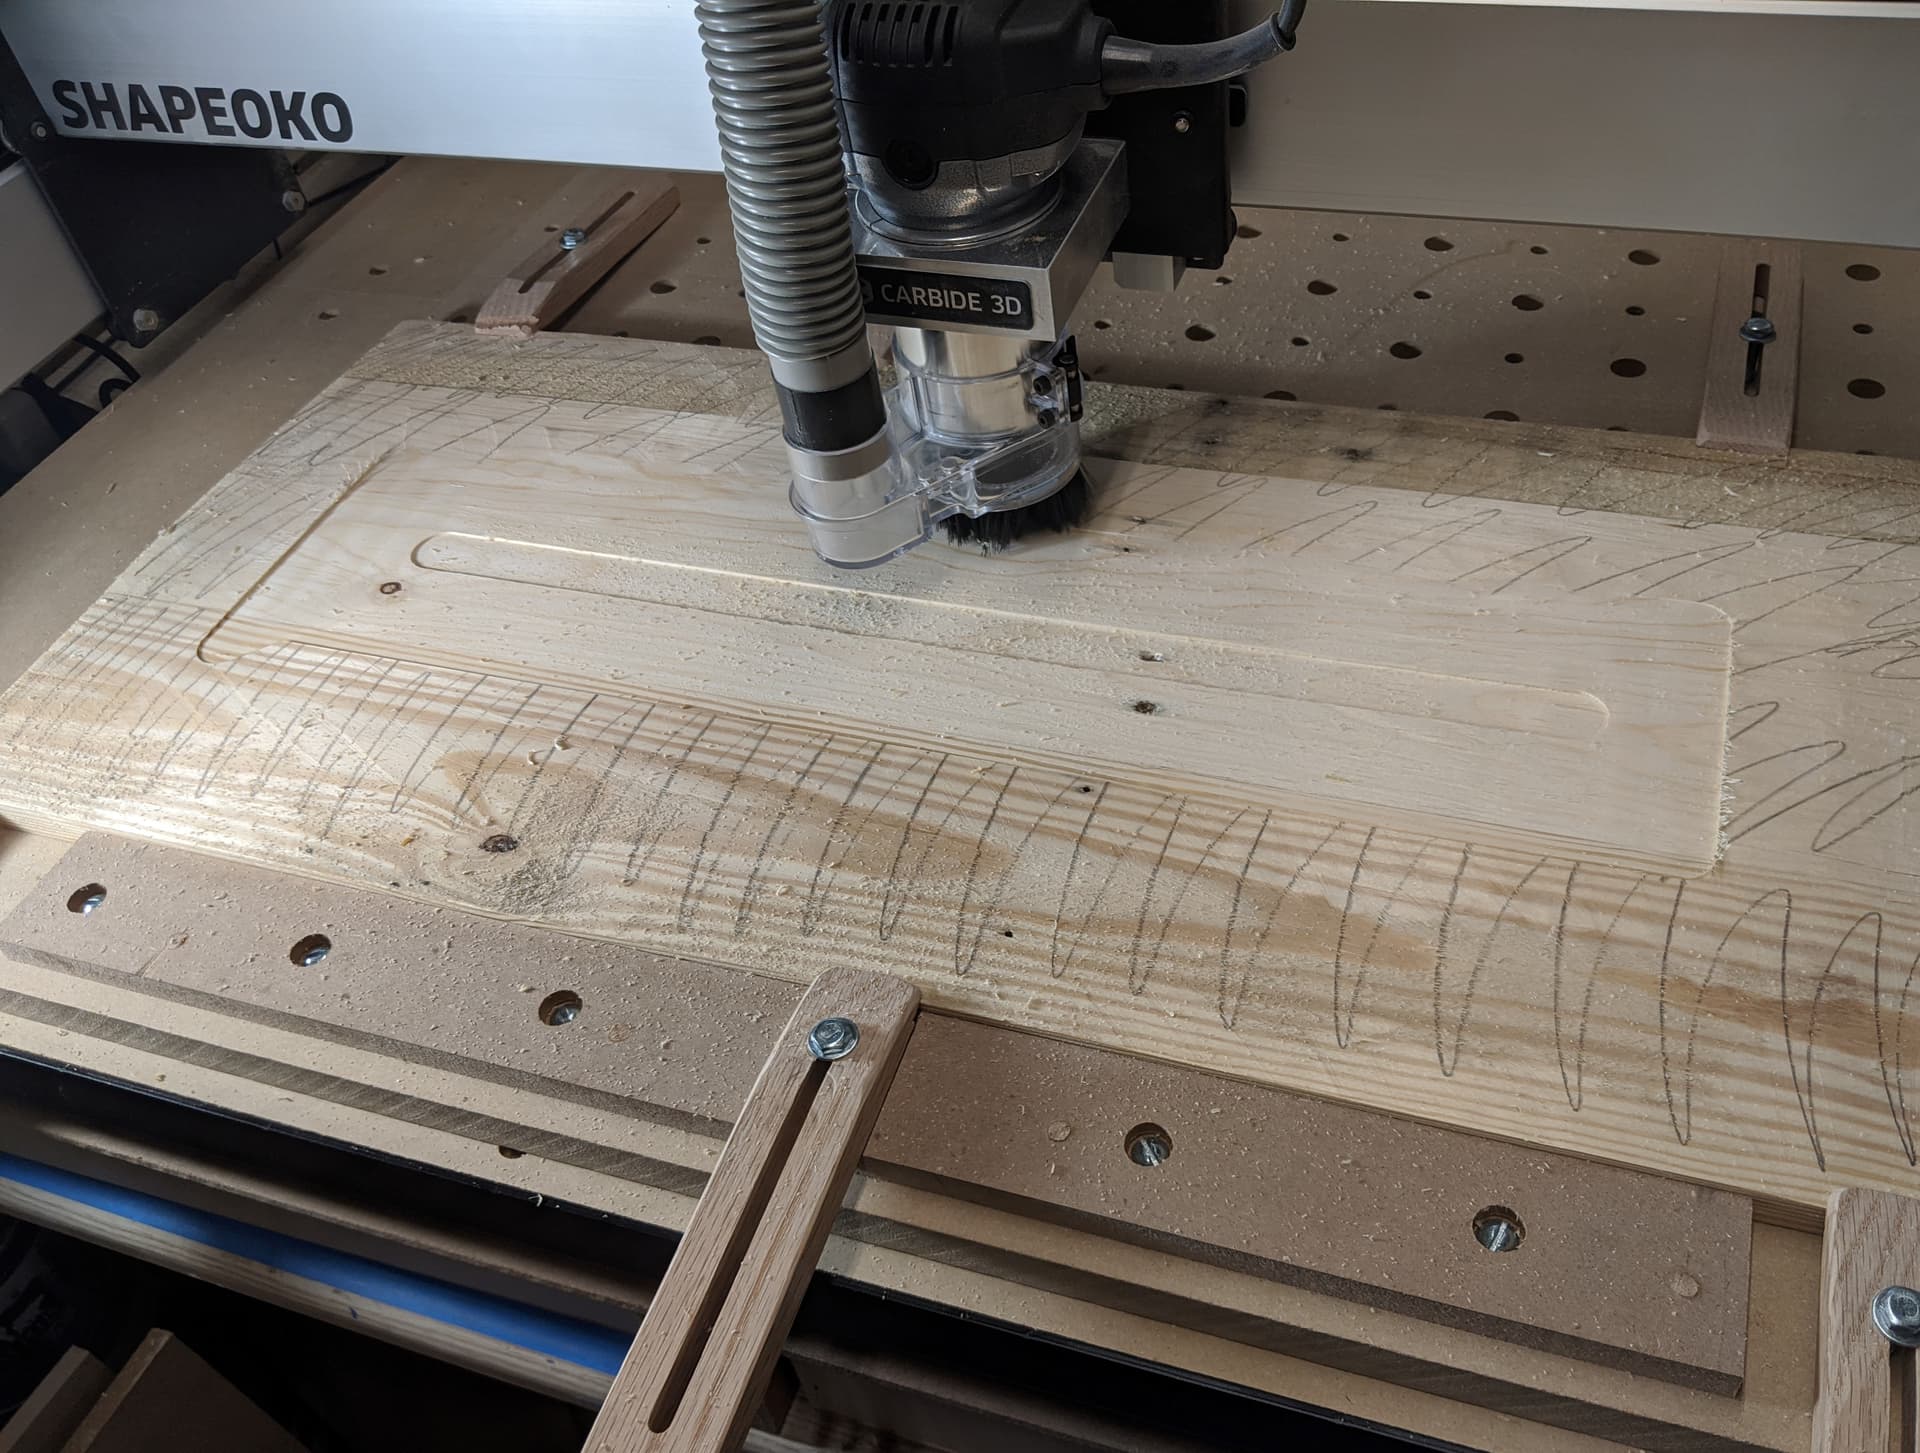
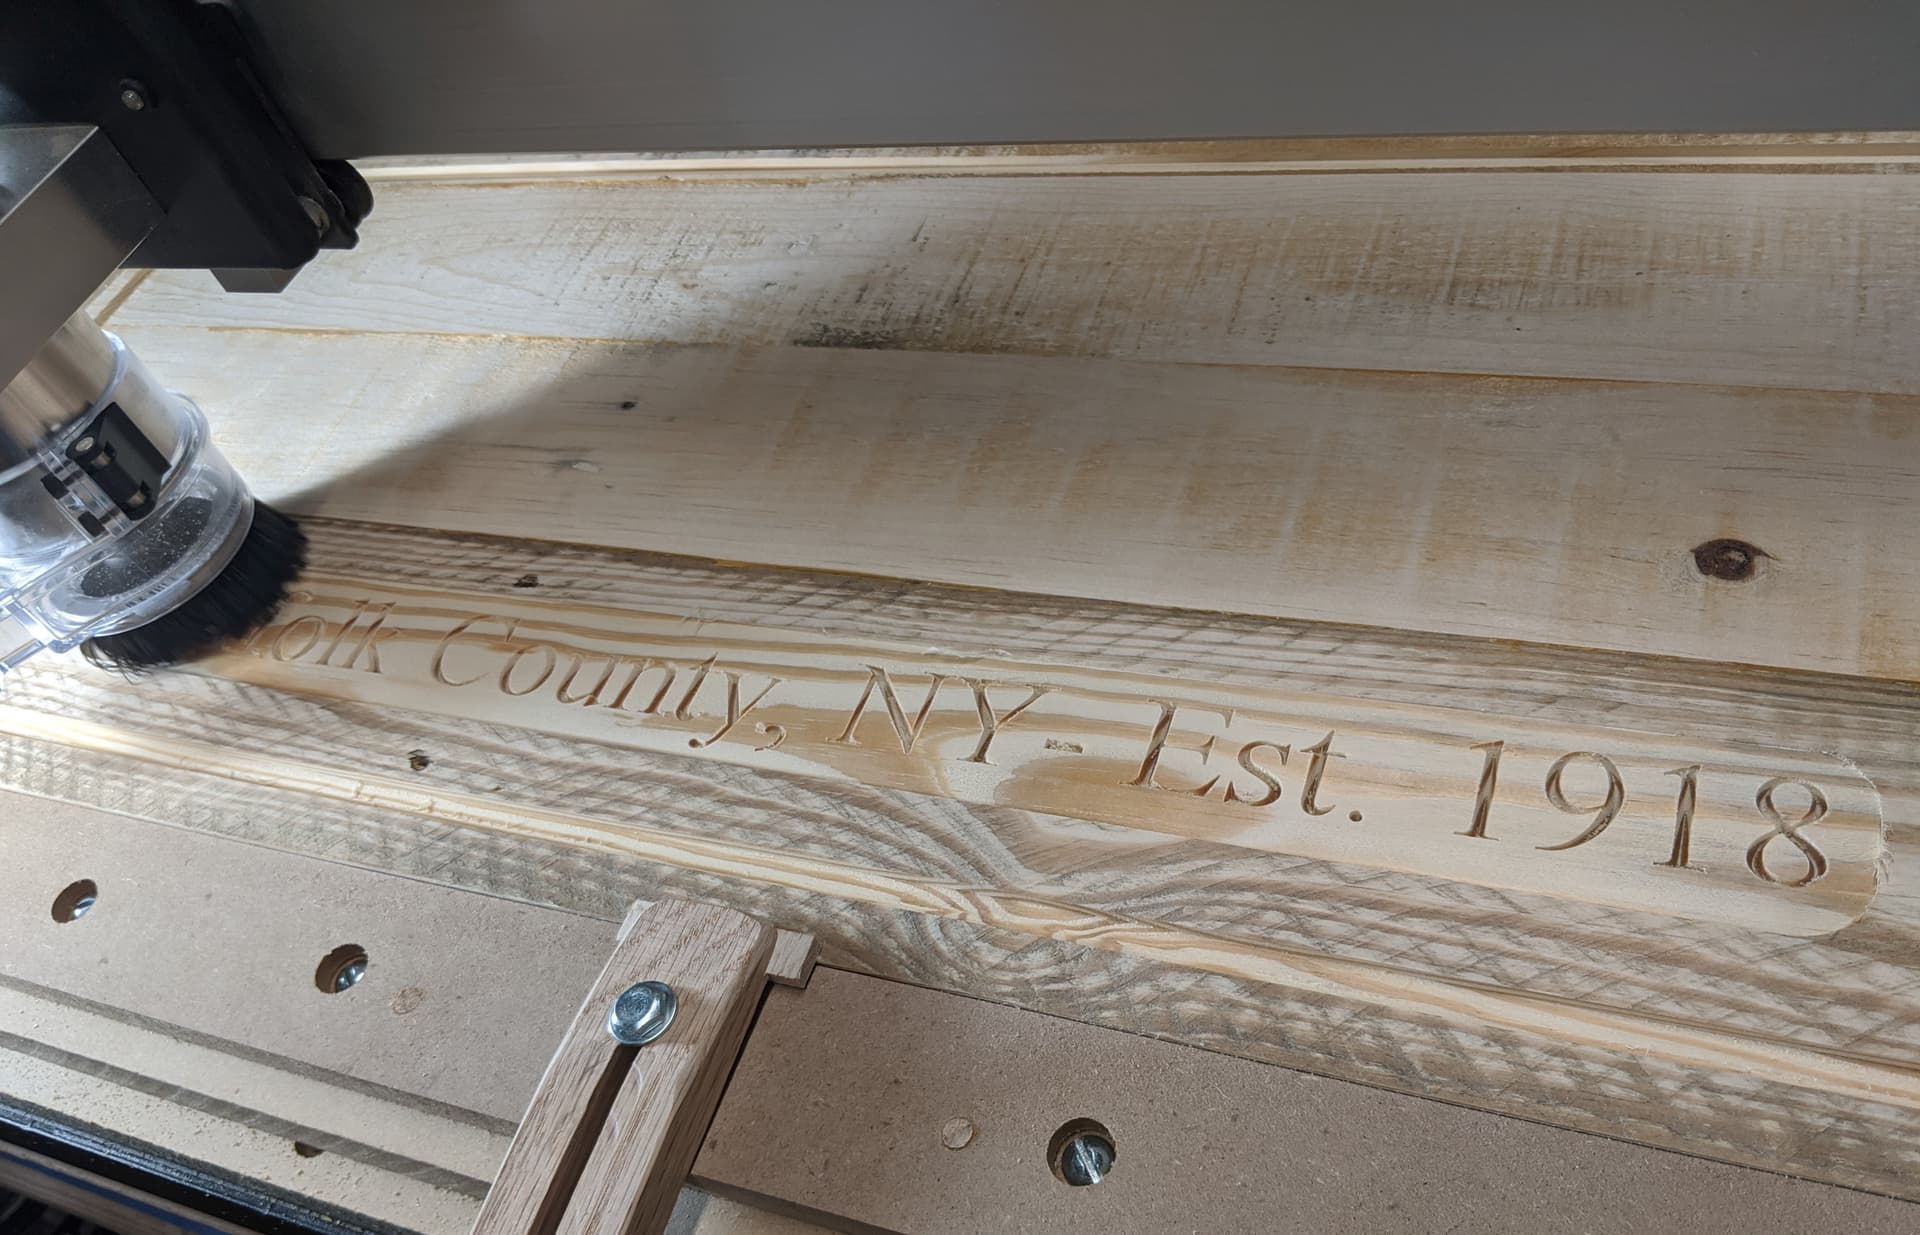
So I flipped it over and came up with a plan to handle the uneven surface. I had ~0.12" of difference between the highest and lowest spots. The area to be V-Carved needed to be flat to make sure it was completely carved so I flattened only that area. Then for the rest I set the pocket depth deeper than originally planned and zeroed off the high spot. The result was a lot of cutting nothing bu air and a pocket of various depths but epoxy fill would hide that anyway.
V-Carve:
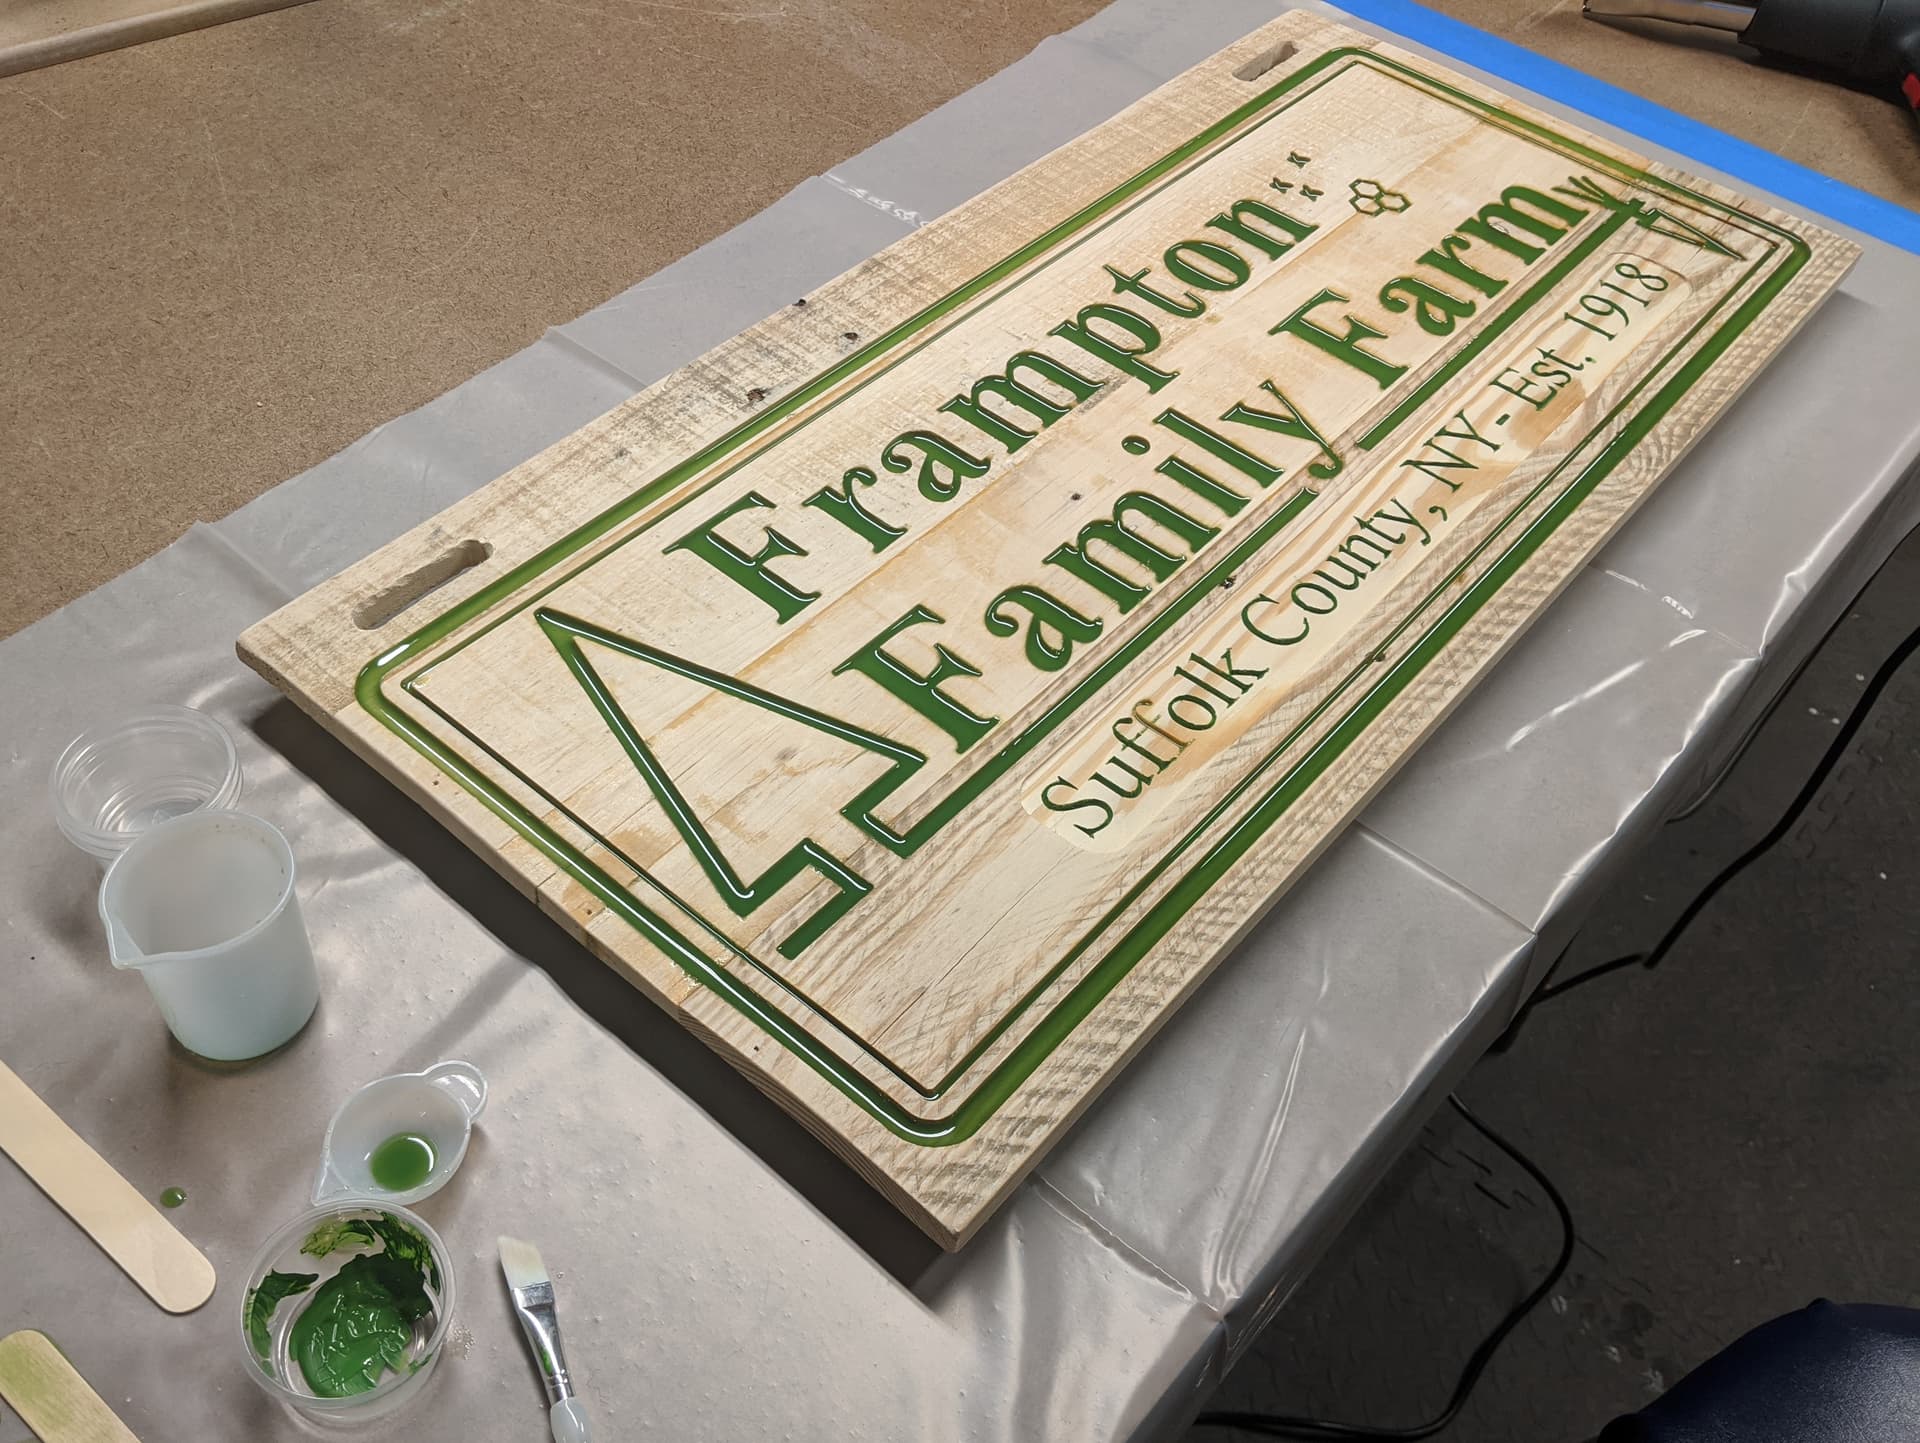
Pockets:
My wife did the epoxy and the paint.
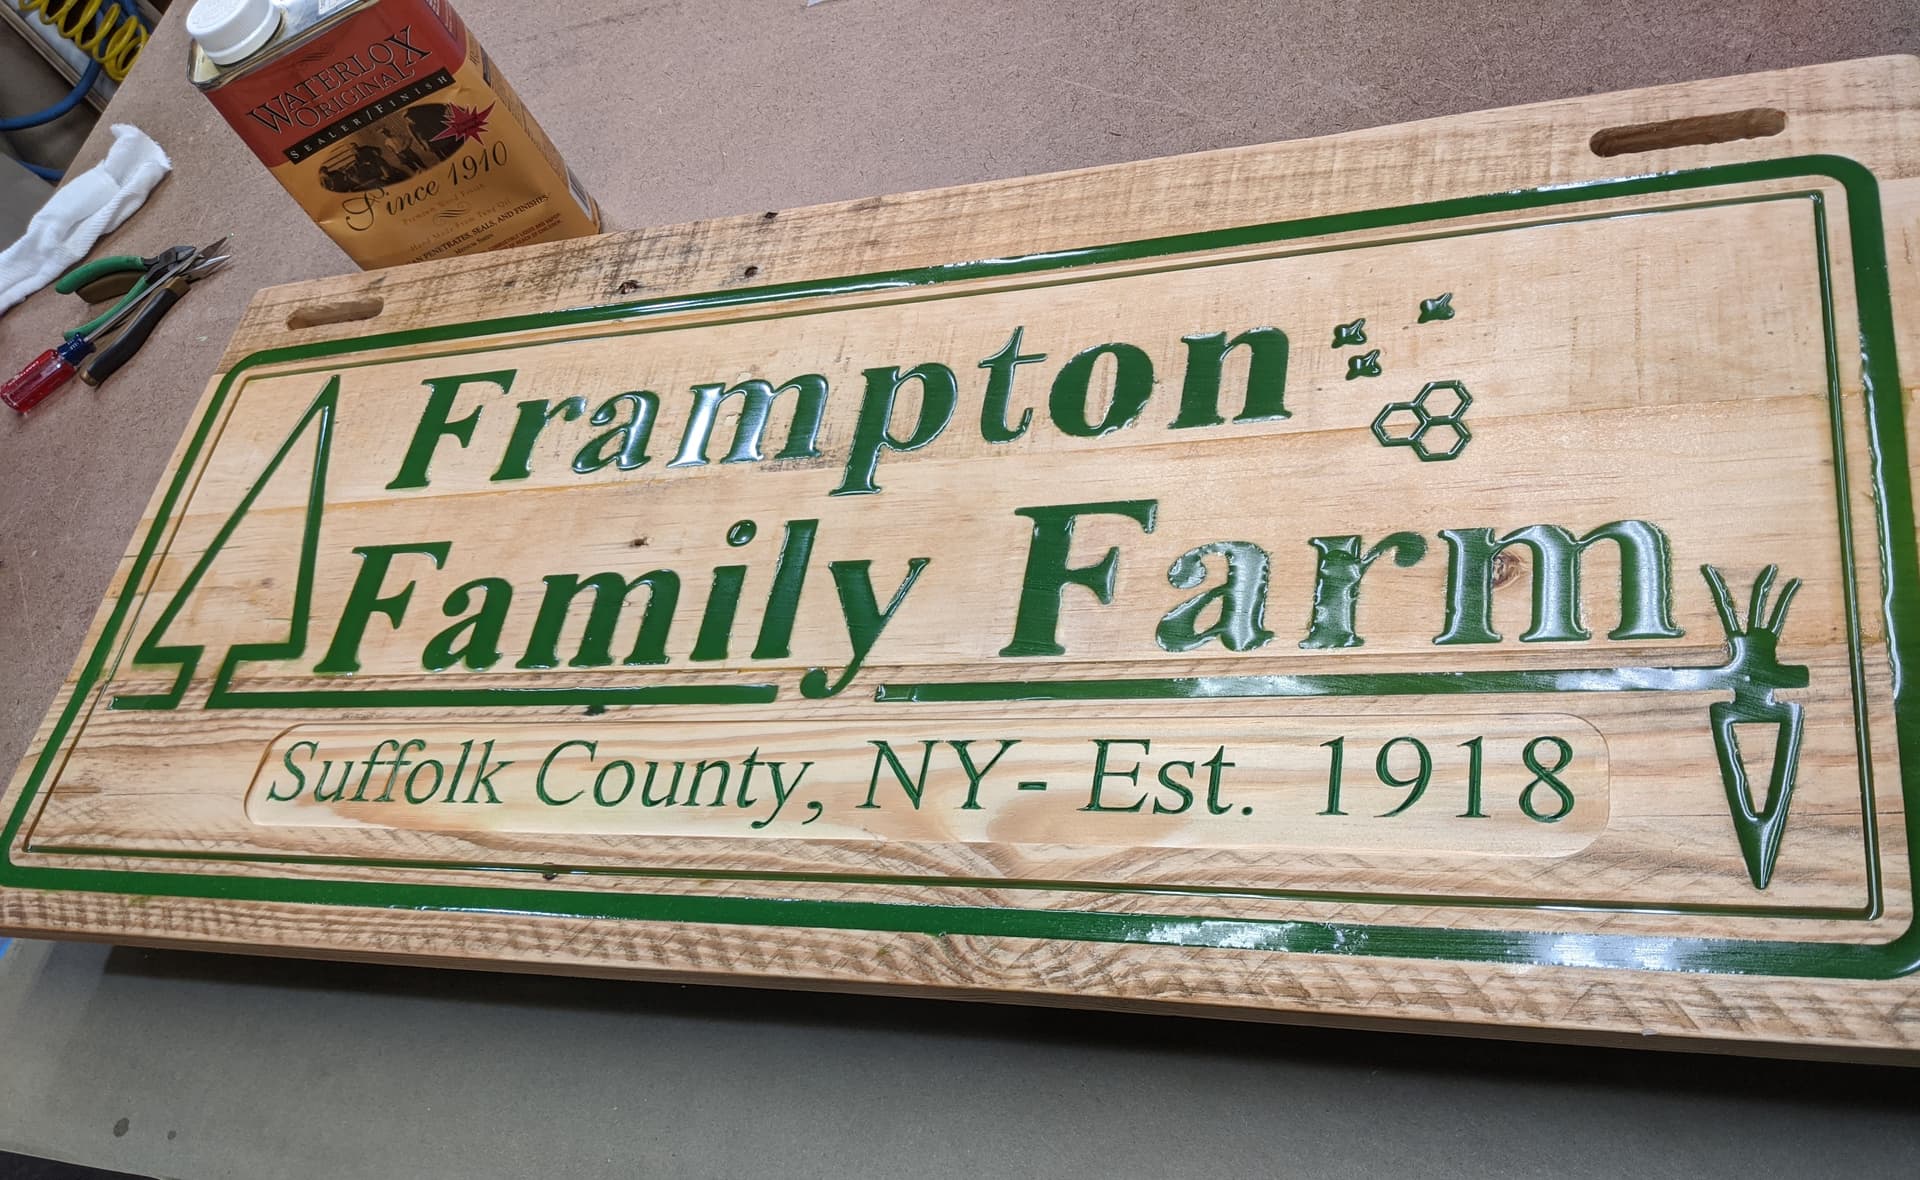
I put several coats of Waterlox over everything.
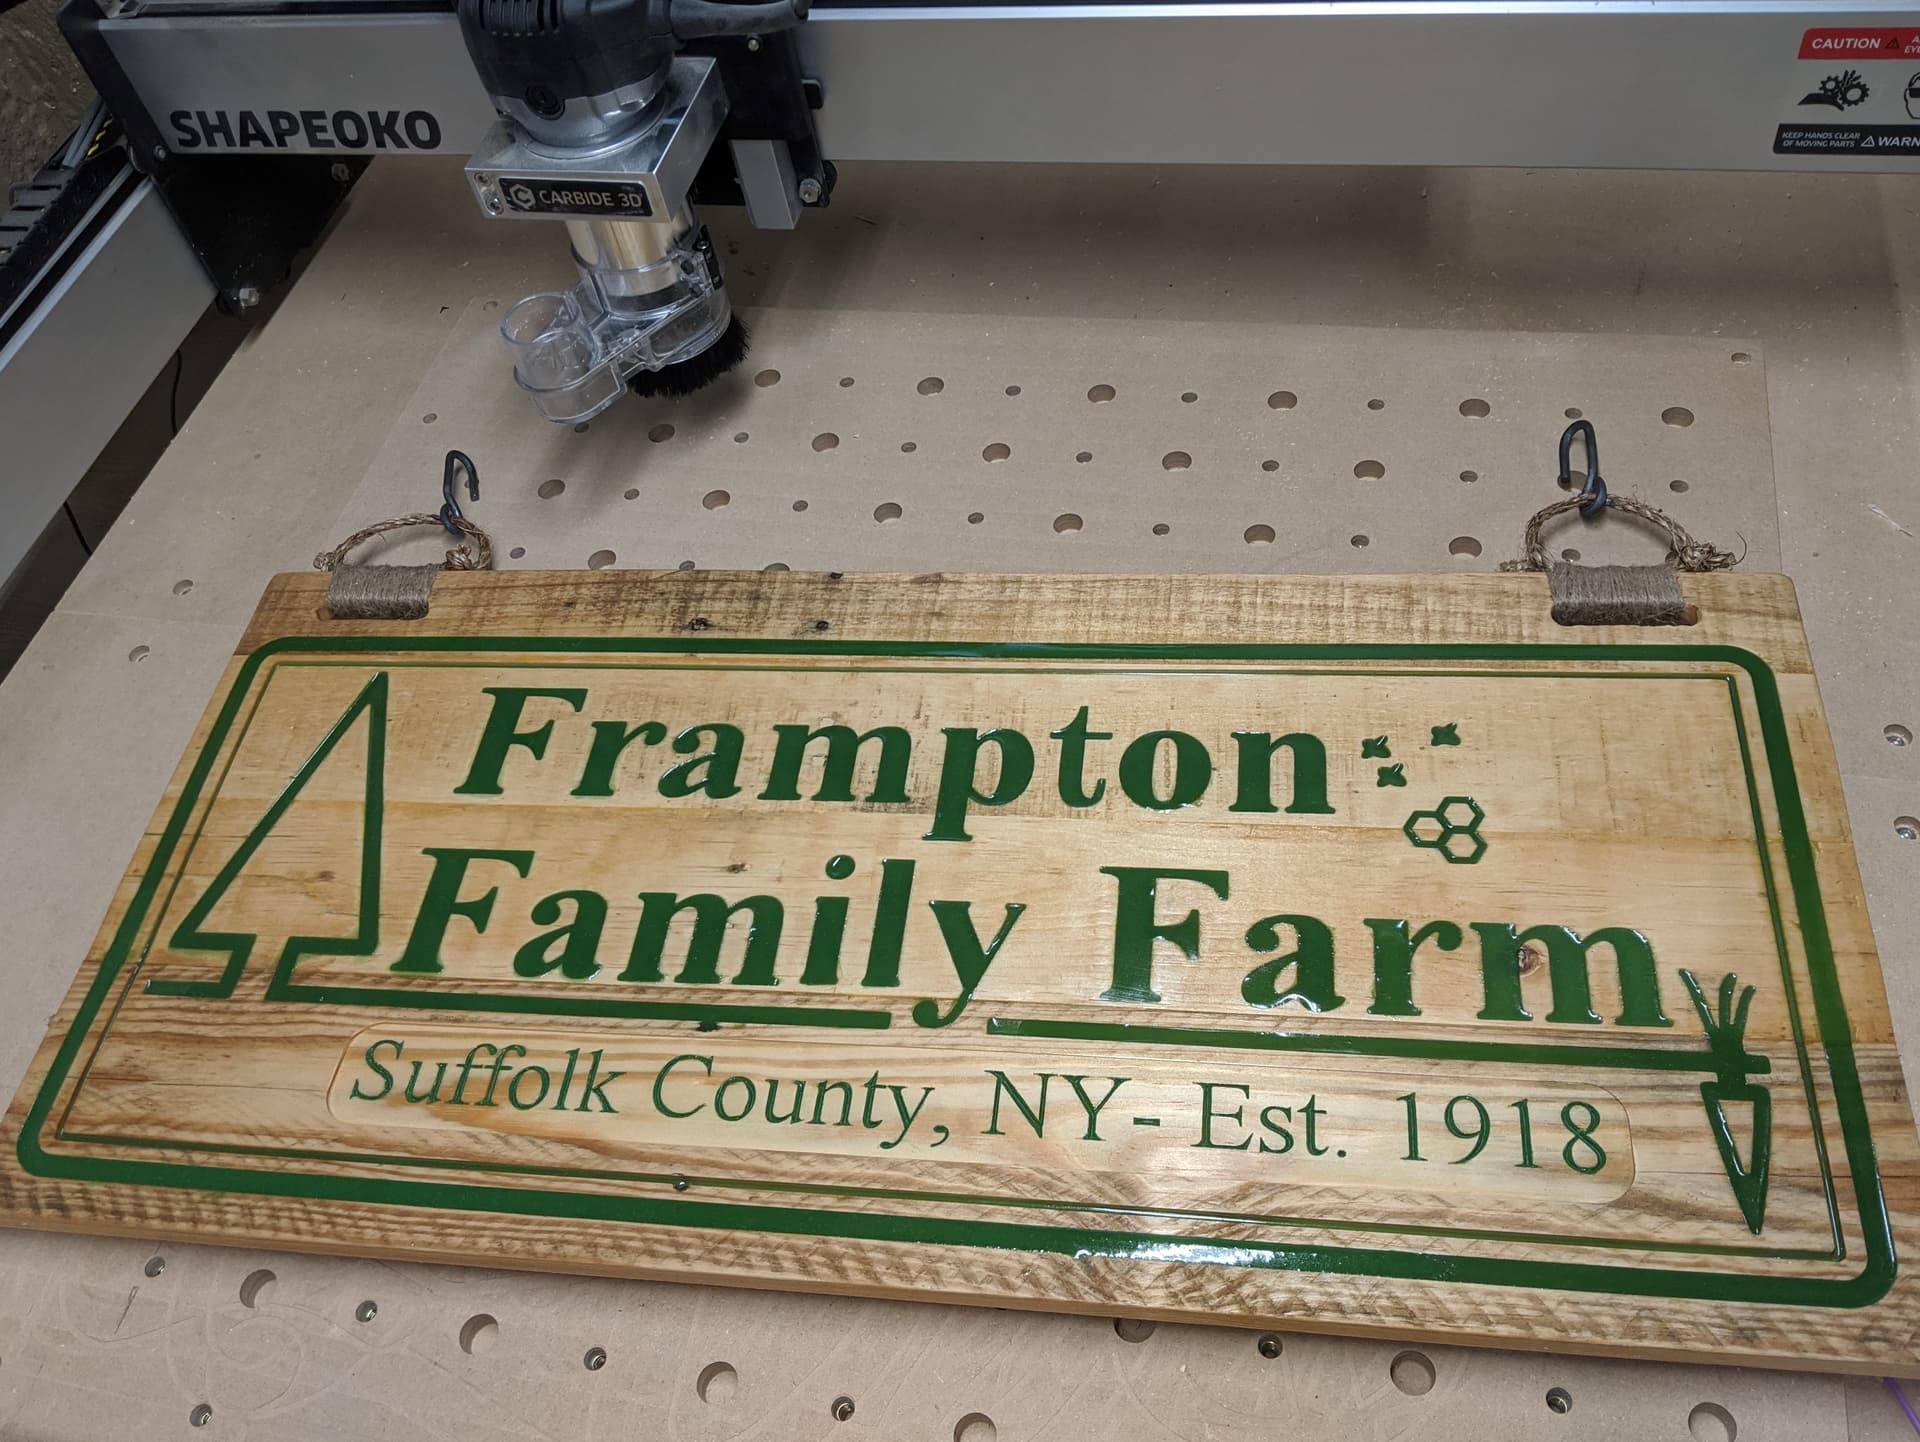
I used twine to attach some hangers to the top and bent up some steel rod into a couple of big S-hooks. I can’t wait to deliver it to him next week at the farmers market.
17 Likes
I’m really loving all these signs with multiple painted layers, they really seem to pop! Definitely seeing a larger format machine on the horizon.
Anyway, I’m not sure why I’m entering a sign competition with a machine that only covers 200x200mm, but I thought I’d use this as an opportunity to try out some new techniques.
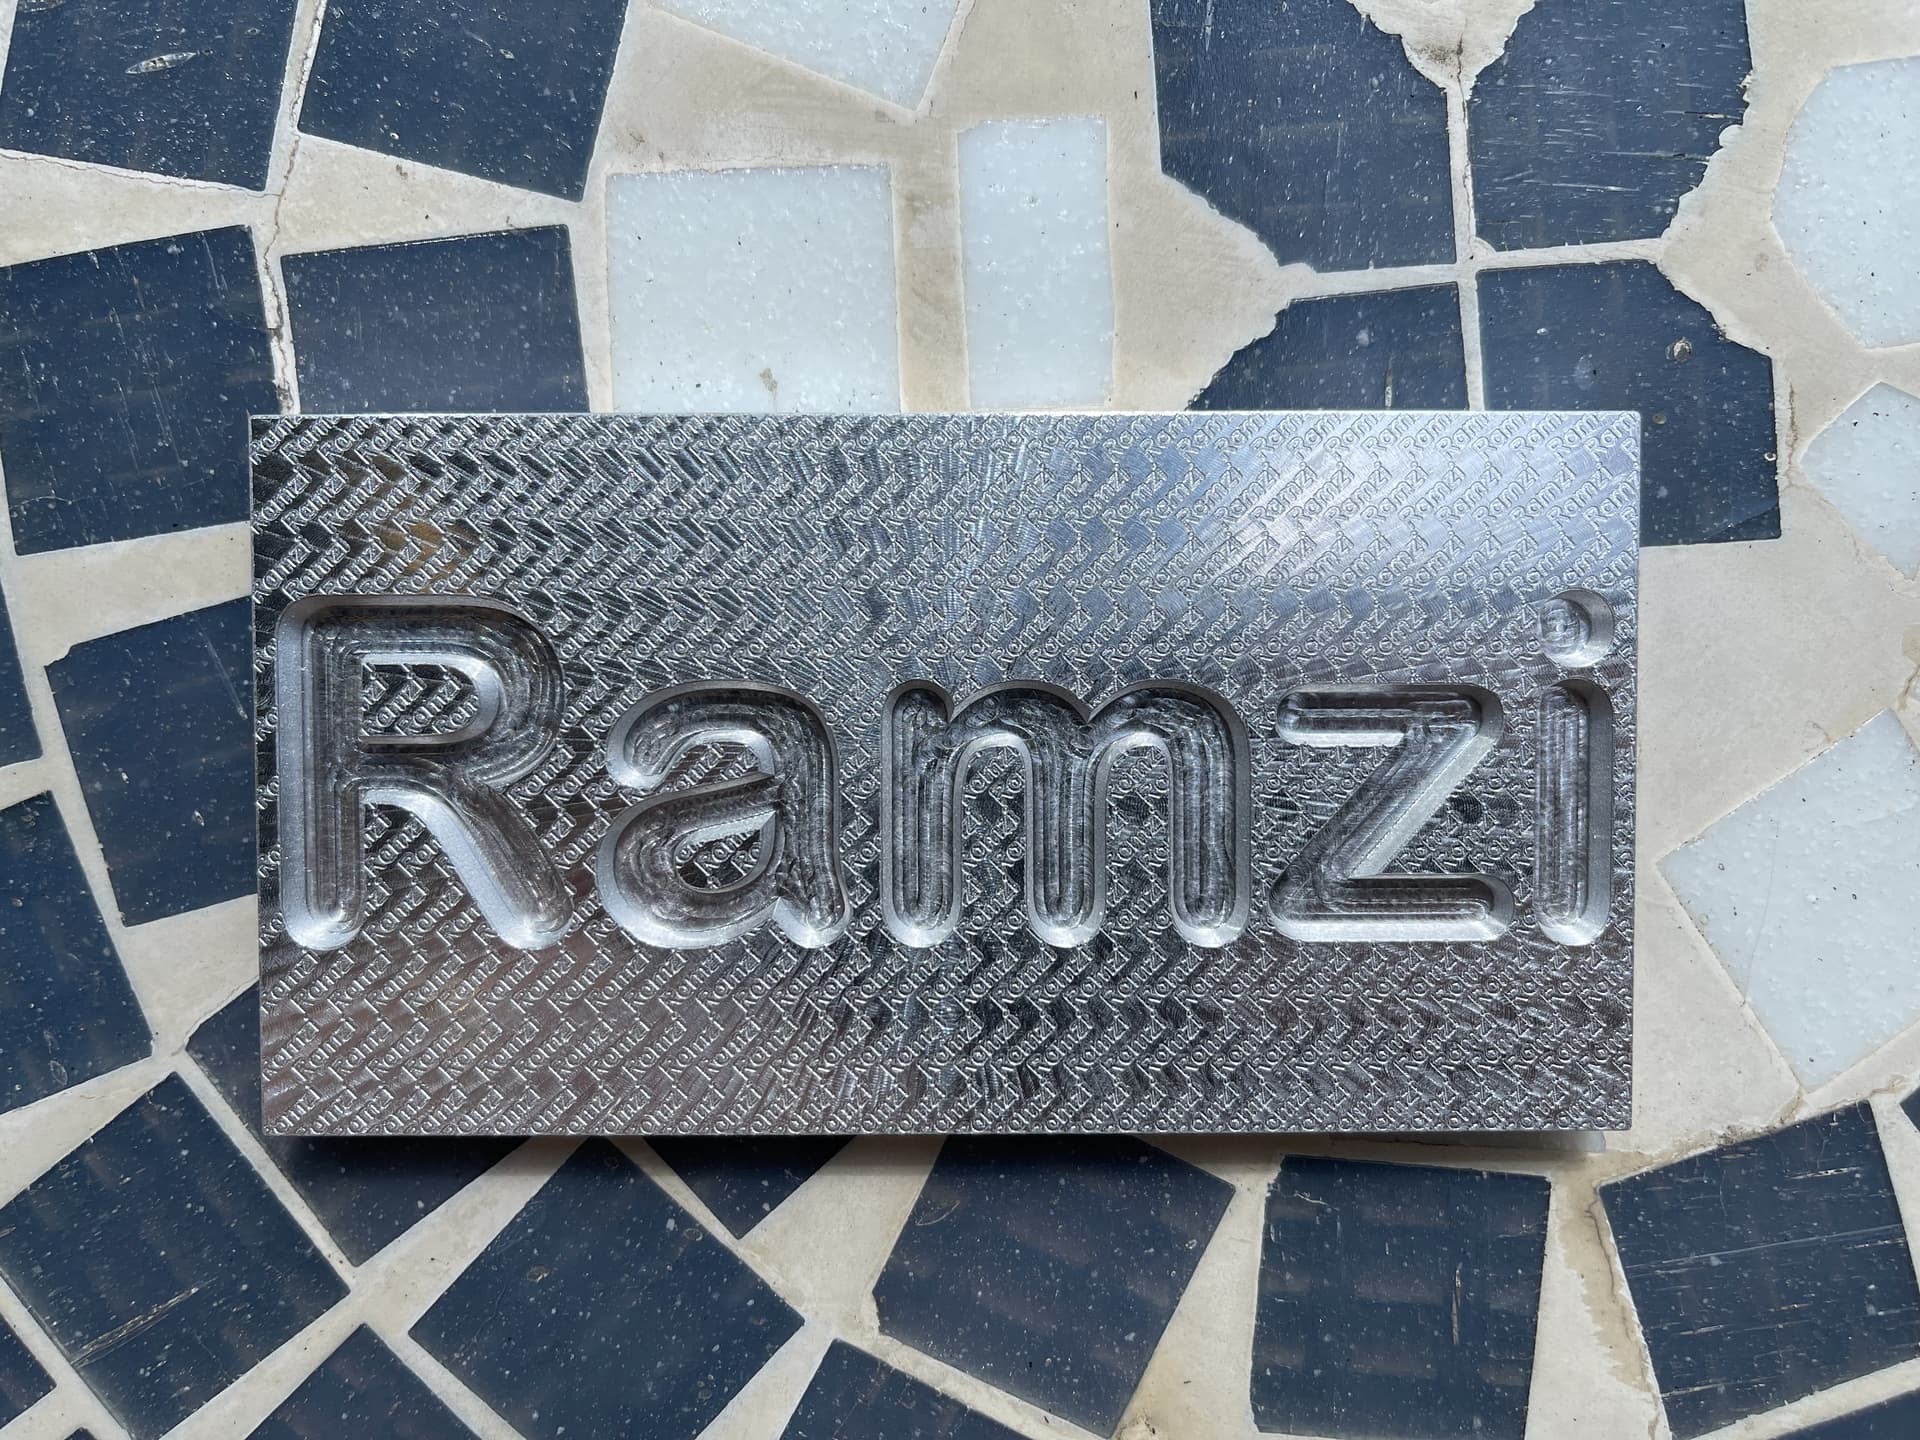
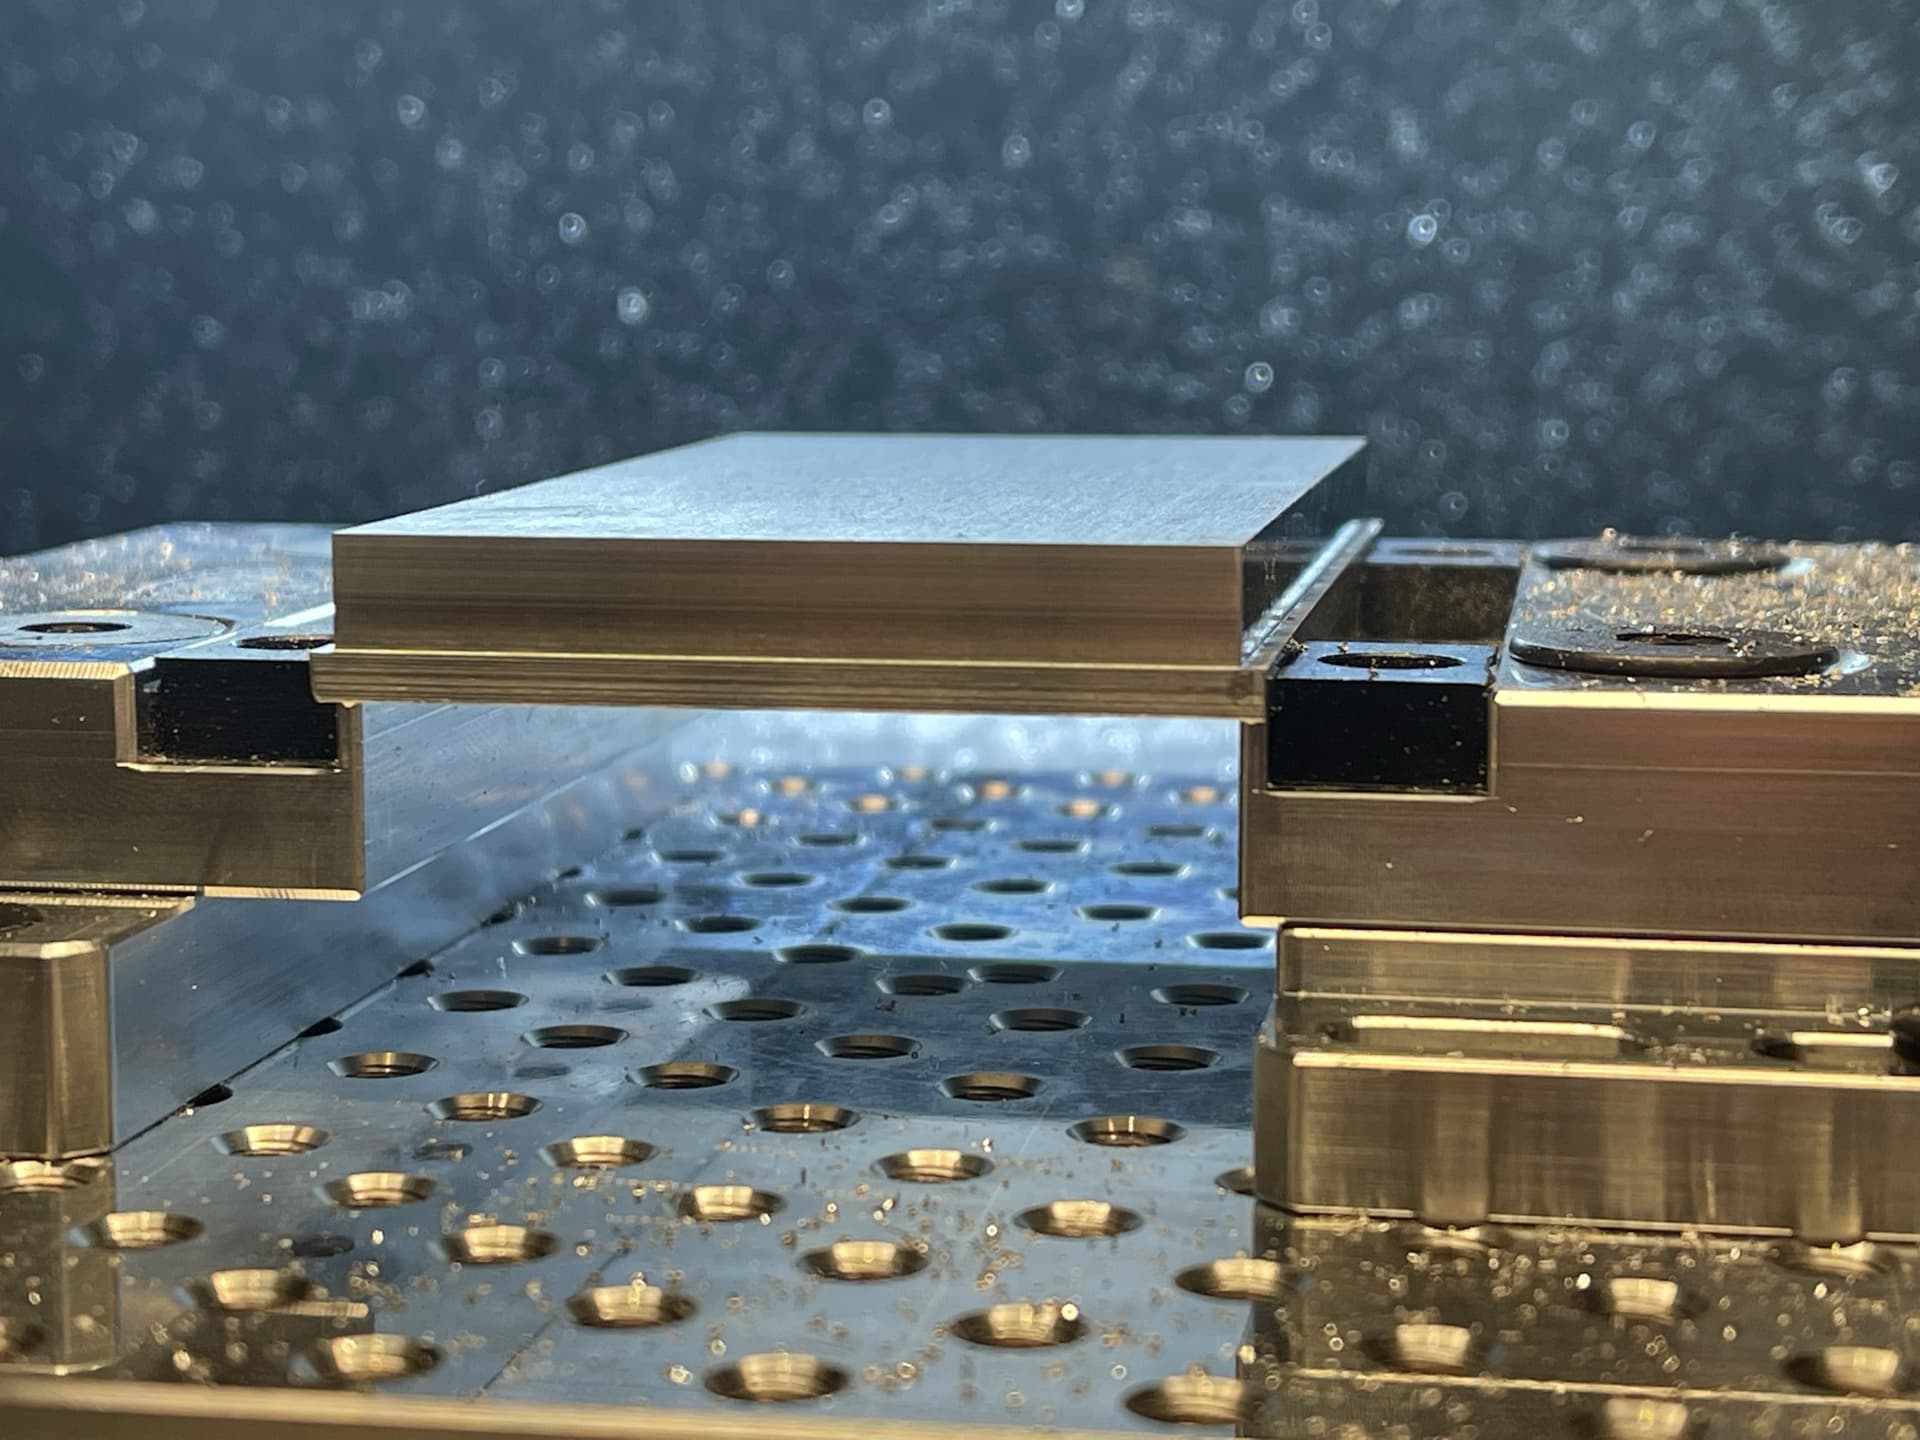
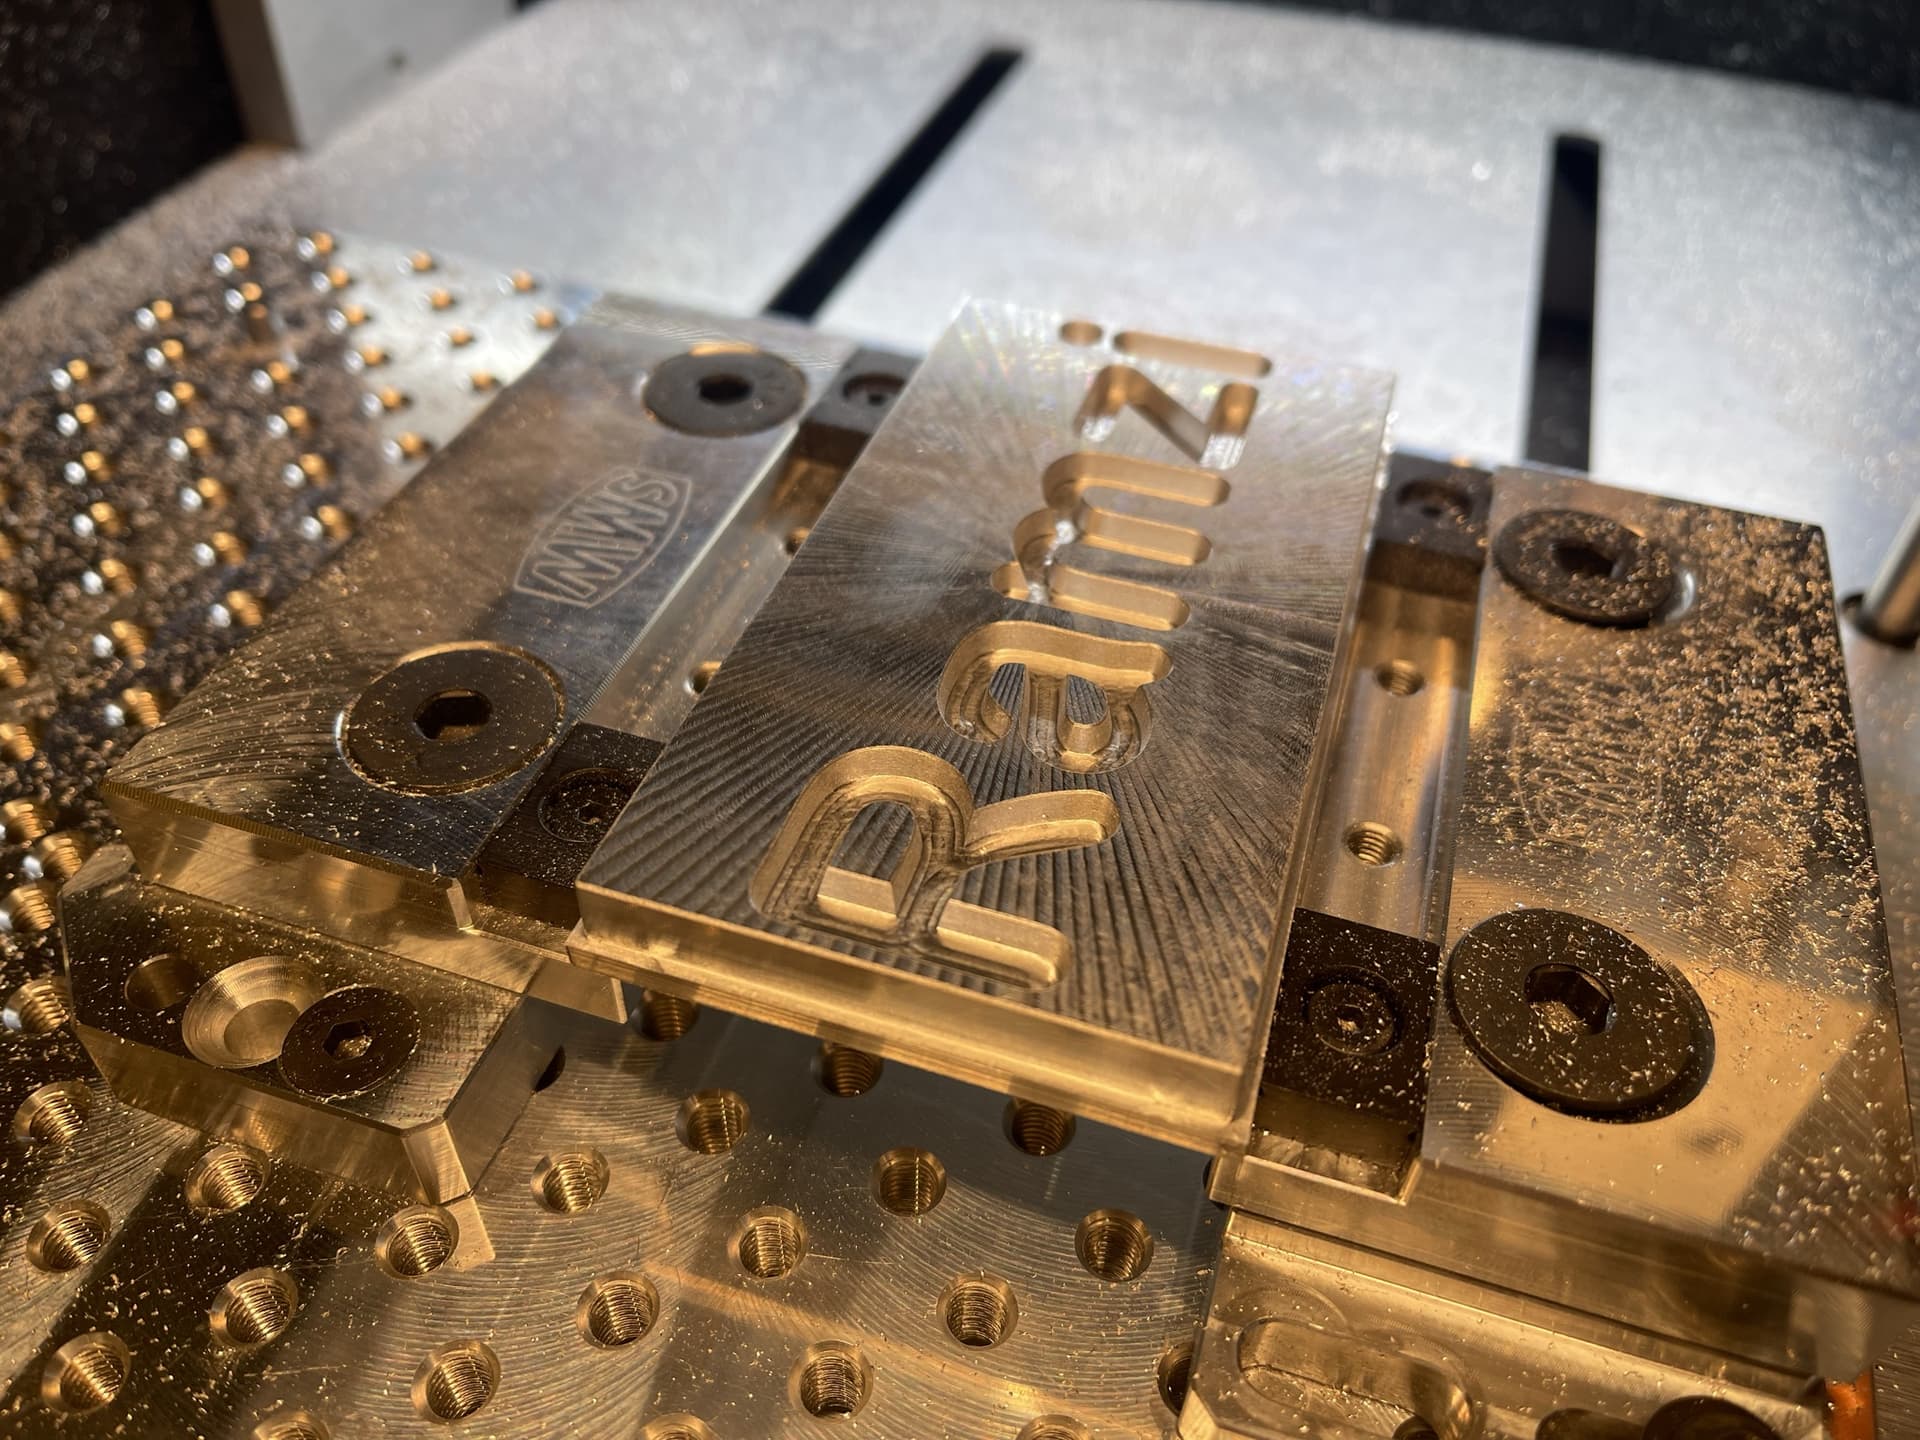
I made a small sign (plaque?) out of 6082 aluminium for my son’s bedroom door. It’s around 100x50mm, because that’s about the size of the stock I had.
Here’s the finished piece.
I create a simple model in Fusion:
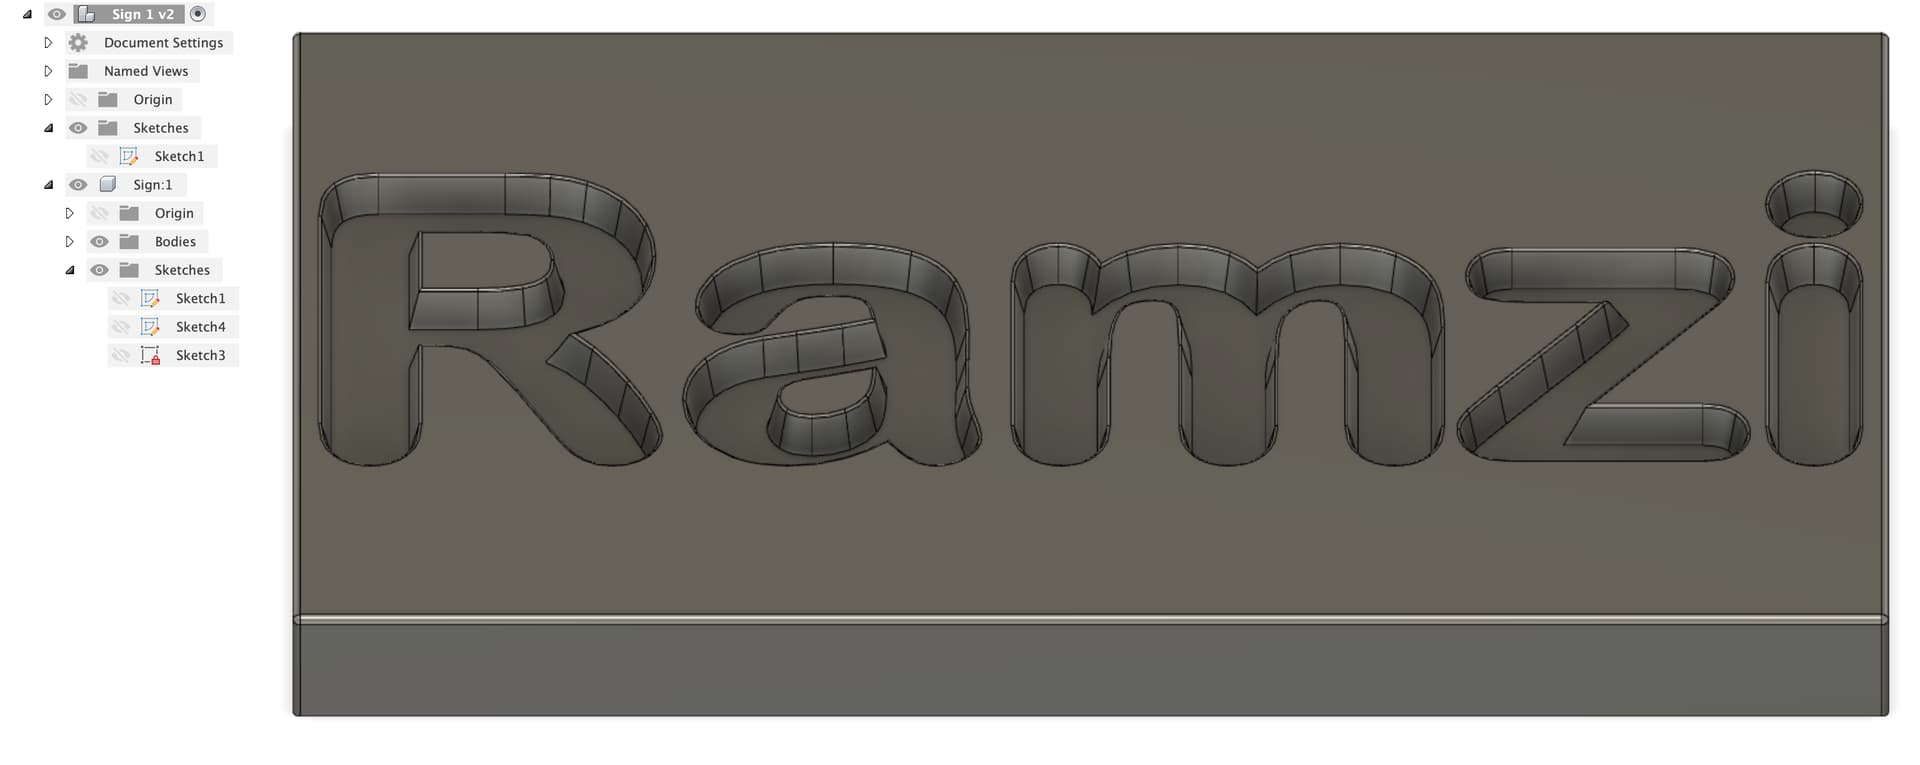
Machining is done in two setups, both with the stock held in Saunders mod vises. The first contours around the outside, does a nice radial surfacing path, clears the letters with a 3D adaptive path, finishes the walls of the letters with a ramp toolpath, scallops the bottom of the letters, then fillets all the edges.
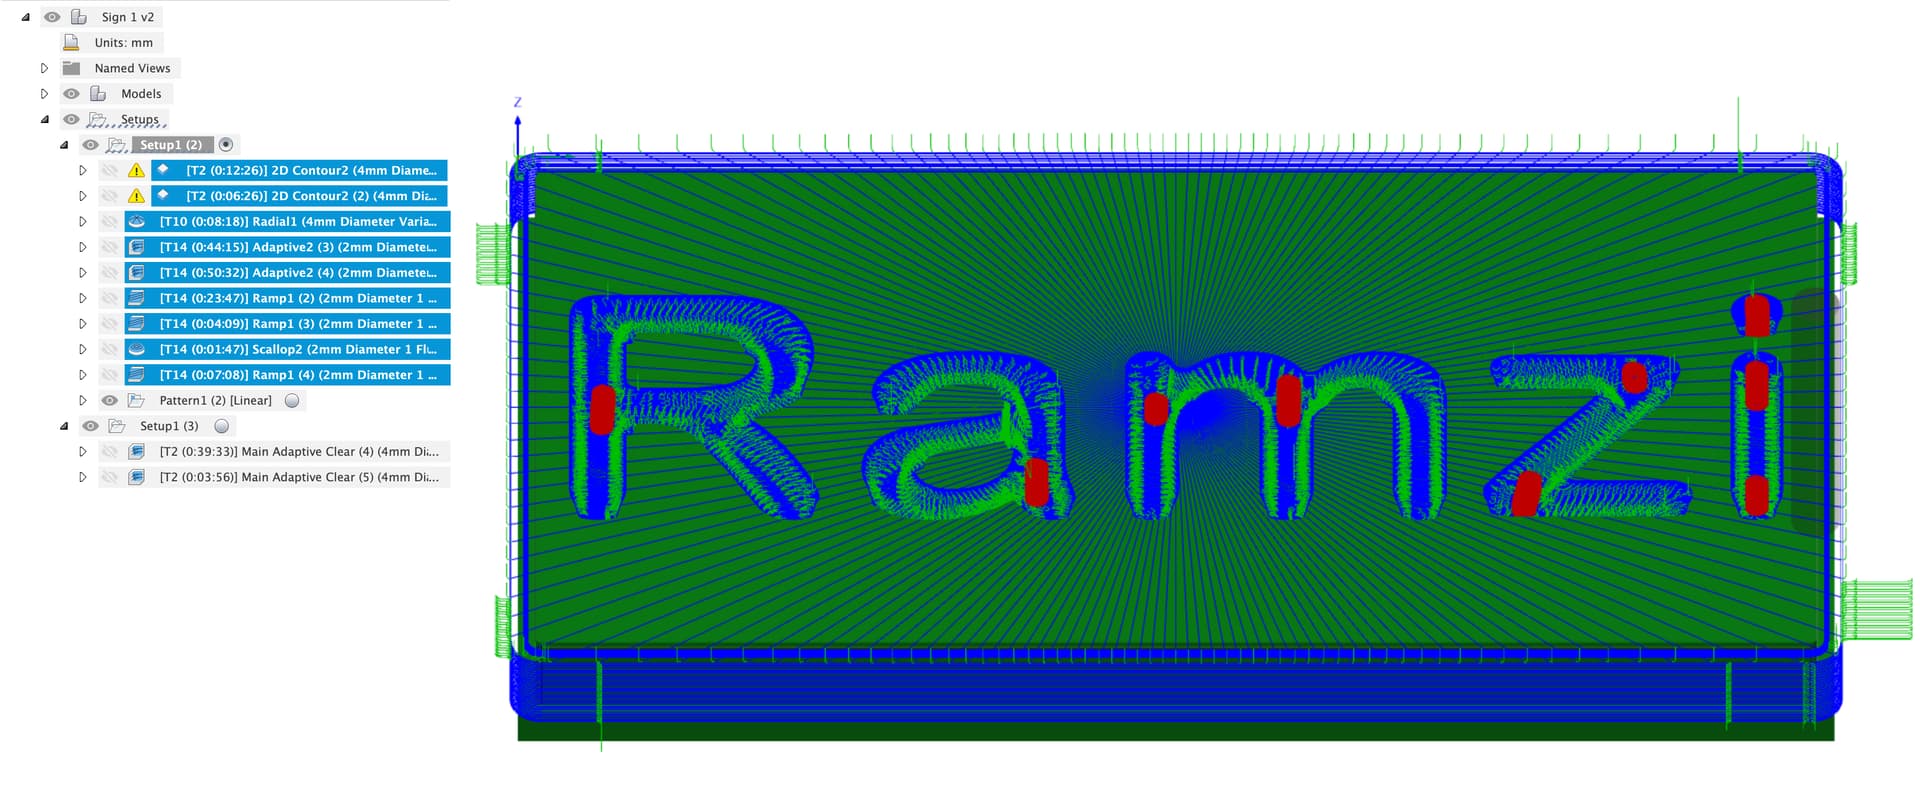
The last op on setup 1 is a patterned engraving toolpath. I created a sketch with a single ‘Ramzi’ in the bottom left corner, created the CAM for it, then used the CAM pattern feature to repeat it 418 times across the surface. At first I tried to pattern the sketch itself, but my laptop didn’t like that. It had no problem handling the patterned CAM though.
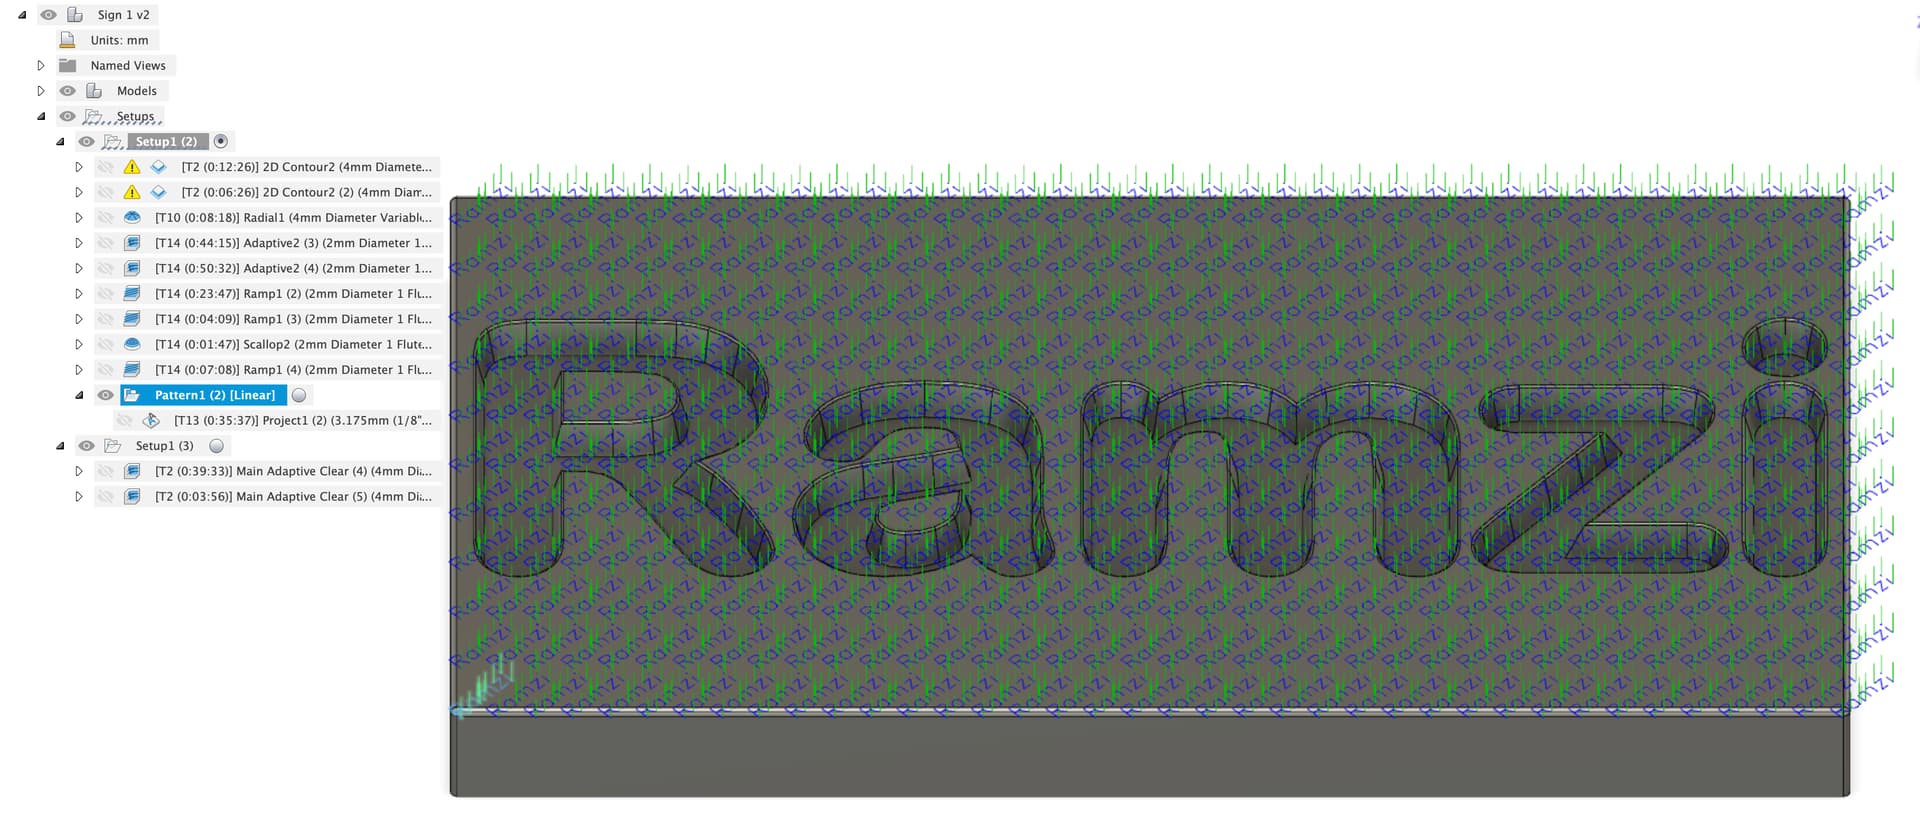
The finish is quite good, but could be better. I think the problem is the engraving bit has quite a large flat ‘tip’. It’s just a cheap one that I already had a recipe for. The Carbide 3D one I have looks much pointier.

The second setup has the part flipped over and just uses an adaptive tool path to remove the ‘hat’.
And here’s a tiny bit of engraving footage.

14 Likes
I am guessing a rotary axis…
That would need the larger work area.
and the pricing fits
1 Like
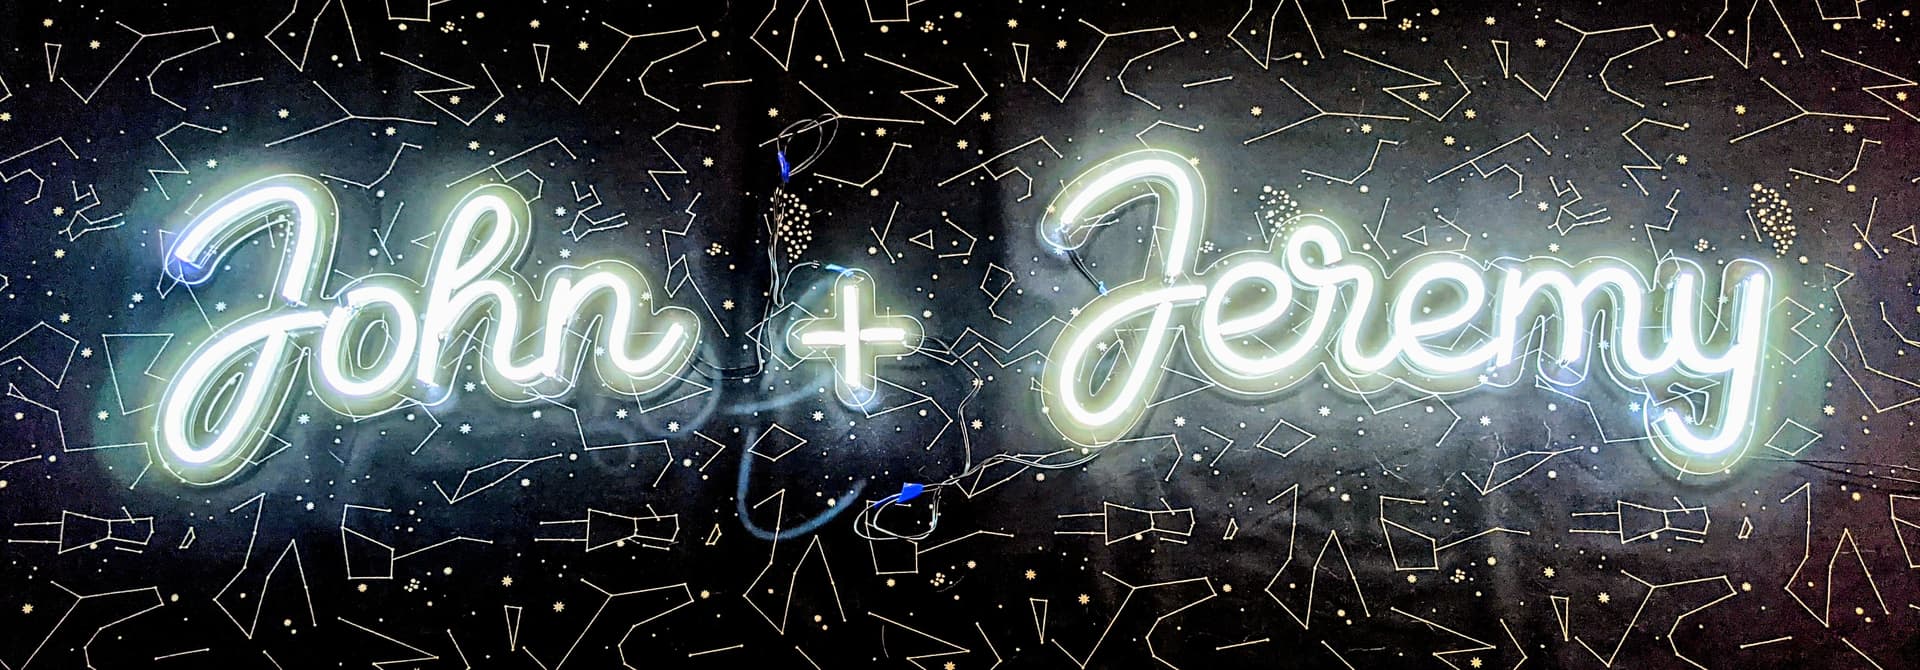
I’ve had an neon-style LED sign on my project list for a while, but we just haven’t really come up with a good place for one in our house. Two of our favorite people are getting married this fall, so we offered to make them one and they requested a 3 foot wide sign with their names to hang in front of the bar.
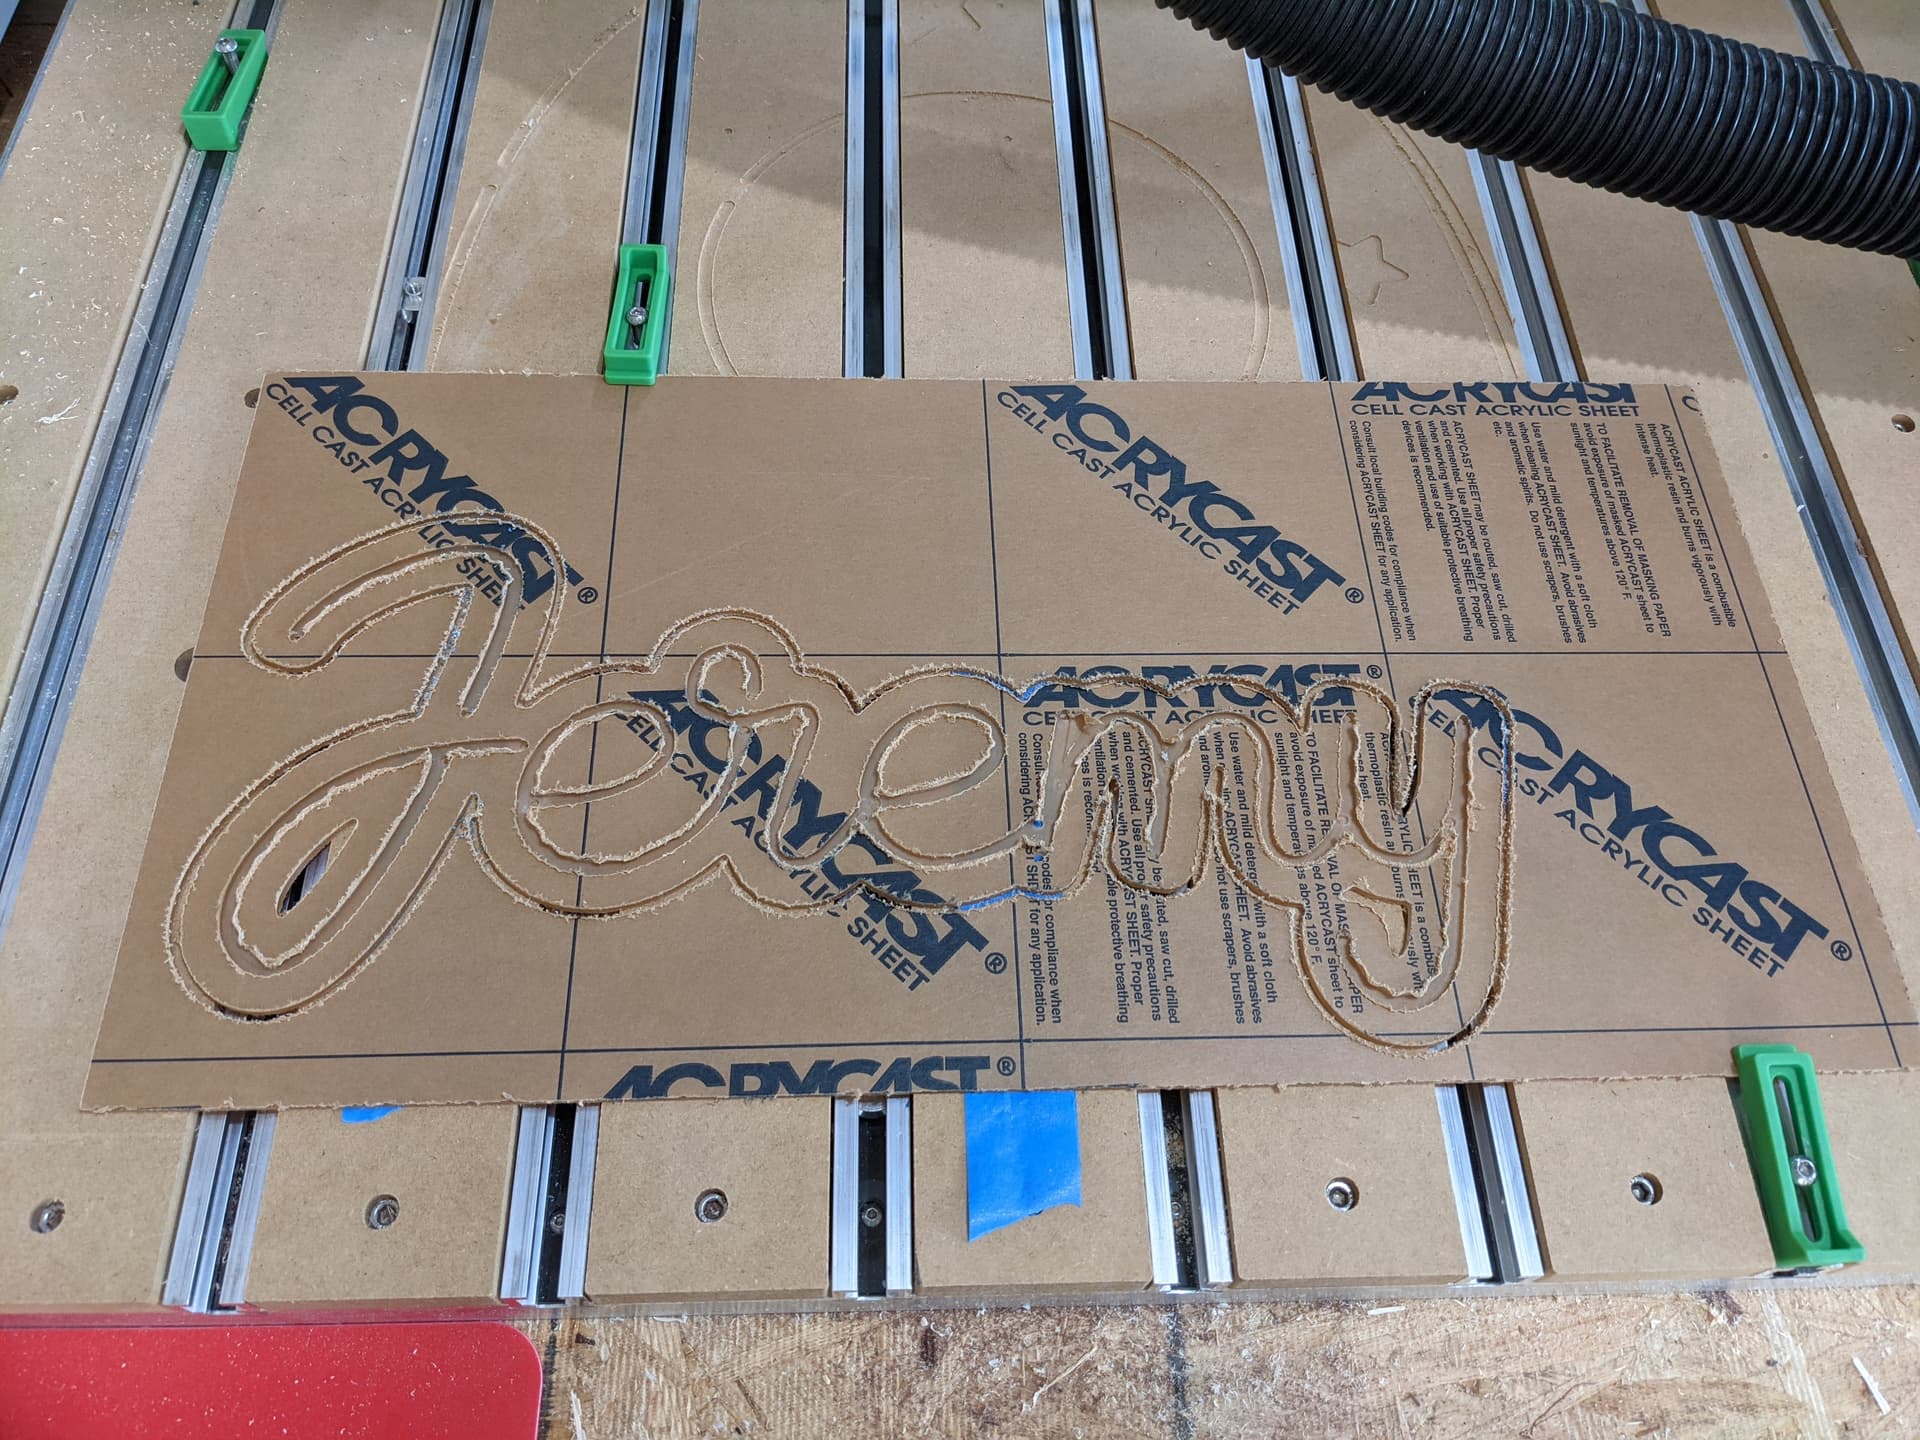
The easy part of this project was the CNC part! I started with a fairly monoline font, but then traced it as a vector line so I could rearrange a few things and set the line width to the width of my LED tape (got this one from amazon). I offset the path to make a structural base and added holes for the wires to connect each piece.
I cut each piece out of 1/8" clear acrylic, because we have a lot on hand for our laser. If I was to buy acrylic specifically for it, I would probably get something a bit thicker to have a deeper channel for the LEDs. This is the first acrylic I’ve cut on the CNC, and I was really happy with the cut quality on the outside cuts, but especially in the engraving. This would have technically been possible with my laser, but the channels are so much smoother and cut so much faster on the CNC than they would have engraved on the laser. The larger bed size also helped speed things up vs if I’d tried to do it with my laser.
I used a carbide3d #102 because it’s what I had on hand. The chips looked very chippy and not very melty, which I think means my default settings were ok, but the bit does look like it has some acrylic gunk built up on it. I left the paper masking on, and it was pretty ripped up, but the acrylic edges were all super smooth. This was also my first time trying blue tape and super glue for workholding (although I did add a couple clamps for good measure), and I was so happy not to have to add and clean up tabs.
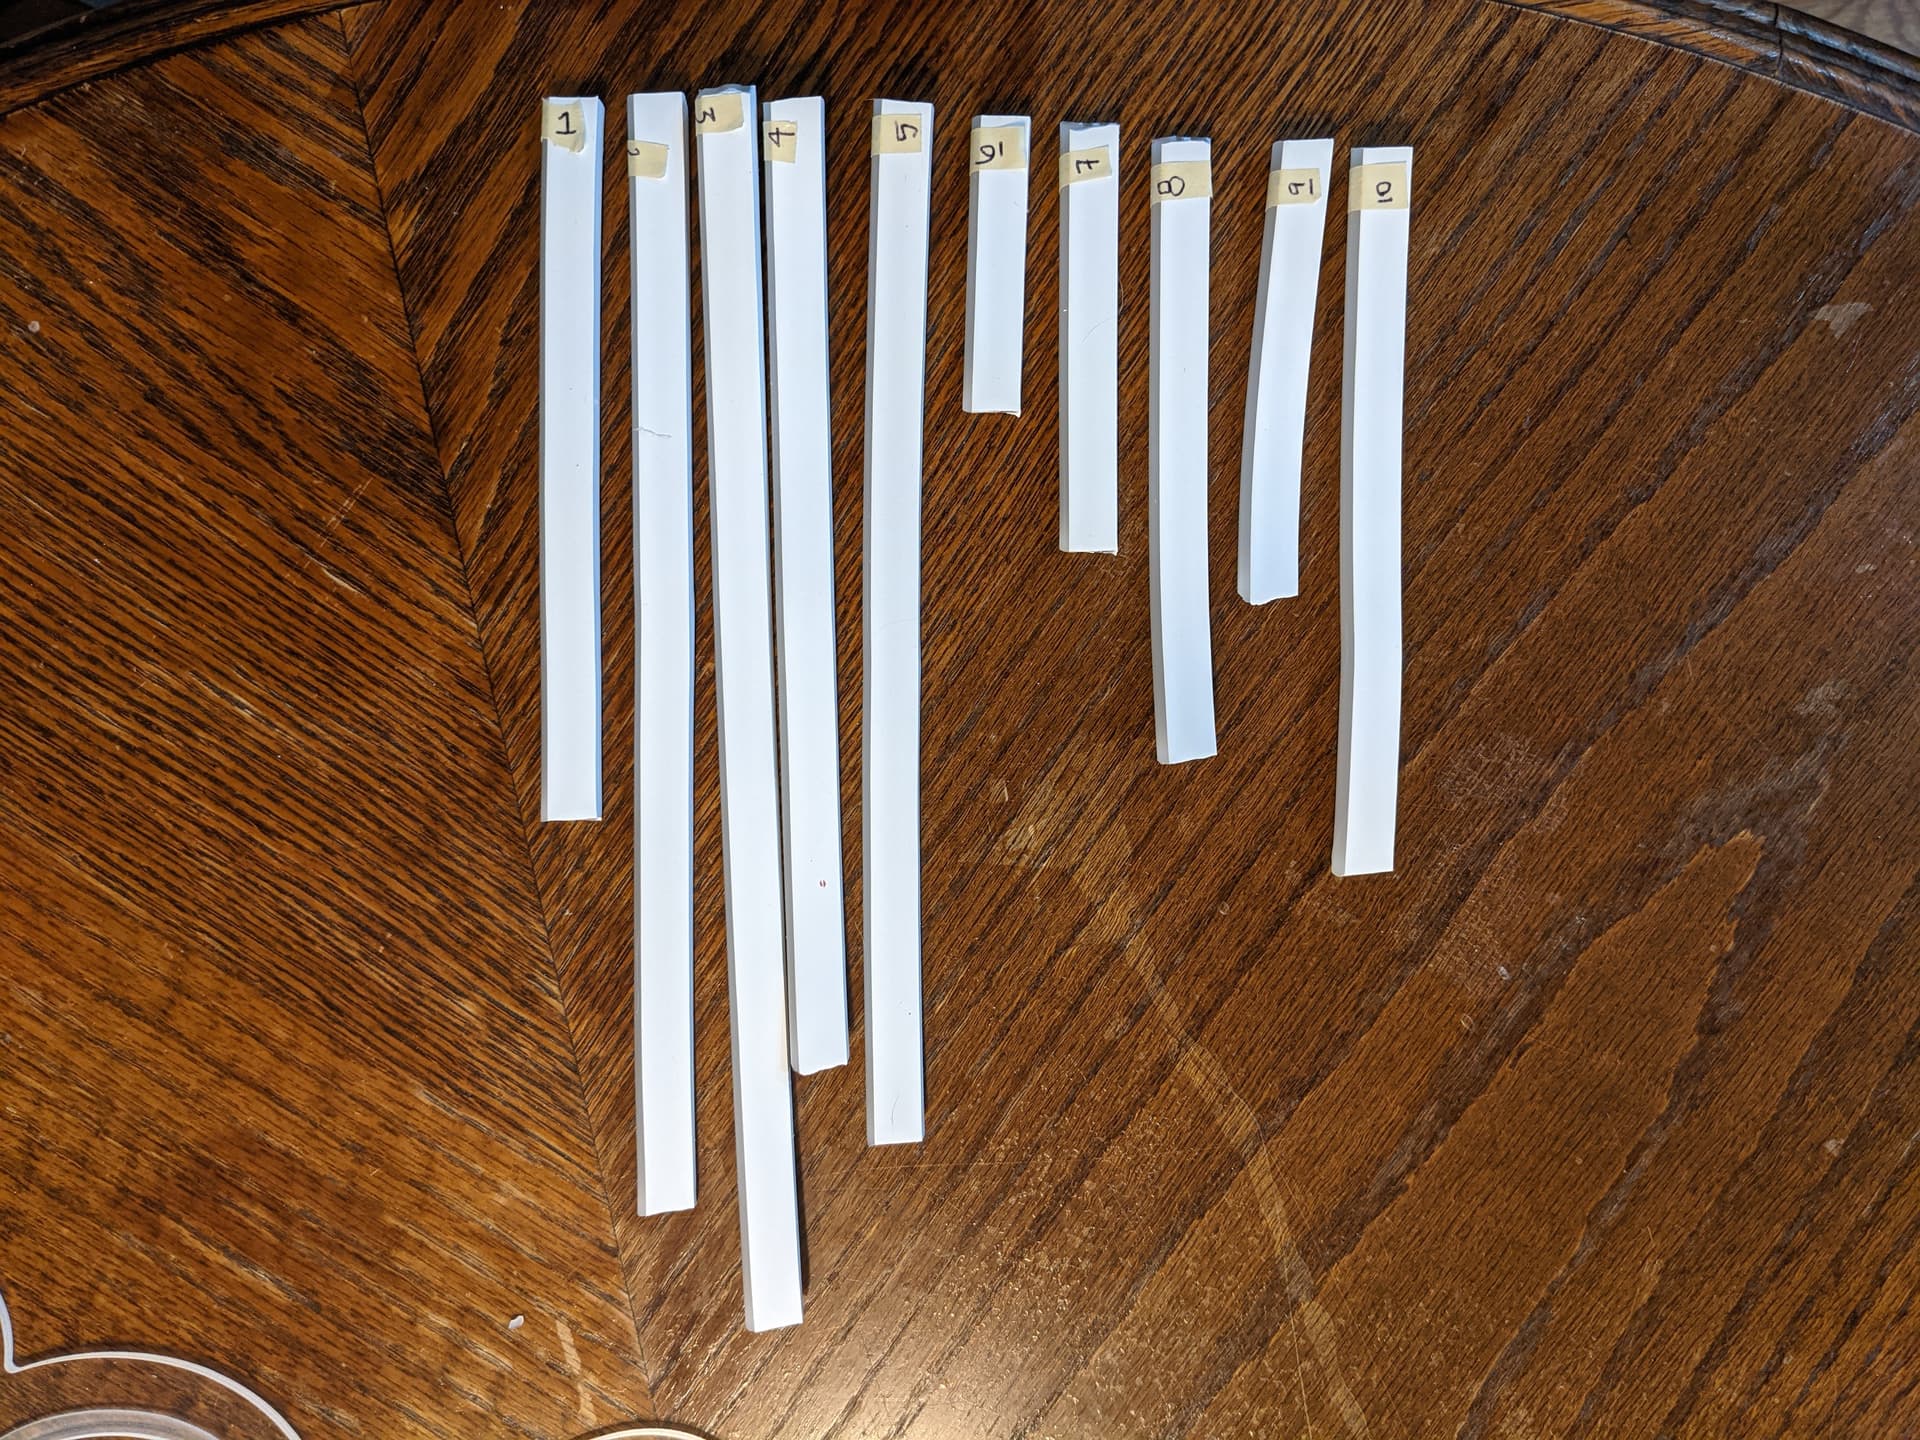
Once the acrylic was cut, I prepped all the LED bits. I dry fit them in each of the channels, cut them to size, and marked them to keep track of which was which. Most of the bulk of the tape is just diffuser material, so I was able to cut it at a bit of an angle on certain pieces to help fill in corners better. I picked this brand largely because the segments are shorter than some of the others I’d seen.
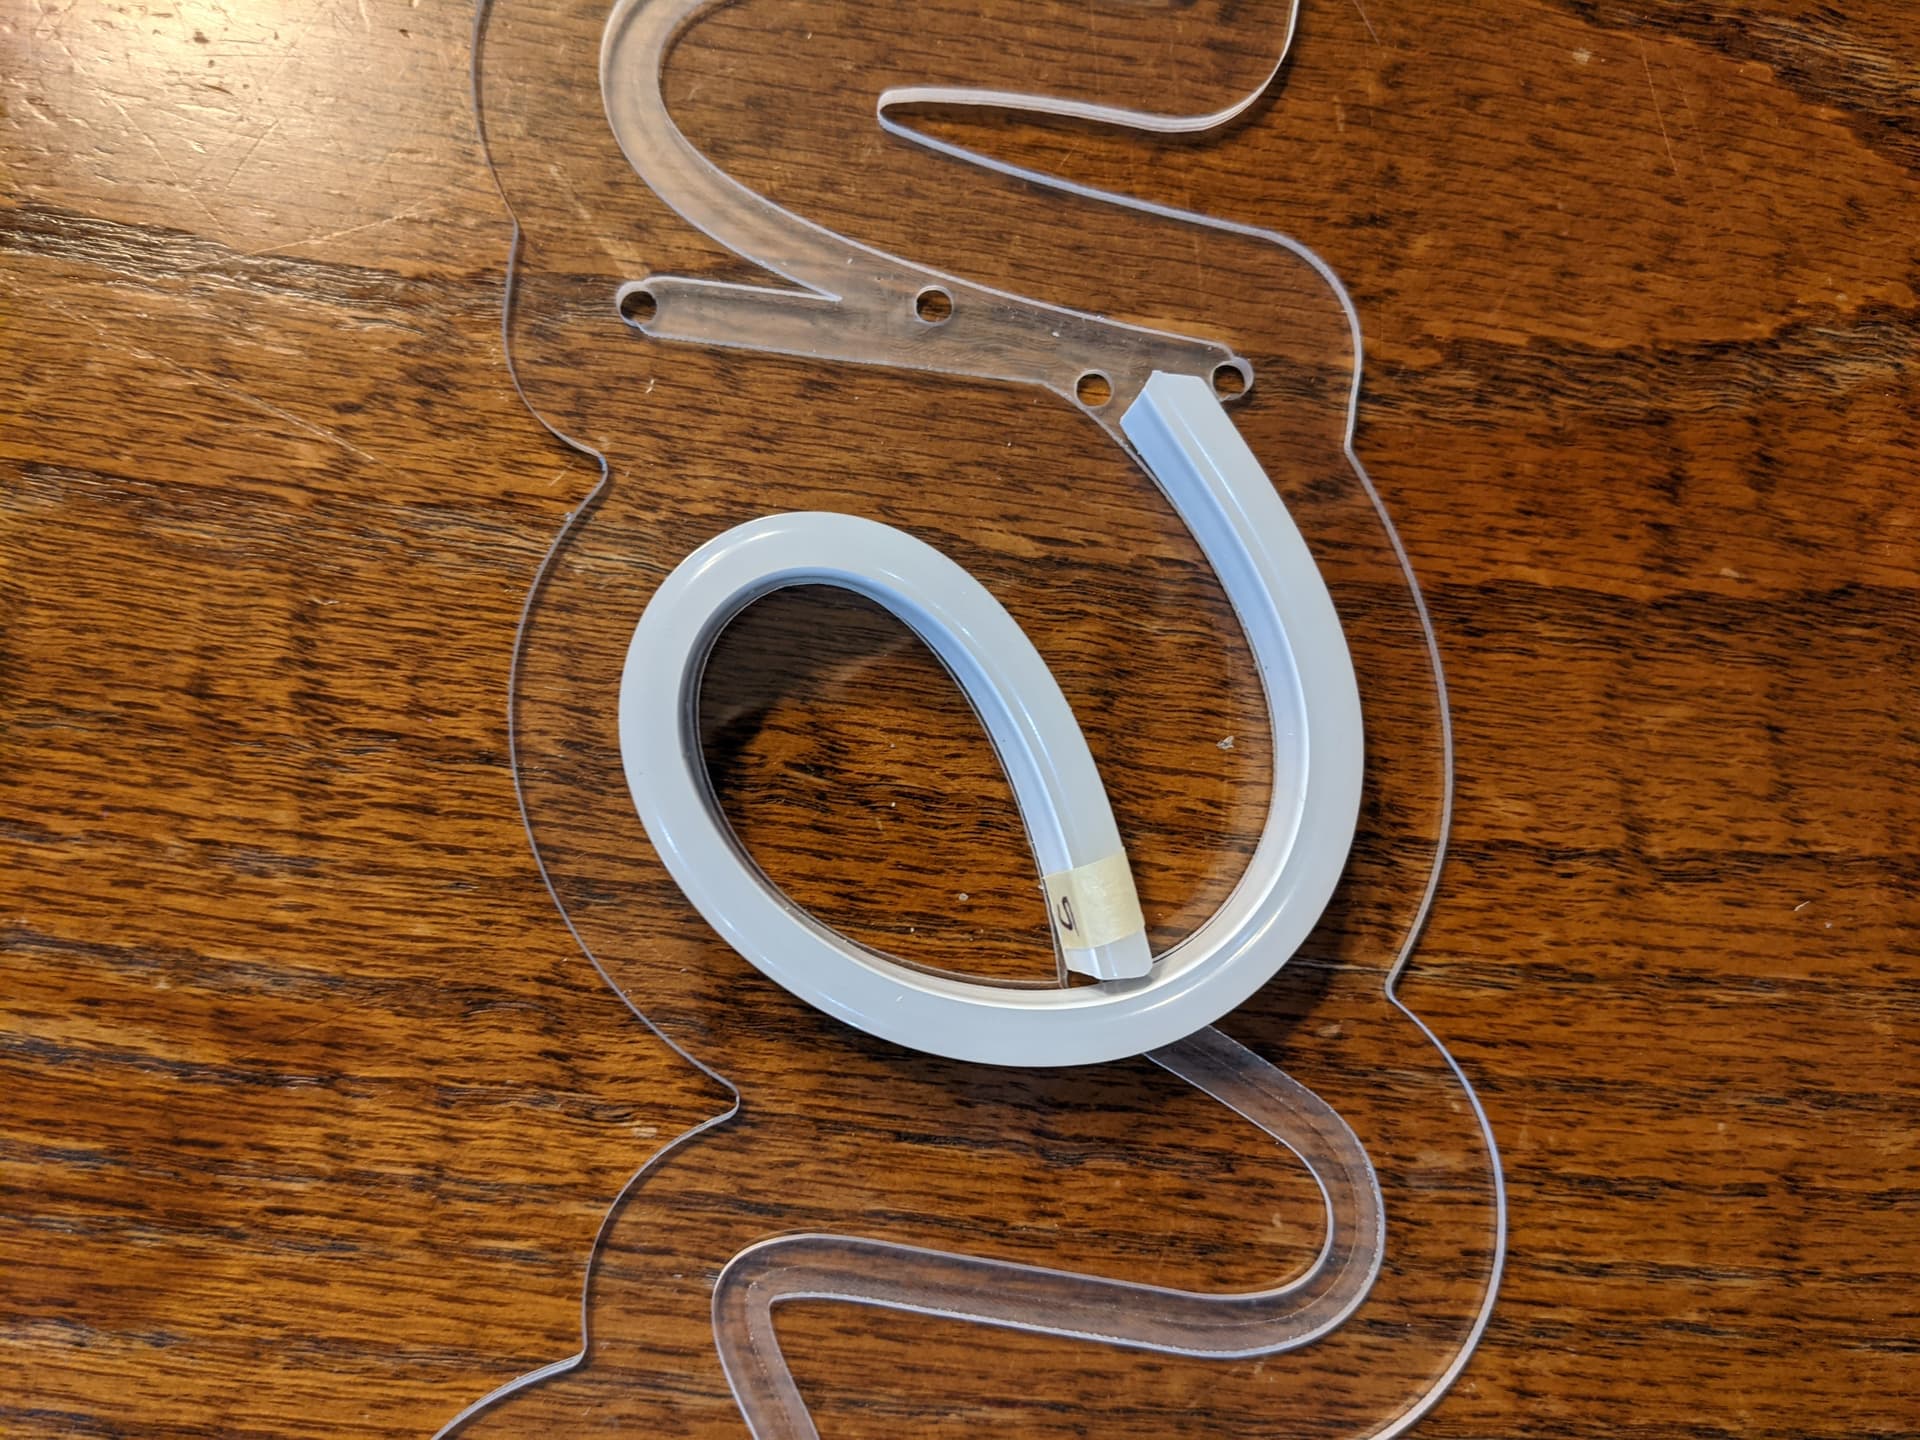
These are all the pieces for ‘Jeremy’. My 5m purchase was plenty of tape for the whole sign with plenty leftover.
My husband then soldered all the LED pieces through the holes on the back. This was easily the most time consuming part of the project. We did eventually decide to cut away the silicone around the solder pads altogether, which is barely noticeable on the finished sign. Once it was all connected, I used gorilla brand two part epoxy to stick all the LED pieces in their channels, and added some hot glue around the soldered joints to give them some stability.
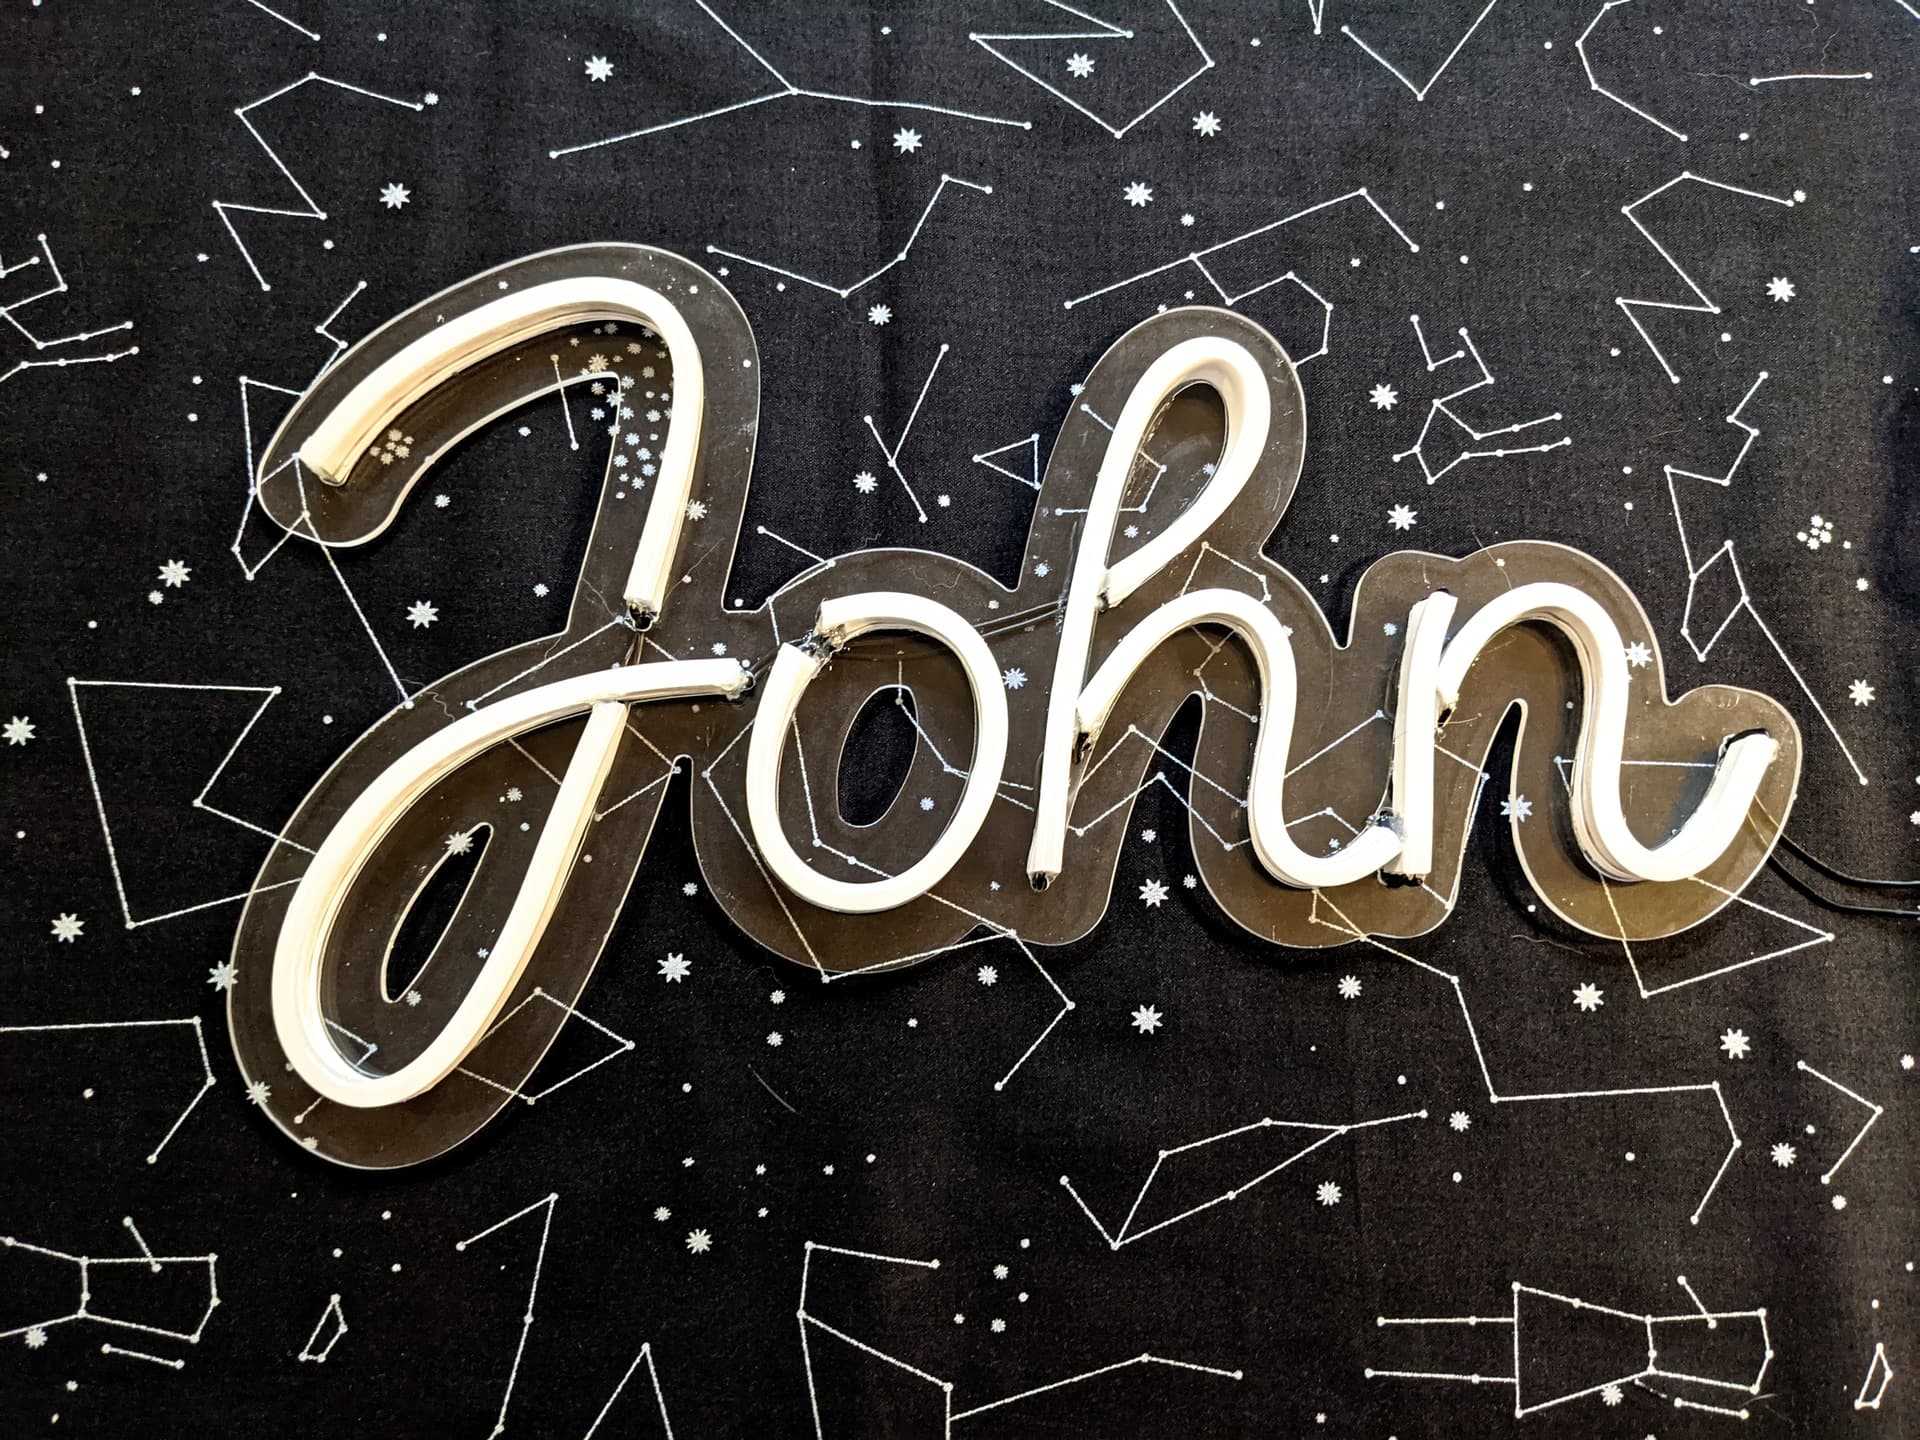
I did break a couple of joints while sticking everything down, but thankfully my husband was able to get them back together pretty easily. Here are pictures of the sign on and off. They’re very bright in person!
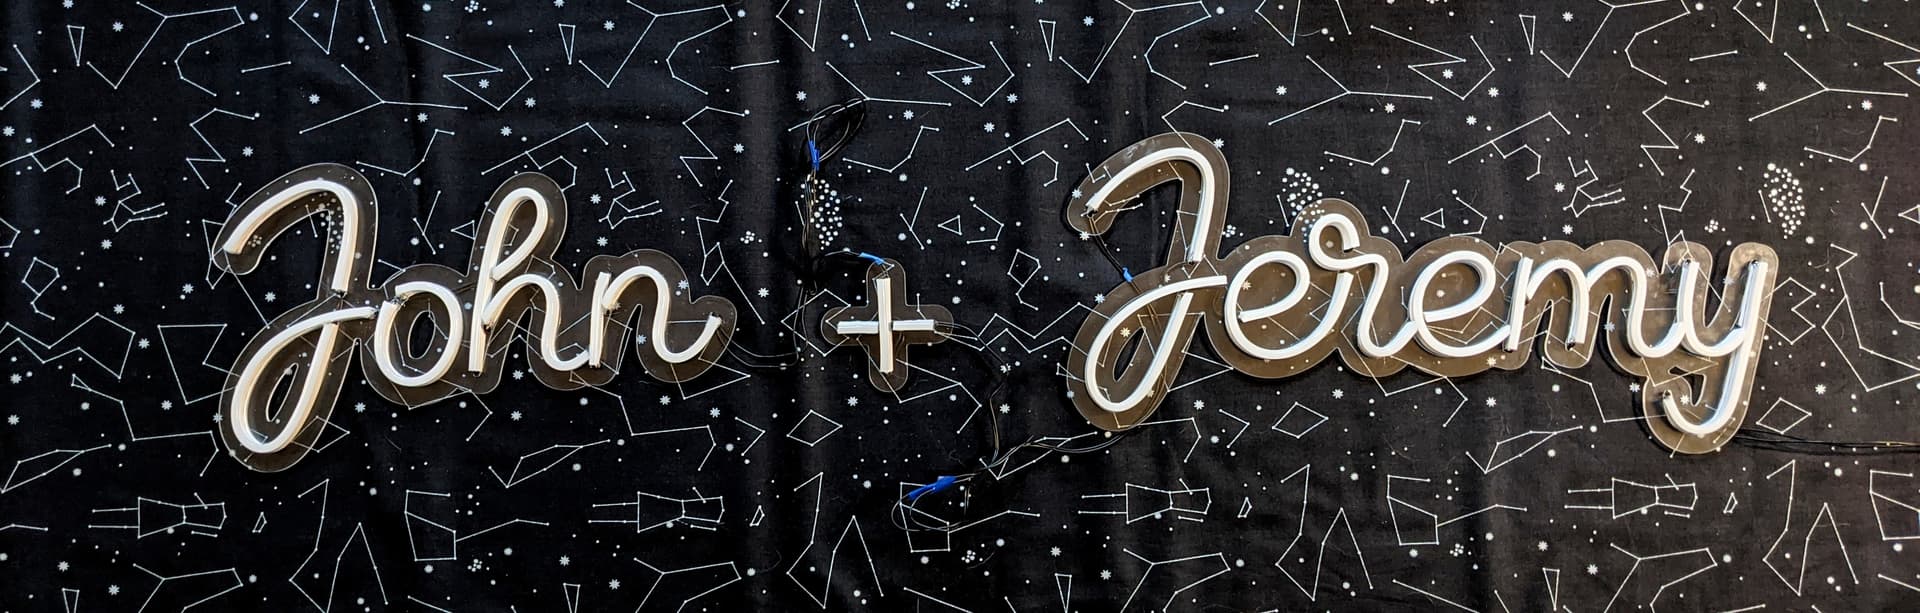
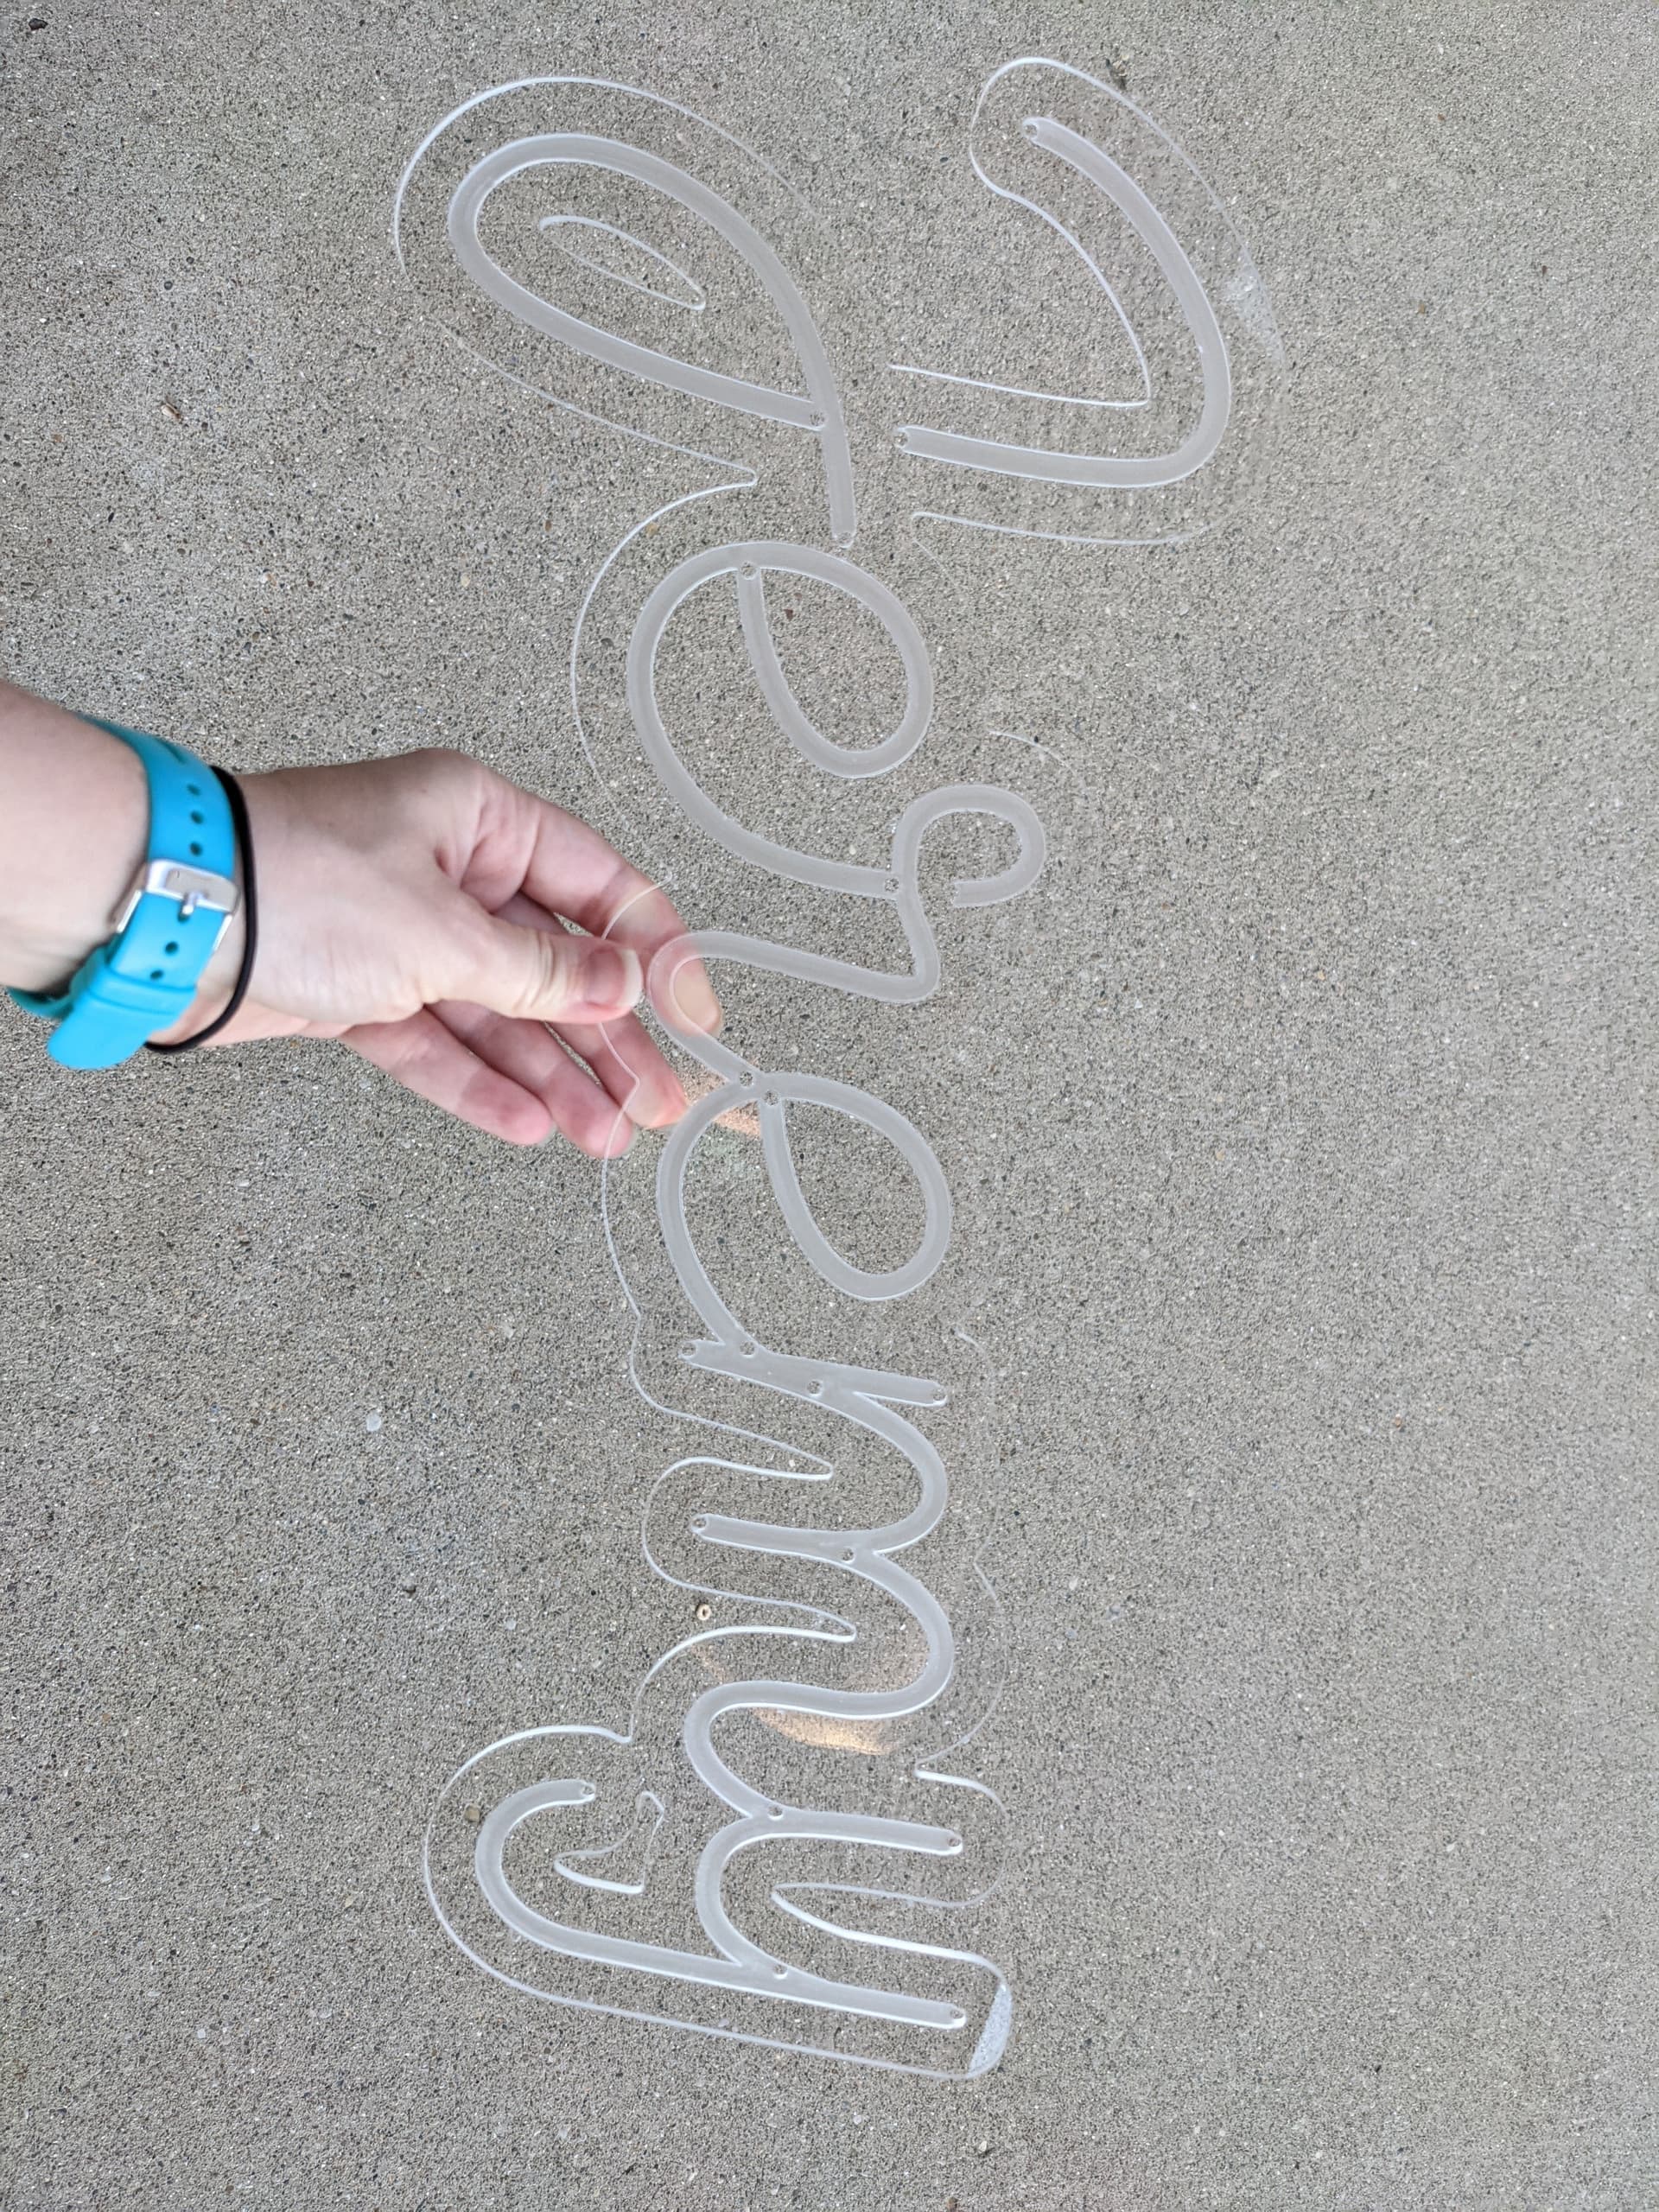
The only thing I thought to take a picture of for scale was my feet - so if you don’t need to see a size reference (it’s roughly 3 feet wide) or don’t like feet, maybe just ignore the next picture.

I need to talk with our friends some more to figure out how we’re going to hang the three separate pieces and whether we need to get a battery pack to power it or if they’ll have a power outlet available, but we’re pretty thrilled with how it turned out.
14 Likes
As I write this I’m not sure if it will post before the deadline.
Is a gift for my Sisters boyfriend.
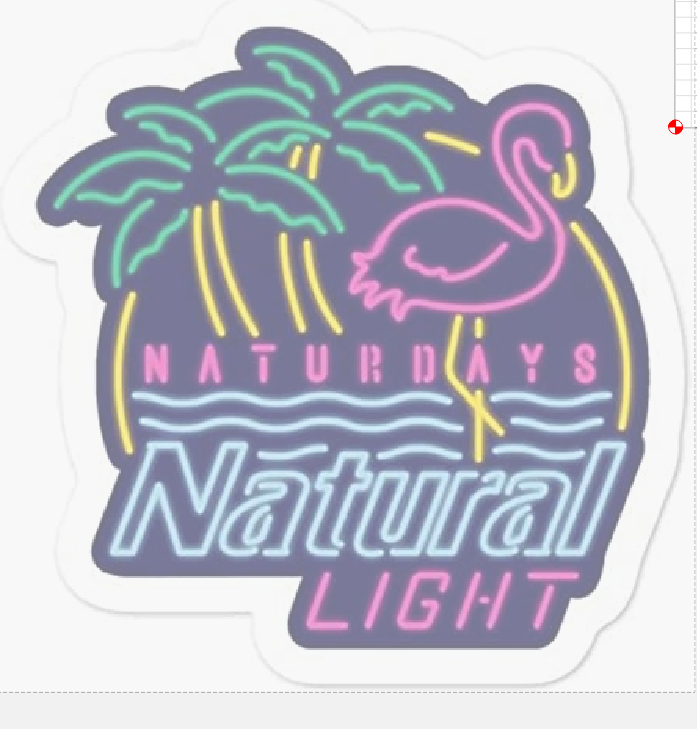
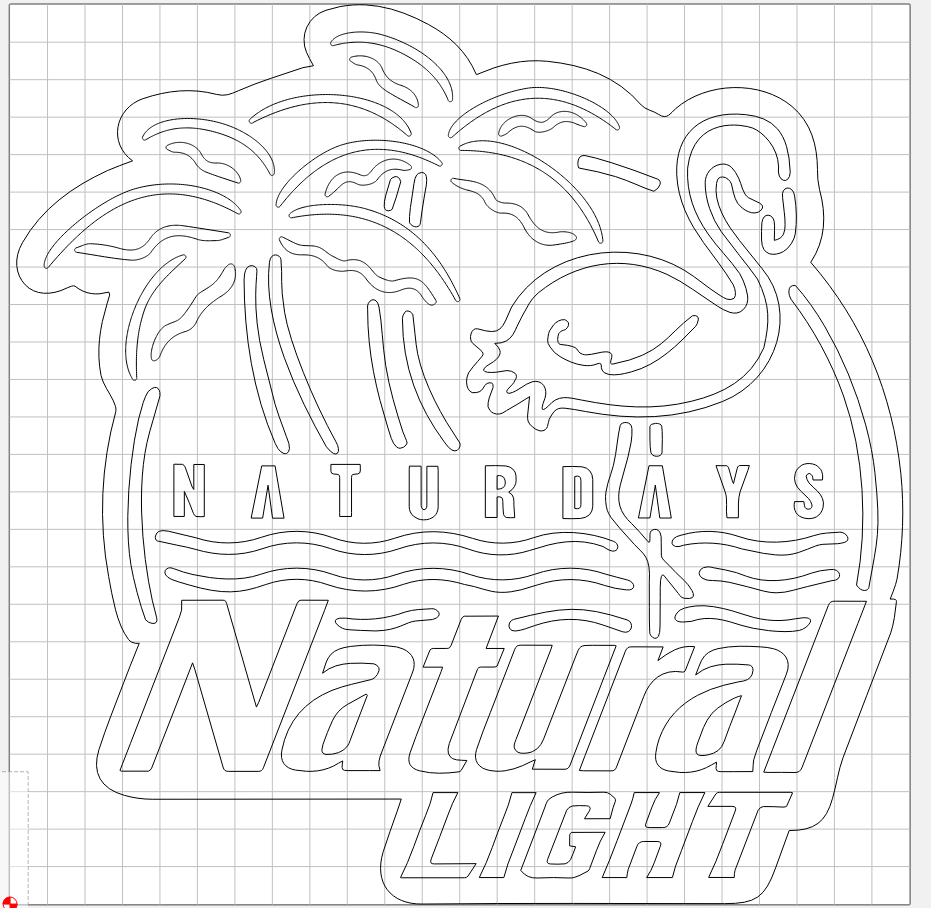
Started out with this artwork.
Then we traced and got this

Didn’t like that so I completely redrew the image.
.

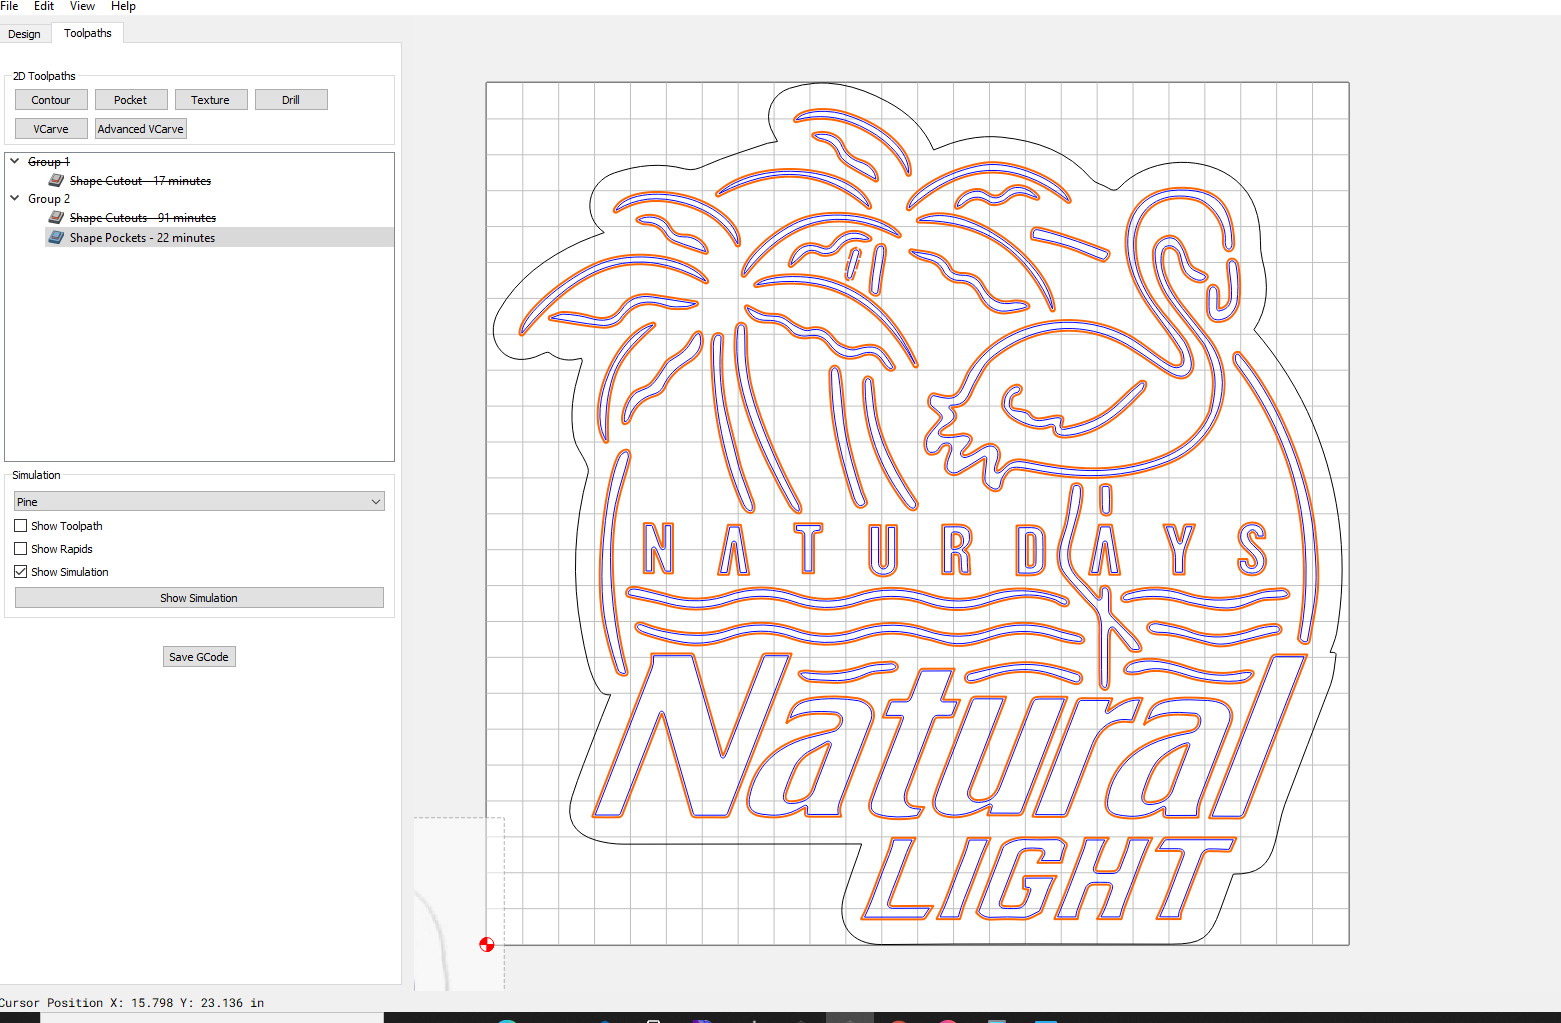
All of this being done within Carbide Create.
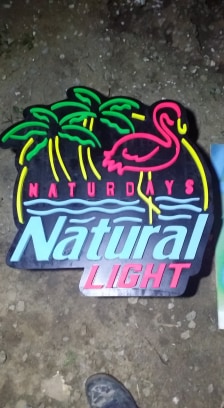
Pieces cut out individually, painstakingly sanded by hand. then painted. I cut a small oversized pocket to speed up placement. Black background was cut separately. Was going for full Blacklight effect by I for some reason thought I might be able to skate away with the white I have on hand… But unlike our laundry detergent that makes our clothes extra white and glow… My paint was lacking phosphorus to make it glow. So Lesson learned on that one… I accidentally painted a few pieces upside down… But overall I am happy with the way it turned out. Never tried the stuff but I just may have to after this one… All in all I have 3 hours cut time. 2 hours sanding, 2 hours painting, 2 1/2 hours cleaning up artwork. and an hour sourcing materials.
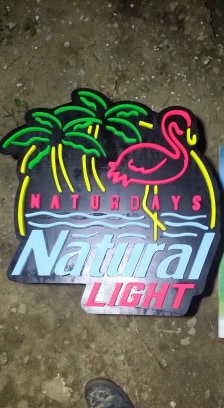
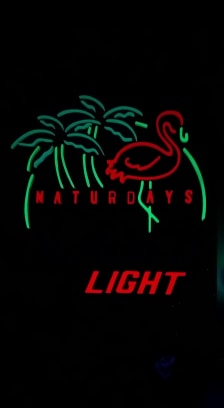
After a computer crash on the tail end of the deadline… And phone stuck in pending trying to send myself photos… I hate technology sometimes, except when its my shapeoko
14 Likes

Incredible turnout and entries. I’ll call it the “Luke effect”!
Thank you all for participating. Voting is now open, make sure to vote in both polls, because we hit the limit of the voting system and I had to split it.
p.s. : @mjmike6988 I’ll give you a pass on this one, it was a few minutes past deadline but as one of the competitors carved, I’m trying not to be a -bleep- 
6 Likes
Thanks. I was in limbo trying to upload photos last min from phone… didn’t think it would take 15+ min
Thanks Gary, after seeing how it turned out, I am definitely going to try another one.
1 Like
Forgot to add the files in case anyone wanted to make it.
Pumpkin.c2d (660.1 KB)
welcome.c2d (59.5 KB)
2 Likes
There is a stain by varathane called weathered wood. It will give wood an aged look while also protecting it. Neat stuff but it needs to be tested on a project scrap so you can see if it will give you the look you want.
2 Likes
I forgot to upload the c3d file to my post, so I’ve added it here. It’s not overly complex, just somewhat tedious.
link shield.c2d (416.2 KB)
2 Likes
I would be curious to know the status of the beta product? Is it still in C3D’s product road map?
You didn’t look at the dates, did you ![]()
I’m guessing based on the value the product was probably the HDZ (Now available in the store)
1 Like