Community challenge #26: Resin (closed)

Are you all ready for another community challenge ?

The theme is:

Make something involving milling and resin

As long as it involves resin and using your machine, it counts! Go crazy.

Rules for this 26th challenge:

  • submit your entry in this thread (you can post multiple entries if you want)
  • you must use a Shapeoko or Nomad
  • post pictures of the project (we like seeing WIP pics in addition to the glamour shots)
  • posting your project to CutRocket will get you a +2 bonus on the vote tally.

Timeline:

Swag, too

image

p.s. : yeah, I do realize November garage temperatures mean it will take forever for the resin to cure, it will be part of the challenge :wink:

8 Likes

@Julien It looks like the title of the challenge was truncated due to a character limit?
I believe you titled it:

Community challenge #26: Resin-Filled Light Diffusing Wall Sconces in an Art Deco Style

18 Likes

:rofl:

Please do NOT submit resin-filled light diffusing wall sconces in an Art Deco style, or you will make mine look bad and the wife won’t be happy.

17 Likes

Hi All!

November is not a good month for me to get time away from work for the fun past time of shop time so I am hoping the community will be kind enough to allow a project made prior to the start of the challenge.

A little while back I was asked to make a sign for a family friend that was to honour their late grandmother.
20200727_143232 - Copy

I made it a when I had my S03 prior to recently upgrading to an XXL. Was able to make use of the pass-through window I made in my enclosure and took some finagling to line things up.


We stained the carved name and resin for the flowers.

Thanks for your consideration for entry to the resin challenge.

6 Likes

IMG_2046 - Copy

14 Likes

Can we submit entries from previous contests?

Sure, unless it’s Catan boards :grin:
Just kidding, feel free to submit any project that matches the rule.

1 Like

Hexagon Coasters - double-sided

I wanted to make some coasters with that ‘I want to pick it up’ fascination, but practical and repeatable too. I think I succeeded…

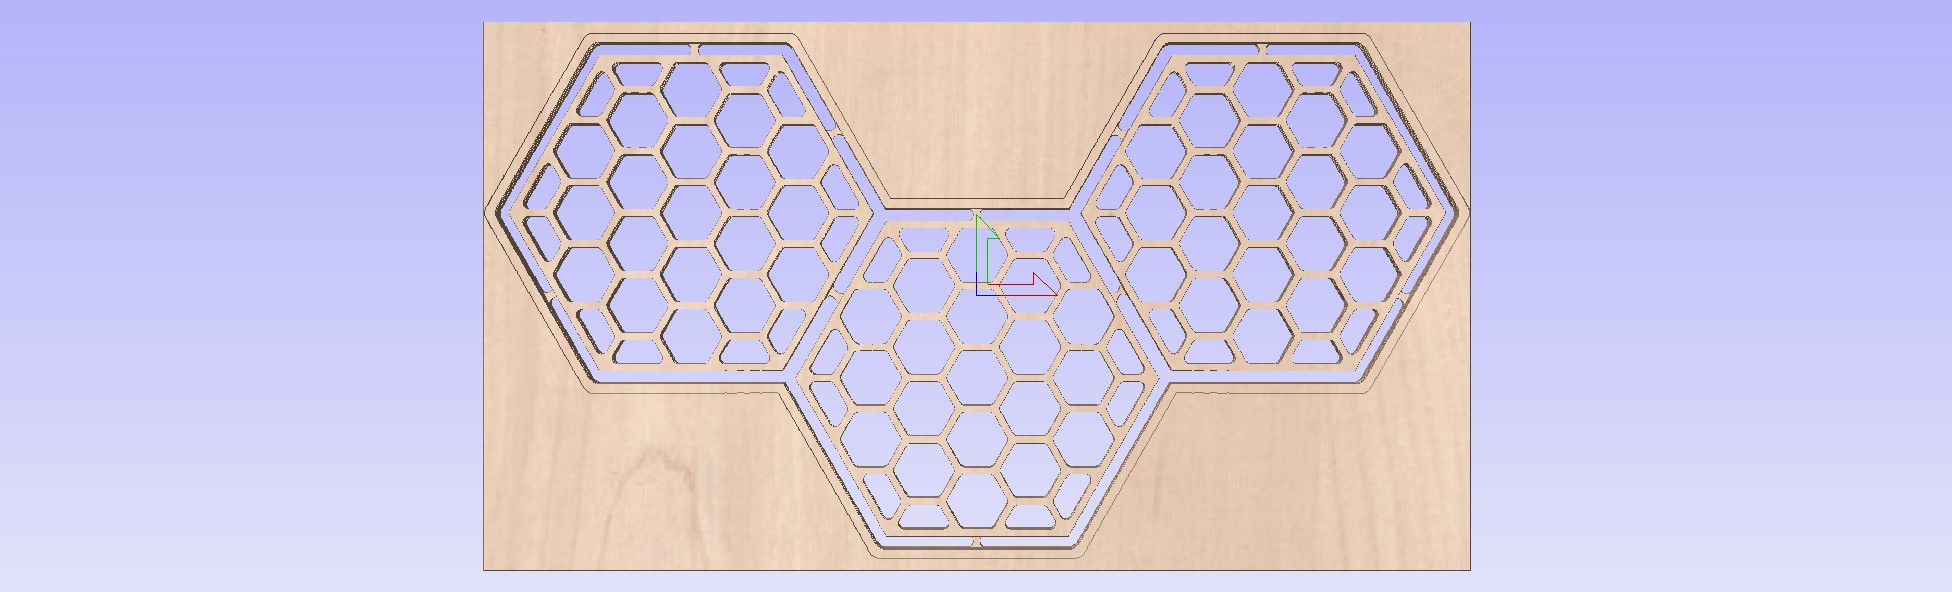
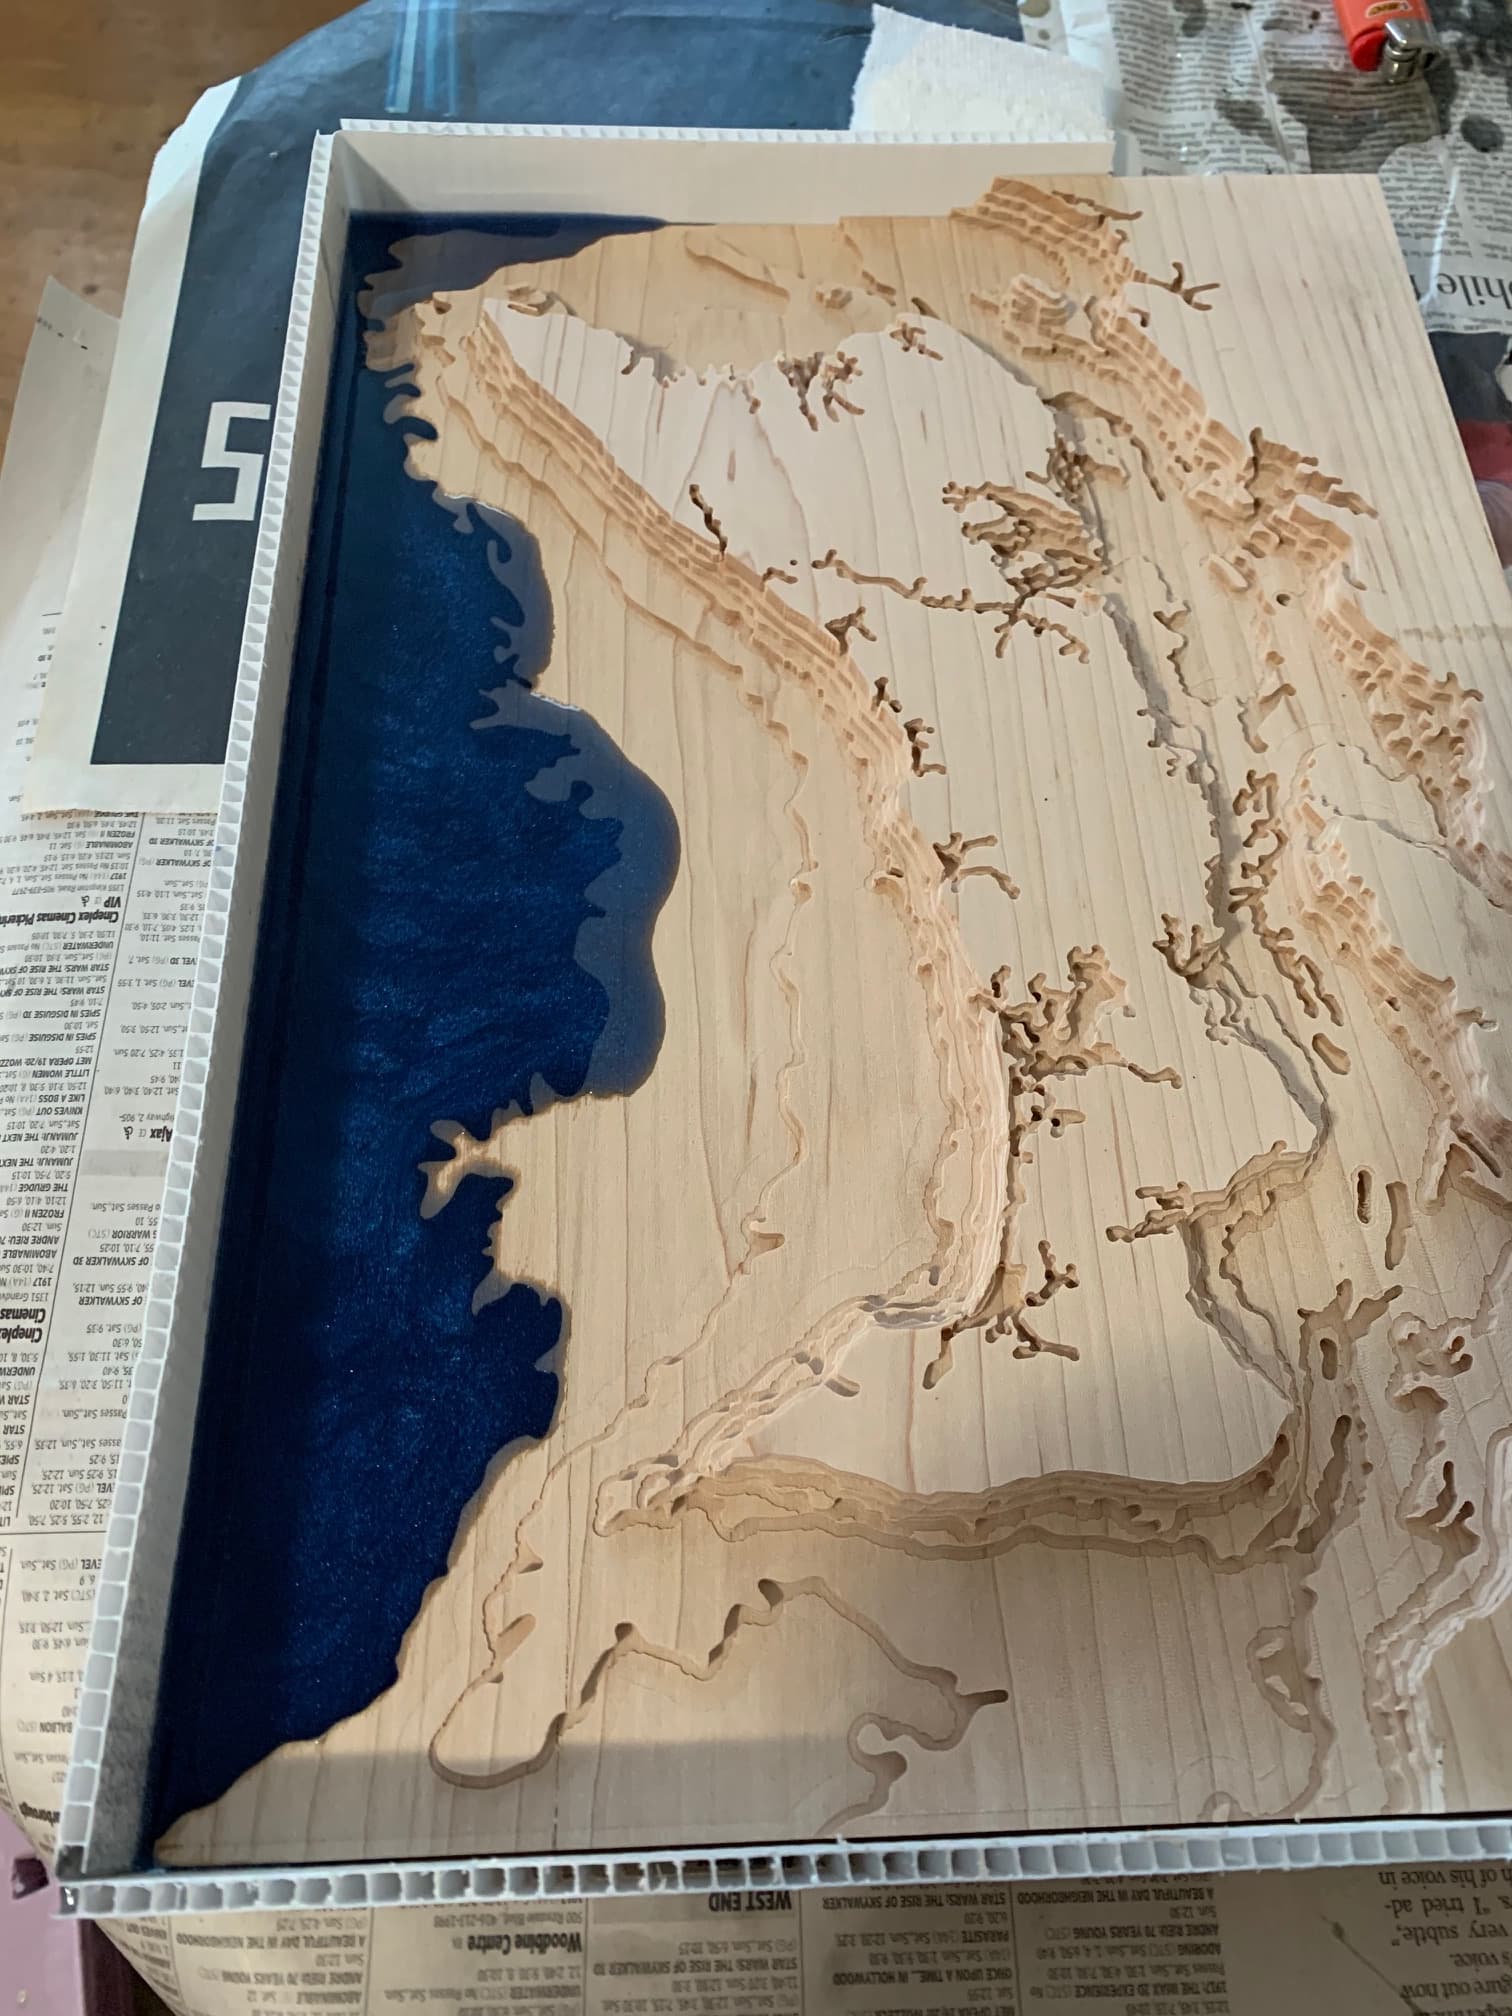
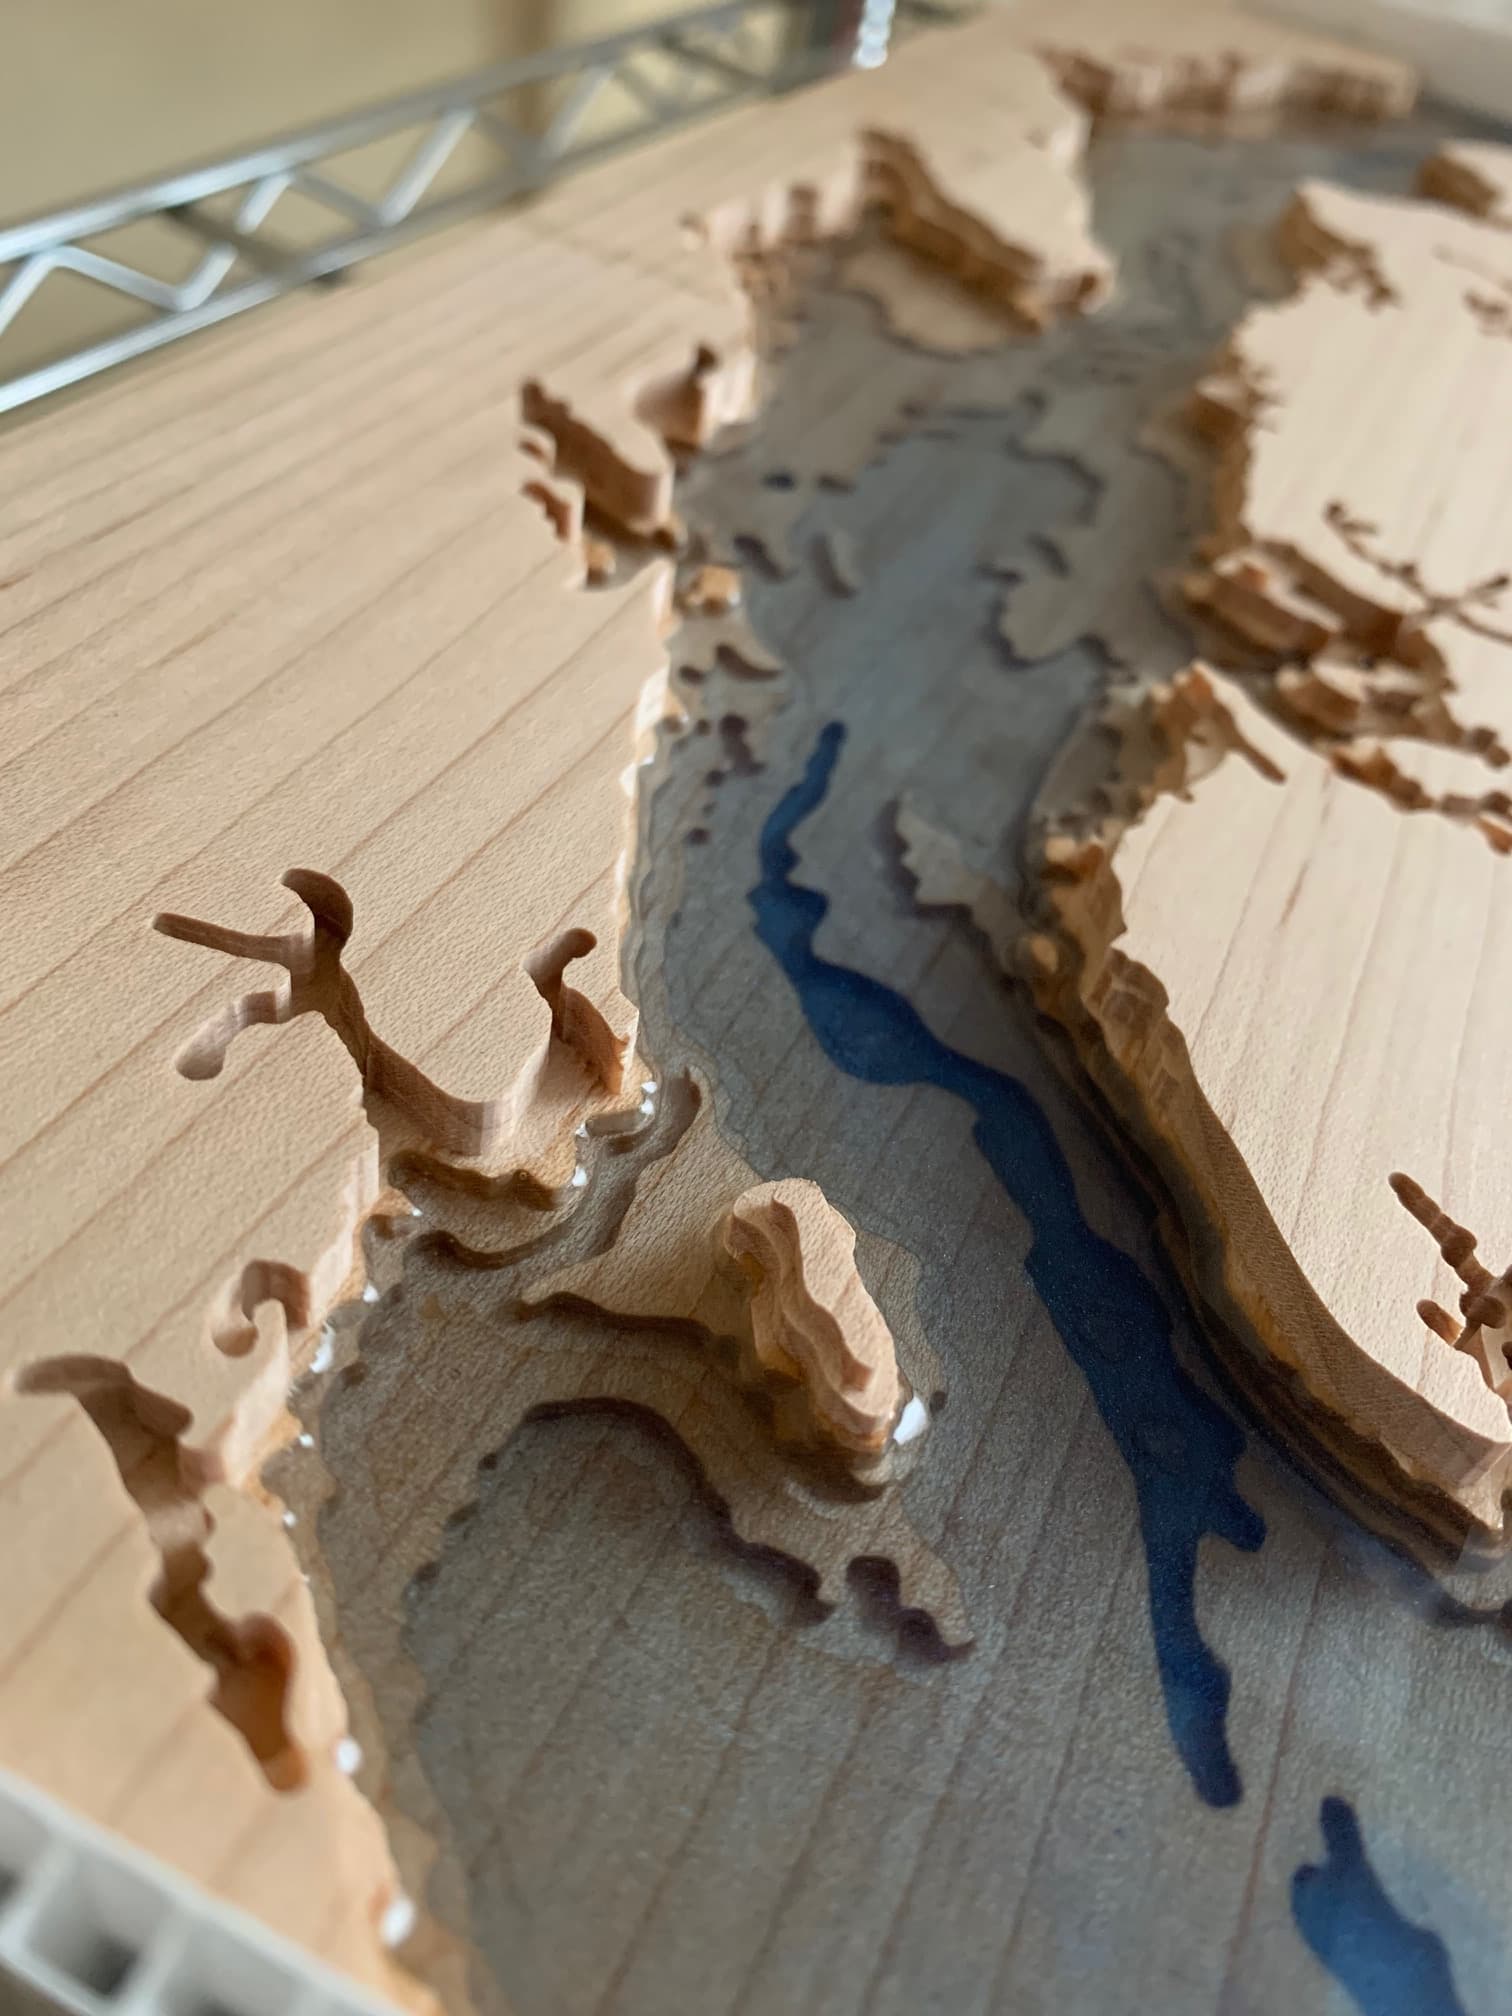
The design is a honeycomb hexagon, cut right through with small hexagons. I set out three per piece of mahogany-like wood I had. The balance being to make them fine enough structures to be interesting, yet solid enough to be robust and let some of the natural wood show.

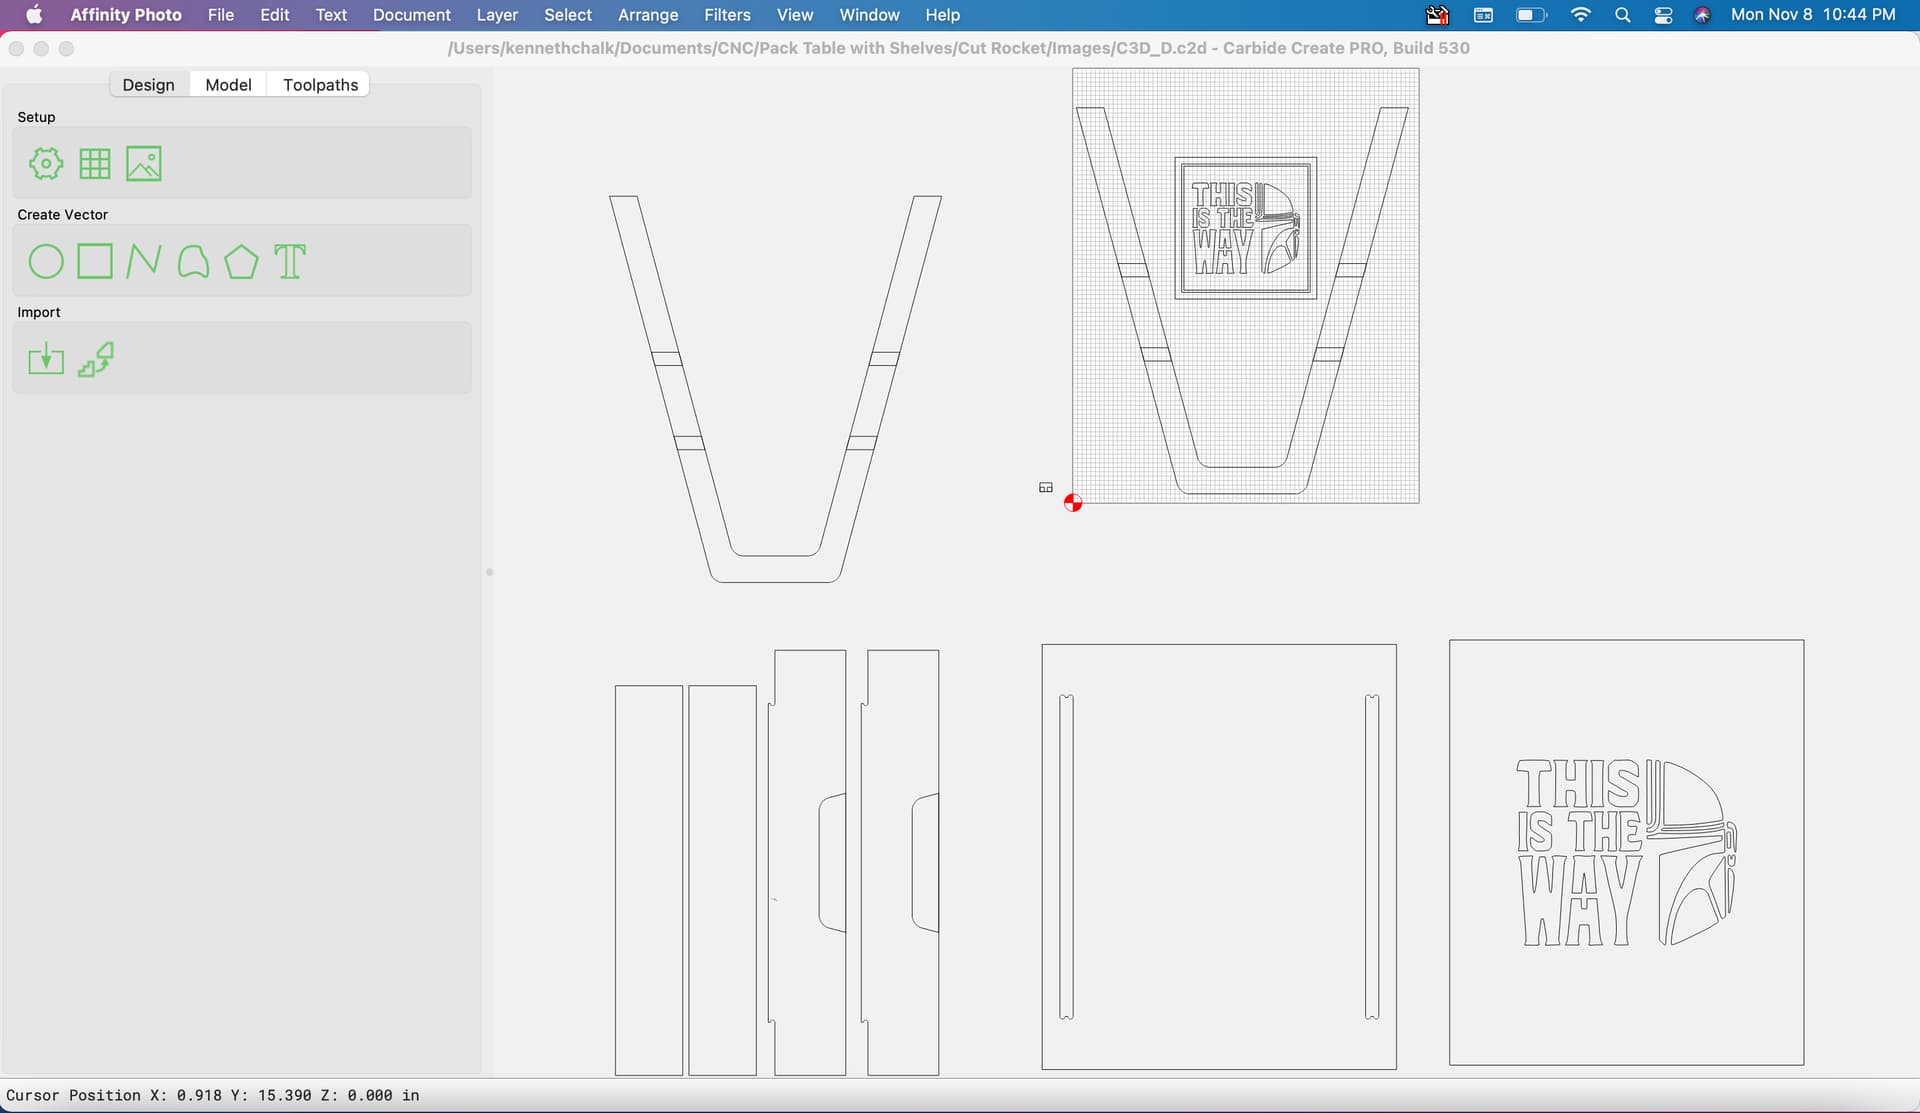
Toolpaths included tabs so the workholding was simpler - I didn’t know what interaction the resin might have with glue residue, so chose not to use tape/glue for this. I used a 1/8" downcut 2-flute cutter, DOC 0.8mm, WOC 1.8mm, RPM 20,000 and Feed 400mm/min which was I feel quite conservative, but my time is hobby time and so slower with no broken end mills is a success too for me.

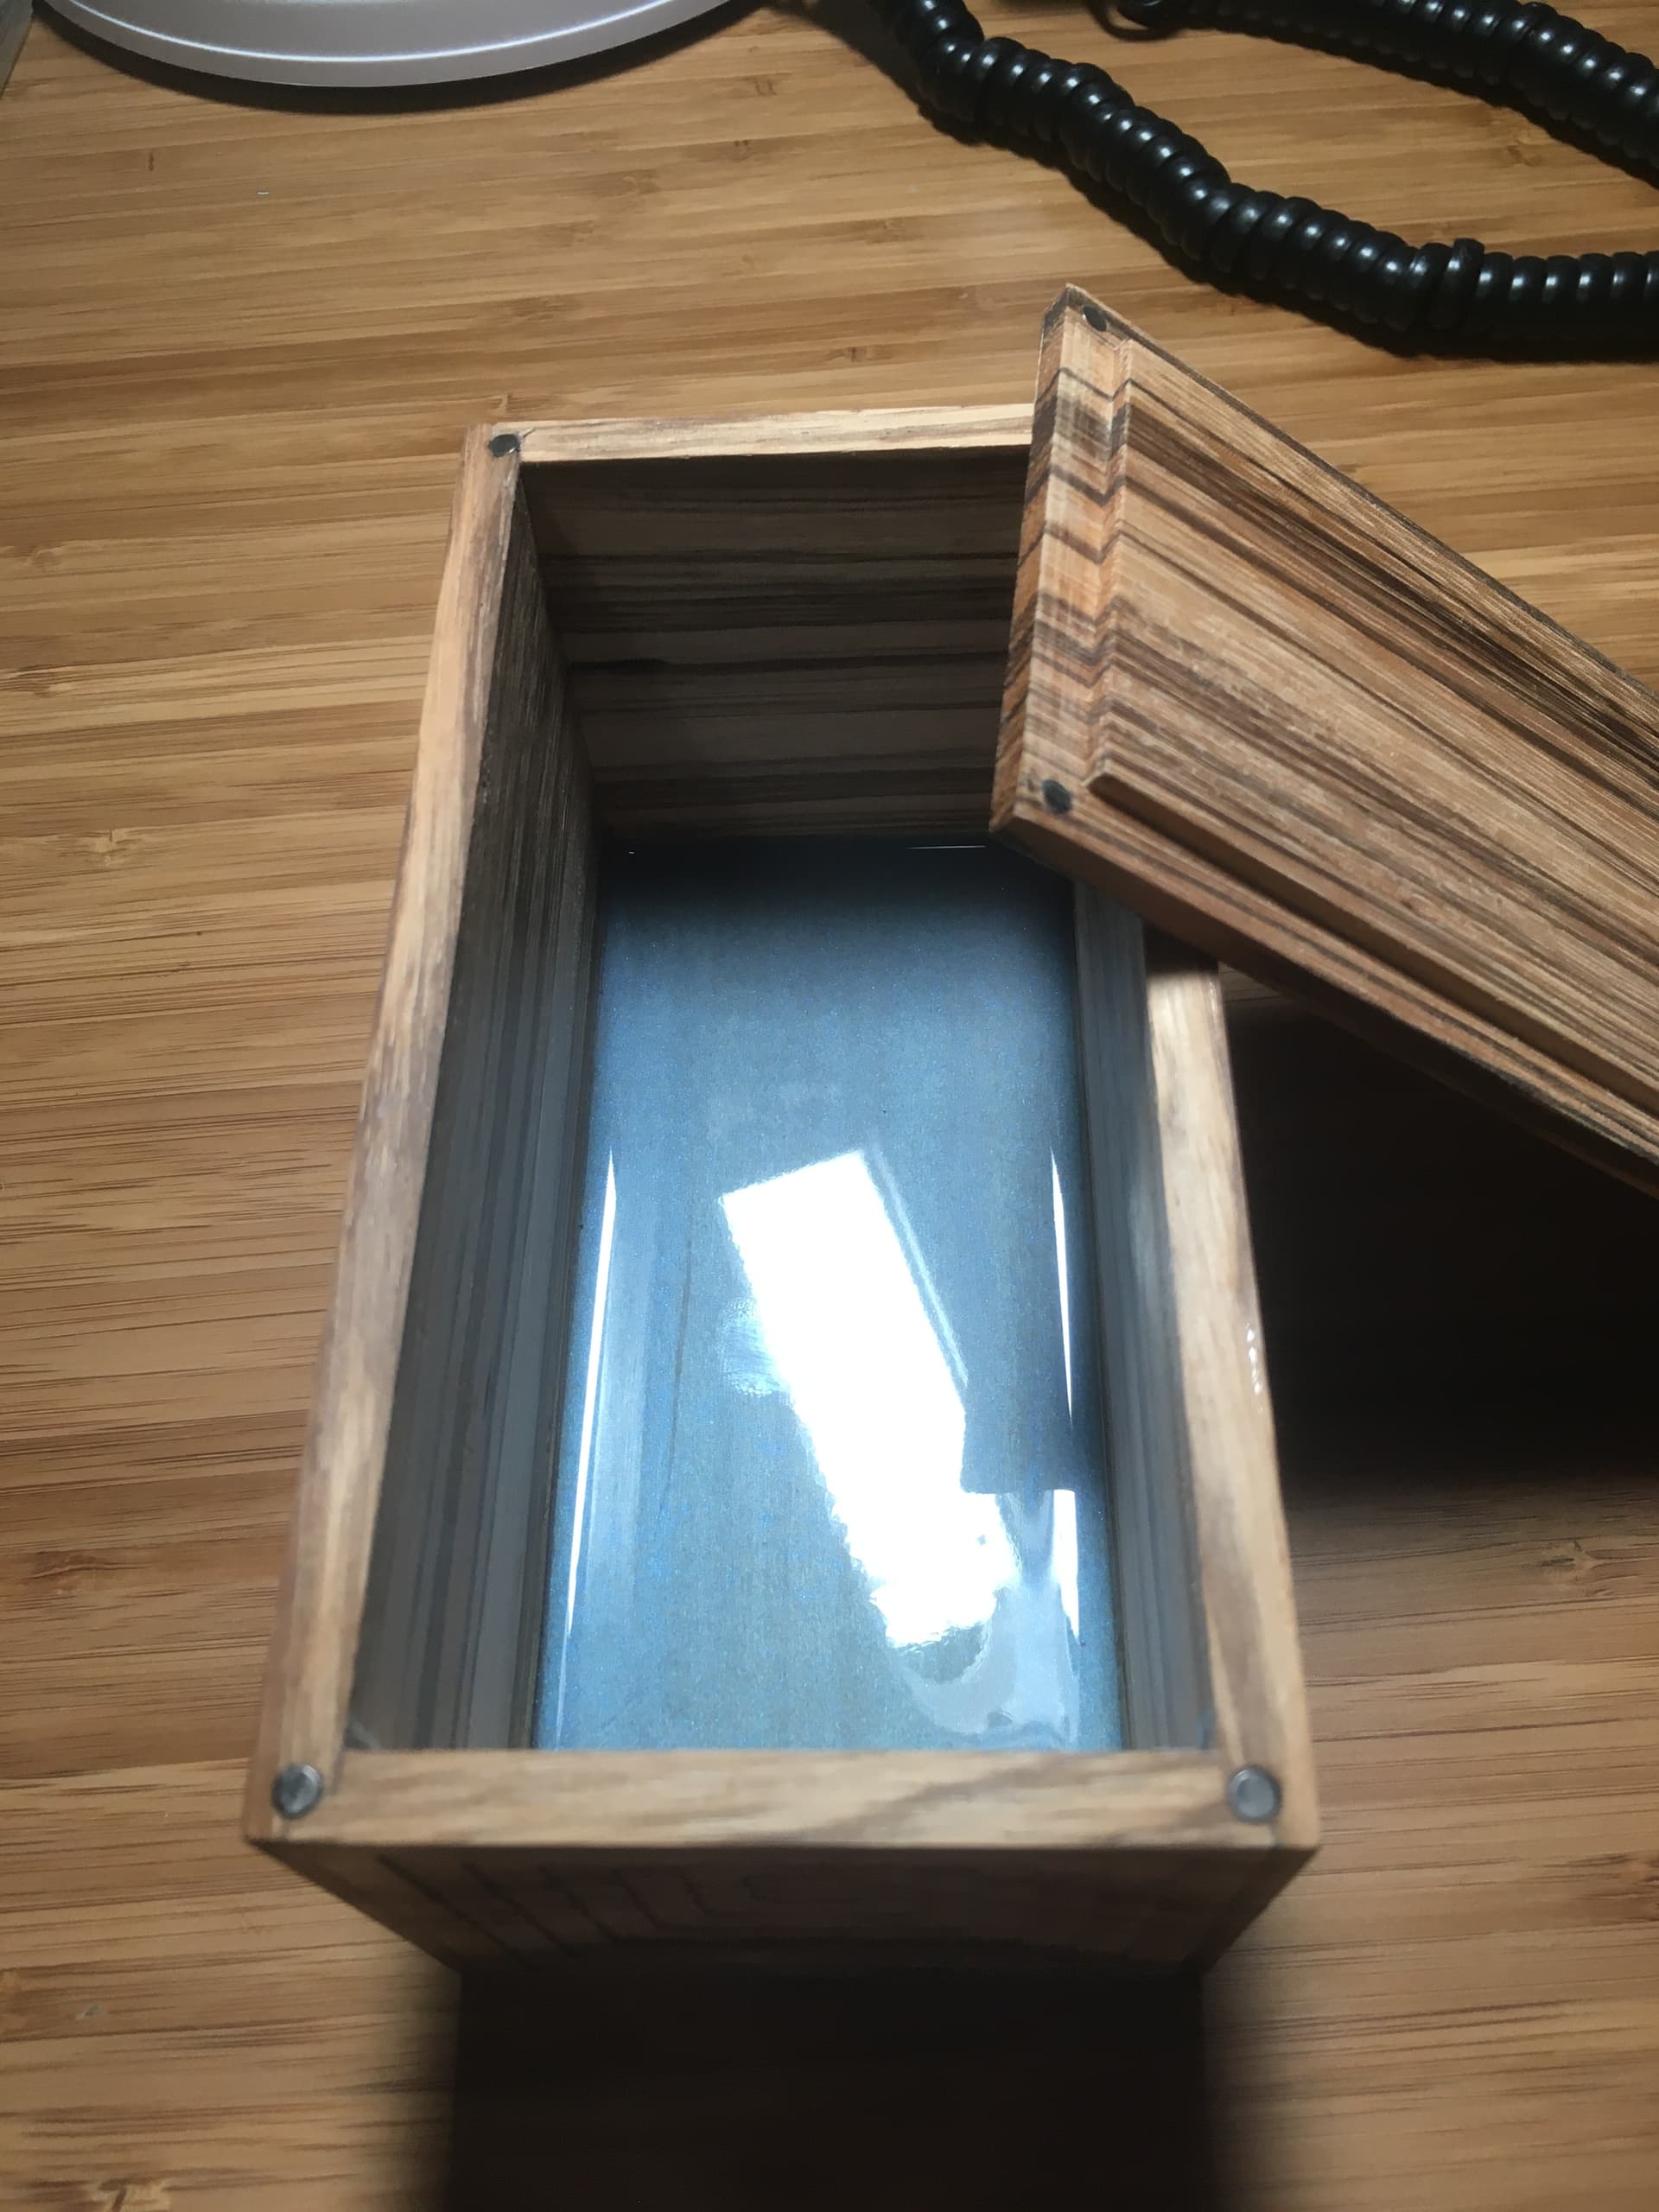
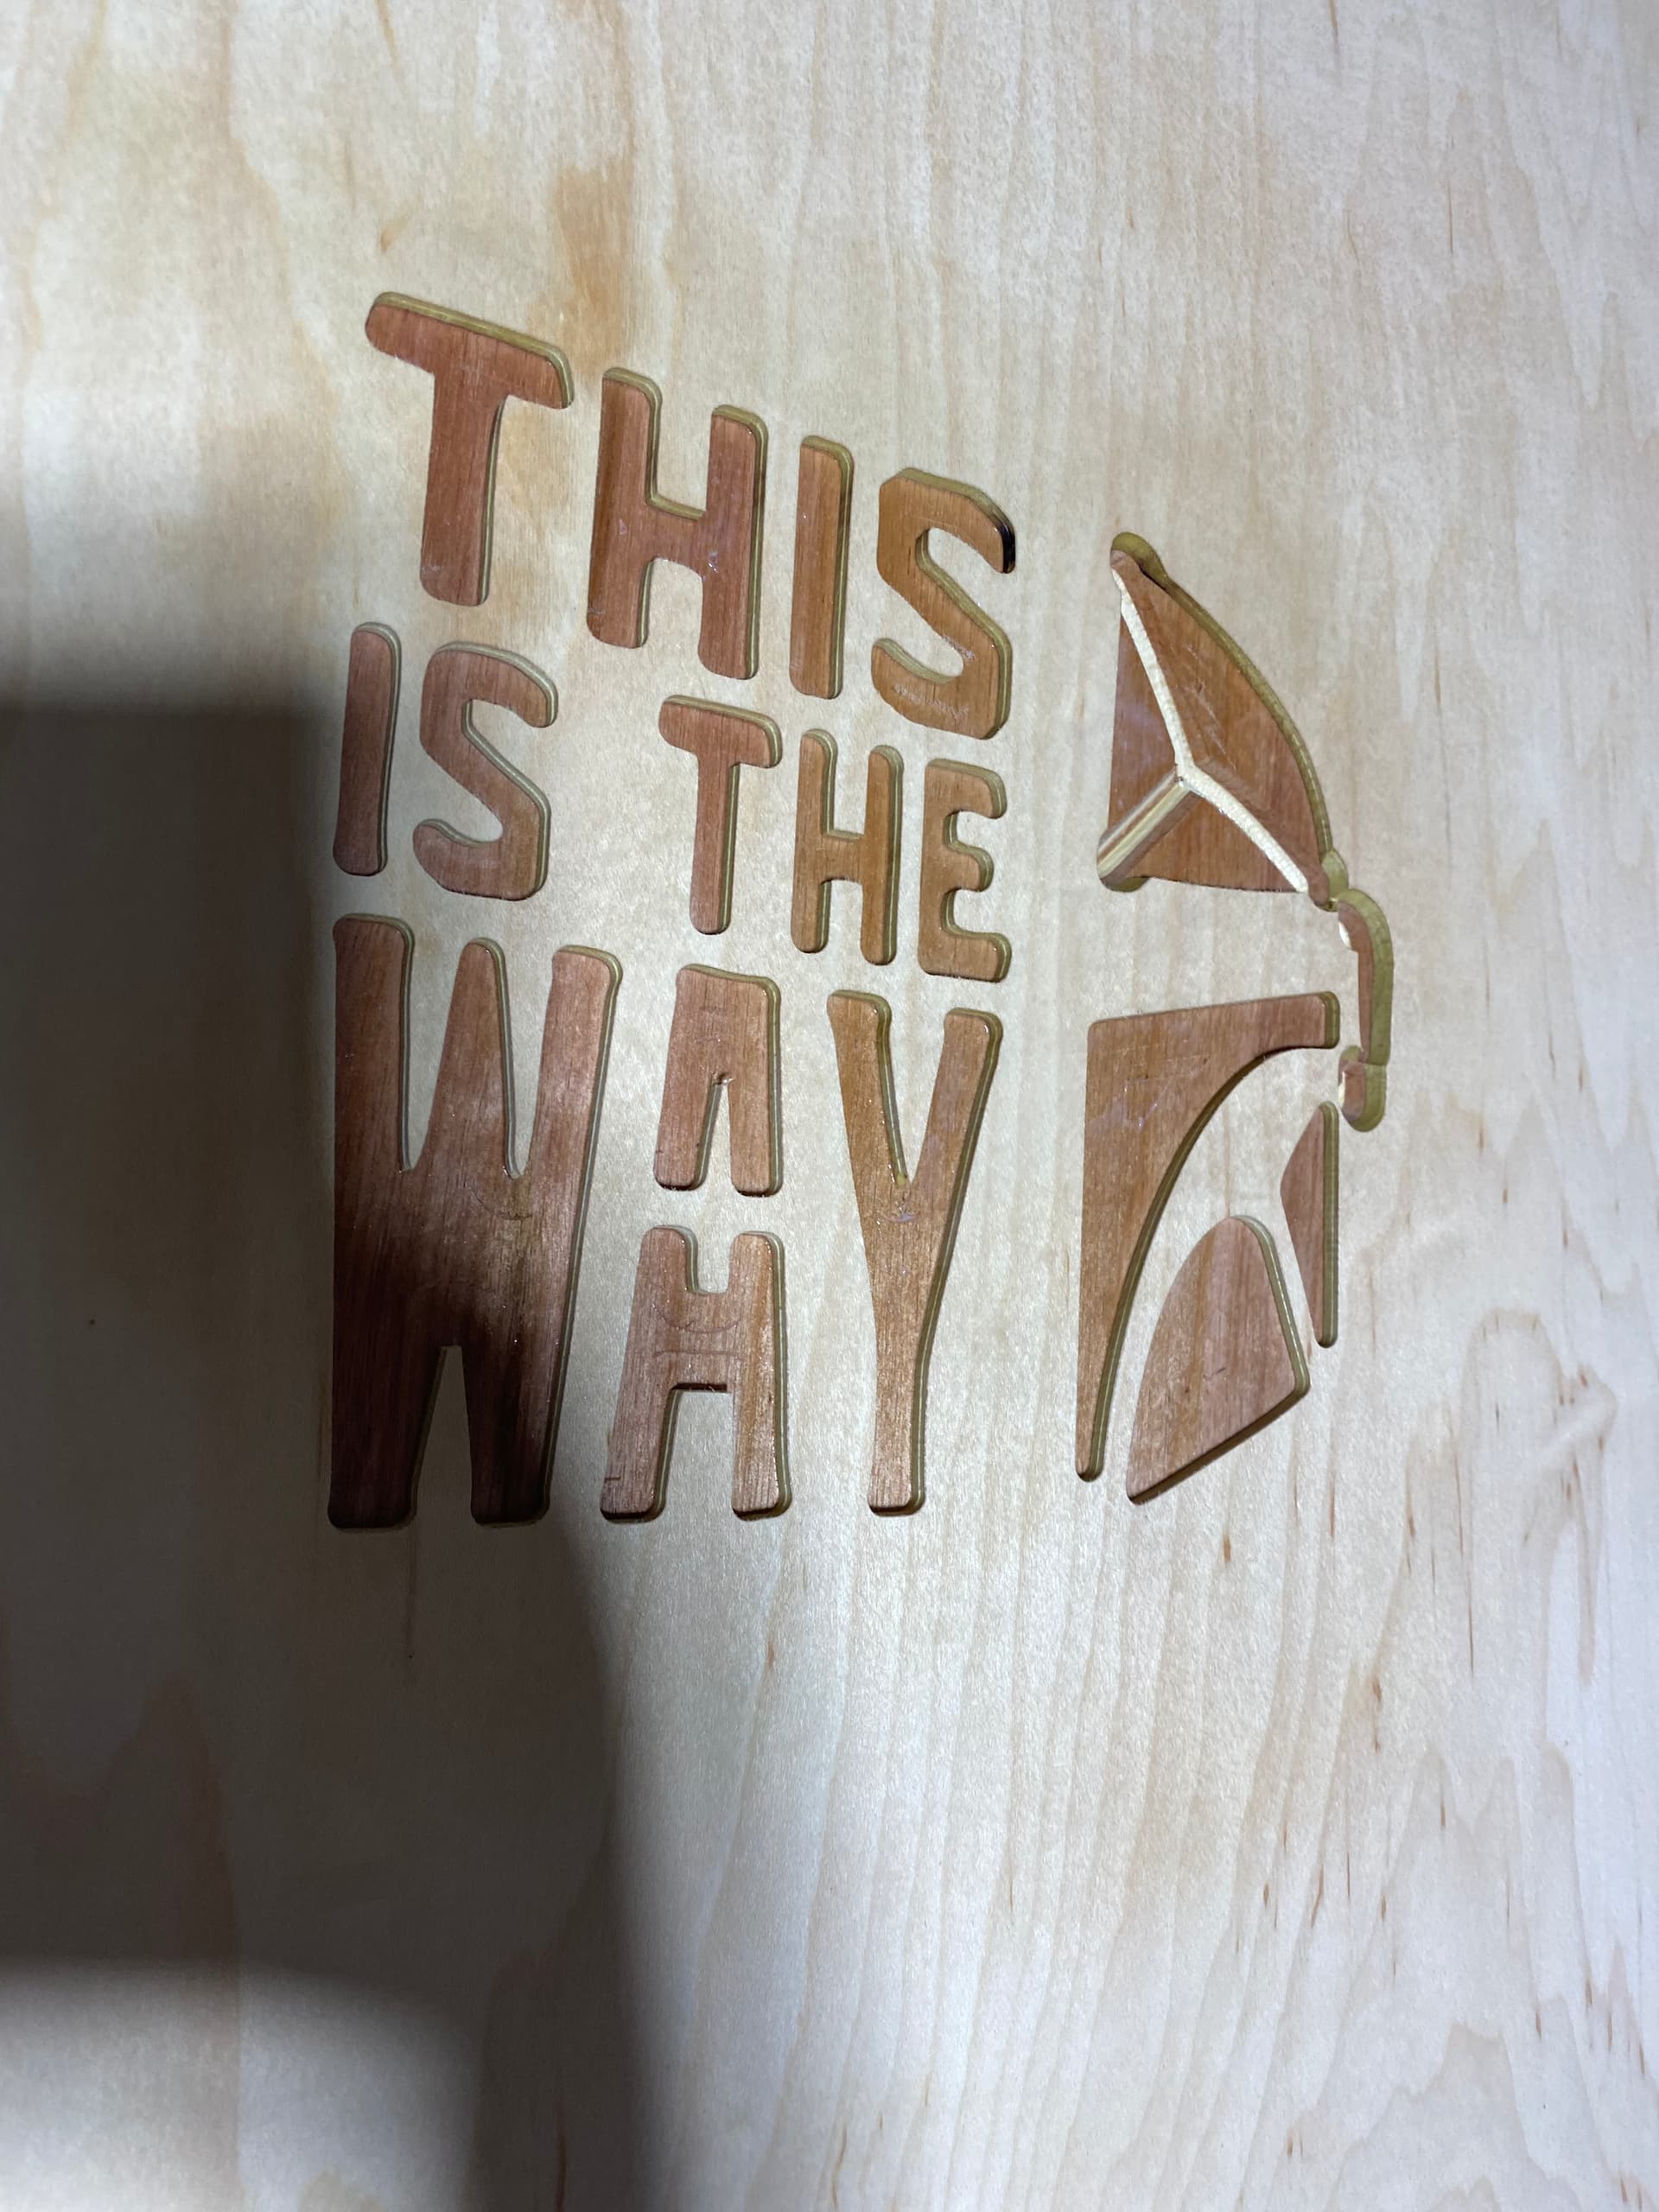
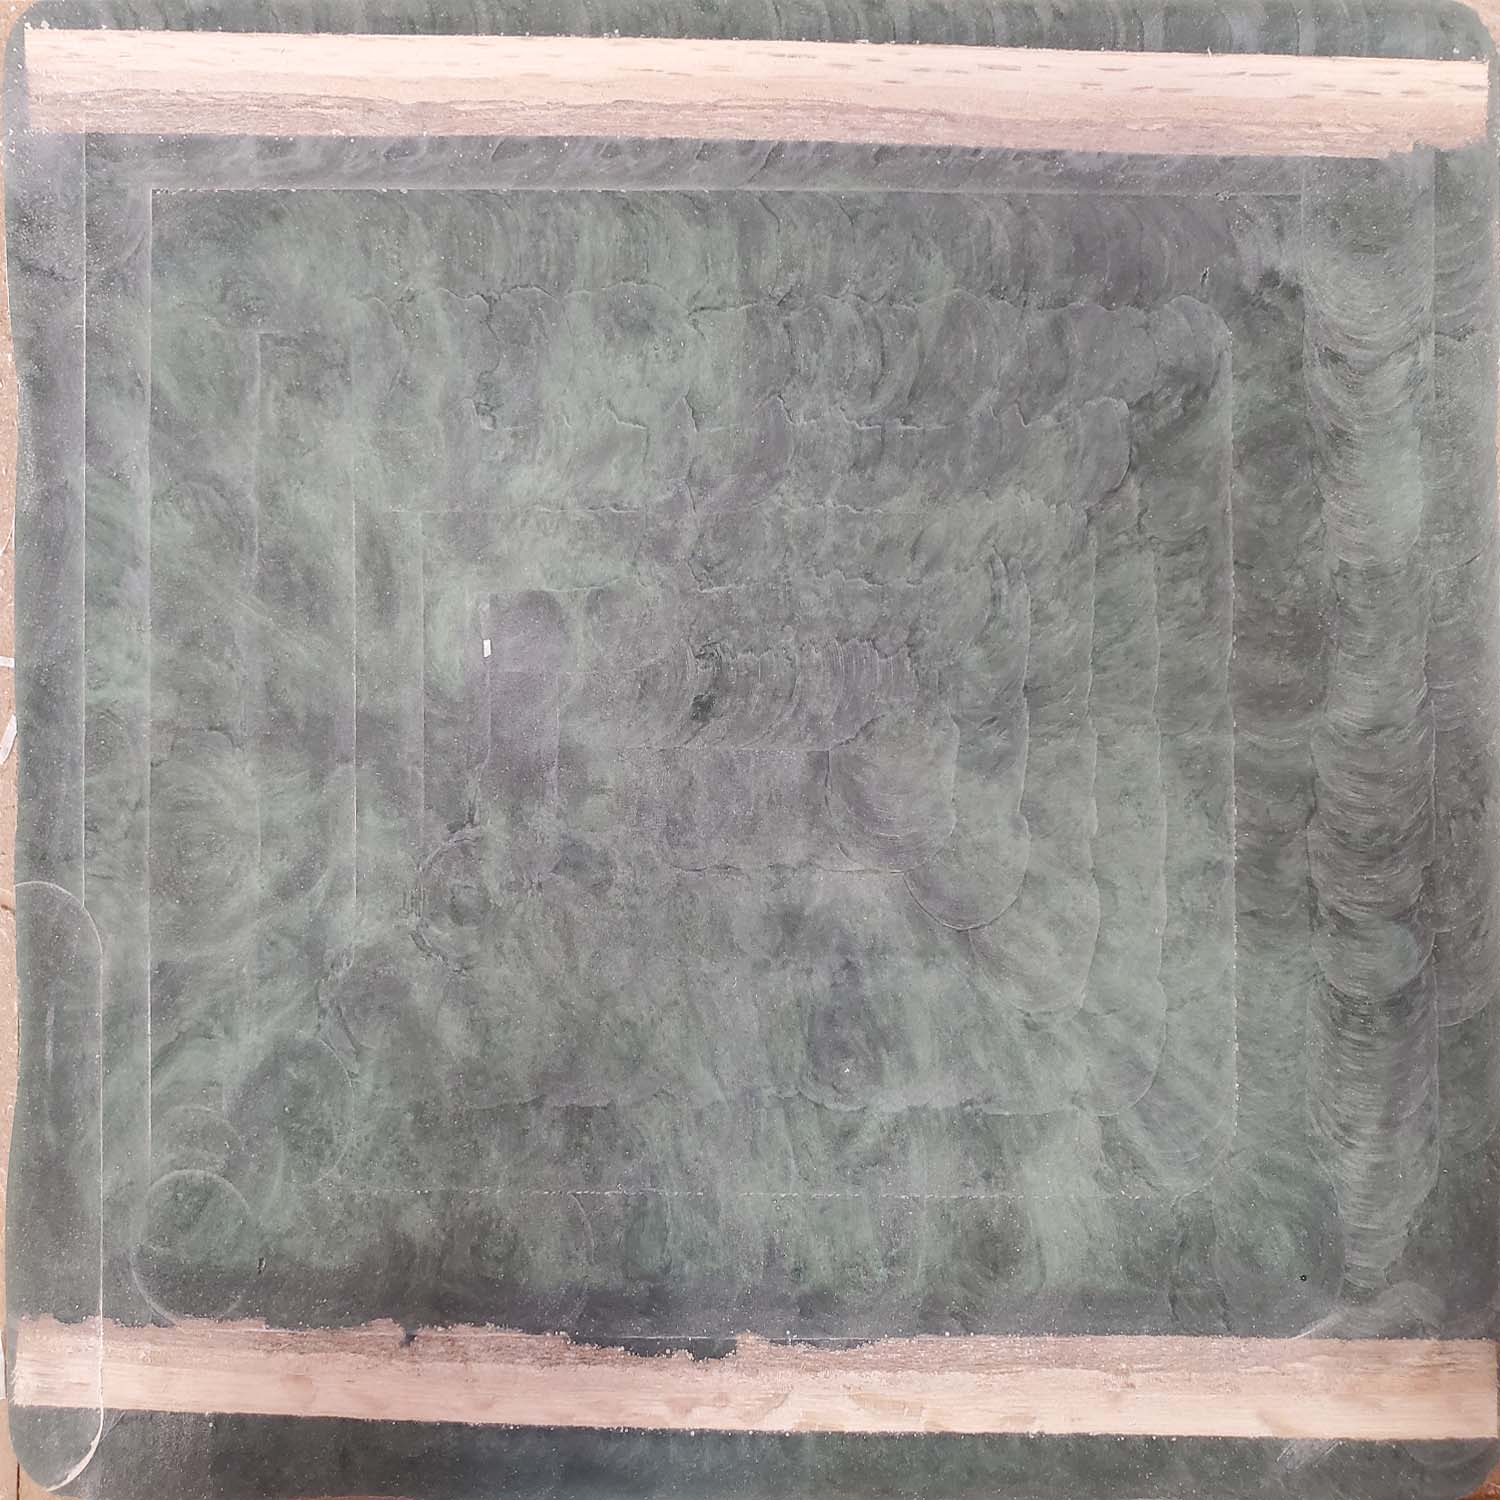
The cuts came out really nicely, and having trimmed the holding tabs, was ready for resin pouring. I wanted a ‘perfect glass’ finish on one face, so the options were: Eternal polishing, or: Pouring face down onto a piece of glass - I chose the latter.

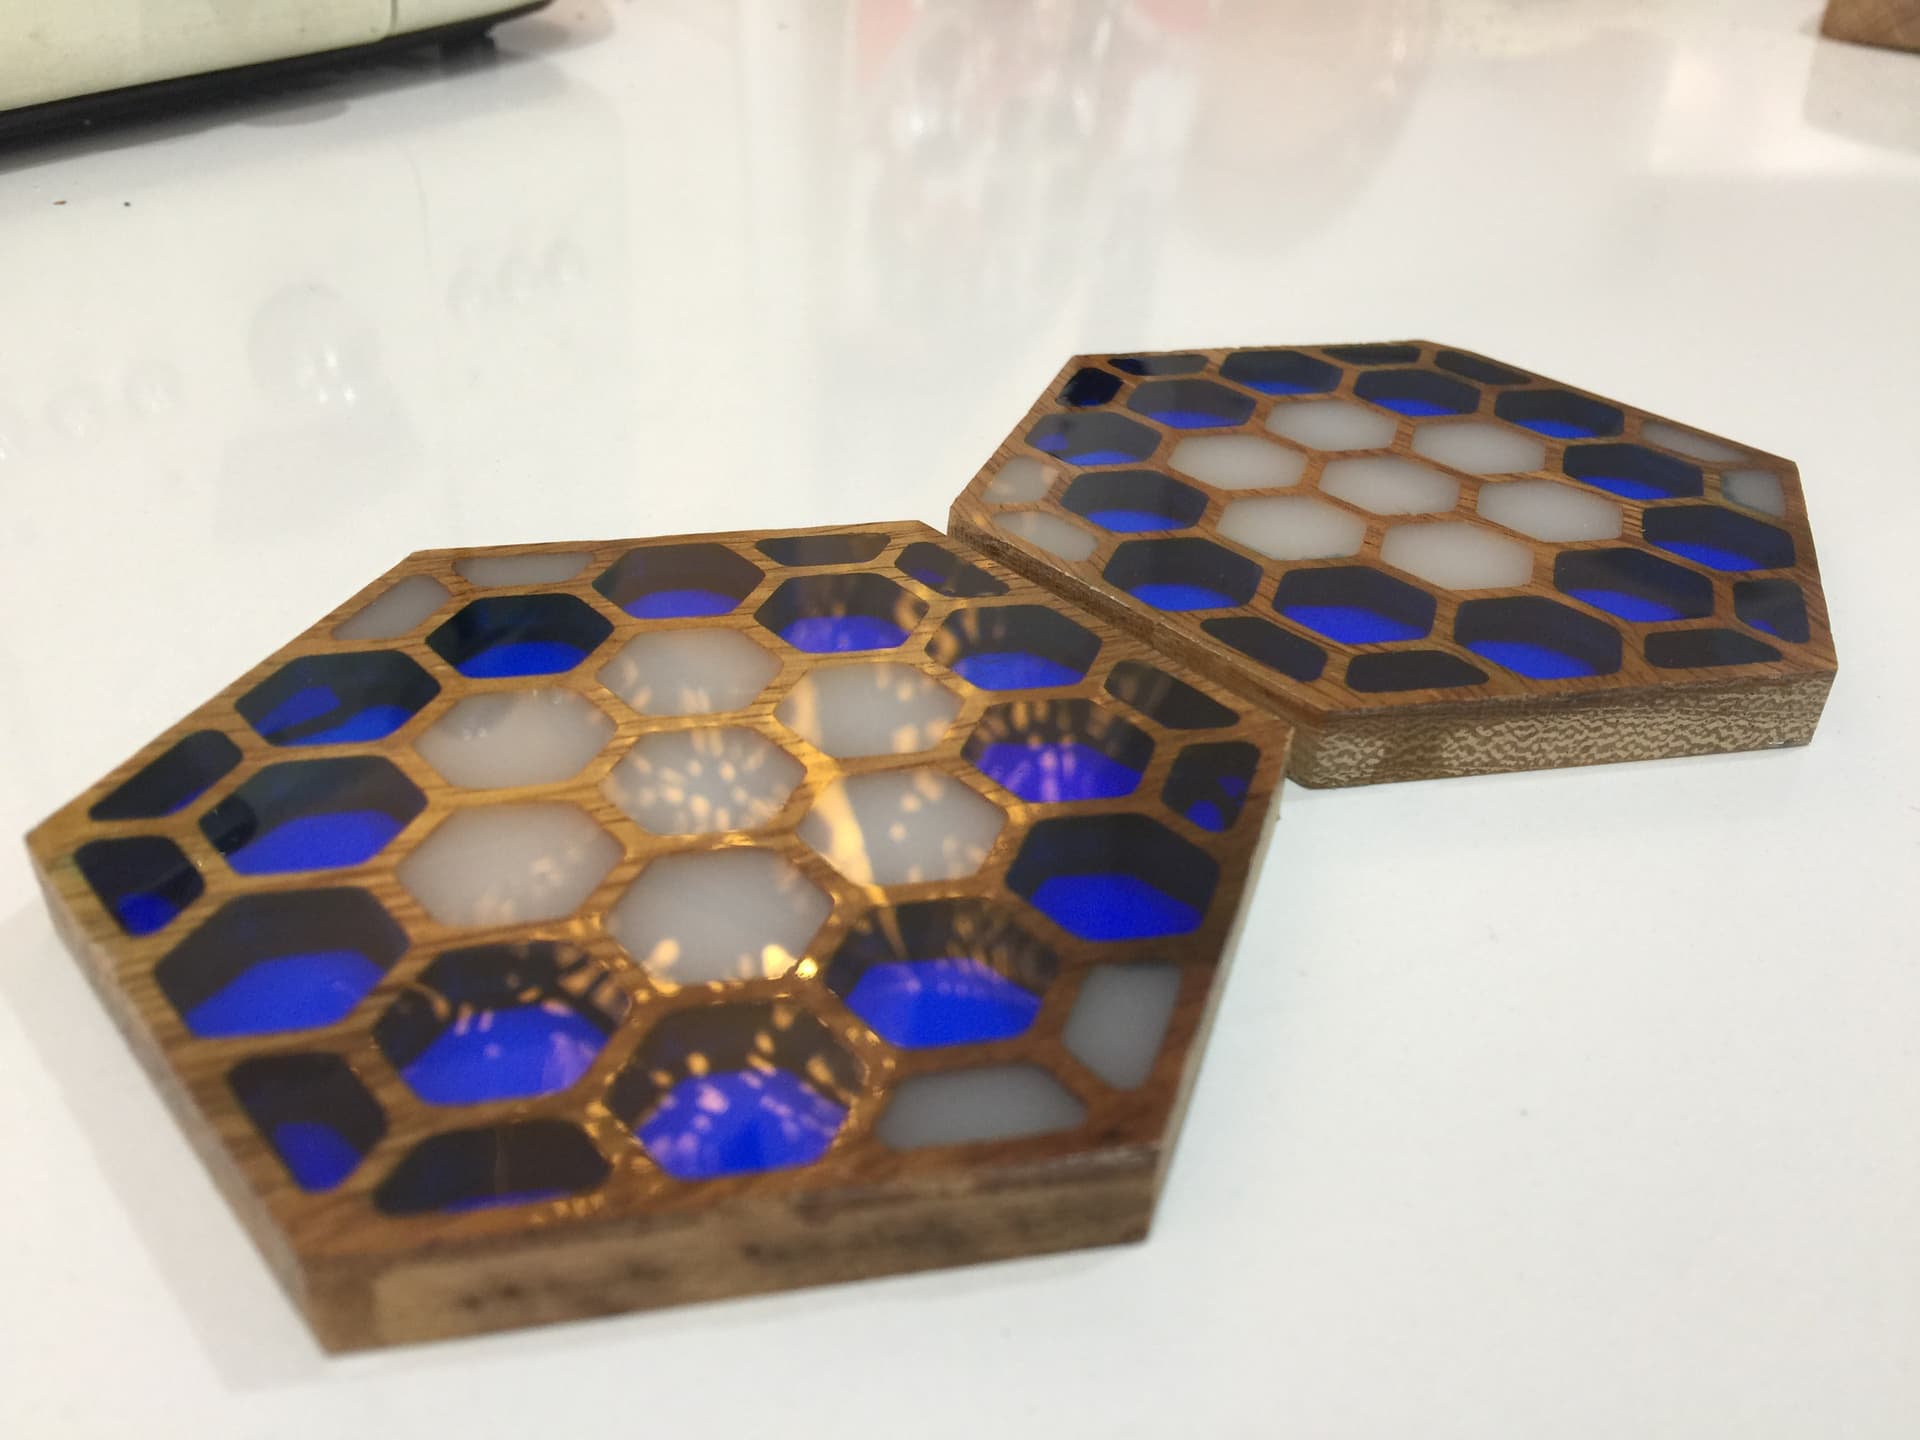
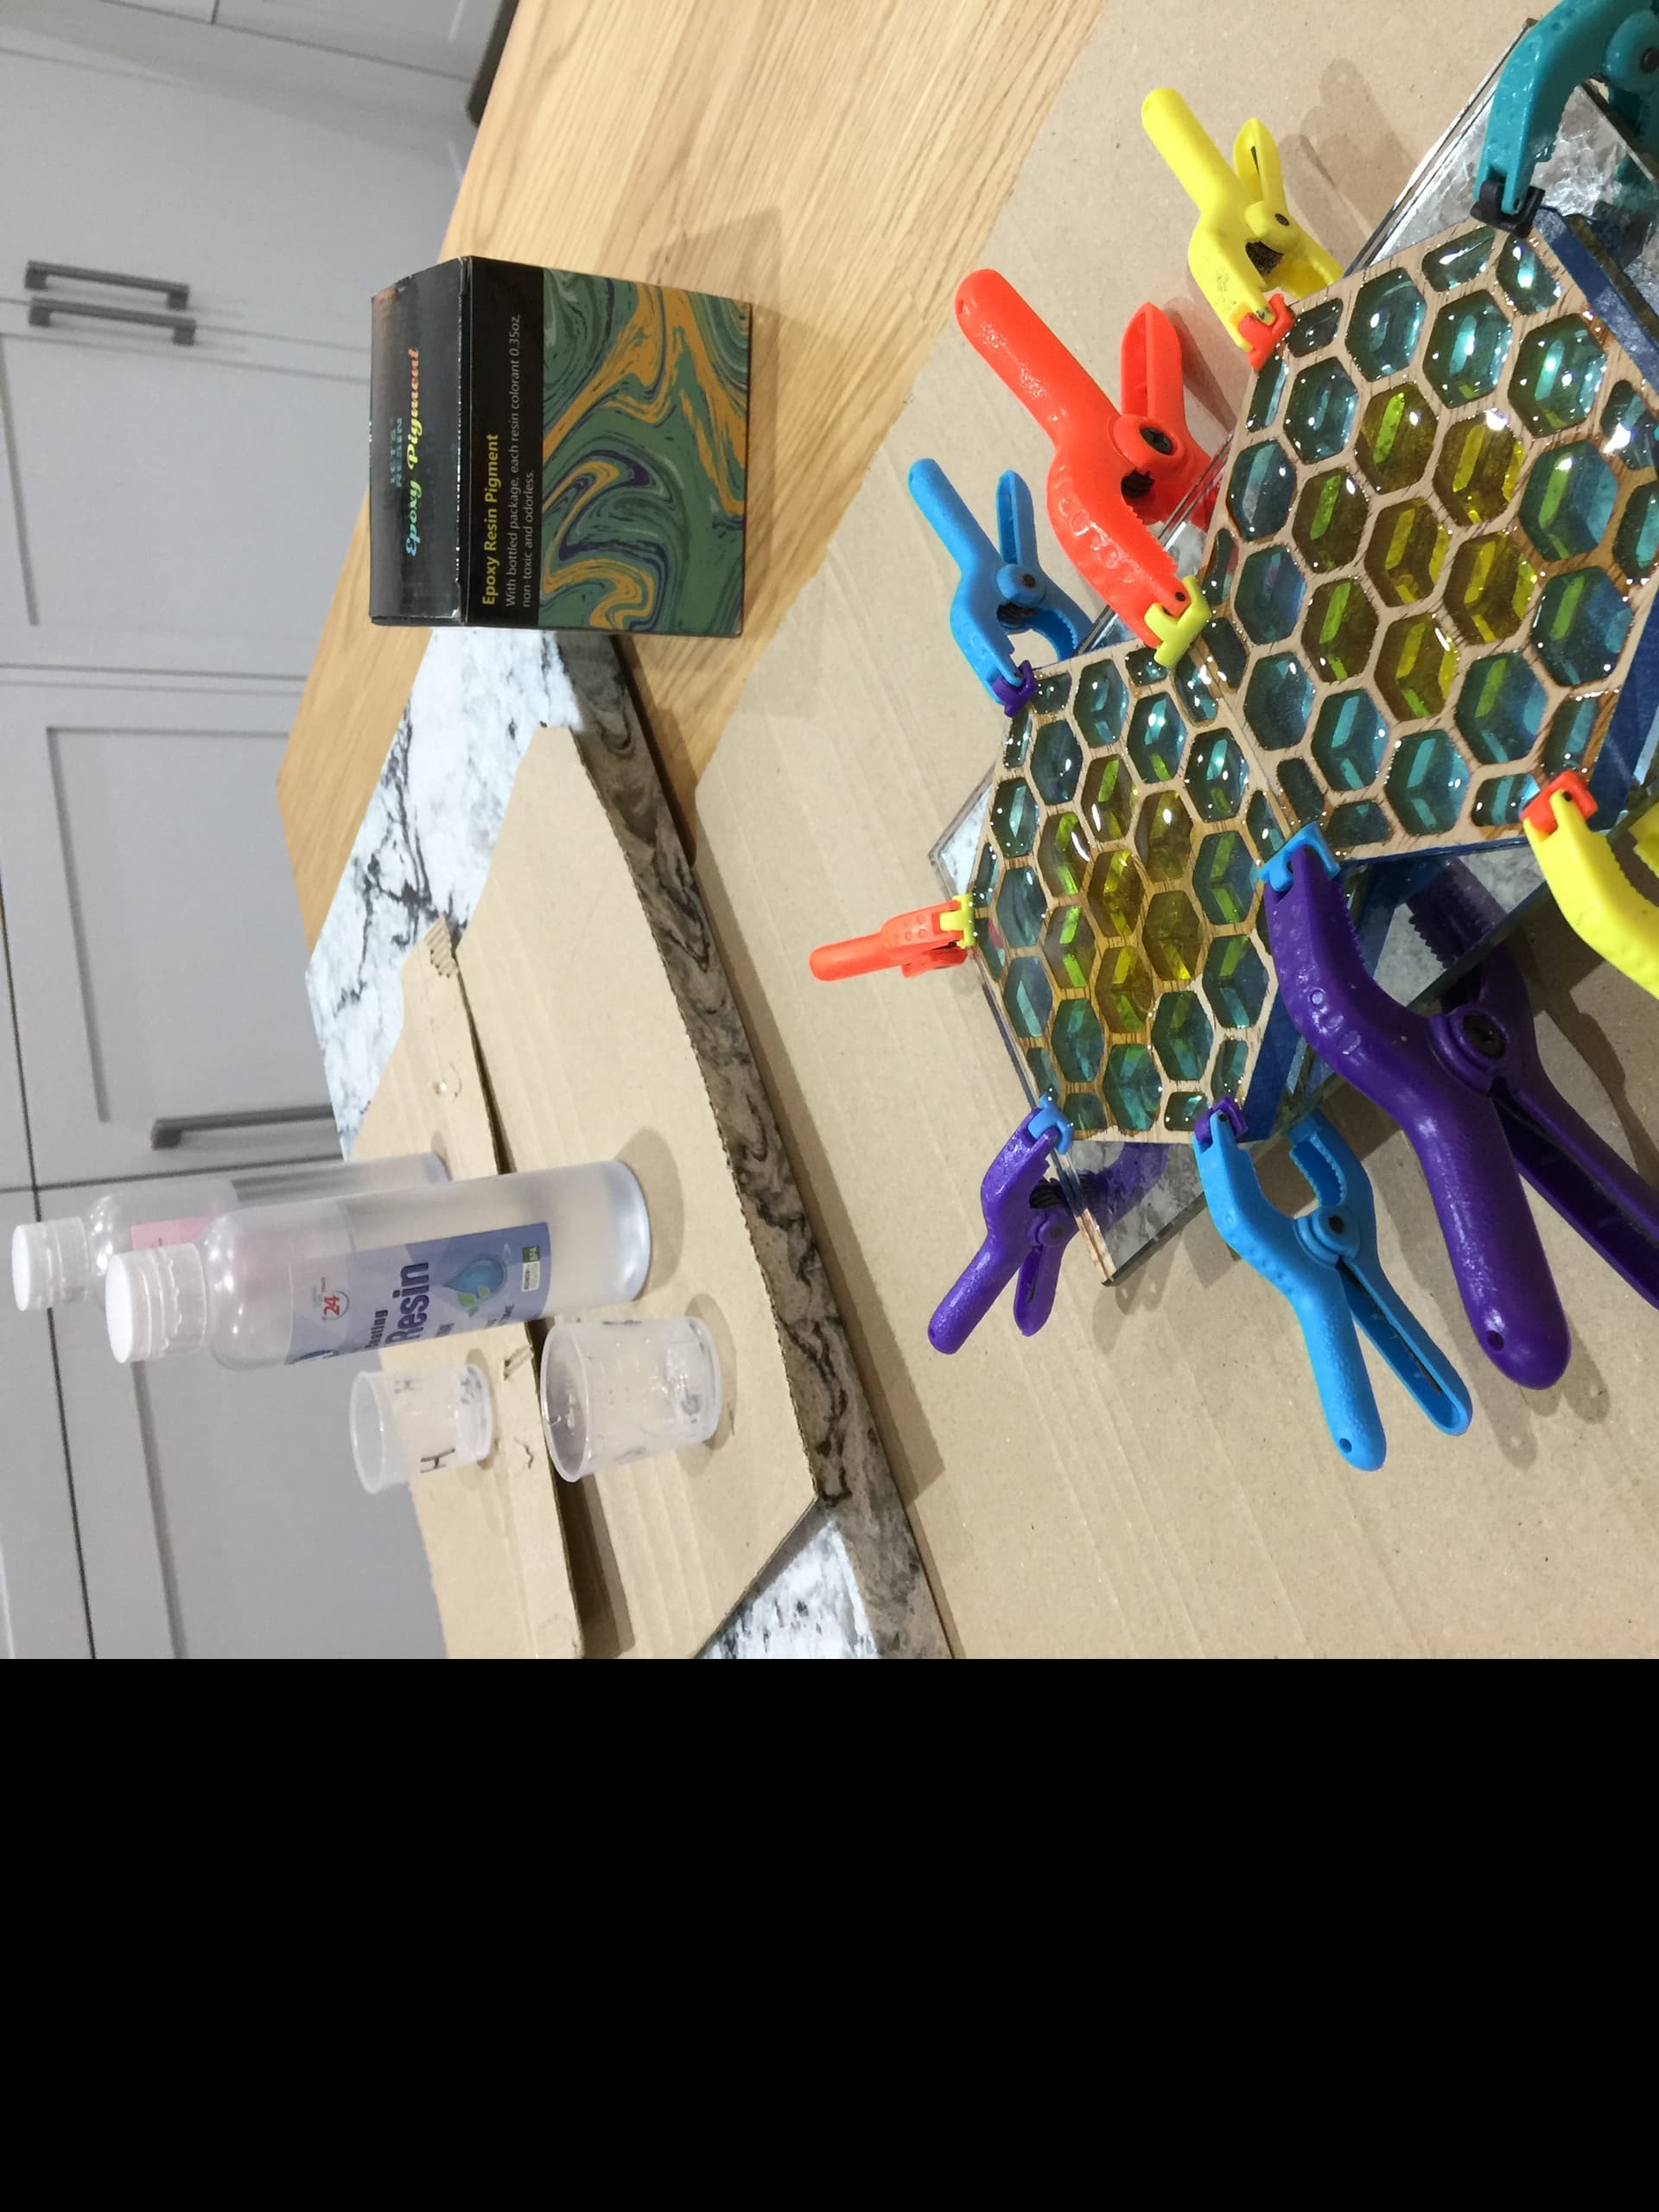
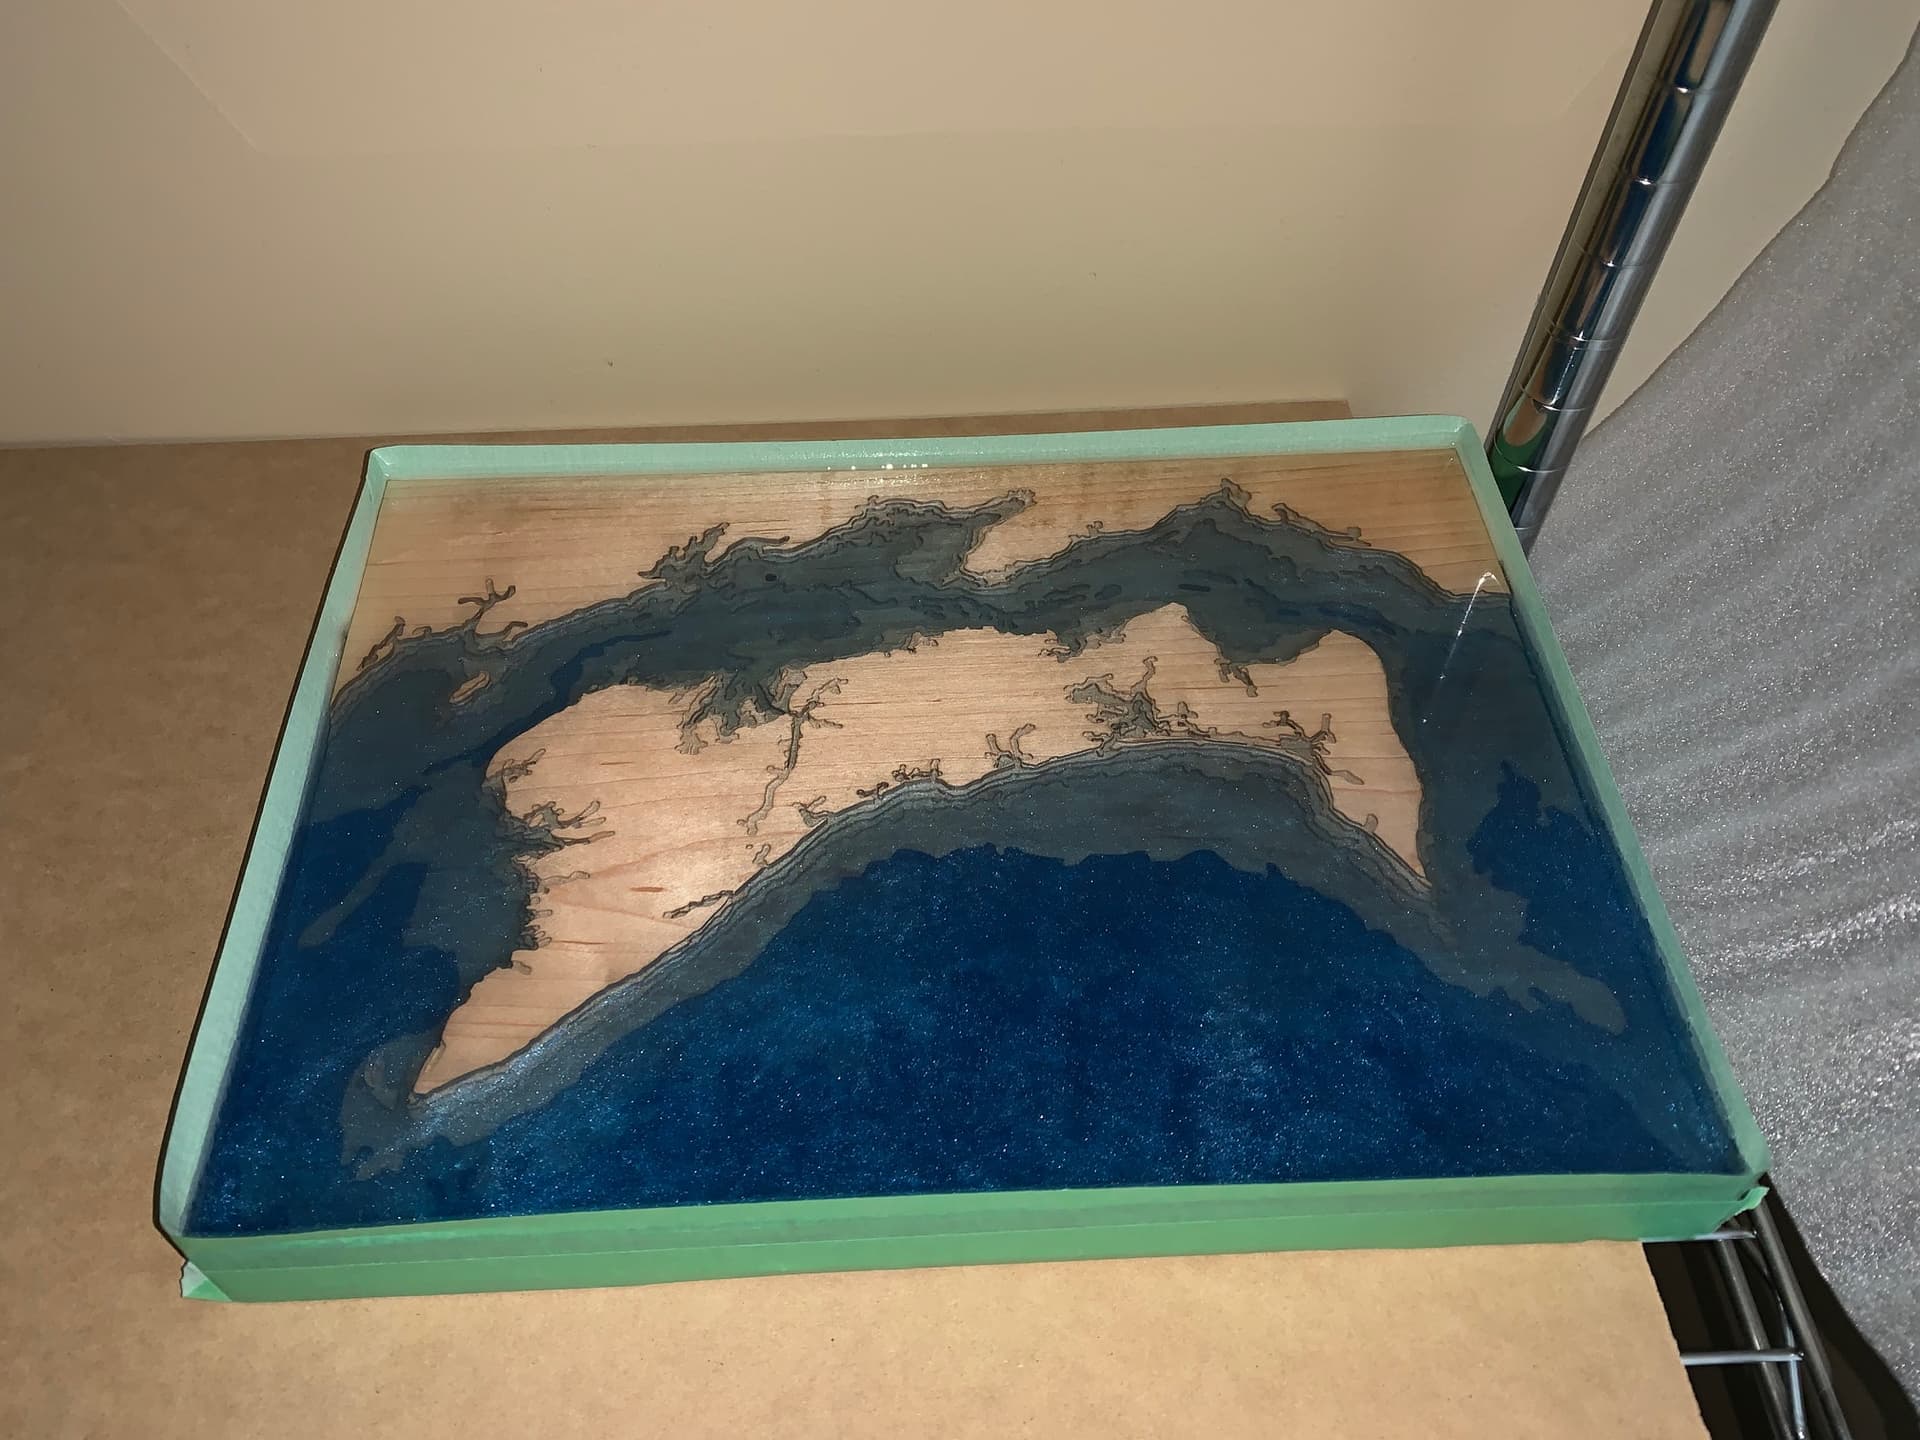
Using water-clear, 2-part resin (Amazon) and a pack of various liquid tints, I tried some samples to get colour ‘strength’ per drops of tint (broadly, I found these transparent colours worked with 8 drops per 50ml of mixed resin). The first step was to paint a fine coat of clear resin on the face-down surface of the wood and clamp the part onto the glass whilst this sets - the purpose of this being to seal the wood against the glass and stop any colour bleeding between honeycomb cells. I didn’t fill right to the top of the cells either, say 2mm below the surface, as I found a really nice Meniscus effect happens with this proportion and so one side of the coaster is glass-smooth, the other is ‘old world curvy glass’.

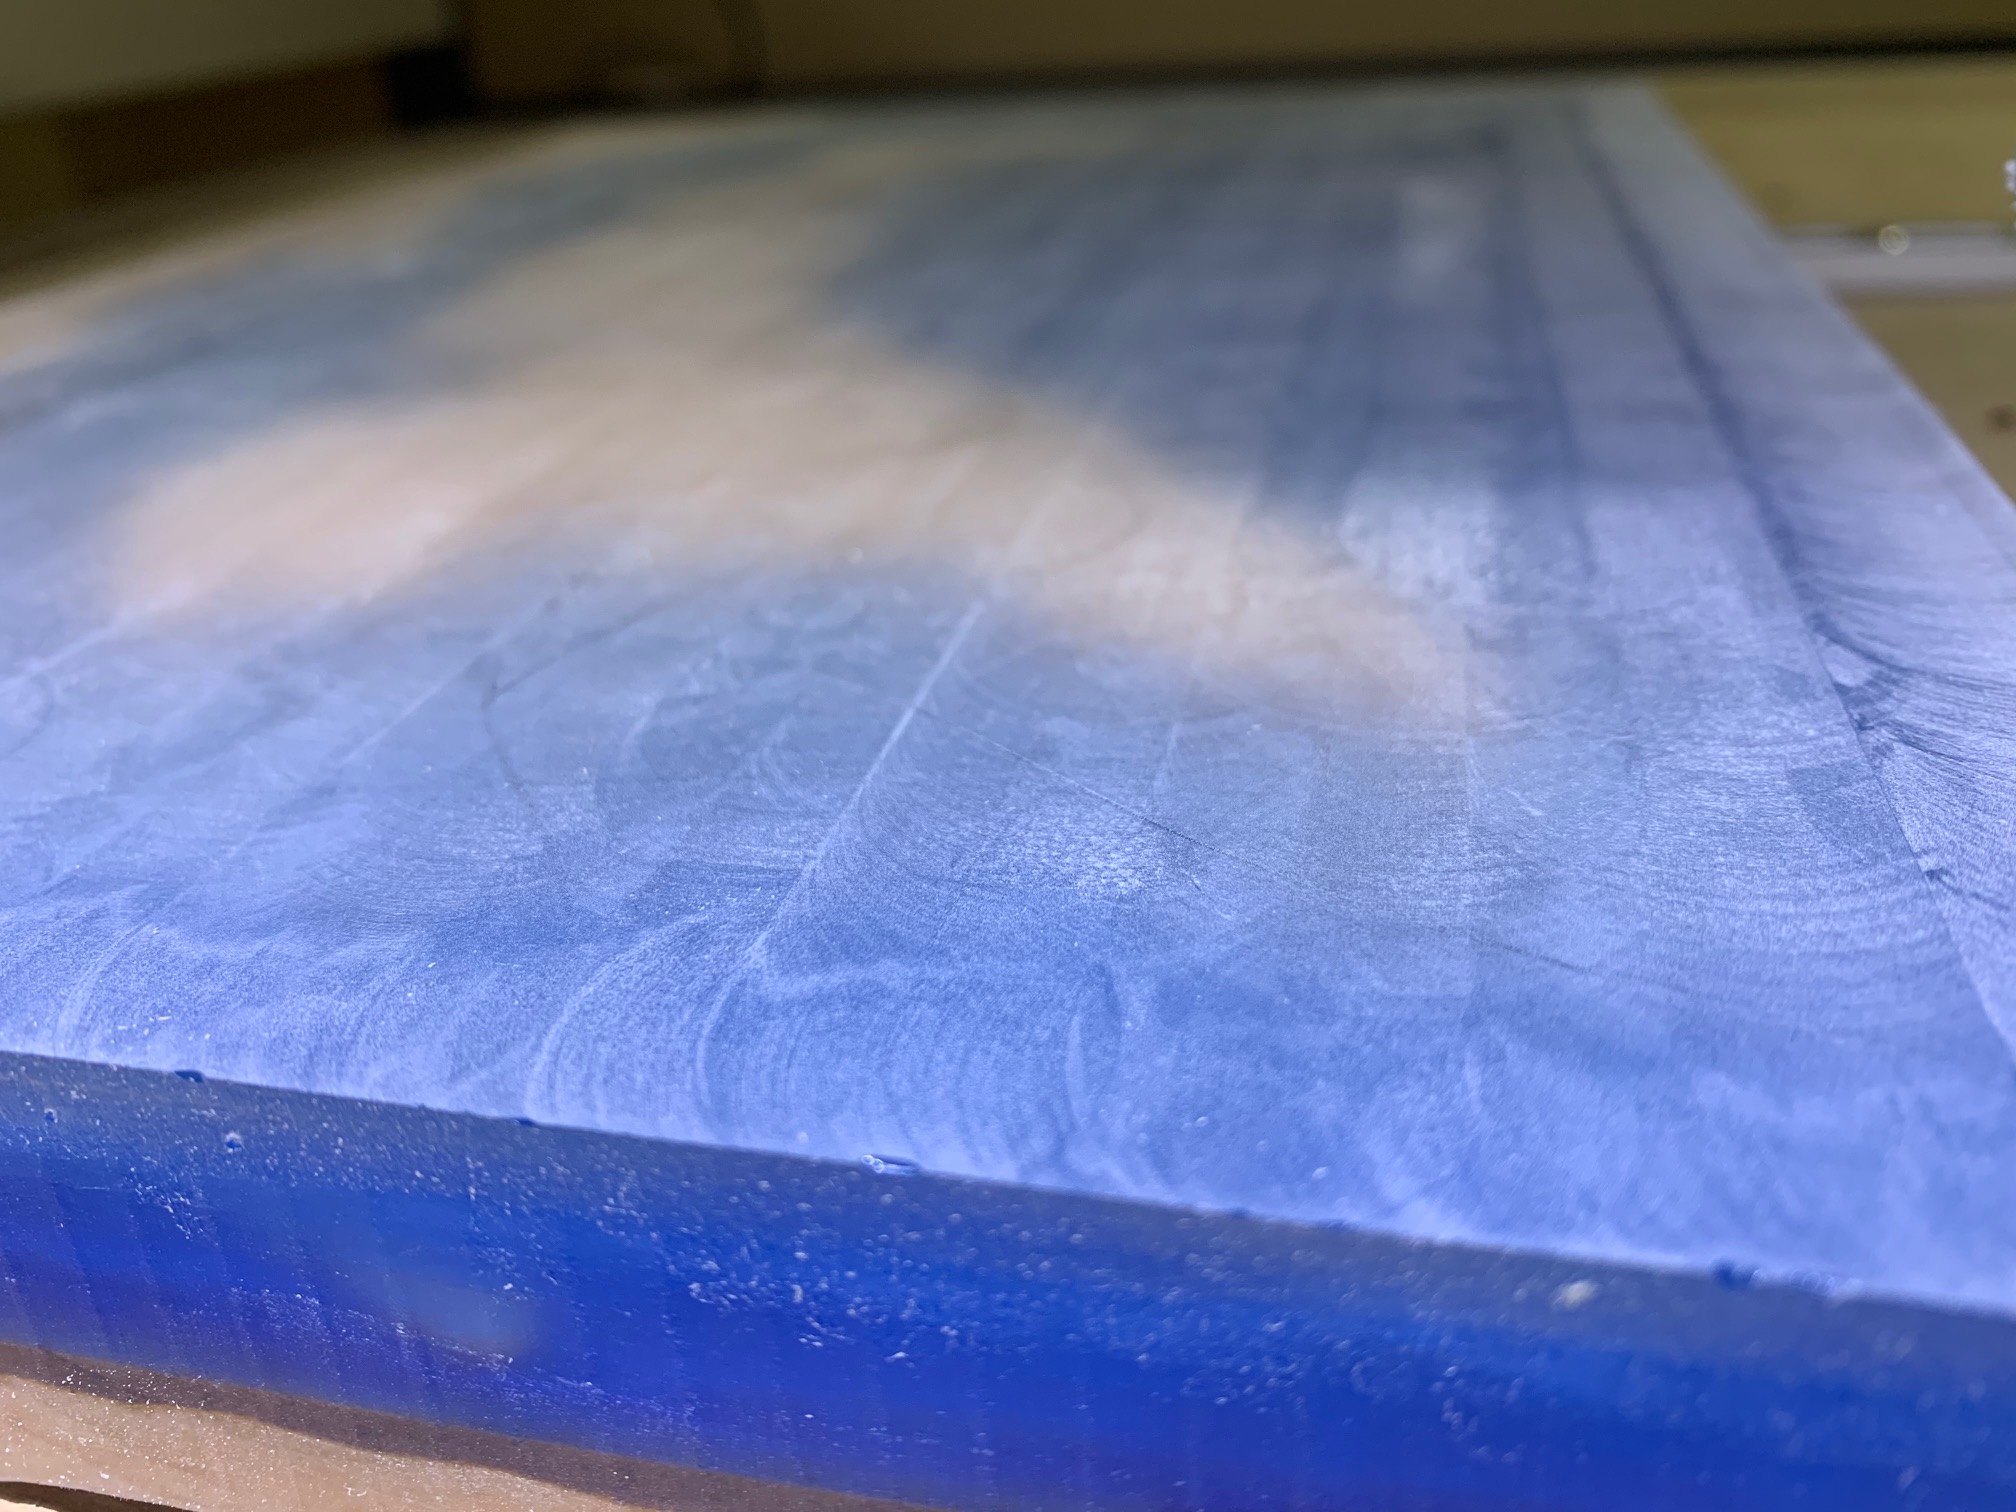
First pair poured and very happy with that. The only issue was adhesion to the glass made it tricky to ‘pop’ the coasters off once set - I switched to plexiglass for the second set as a gentle flex was all that was required to release them, but I still got the glassy finish.

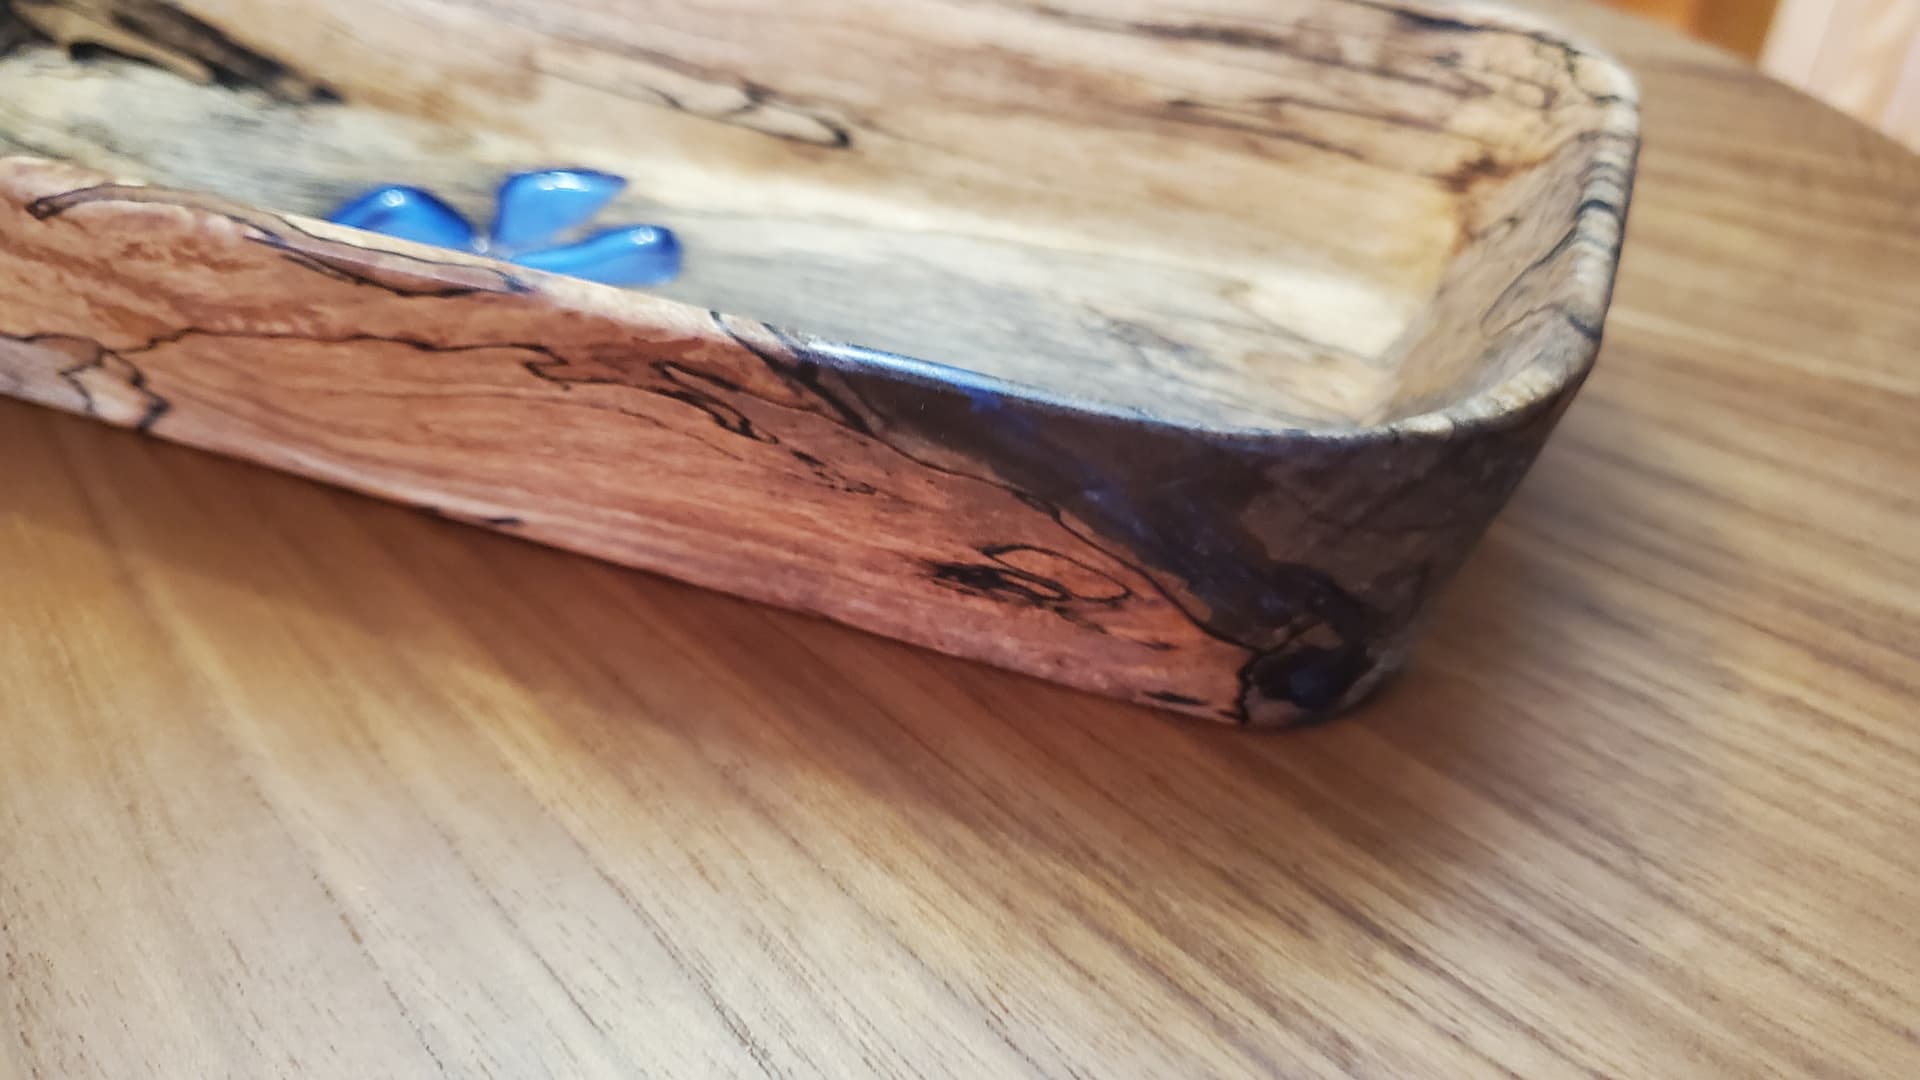
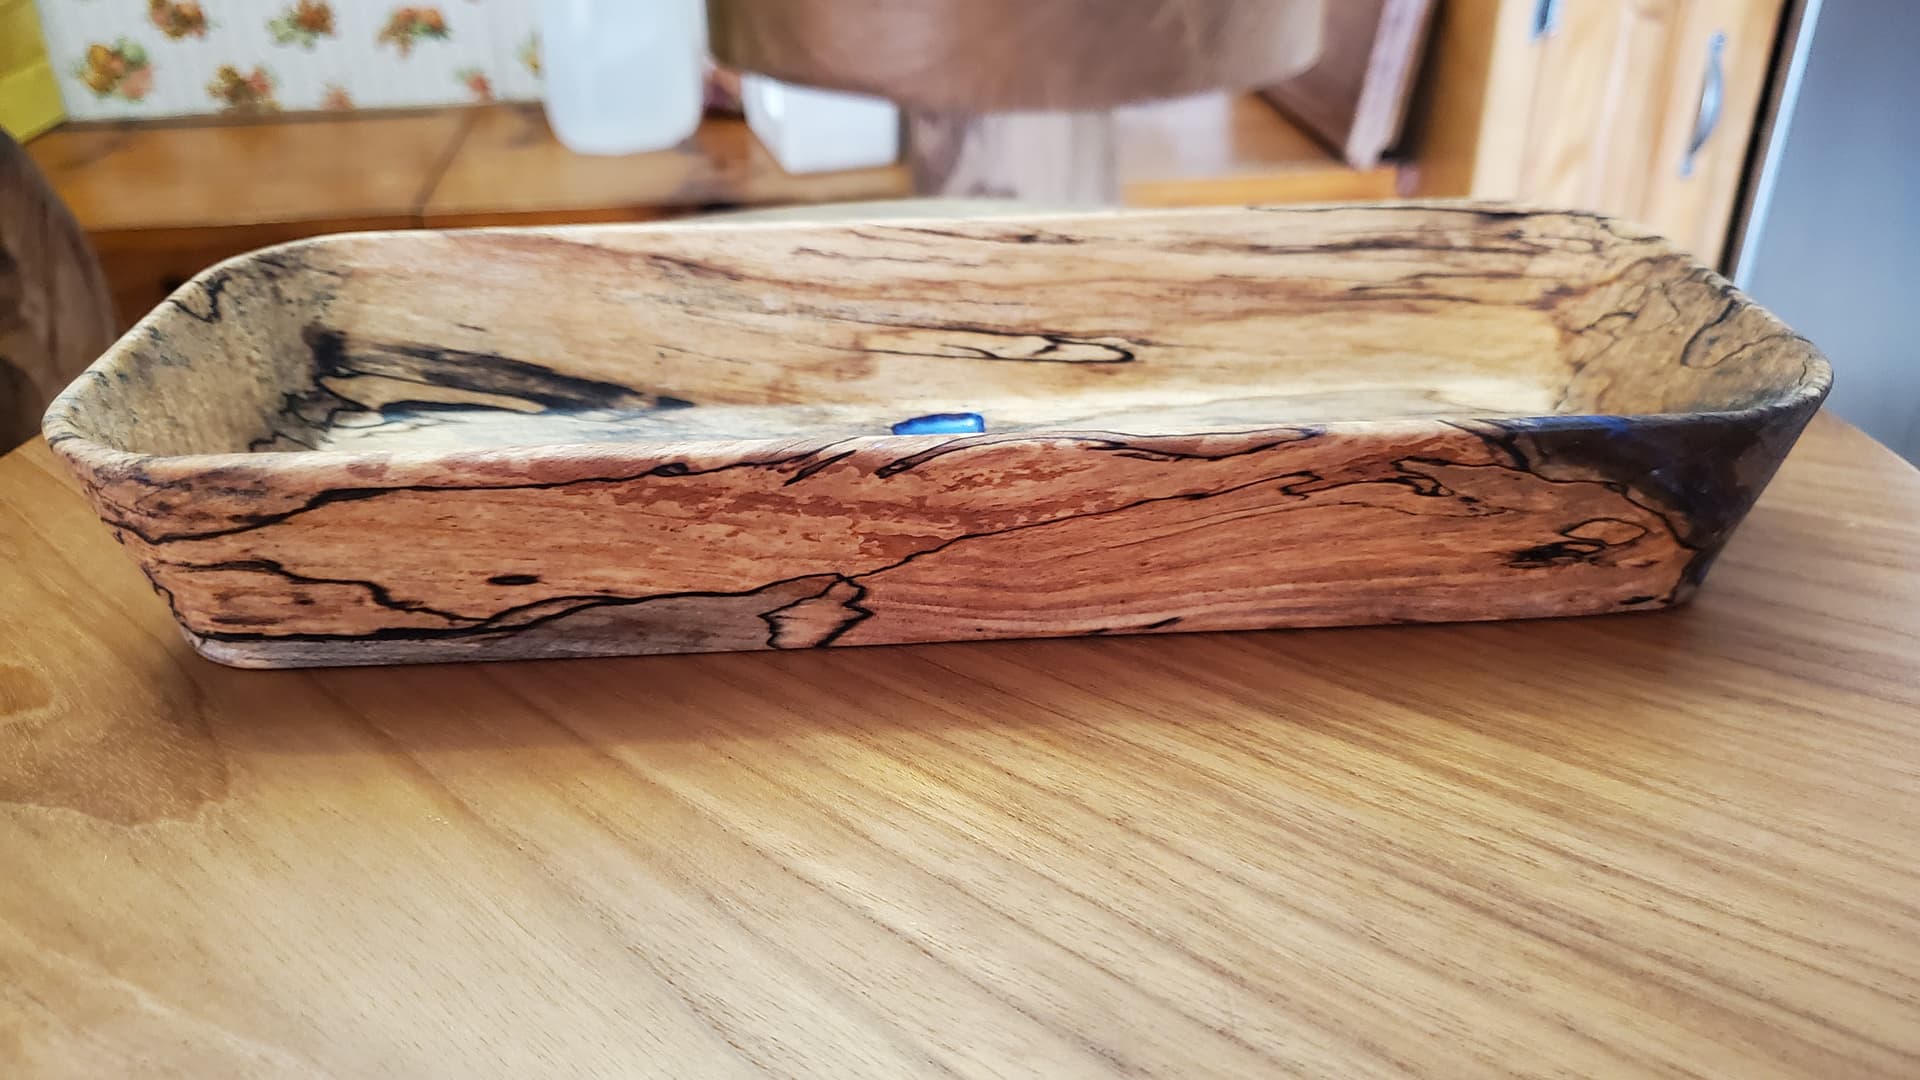
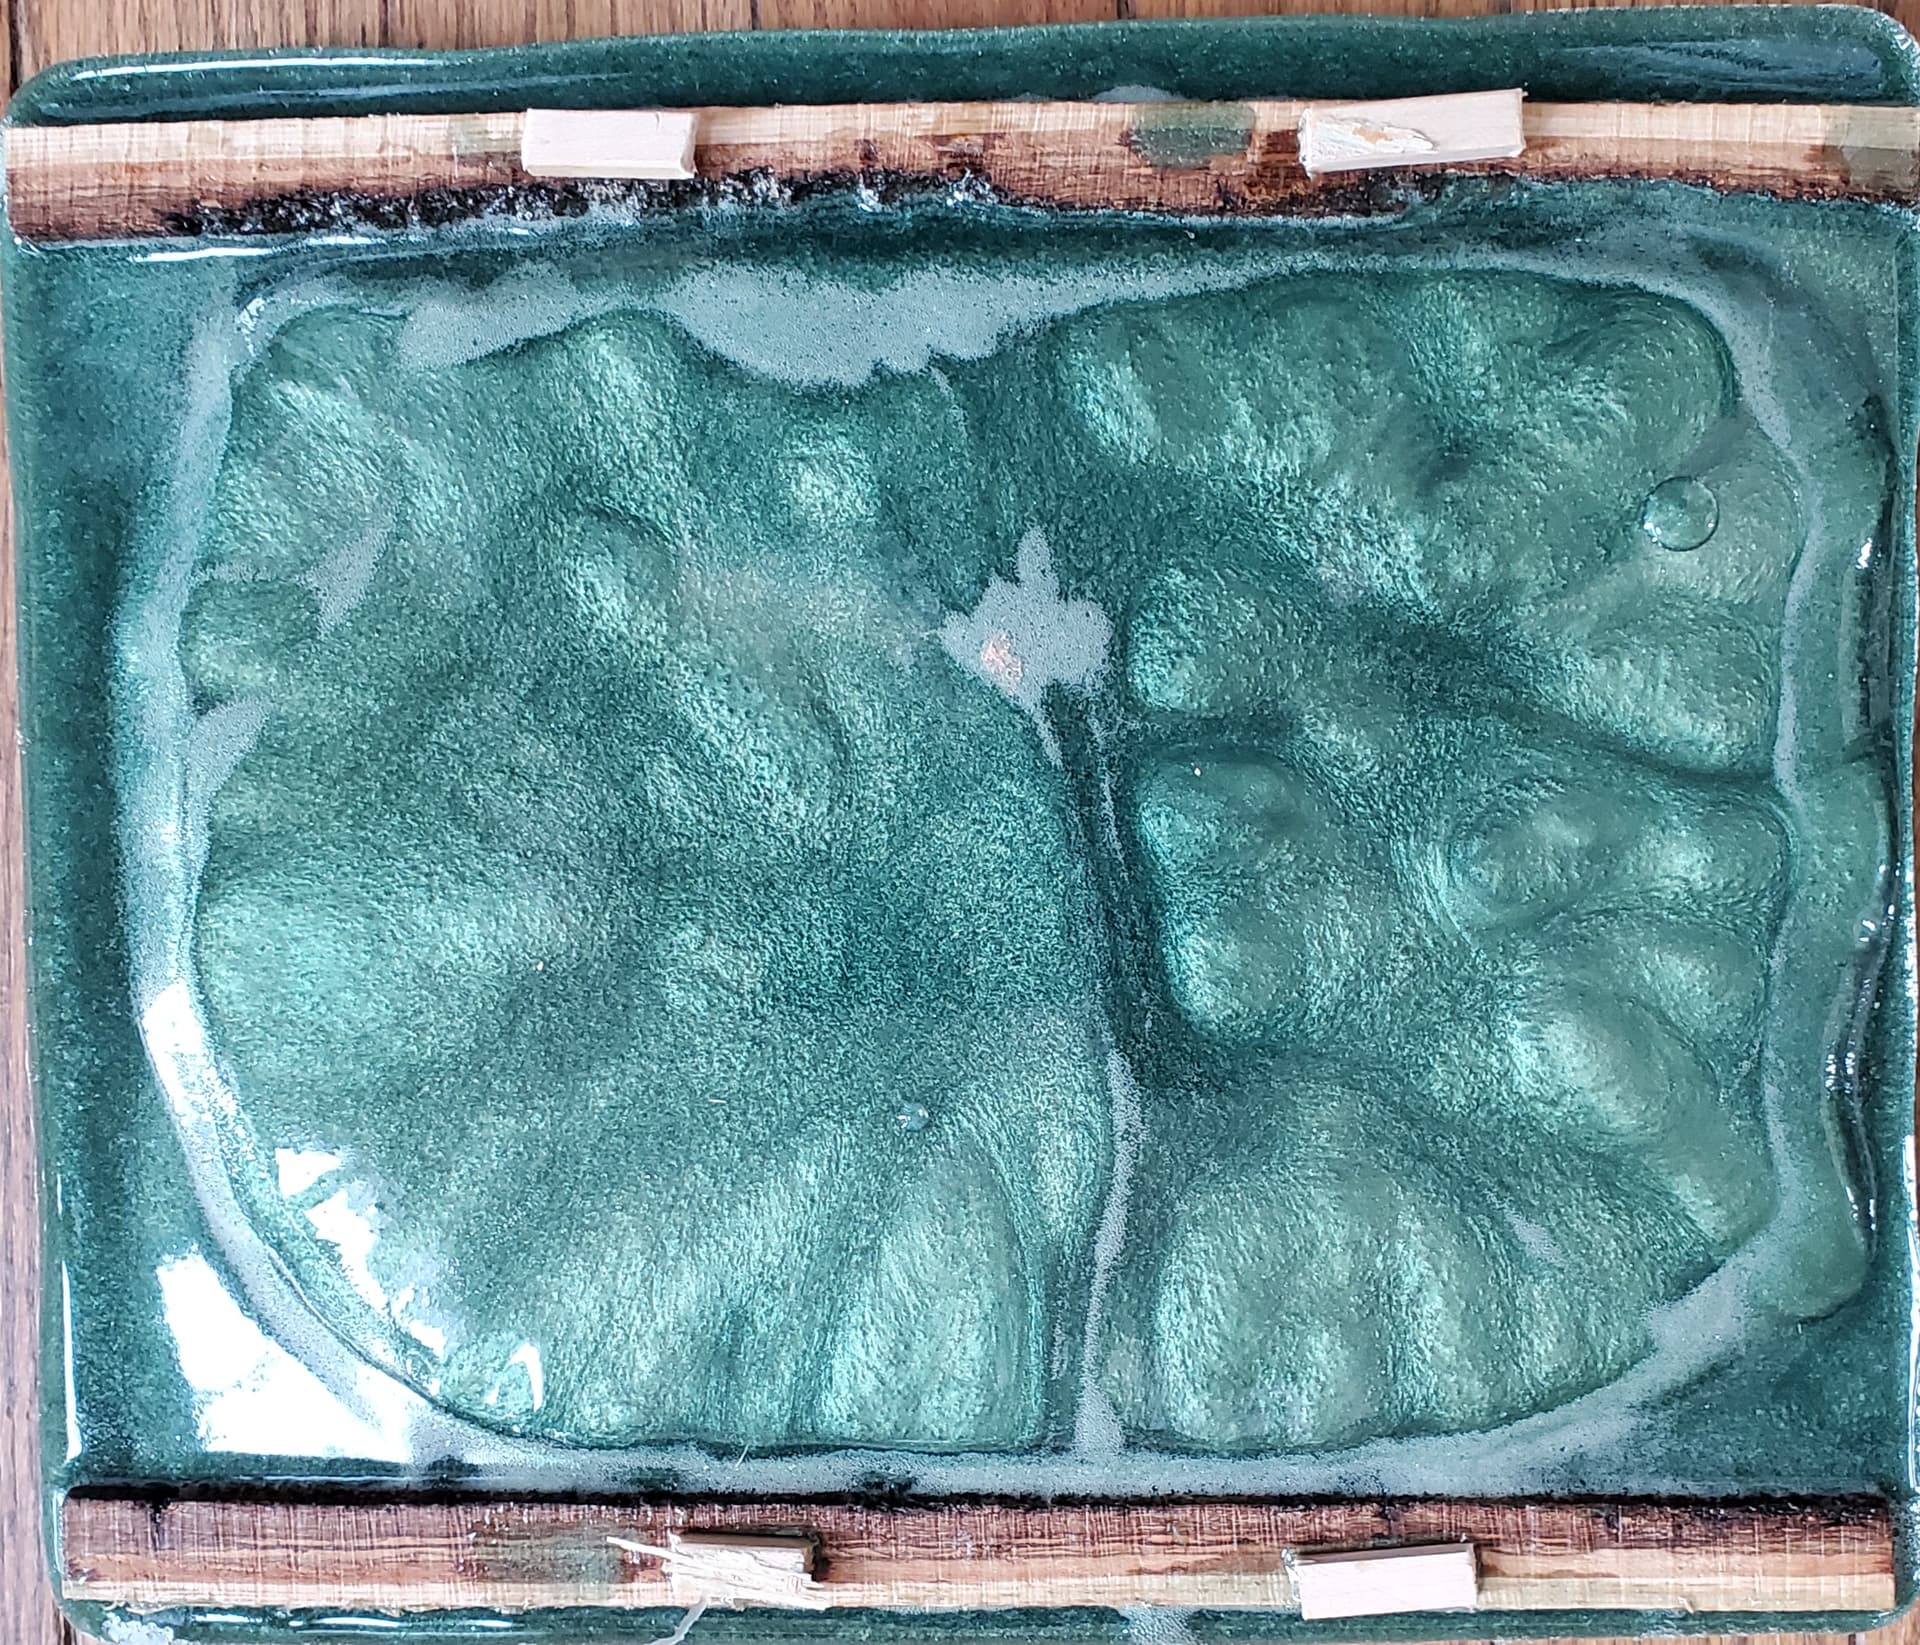
This shot nicely shows the Meniscuses (Menisci?) forming as the resin sets.

To achieve the controlled pours, especially in the smaller cells, I used a silicone pouring jug and pinched the spout to get a very fine ‘spout’ that was easy to control. Any left-over resin was easily removed from the jug by just squashing it in my hands until all of the resin had released.

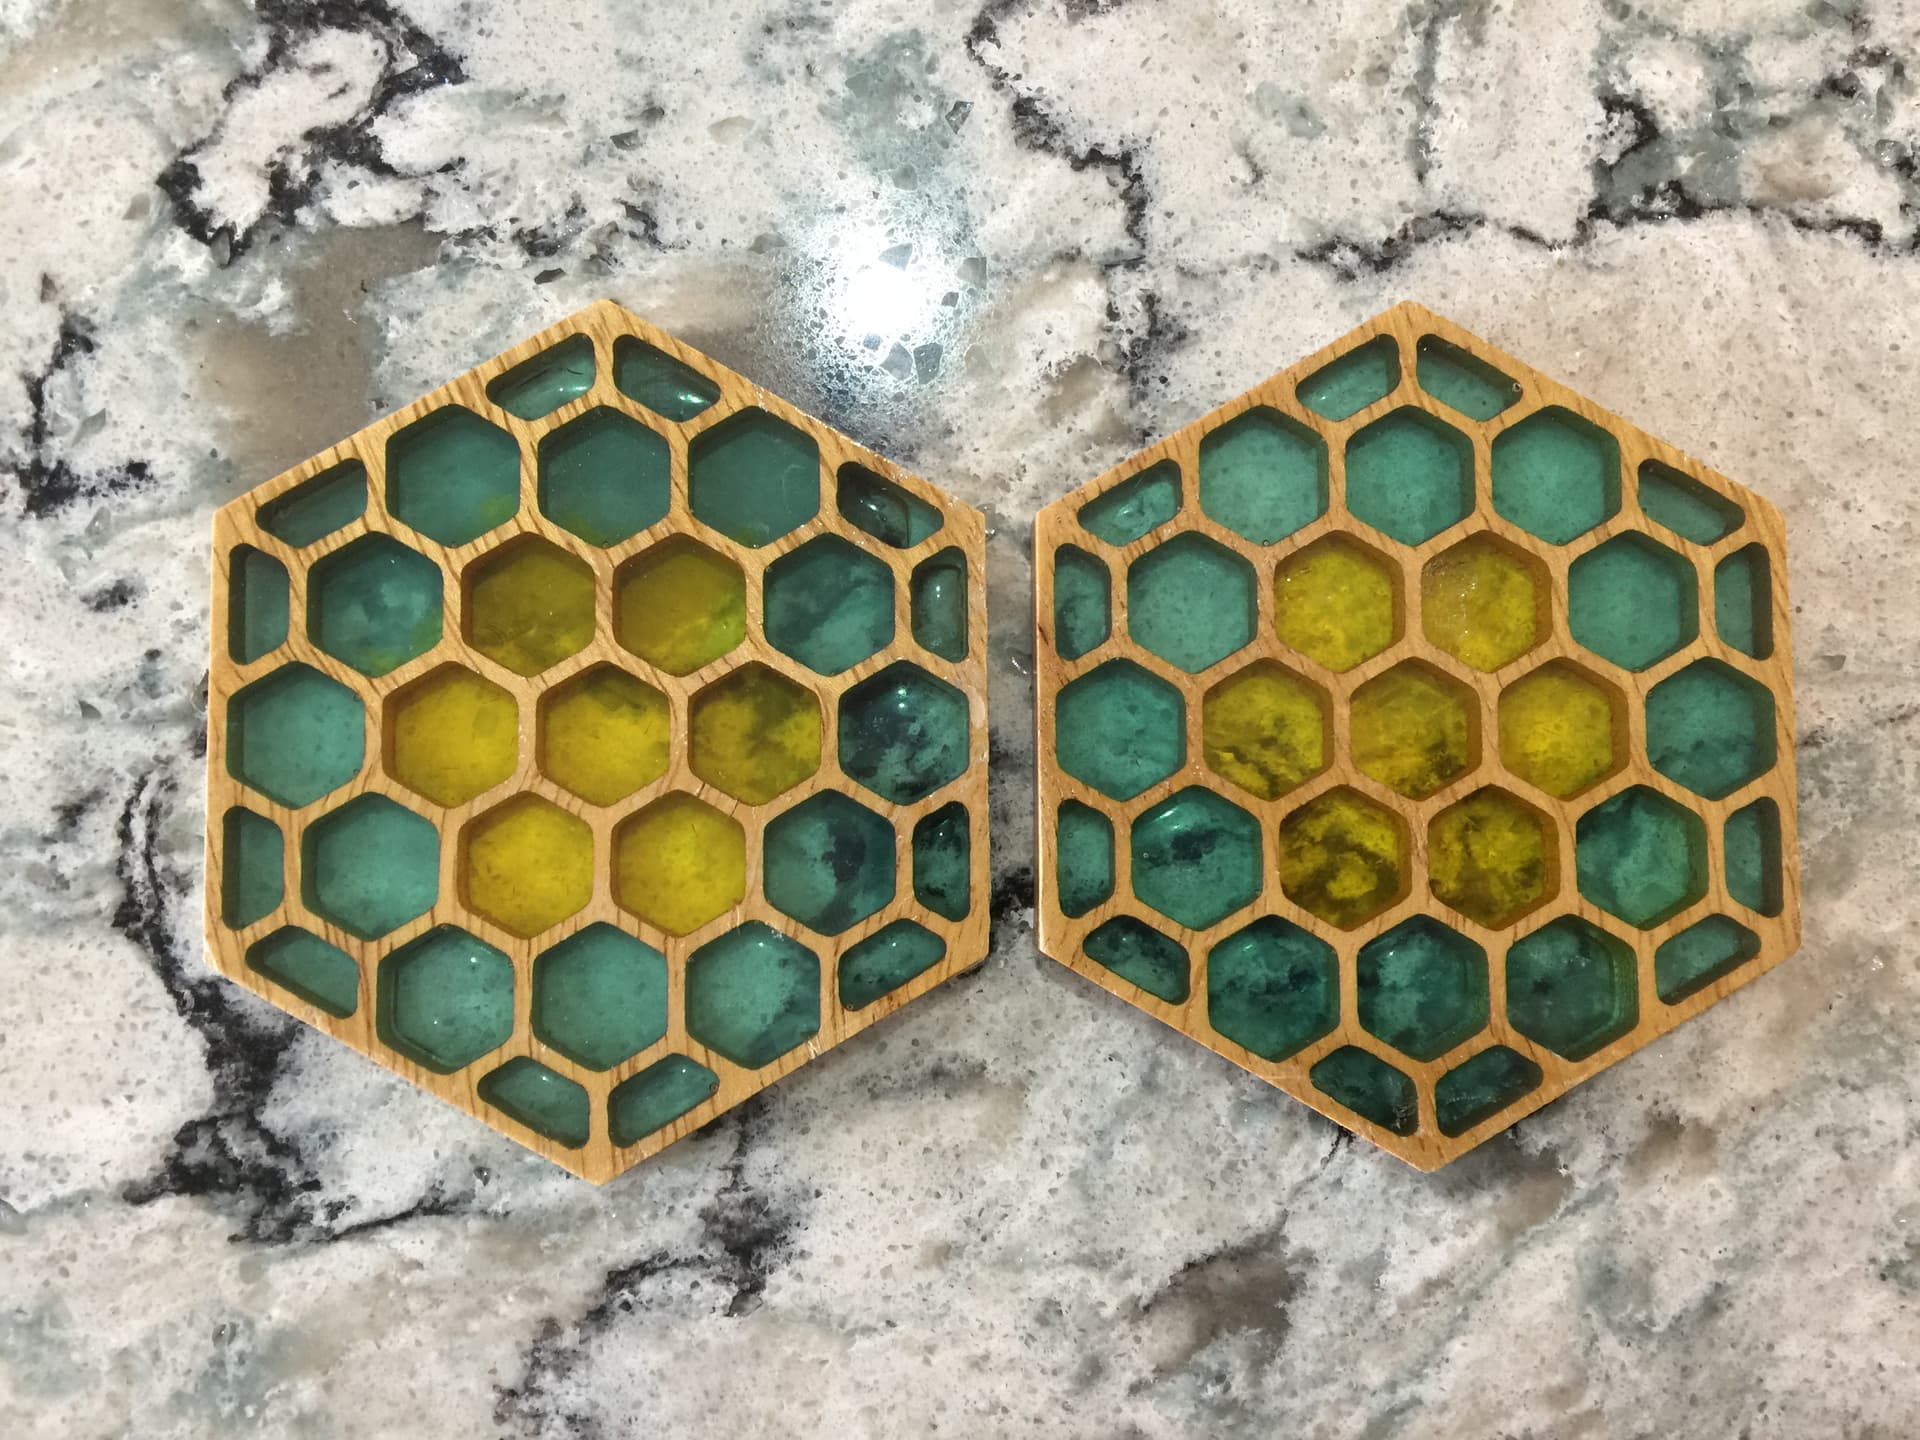
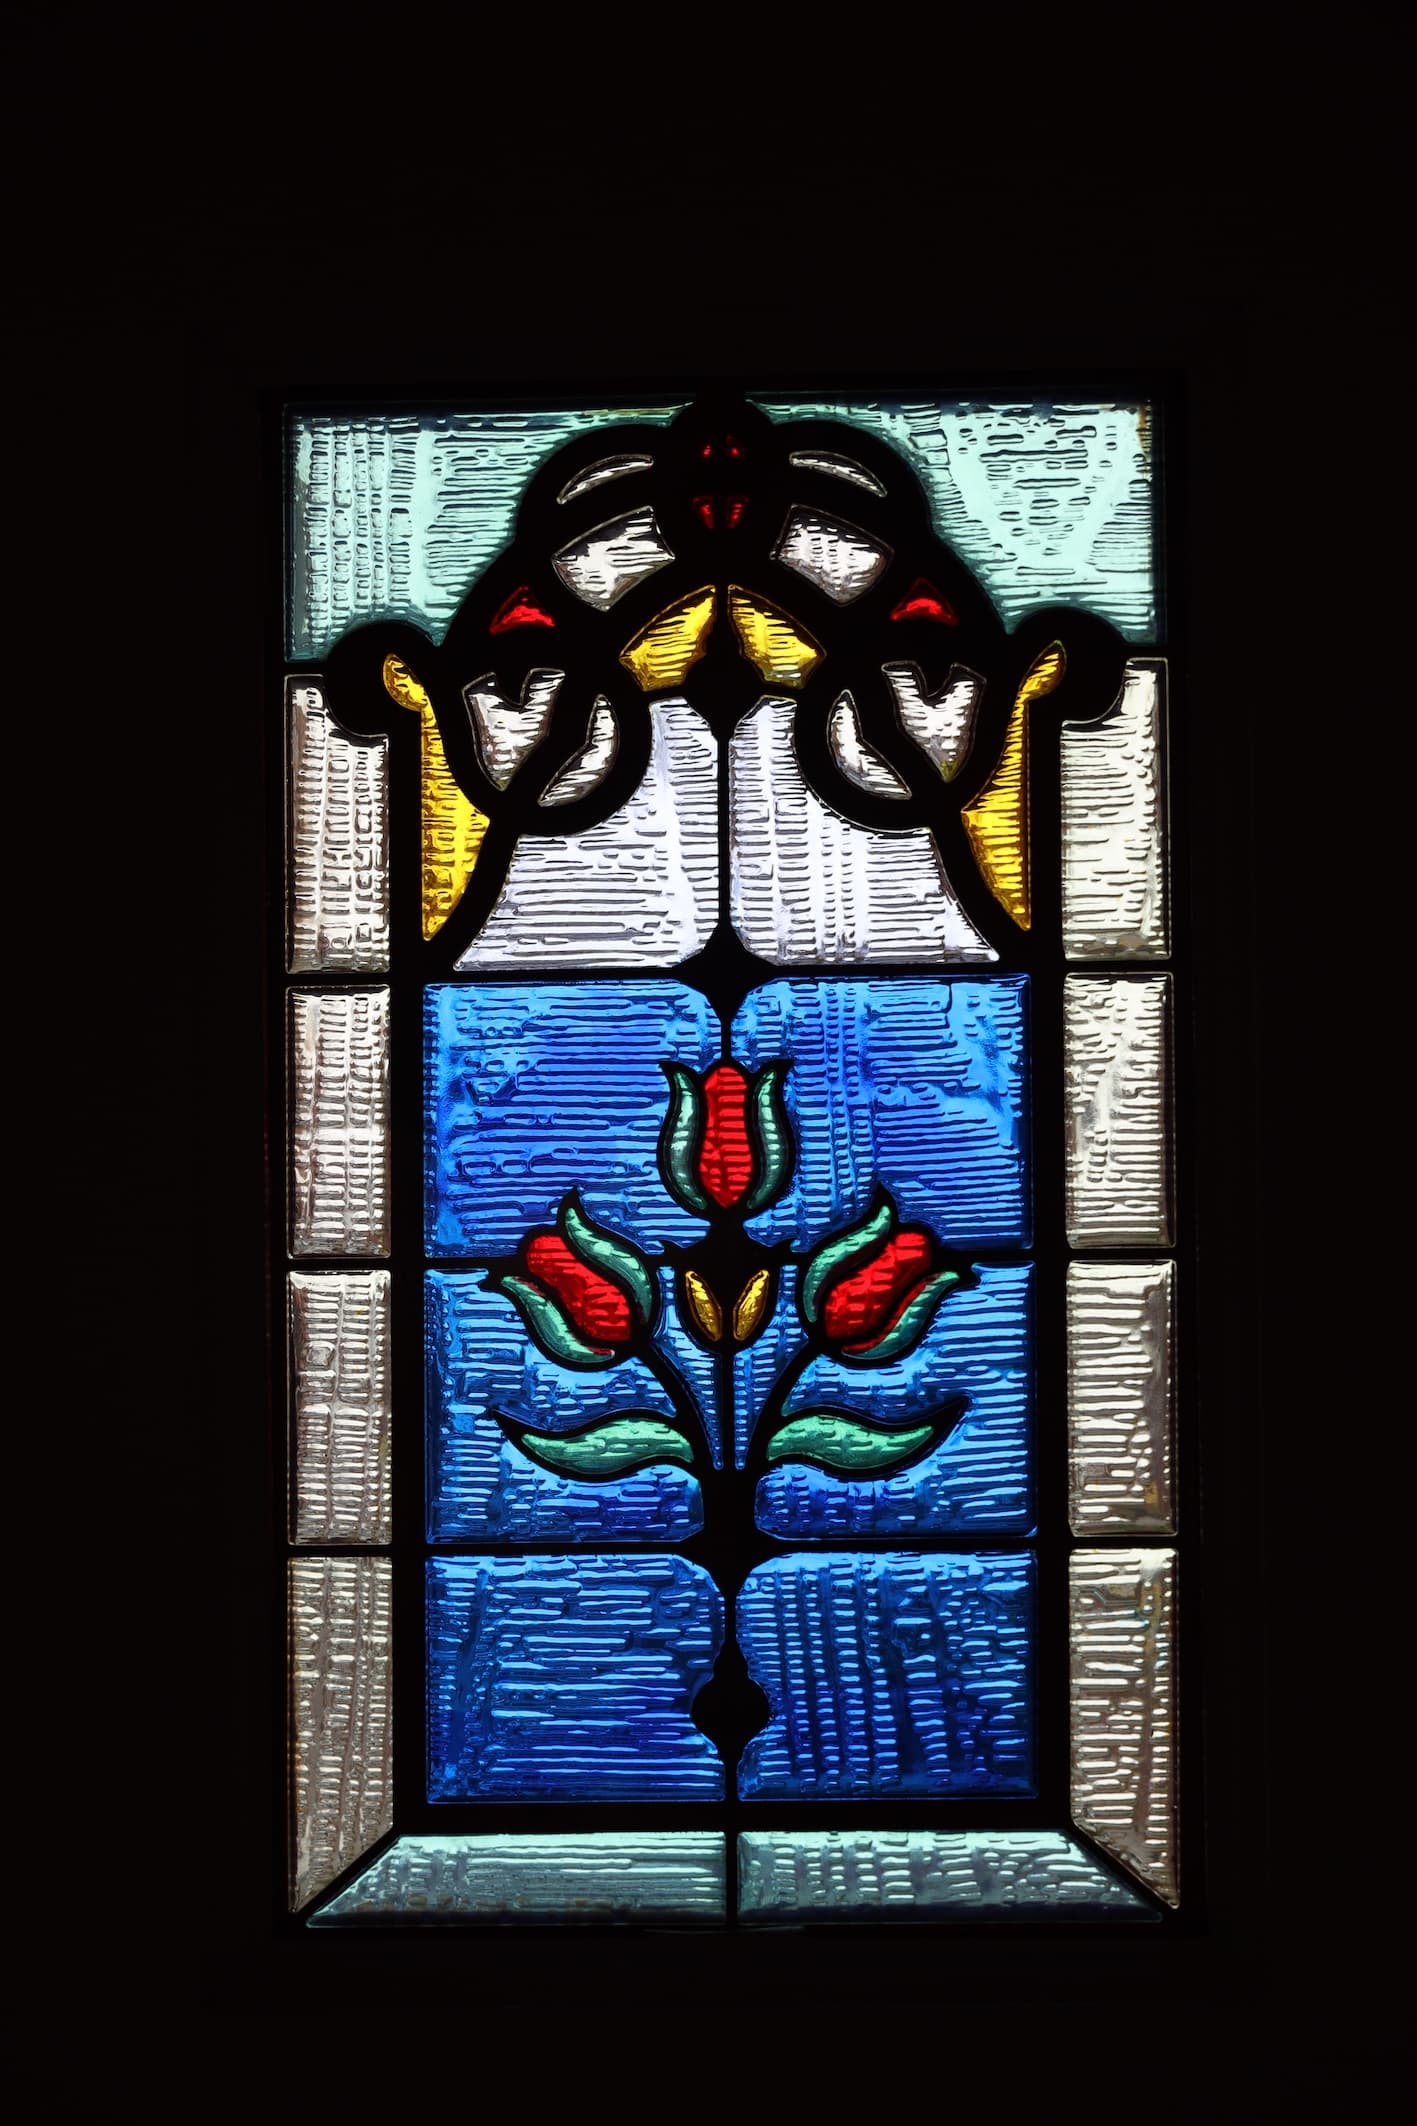
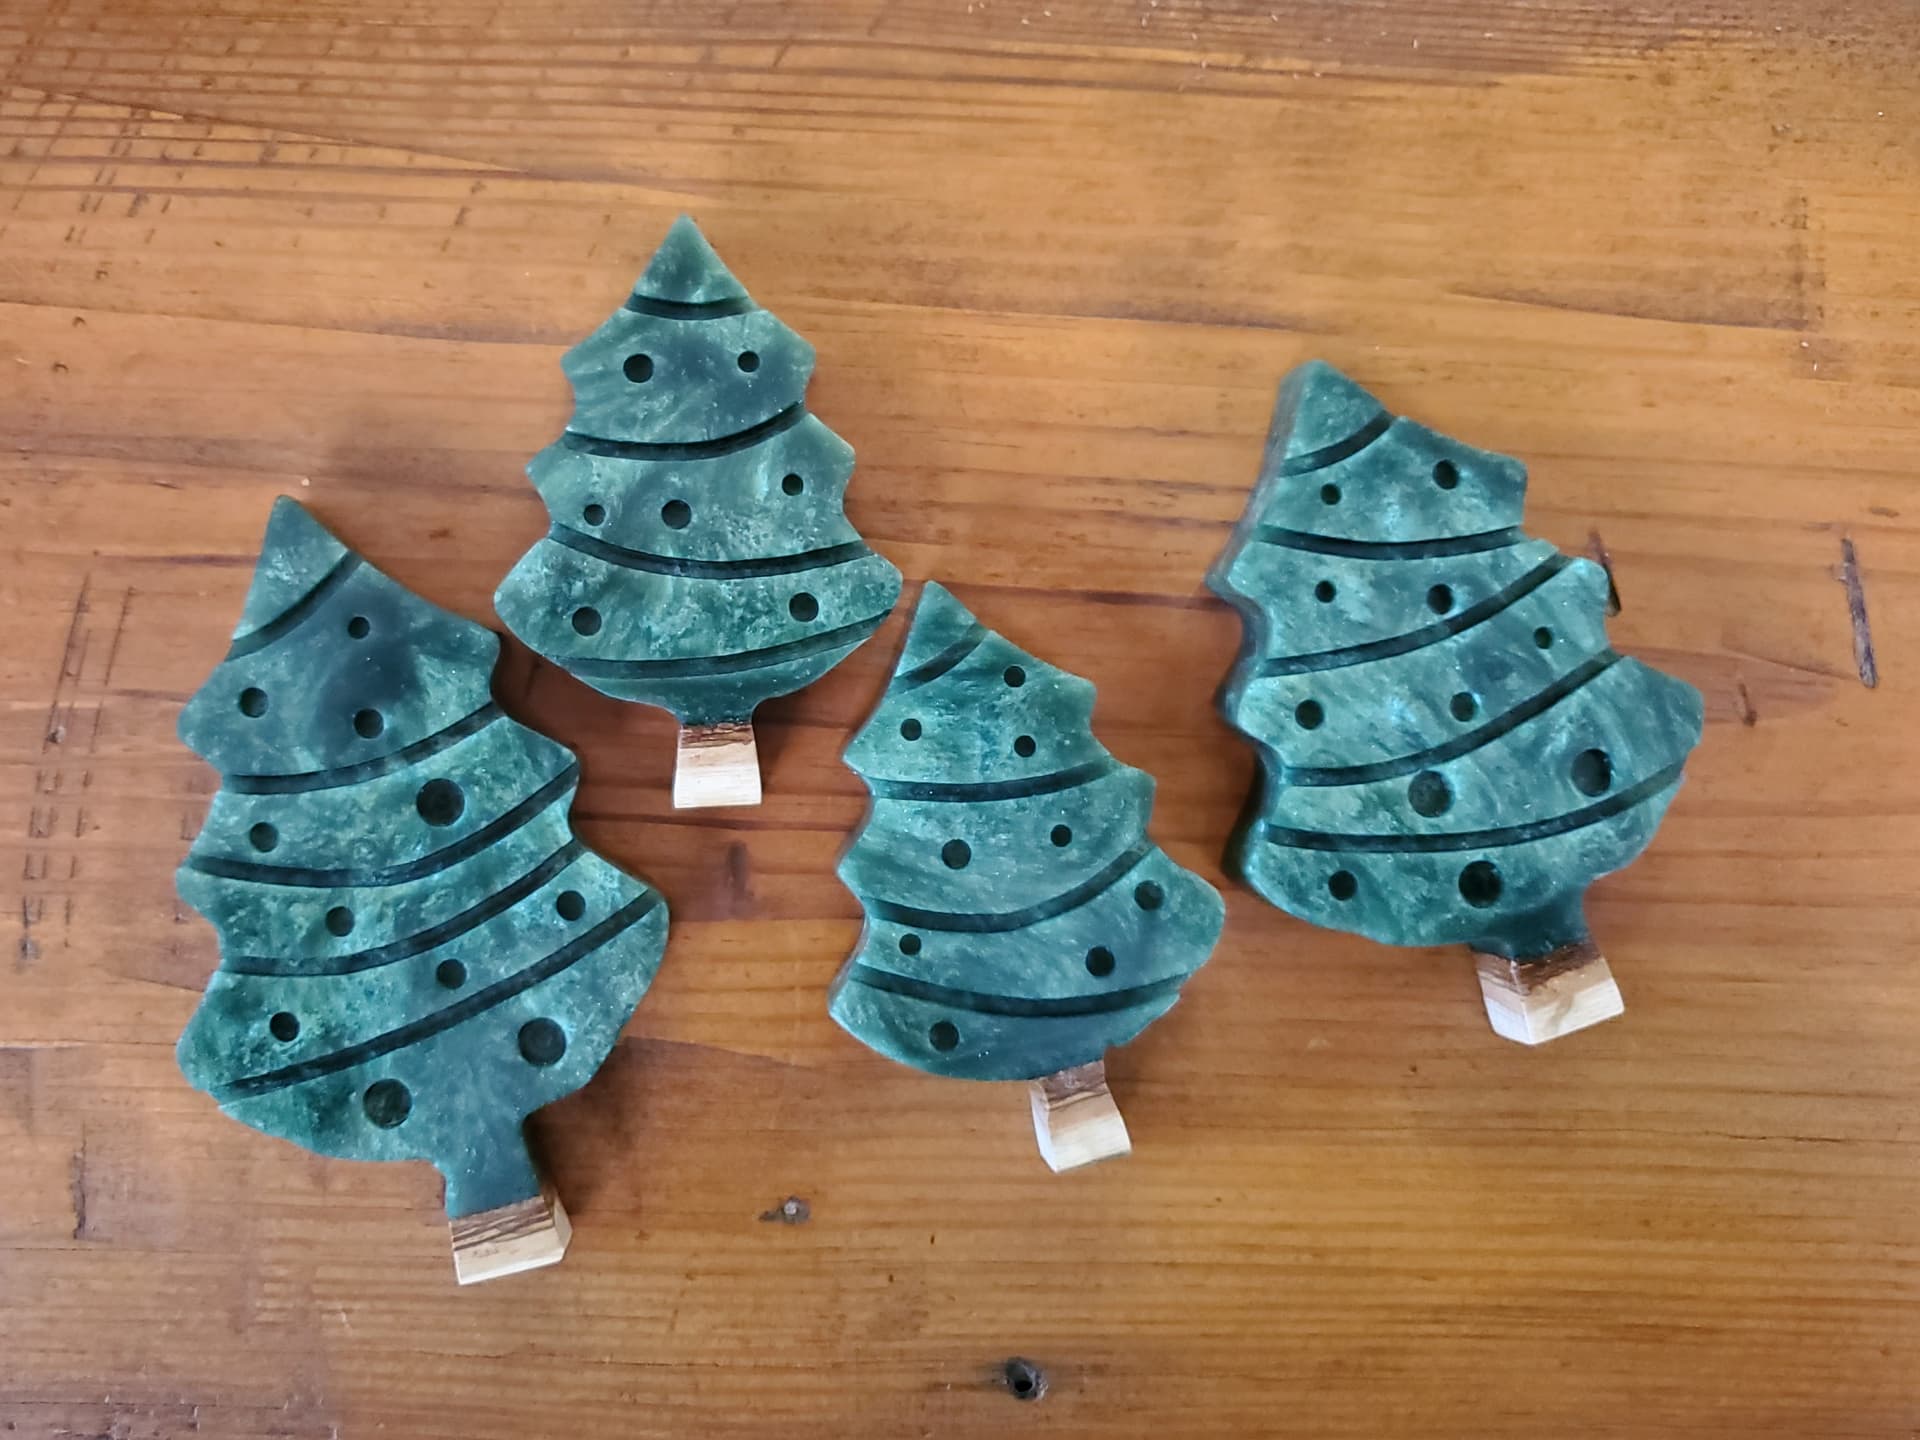
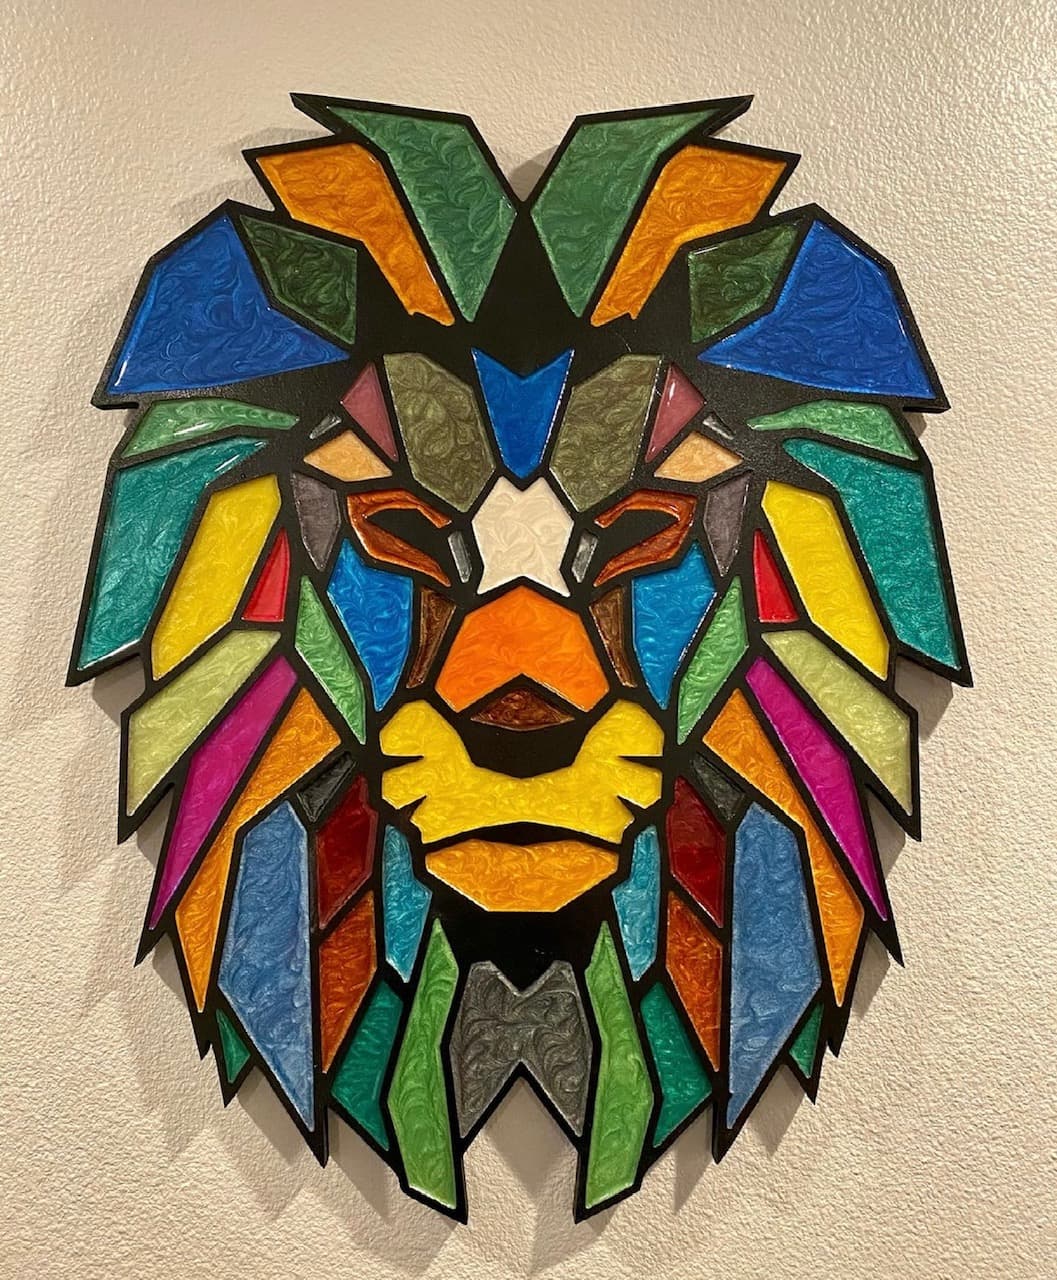
Very happy with these results, so were family members who no surprise got ‘hand made’ coasters as gifts… In fact I was so emboldened by this that I decided to try something more ambitious - a stained-glass window made using the same techniques.

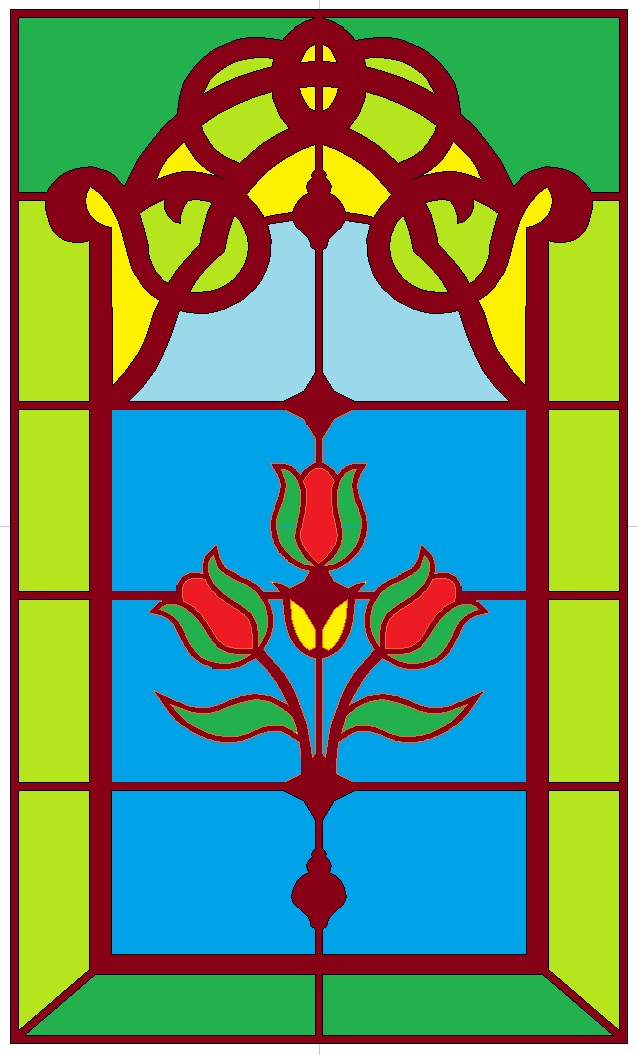
I looked for inspiration from doors I walked past, and decided on the traditional ‘London Look’, so took a few pictures and traced vectors around the ‘capping’ and trellis areas, then found a tulip SVG and incorporated that into the design. I picked very fine geometry for the webs, which proved challenging when cutting - in hind sight I would have gone a little thicker to make it easier. However, it worked.

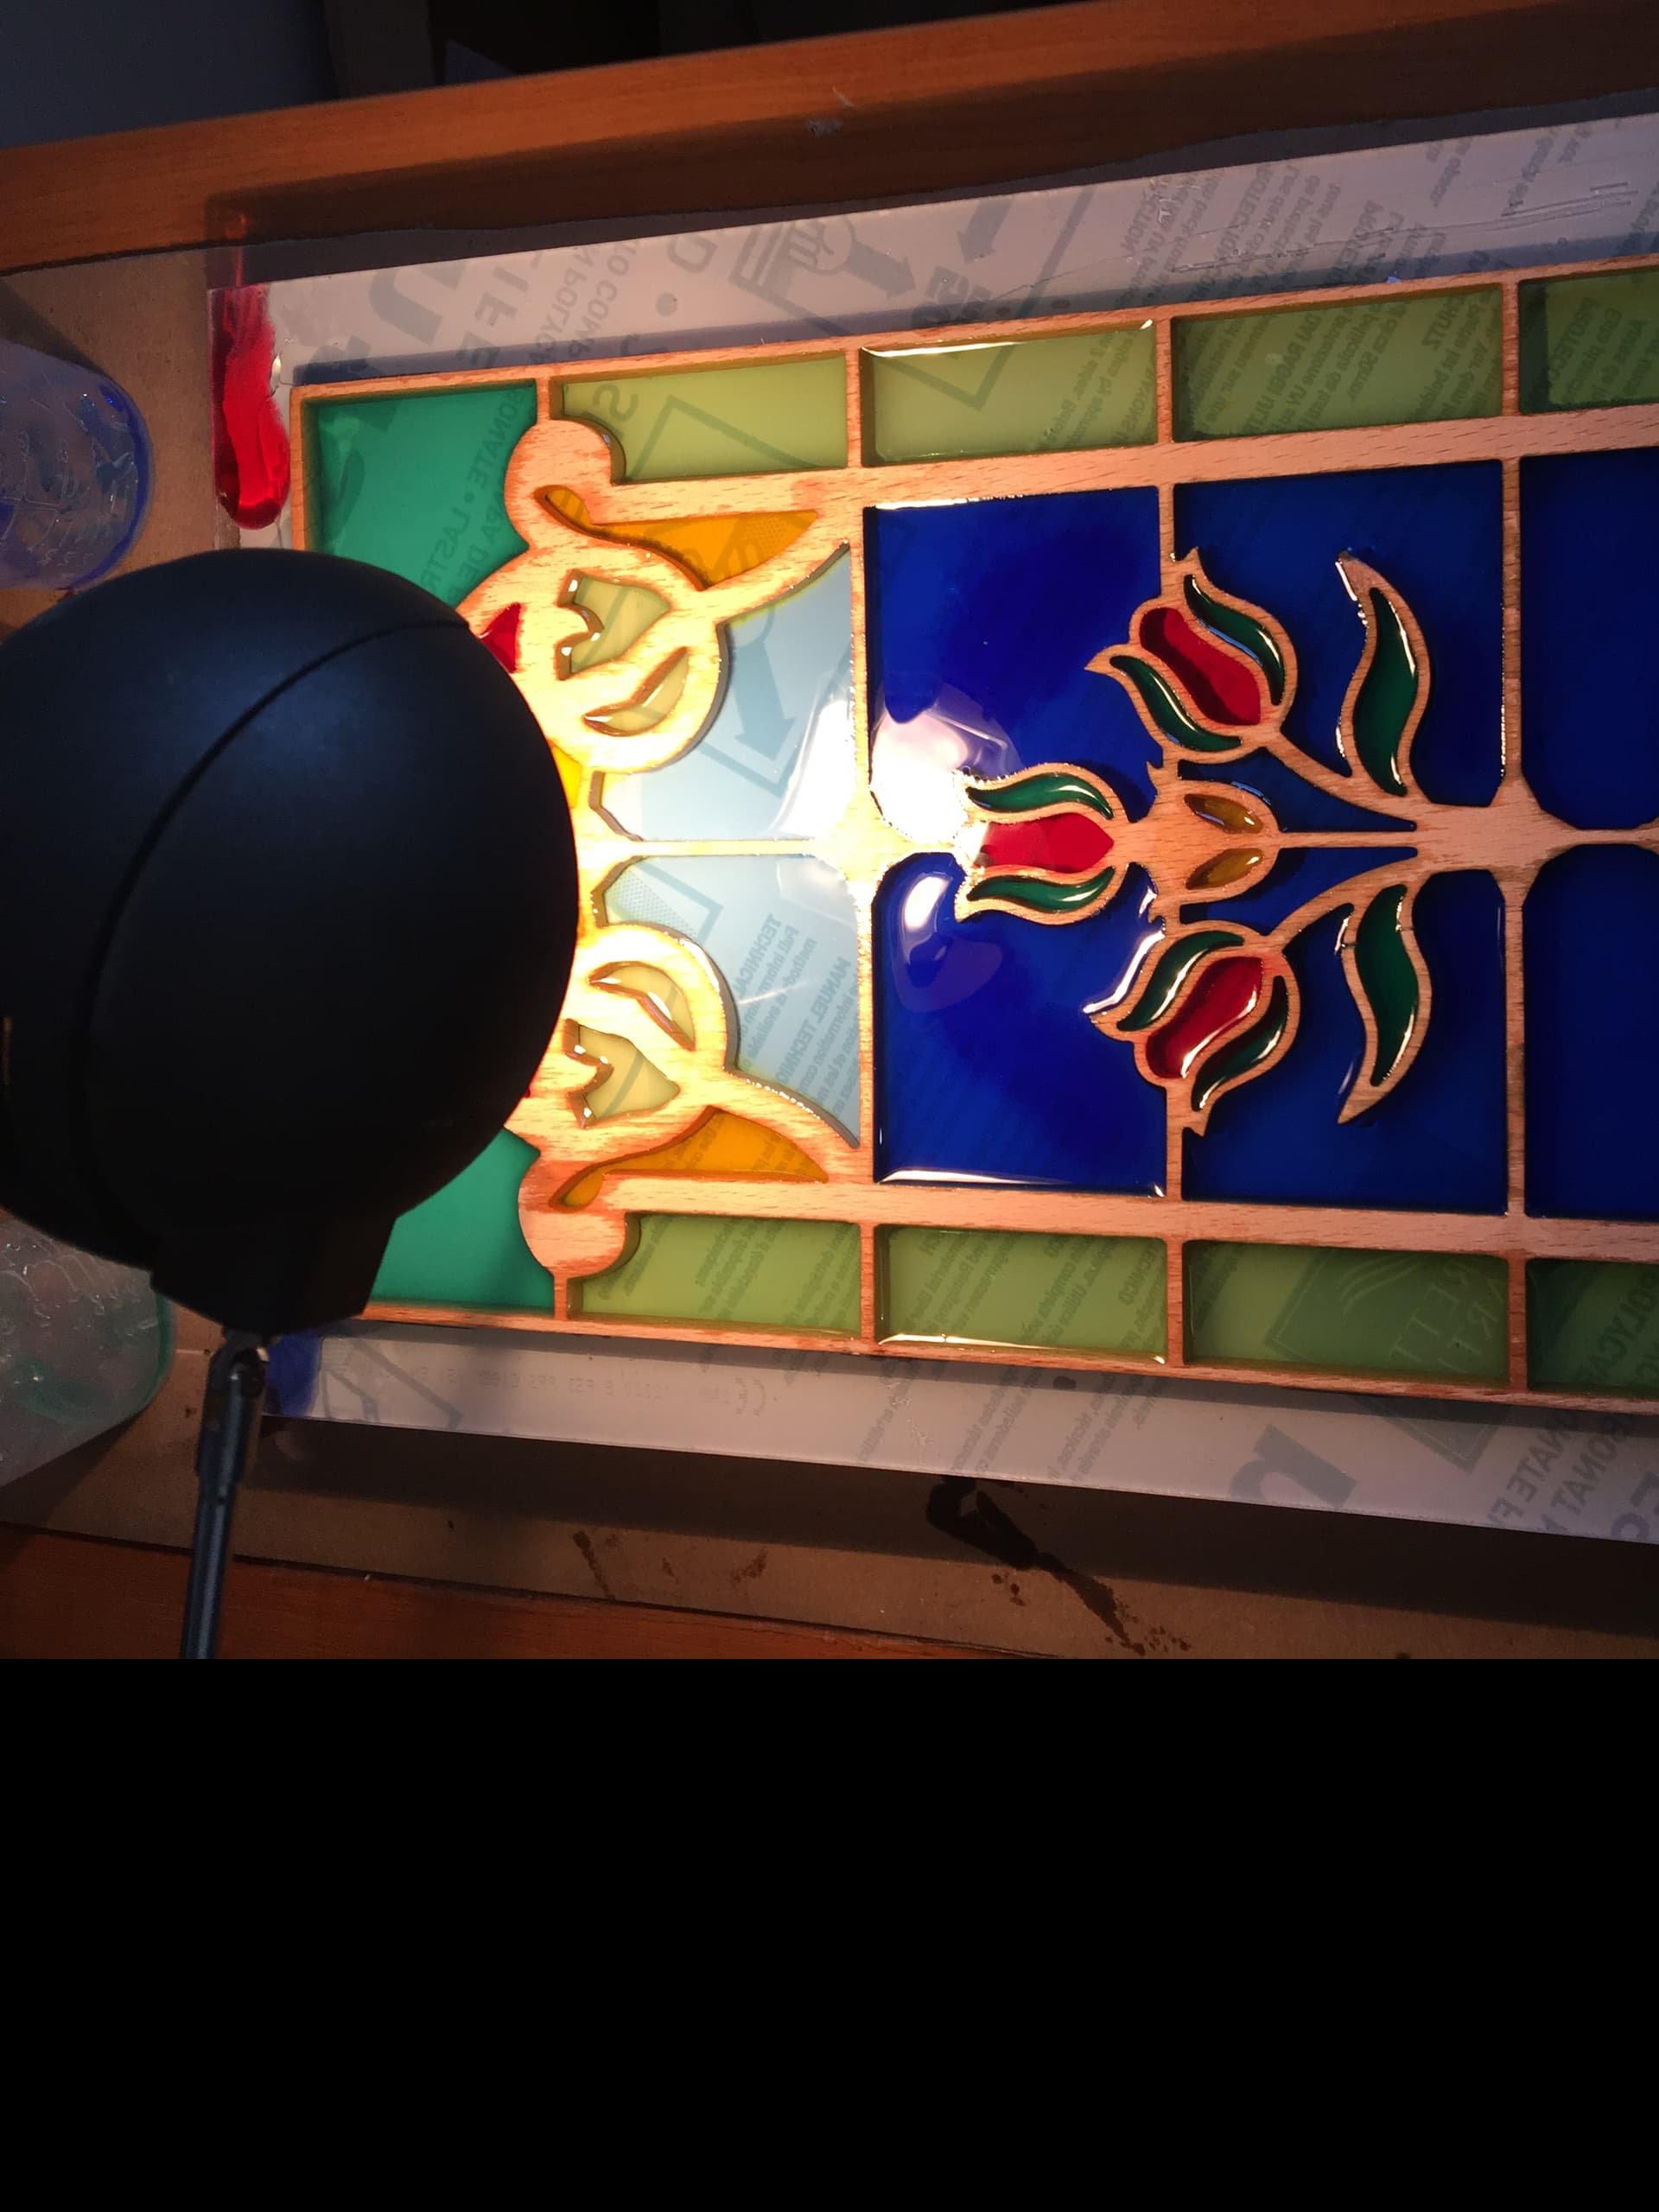
This time after tacking the frame onto the plexiglass I also brushed clear resin onto the inner faces of the wood to stop bubbles forming in the main pour, and then used a halogen lamp to speed up the setting time.

I will shortly add ZIP files of the CAD files (Vectric format).

Honey Comb Single and Triple Layout.crv.zip (274.9 KB)
Stained Glass Window CRV and SVG.zip (1.5 MB)

(These files are on CutRocket too as “Resin and Wood Combinations”)

16 Likes

Those are really nice, and a good write up too, I think I might have to try some epoxy now if things that good are on offer.

2 Likes

I have a suggestion for those getting ready to pour epoxy this weekend. Have a plan in case you have extra epoxy, don’t let it go to waste. For example, I’ve made some small boxes and left over epoxy has been poured into those boxes to give them a finished floor/bottom.

17 Likes

I end up with rough-milled lumber and “seconds” from cut-off scrap piles at lumber stores that have splits and knots in them for exactly this reason. Even small “defects” can turn into a really cool accent with a drizzle of epoxy to fill them in and then flatten later with a hand plane (or sander, or whatever).

2 Likes

Mandalorian themed bedside table for my son.


8 Likes

I made this projects for the family. Didn’t take any pictures during the the process. I used my Shapeoko 4 XXL Hope you like them.


If anybody is interested in the files, just let me know, I will be more than happy to share them.

10 Likes

Cribbage Board -P.E.I.

I made a cribbage board of Prince Edward Island for a good friend. I started with getting depth charts(i-Boating) for Canada and the U.S., from there I picked PEI maps and started tracing.


The simulation looked good so it was off to cut
I used 1/4" downcut endmill to clear most of the wood and then went in with a 1/8" downcut endmill, finished it with a 1/16" downcut endmill.
Now after finding the volume for each depth, I now can pour the epoxy. I had seven depths and I wanted a dark colour on the bottom, then gradually get lighter. I used Ryver epoxy and the coloured powder they supply( Aurora pigments).
When I finished the pouring of the coloured epoxy, I poured a clear coat(about 1/8" deep) of epoxy so I can carve the numbers in and have them look like they are floating. Then a final pour of clear epoxy and then drill the holes.


When I made the hole pattern, I was able to have the finishing point at the place my friend grew up(trying to make it a little more personal). I pocketed out the back for some peg storage, carved our name in the back, and added some feet.


If there are any questions I’ll be happy to answer them. if you are interested in the files, I would be happy to sell them to you(It did take several hours to make the files).
My latest board I’m working on and almost finished.

The wood used is Maple and they are about 14"x10"x1.5"

21 Likes

Latest resin piece in Spalted Beech wood and resin


21 Likes

My son and I made this table together. First time working resin. Project came out better than expected.


18 Likes

Continuing the discussion from Community challenge #26: Resin:

I made these little trees from a slab of resin and wood that I mixed in a baking dish.

They are between 4 and 5.5 inches in height and .75 inches thick so they stand up by themselves

The “balls” and “garland” could be filled with colored resin for a more festive look, but I liked the simplicity of the green.

I used a photo of the slab as the background in Carbide Create to ensure I got the tree trunks lined up with the wood strips in the slab

This is the slab after I flattened it

This is the raw slab after it came out of the silicone baking dish

13 Likes

I love cutting these mosaic animals. This one is a lion head and it measures 30"x24" and its cut on 0.75" MDF. I pocketed it out I go about .200 depth and then cut out the profile with an outside offset. I used a 1/8" down cut bit with feeds and speeds at 160/30 and .100 Depth per pass.

After cutting I sprayed with Shellac and foam rolled the black. then I sprayed shellac again before doing epoxy I foam rolled the black after because it was kind of spur of the moment thing and didn’t want to wait for the black to dry before cutting. Then I slowly mixed up some pigments from amazon and poured each individual color. I wait a few minutes then take a tooth pick and mix the epoxy up to get the swirled effect. After a day of drying it is good to go. I use a saw tooth hanger on the back to hang it on the wall./


CutRocket link is with file is here:

21 Likes

Here’s one of my favorite lake maps, due to the edge.

This lake actually flows into another. So it was a dilemma of how to cutoff the lake, since in reality the body of water continues on to another massive lake. Stopping it might look odd to anyone who knows the area. Decided to have it go “over” the edge.

Action shot

Here you can see, the design was still such that it could hold the epoxy

After a full cure (4 days), it was cut with a saw to reveal the epoxy edge. Roundover for corners, then sanded up to 1000 or 2000 grit. While not glass-clear, it’s still very clear.

I’ve learned a lot since then. I now use tiger clamps ironically to do work holding, as I need to leave the top clear for facing.

12 Likes

That looks really nice, it would be tempting to cast a blue epoxy drip for the wall or ‘puddle’ for the floor where the lake exits the side… :grinning:

2 Likes