Curvy Entry Table
(all done on Shapeoko. If my wife and I could make this…so can you!)
File: https://a360.co/2Al4Of2
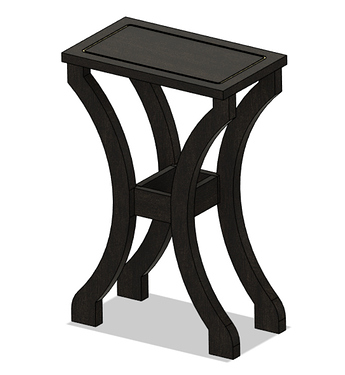
So another honey-do item on my list was an entry-way table to sit under our mail dropbox. This was our first venture into making a piece of furniture (so don’t shoot me professionals…  ) The table was to be about 30 inches tall and about 12x20 inches for the table top. After a bunch of googling for some inspiration, we came up with the below model:
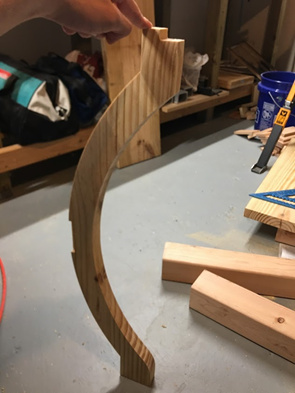
I found some big box store 2x12 lumber that would work for the legs. The legs were to be 29 inches tall and I thought making them 1.25 inches thick would be safe (to take out about 1/8” of warp on either side of the lumber). I planed down the 4 rough (and warped) pieces of pine:
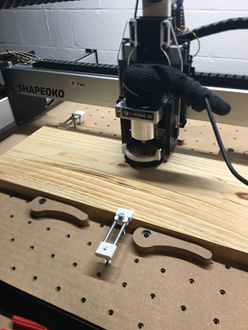
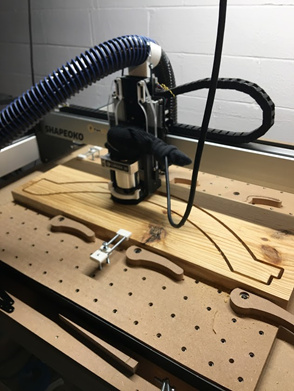
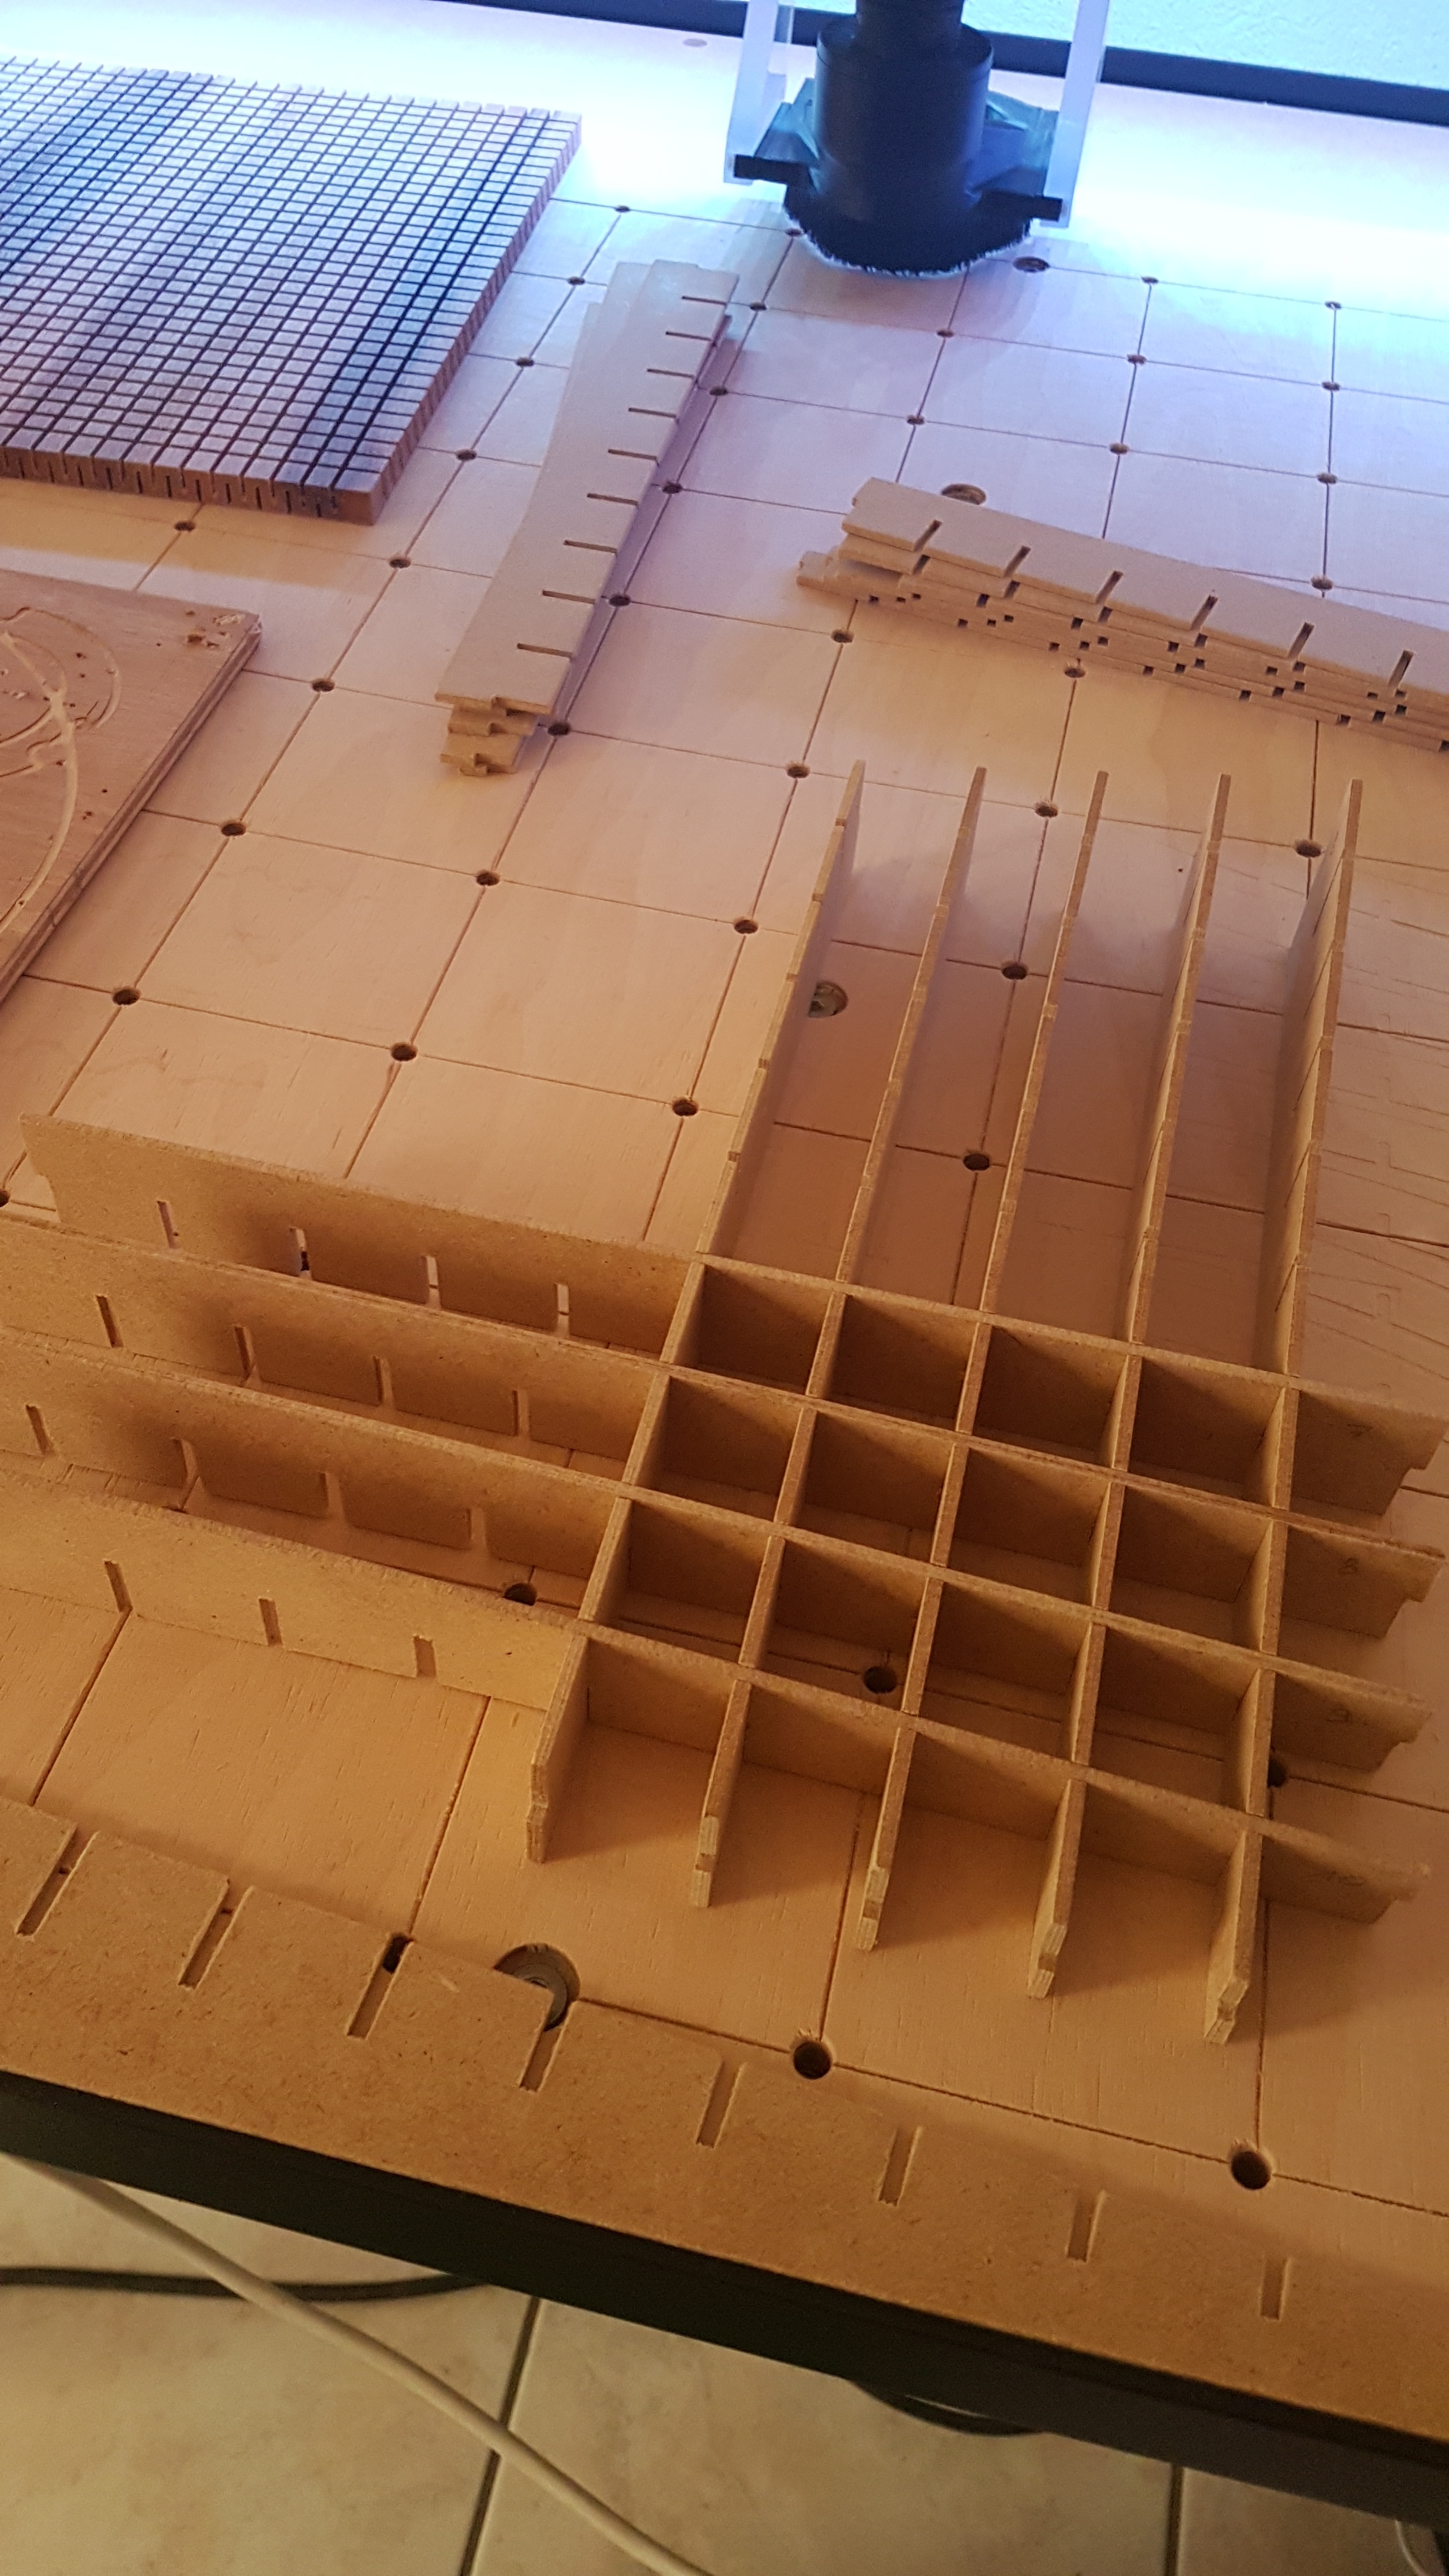
The next step was to cut out the legs. I (software) free-handed the contours of the legs and tried to make them a little fancy. I placed a notch in the middle of the legs to fit the middle supports into. I also designed the tops of the legs to part of the joint to connect to the tabletop (with about 30 thou of clearance for each dimension of the joint…probably could have used more like 50 thou and still have been snug):
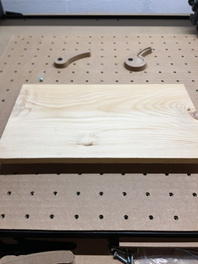
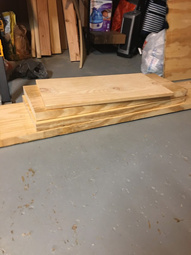
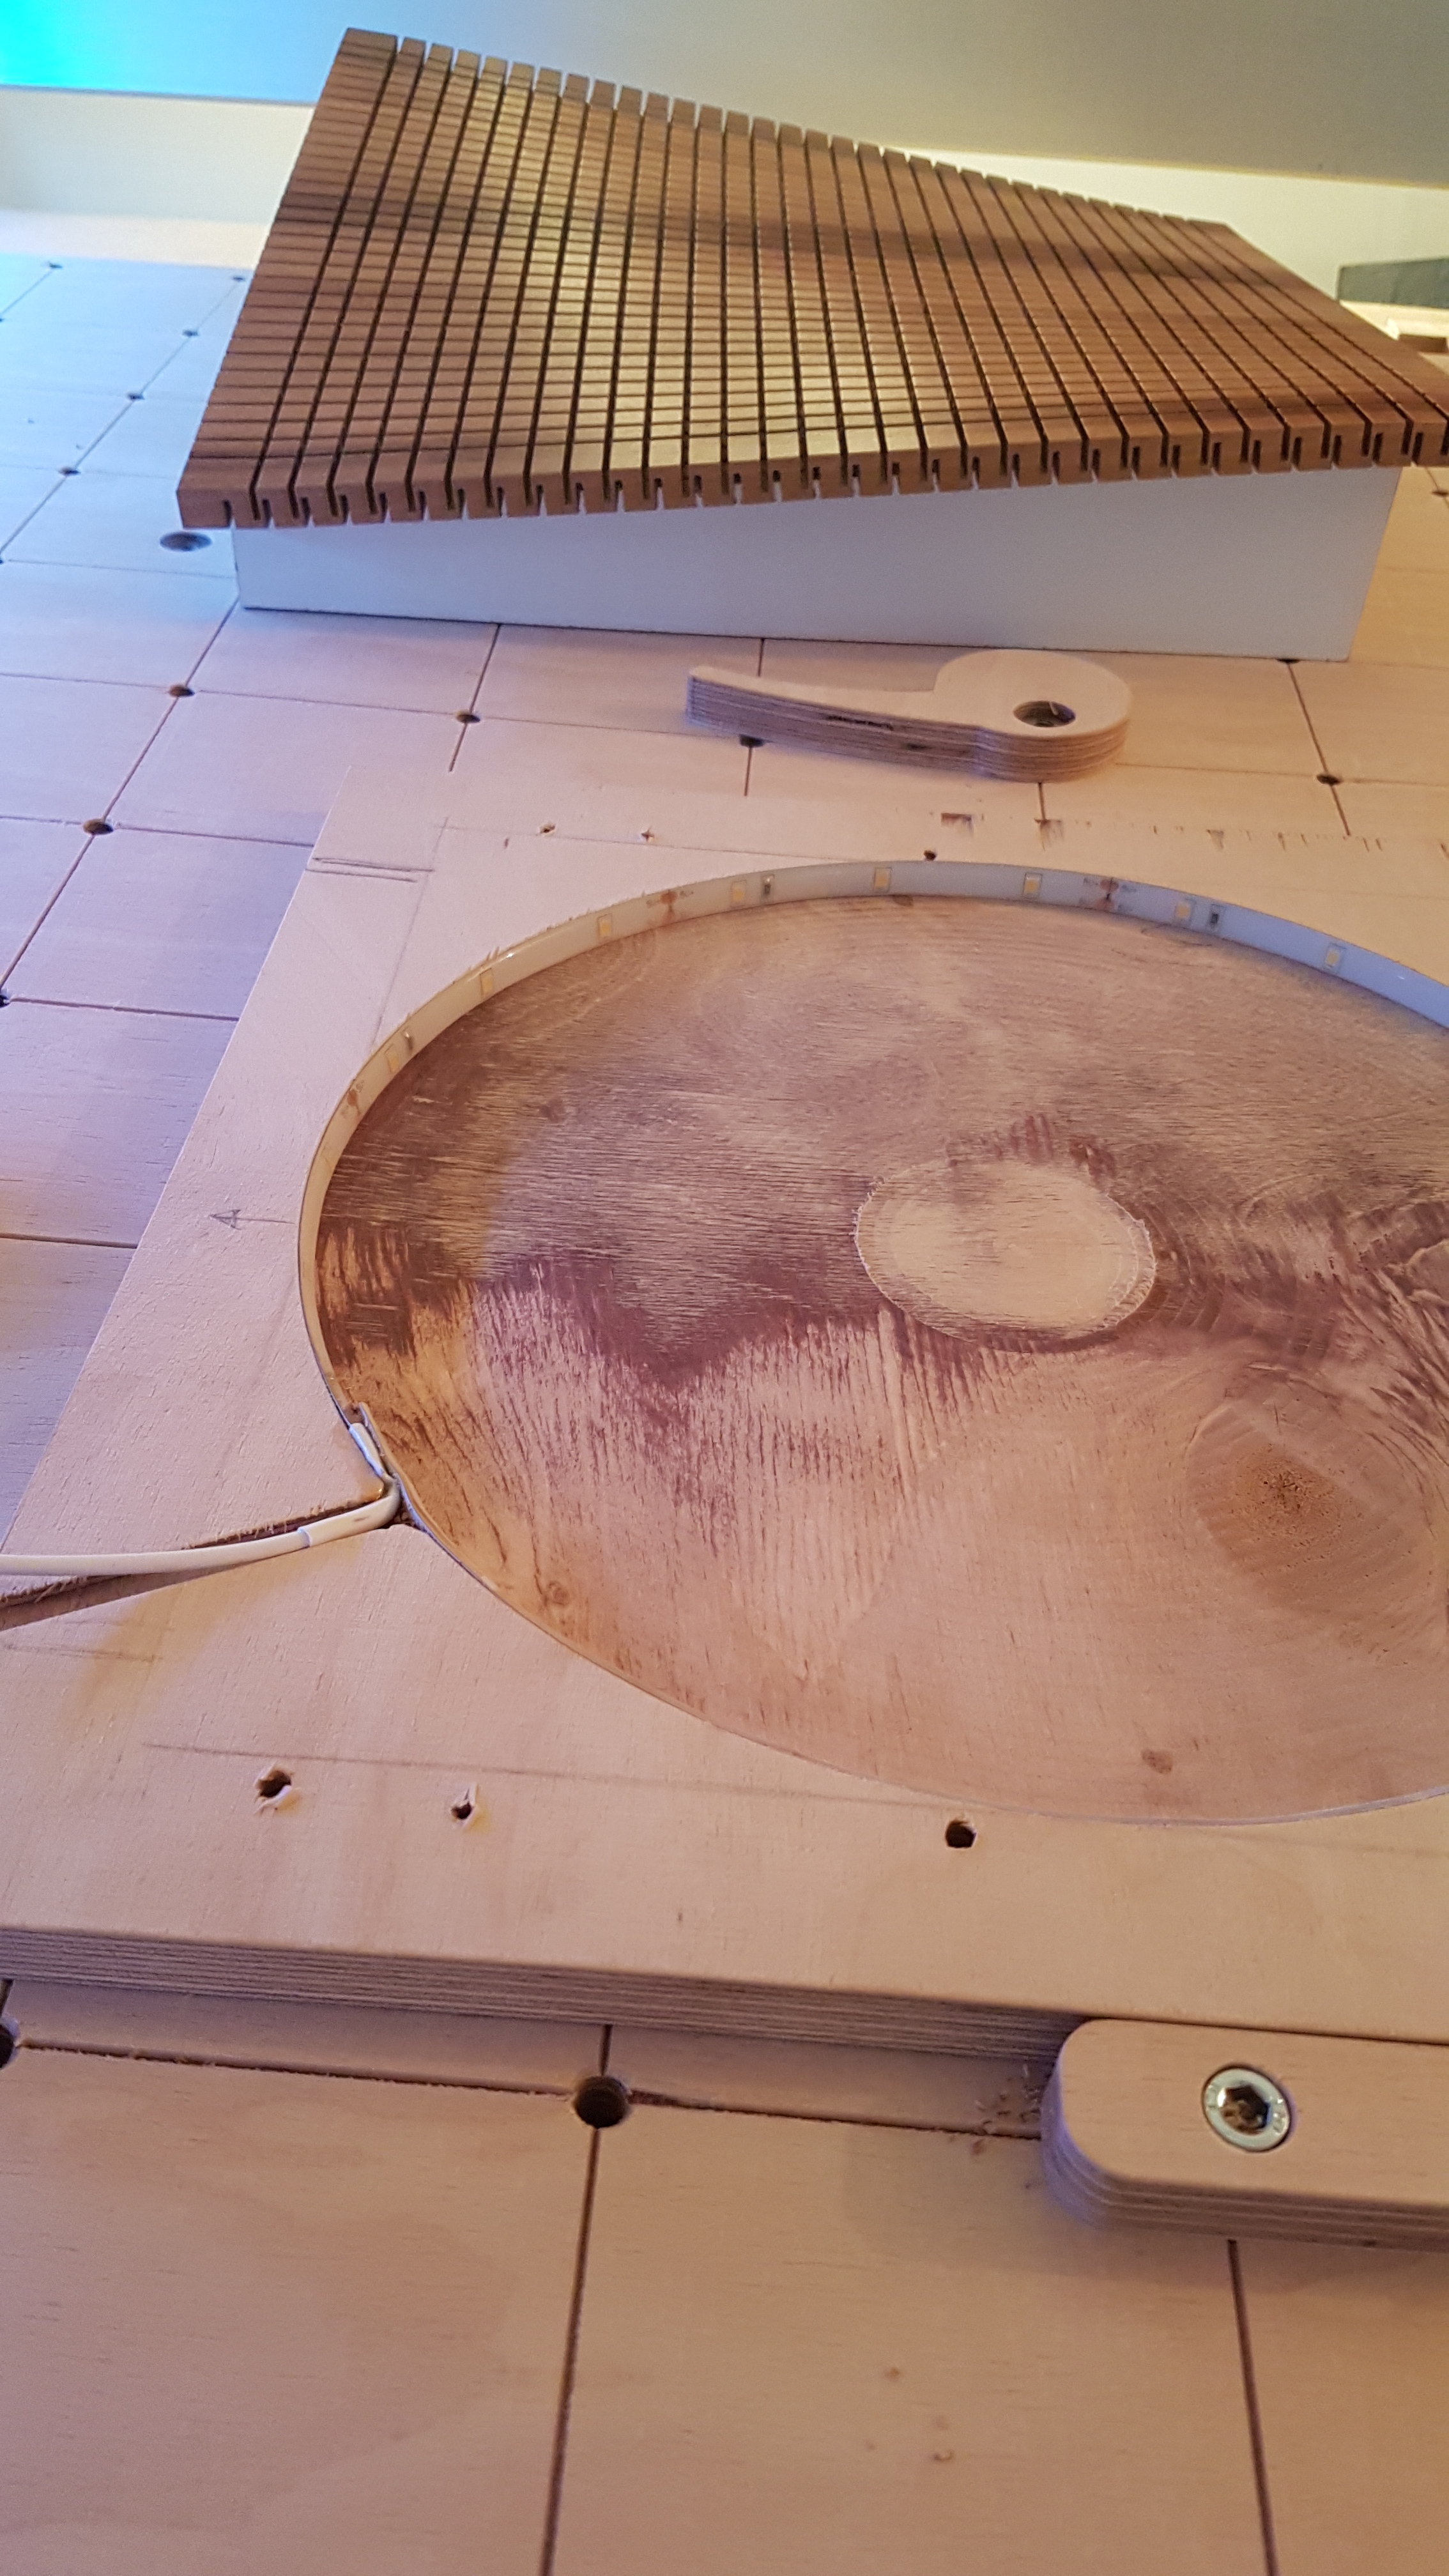
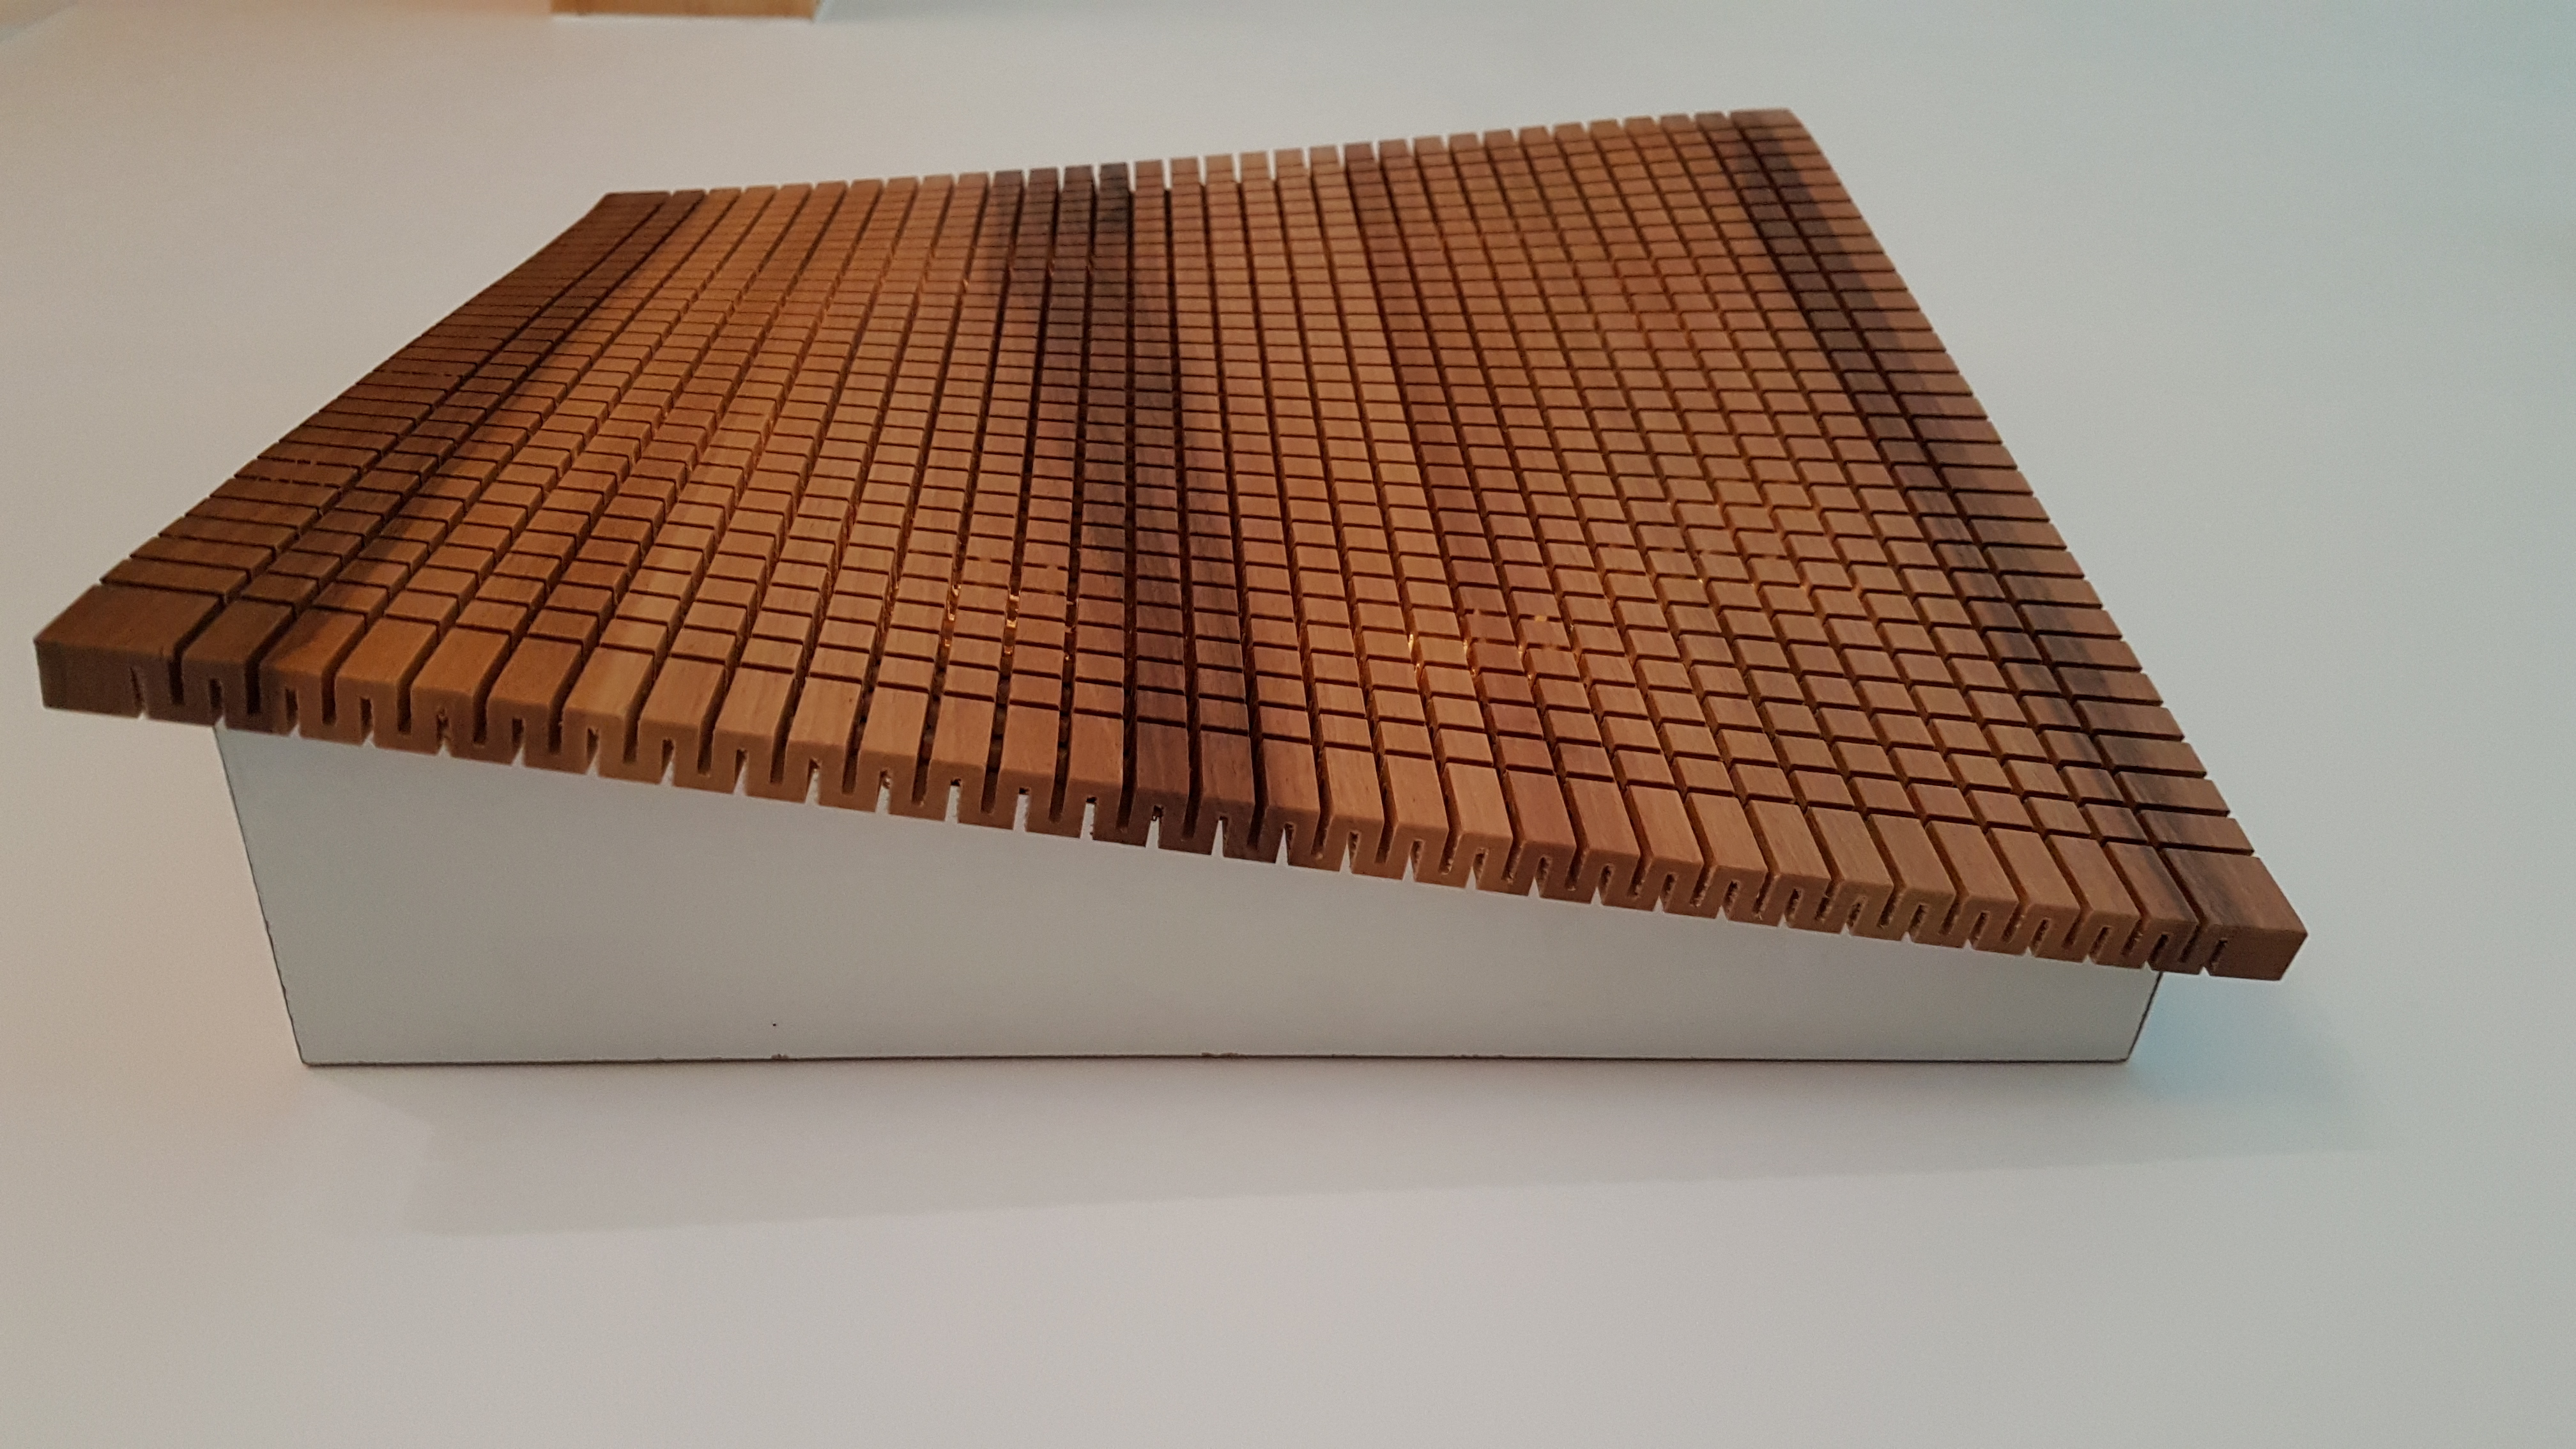
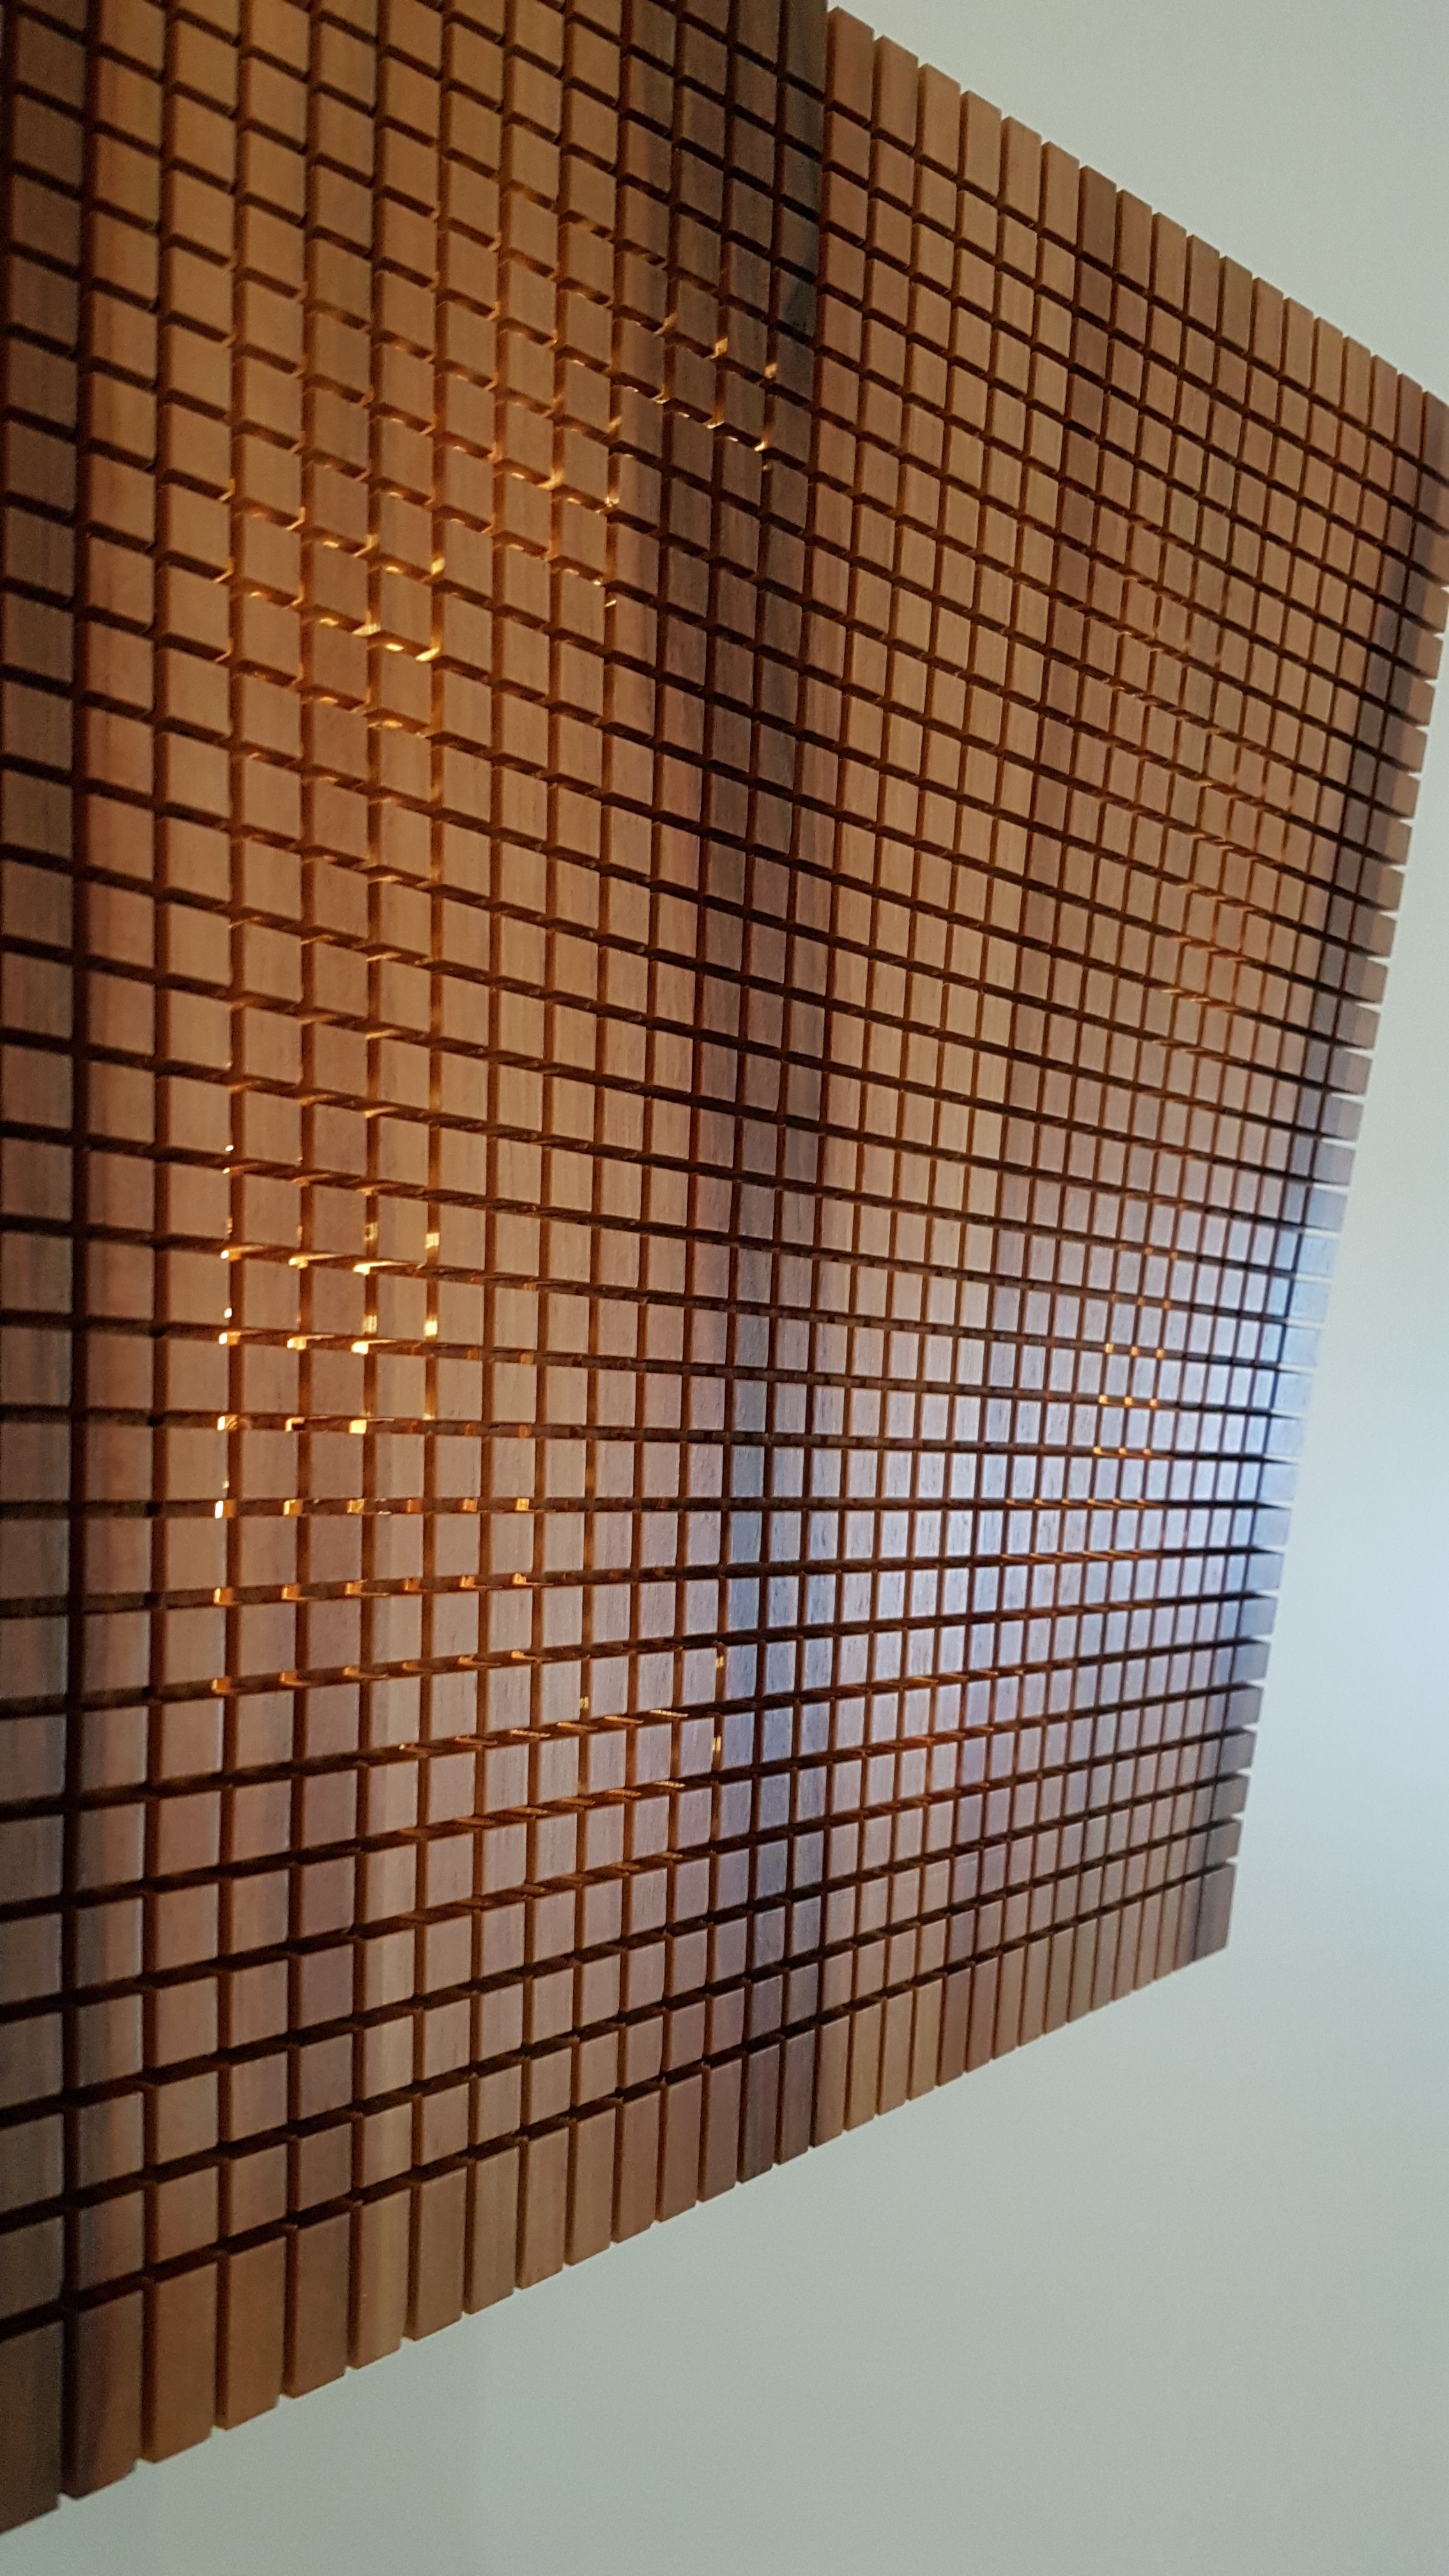
Next, was to cutout the tabletop. I had some (super cheap) rough bandsawn lumber that I figured I could use:
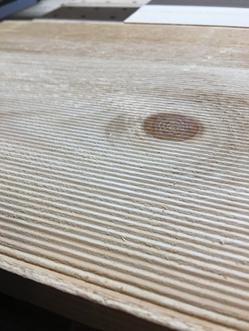
I just used the ‘poko to plane down (who needs a planer anyways…) and get rid of the bandsaw ridges, and then I had a nice clean tabletop!
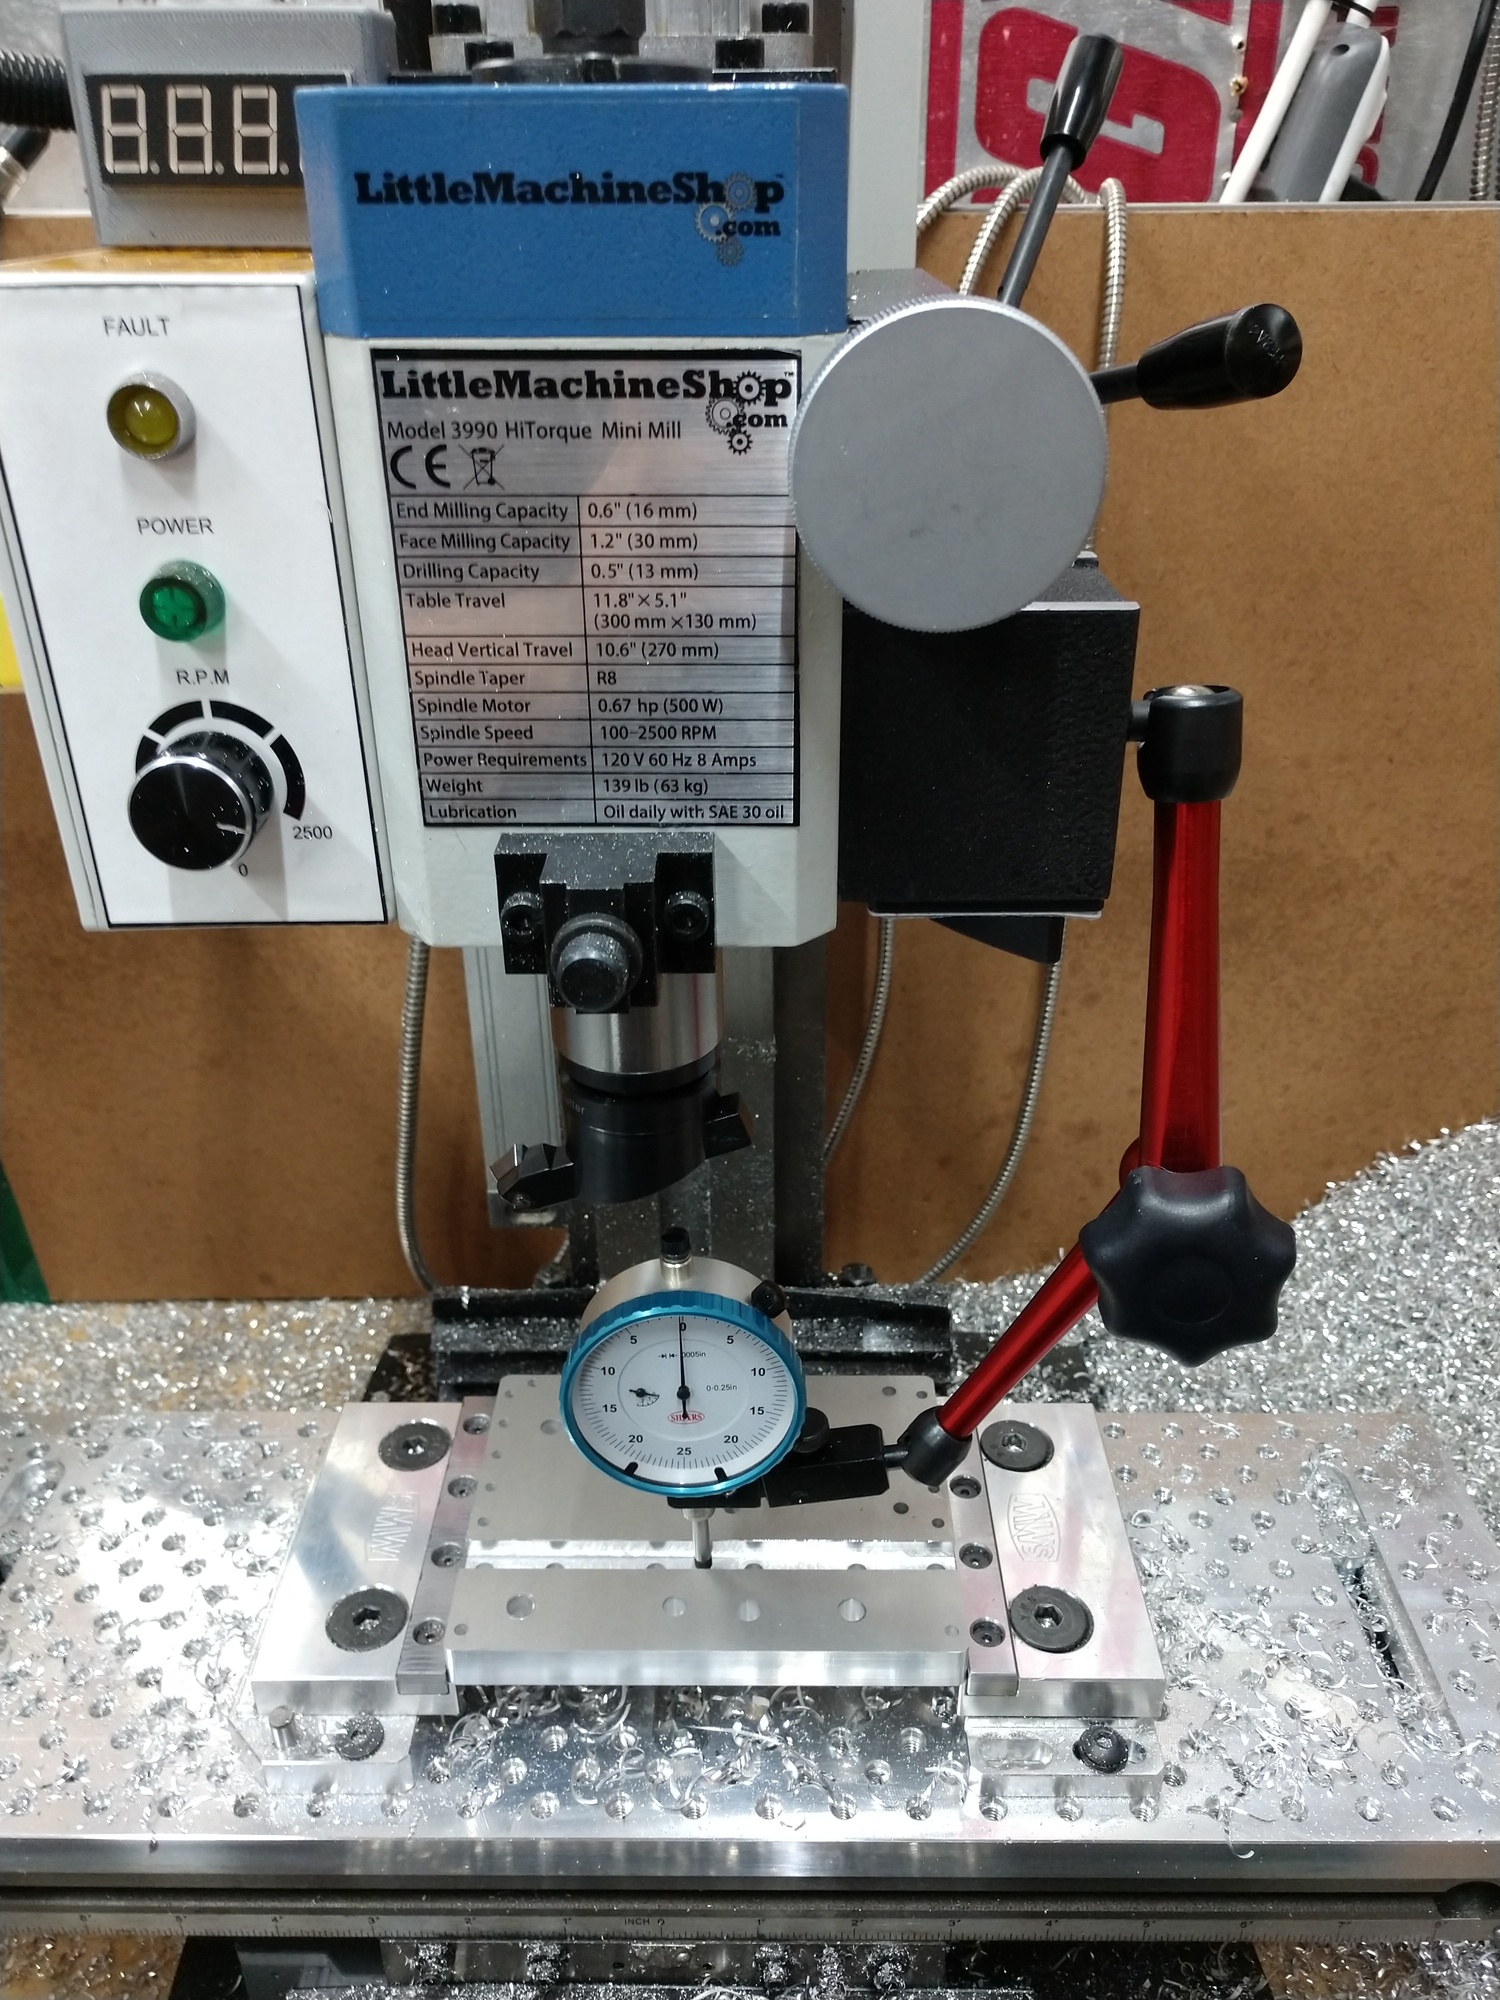
I then cutout the holes for the legs to fit into (0.5” deep). We happened to have some epoxy, so I also cut a small groove in the top for a little epoxy accent (0.1” deep):


I then cutout the braces for the legs. Pretty simple there, no issues. We then stained the legs and filled the tabletop groove with epoxy. Next, I held my breath and assembled the legs into the tabletop and placed the braces into the grooves on the legs, and voila!
Finally, we glued everything together and then stained the tabletop and the cross braces. We had to slightly wipe the epoxy rectangle to clear the stain/poly mix that we were using (probably a better way to go about that). The epoxy actually did a decent job of rejecting the stain, so that helped. I thought it’d be fun to show the before and after shot of the wood we used:
Before (boring raw lumber):
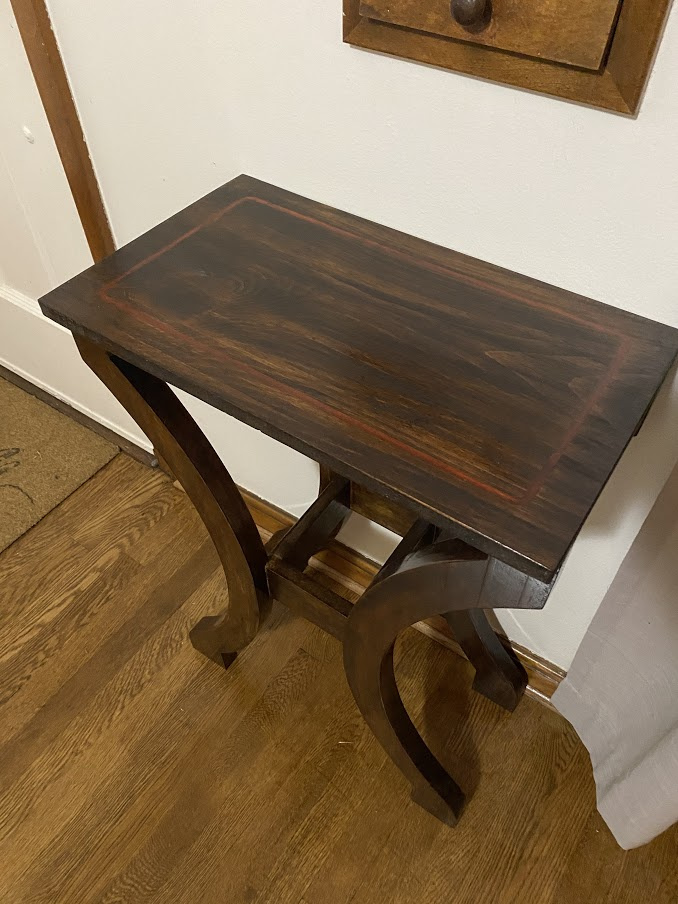
After (fun and practical table! we liked how orange/copper epoxy inlay turned out, nice and subtle):
Let me know if you have questions or suggestions for improvement!
Cheers,
Kyle


 )
)


 I updated my original post and also put the link below for your convenience, let me know if you have any issues! :