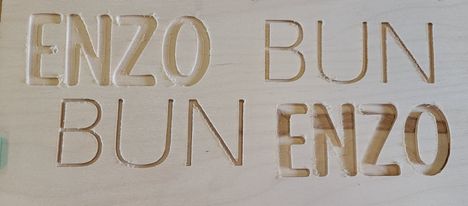
I am working on cutting out words. I finally have my bitsetter figured out (yay!), but why am I getting a little left in my letters. You can see it in ENZO the best. For that one I used a #102 pocket path set at .1

In letters for PRINCESS and ENZO you may want to cut them as a pocket. this may clear out the left over material.
Hope this helps.
Eric
I did use a pocket path for Enzo, is there something I’m missing?
NamePractice.nc.c2d (325.7 KB)
Thank you for taking a look!
Once you check out the machine mechanically then decrease your step over. From what I can see looks like the bit goes around the outside of the letter and is leaving a tiny little island in the center. By decreasing the step over the area will overlap with the bit path and leave a clean bottom.
If you are having a set up problem then the wiki has procedures to check your machine setup. I saw a video the other day that the host made 3 circles centered on each other starting with a 1", a 3" and a 5" circle. He then cut them with an 1/8 inch bit with an outside contour. After cutting he used a caliper to measure in both directions 90 degrees apart. If you are getting an egg shape you either have a mechanical problem or a calibration problem with steps per mm on stepper motors.
If you are consistently egg shaped on all 3 circles then it is a set up problem, if the shapes are inconsistent from each other then it is most likely a mechanical problem. A mechanical problem will move the perfect circle around randomly were a software set up will be consistent mis shaping all 3 circles in the same direction.
2 Likes
the little islands in the middle of the letters… I had those when 2 of my vwheels were loose. Worth doing a quick check on all the v-wheels… with the machine off, if you try to move them with your finger, they should rotate but not freely, eg there should be some friction you can feel.
Also if your bit is JUST a hair smaller (tolerances or whatever reason) than the size CC knows about, you can get a little leftover ridge in default settings. The “Easy” fix for that is to change the stepover from what is 50% to just a bit less, say 45% of tool diameter (no need for weird math, just subtract 0.01" from the default value and it’ll be close enough)
1 Like
I adjusted my stepover just a little bit and it fixed that little island.
Still so much to learn!
4 Likes
I will try this next time I can get out there. (The family thinks they need mom!)
1 Like
Step over, from my understanding, should be no more than 50% of the tool diameter.
2 Likes
When I cut the 3x3 cube, do I do an offset?
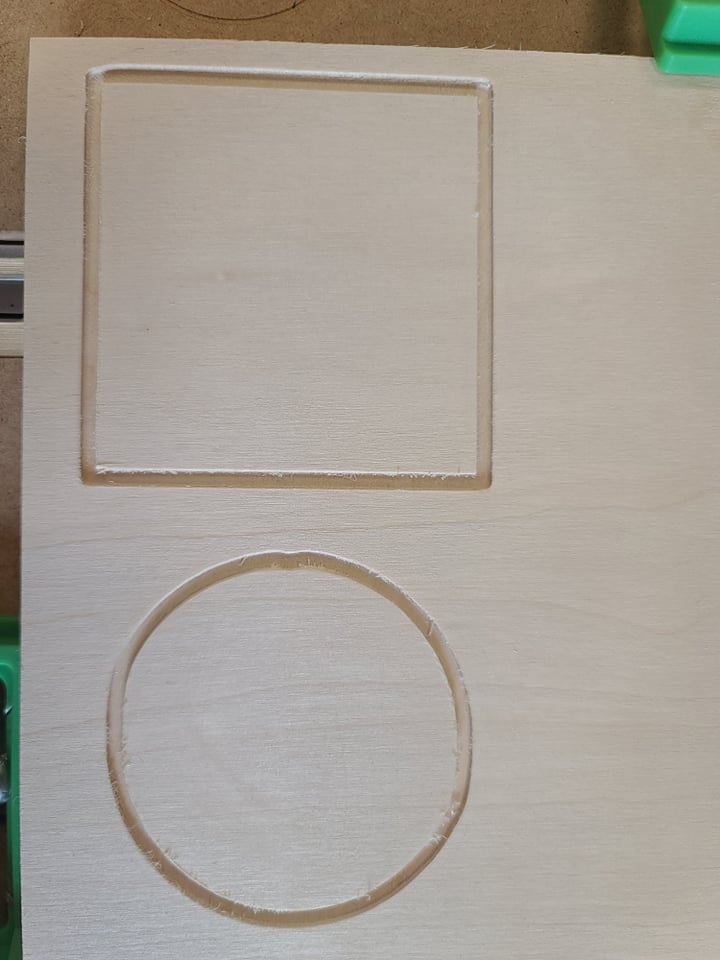
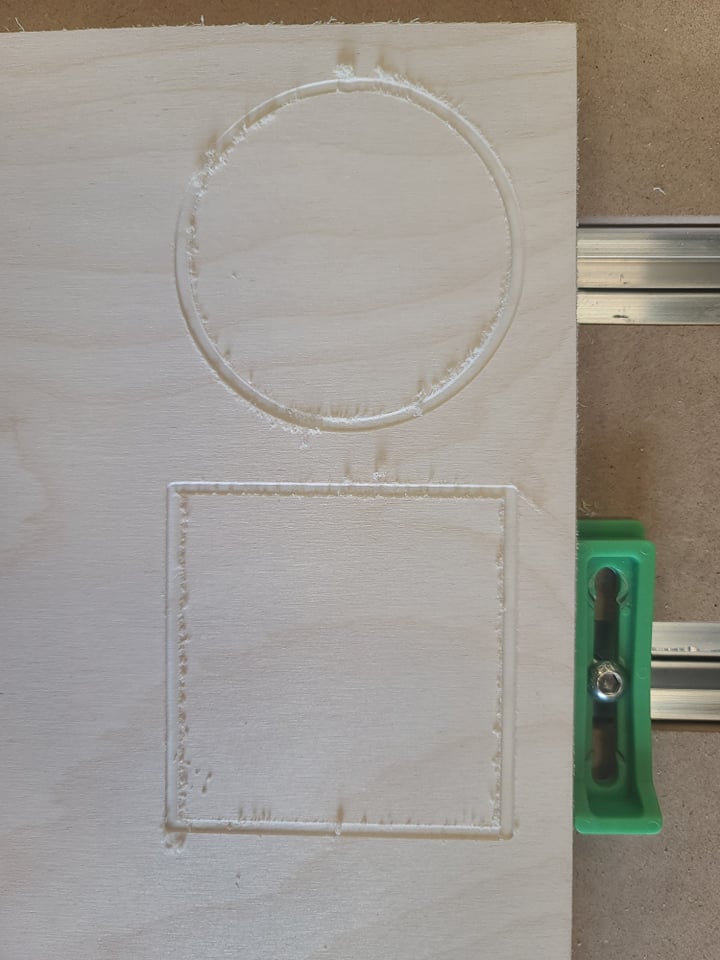
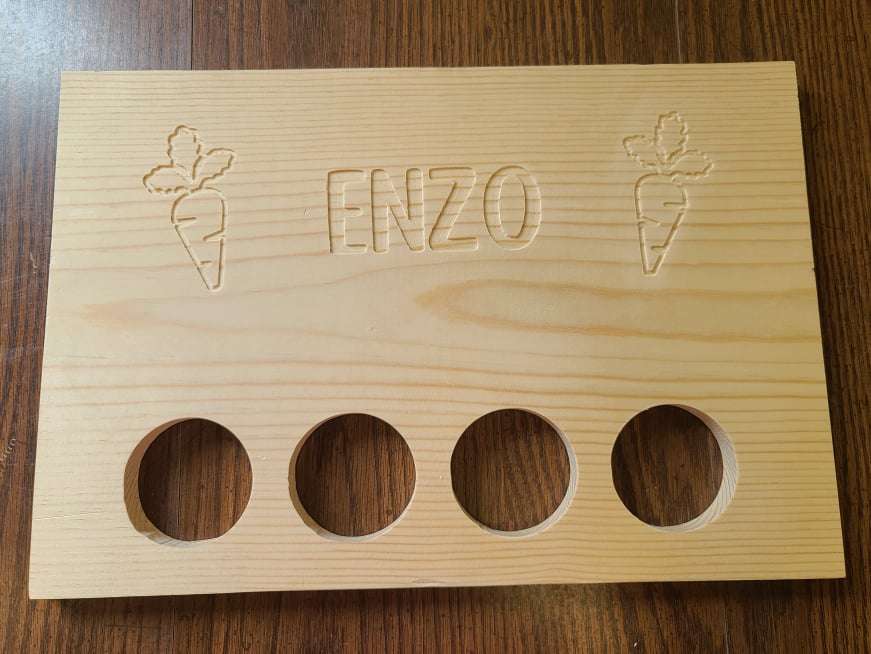
I did get this cut out today. It is for a hay feeder so it has to be pine. So far I love how its turning out, but why aren’t my circles nice and neat? I’m hoping tomorrow to do a few tests as Guy and Jeff suggested.
1 Like
you likely have a slight mechanical slop in your machine,t hat leads to circles not being perfect as well as the artifact in what your first picture showed. Smaller stepover can hide this.
Easy test: Turn on the machine, but have the router off. By hand, try to see if the collet in the router has any slop when you apply reasonable amounts of force: There should not be any.
If there is, fixing it is a few standard checks (@WillAdams has a checkiist) but based on your first picture, my guess is loose v-wheels… I’ve had that and the artifacts look similar.
3 Likes
Oh wow, thank you for the help! I will check my v-wheels and try this.
1 Like
Another thing to check is the pulleys on the stepper motors. If the set screws are slightly loose, you will get some slop in that direction.
For each pulley, make sure one of the two set screws is on the flat of the stepper shaft, and that both screws are tight. If any are loose, I would add Blue (removable) Loc-tite to them when you tighten them.
3 Likes
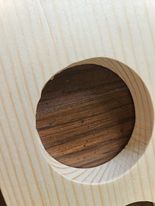
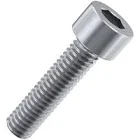
The advise from Michael is good but I would not use locktite on those tiny little screws. If you want to replace the tiny little set/grub screws with a cap screw. The cap screw of about 10MM long would be easier to tighten without fear of stripping them. On the larger cap screw locktite would be good but those tiny little set screws that c3d puts on them can lead to stripping them and would be very hard to get out. You could take one of the set screws with you to the hardware store. I think they are 3MM but cannot swear to that. 3MM x 10MM Cap screw. If you dont know what a cap screws is it is a bolt with an allen head that is much bigger than a set screw. You put the cap screw in instead of the set screws and you can tighten them down without fear of stripping out the head.
This is a cap screw/bolt

This is a set/grub screw
5 Likes
Actually, it can be difficult to fit a tool into an area of a similar size, and using a smaller tool is an expedient solution.
2 Likes
Jeff,
My advise about t he cap screws is not my original thought. Others on the forum pioneered the idea of replacing the set screws with cap screws. I merely passed on good advise from others. All of us stand on the shoulders of giants.
2 Likes
I tightened up my v-wheels and checked the step motor. I think they are ok. I adjusted some settings on both words. It was showing me that the #102 was too big for my BUN word, so I used the #112 again. I did use the #102 on Enzo both times. It does look better, but wow did it take longer! I think I will try again, not as deep of a cut though.

2 Likes