I’m trying to figure out how to get perfect dimensions and really nice surface finishes. I’m using the 102-Z endmill on the Nomad.
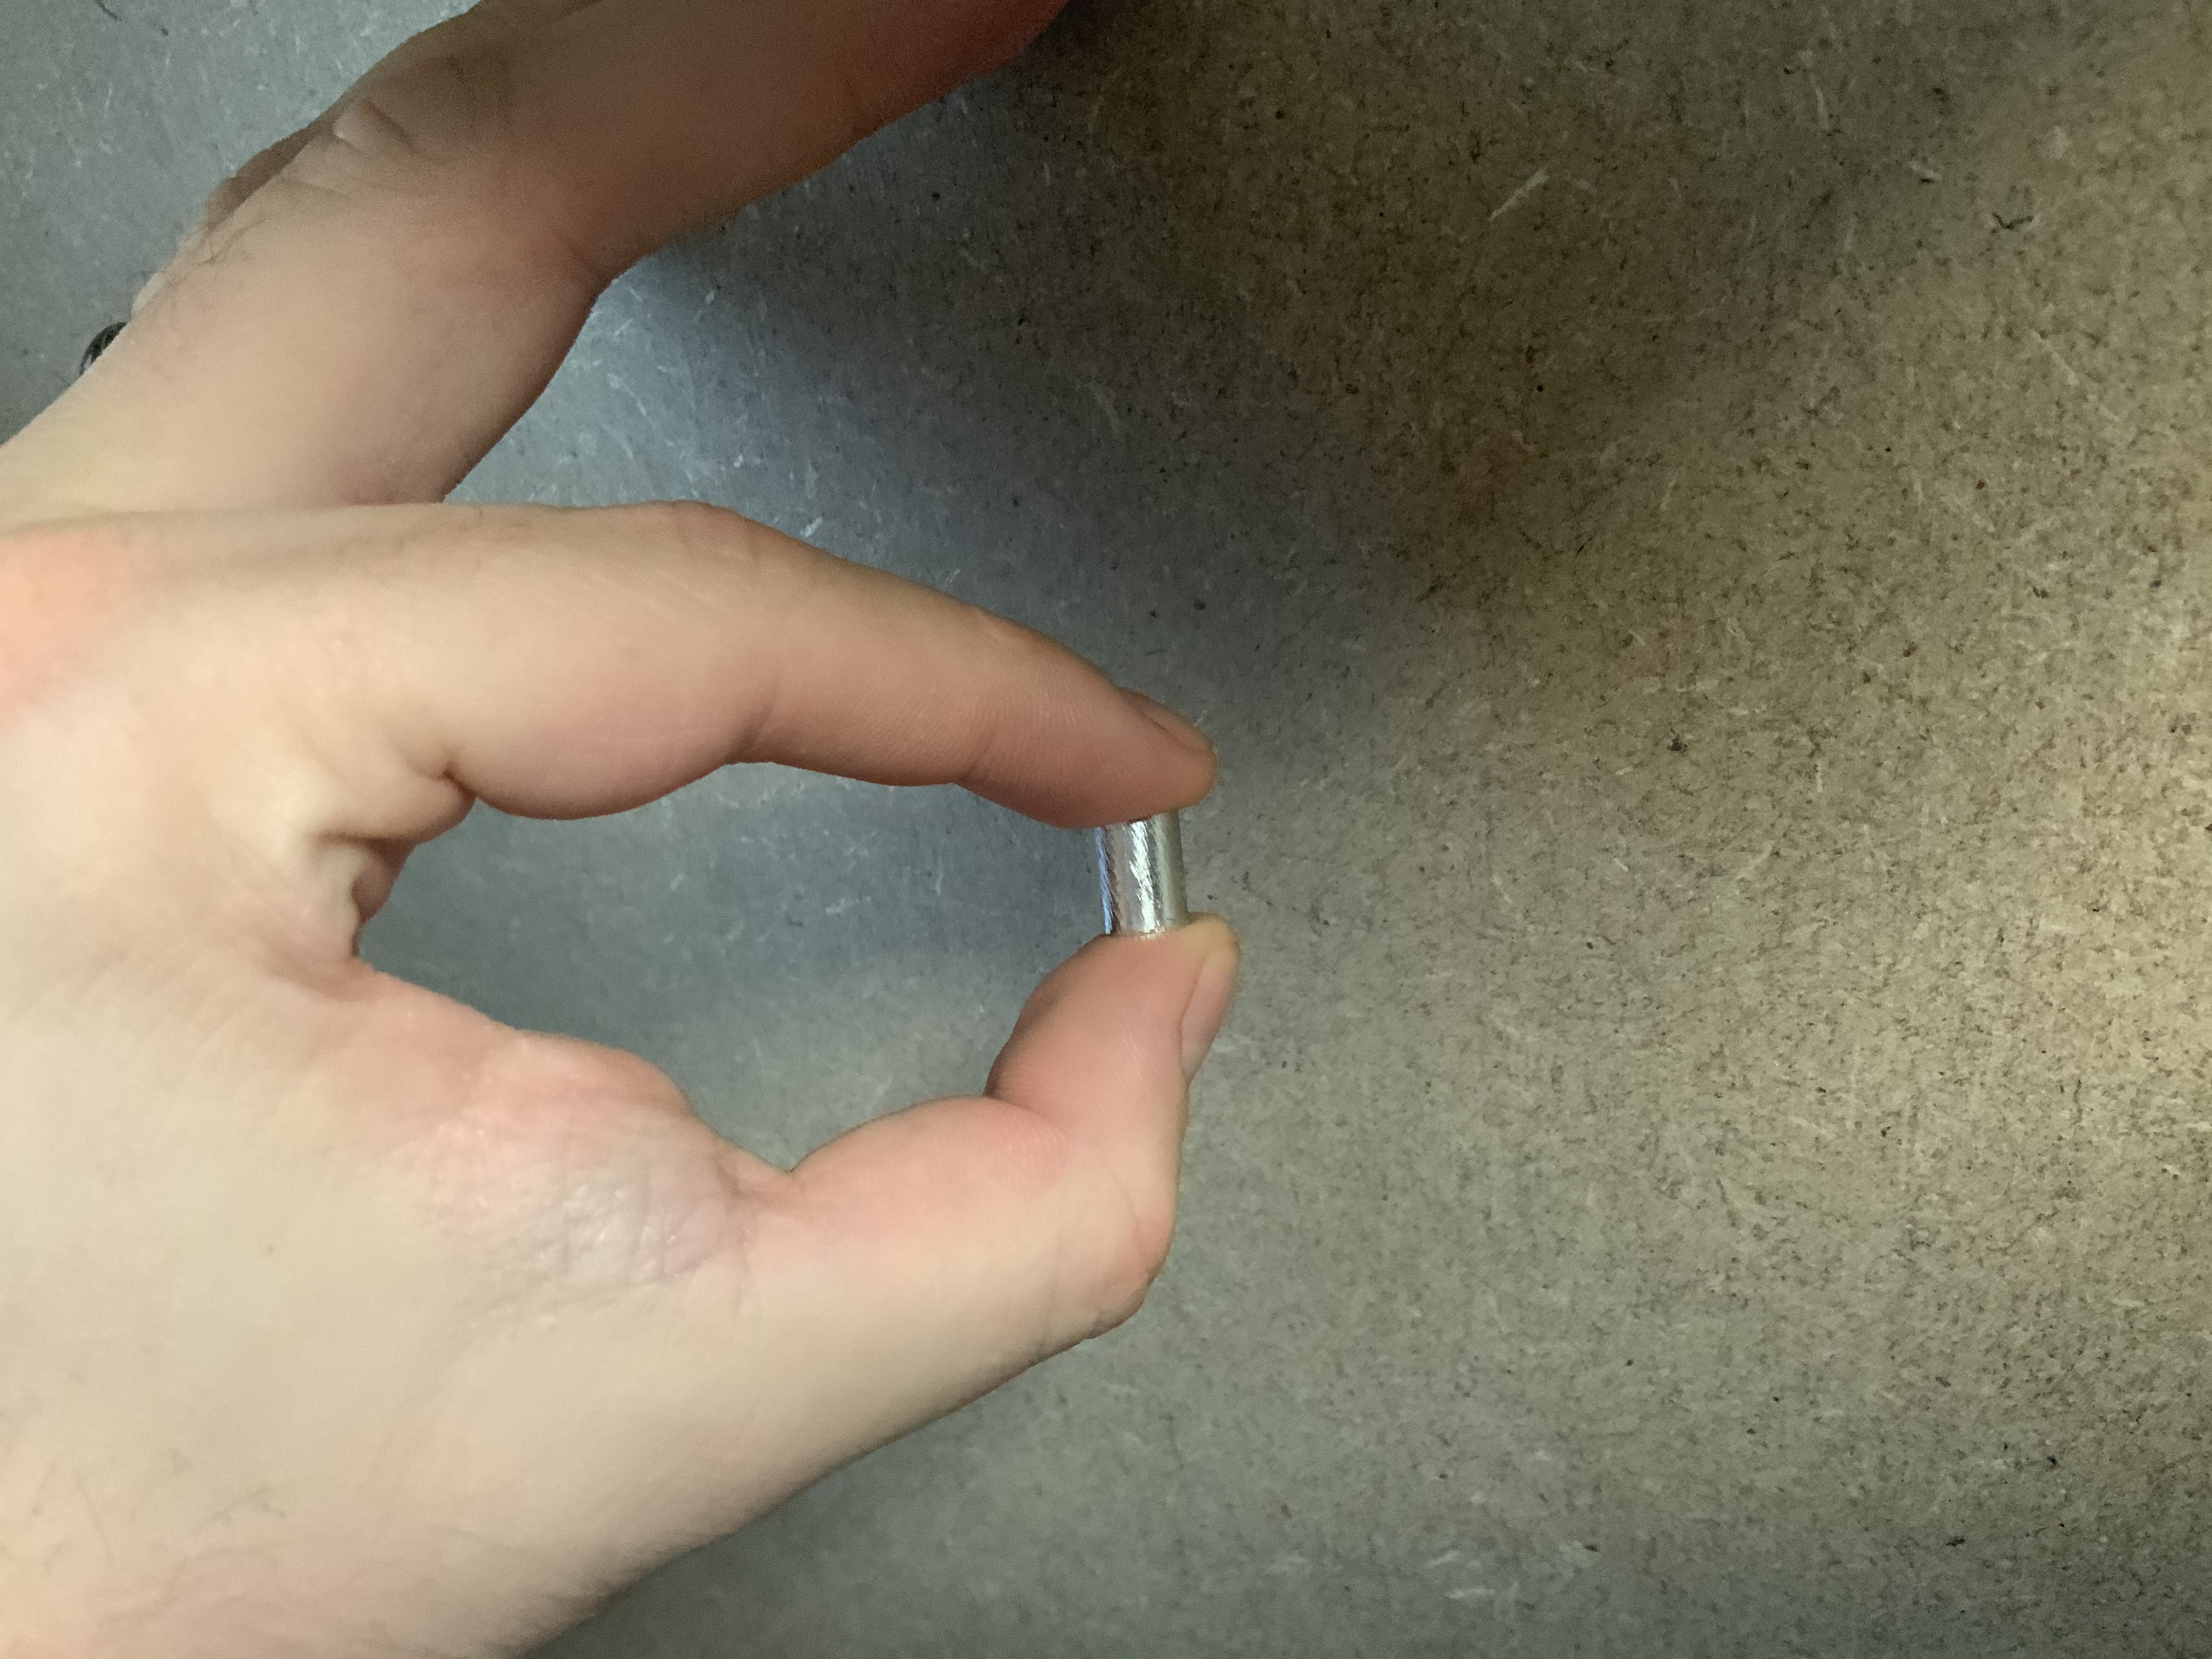
I’ve been practicing on a 10mm tall, 8mm diameter cylinder. I’m reasonably happy with the result so far, considering it’s the first time I’m doing this. Calipers and a micrometer show ~0.03mm deviation, or a bit over a thou for the Imperial folks.
A 3D adaptive pass was used for roughing: 10kRPM, 0.75mm DOC, 0.3mm optimal load and 750mm/min feed rate with 0.15mm axial and radial stock to leave (though I paused mid-way and measured the cylinder diameter to be 8.25mm with the calipers, so 0.125mm was reality). I set the bottom height to 0.2mm to leave some material to hold the cylinder in place for the finishing pass.
A 2D contour was used for finishing: 10kRPM, 0.2mm stepdown, 750mm/min feed rate.
Can anyone give me suggestions on where they might be coming from? Is it likely a result of vibrations/bad workholding? Feeds and speeds?
I forgot to leave any tabs in the 2D contour and I see some marks on one side where the piece broke off and hit the mill but I don’t think that’s the reason for the diagonal marks.
First a salute for understanding practice and experimenting makes for improvement.
As Rich says, there are limitations here and at some point you will be chasing your tail.
My (but I am sure there are better suggestions) short list would be:
(1) keep that end mill as deep into the collet as possible to keep the end mill deflection down - have a short shank stub flute length end mill that I use for fine finishes which seems to make a difference.
(2) make sure your end mill is in the collet properly and if you are particularly fussy measure the runout.
(3) 0.2mm onion skin on bottom of a little cylinder may not provide perfect workholding rigidity - would expect it to vibrate ever so slightly
(4) if you are after perfect finishes you might want to step through some more rigid parts first like a flat surface finish, a straight sidewall finish etc before trying to master multiple challenges at the same time.
and of course the not directly applicable but food for thought oblig @wmoy youtube:
I am sure there are better thoughts out there but those are mine!
Those marks are likely from deflection. You can step up to say, a 0.250 single flute and get a better finish as long as you hold the part. Also have found that continuous ramping toolpaths finish the best. Also make sure your tolerances and smoothing is setup well.
1/2: I have been fairly fussy about the endmill being securely fastened in the collet. When I first started I was afraid the endmill would fly out and embed itself in my skull if I didn’t secure it properly. Regarding runout:
I measured the spindle and it’s perfect, not even 0.01mm variation
I measured Carbide 3D’s provided collet (just by looking at the shaft of the endmill) and I see variations of ~0.05mm (about 2 thou) but that’s with a little bit of cosine error mixed in
I can easily source a DIN 6499 class I collet (0.005mm concentricity) so I might buy one, if anything to rule out runout
3: I’ve bumped it up to 0.8mm on the bottom, plus tabs for the contour path.
4: Good point. I’m happy with the flat finish with a standard facing toolpath but I haven’t messed around with the walls yet.
Regarding that last point, have any suggestions for ways to test a bunch of feeds and speeds on walls? I’m trying to think of something that’ll give me “layers” of surface finishes. My best idea right now is to basically carve “steps” into the side of some stock, going from heavy/deep cuts at the top to light cuts at the bottom.
@Vince.Fab when you say 0.25 single-flute, is it the 0.25 that’s important, the single flute or both? I can see why 0.25 would reduce deflection, being a beefier shank and all but what about the single flute? Does it reduce lateral forces or is it stronger or
something?
Honestly I haven’t been that sophisticated in my testing efforts on sidewall - I just run the mill along the sidewall at different speeds/feeds, stepover, DOC and see what happens.
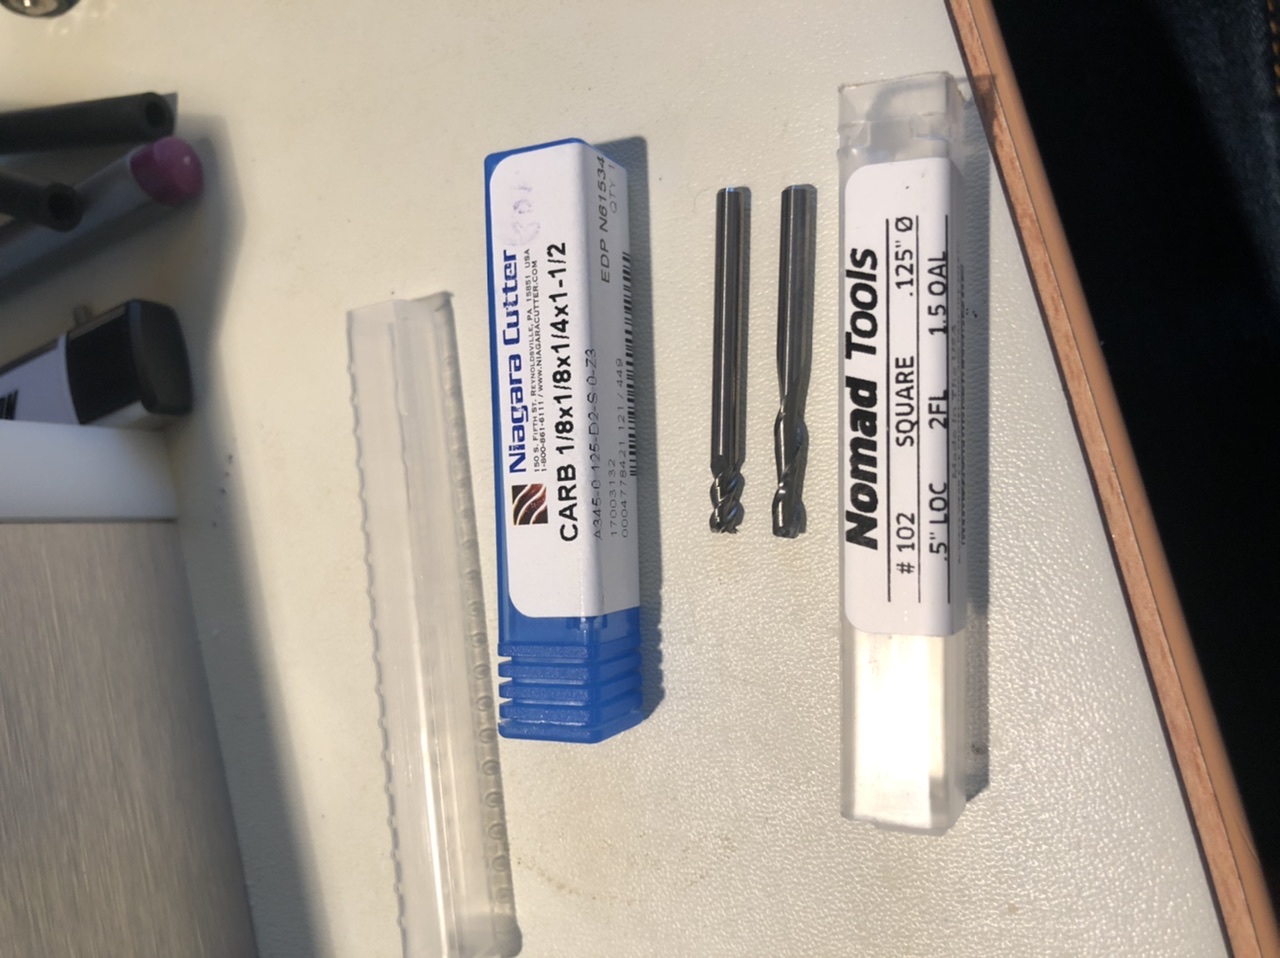
Next time I have aluminum on the table I am going to try this one for finishing - a high helix 3 flute. (C3D #102 alongside for comparison) Theory goes odd # flutes + high helix + stiffer should result in better finishes - but I could very well be limited by something else. Experiments continue.