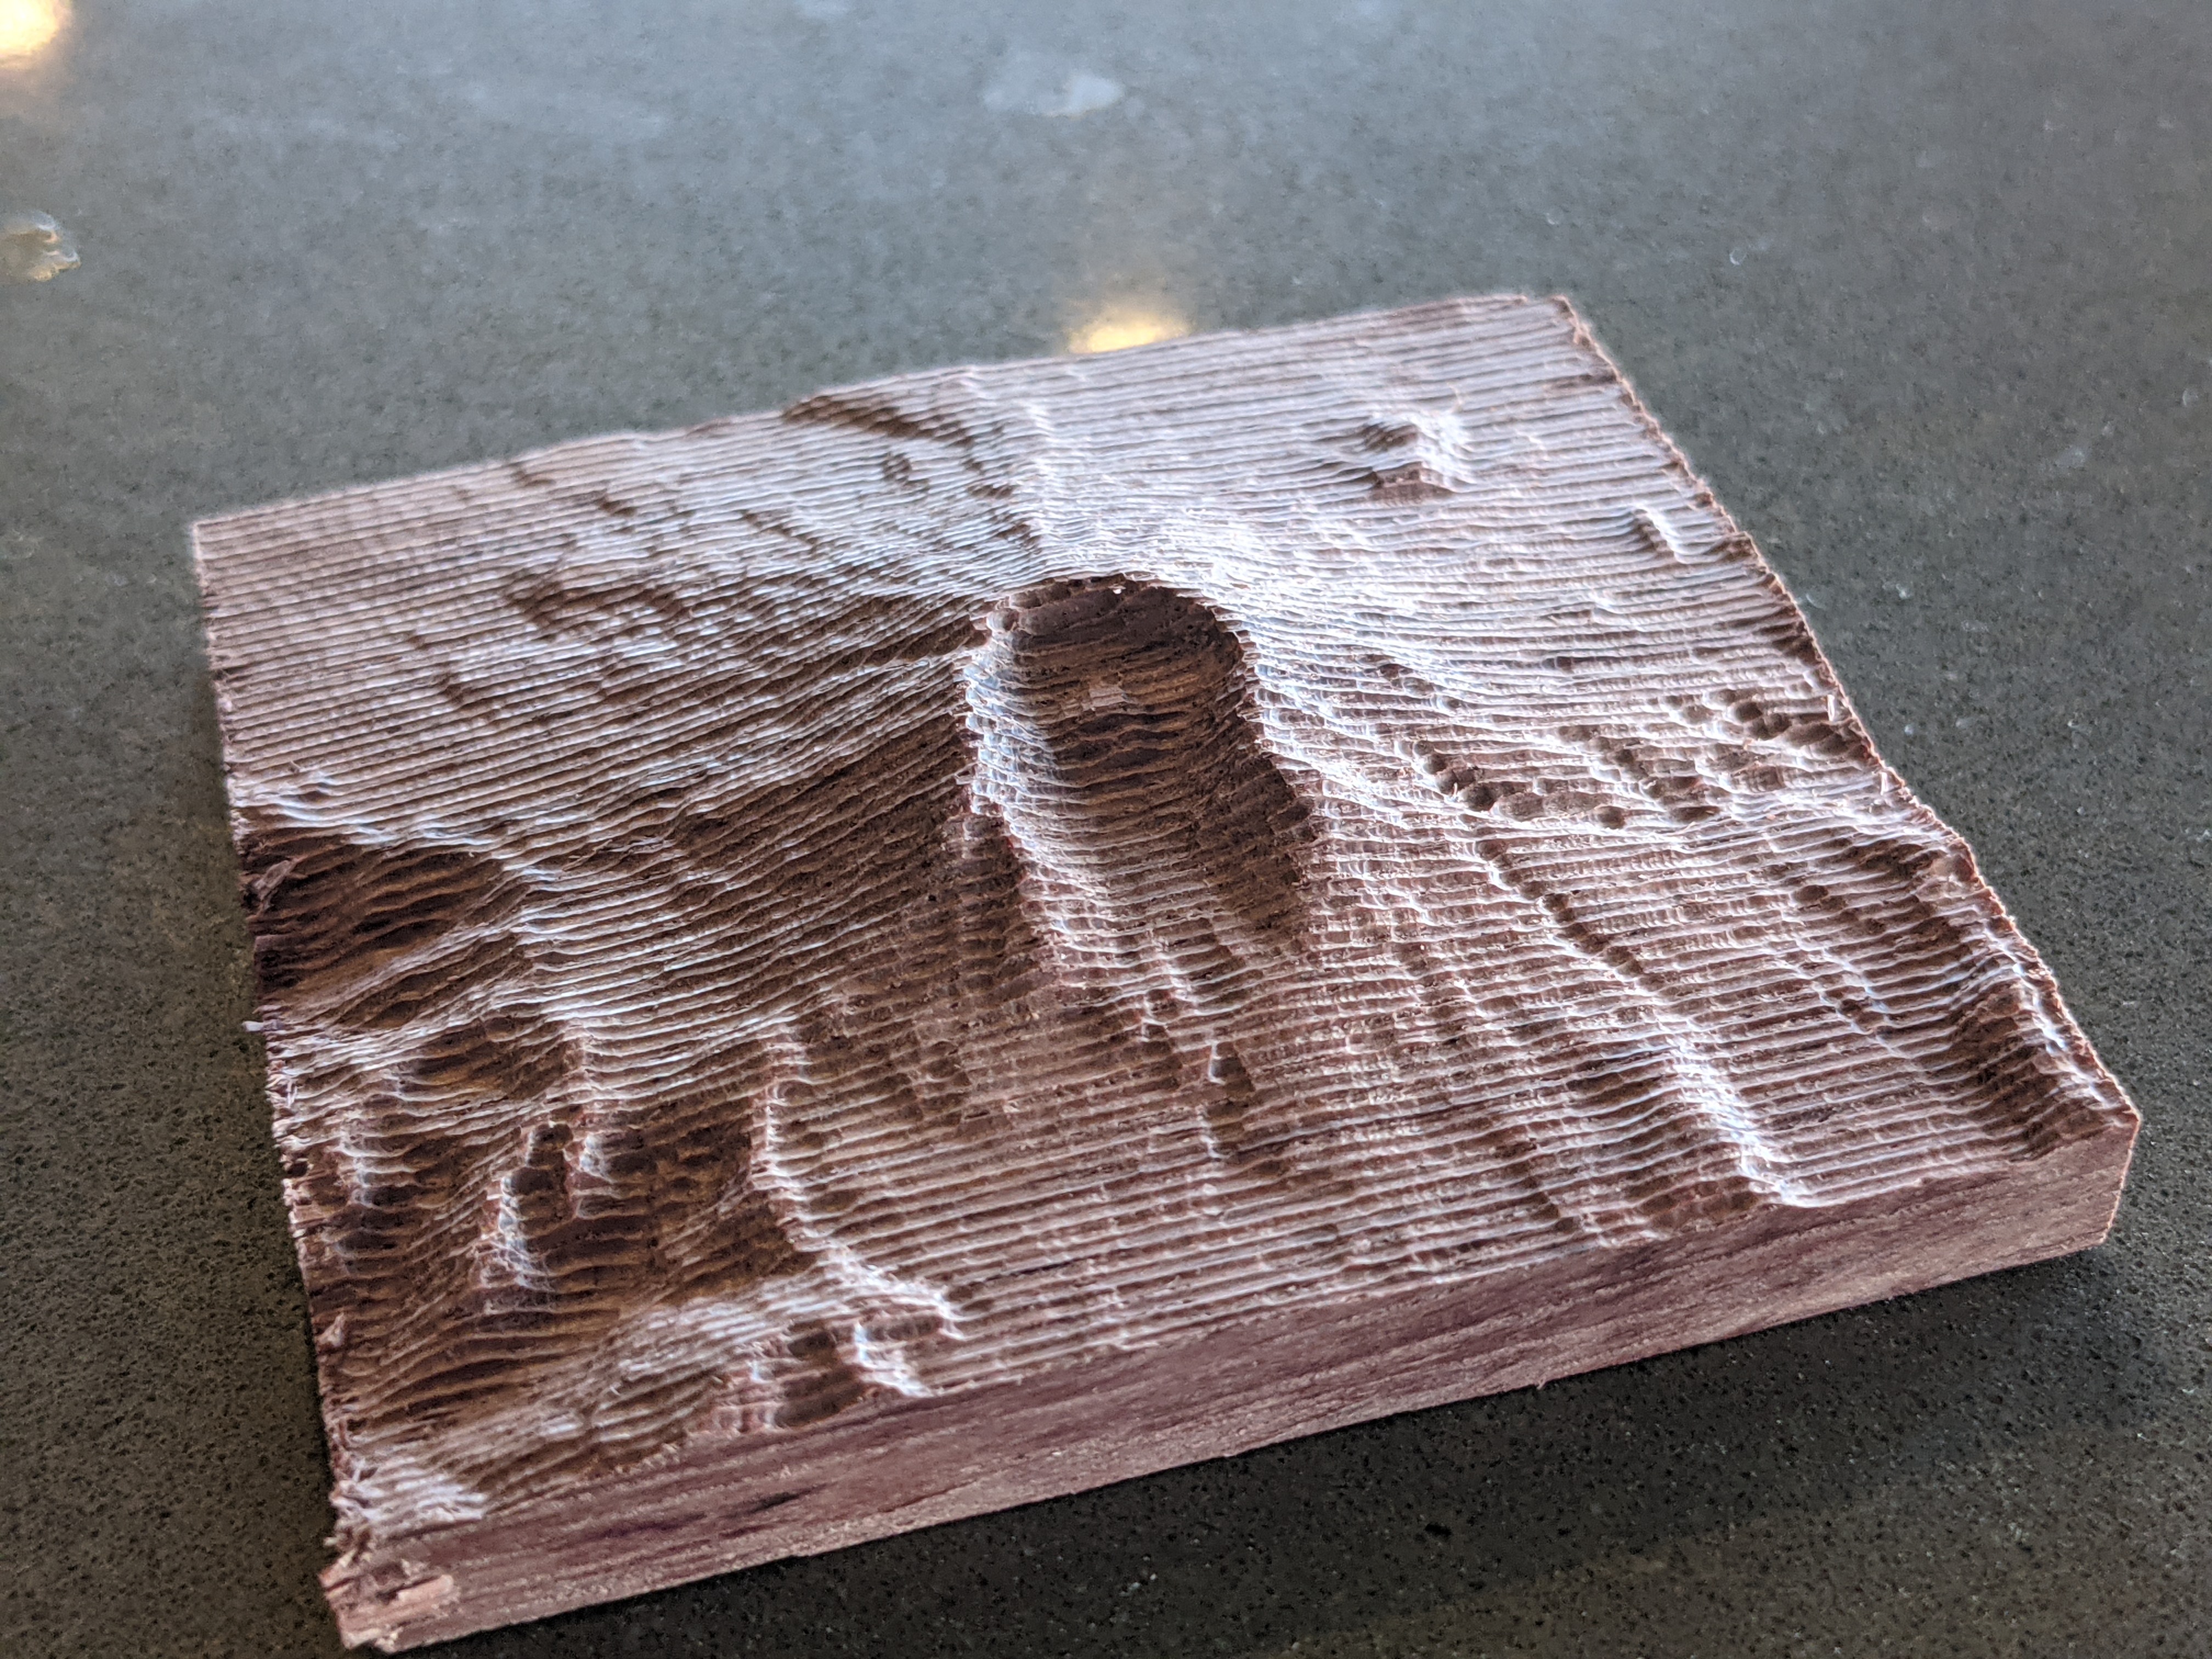
I have been following @wmoy’s tutorial that shows how to create 3D topo models in Carbide Create Pro. My initial tests with pine 2x4 cutoffs worked fairly well, but several attempts with purple heart were aborted after my machine randomly plunged along the z-axis.
This attempt worked well up to the very end during a 3D finishing toolpath using a 1/16th ballnose bit. About 30 seconds before it finished, the machine plunged yet again and I had to stop the operation. Fortunately, I was close enough to the end that I could simply saw off the affected edge of my work.
I’m hoping that support can help me with this z-axis issue.
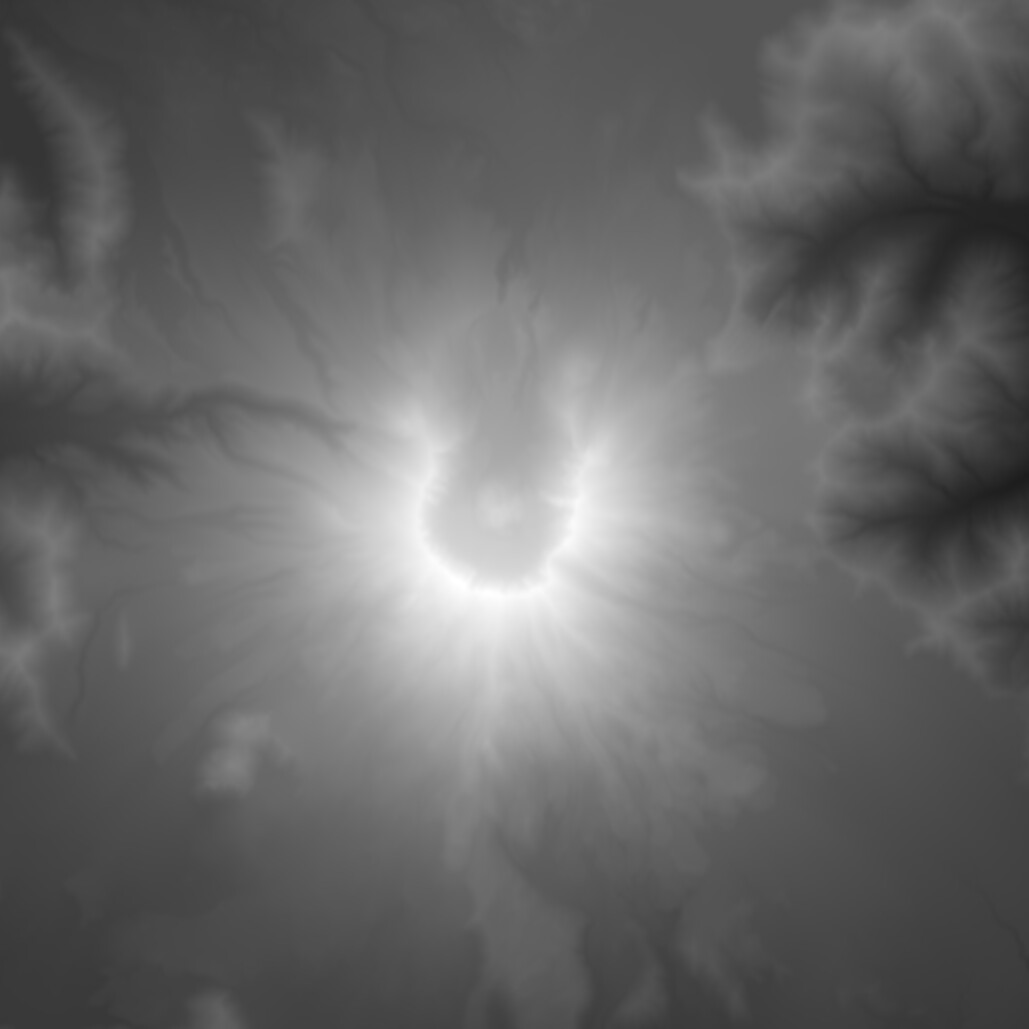
Thanks Josh. I was wondering if reducing the stepover would help reduce the lines that are visible. Here is the Carbide Create Pro file along with the heightmap file that I used as an input.
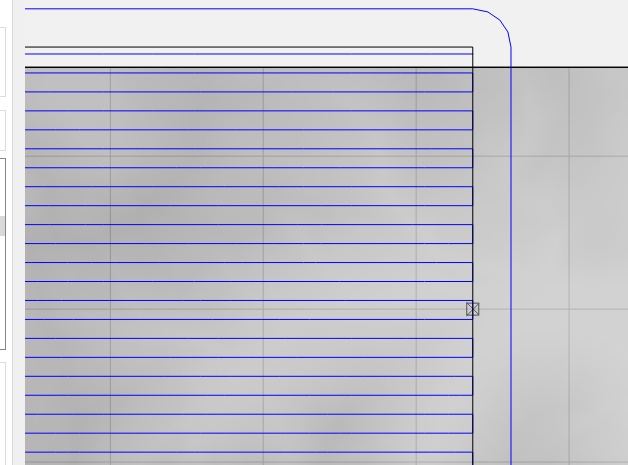
Sorry for the delay. I had to re-enable my pro trial. Looks like you had your 3d finish path (which basically runs parallel in the material) outside where you ‘built’ the topography area. Ideally you’d want to raise up material around it, or make the topography a bit larger than you actually want to cut.
That blue line that doesn’t hit any grey background would basically run along stock bottom, so however thick your stock is measured, it’d plunge to the bottom of that.
You’d be better served by doing something like this:
Where the inner box is the area you finish, but also the area you cutout.
Hopefully that makes sense. I can’t dig up the files I did previously but I think for my 3d finish with the 1/16th I was doing a like .25mm stepover. Depending on the stock to leave from the roughing operation (looks like .02 inches from what you had on file), the finish shouldn’t need to go through too much, so you can likely crank up the feed rate a good portion so you aren’t waiting on that endmill running the .25mm stepover.