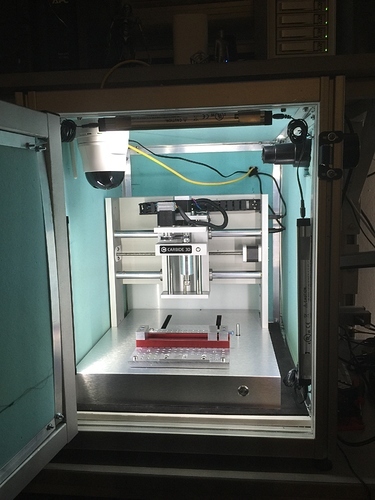
Mark… did you put a PTZ camera in the ceiling of your Nomad enclosure?
… Ah… yeah. I run software to do the necessary flips in real time so it’s just like watching with the door open…
It’s fully steerable so some motion helps… and you can zoom in for a close look… 
The IR capability let’s it work amazing well. More than once I forgot to turn on the LED bars… and I barely noticed…
I’m torn between “Respect” and “OCD much, dude?”. 
It’s a bit… over the top. 
As I said, I kinda went nuts. When running, the sound suppression reduces the sound to around 54 dBa… below usual TV listening levels. Above 2K Hz the suppression is is almost 40 dBa… those frequencies don’t even get through the walls.
To get those levels I didn’t want the largely sound transparent poly-carbonate or tempered glass windows. Since I needed to see and hear what’s going on… it seemed the best solution…
No, seriously, that’s a beautiful rig,
Thanks! It took a lot of thought and time to design and build. 
I often work in T-Slot and I had some lying around so…
I’m honestly jealous.
Please don’t be. I help people design and build enclosures for CNC machines to fit any budget. If the Nomad enclosure doesn’t prove enough for anyone, or they want an SO3 enclosure, please let me know and I’ll help you build a nice enclosure.
Sadly, this forum engine appears to lack an emoji for “jealousy,” but maybe I can… http://thumbs.dreamstime.com/x/emoticon-smiley-face-6799925.jpg

mark

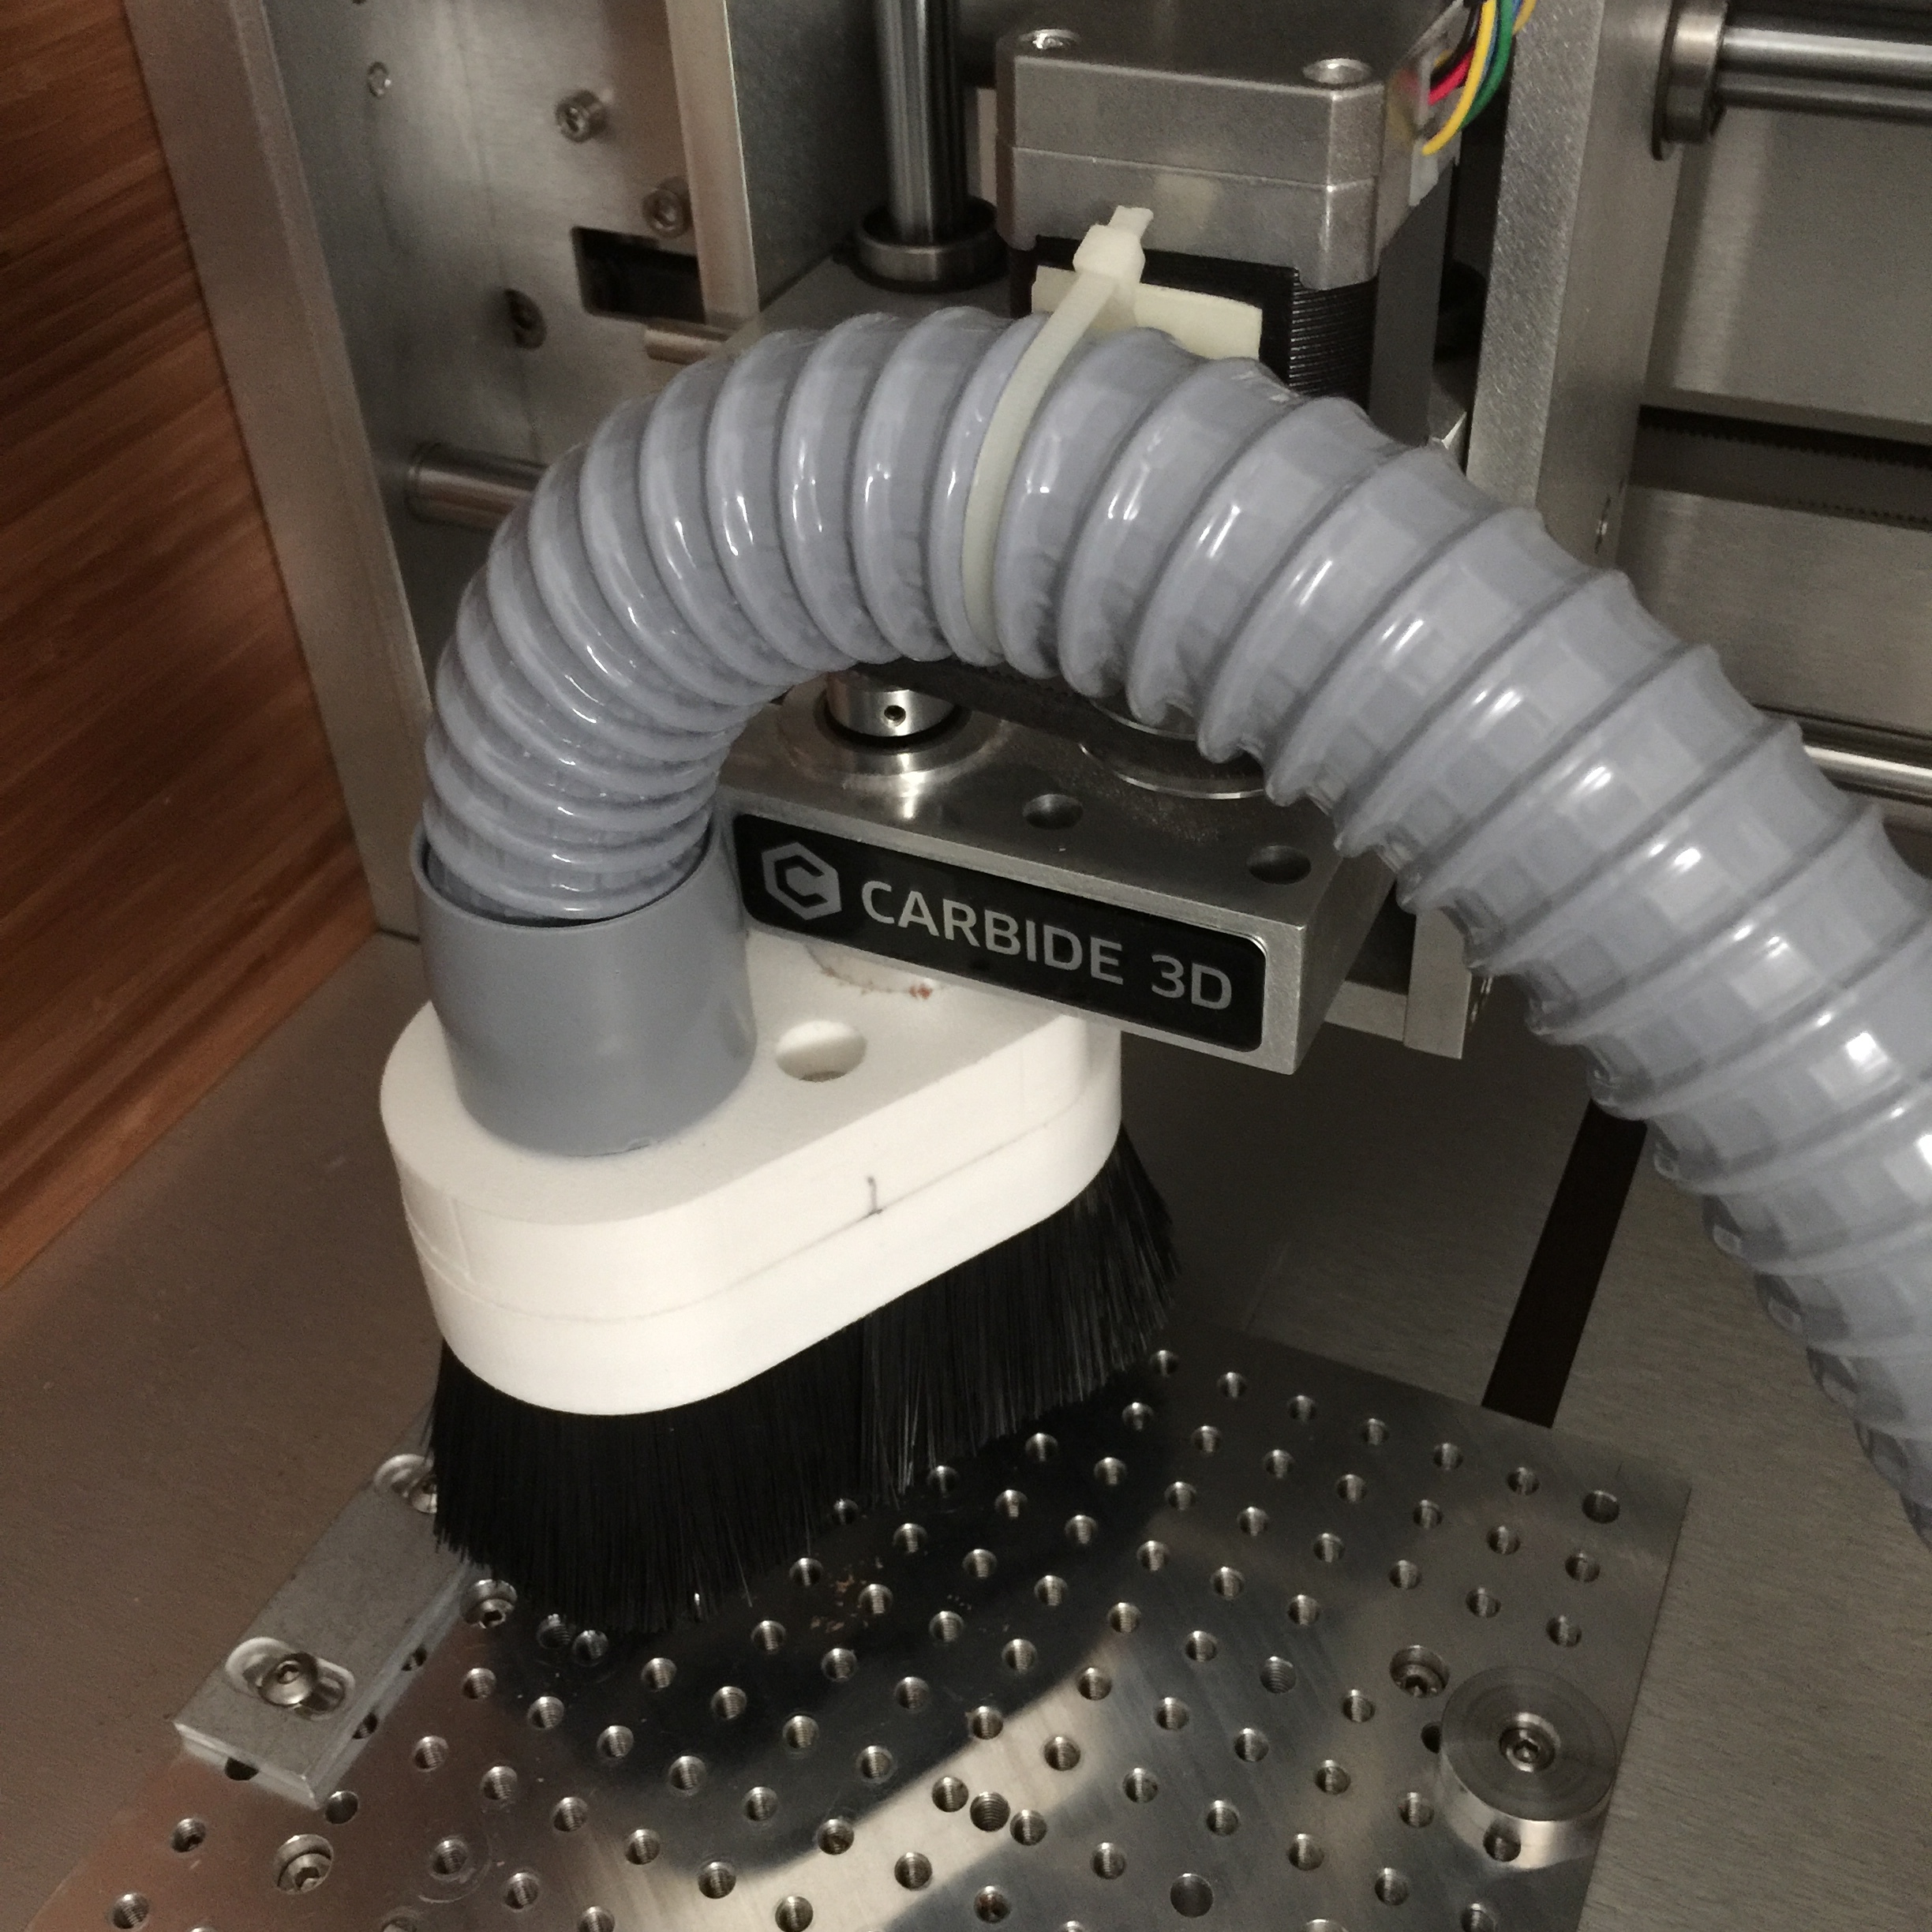
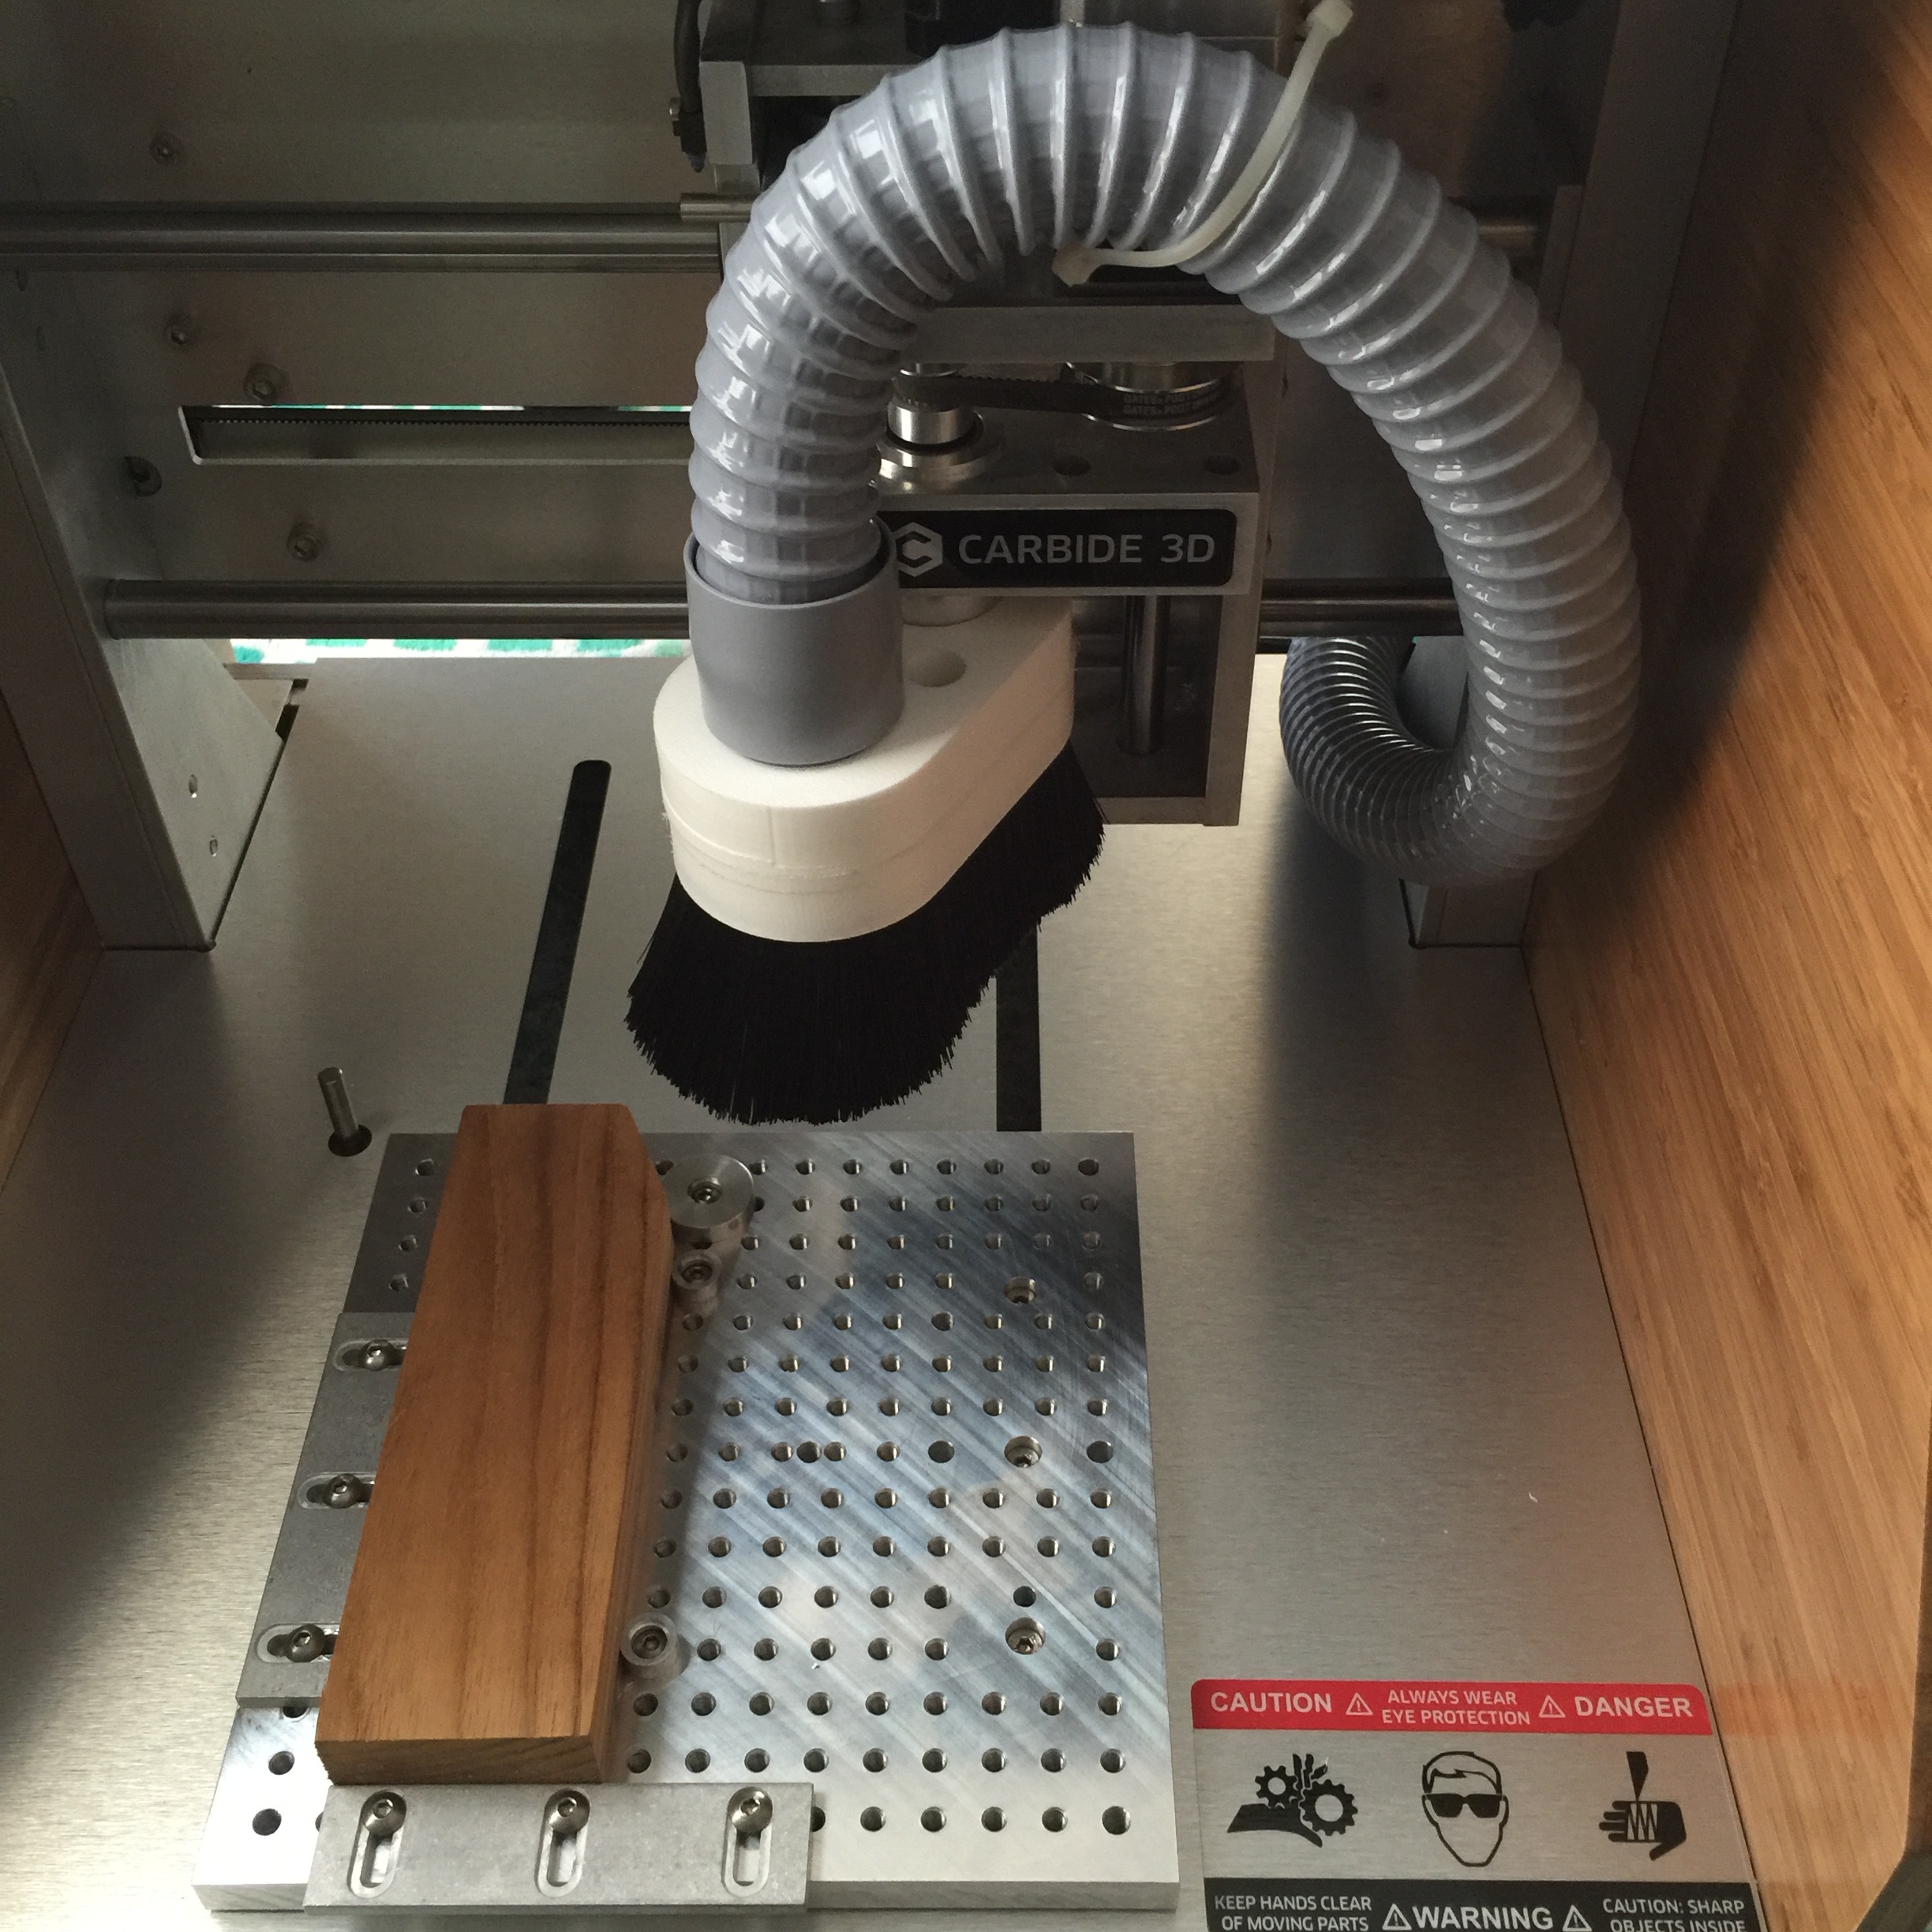
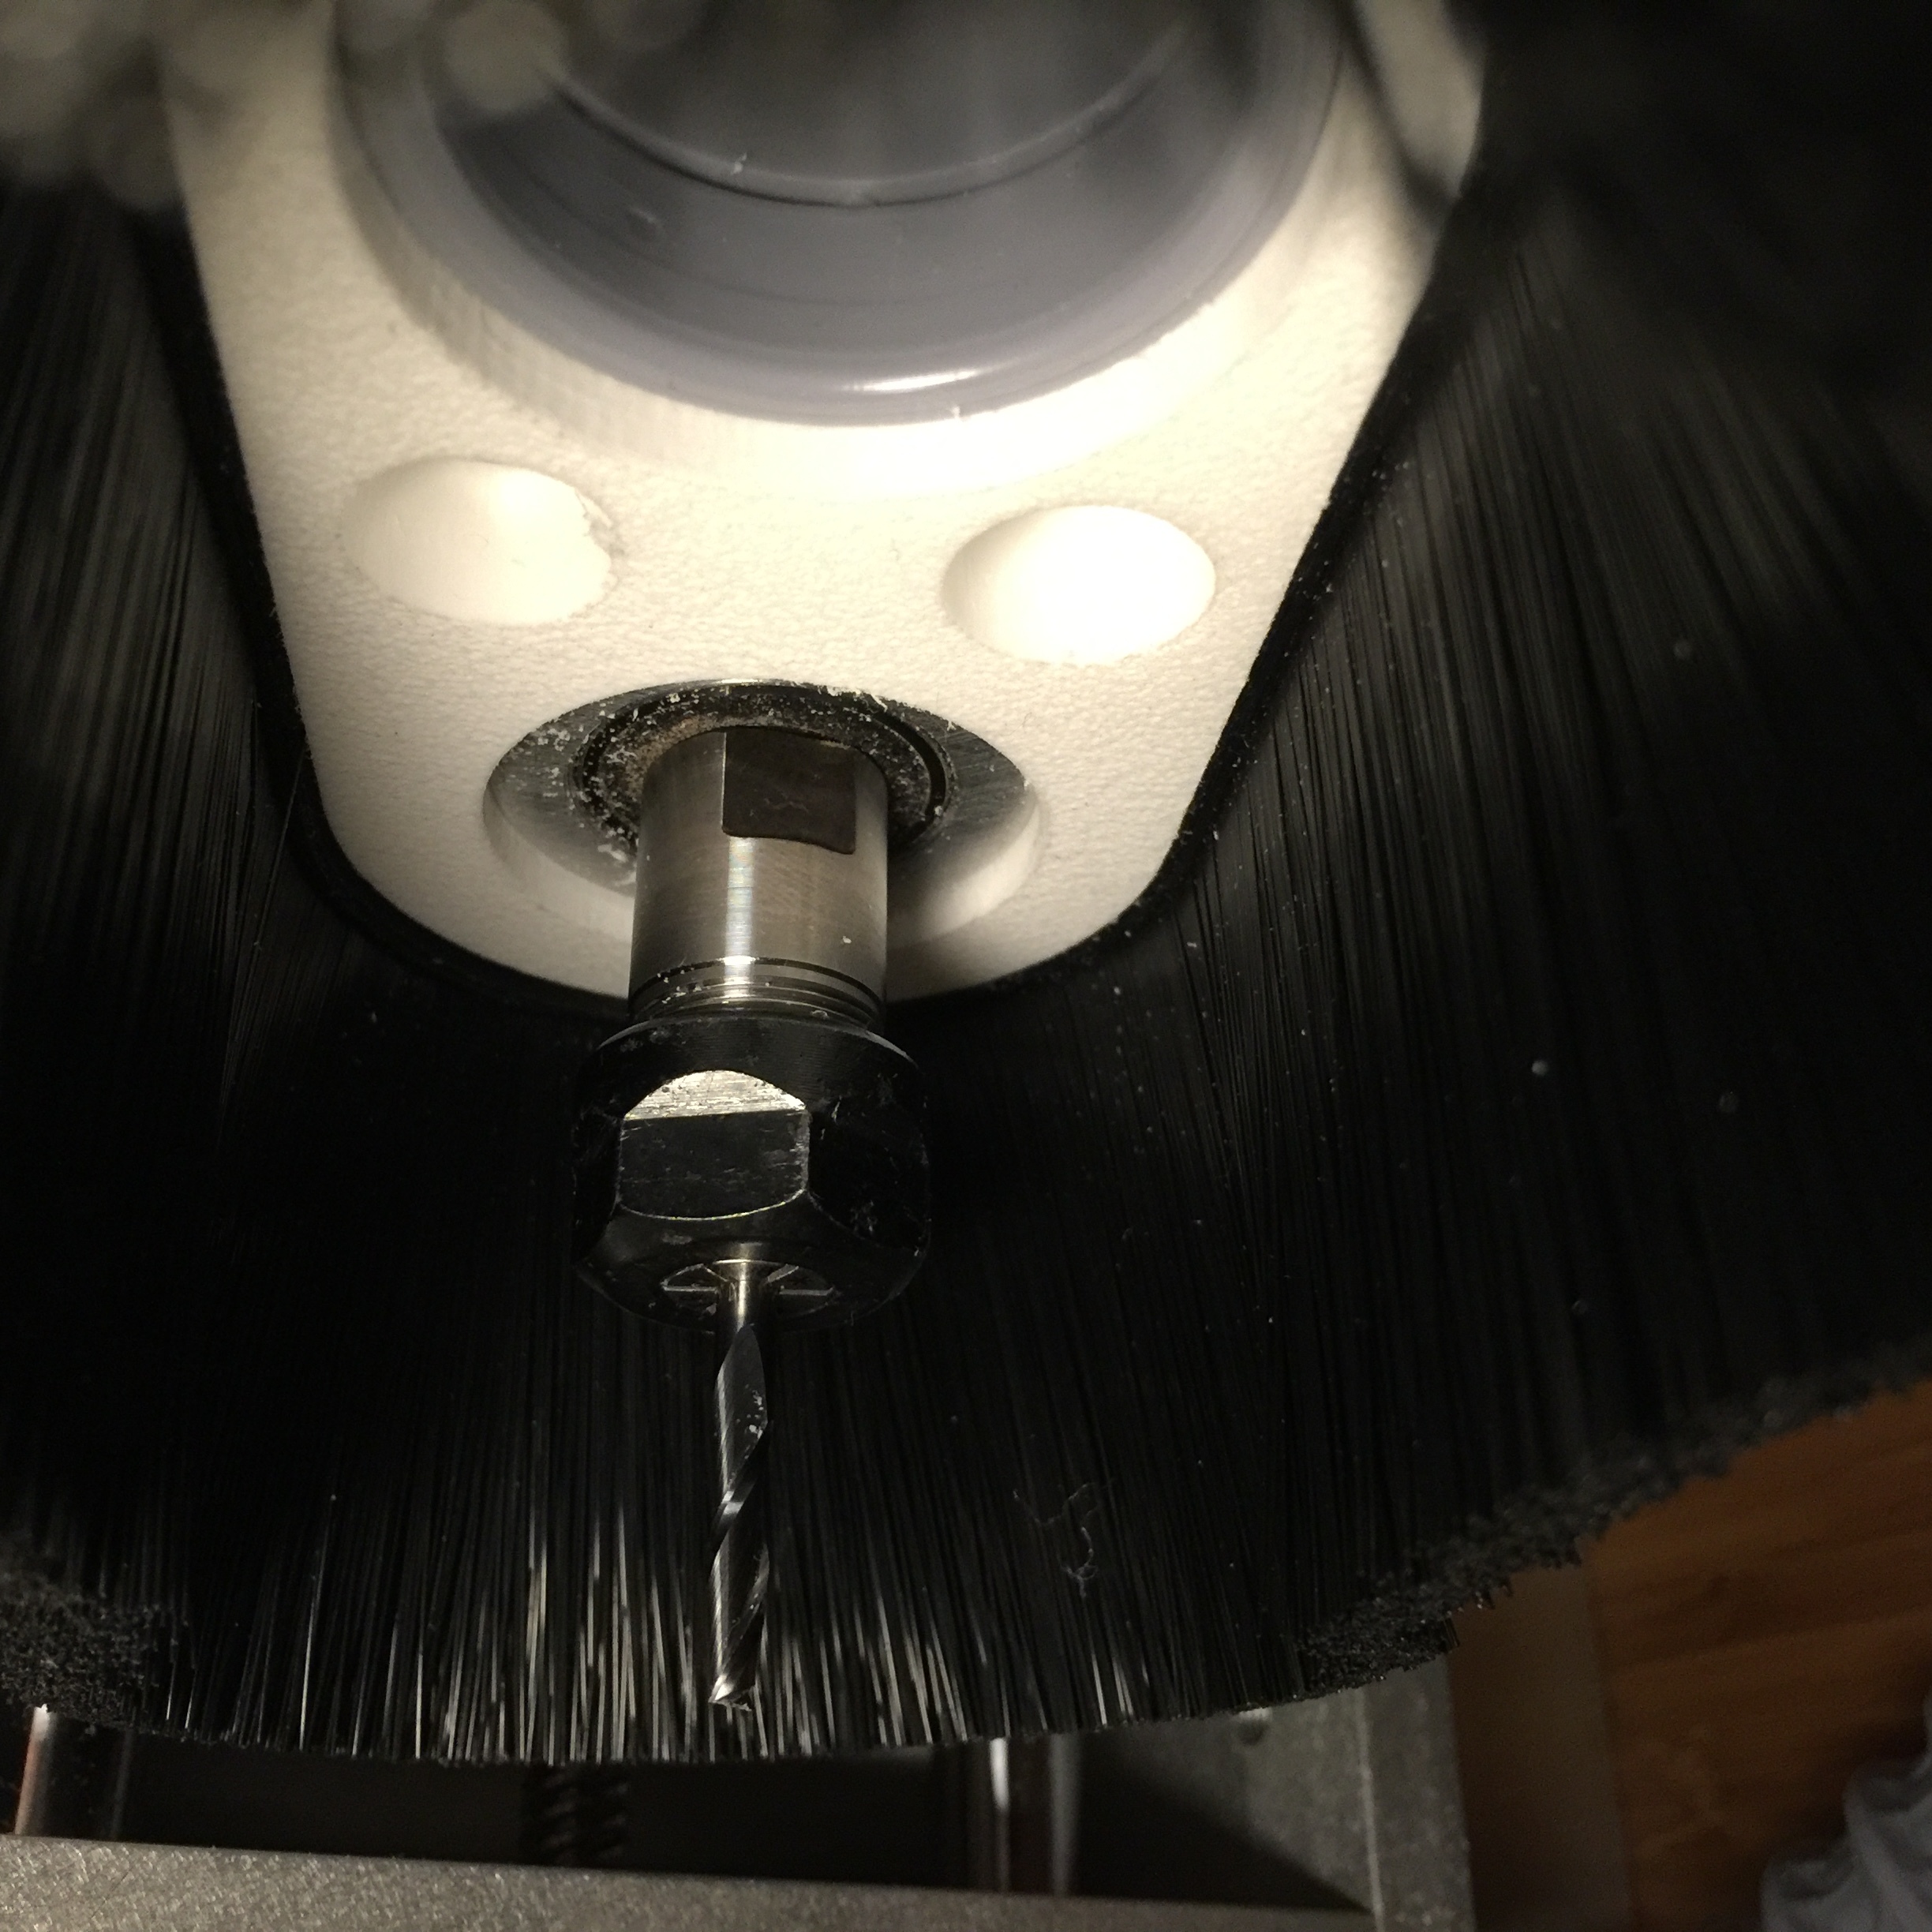
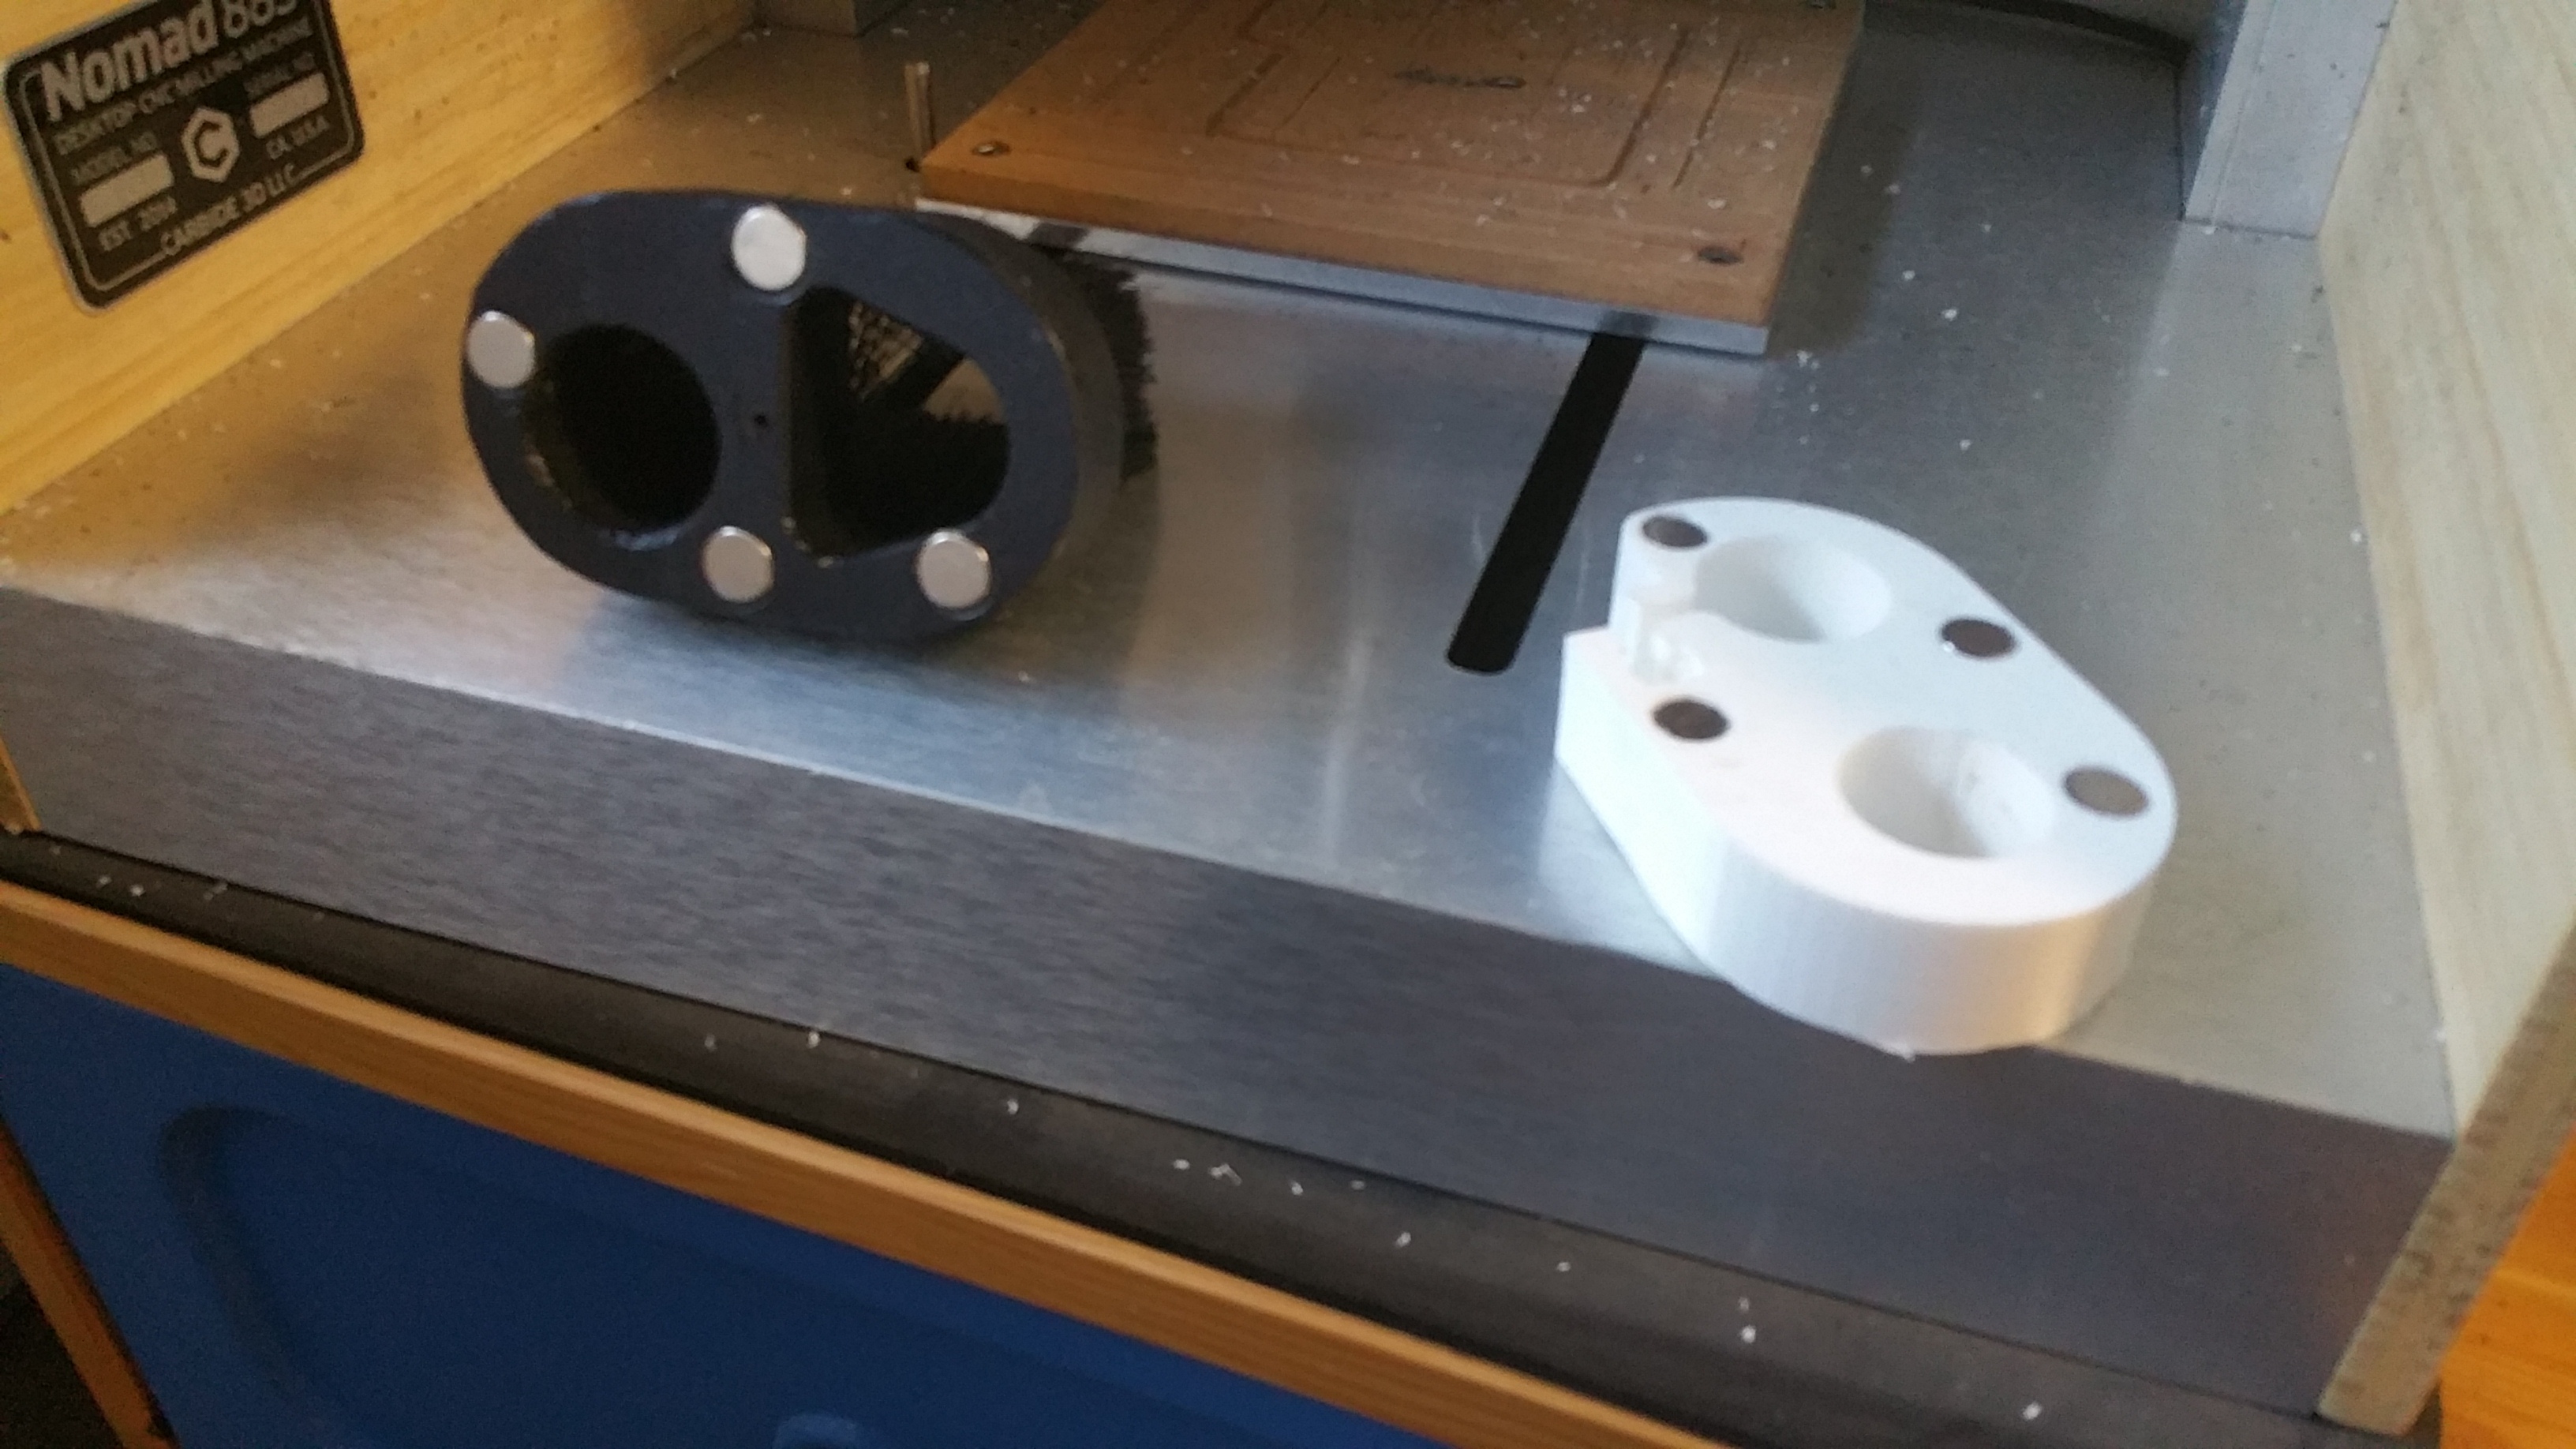
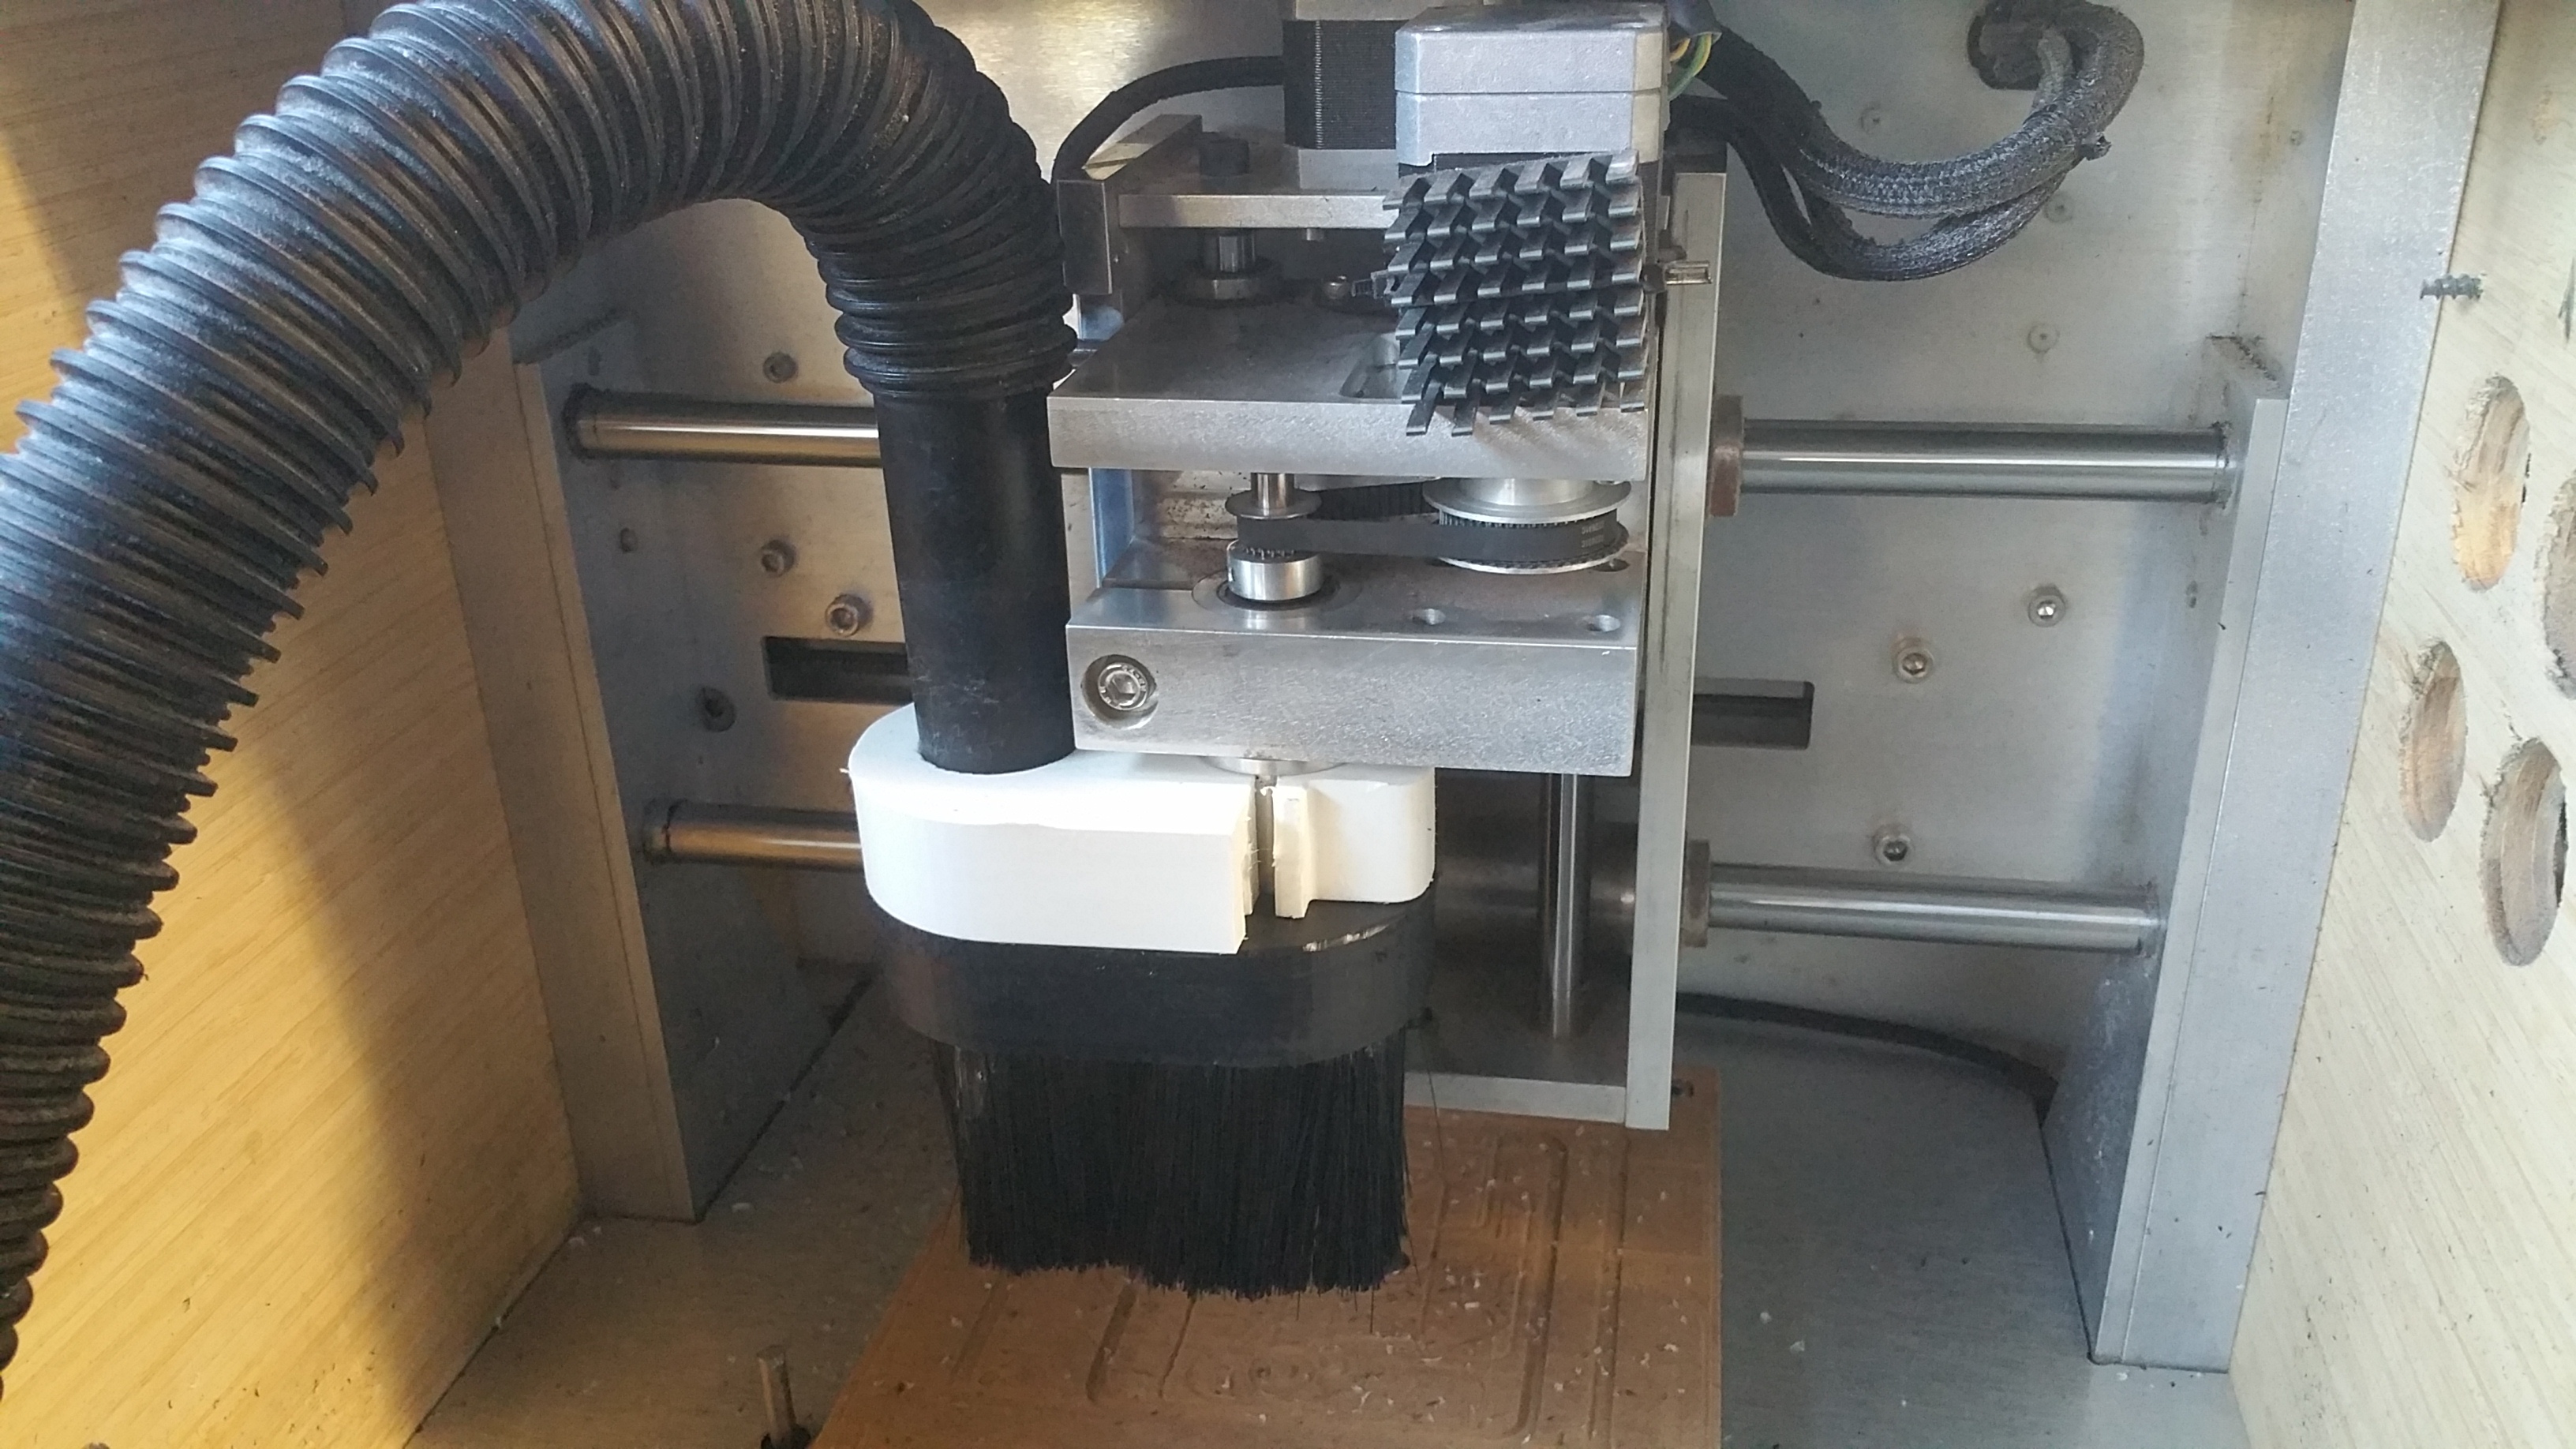
 esp the bristle dust head (easy to figure out hoses and connectors but will be nice to know that a given specific product will be sized correctly)!
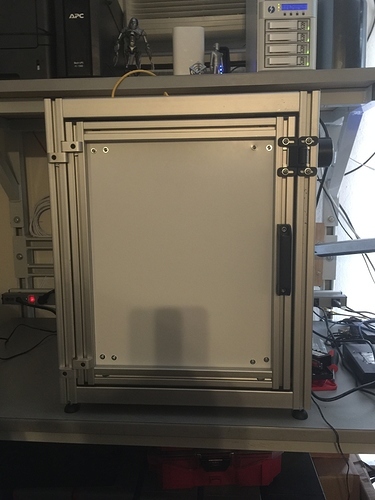


