Thought I would show you guys this, I had a few of these laying around and thought why not? I designed this in Cadkey - took a while to draw over a few mornings. I have been engraving .1 aluminum drops that I bought from my local machining shop for .60 lb… They are pretty fun to do. Doing the family tree on a bunch of them and was mainly using a .0625 ball, but was not getting good results in the letters because I had to use the no offset because they were so small I could not pocket them.
I also used 30 v bit for some which works well as long as I kept the speeds and feeds down a little, otherwise I was breaking off the very tip of the bit, which by the way still cut pretty good on other drawings . So another thing I did was told the machine I was using 30 v bit and was actually using the .0625 ball -worked pretty nice.
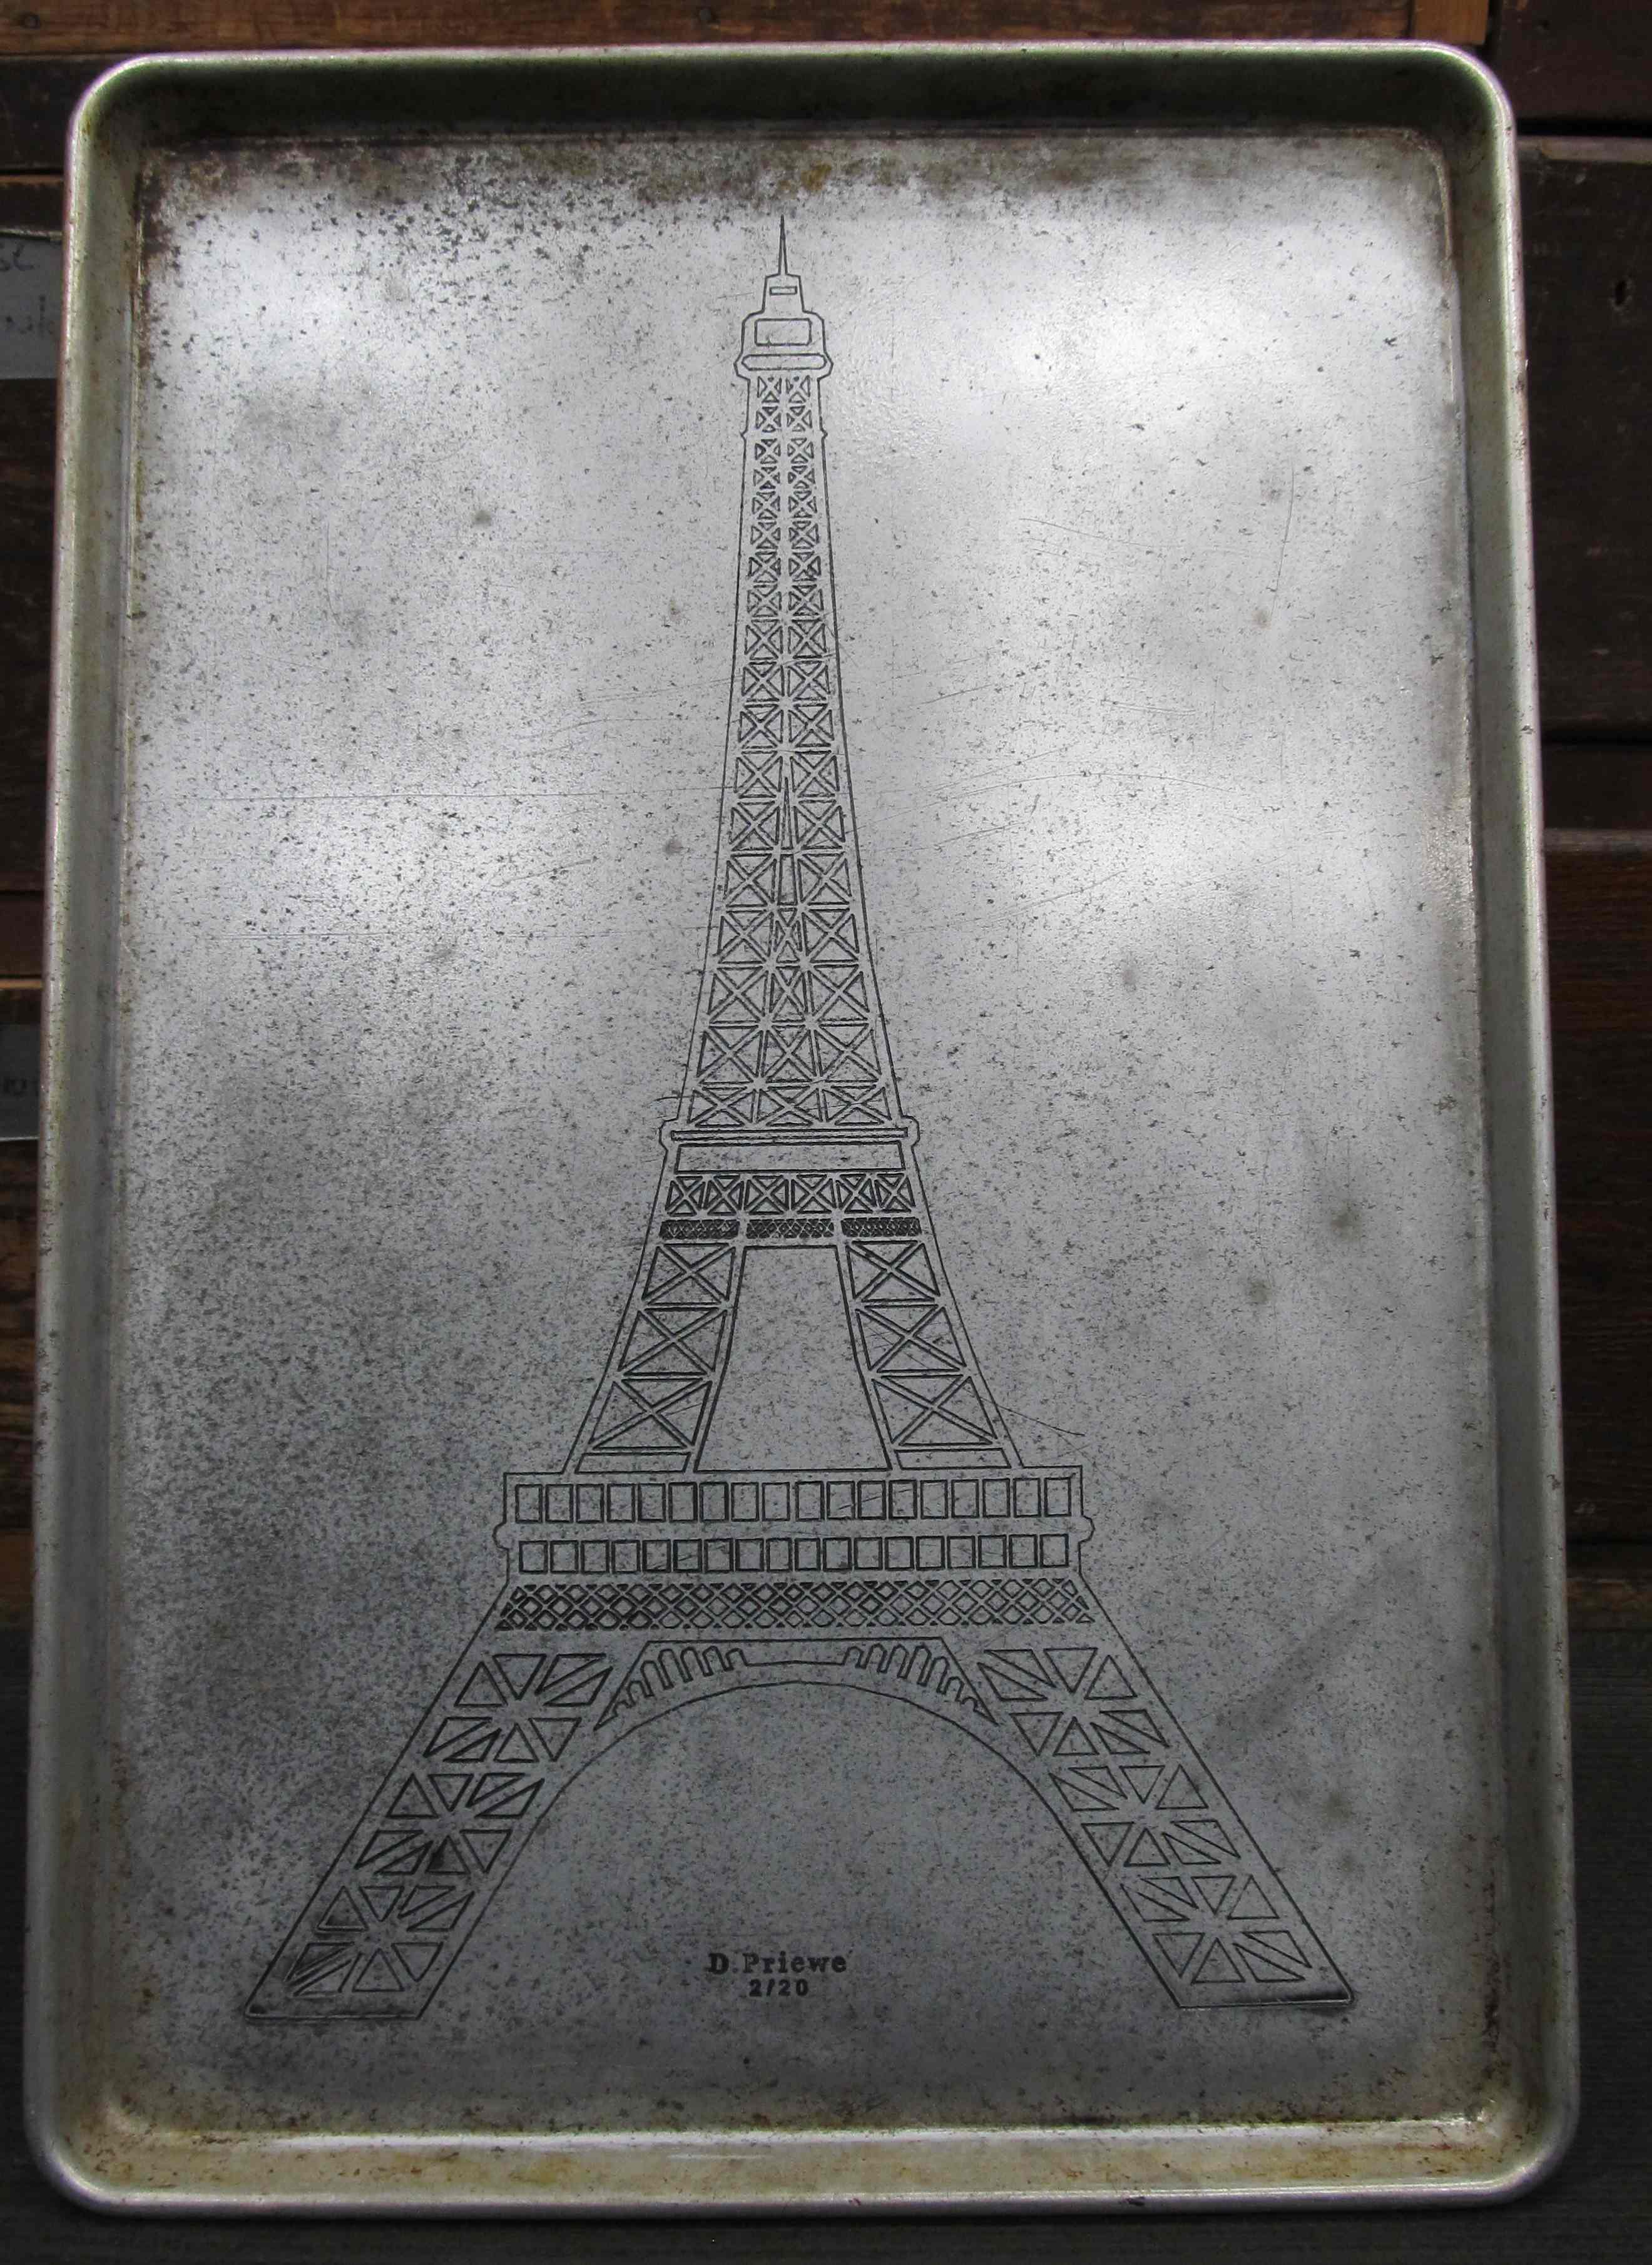
The Eiffel tower is with the .0625 ball and was not easy to get the bottom to lay flat, tried 2 sided tape but there were still areas that “popped up”. I was a little late on one corner (lower left) and the bit went thru. So what I ended up doing was threading it like using a sewing machine, I had to hold down the bottom on both sides of the bit as it was going. Also broke it up into various sections and had to re-zero z accordingly.
Would be cool if you had manual control over z-axis on the run.
look into spring loaded engravers, i just ordered one myself to try. may pan out for instances like this. a vac hold down would be ideal but can be costly to get setup right. there’s diy option out there
The thing about real craftsmen (craftspeople for all the millennials that read this ) is not creating things but rather create something that not only looks amazing but to have it blend into the original material. This looks like it has always been there I love this!! Must get off fixing the tractor and get back to my machine
That is interesting,sounds like I could use something like that - let me know how yours works out - nice pun there as well -(may pan out) Thanks everyone else for the nice comments.
Here are a few other smalls – I especially like the 3d one. I have been keeping busy with this machine over the long hard winter. I fill these in with some acrylic paint then sand it and put a clear coat over them. I found some stick on picture hangers for the back. Not sure if they are sell-able or not ,but I will put them out at my shows this year and see what happens. One never knows! Can’t sell it - if you don’t have it.
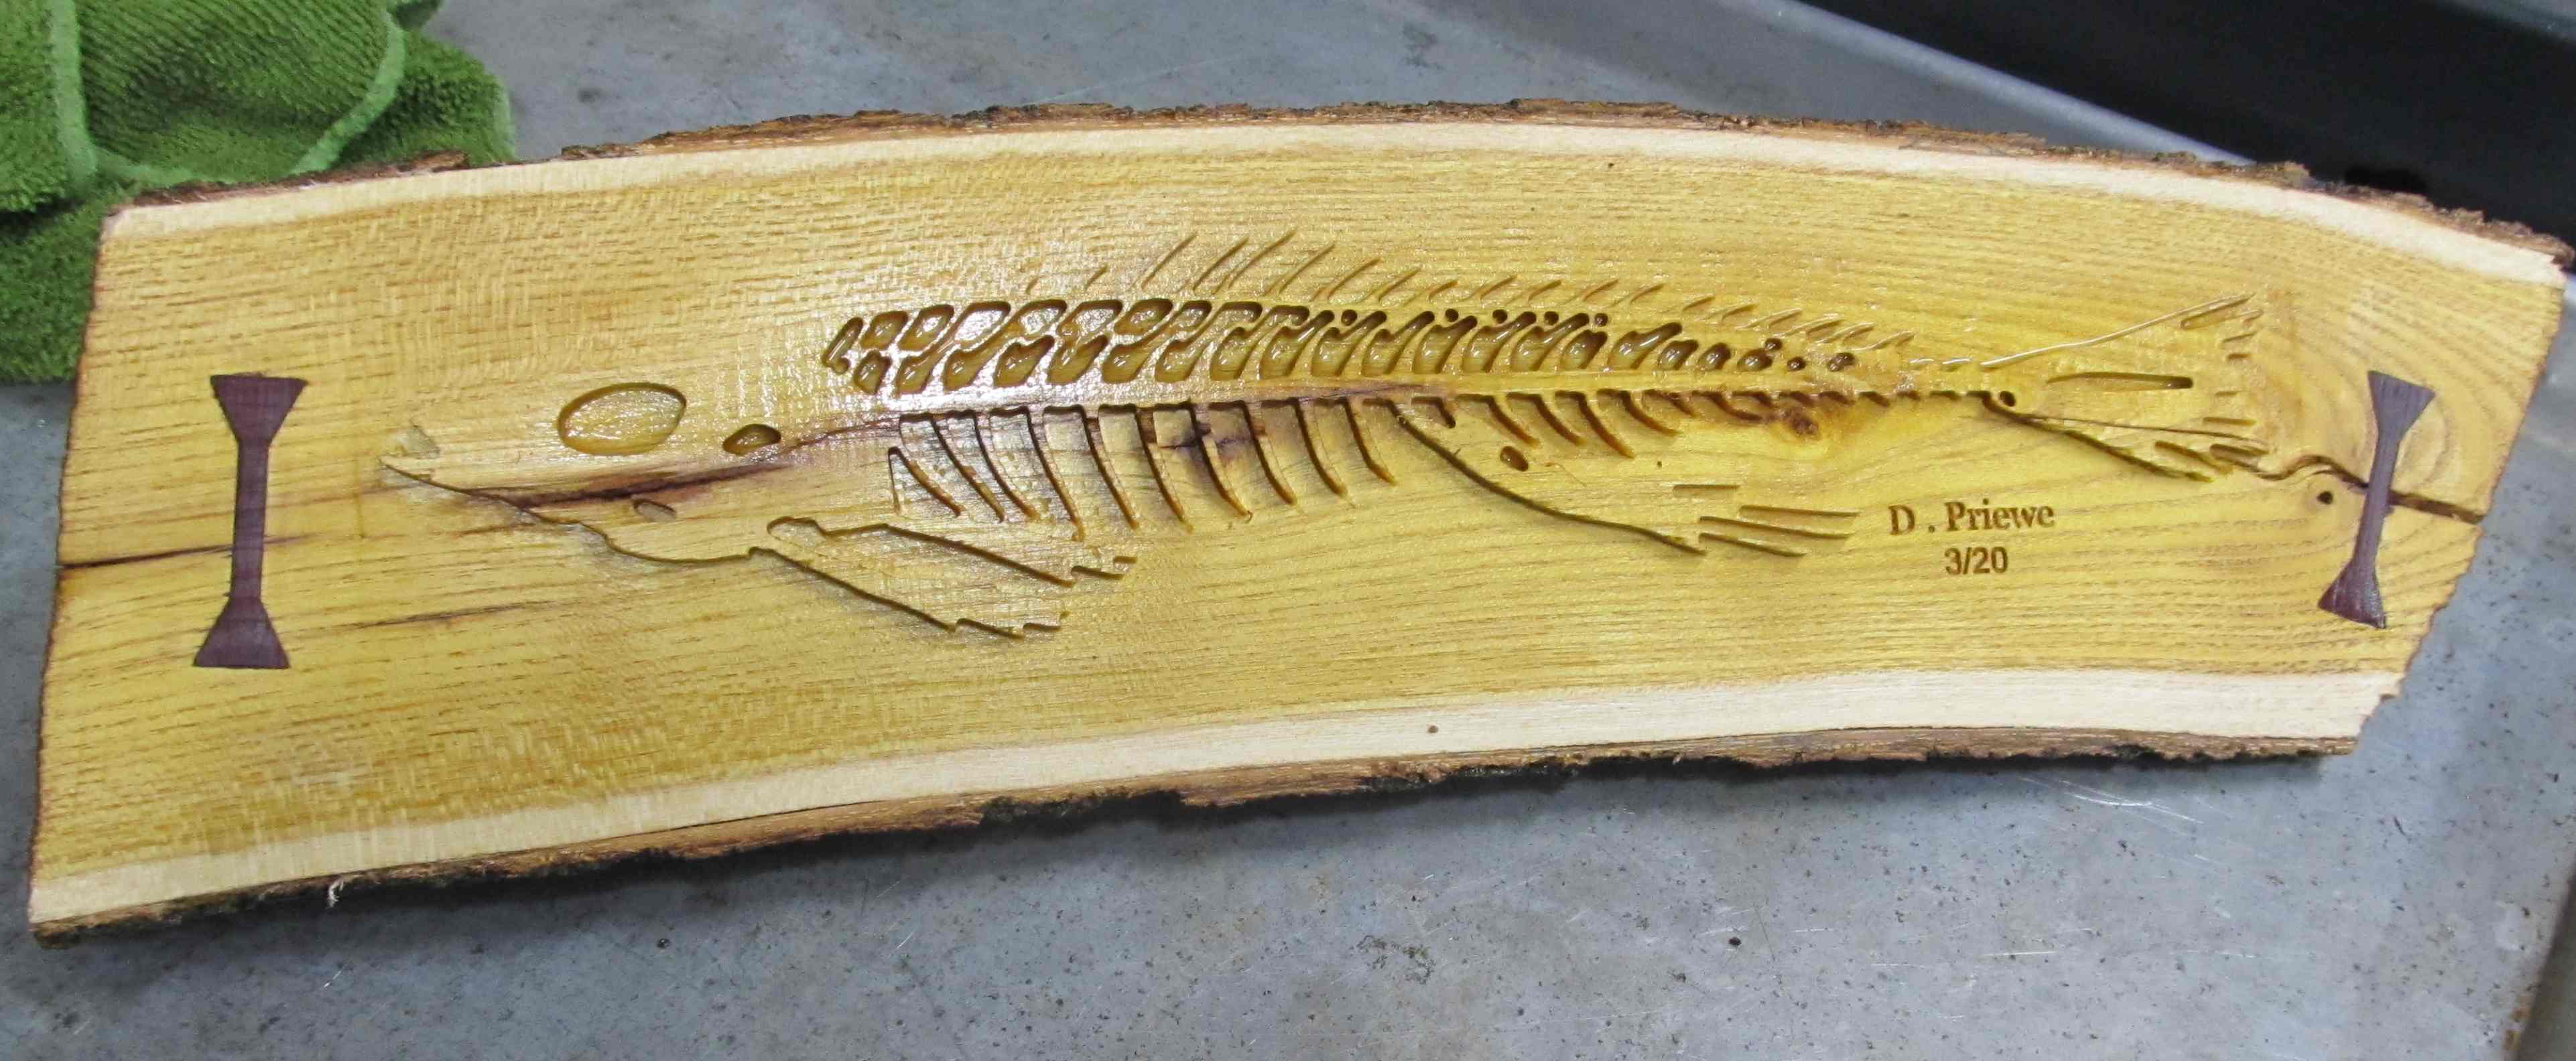
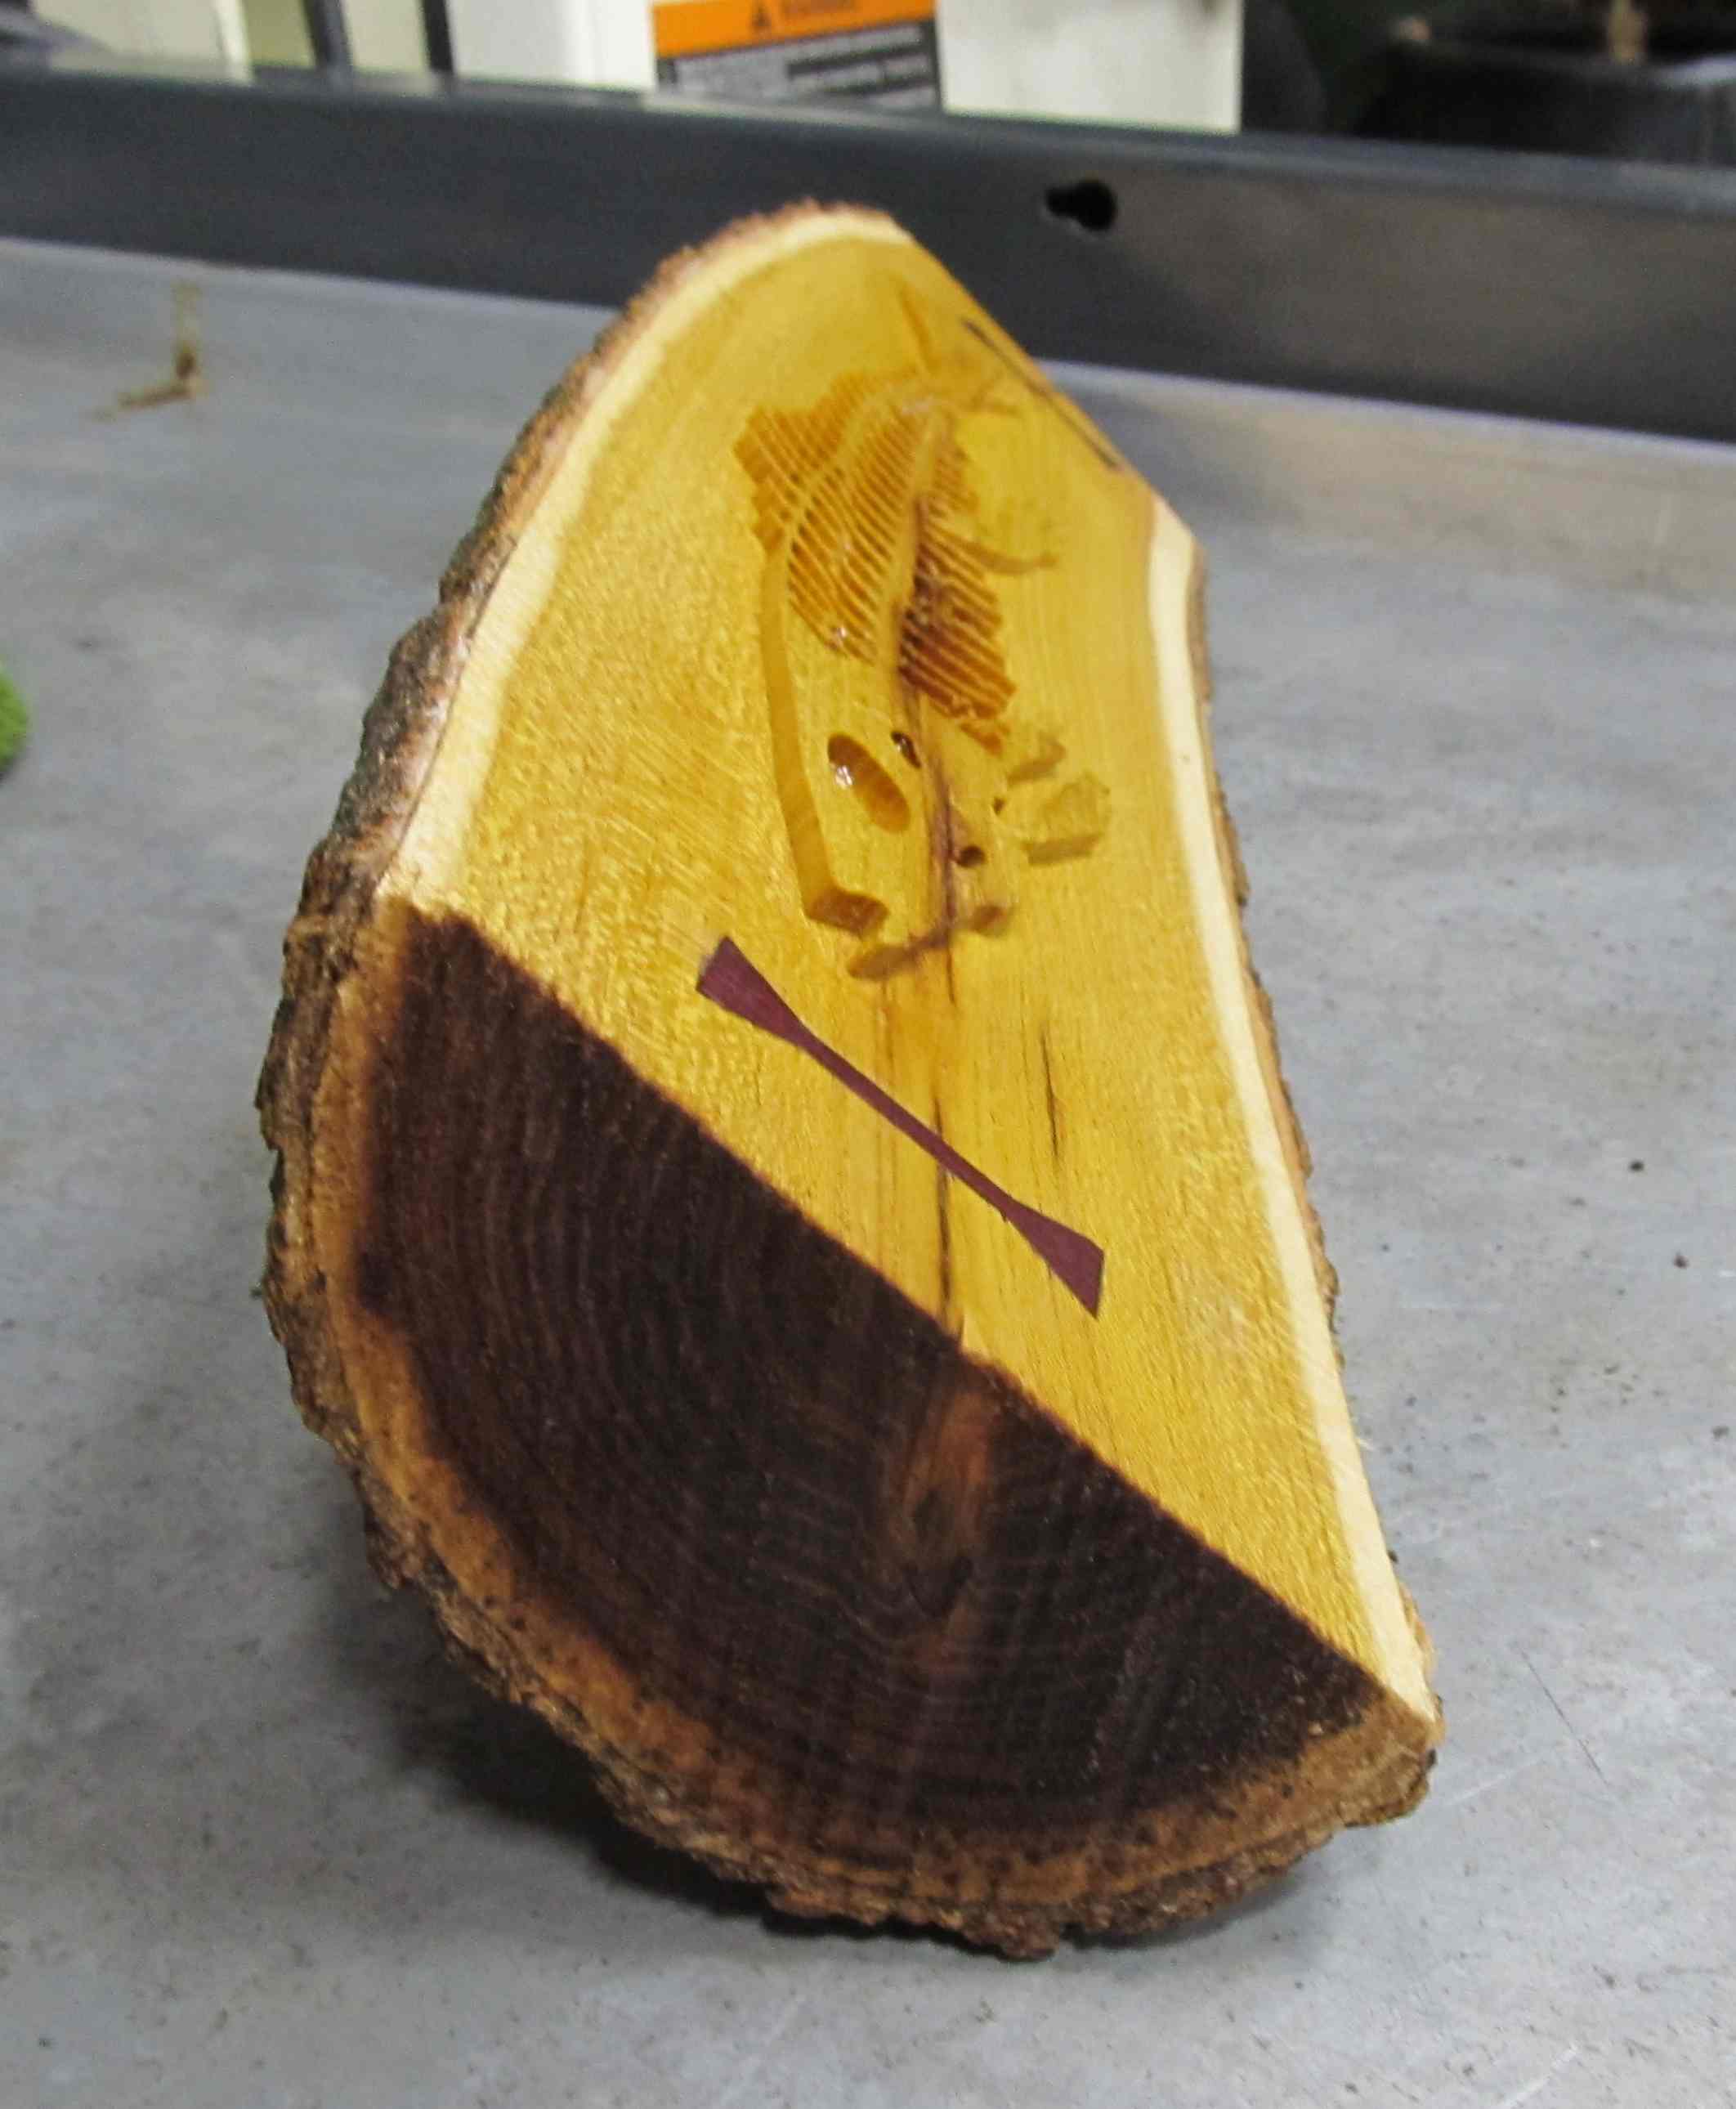
Look what I found when I split this piece of wood open. First attempt at inlay - should have made the bow-ties a bit smaller but it sort of goes with the piece, they fit perfectly!
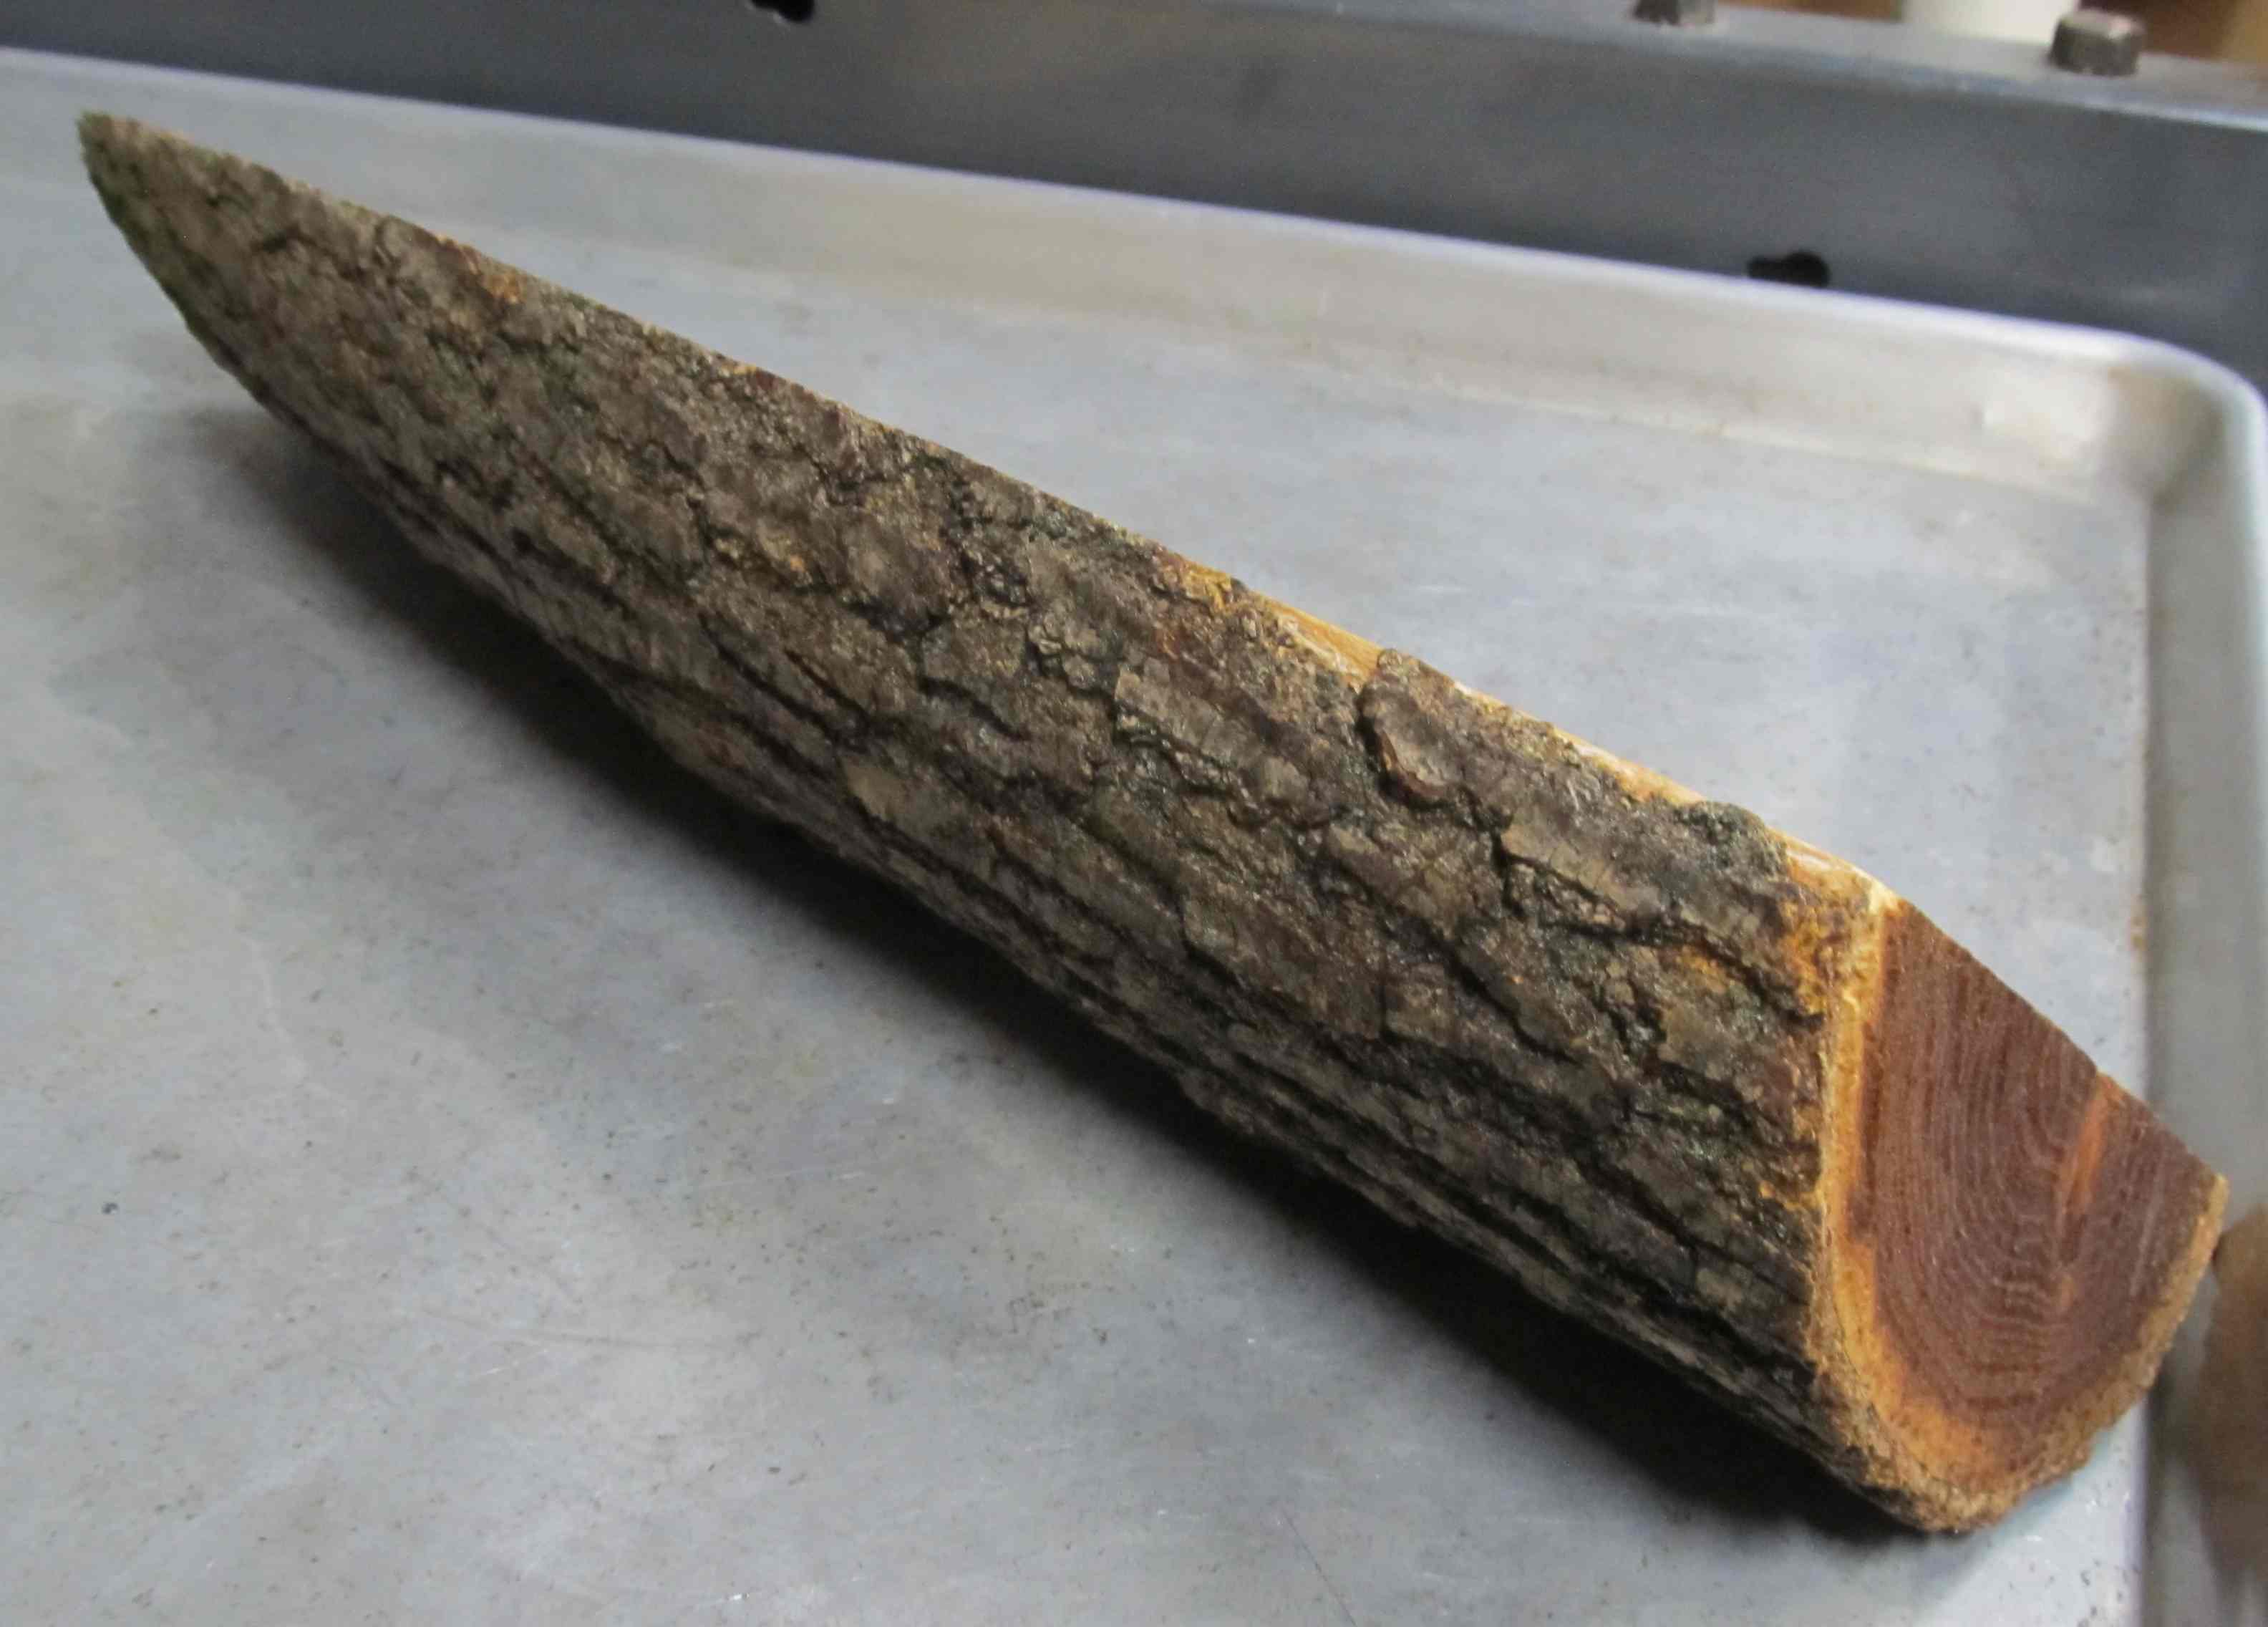
Bonus points if anyone can tell me what wood it is. (I know, it was from my tree hope to find more of these fossils in it!)
(USA)-Wisconsin . Osage orange is a good guess. I have had that wood and is similar - not Acacia,or salmon wood. I’ll let a few more guess before revealing.Thanks Graham!
Hey Will, how do I reply to multiple persons in one reply,I’ve seen others do it but can’t figure it out.
gave the spring engraver a go just last night on a zippo lighter.
worked out well. previously used a diamond drag and it is much more prominent and has a consistent width.
the assembly is simple and part of me is curious how it holds out over time as well as what life to expect of the stock bits. purchased here; http://cnc-aid.com/
Hey Paul,
Any idea on how deep you can go with that -let’s say in one pass on aluminum? I have been going .016 deep with a .0625 ball nose with .008 per pass.
I have some 6061 I can do a test cut with.
There are springs that can swapped to adjust the load during the cut so there is some fine tuning it would seem to the depth per pass.
If I get a chance tonight/tomm I will try to do some paths and share the result.
Spent my childhood staining everything, including my feet, dark purple with mulberries from the huge tree right by our house. Don’t know that I’ve seen another mulberry tree outside of that neighborhood in Cleveland, Ohio.

 ) is not creating things but rather create something that not only looks amazing but to have it blend into the original material. This looks like it has always been there I love this!! Must get off fixing the tractor and get back to my machine