I want the orange lines to be what is engraved on an MDF board, not the blue lines that are showing. I imported an sag file from Illustrator. Can anyone help? Thanks in advance.

To do as you wish with a V carve you would need to expand the strokes in Adobe Illustrator.
In Carbide Create you could use a Toolpath | Contour | No offset toolpath.
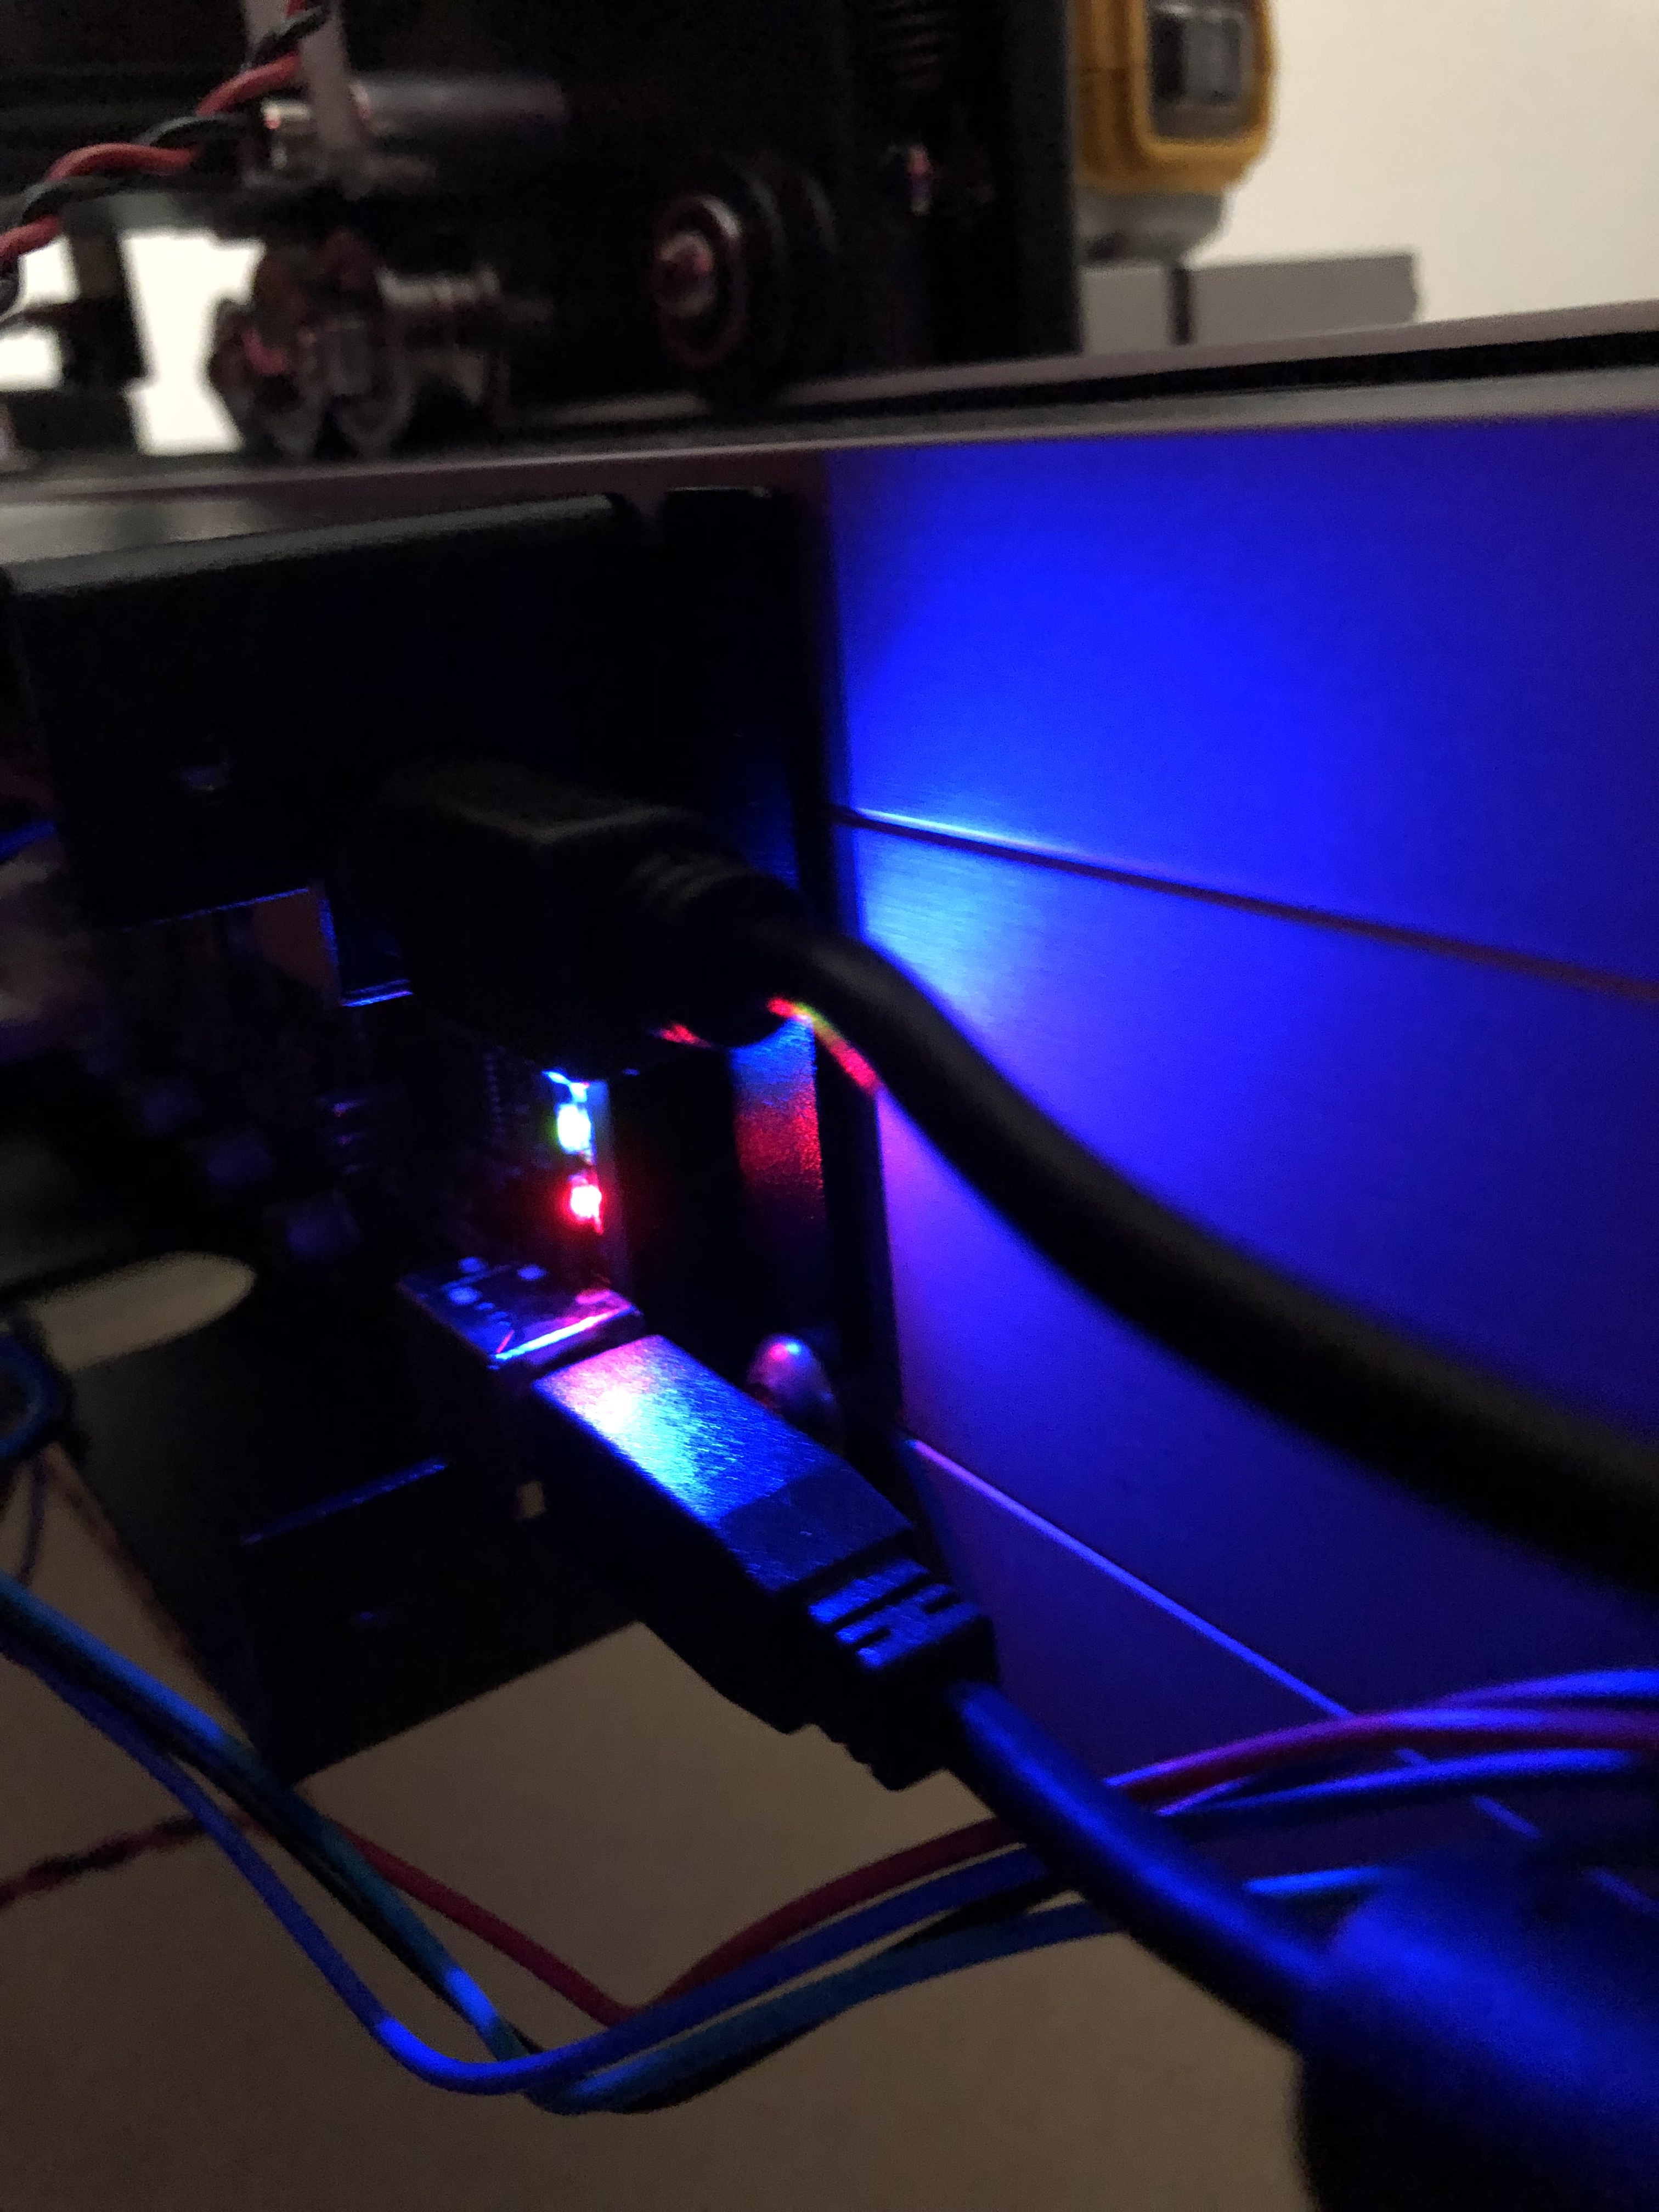
Thanks for the reply. I’m getting a message in Carbide Motion that says 'Homing Failed, couldn’t find limit switch. Do you know how I can solve this? There was also a red light flashing on the controller board.
Make sure you’ve sent the machine configuration: https://docs.carbide3d.com/support/carbideupdater/#carbide-motion-v4
There is a basic page on troubleshooting the homing switches at: https://docs.carbide3d.com/software-faq/home-switch-troubleshooting/ There is also a Carbide 3D Answer video: https://www.youtube.com/watch?v=P7lOLMAcl_0&feature=youtu.be
Please check that the switches are plugged in correctly, work properly — when the machine powers up the homing indicator lights should flicker on/off, then once the controller is booted up you can test the switches by pressing them — the matching light should light while the switch is pressed (closed), and should go off when the switch is released (open).
Please make sure that the machine can mechanically close the appropriate homing switch on an axis before reaching the limit of travel along that axis — if it can’t, it should be possible to adjust a problematic switch’s placement by loosening the hardware in question, pulling it into a better alignment and then tightening it. The machine being out of square can also affect this, squaring up the machine, or more expediently, securing a small block or plate for the homing switches to contact may be necessary.
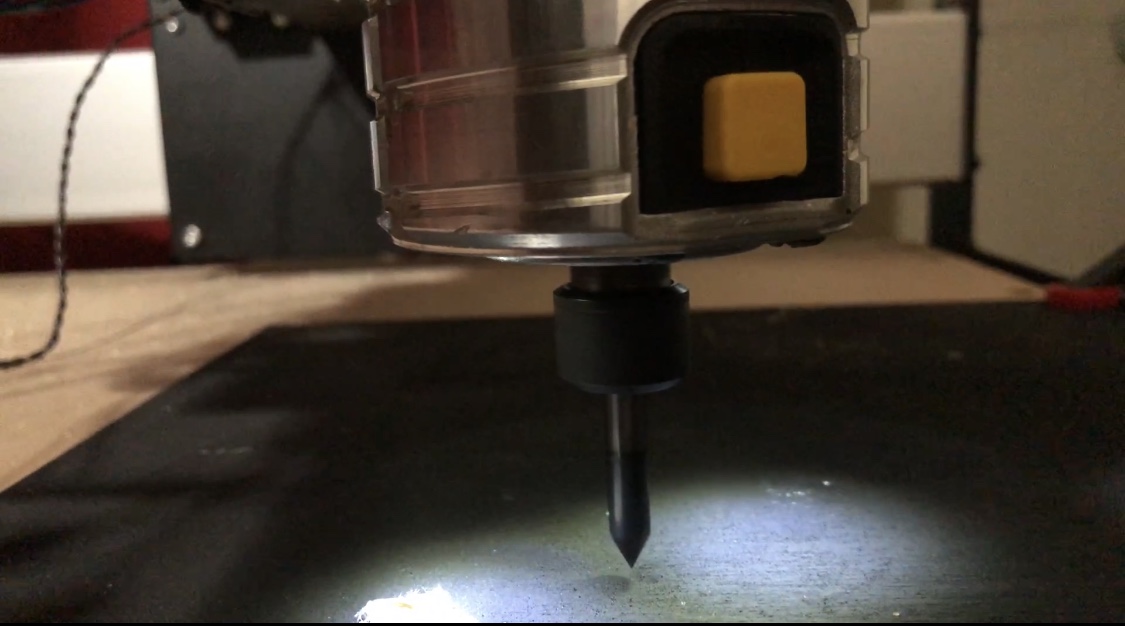
Thanks. Problem resolved. For some reason now, when I press “start” in Carbide Motion, the spindle slightly goes up and doesn’t engrave my mdf. Everything is moving, it’s just not touching the mdf. The mdf is .625 inches and in Carbide Create I put .425 for the max depth.
Please check the machine mechanically:
- Pulley set screws: http://docs.carbide3d.com/shapeoko-faq/shapeoko-3-how-to-check-the-pulley-set-screws/ — be sure to check all axes/pulleys including Z.
- V wheels / eccentric nuts: http://docs.carbide3d.com/support/tensioning-eccentrics
- Belt tension — the Z-axis should be guitar string tight (but careful not to bend the motor shaft): http://docs.carbide3d.com/assembly/shapeoko/xxl/step-5-belting/ on deep cuts it may help to remove one spring from the Z-axis temporarily, esp. if one hasn’t added a spoilboard on top of the wasteboard — it also helps to install the router as low as possible (installing the Makita adapter upside down will help). Some folks have found it helps to remove bolts which won’t stay tensioned (M4 Z-axis tension bolt, various V wheels with eccentric nuts), apply a thin bead of threadlock along the length of the threads, then reinstalling. See the video at: https://www.youtube.com/watch?v=_lIIb_PdziA Note that the X-axis motor is held in place on standoffs and if those bolts are loose this can cause belt tension issues.
This topic was automatically closed 30 days after the last reply. New replies are no longer allowed.