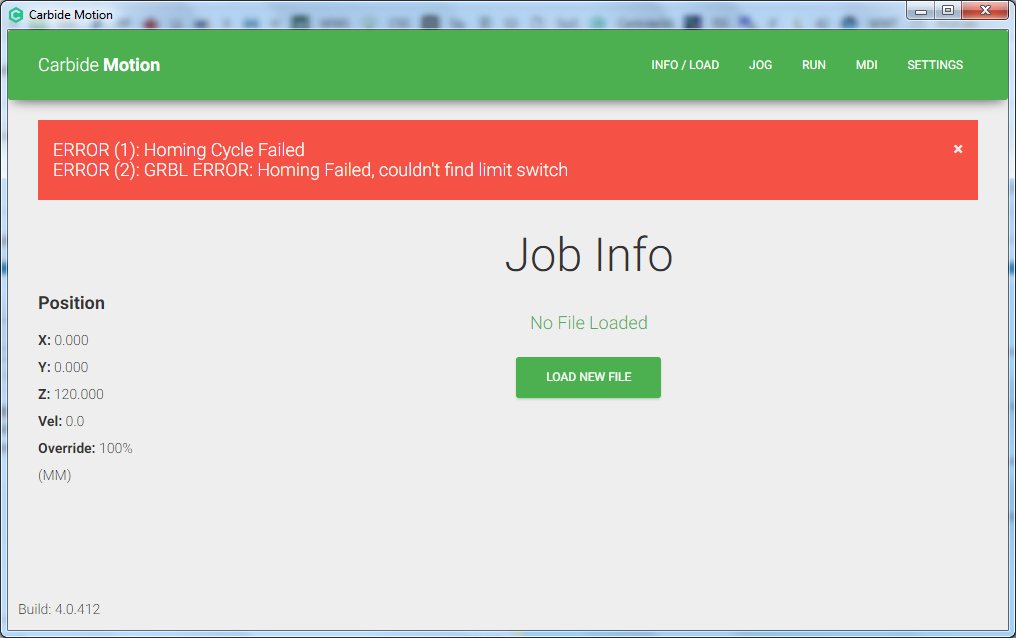
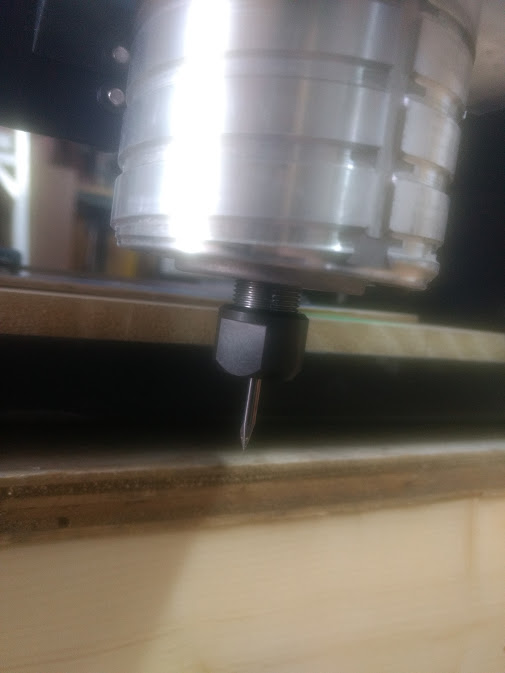
Powered up my Shapeoko3 (Standard) #7568, verified in Carbide Motion that it was Ver 4, (read that back in April Shapeoko’s were shipped with GRBL v1.1 onboard) continued to JOG, Hit the homing tab/button, and Z drove the bit into the ground! Hammered it about 5-10 times, and came up with this error:
Just an update… Limit SW’s have been switched to correct positions (You know… A Guy thing)…
But while fixing that issue, I moved my gantry to the back and heard a weird noise. slowly over and over I moved the gantry back and forth by 1cm. Then I noticed the unit is out of square! And to think that when I assembled it, I used my Quick Grips just like the YouTube video I watched.
So out comes the rubber mallet to see if I can persuade it to square. But I think I better search for the area I think @wmoy shared on if your unit is out of square before I start slamming away!
When we assembled 7568, the first thing we noticed was the back waste board screws (2 if I’m not mistaken), did not line up. Removed the rest and started off with the stubborn ones. We were able to get them in, and worked the rest in reverse.
Now, I loosened my Y rails, and re-clamped them and worked the star pattern to secure them back tight. The Front Right was tight to the metal. Same with the Rear Left, when the gantry is moved to the rear.
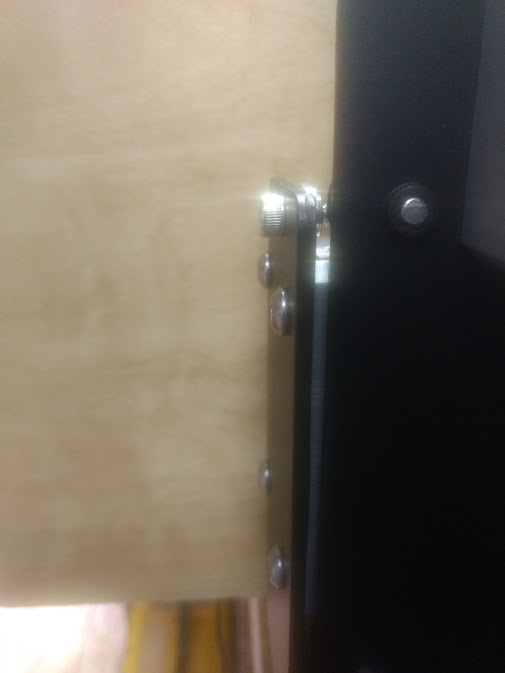
Took off my Front Right clamp, and it was true to the metal. Proceeded with the Front Left clamp, and it sprung back to 0.1275" (1/8"). Same measurement from the front as well (0.127").
Better than that, with the wires switched Brown to Y, Red to Z, return to Jog, and once again it took a nose dive right back into the spoil board!
OMG! Wife is NOT going to be impressed with where this is heading. Time to see just what @reidfo has to share! Fingers crossed…
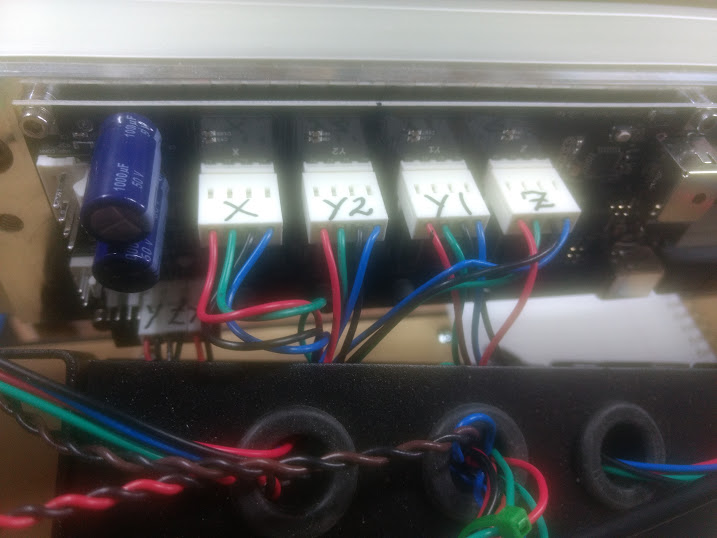
Not sure I can offer much help unfortunately since I’m pretty new to the Shapeoko and haven’t experienced this particular problem. Maybe @WillAdams can chime in with some advice? Look on the Wiki and closely at the assembly instructions to see the control board connectors and where exactly the X, Y1, Y2, and Z connectors go. Mine were labeled both on the board and on the connectors themselves. There should be a small catch on one side of the connector so you know which way is up when you attach it. @wmoy has probably the best instructions I’ve seen on squaring and leveling the machine. What surface do you have your Shapeoko sitting on? Is it flat and level?
Easiest way to verify which Grbl you’re using is to install and connect with Carbide Motion 4 — it’ll give an error if Grbl 0.9 is installed, and connect to 1.1
$3 is Grbl’s “dir port invert mask” per dir port invert mask:00000110) — it’s a set of binary digits which will reverse one or more axes depending on how they’re set — see the wiki for details.
If your machine moves down when it begins homing there are 4 possible causes:
Z-axis spindle carriage plate installed upside down (static pulley should be on the left
(Please note that ZYX for the Limit SW were marked prior to this, so now it reads as YZX (=ZYX).
Once that was all verified, I powered 7568 back up, and went to jog. This time Zed finally travelled upwards, X moved to the Right! (we are on a roll here Baby!), but Y motored forward and did not want to time out (5-10 hits before RED Flag was shown on the screen for the earlier errors).
What I can tell you is /$3=6 did not seem to work (Not too sure if I tried this out AFTER I switched Z&Y around?). /$3=0 Lifted Z, and traveled to the Right! But failed at brining the gantry to the rear of the ship.
I will now take a further break, take a couple headache pills and return to read what others chimed in to share with me!
@reidfo, yes the table is flat. My shed dips to the back by a few degrees, but the centre table (where the Shapeoko sits on is flat!. I have also ran my 4’ level to verify for warping, but for a 3/4 Plywood bench. It is a solid base to work with. Thanks for these thoughts, as we all can see tiny things were overlooked, and look where this has lead me too…
Sounds like you are making good progress, Michael. It’s a steep learning curve for many of us, including me. I’m struggling with some alignment issues as well (Z axis depth mainly), but just got my new Beaver HDZ Z axis, so will install that before troubleshooting any further.