Fitted box design generator underway

which with a bit of adjusting arrives at:

5

which loads into Carbide Create and allows us to set up appropriate toolpaths.

and with suitable toolpaths previews as:

(which isn’t quite right — needs to be in two separate files with suitable thicknesses, or have a pocket to thin the lid down to the right thickness — hang on)

Here, something like this:

Attached.
cncboxfitted_2.375x3.5x0.5.c2d (224.3 KB)

2 Likes

Starting in on a web page on this at: https://wiki.shapeoko.com/index.php/Design_into_3D:_box:_fitted

Fitted boxes are the easiest to make on a CNC — just two pocket cuts, one rabbet, and two profile cuts.

For a round box, the needed parameters may be as simple as:

  • diameter
  • thickness of the box bottom and lid
  • thickness of the wall of the box
  • width of the rabbet cut

Note that that last determines the size of the pocket of the lid, and should be adjusted by the tolerance needed to allow the lid to fit properly.

Designinto3d box fitted round 2x2 screen.png

The file for cutting this is simply a series of nested circles of appropriate dimensions:

Design into 3D box fitted round 2x2.svg

Given a 13.5mm thick stock, a 4.5mm thick bottom and lid, a 3mm tall lip, and using a 1/4" (6.35mm) endmill necessitating an 8mm or so offset geometry so as to cut the perimeter as a pocket rather than as a slot one would arrive at the following toolpaths:

Design into 3D box fitted round 2x2 cc toolpaths.png

which preview as:

Design into 3D box fitted round 2x2 cc preview.png

Carbide Create source: cncboxfitted_round_2x2.c2d (170.0 KB) — please adjust feeds and speeds as needed, as well as the rabbet for the lid as need be.

2 Likes

The wiki page has been updated with some photos and the Carbide Create source files for this posted to:

2 Likes

Reworked this in Blockscad3D:

https://www.blockscad3d.com/

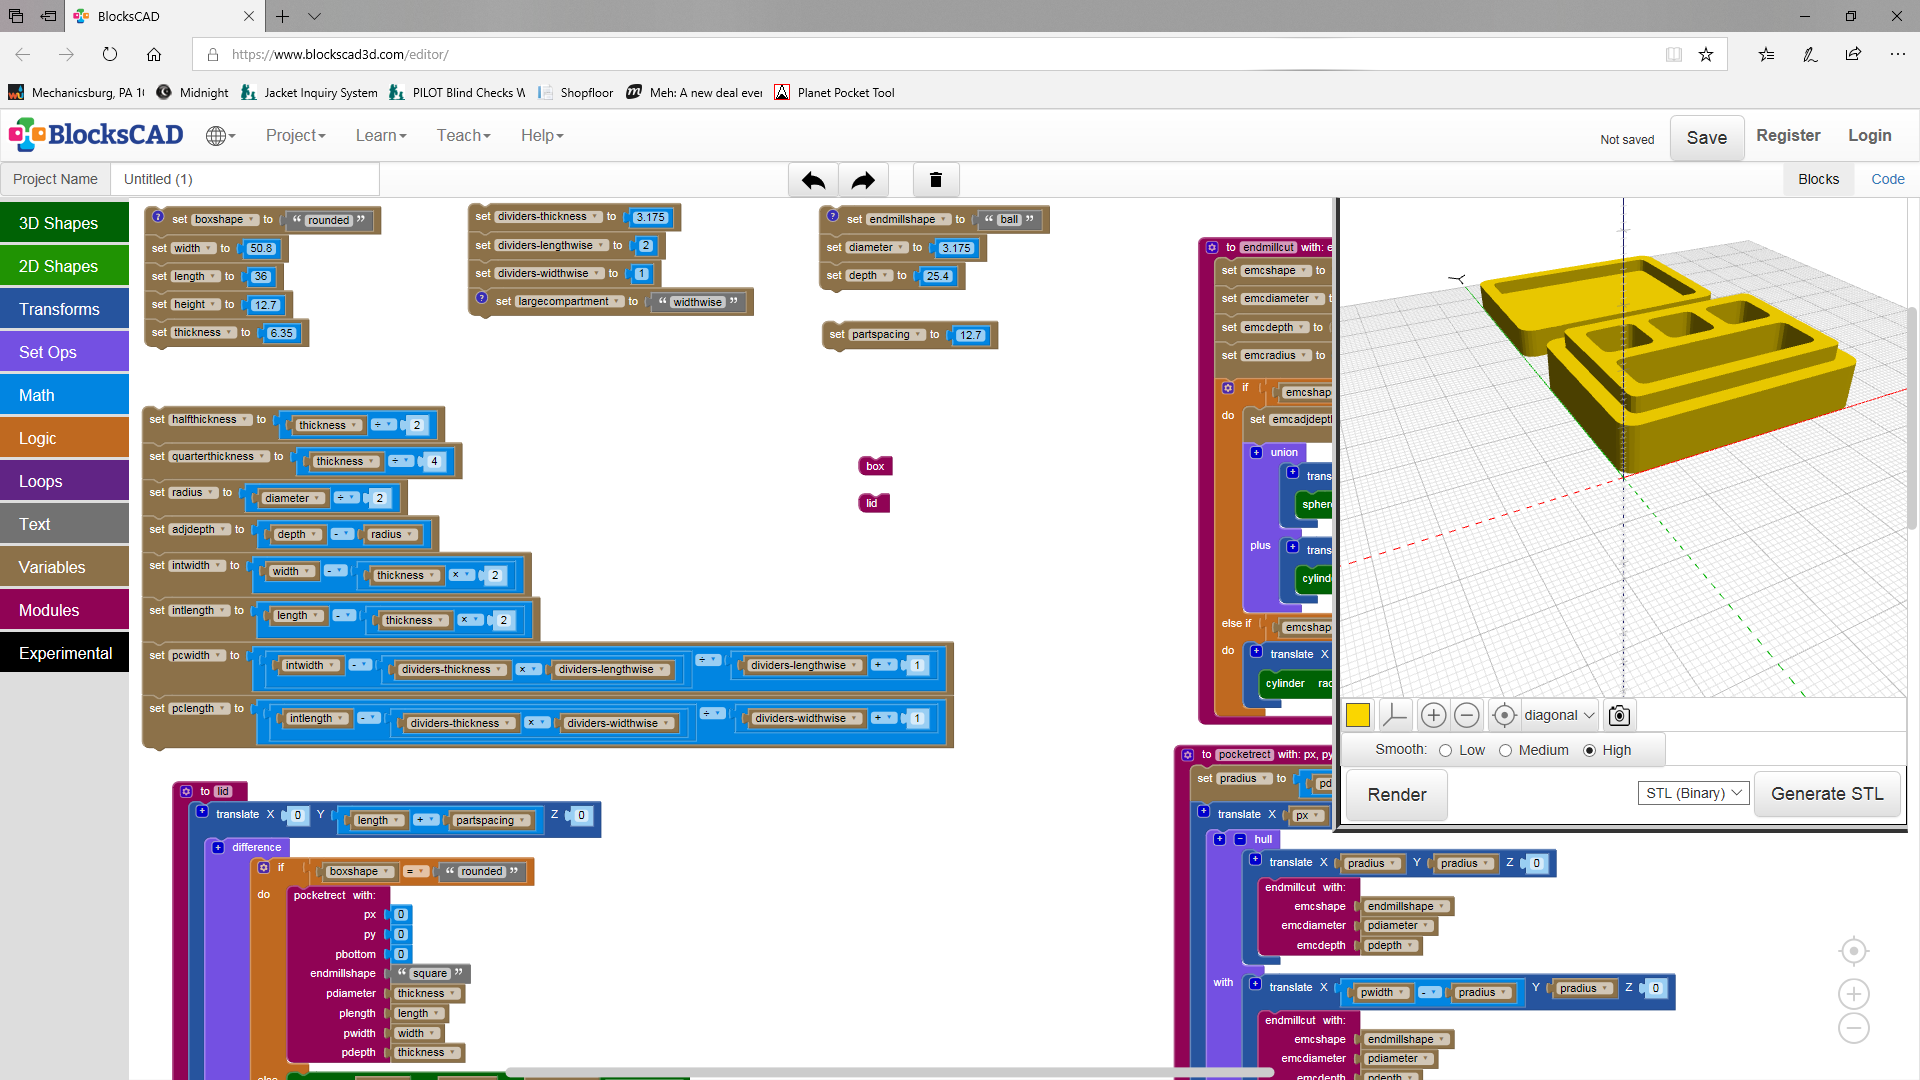
(go to the editor, download the XML from: https://github.com/WillAdams/Design_Into_3D/blob/master/designinto3d_box_fitted_blockscad.xml import it, and experiment)

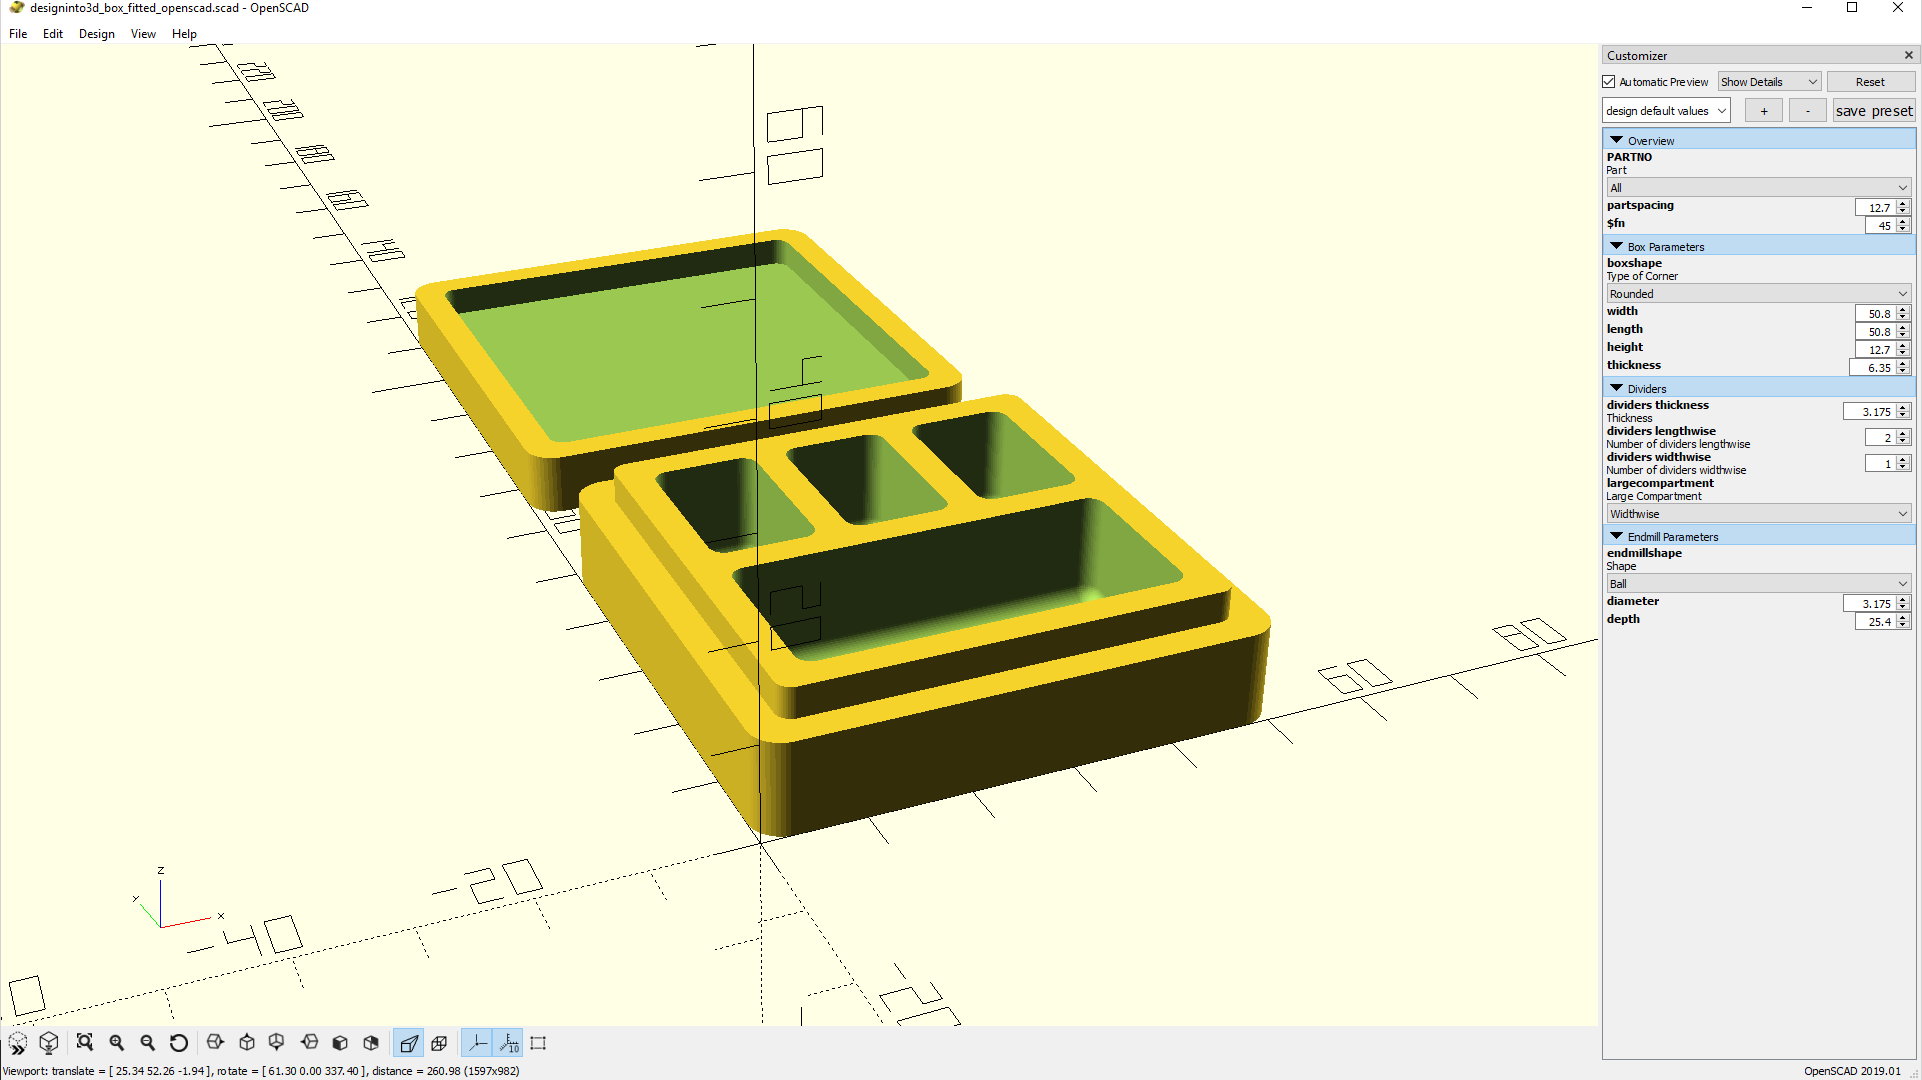
Or, use the Customizer in OpenSCAD: https://github.com/WillAdams/Design_Into_3D/blob/master/designinto3d_box_fitted_openscad.scad

I’ll probably get it posted to Thingiverse presently, then will start in on the vectors (starting with lualatex and METAPOST) and then try to work up a TPL (Tool Path Language) file which will cut it out automatically.

If anyone has any thoughts or feedback I’d be grateful.

2 Likes

For the round box, adding a divider provides an interesting chance to create some visual interest, adding an “S” shape, rather than a simple line:

Unfortunately, that implementation does not properly preview the effect of cutting the design with a rounded endmill.

Adjusting the design for that requires that one work up the modeling for a tomoe/comma shape, which may then be sub-divided into a circle and an arbelos.

2 Likes

We start with a round box, 40mm in diameter:

It has a wall thickness of 6.35mm, and the lip/rabbet are 3.175mm in diameter, and we assume a 1/8" endmill will be used.

To get a reasonable curve, and placement of the resulting circles, we start and end one-half the diameter outside the inner area of the box:

Which results in a divider shape:

which describes two tomoe/comma shapes.

Removing a circle from one leaves an arbelos:

so we see that the two pockets of the box may be cut by removing two tomoe/comma shapes, which are each made up of a circle and an arbelos.

The arbelos is defined by 3 circles:

Okay, the basic rectangular generator is ready for testing:

OpenSCAD:

and you’ll want the JSON to have a preset named “export”: https://github.com/WillAdams/Design_Into_3D/blob/master/designinto3d_box_fitted_openscad.json

Then download:

(you’ll also need: https://github.com/rxi/json.lua )

If you run the .tex file it will make a PDF:

If you run the designinto3dboxfittedfigures.mp file it will make the SVGs:

designinto3dboxfittedfigures-1

designinto3dboxfittedfigures-2

2 Likes

Next is working up a way to indicate how deep each pocket is by mapping fill colour to a black tint.

Then we’ll work on automated toolpaths using TPL.

I’ll be presenting this at TUG2019:

https://www.tug.org/tug2019/program.html

and hope to have the preprint up presently.

1 Like

Once I have an end-to-end work-flow, I’ll see what can be done on the front-end — I’ve removed changing units from the OpenSCAD customizer since it was so clunky — I believe I can use OpenSCAD’s external editor support to use a custom front-end, either LiveCode or TCL/Tk (the latter is made more attractive by Drakon)

One the bright side, it seems as if documenting all this will look nice:

https://ctan.org/pkg/scratch3

1 Like

Making progress:

6 Likes

Will they capture videos of the presentations at TUG2019 ? It would be great if I could watch your talk.

They have in the (recent) past (unfortunately, for a long while they didn’t, which is tragic — there’s a great photo of Prof. Hermann Zapf at a green chalkboard with a lovely calligraphic alphabet written on it for which there is unfortunately no matching video).

If there is one (which there should be), I’ll post it.

Here’s a video of a presentation which I reference in mine:

2 Likes

This is now up on cutrocket:

1 Like

Just in time for the school year!

1 Like

Thanks!

I’m presenting today, but got to hang out with one of my favourite authors:

For those who aren’t familiar with The Art of Computer Programming, that’s Dr. Donald Knuth:

https://www-cs-faculty.stanford.edu/~knuth/

4 Likes