Good point - I totally missed that. Thanks!
something similar with a spring loaded bottom end would be nice. limited amount of travel and solid suction since there’s some compression going on (depending on bottom feature).
i believe axiom or one of the other high end routers offers such
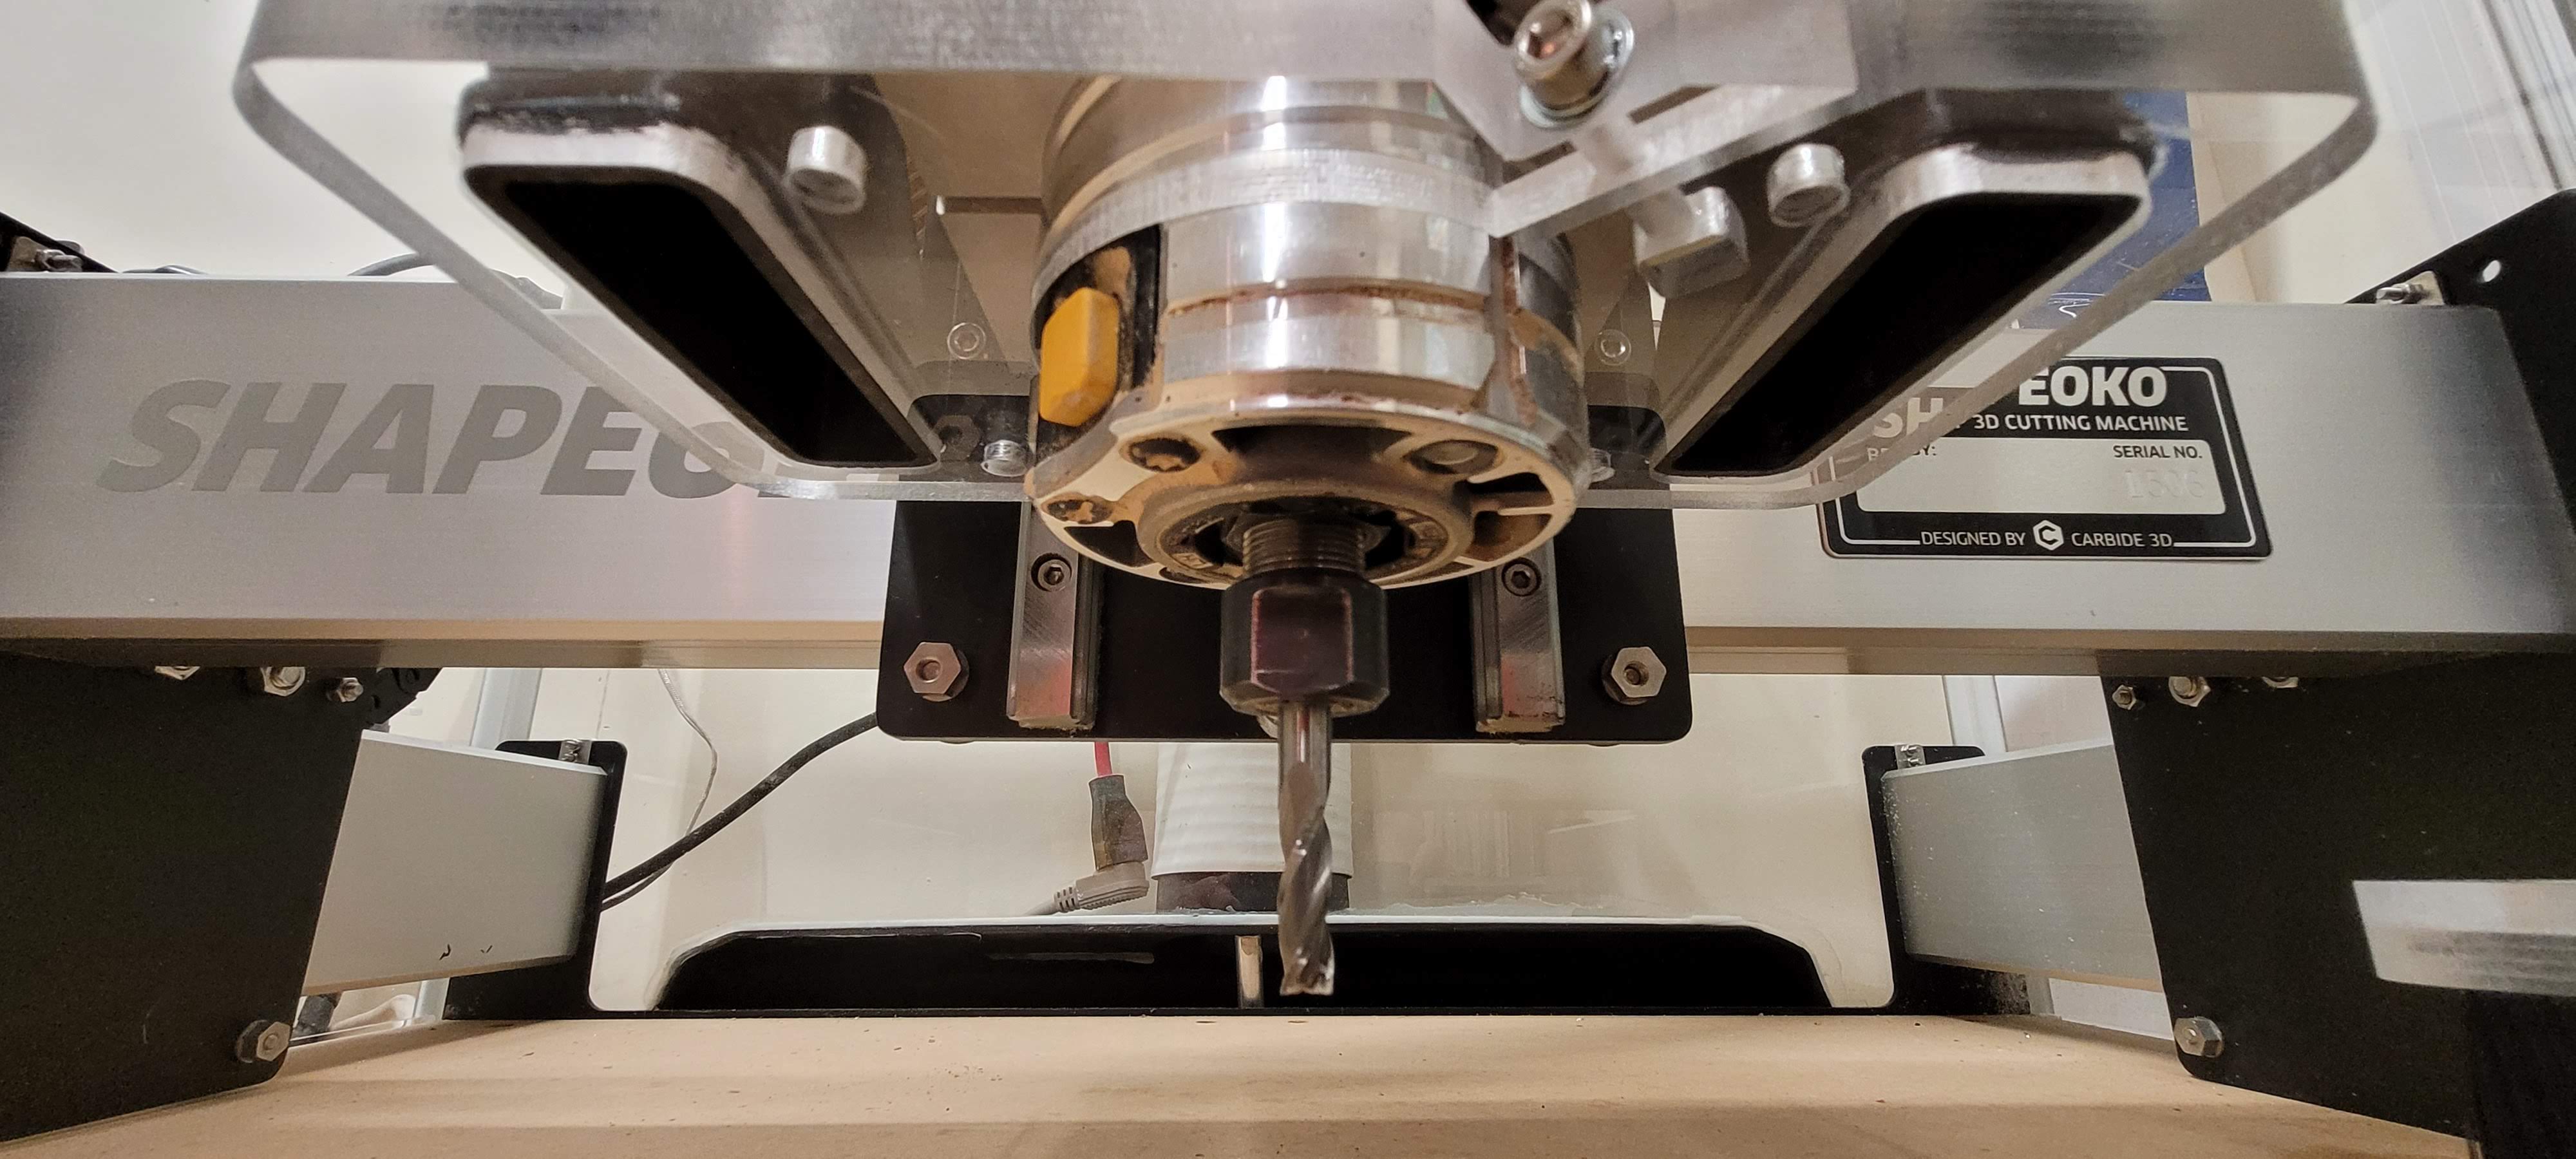
Actually my dust shoe has a manually set depth. Usually the top of the workpiece. Higher if there are clamps. I normally use screws. The spindle moves up and down independently through the hole in the top of the shoe.
Interchangeable brushes would be a good improvement, but generally i’m pretty happy with it.
I’m making a cyclonic separator next, because emptying my vac all the time is annoying.
BTW my home vac that i’m using has expensive bags… So i opened up a corner on one so i can empty the router shavings. I hold it shut inside the vac using aplastic clamp from ikea meant for closing plastic bags. works a treat.
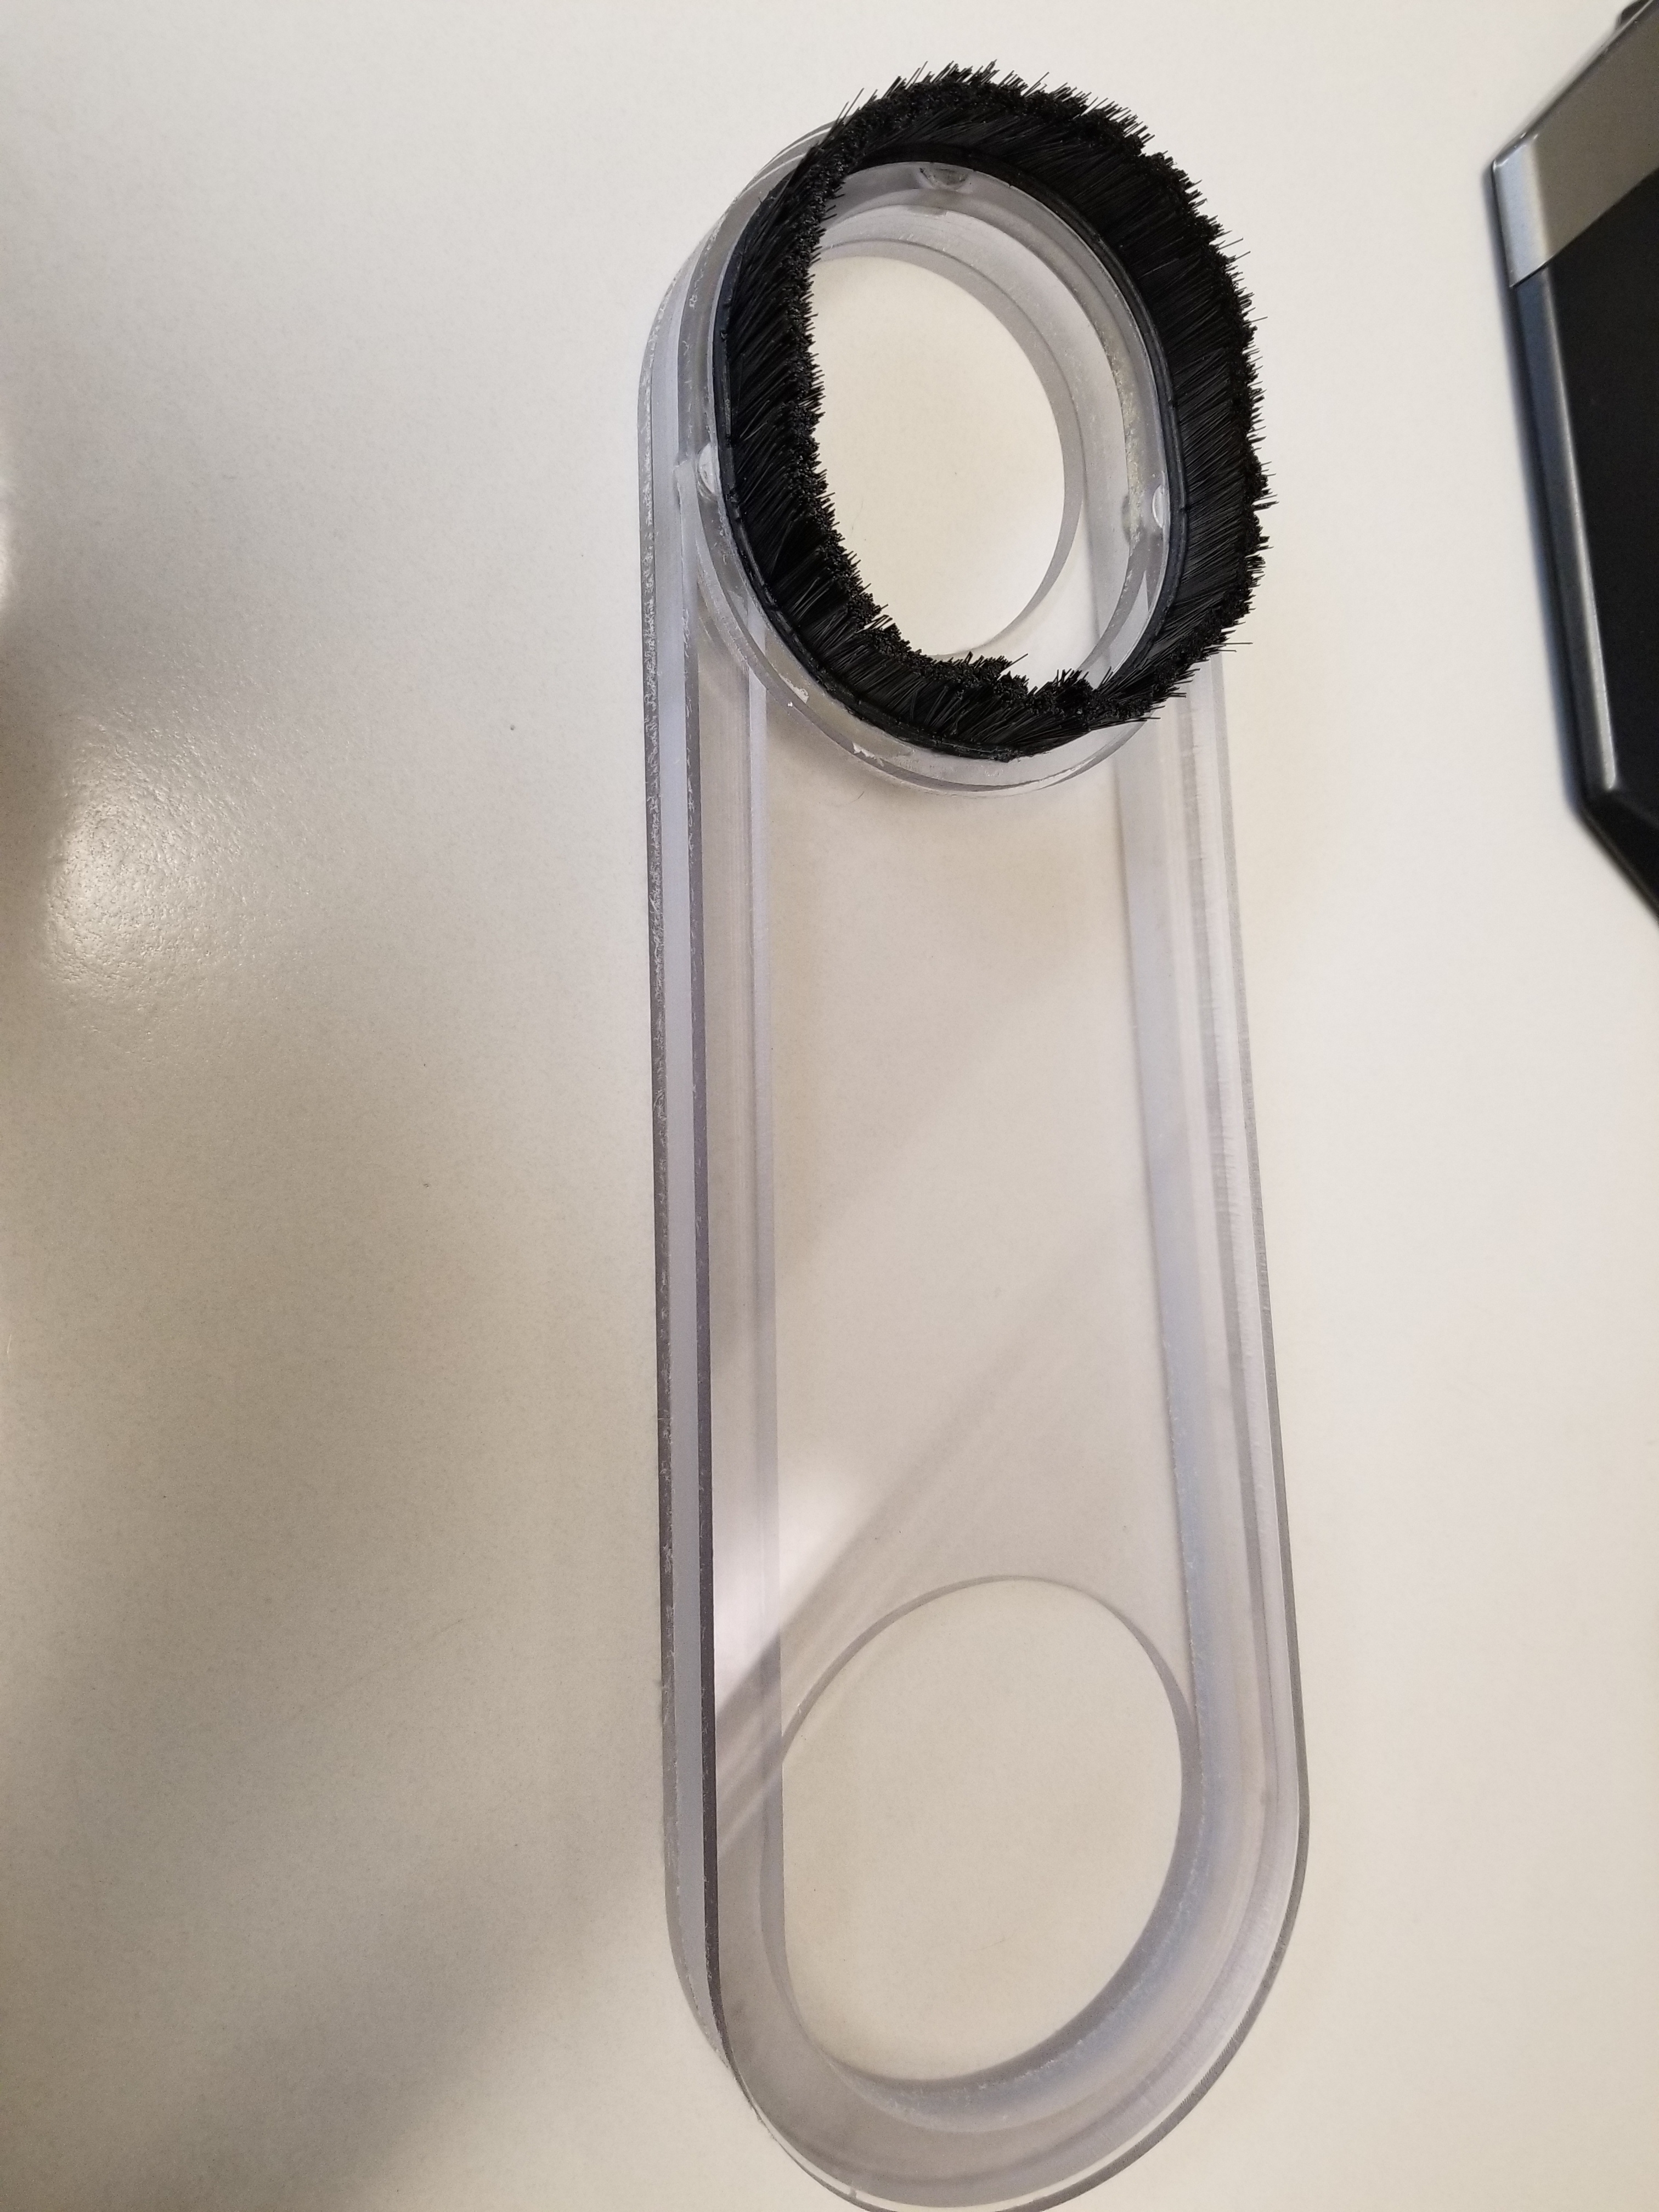
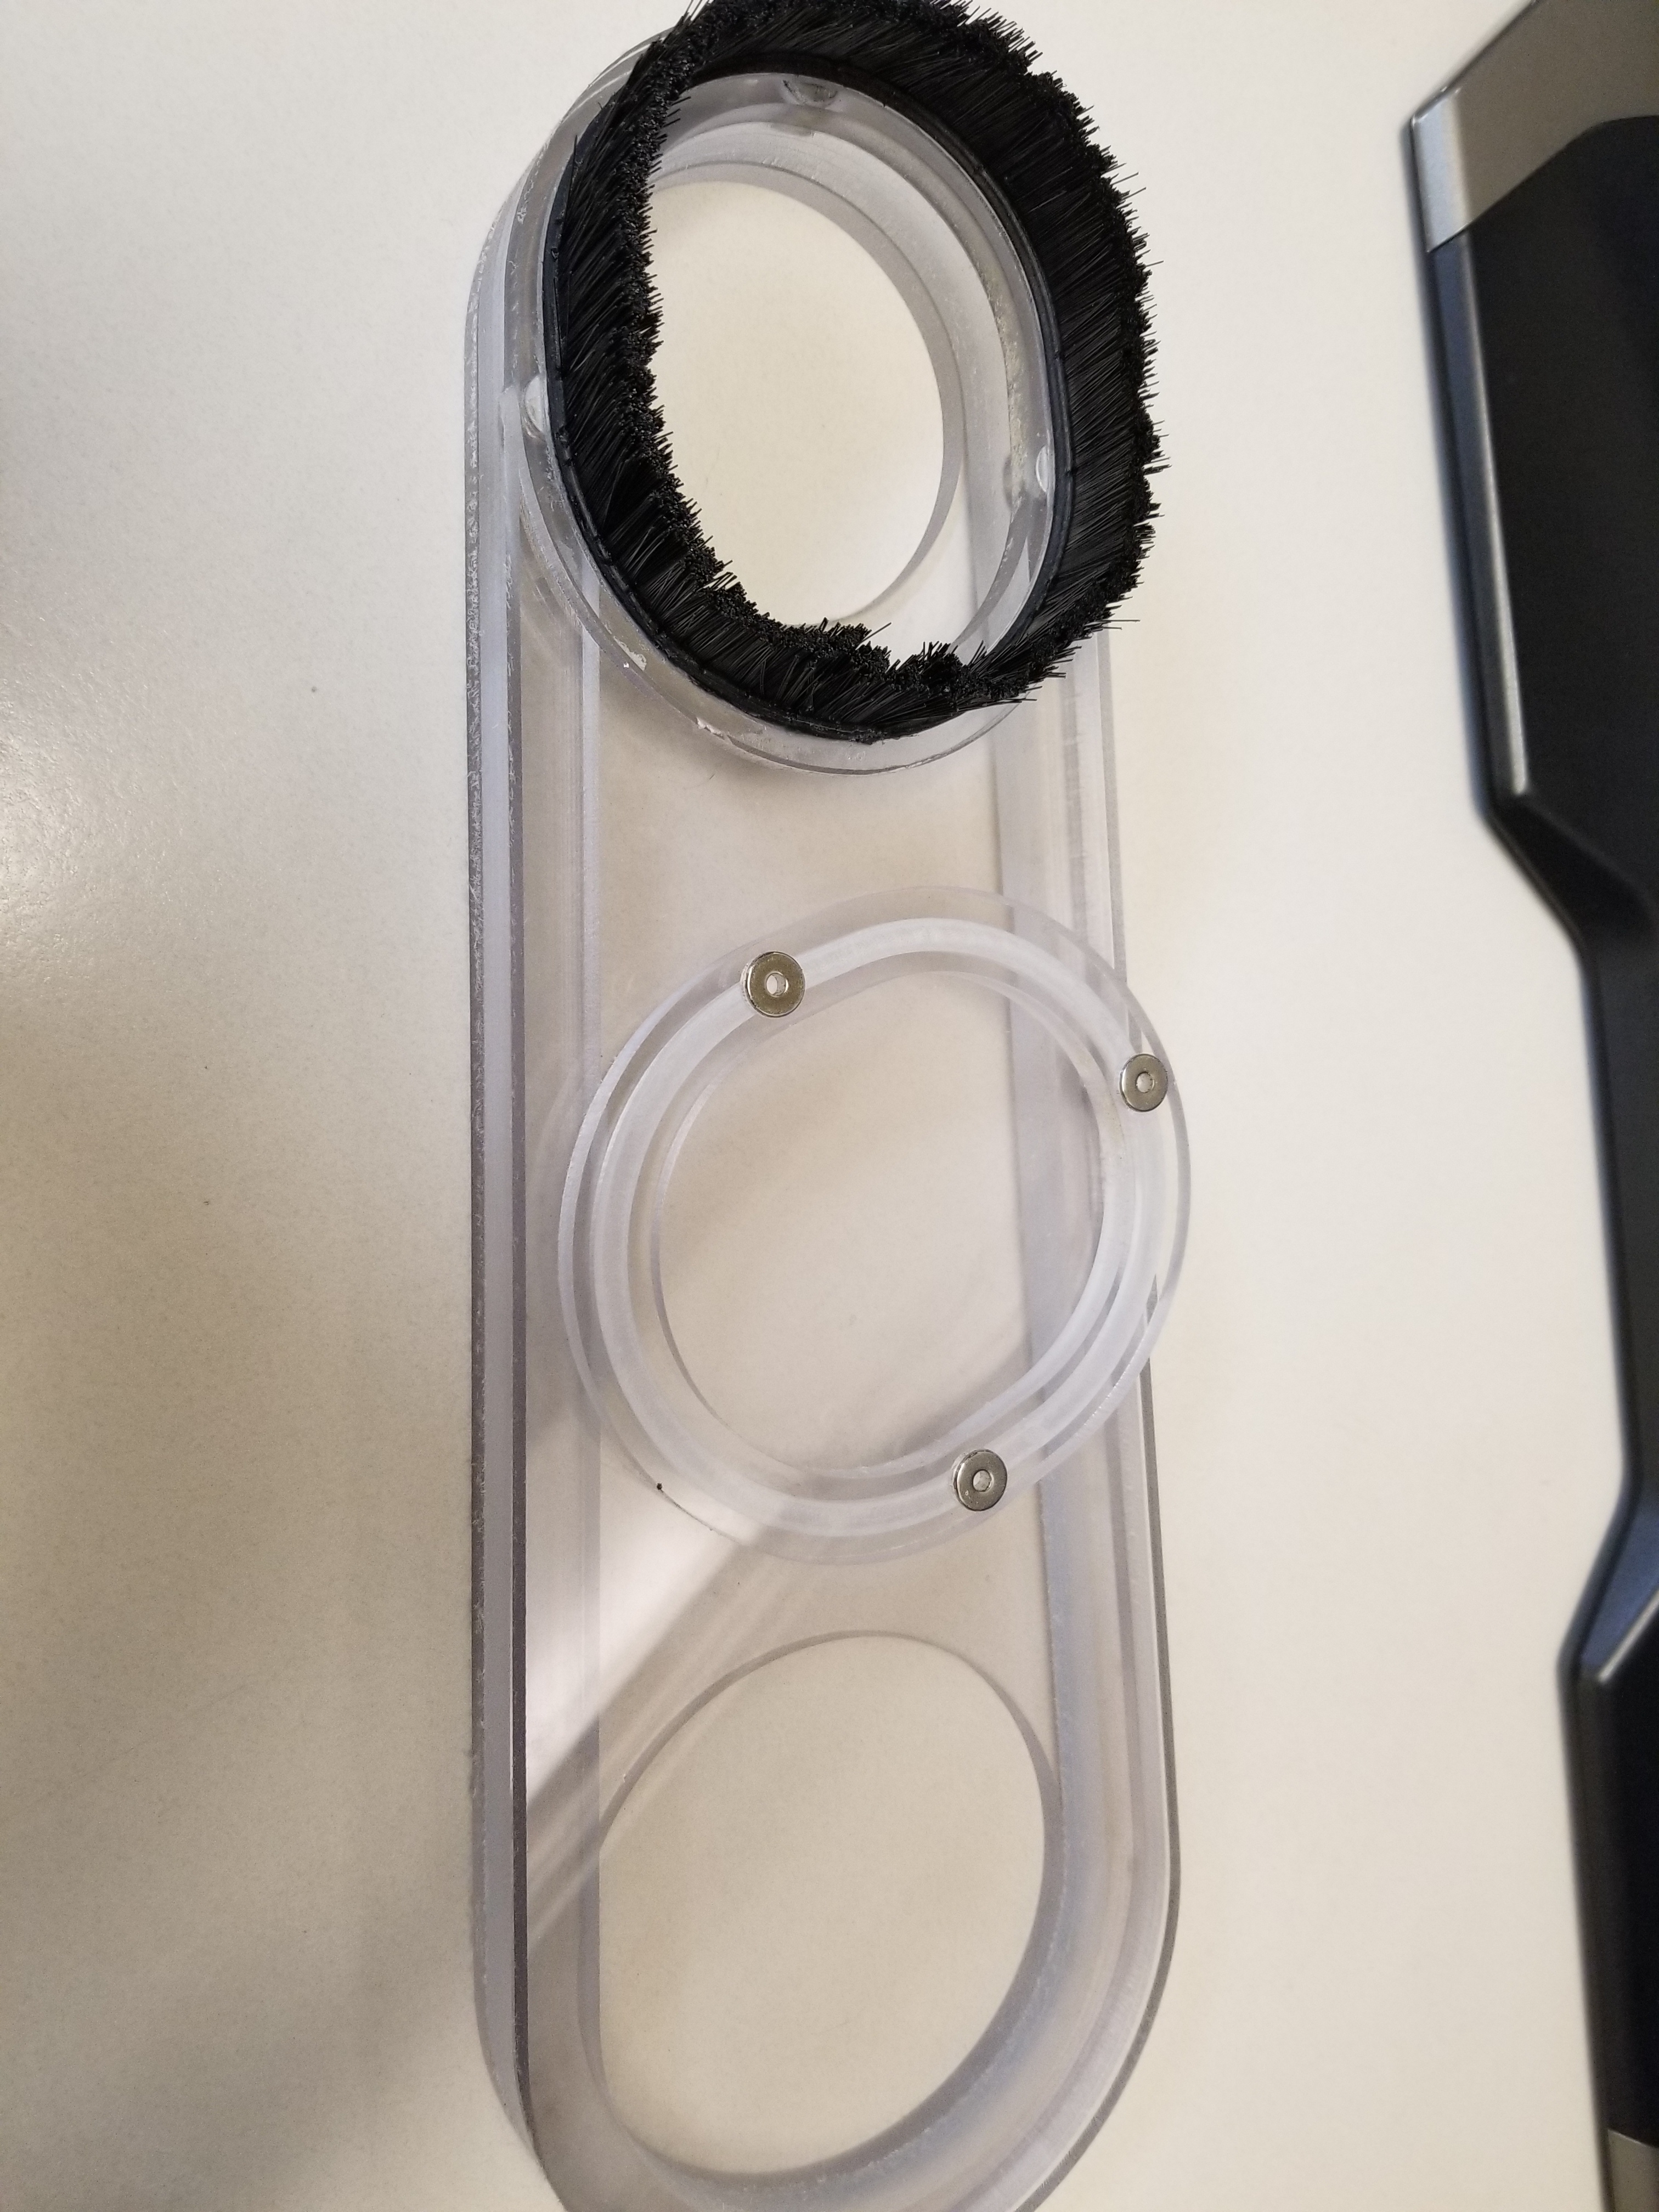
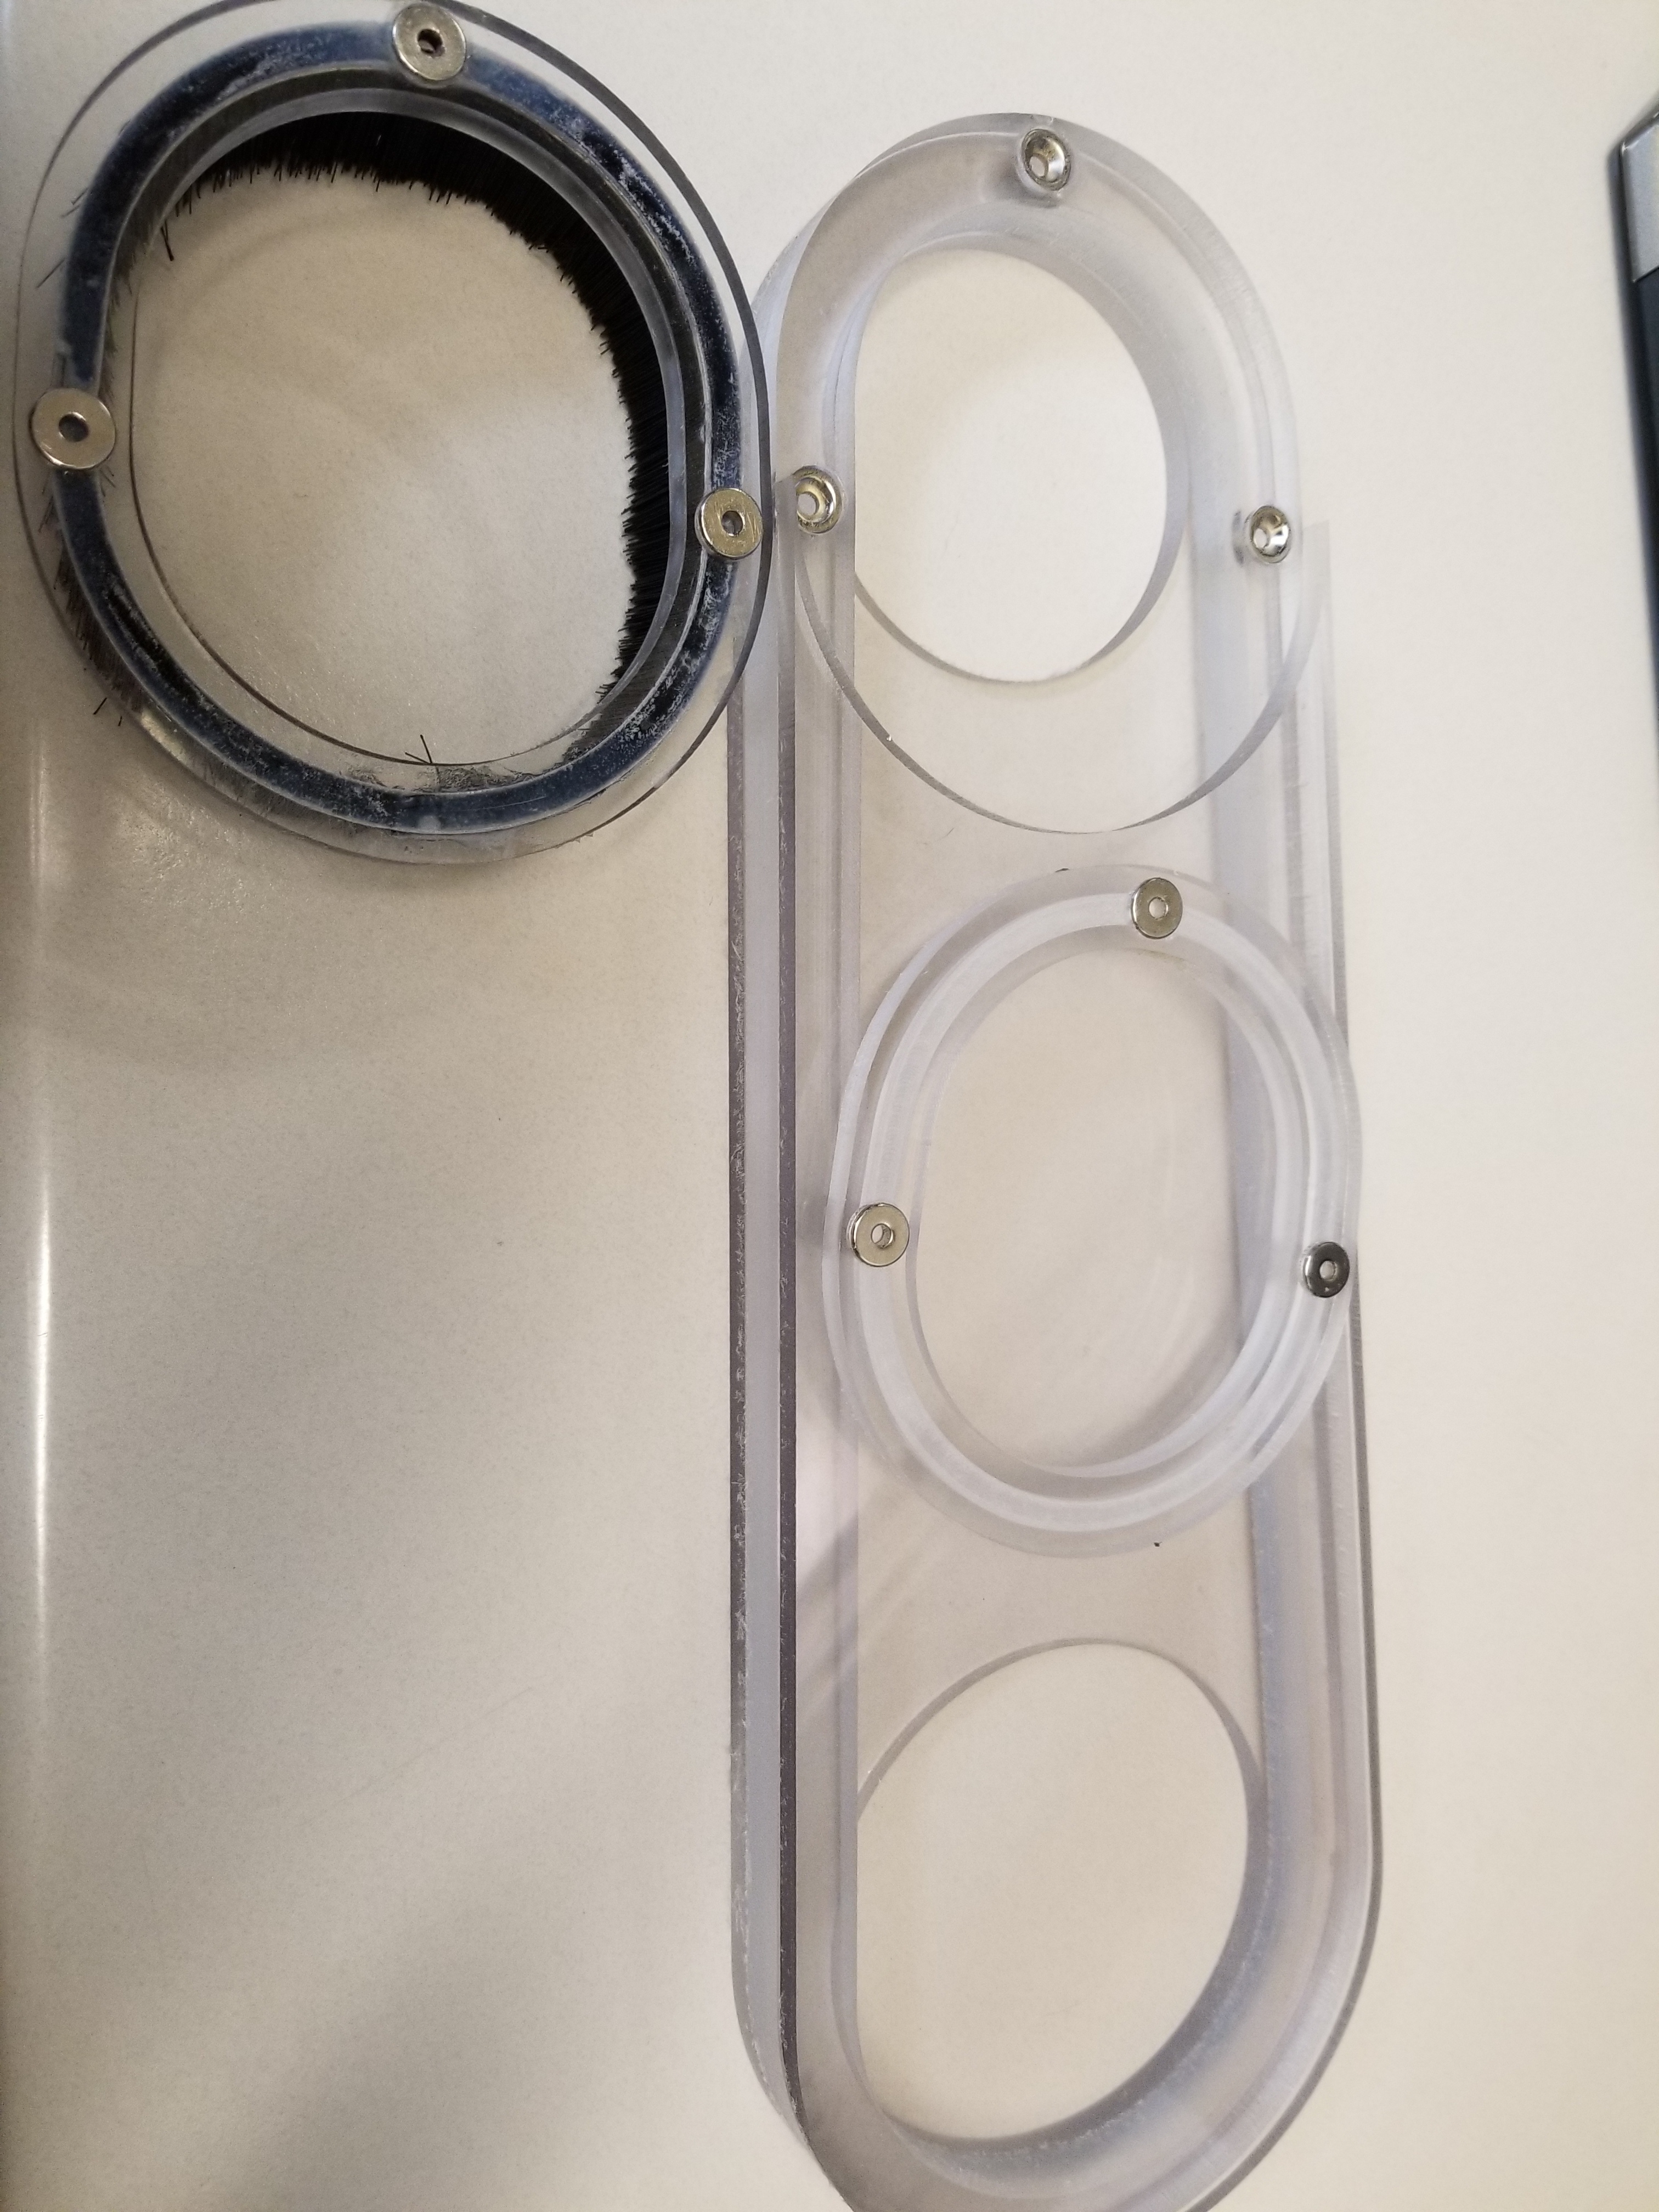
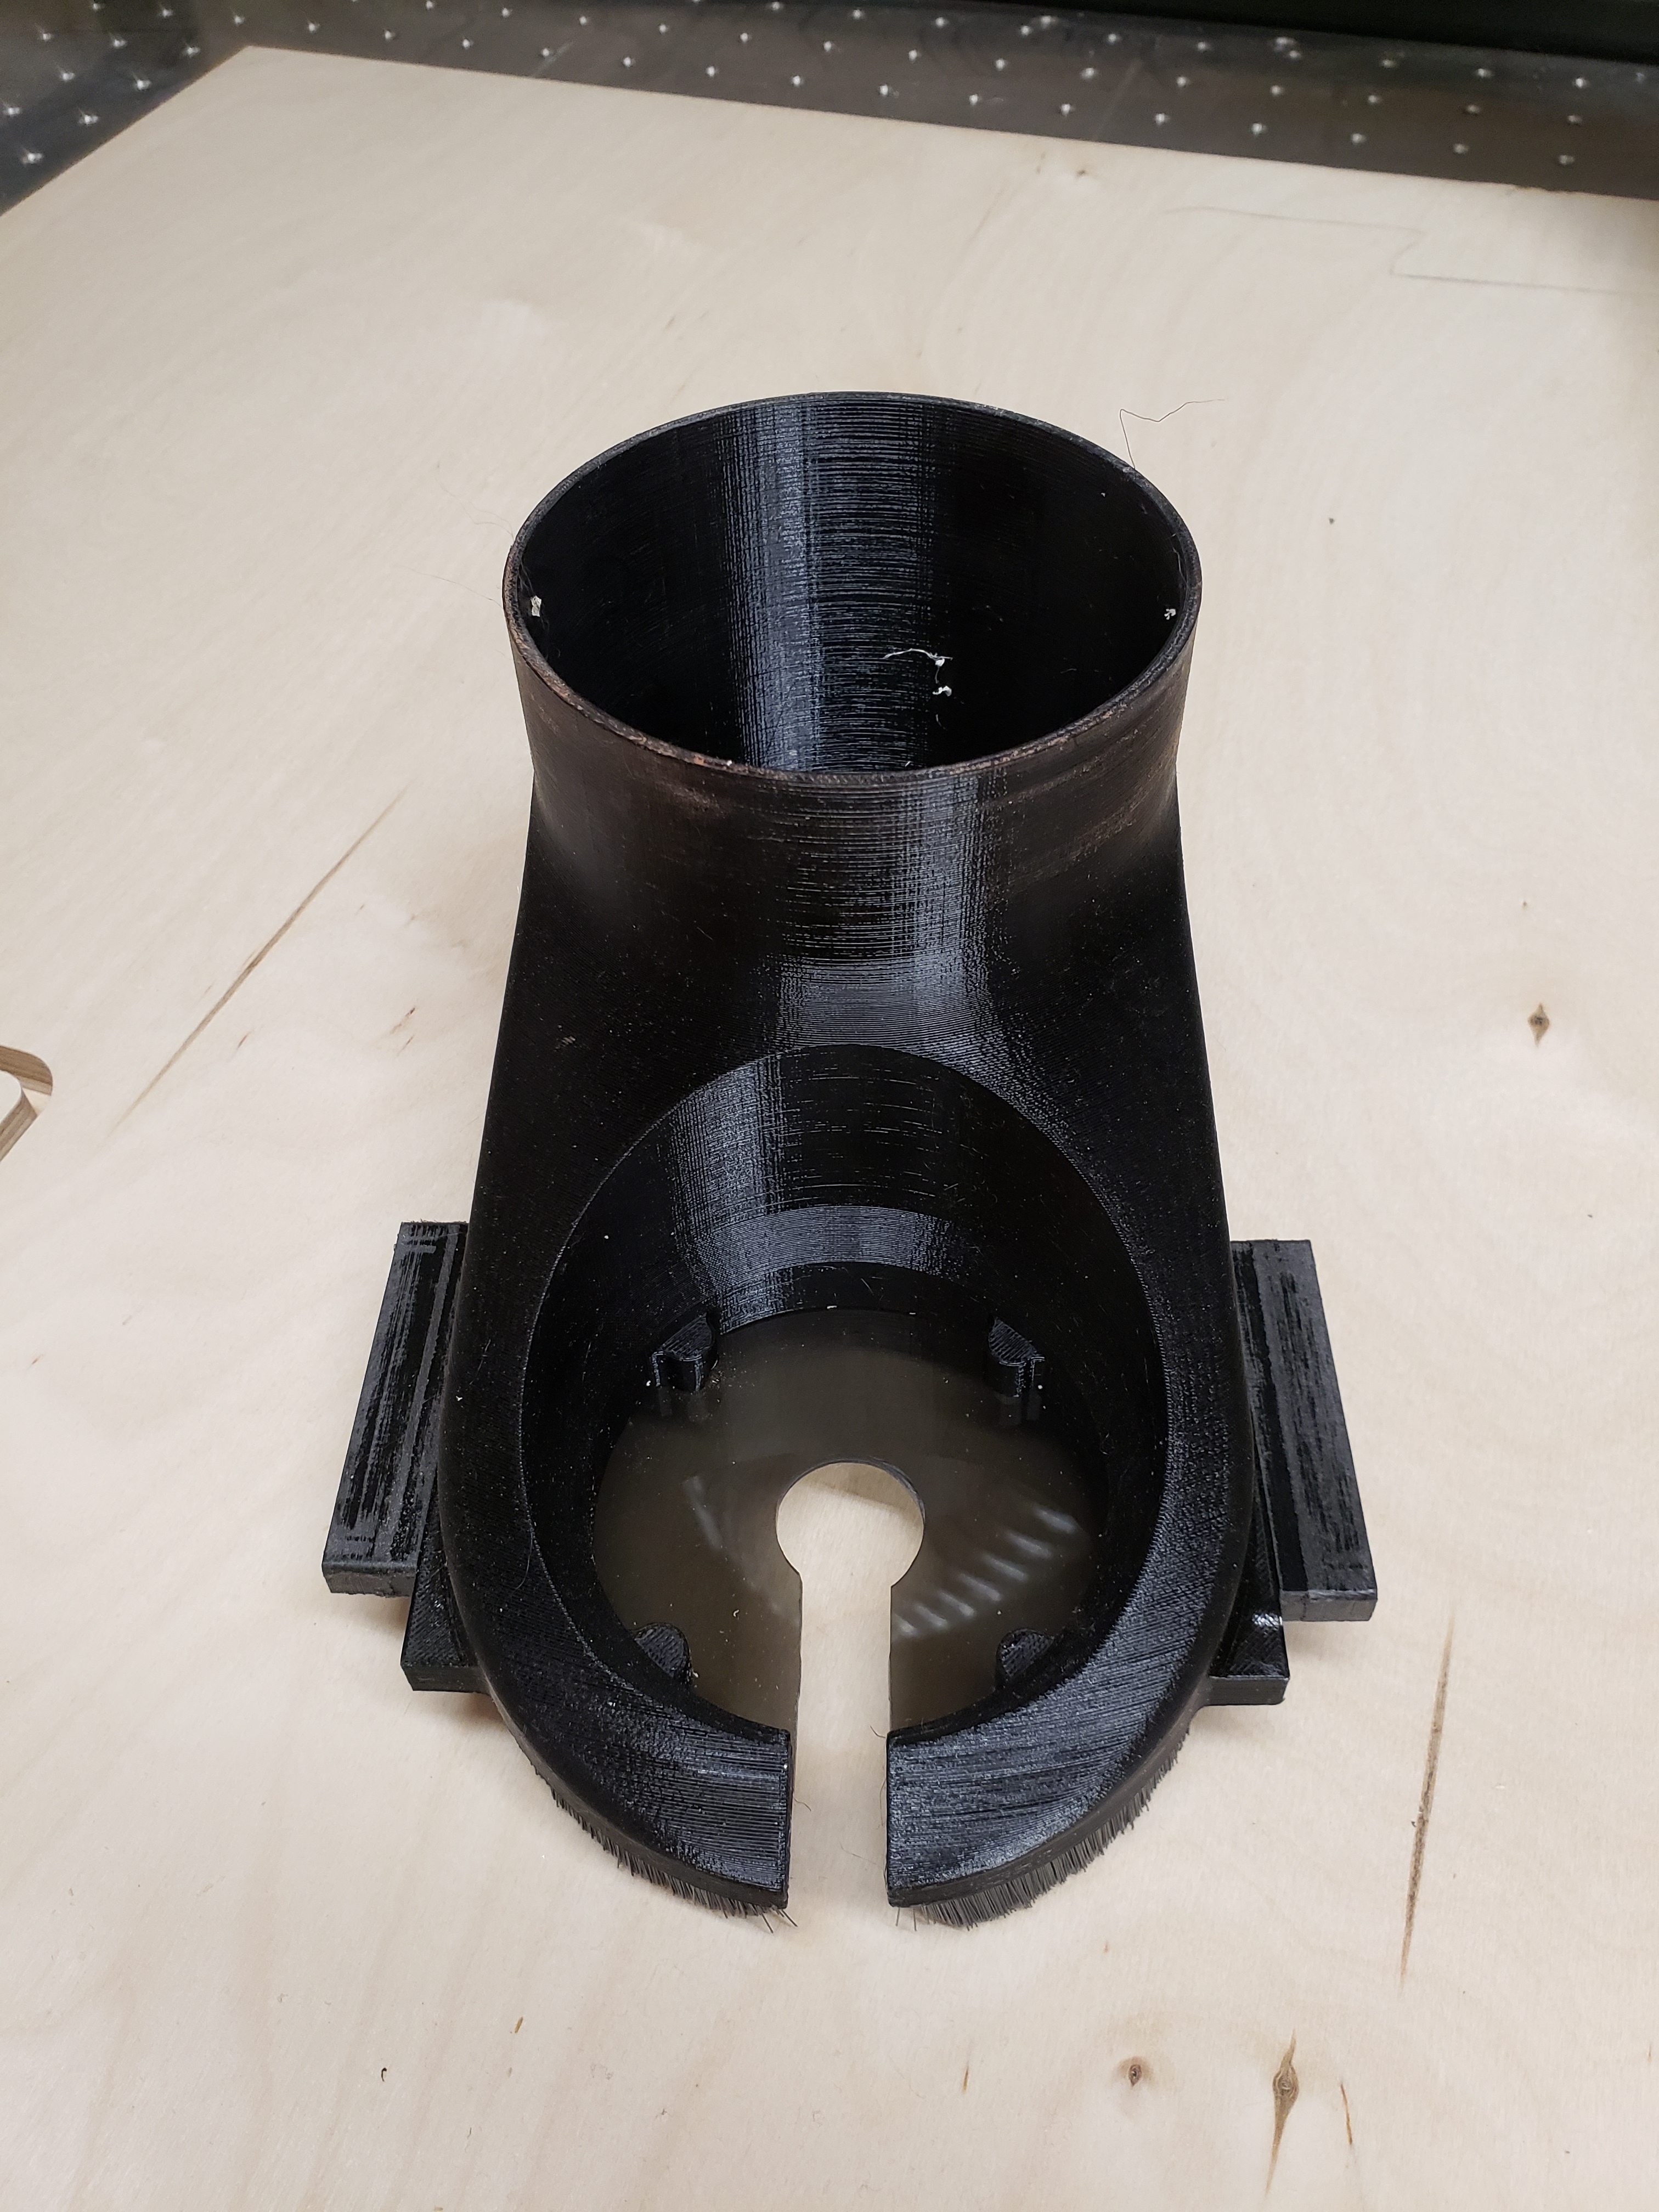
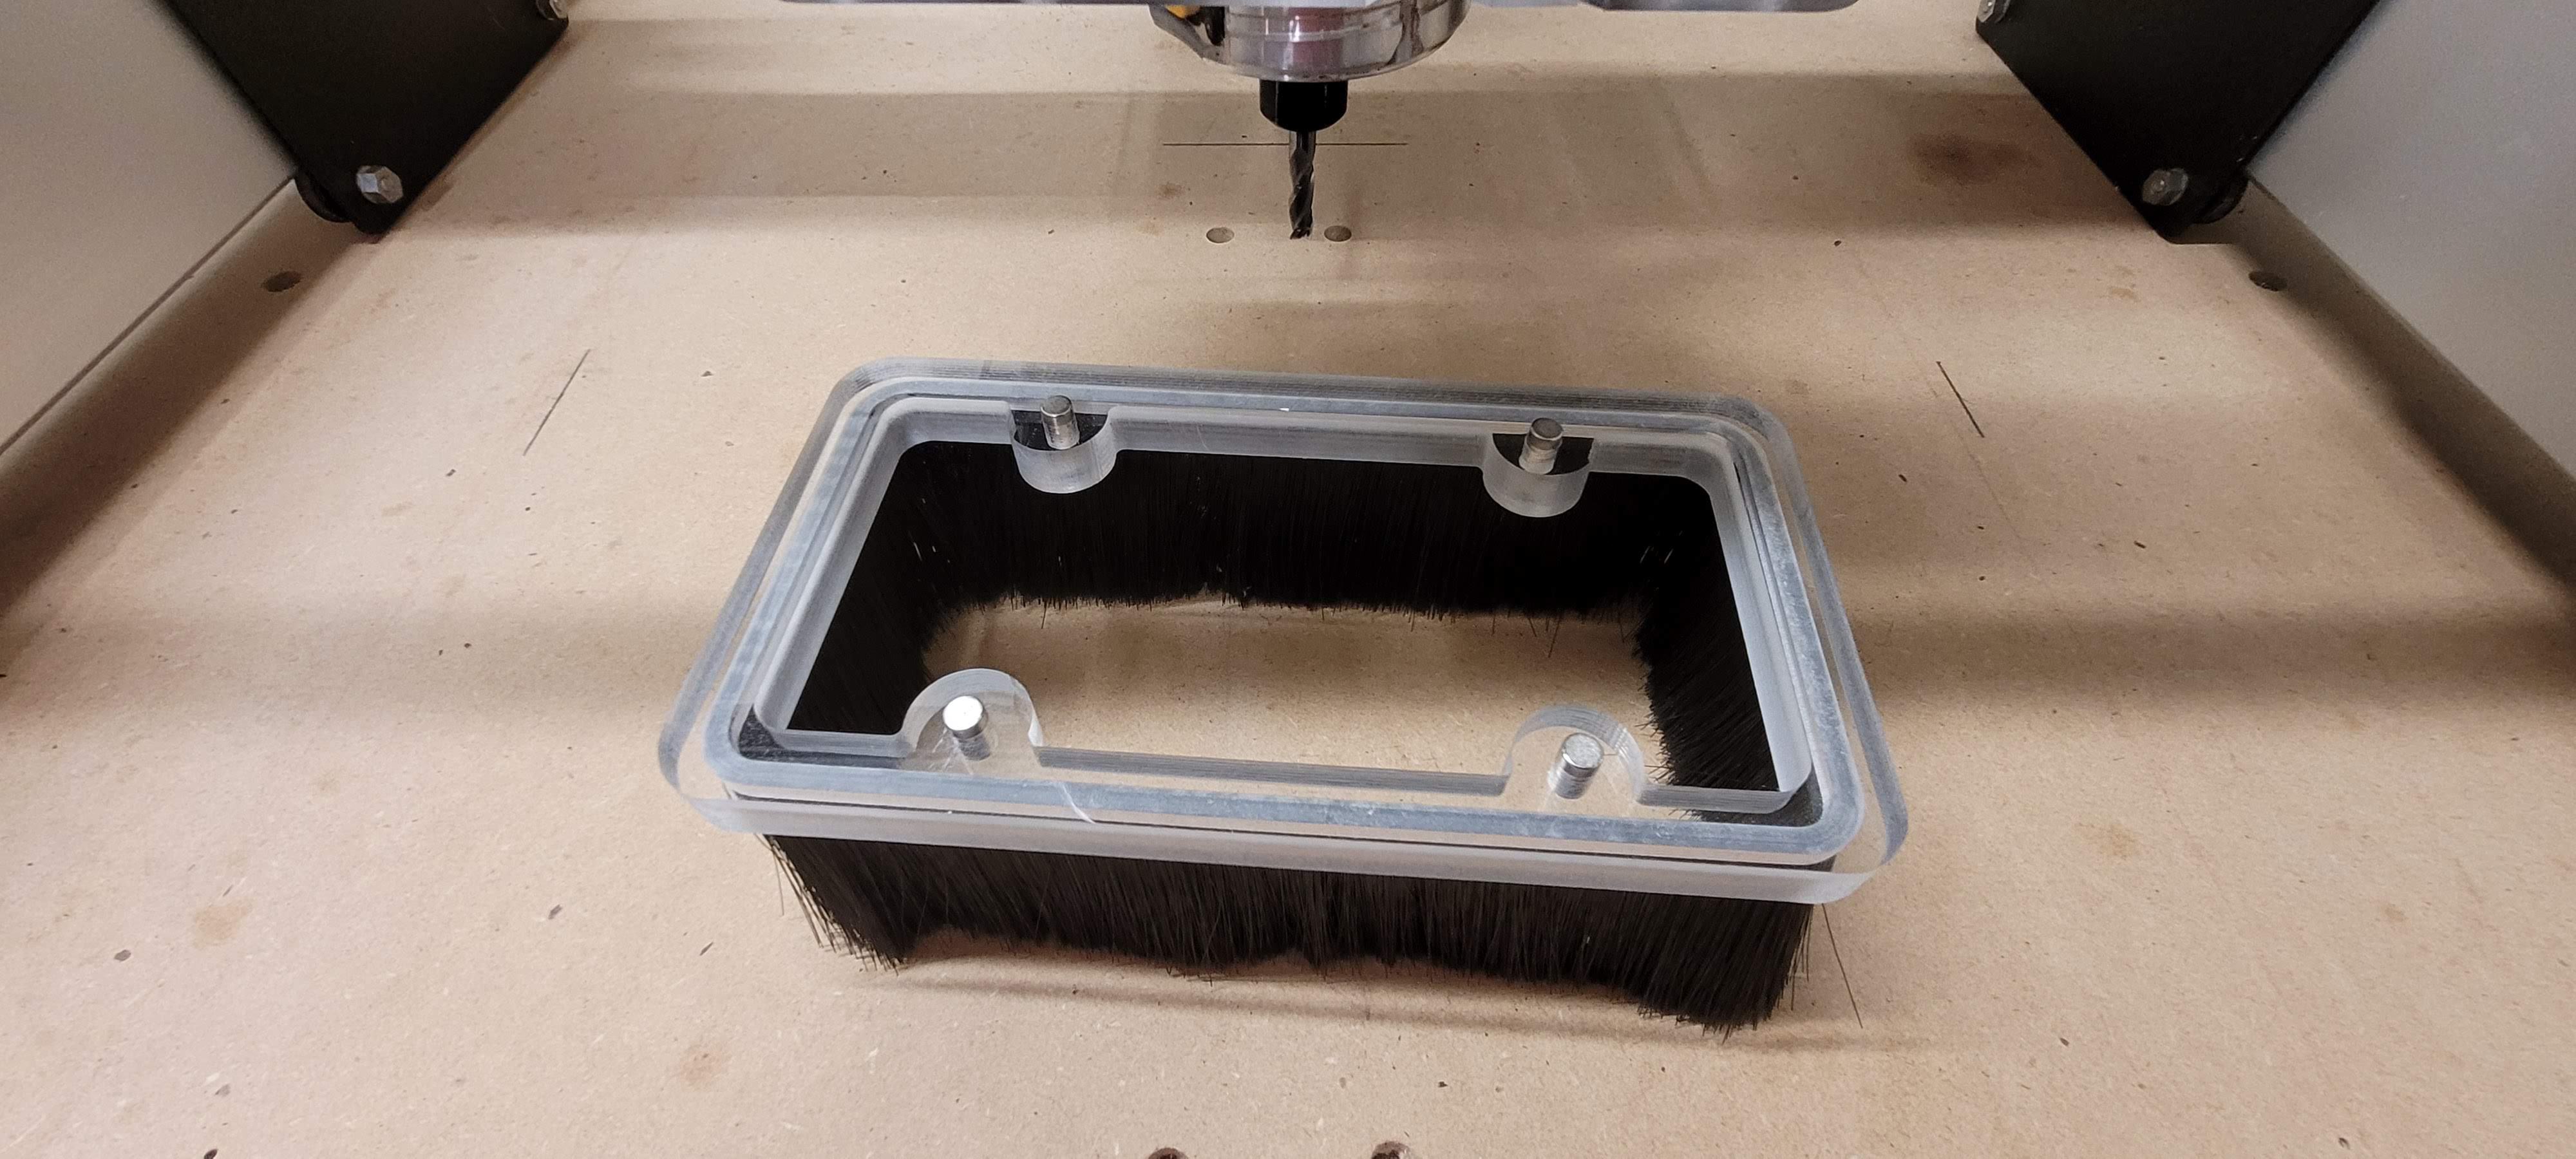
I finally got to my version 2 of what i call the hdz dust boot(a fixed height rear mount dust boot design). One issue I had with the version 1 is the fixed bristle length and having to remove the whole shoe from the mount where it bolts to the rod in the back and I would like to have a little more visibility when running jobs. So, I made the whole thing out of poly carbonate and added 3 magnets to the boot and 3 matching magnets to the “inserts.” I also left the magnets on the inserts proud (about .025") and the magnets on the boot are recessed to accommodate the magnets in the inserts to help locate and make the connection more rigid, which these magnets are super strong and I don’t believe it needed this. The point of having easily removable inserts is when touching off your work or needing to change bits is MUCH simpler. I am waiting for the acrylic glue to come in so that I can bond the pieces together but I couldn’t wait to post about this. Before I purchased the hdz, I made my own “suckit dustboot” with the arms and all that and it worked pretty good, but this shoe… this design leaves no dust… it works amazingly well. I will post more pictures and a video once I get it all installed, stay tuned!
6 Likes
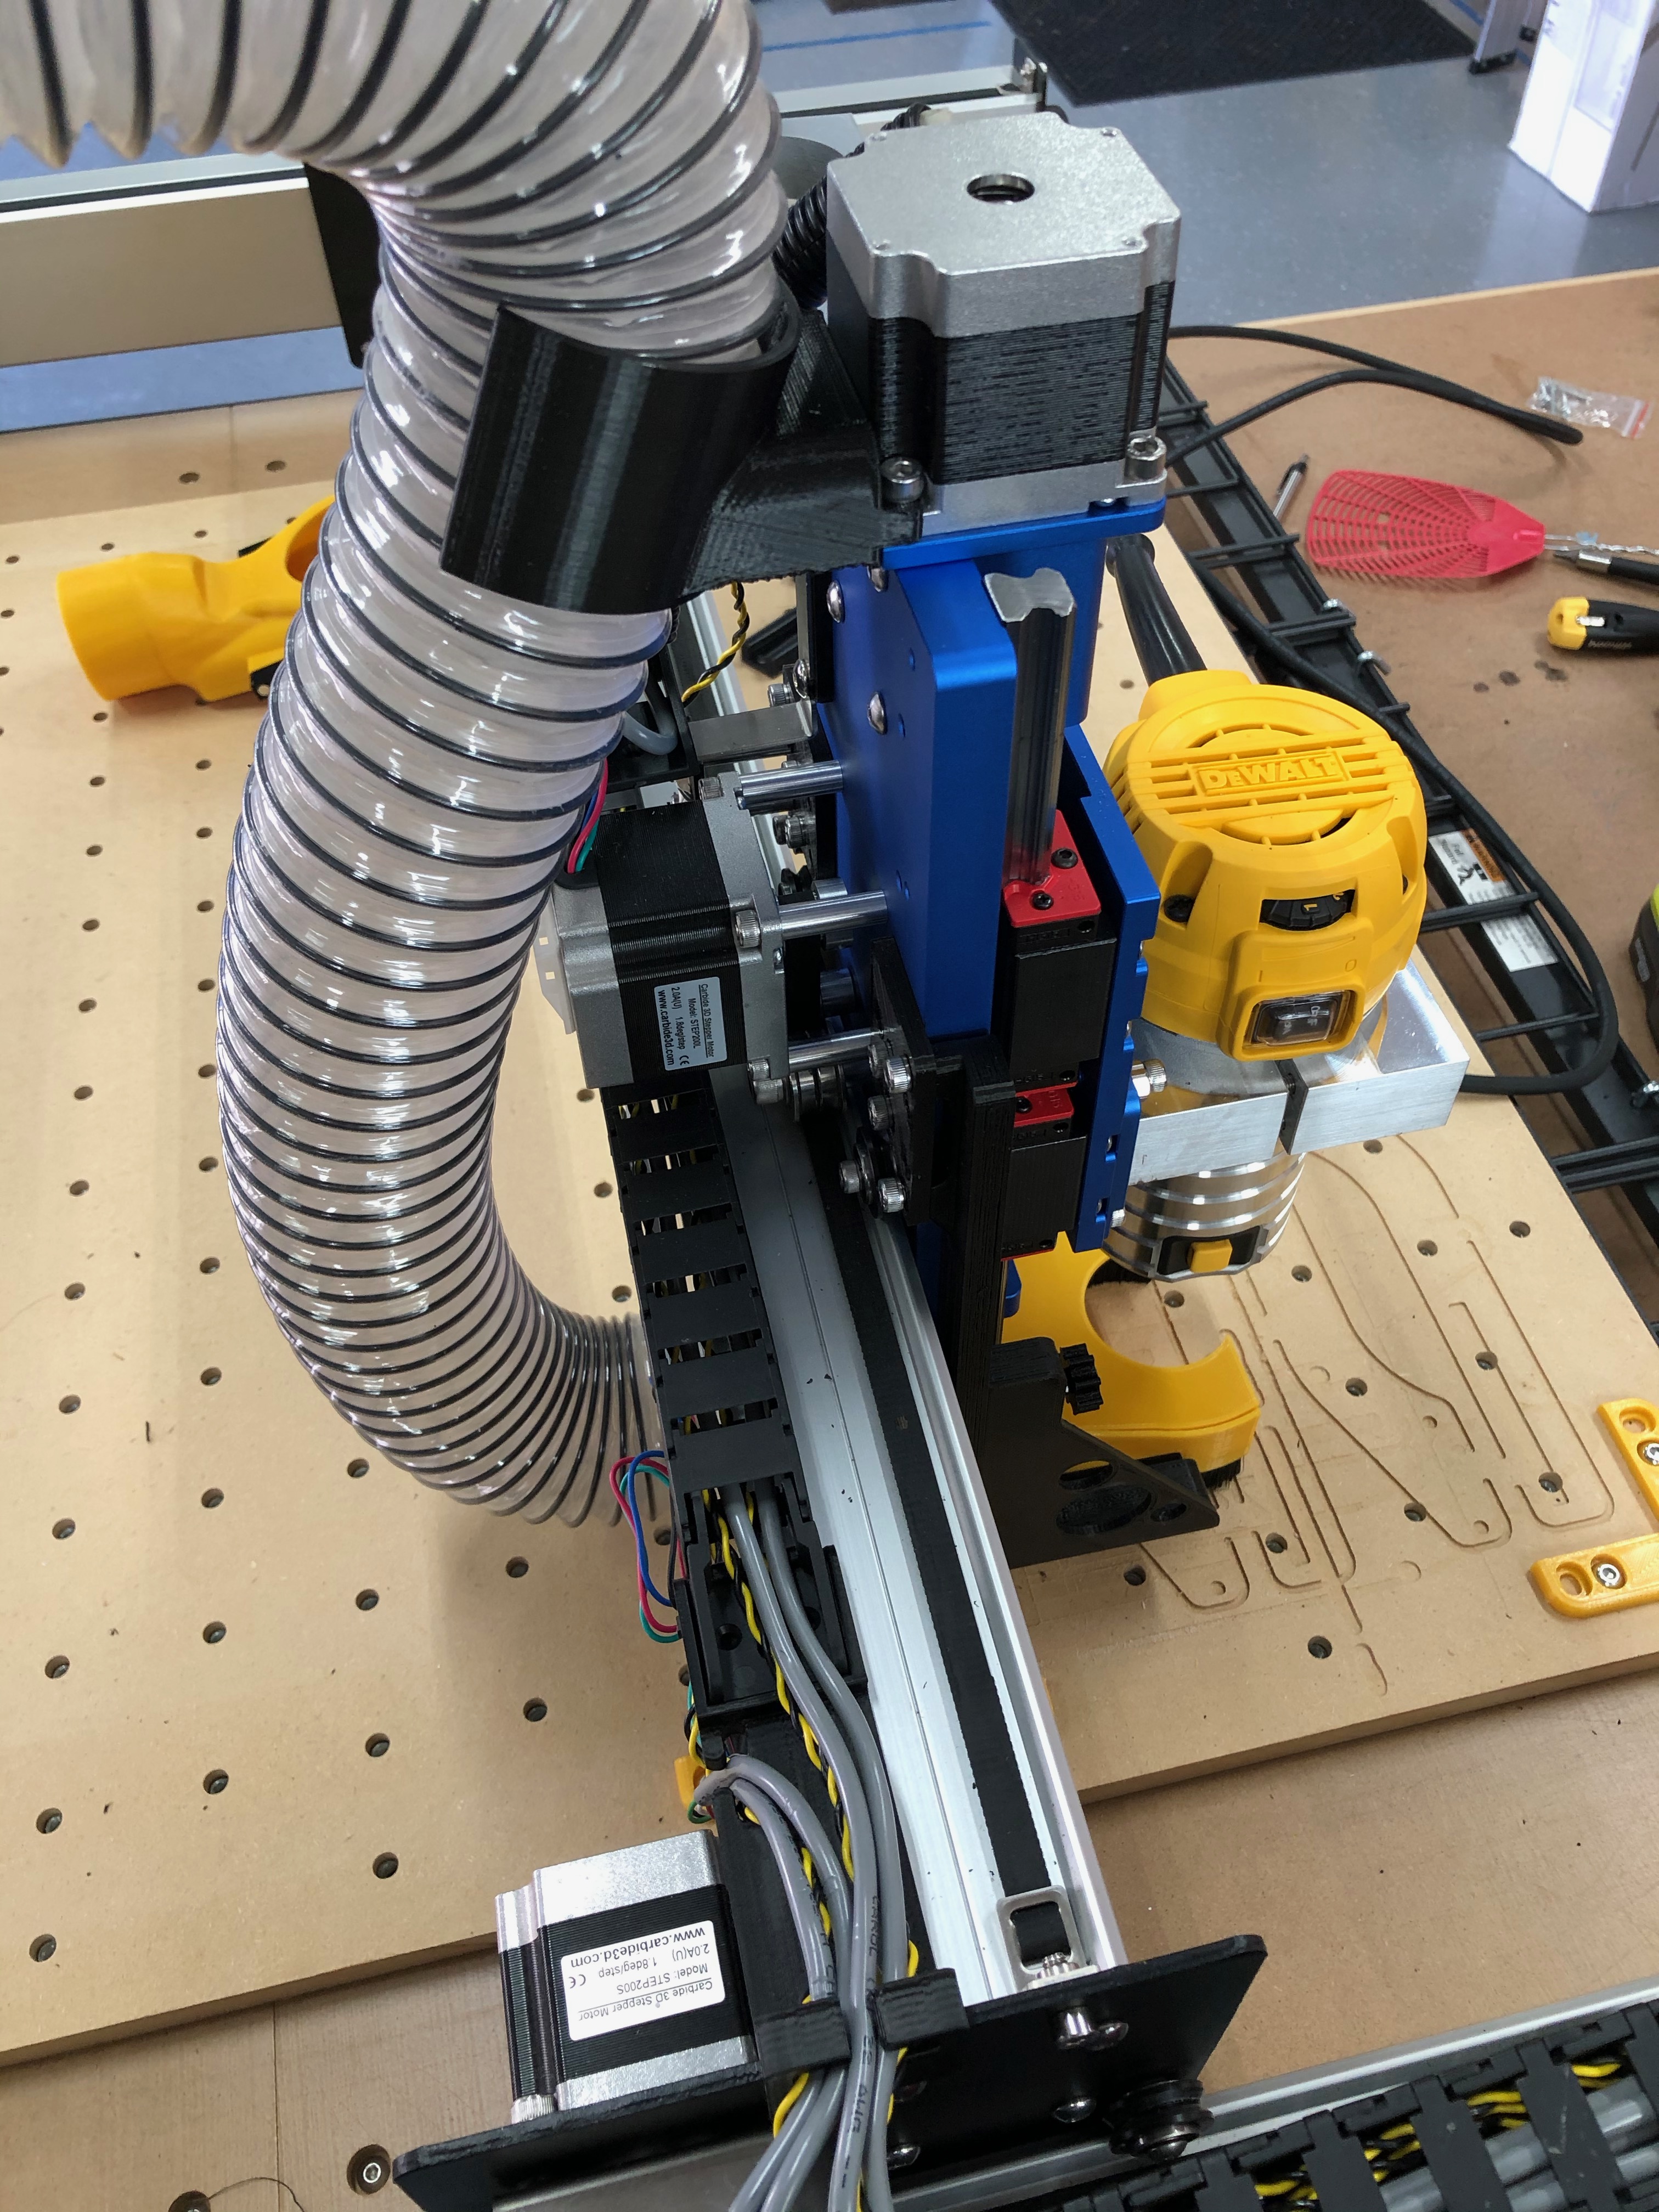
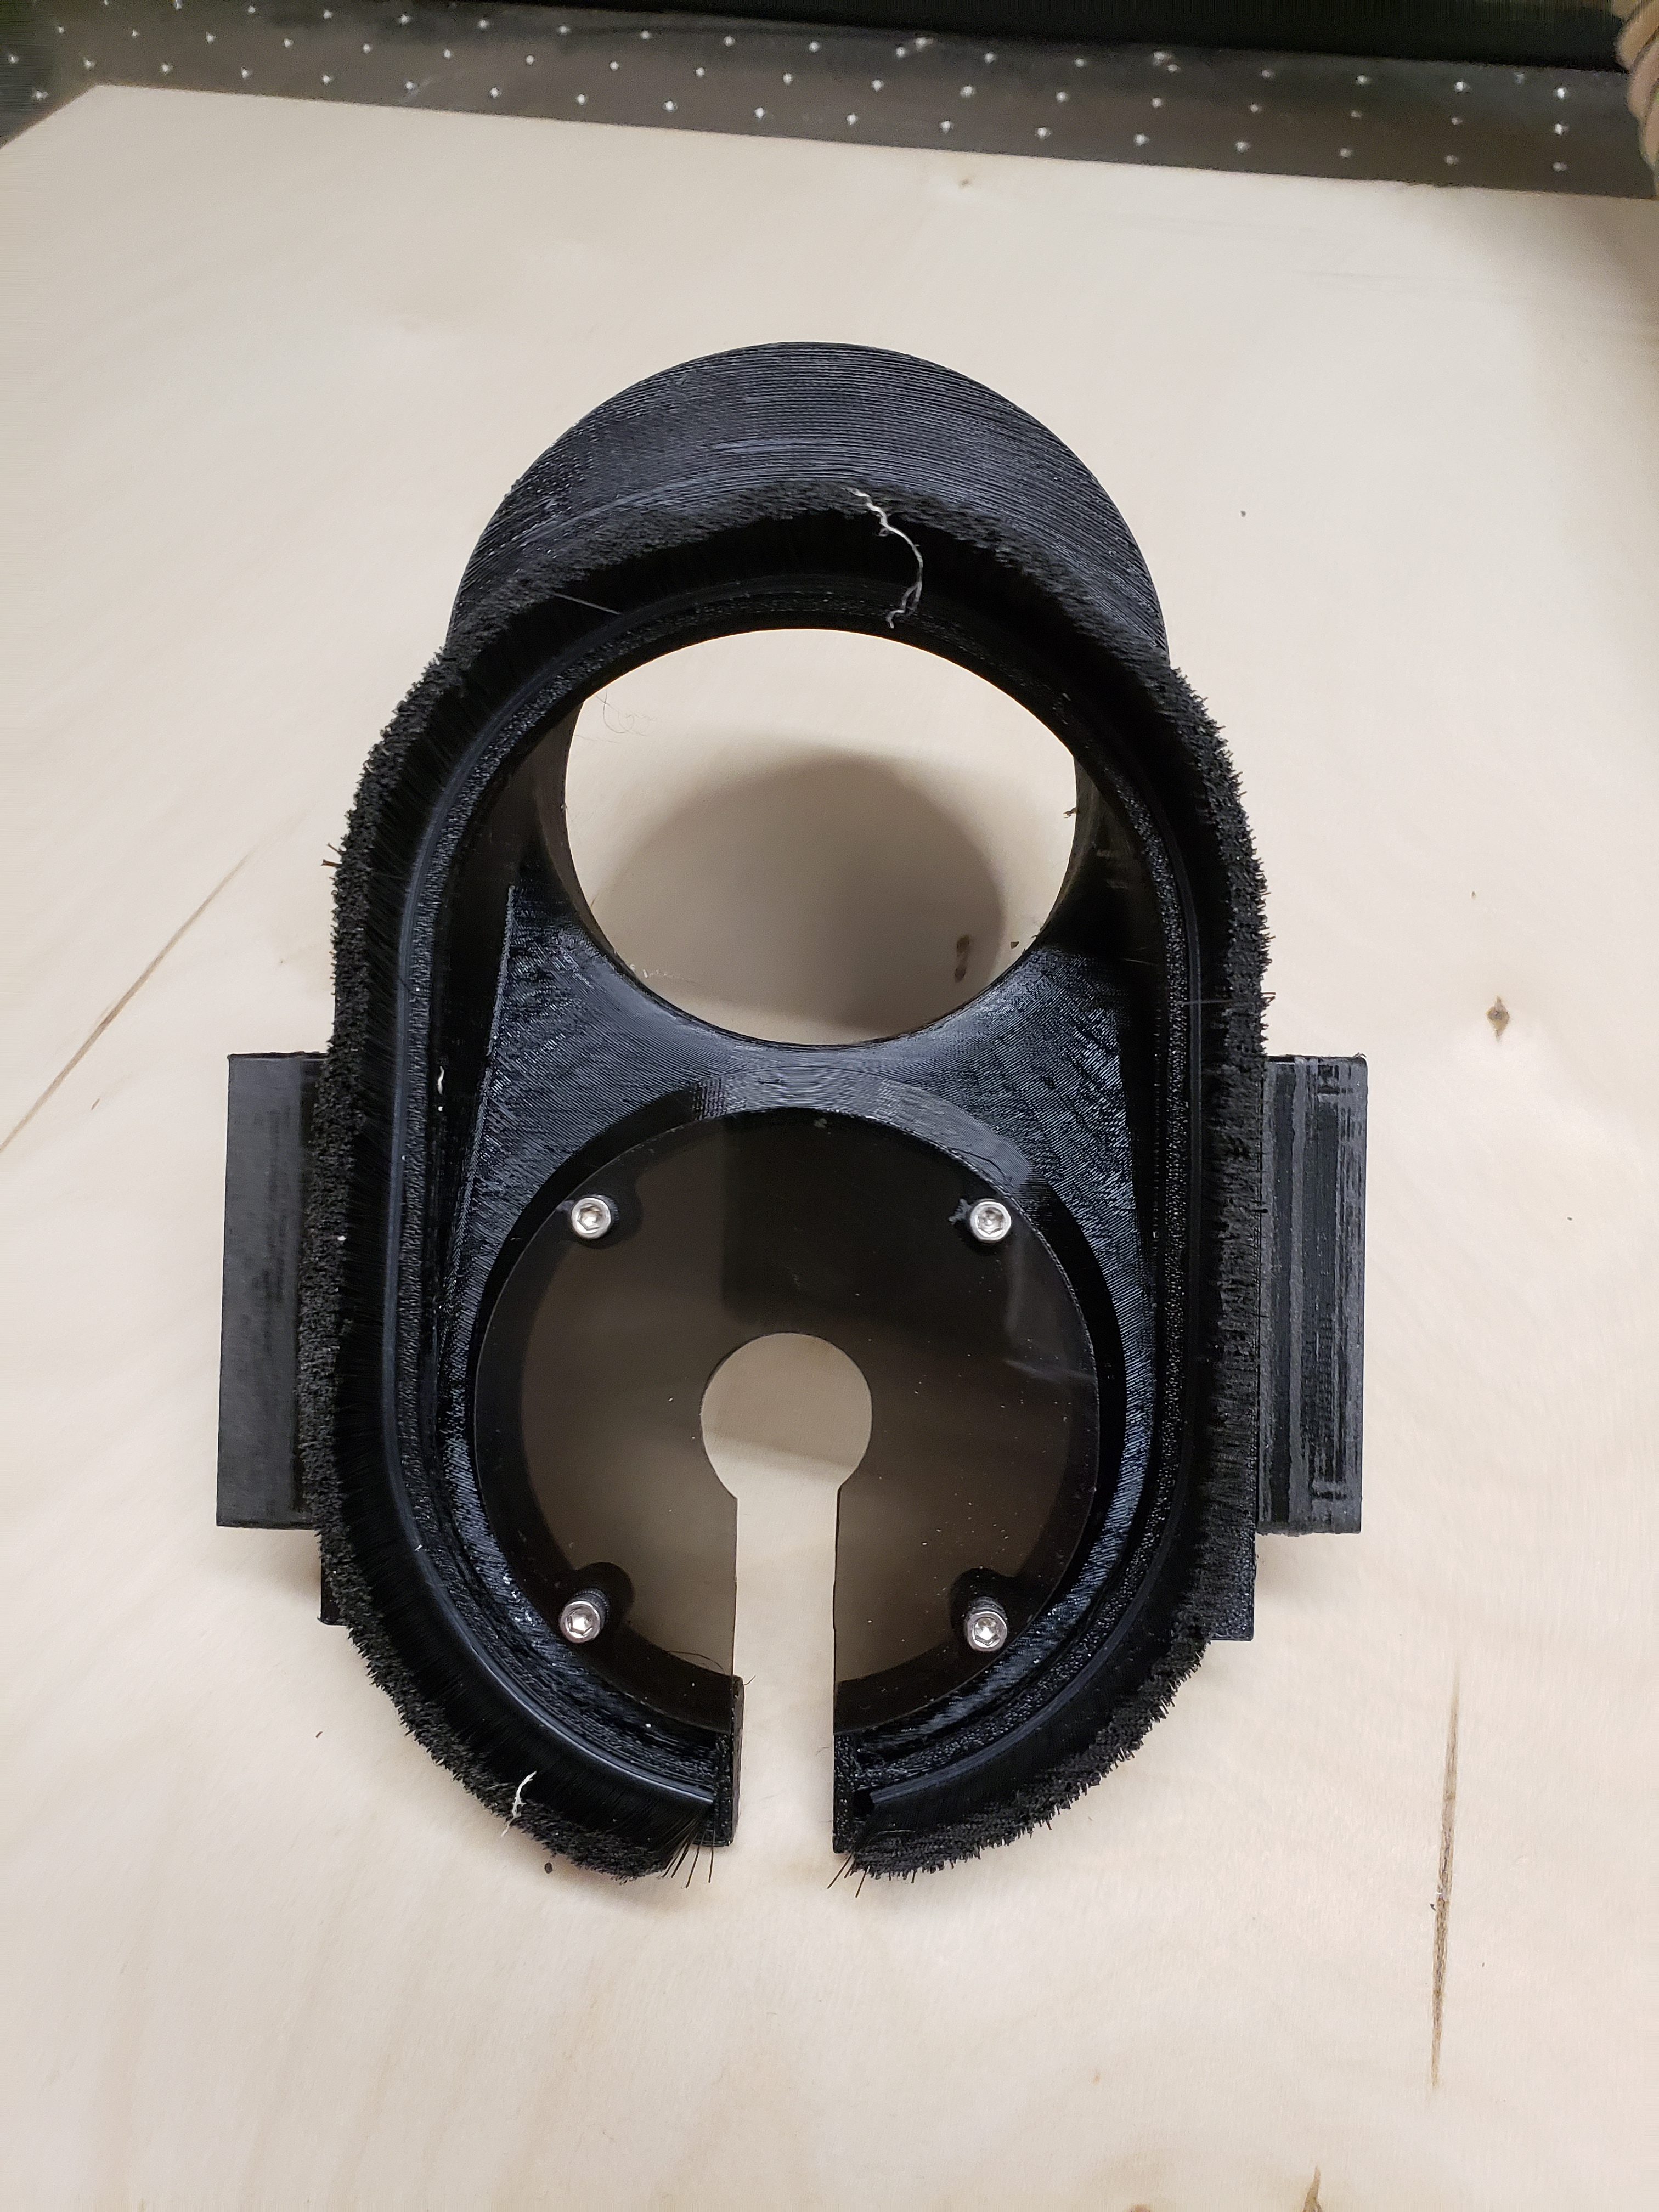
So, I am loving the rear mount dust shoe and the detachable brushes are fantastic for touching off and changing bits. But, it was difficult to see what was going on under there when cutting and I wanted to record it if I could so back to the drawing board I went. I have a cheap knock off go pro and I also have a Wyze camera that stays in my shop for security which I also use to check on the machine when running long jobs and I dont want to sit out there. So, I made an elongated insert with a viewport and mounted the wyze camera to it, its amazing! I told my mom, who lives 4 hours away, to look at the camera and she just replied thats awesome as she was watching me cut a project. Anyway… A little update 
4 Likes
Beautiful!
There are times with mine where the internal chute (what do you call the inside of a vac hose anyway?) clogs with long shavings - I work in wood a lot. Because the whole thing is opaque I only know because there is a lot of mess suddenly. As it happens in the middle of job usually, it’s not very easy to stop and unclog it.
I’m completely sold on the rear mount dust shoe concept. So much better than everything in the way of your work observation.
Speaking of turning things around have you thought about turning your hdz around so the ‘moving plate’ runs on the x axis. and the back plate holds the router? Done this way, you could cut 150mm deep on your shapeoko (with a little modification to the base of the machine)… Just a thought (for someone who can clearly think)
Cheers, Mark.
1 Like
FYI - for those of you with a 3D printer.
PwnCNC has released his standard Shapeoko3 Z-axis dust shoe to Thingiverse.
I really like his design.
8 Likes
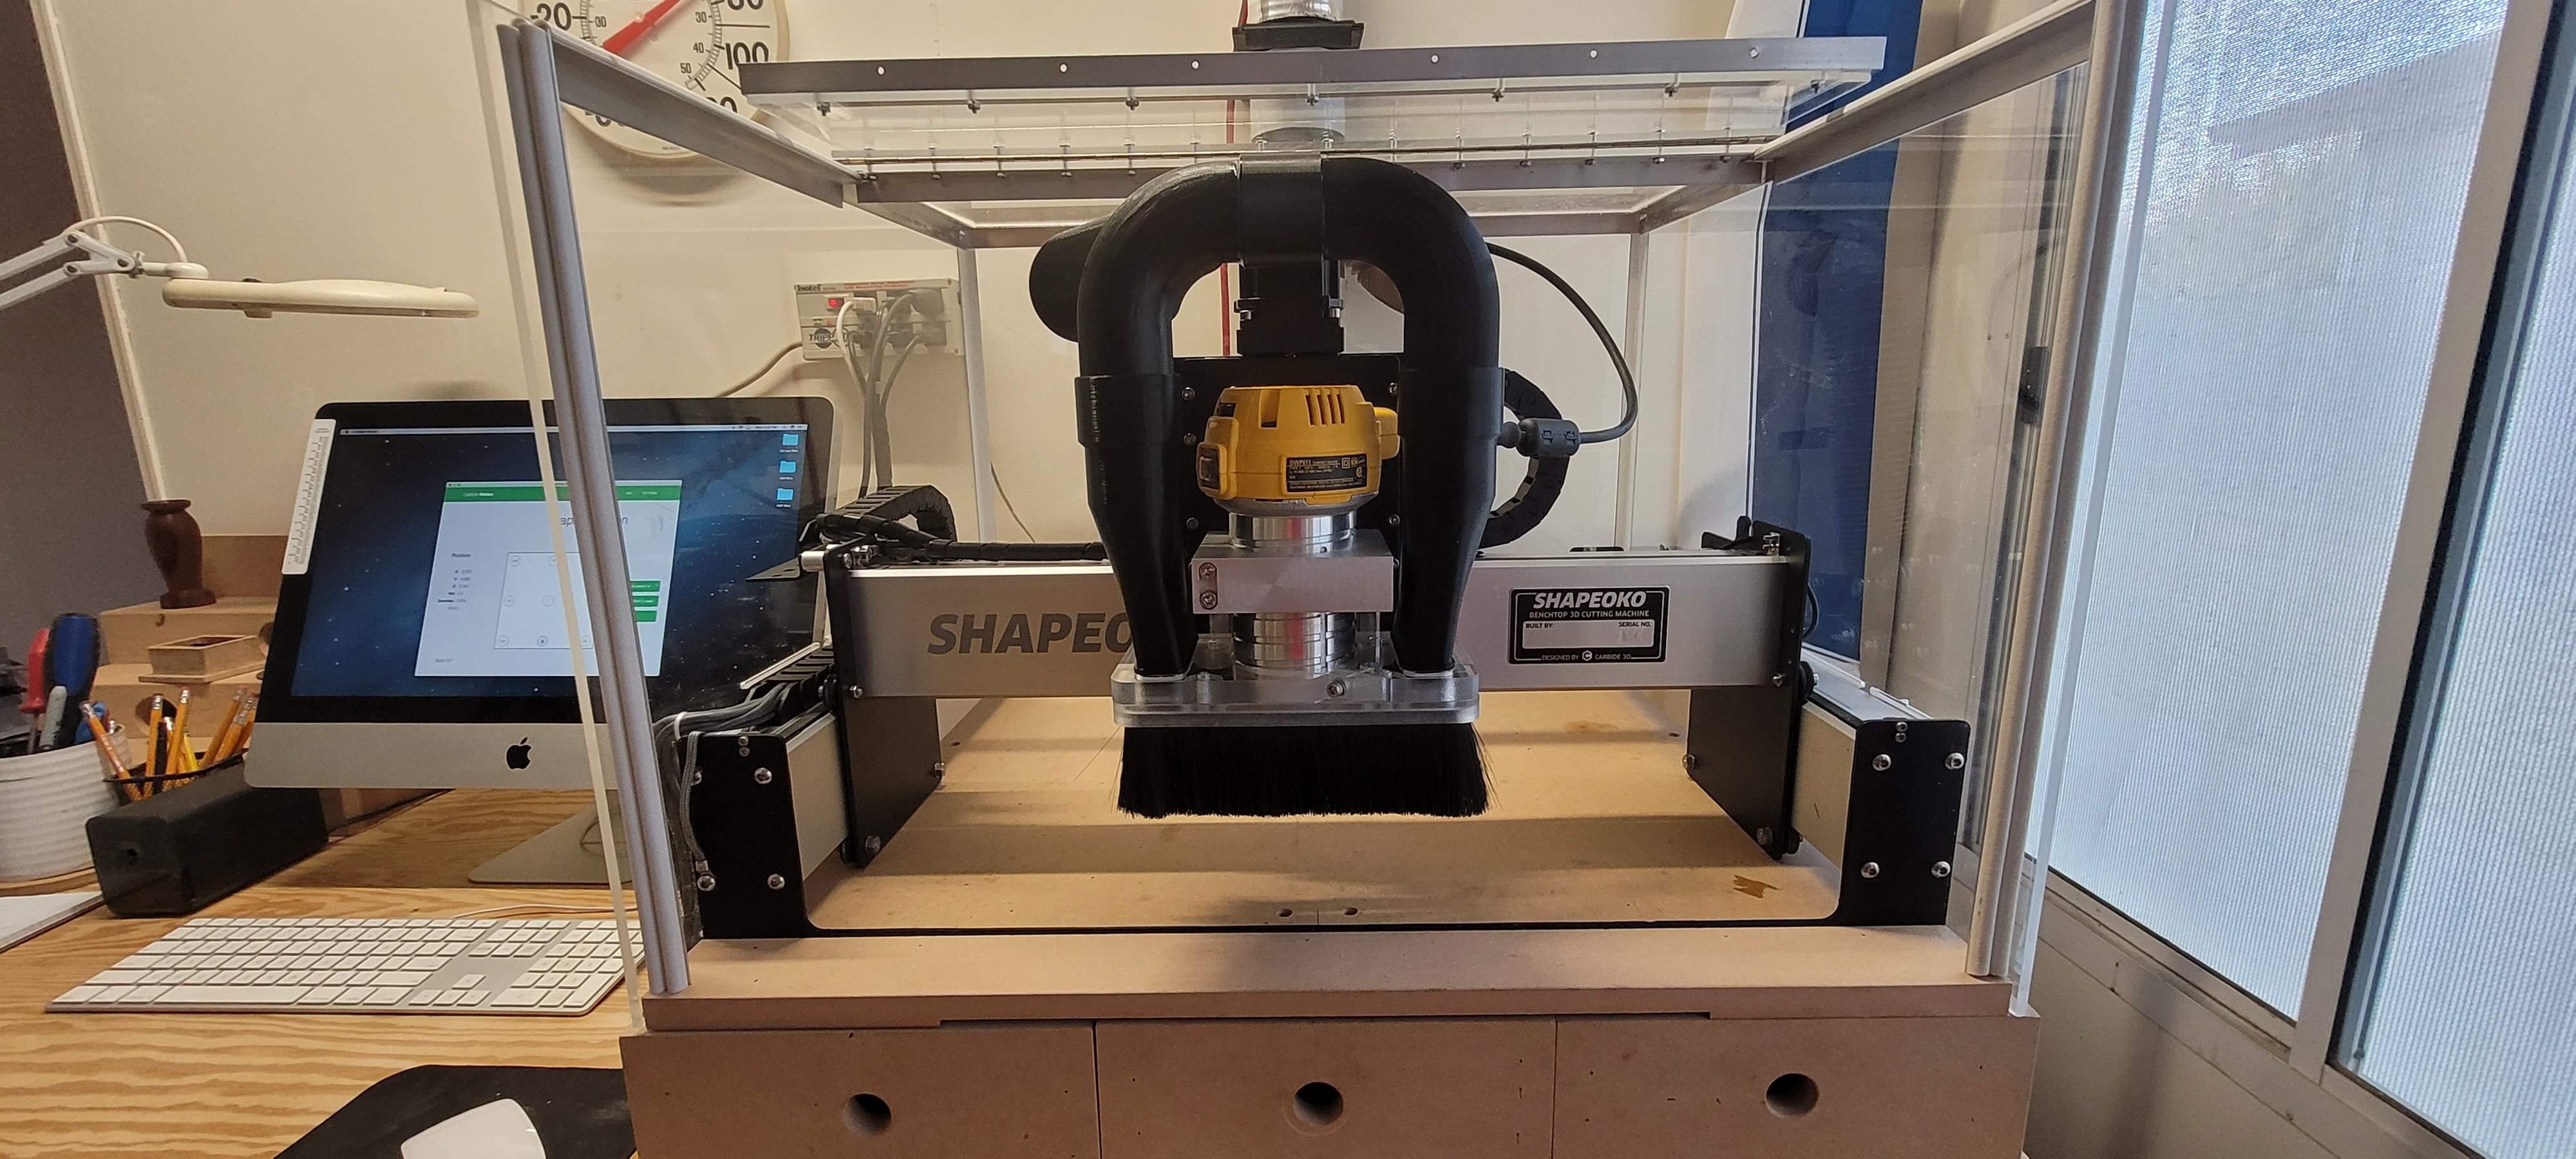
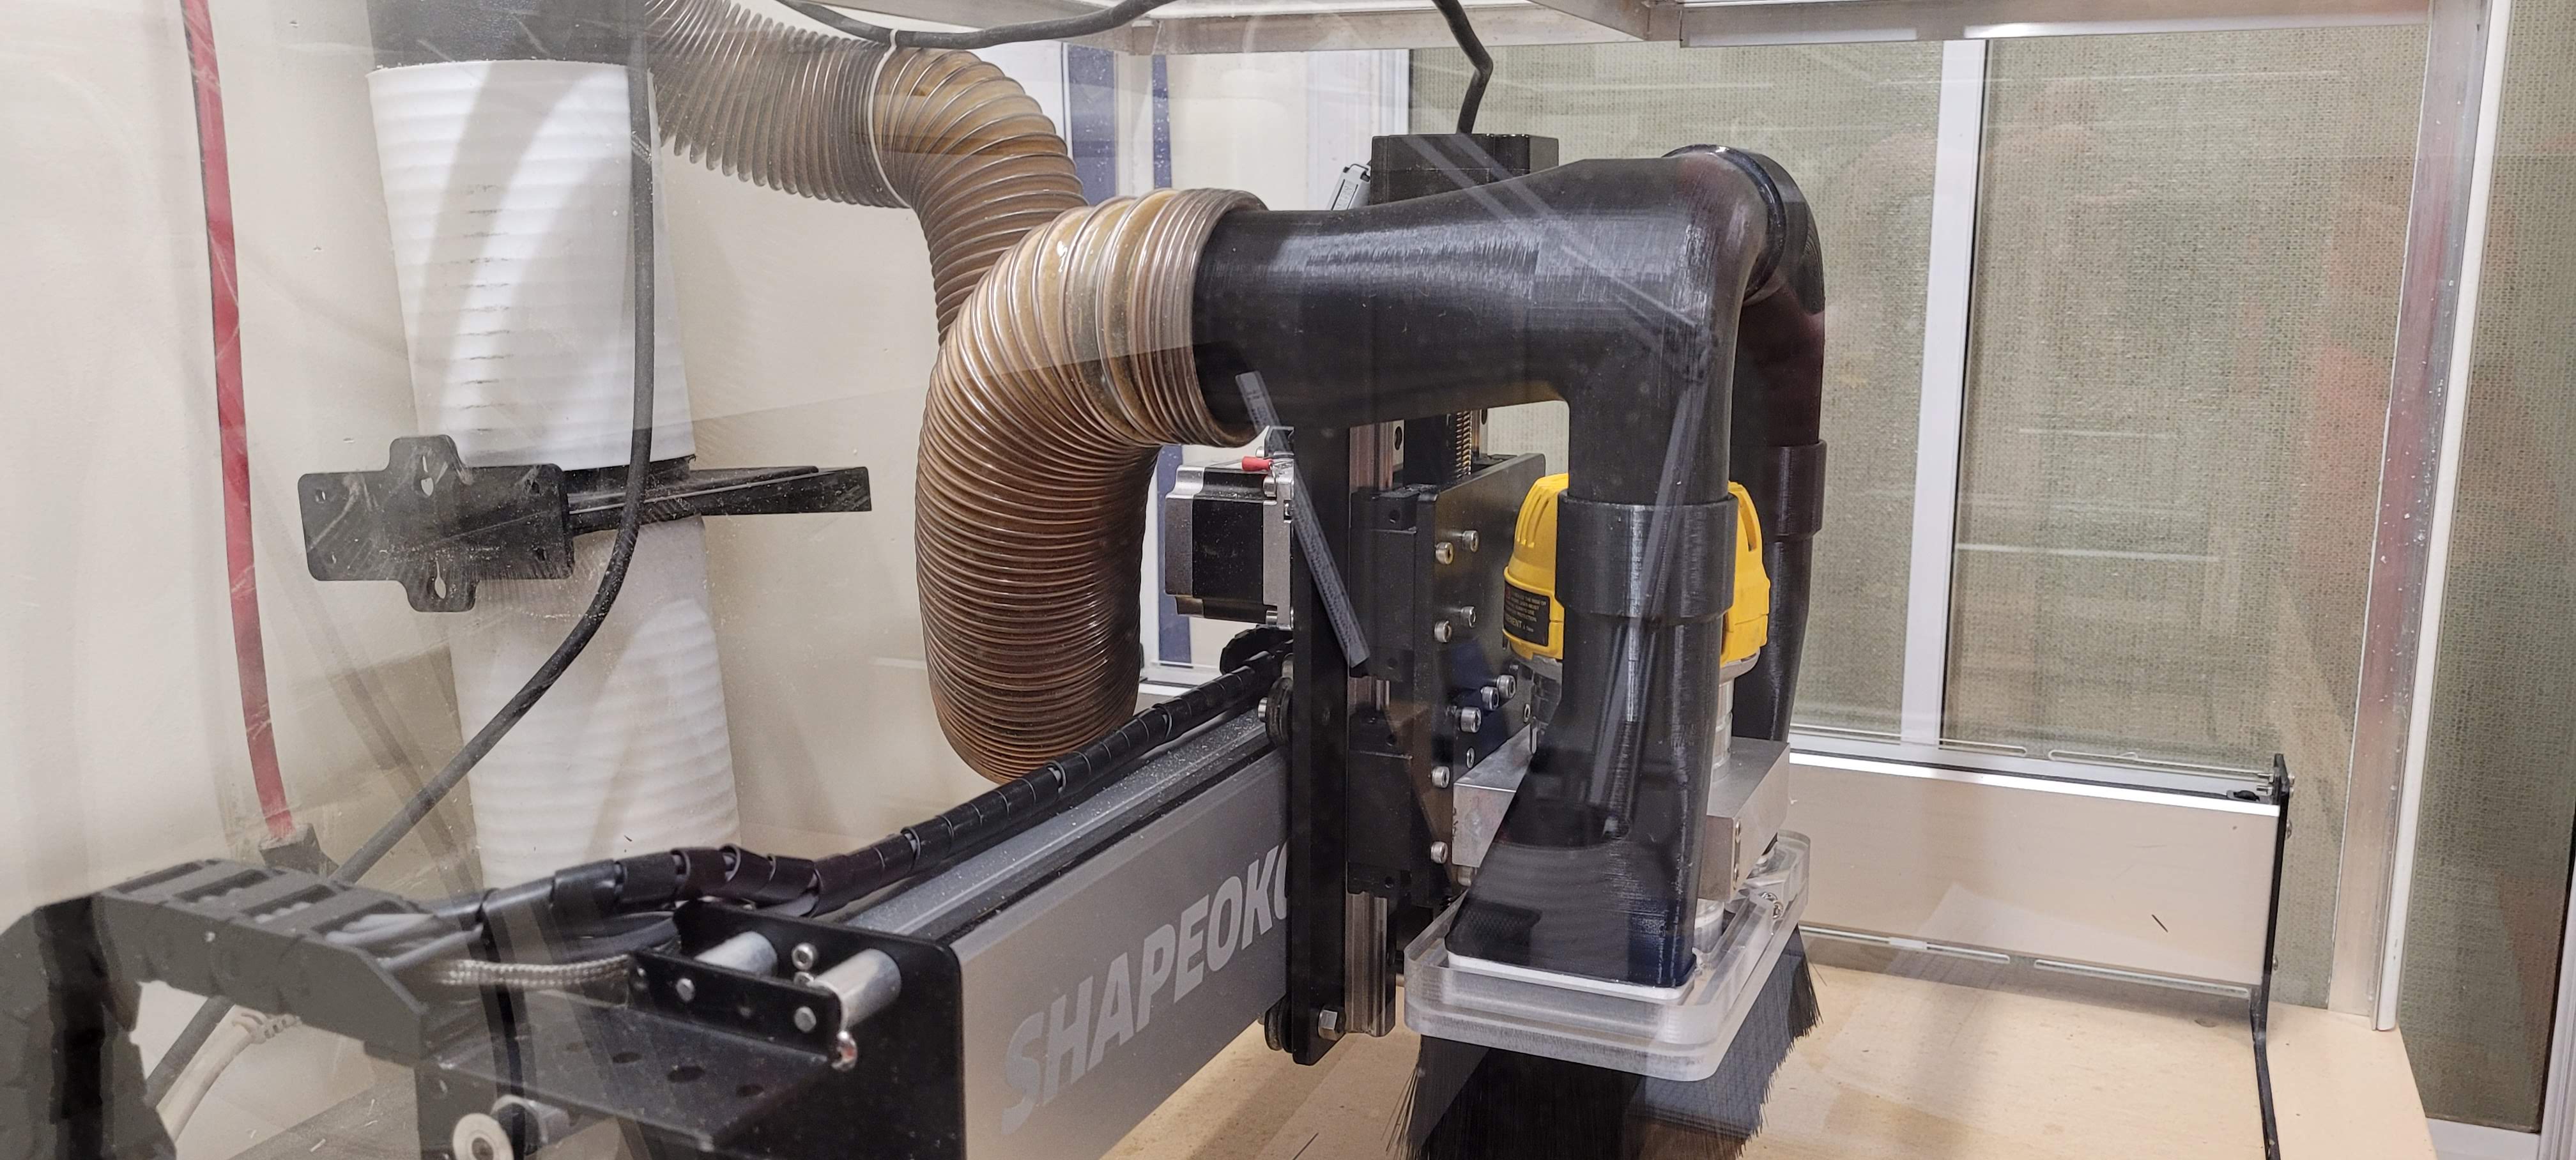
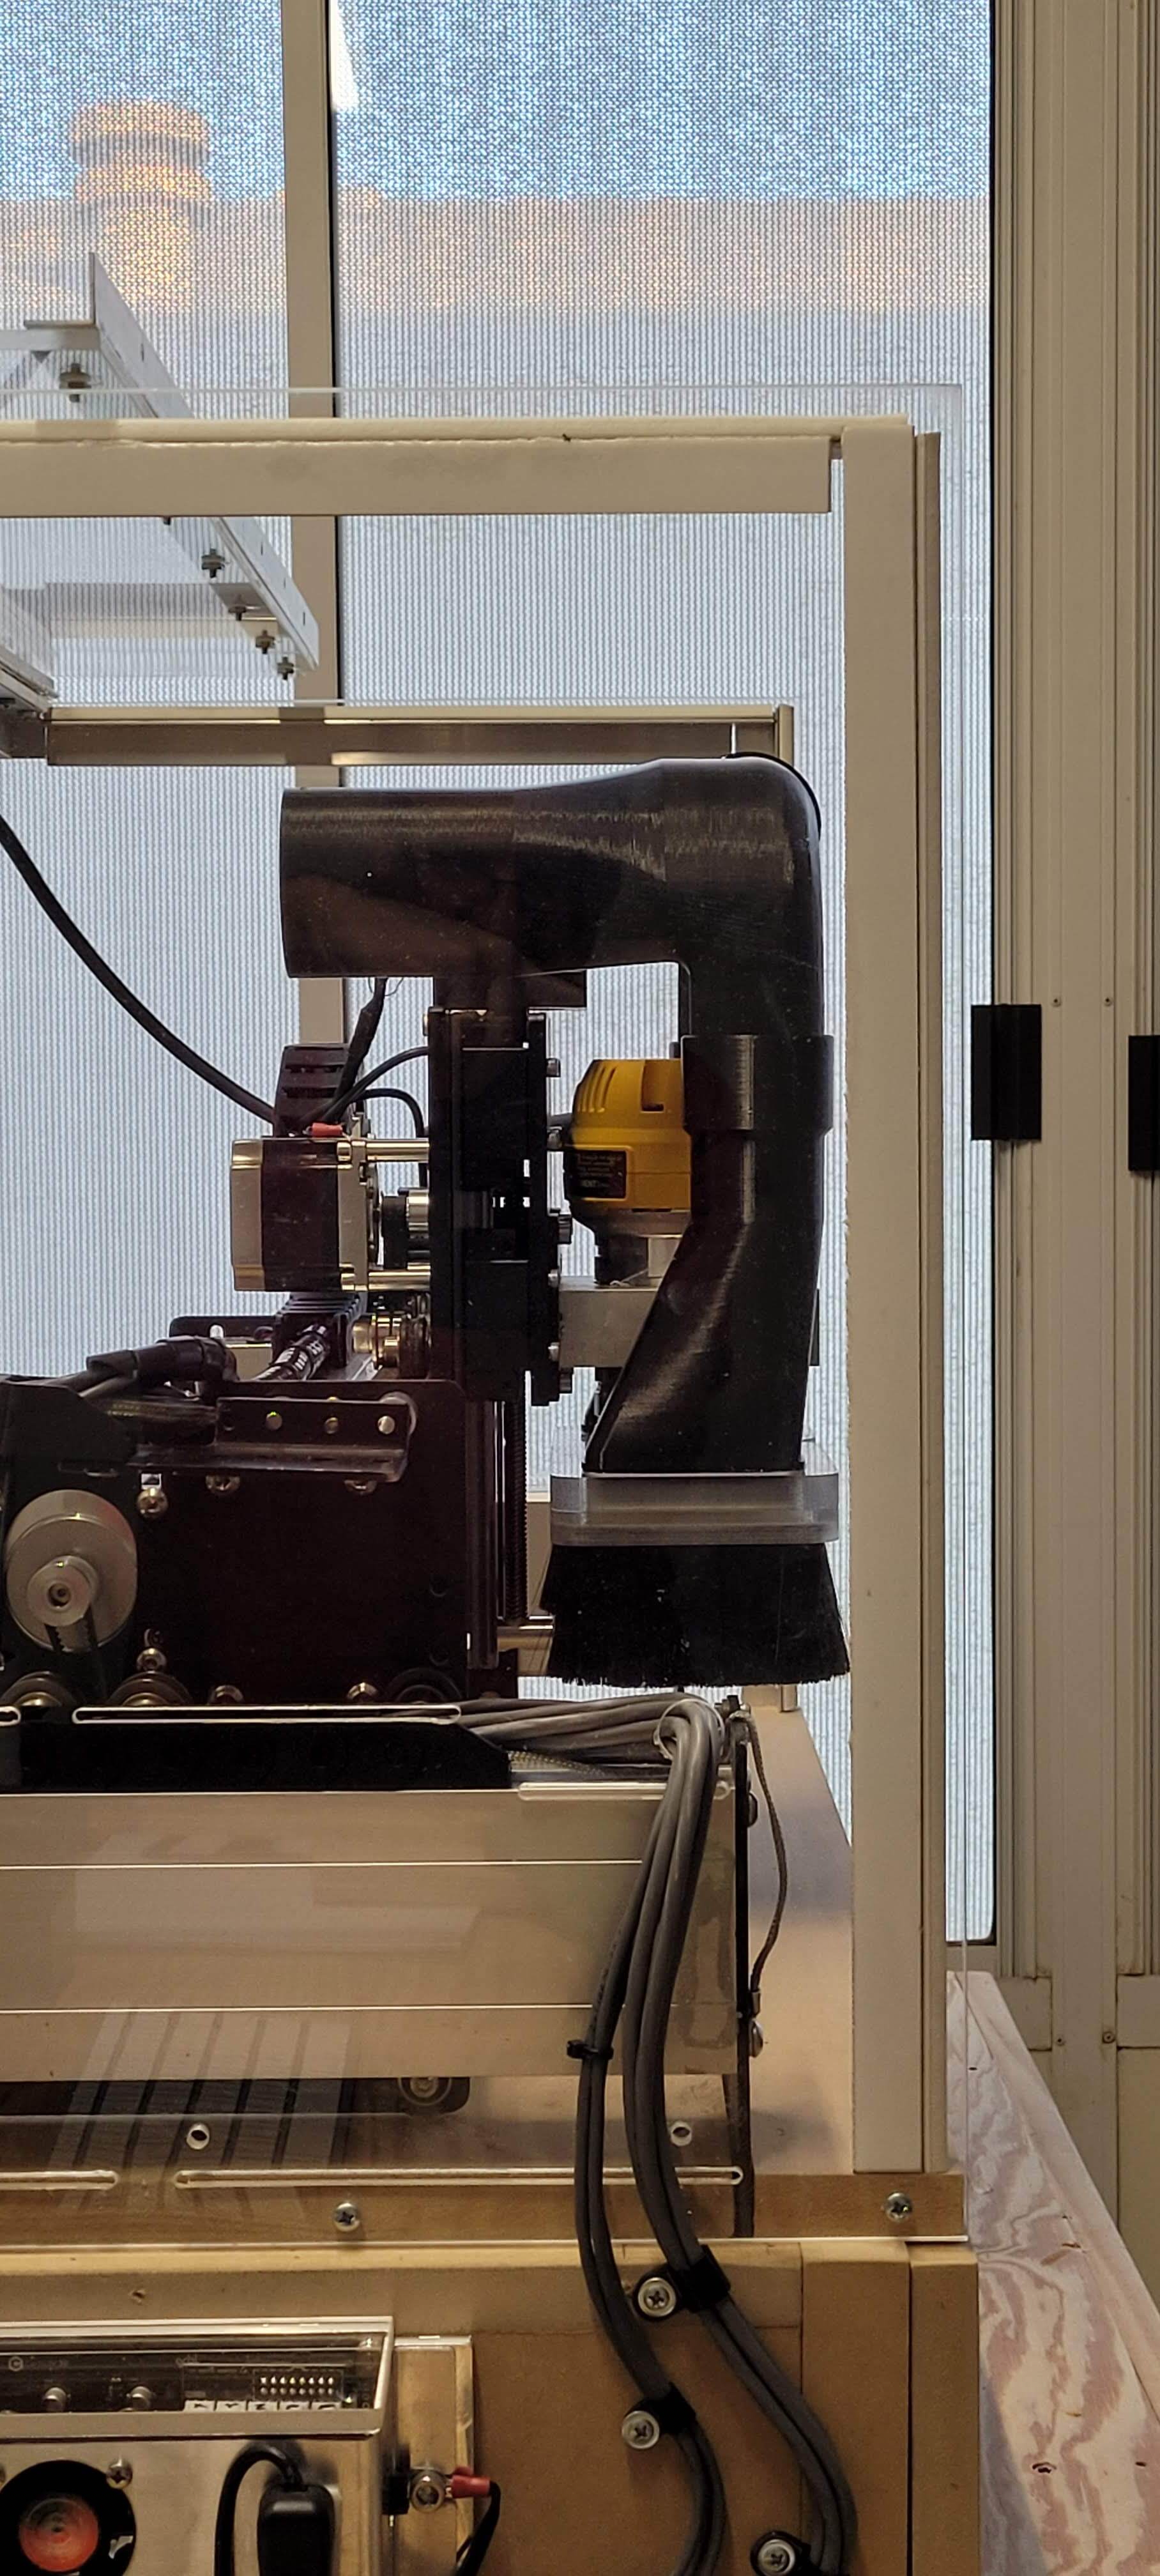
Had a big issue when i received my HDZ… It moves the router forward 28mm… had to redesign… Releasing via thingiverse and for sale in November.
(this new boot design will work with both stock or hdz setups)

8 Likes
Is there an appreciable difference in performance with the new design vs. the old? I was digging the big honkin’ window on the front.
1 Like
Do you have a design you could share for the hose mount in the back of the machine by the stepper motor? I really like it and will go with your design on my machine once I get my new shop up and running.
I do really like the window too.
I guess I’ll throw my dust shoe design in the mix.
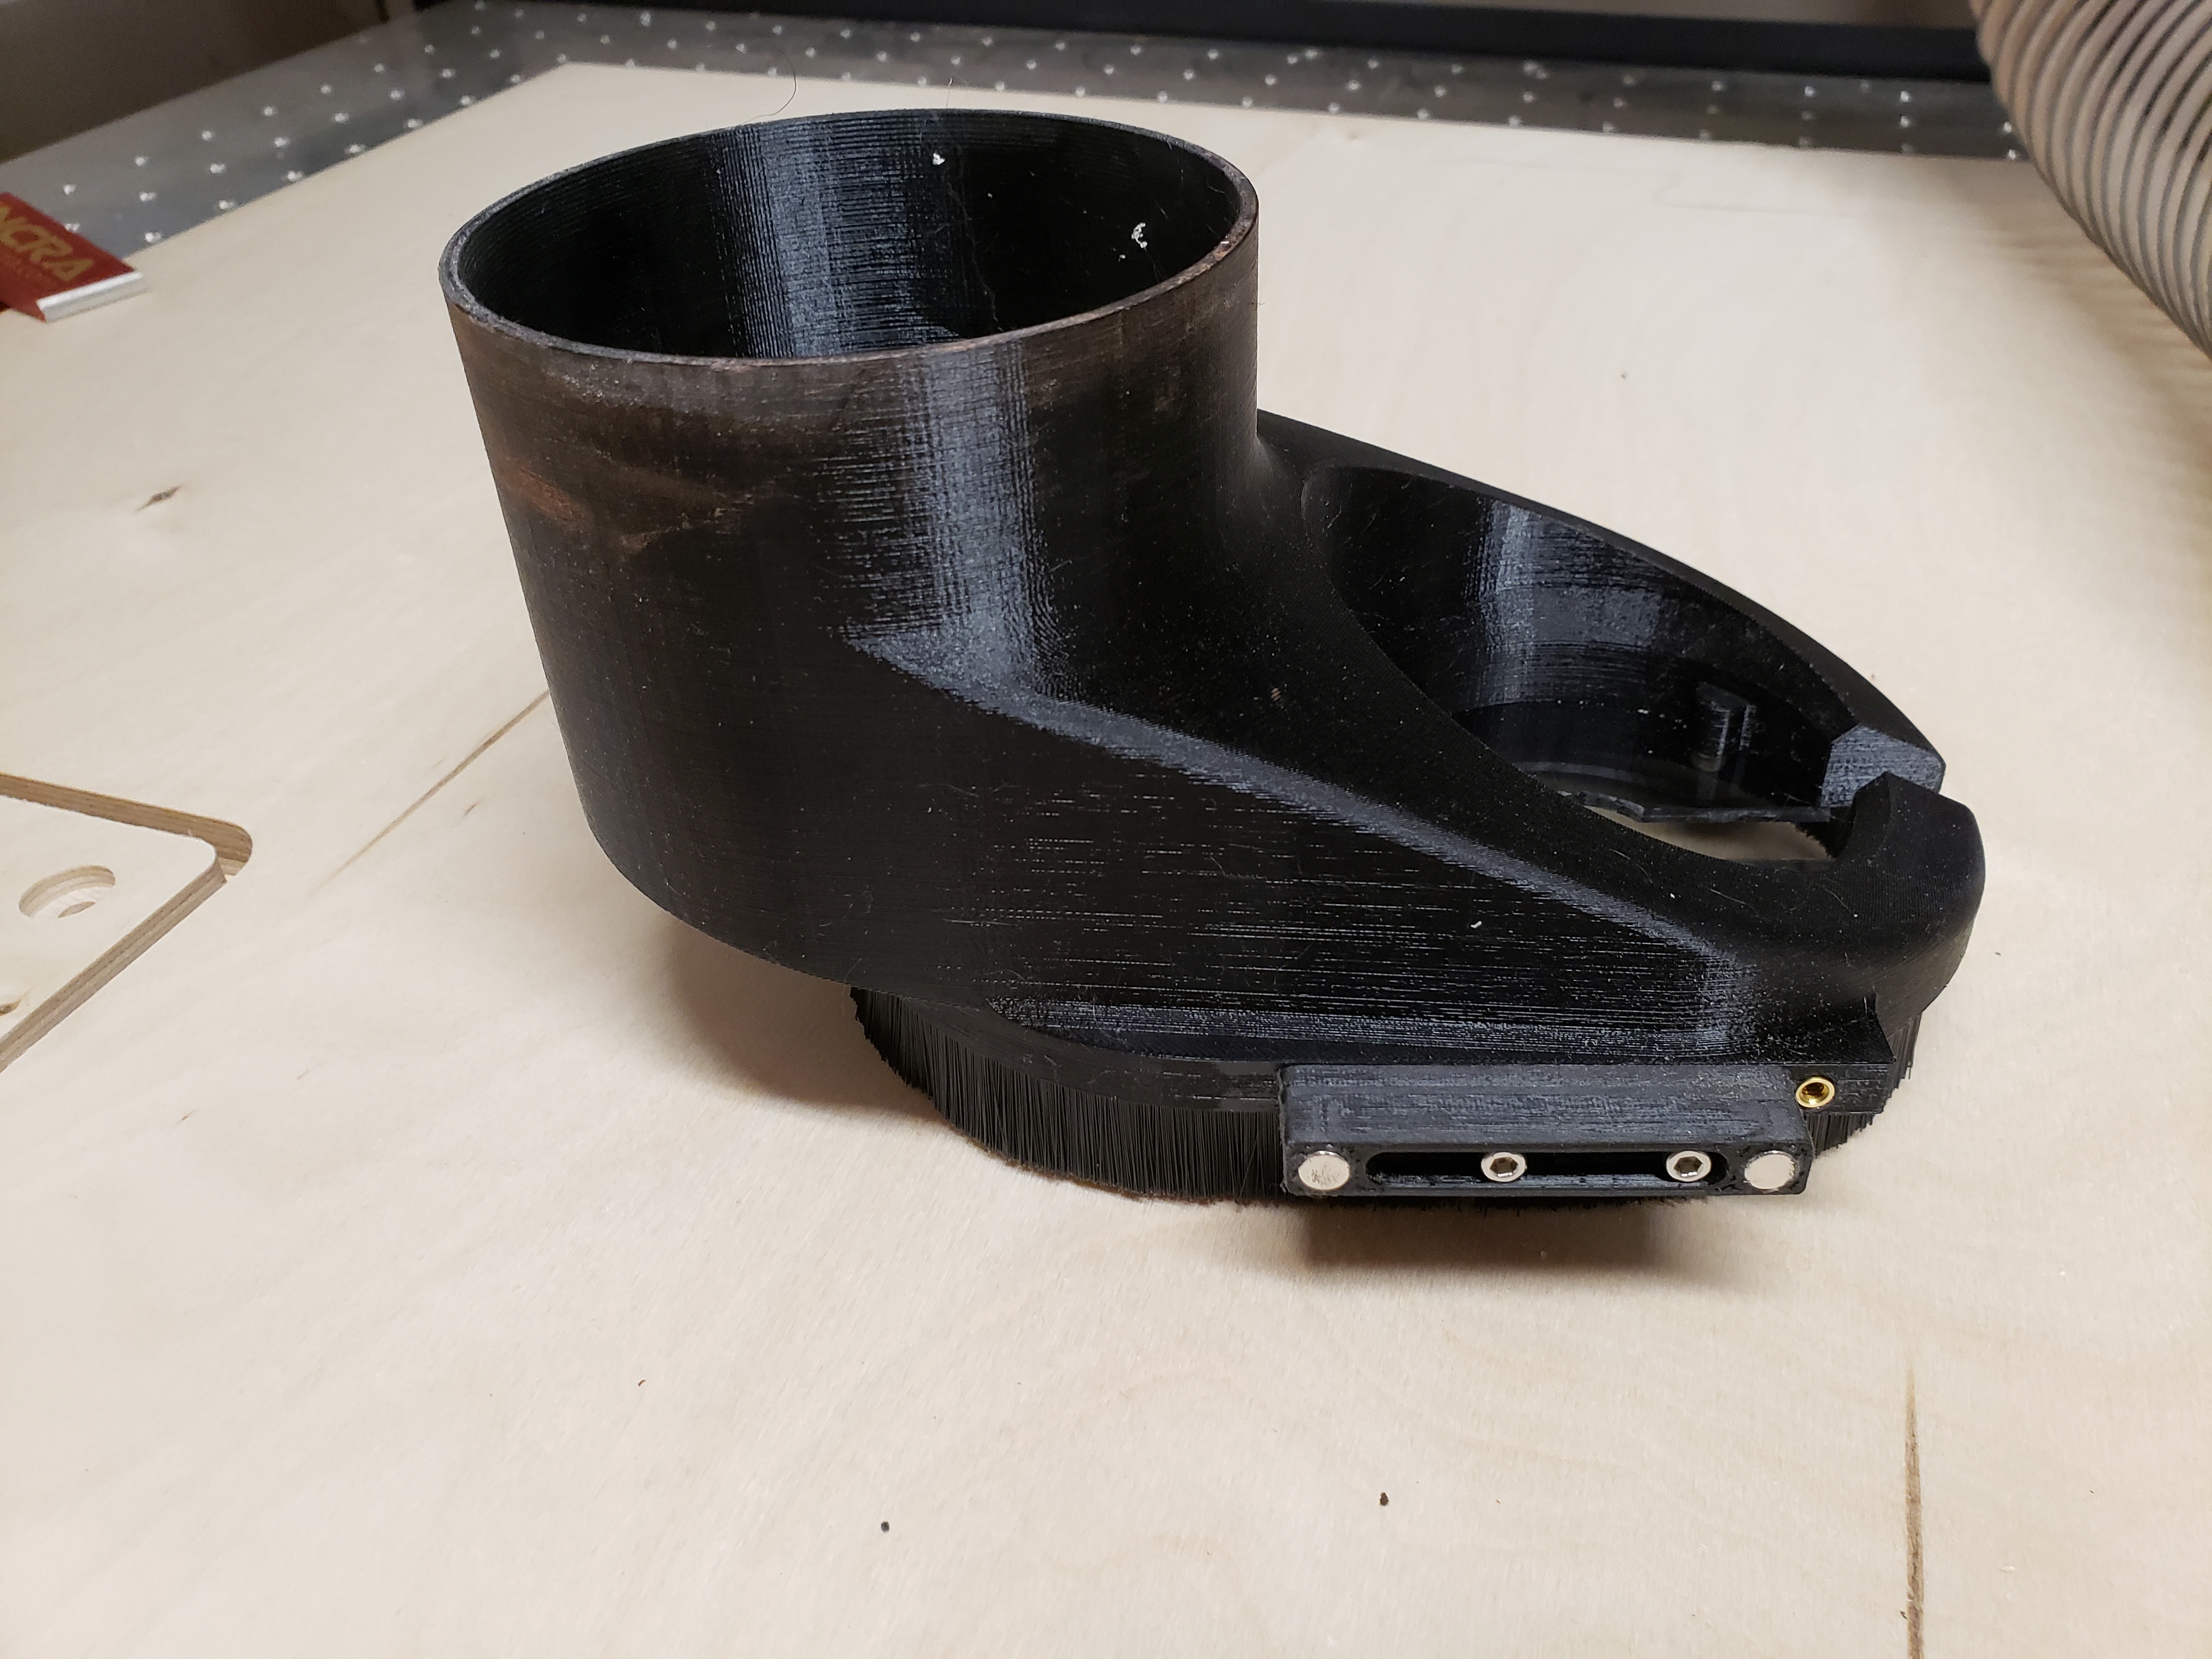
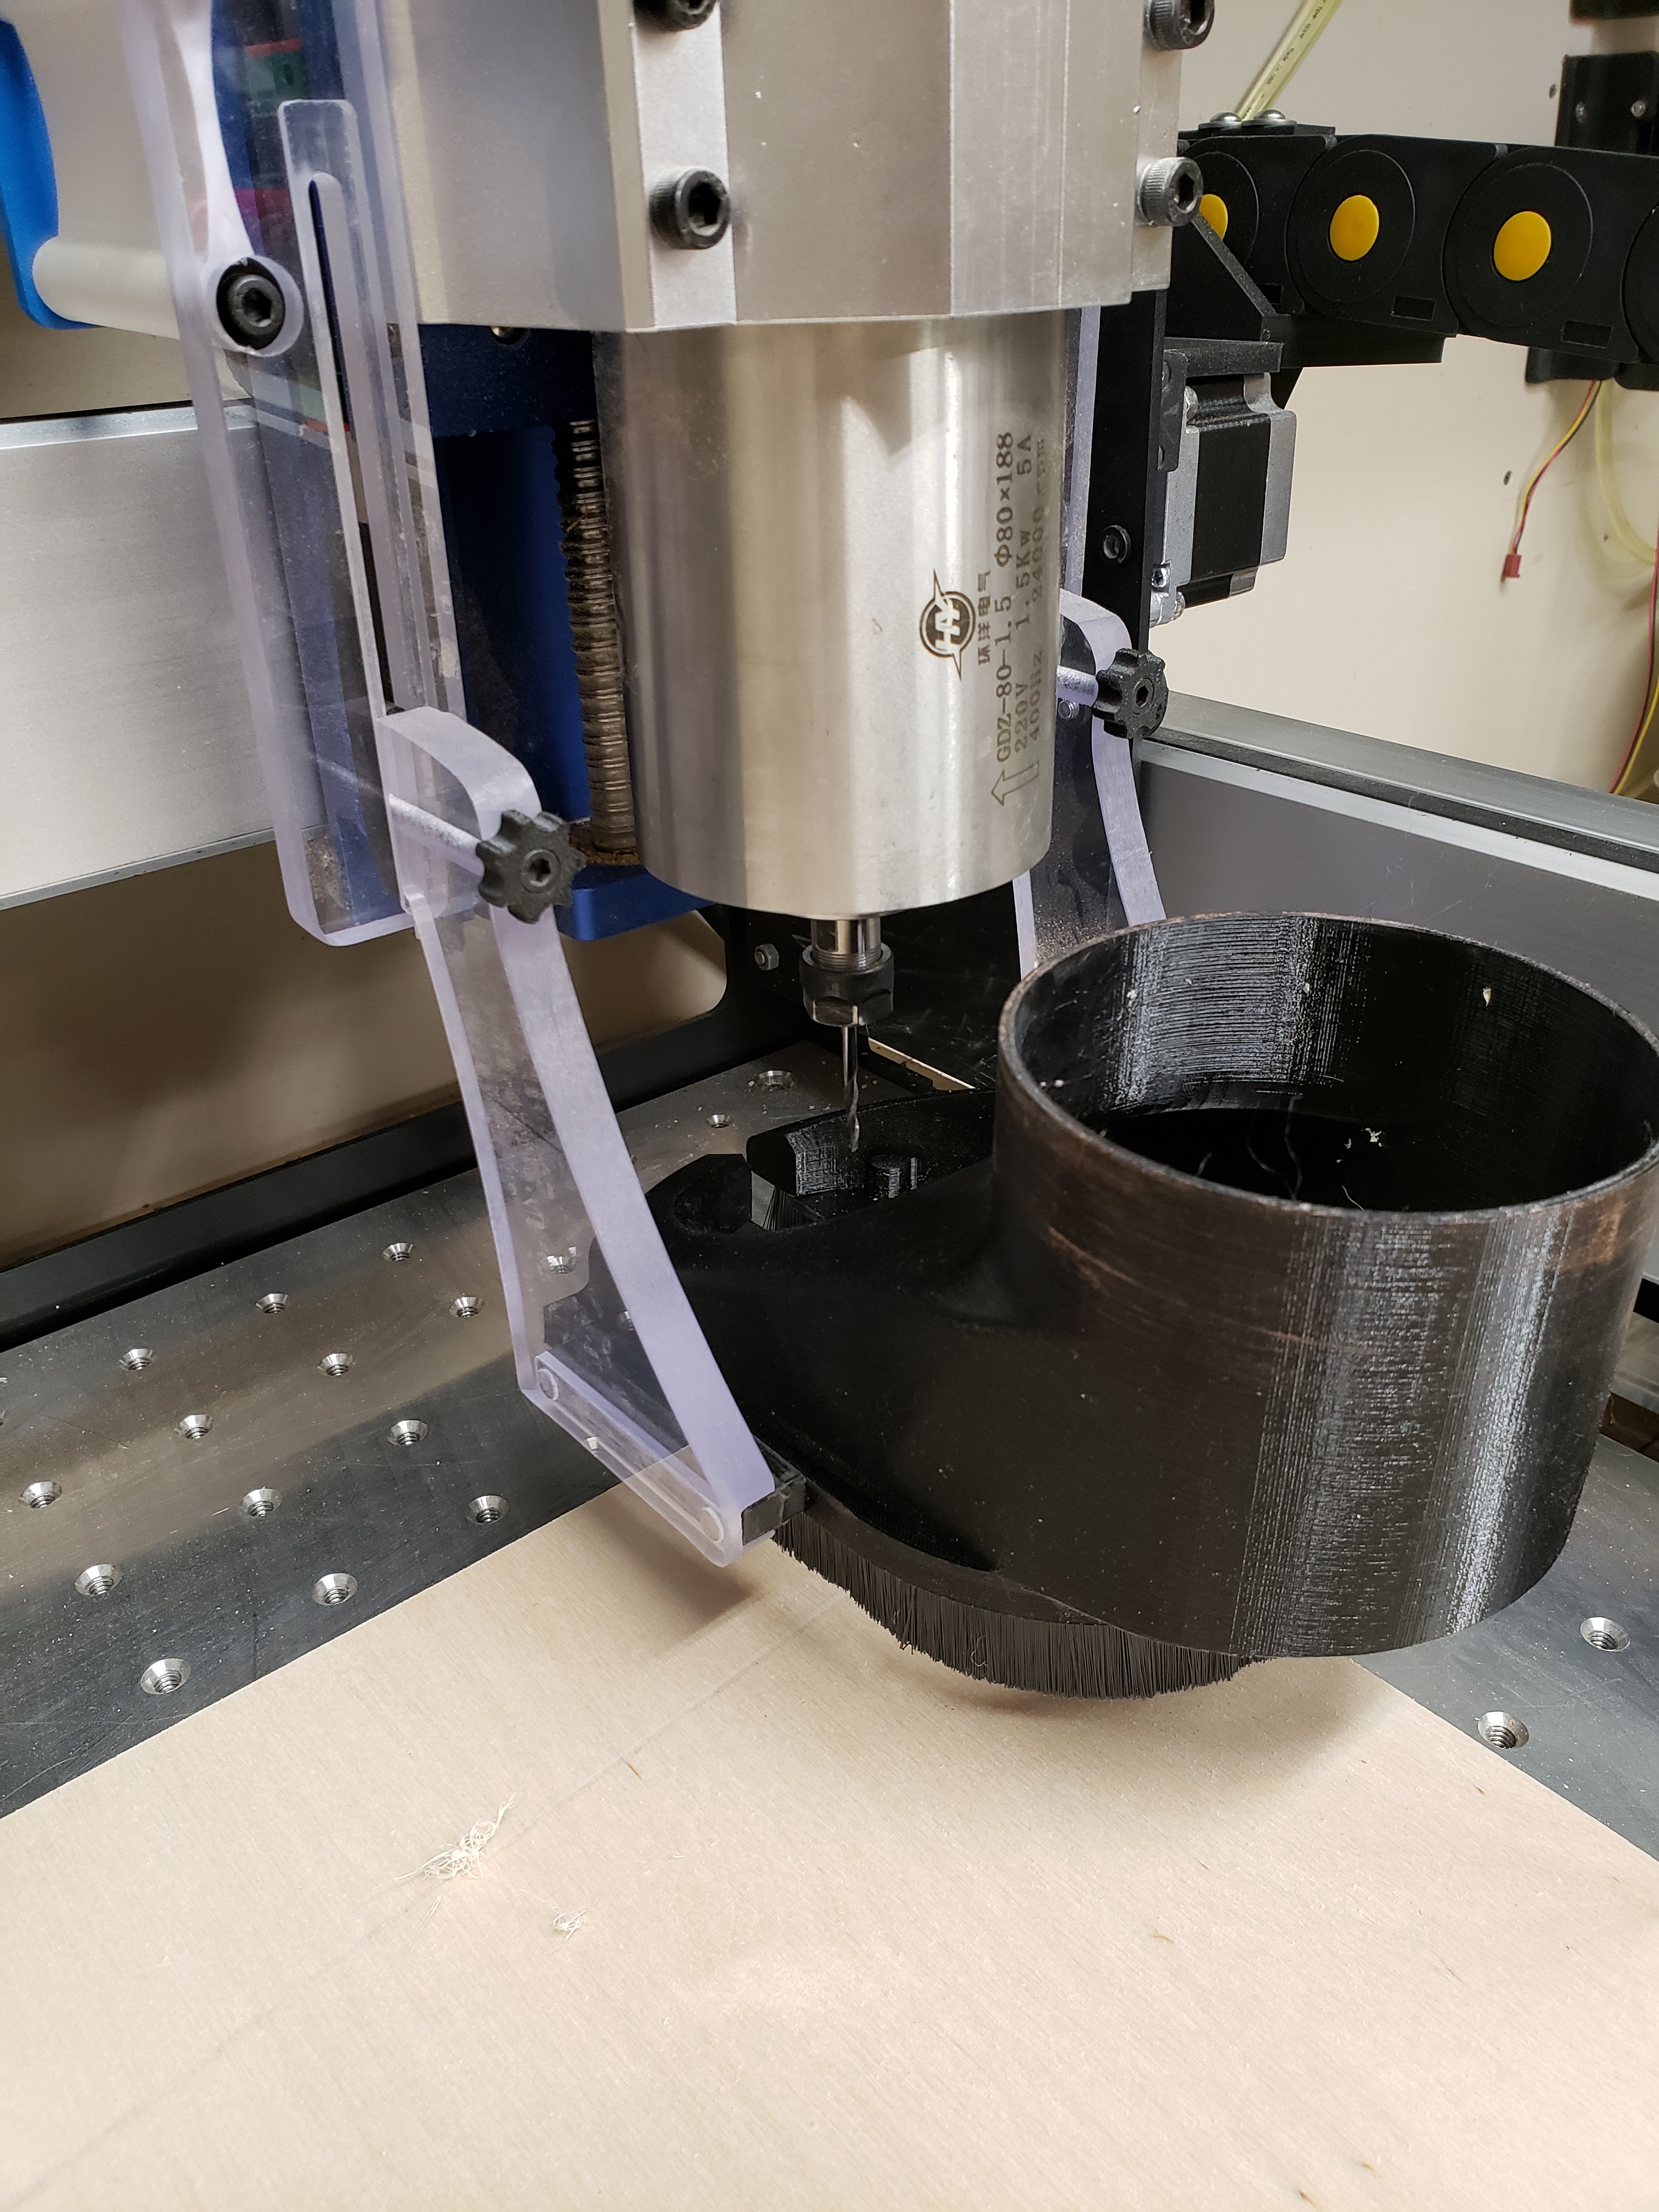
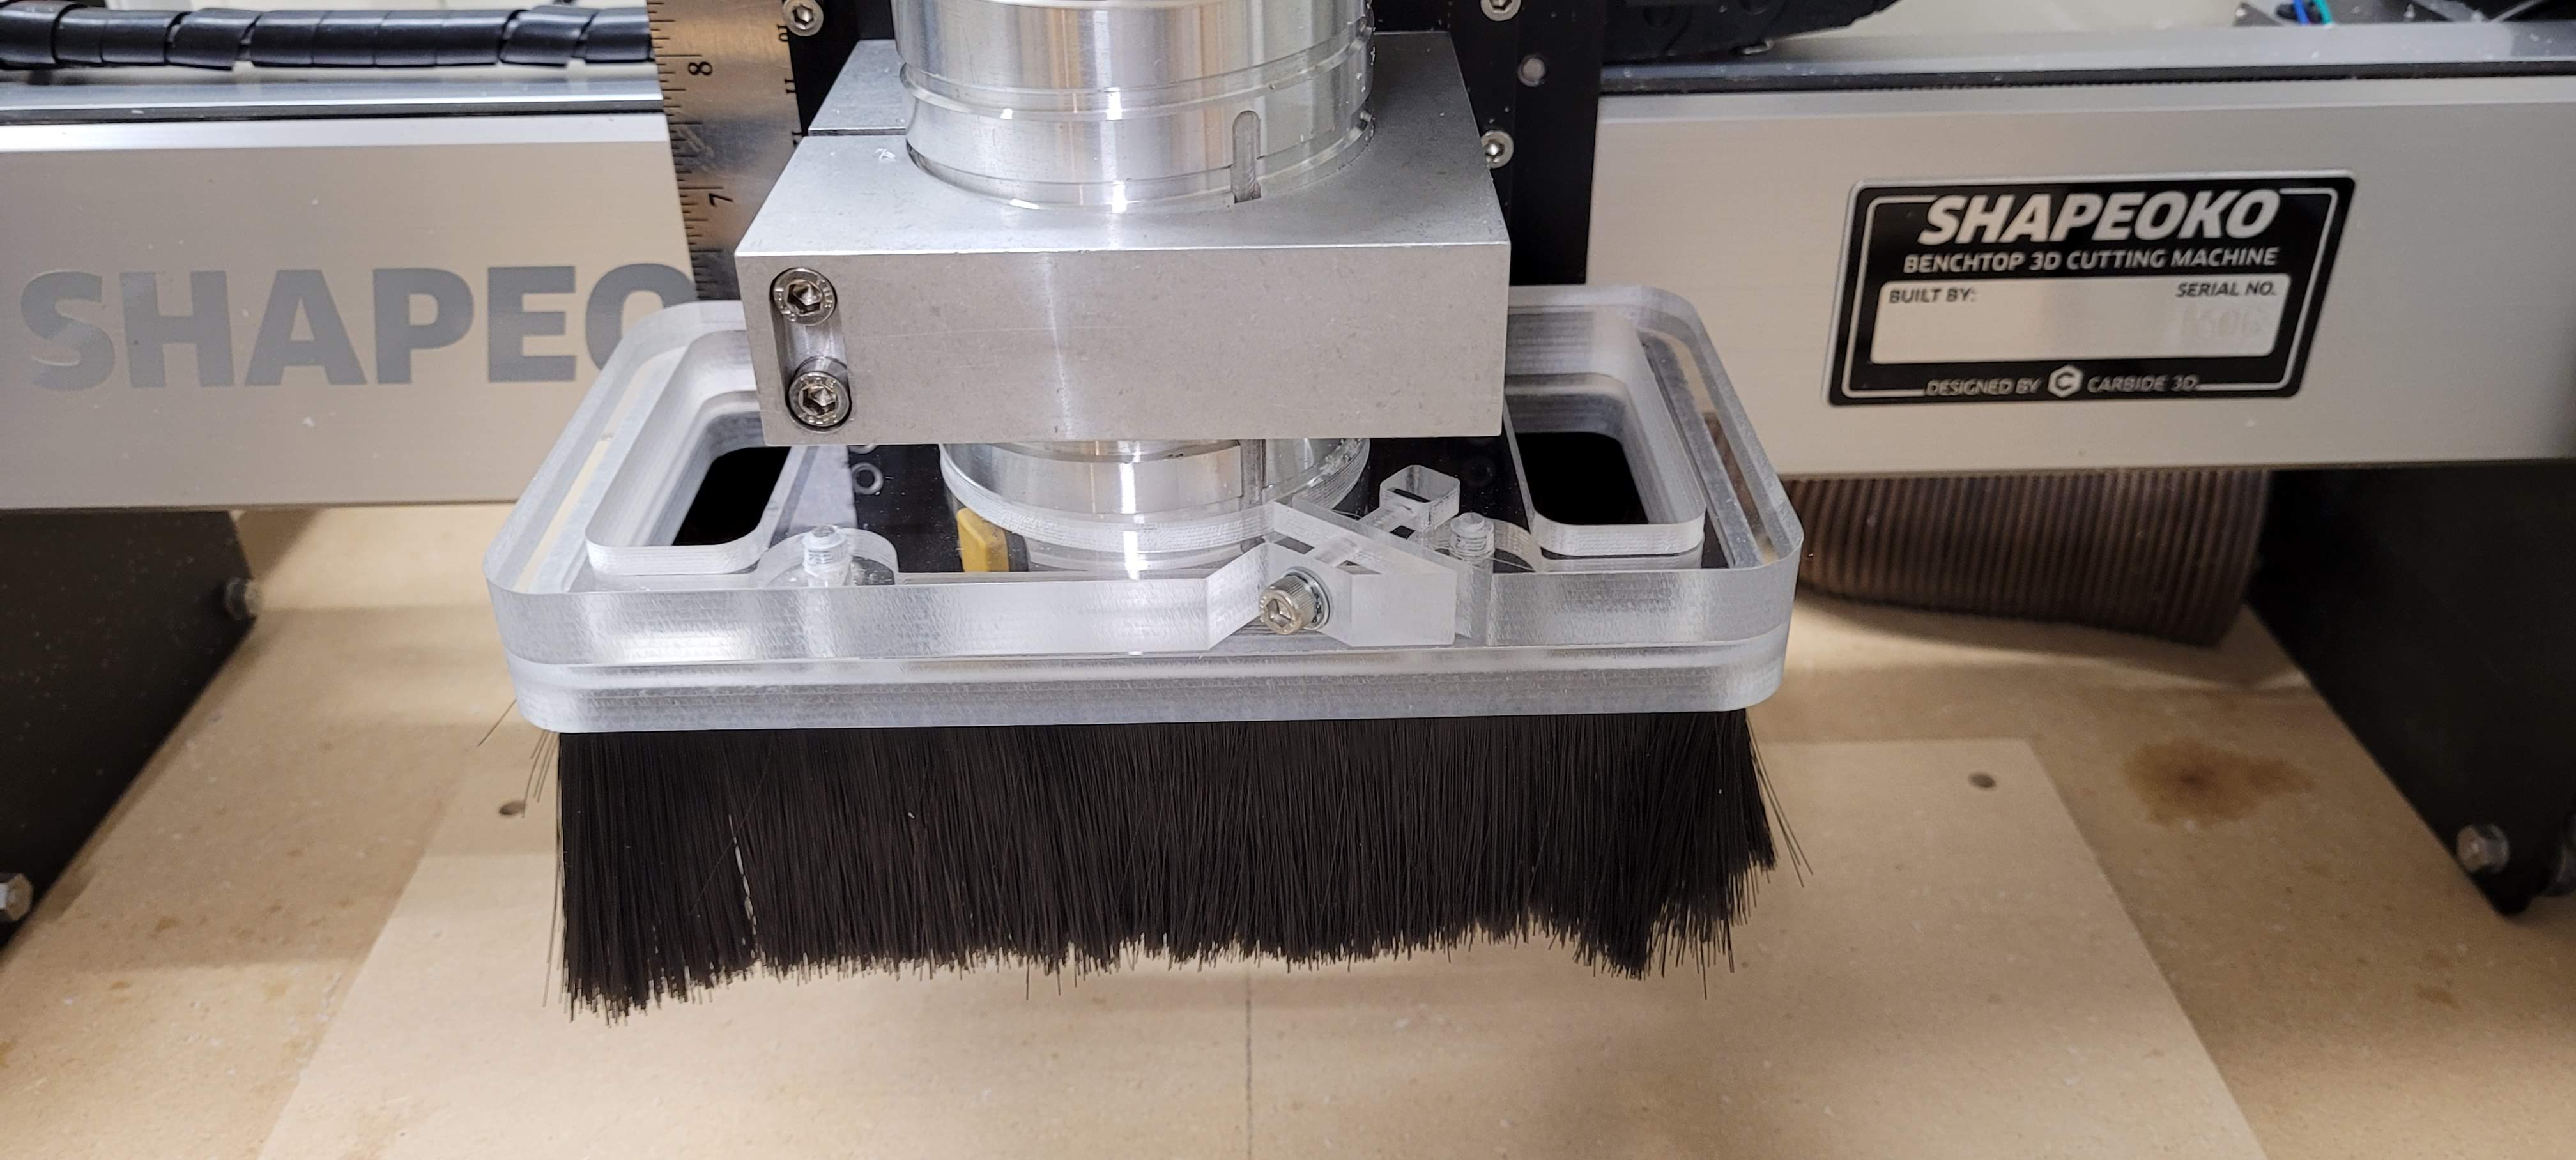
This was designed using my Suckit dust boot that has a 2.5in flex hose connection, but I increased the size to accept a 4in flex hose connection. I also made the pocket in the center large enough to accommodate my 80mm spindle, because I do a lot of small work using short bits. Now, the spindle can drop into the pocket in the middle of the boot and the spindle collet can go almost to the bottom of the brush strip.
It uses 0.55" tall spacers modeled after the Suckit spacers. I’ll post it to Thingiverse and get and a parts list for the brass threaded inserts and fasteners used for it if there is interest.
EDIT: I’m just going to put it in here since I am here anyway. . . 
Brass Inserts: https://www.mcmaster.com/94459a280
Socket Head Cap Screws: I bought a box of long ones and use my dremel to cut them down to the correct size since I was not sure what length I needed for the different locations. https://www.mcmaster.com/92196a152
1" Brush Strip: https://www.mcmaster.com/7900t1
1/4" x 1/4" Cylinder Magnets: I use these in my cribbage boards, so I already had a couple of hundred laying around. https://www.kjmagnetics.com/proddetail.asp?prod=D44
11 Likes
Significant improvement for lower CFM setups. All of my tests now are done using my CT-26 at its lowest setting which i’m told is 63cfm. This should allow the design to compensate for anybodies suction setup.
I will be researching the ability to provide additional “face” options, including a possible clear one. With the significant improvements, it means even with the face off the boot performs admirably.
4 Likes
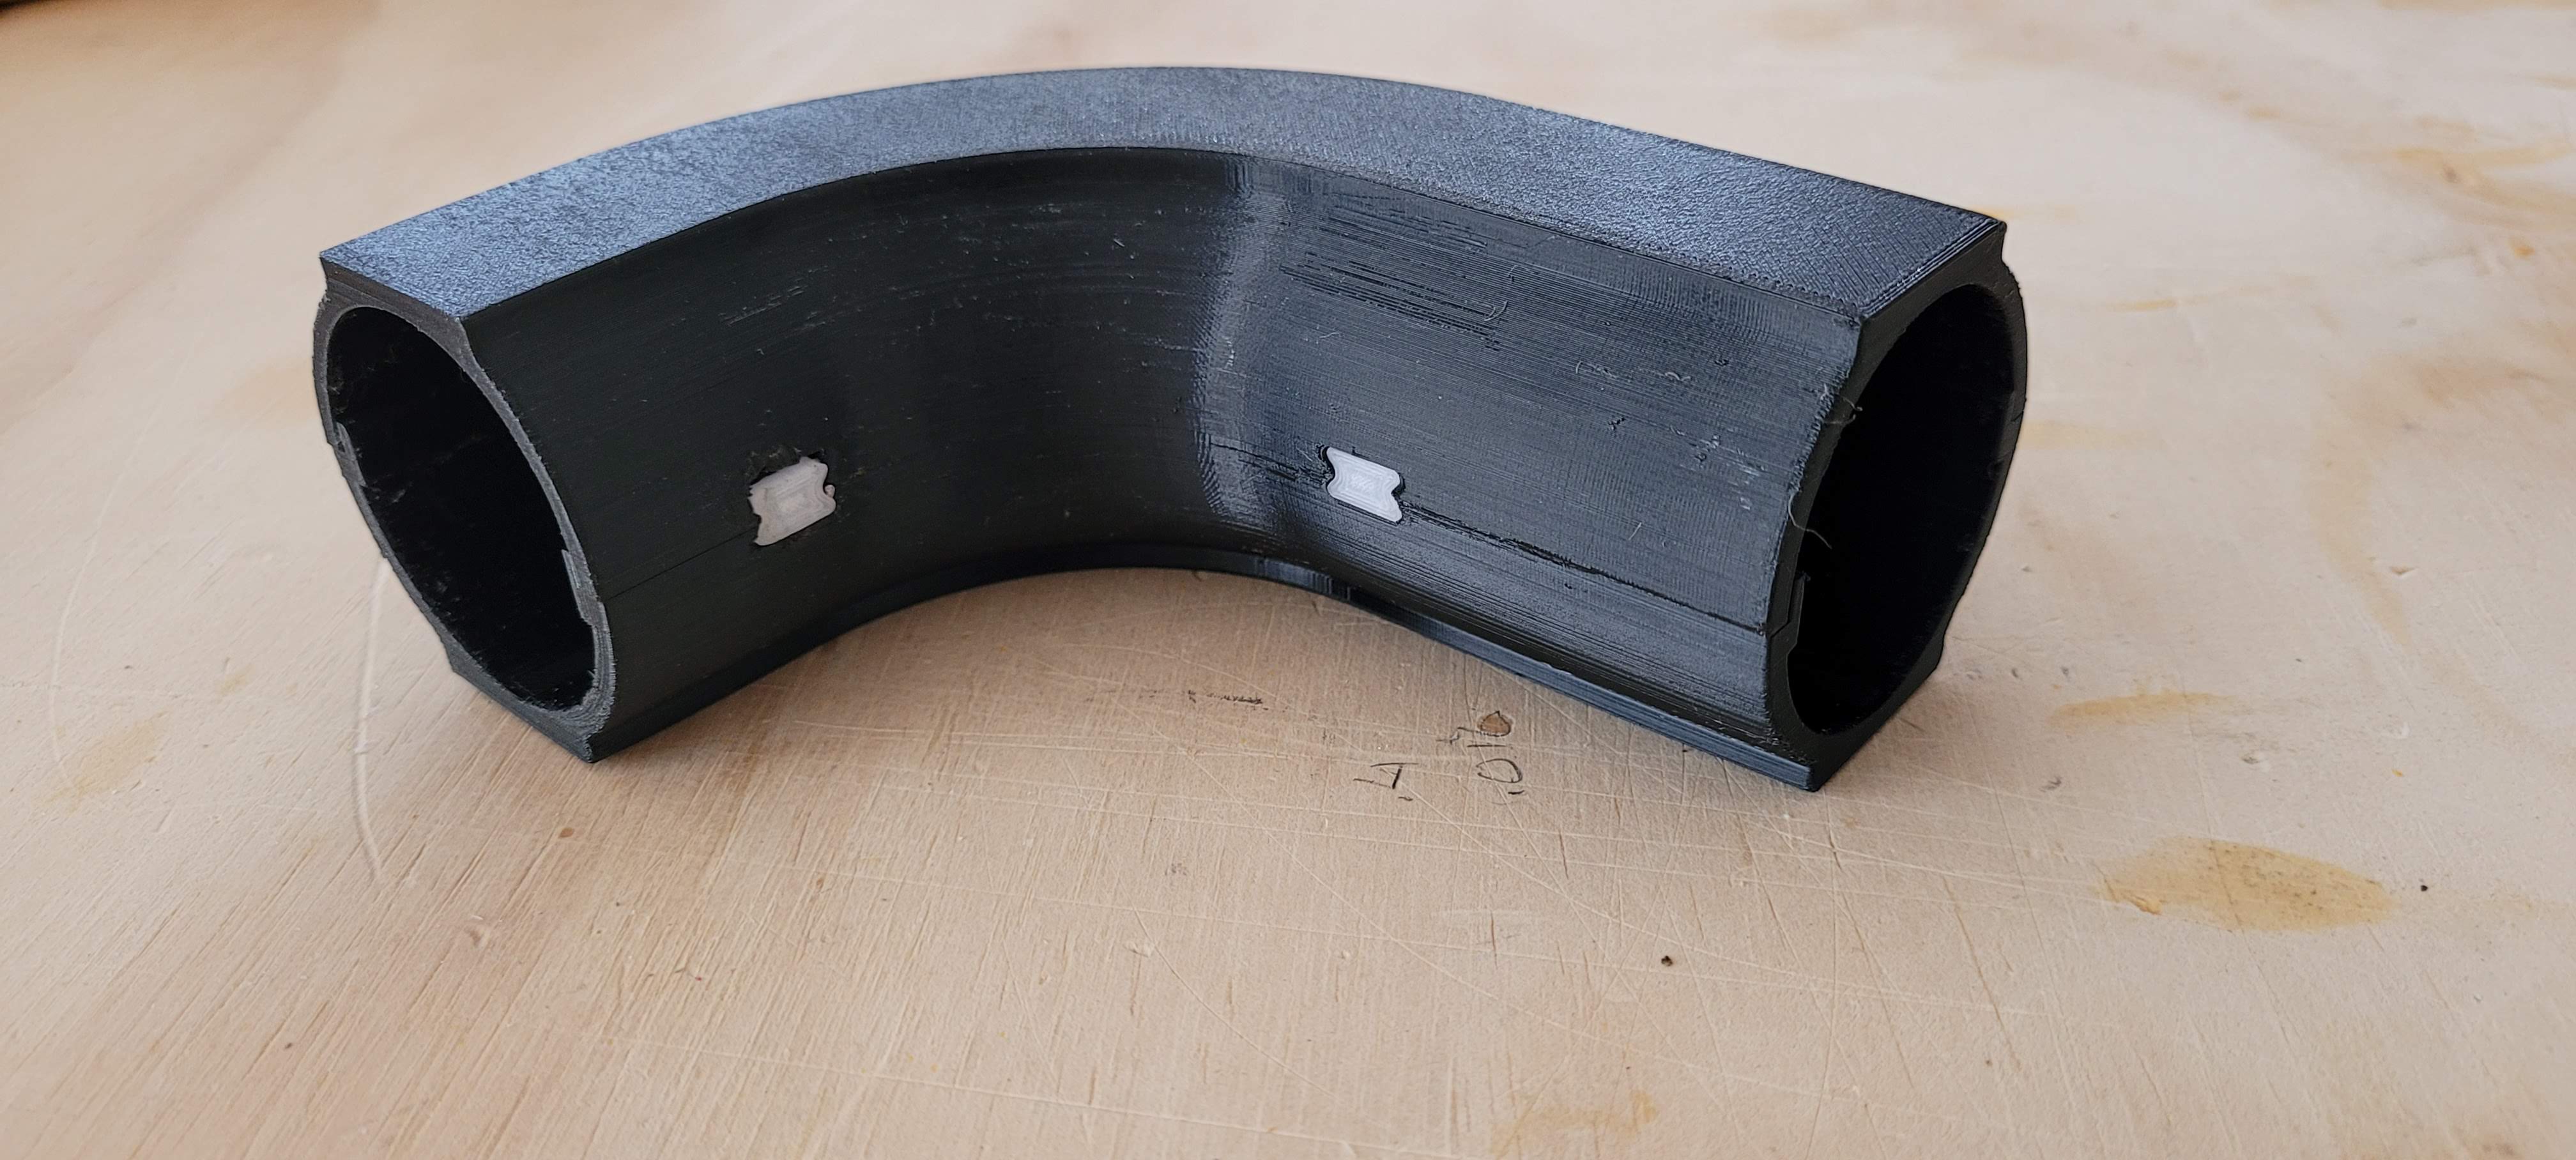
Yup, here is the stl for the hose clamp. You will need longer m5 screws, but otherwise this holds extremely well… https://www.thingiverse.com/thing:3902618
3 Likes
Excellent! The clear face on the front really sold me on your design. I look forward to seeing when you bring it back.
Thanks! I appreciate that and will get it printed!
I have ordered the hardware kit and will print the pwncnc v2 boot, it looks to be an awesome design
3 Likes
Here’s my design! This one happened out of stupidity, after rebuilding my enclosure I didn’t account for the current Kent dust shoe I have been using and in the forward cutting position it would push open the door. So instead of rebuilding the enclosure I came up with this!
The 3D printed Duct work was courtesy of a neighbor who has Fusion 360 and a few 3D printers!. He was gracious enough to spend quite a bit of time on this for me. He has changed up the design a little for a cleaner print out shown in the last photo. I will say that the design works very well. If anyone is interested please feel free to contact me.
10 Likes
Allright, you win! (category: most massive dust shoe/dust extraction, a pretty cool one at that )
(don’t you mind the X travel limitation though?)
2 Likes
Whoa! I’ve seen it all now. 
There are no X travel limits. As to the size of the collection system it has no bearing on the performance of the machine. I do however like how well it works and that’s the most important part!.
The most important part of dust collection is the ability to collect dust. Some of the shoes I have seen with the size hose being use are barely up to the task.
With the size hose I’m using, 2 1/2" I can move a maximum of 140 CFM @ 4000 fpm. In order to keep that figure as close as possible given the space requirements I had to work within I had to split the duct work. After doing the math this reduces my possible CFM further to 115.
If we look at the recommended CFM requirements for a table router of 195 CFM even the design I cam up with falls short of the recommended. The space I have to work within is my limiting factor.
If we look at the CFM possibilities of an 1 1/2" dust hose it’s almost half at 65 CFM.
4 Likes