Has anyone done wire inlay?

I’m curious how you will handle height variations? A wood inlay can be sanded level at the end, but how will your wire handle that?

1 Like

The wire can sand (and polish) as well. High grit papers. I’m learning about it, so I’ll be doing a lot of experimentation before jumping in on the project. I was hoping some folks here had already done some of the leg work…but if not, I’ll share mine!

1 Like

You are def on the right path. If you are going shallow, I would not skip out on the epoxy just in case the wood decides to move. If I could remember anything about this one I could actually help more:


This one was done on the shapeoko, but it was a big piece of copper bar stock. Only thing I can share on this, if the metal inlay is going into a veneered surface it helps to get the depth spot on. Sanding down metal while trying not to go through veneer is not something I would call fun…

I will say with your woodworking skills it won’t take you but maybe one or two practice runs to feel completely comfortable with the process.

2 Likes

Thank you! @Microwave_Monkey Scott!

I work mainly in solid woods - I hate veneers precisely for that reason…Since my work is all custom designed and one-time created - and I have local access to wonderful lumber - I can get away with that.

I’ll be experimenting with the width of the pocket…My gut tells me that ever so slightly narrower than the wire is going to be best, but maybe spot-on is better. As for depth, since I have complete control with the CNC, I see no reason to be as close to exact as possible.

Thanks!

  • Gary
1 Like

The experience I had with inlaying a hard wood into a soft wood was that the soft wood went away and left the hard wood standing. I ended up having to use a block plane to lower the hard wood. I would think there is a similar effect with the wire. I suppose it depends on the project, though.

2 Likes

I’ve watched people use files to lower wire/metal inlay down to the wood surface. Just remove the handle from the file and it can be run over the whole surface.

Card scrapers can also bring softer metals down and with a bit of practice they work great. I’ve use them in place of lower grit sand paper as much as possible. Sanding is for suckers. Also, they won’t push the dust from say the inlay wood into the surrounding wood. This can be an issue with sanding.

2 Likes

I’m debating whether to put that on my workshop wall… But I DO sand…

3 Likes

My wife sent me to Michaels to get some baking stuff. I am not a fan of the place…I think it’s the mini shipping carts. Anyway, while wandering, I stumbled on some 12ga aluminum wire and immediately thought of this thread and had to try it.
Here’s the first go.
The amateurish and impatient wire shoving gives it a pretty nice sparkle effect that doesn’t quite come through in the pictures. I think it’ll look pretty nice when I put a finish on the walnut. I might add some text. I may try surfacing it all flush… Not sure. Any ideas?
Design was in Inkscape. Set the width to 2.05mm (about the diameter of 12ga wire)
CAM done in Fusion.
Endmill - cheap 1/16", 2 flute
Took a few minutes to carve and about 10 to shove the wire in.

Was thinking of doing something similar with EL wire.


7 Likes

Next time, slow down and use a hardwood block to hammer that wire into the groove. Perhaps make the groove deeper.

Then skim the top off to make it flat. That will require that you add glue to the groove to hold the wire in place.

3 Likes

I like your prototype. Sigh, so many things to try, so little time.

inlays AND shiny lights ? very interesting idea…

3 Likes

I’m glad you gave it a go! I can see where it’s going and it looks good! Thanks for this feedback.

I’ve completed the design for my project and have modeled it. I’ve sent the renderings to the client, so if I get the job, I’ll share the process. Things look promising, but until you have the deposit in hand, you never know!

I plan to use a metal called “Argentium” - which is fundamentally like sterling silver without the tarnishing. Jewelry sites sell the stuff and it’s not too expensive. They sell it in square wire, which will be perfect for my design as I don’t have any curves to navigate…I’ll be clipping wire to length and mitering corners. I plan to use 1/8" bits and 11 gauge jewelry wire (which is an exact match in dimensions - .125") and setting the wire to the full 1/8" depth. I’ll be tacking the ends of each piece with glue and leaving the balance to friction.

My business is all custom pieces, designed to fit very specific situations - and as such, I’m often challenged with new techniques and materials. That makes it exciting and new each time…but it also raises the stress level! It’s great to have a community to bounce ideas off of and who get obsessed with the techniques as much as I do! So, thanks for trying this out @neilferreri!

3 Likes

@neilferreri - would you mind trying that with a groove set to 2.778mm? According to Google, that should be the exact dimension of 12GA wire. I’d love to see what happens if you set the wire in a groove that’s 2.778 wide by 1.389mm deep (1/2 height)…since your wire is round, it “should” fit perfectly and dome-up from the board.

1 Like

That was the original plan, but it made too much noise. The kids were sleeping. I was impatient. The wavy pattern really does capture the light, but I’m not sure how I’d do it consistently. Maybe a wavy bottomed slot.

I like the domed idea, my original thought was to create a true inlay. I have more wire to test.

Hmmm…my Google searches came up with just over 2.05mm. I should just measure, but it seemed to be pretty close.

Believe me, I’d rather be doing epoxy pours and wavy trivets, but wire inlay sounded doable in a few minutes.

It’s a rounding issue in calculating the nearest empirical fraction. 12 Gauge is 7/16" which is 2.778mm…but 12 Gauge to mm is 2.058mm … so I’m guessing your estimate is more accurate.

1 Like

Update: Hammered the wire “flush” then faced with a 1/4" endmill, 0.2mm doc, 4444mm/min.


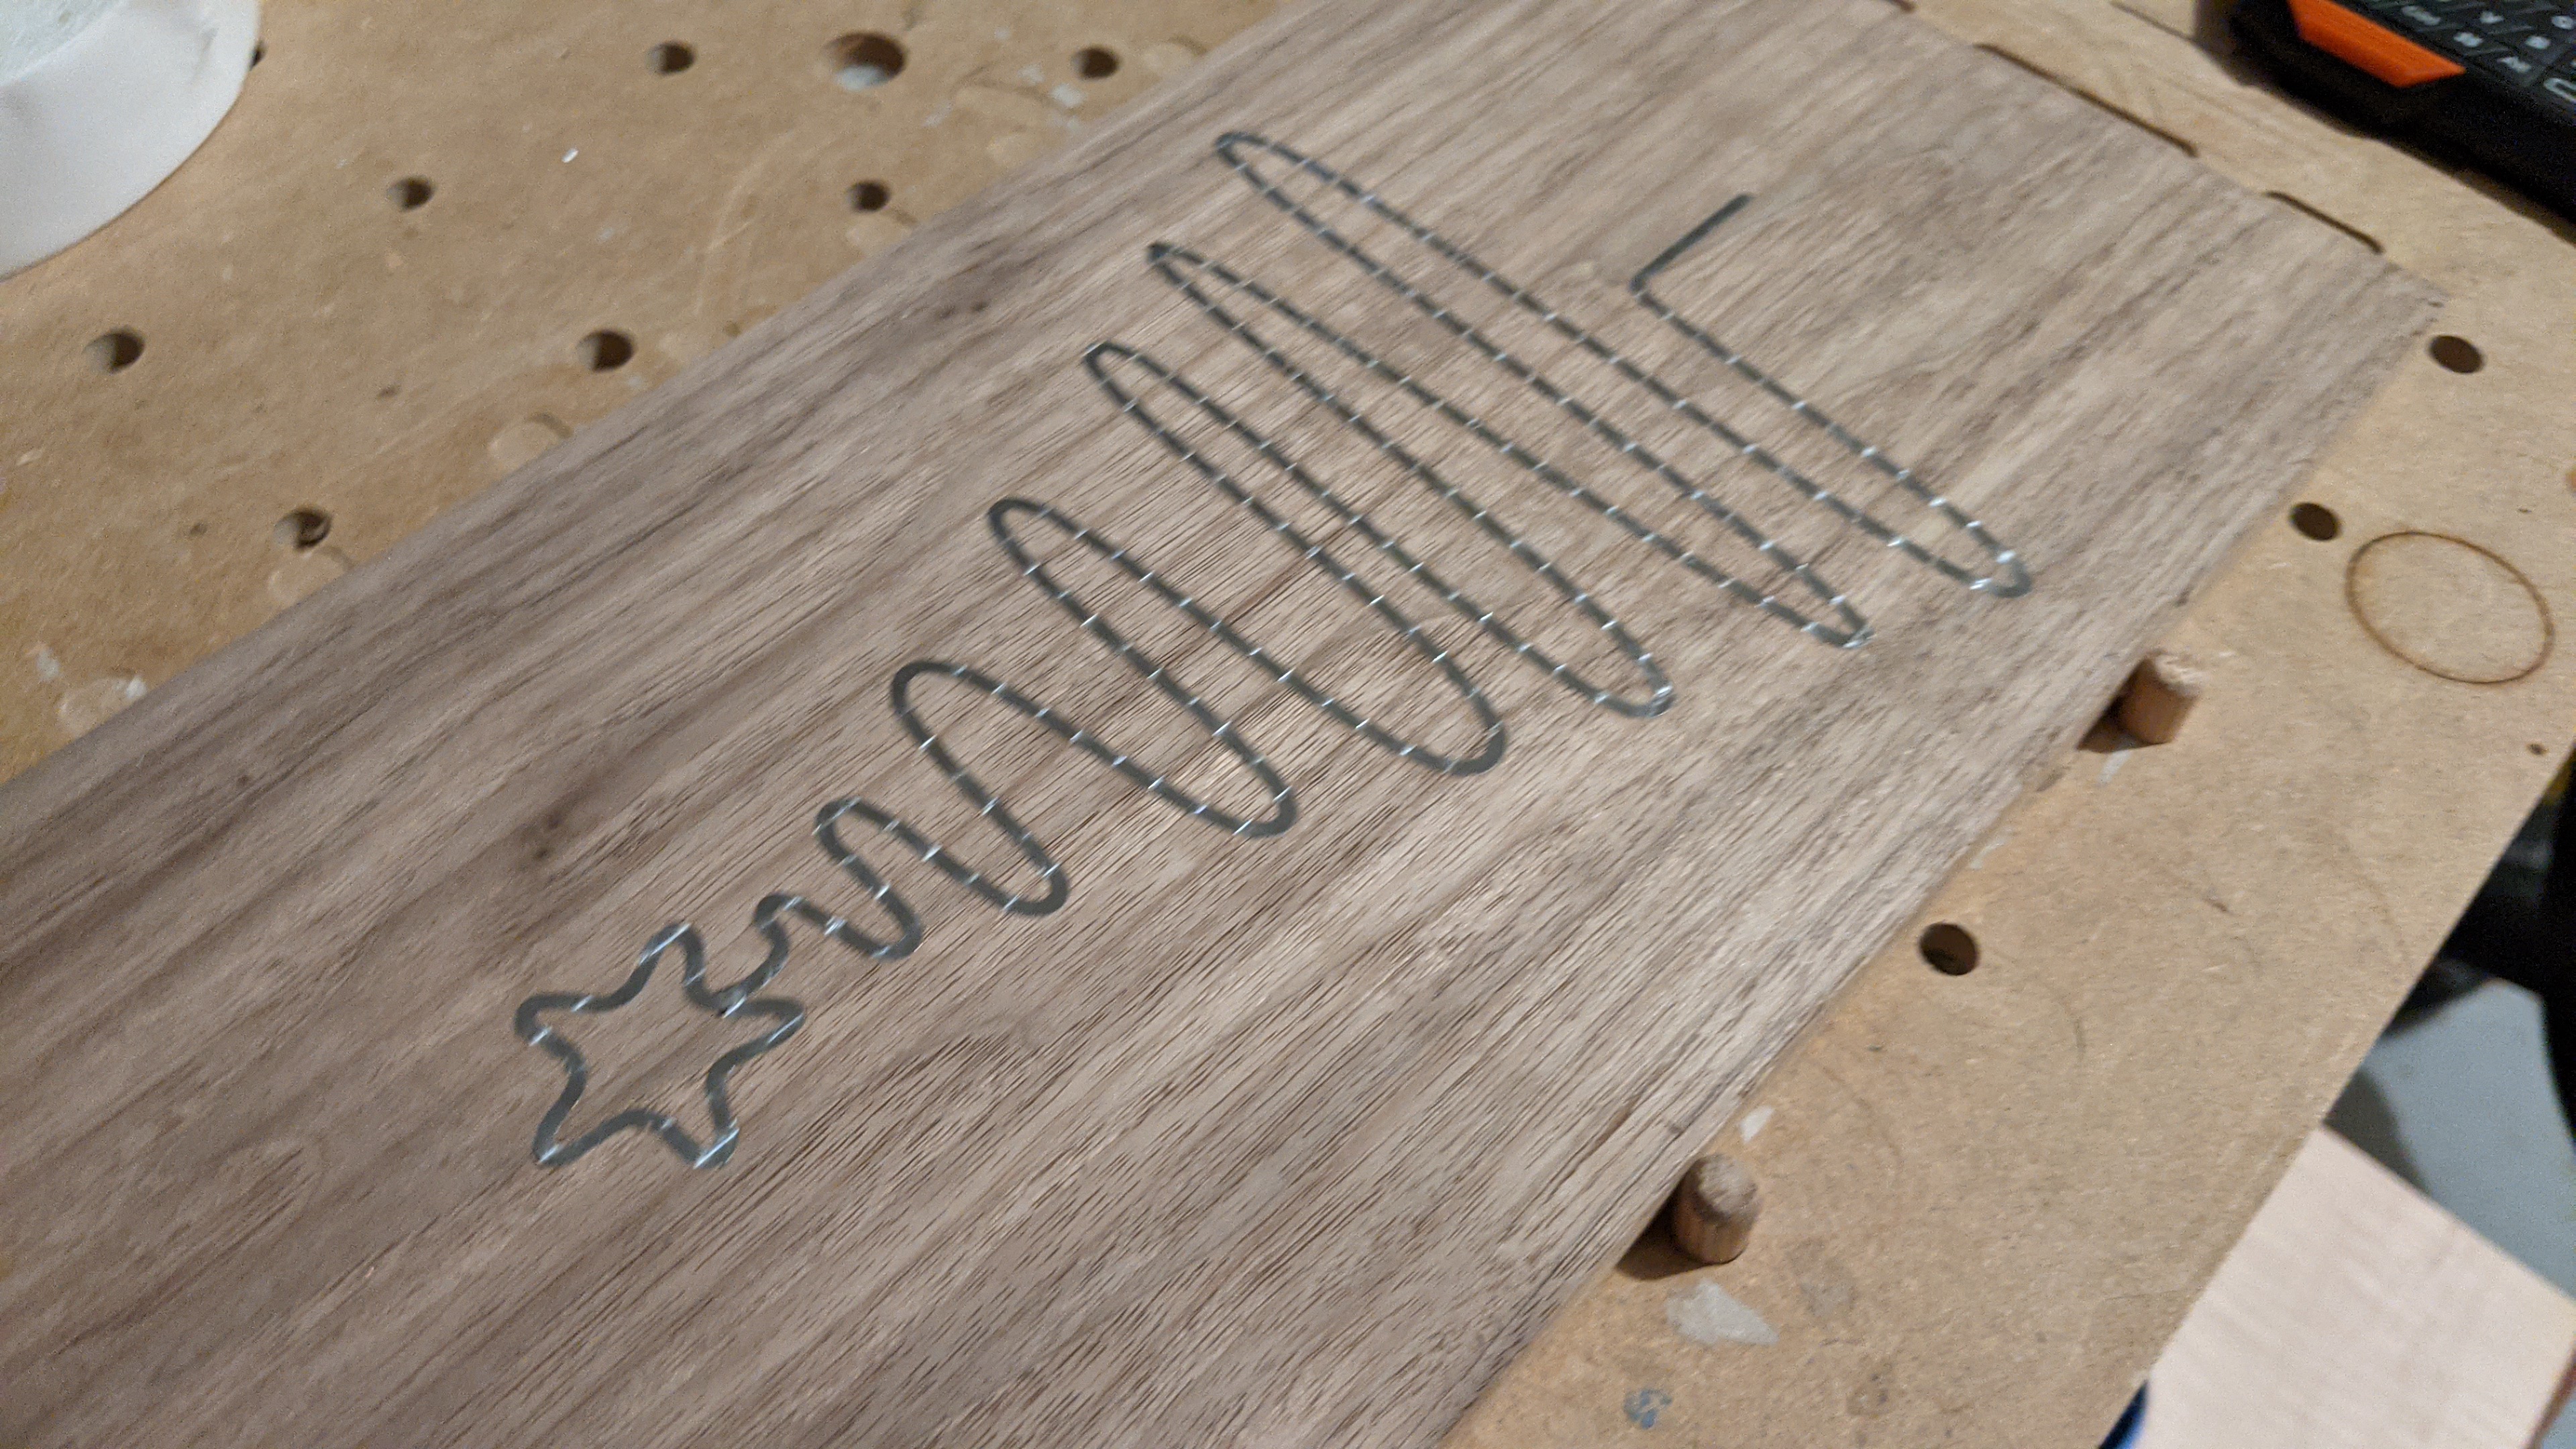
Everything is flush, smooth and shimmery. No gaps other than one mistake I made when I used too much force while initially smashing the wire in.
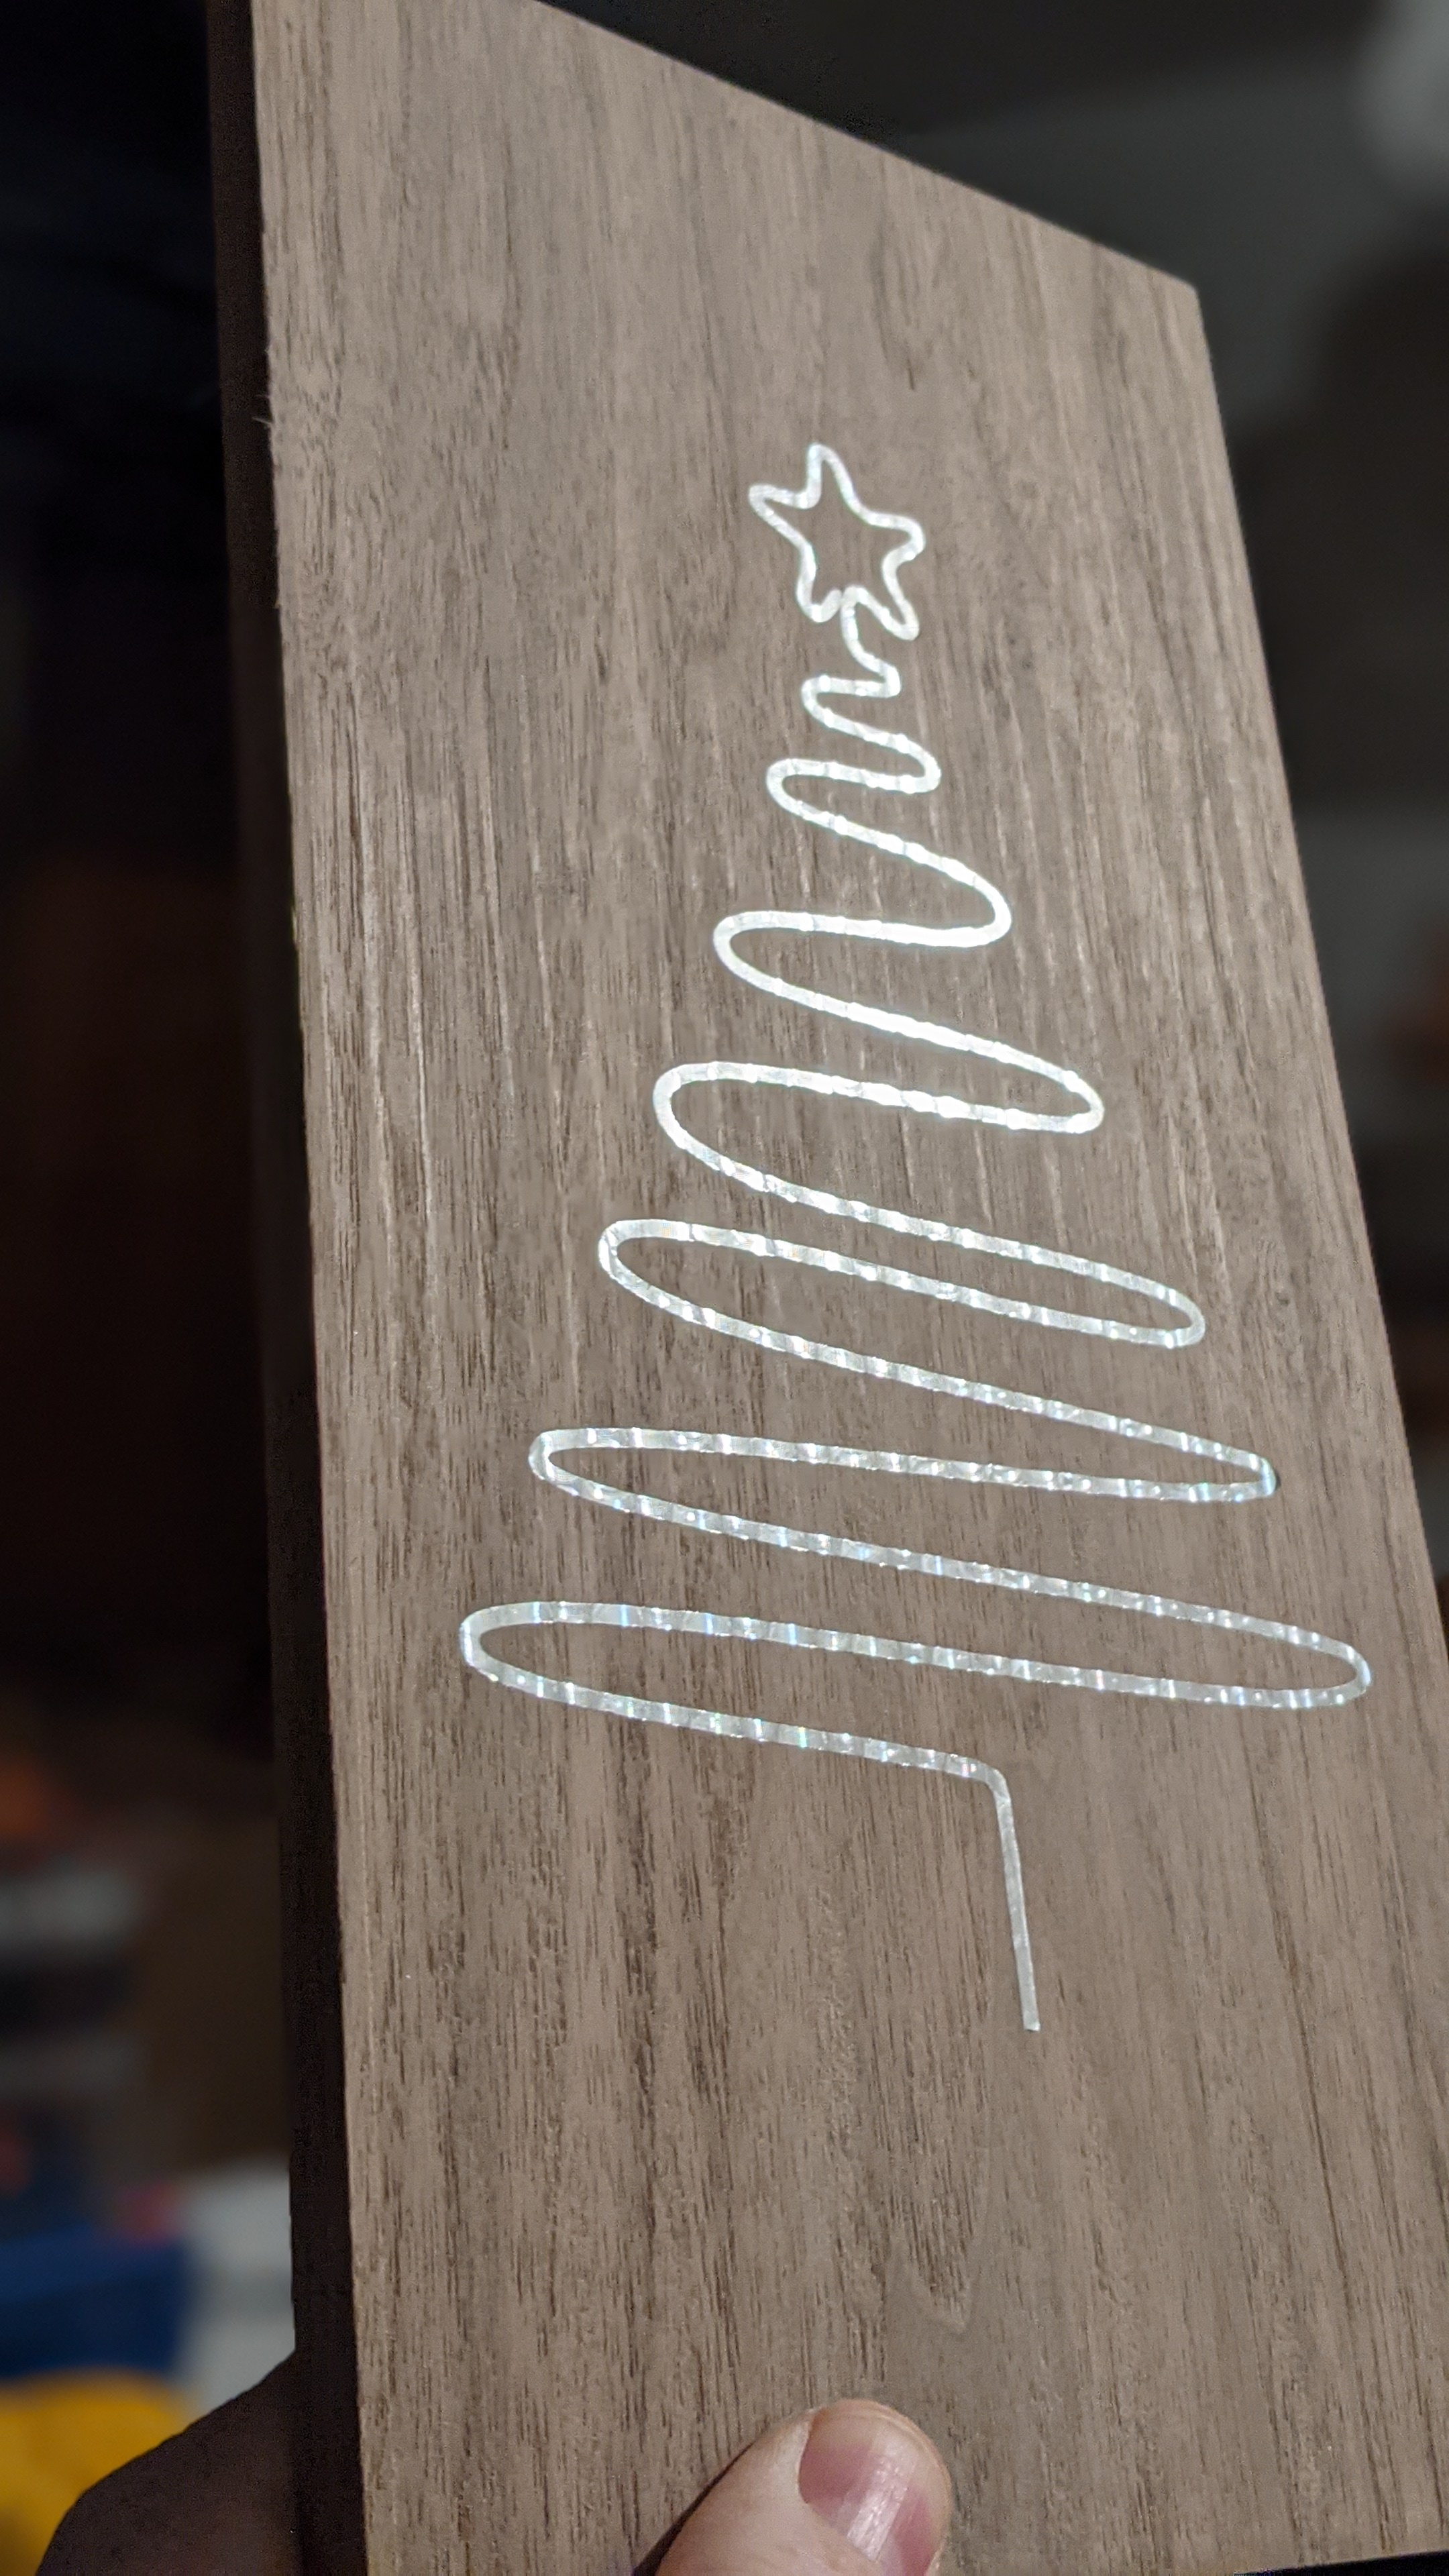
11 Likes

Looks a lot like success!

2 Likes

I may have ordered a length of El wire to test something similar, what kind of hammer and facing endmill would you recommend for that ? :crazy_face:

2 Likes

Just keep in mind that, if you use continuous wire, you’ll need to keep all of your radiuses within the bending tolerances of that wire. I guess that’s obvious…but many of the designs (including mine) require square corners…and you cut the wire on an angle so that they miter in the corners. You’re inserting a bunch of smaller snippets of wire, rather than one continuous run.

3 Likes

My plan with the EL wire was to make through holes where I wanted to “hide” it and bring it back. Though it can be done, it’s not fun to reconnect broken or cut wire.
For the design, it worked really well in Inkscape. I made a single, open path of the design, making sure that there were ends. I then adjusted the stroke width to be the same as my desired pocket width, and converted the stroke to a path. Imported that into Fusion for toolpaths.
Oh, you can also measure the length of a path in Inkscape (Extensions - Visualize Path - Measure Path)

3 Likes

This topic was automatically closed after 30 days. New replies are no longer allowed.