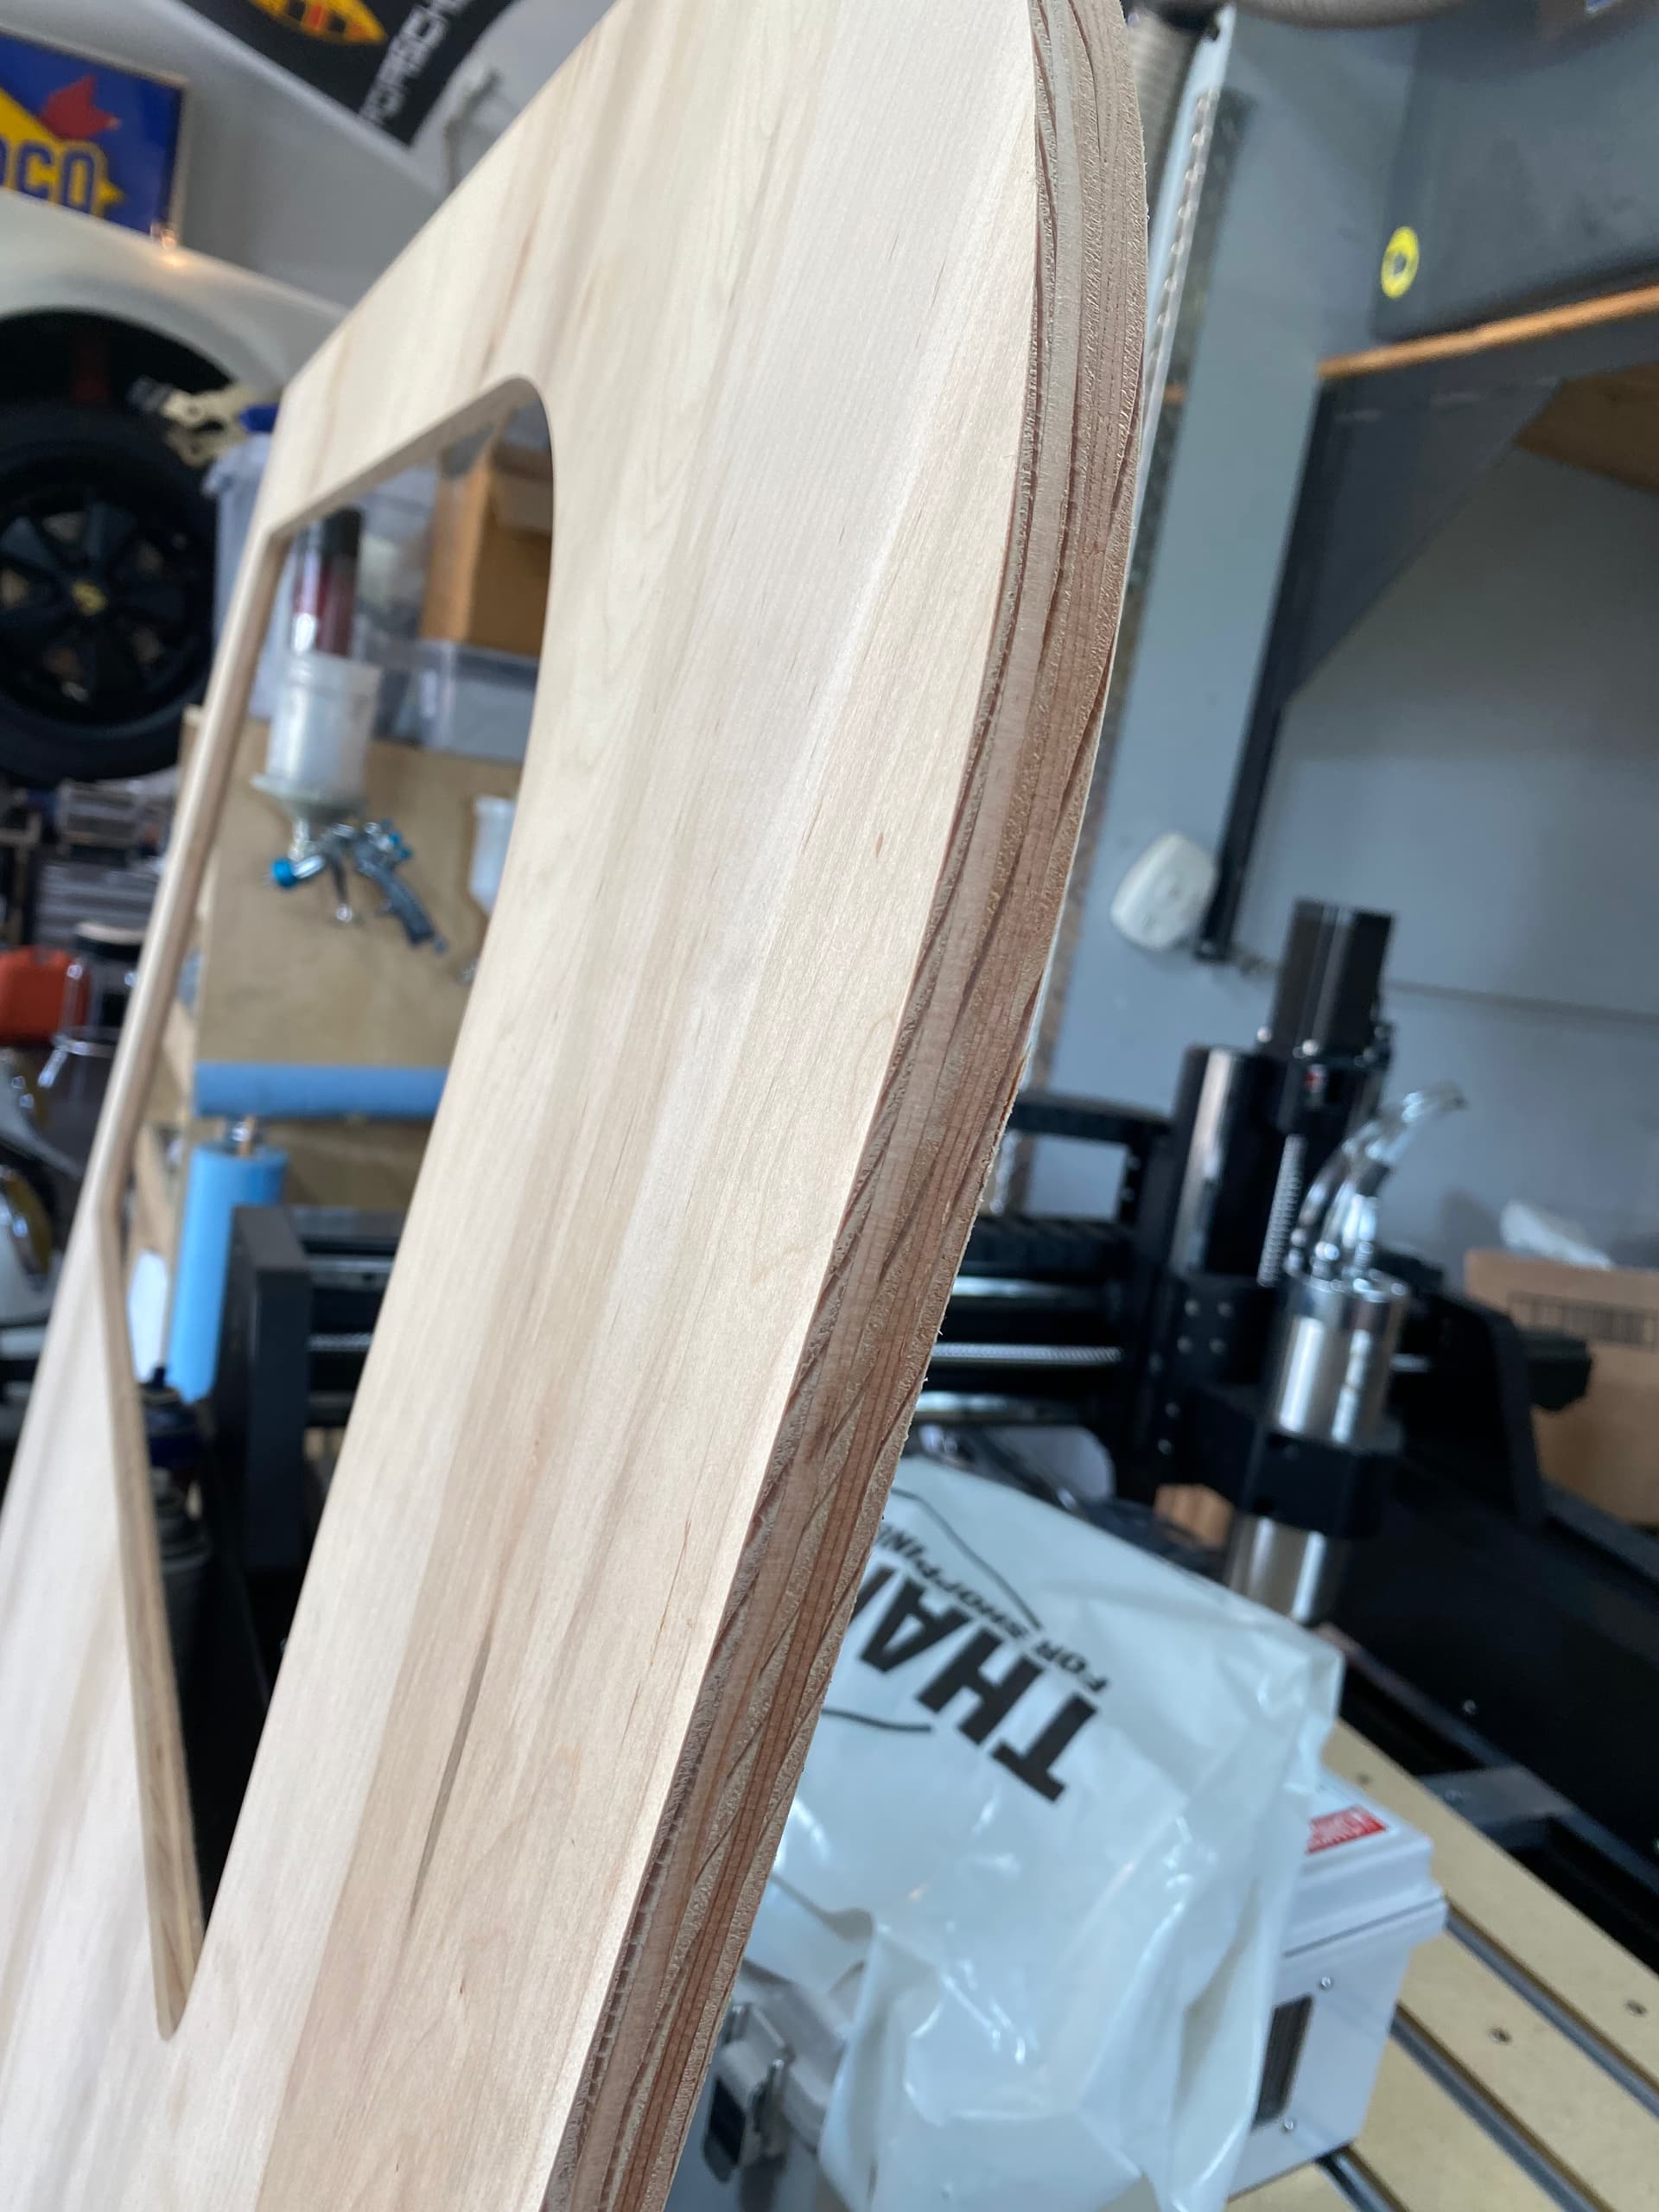
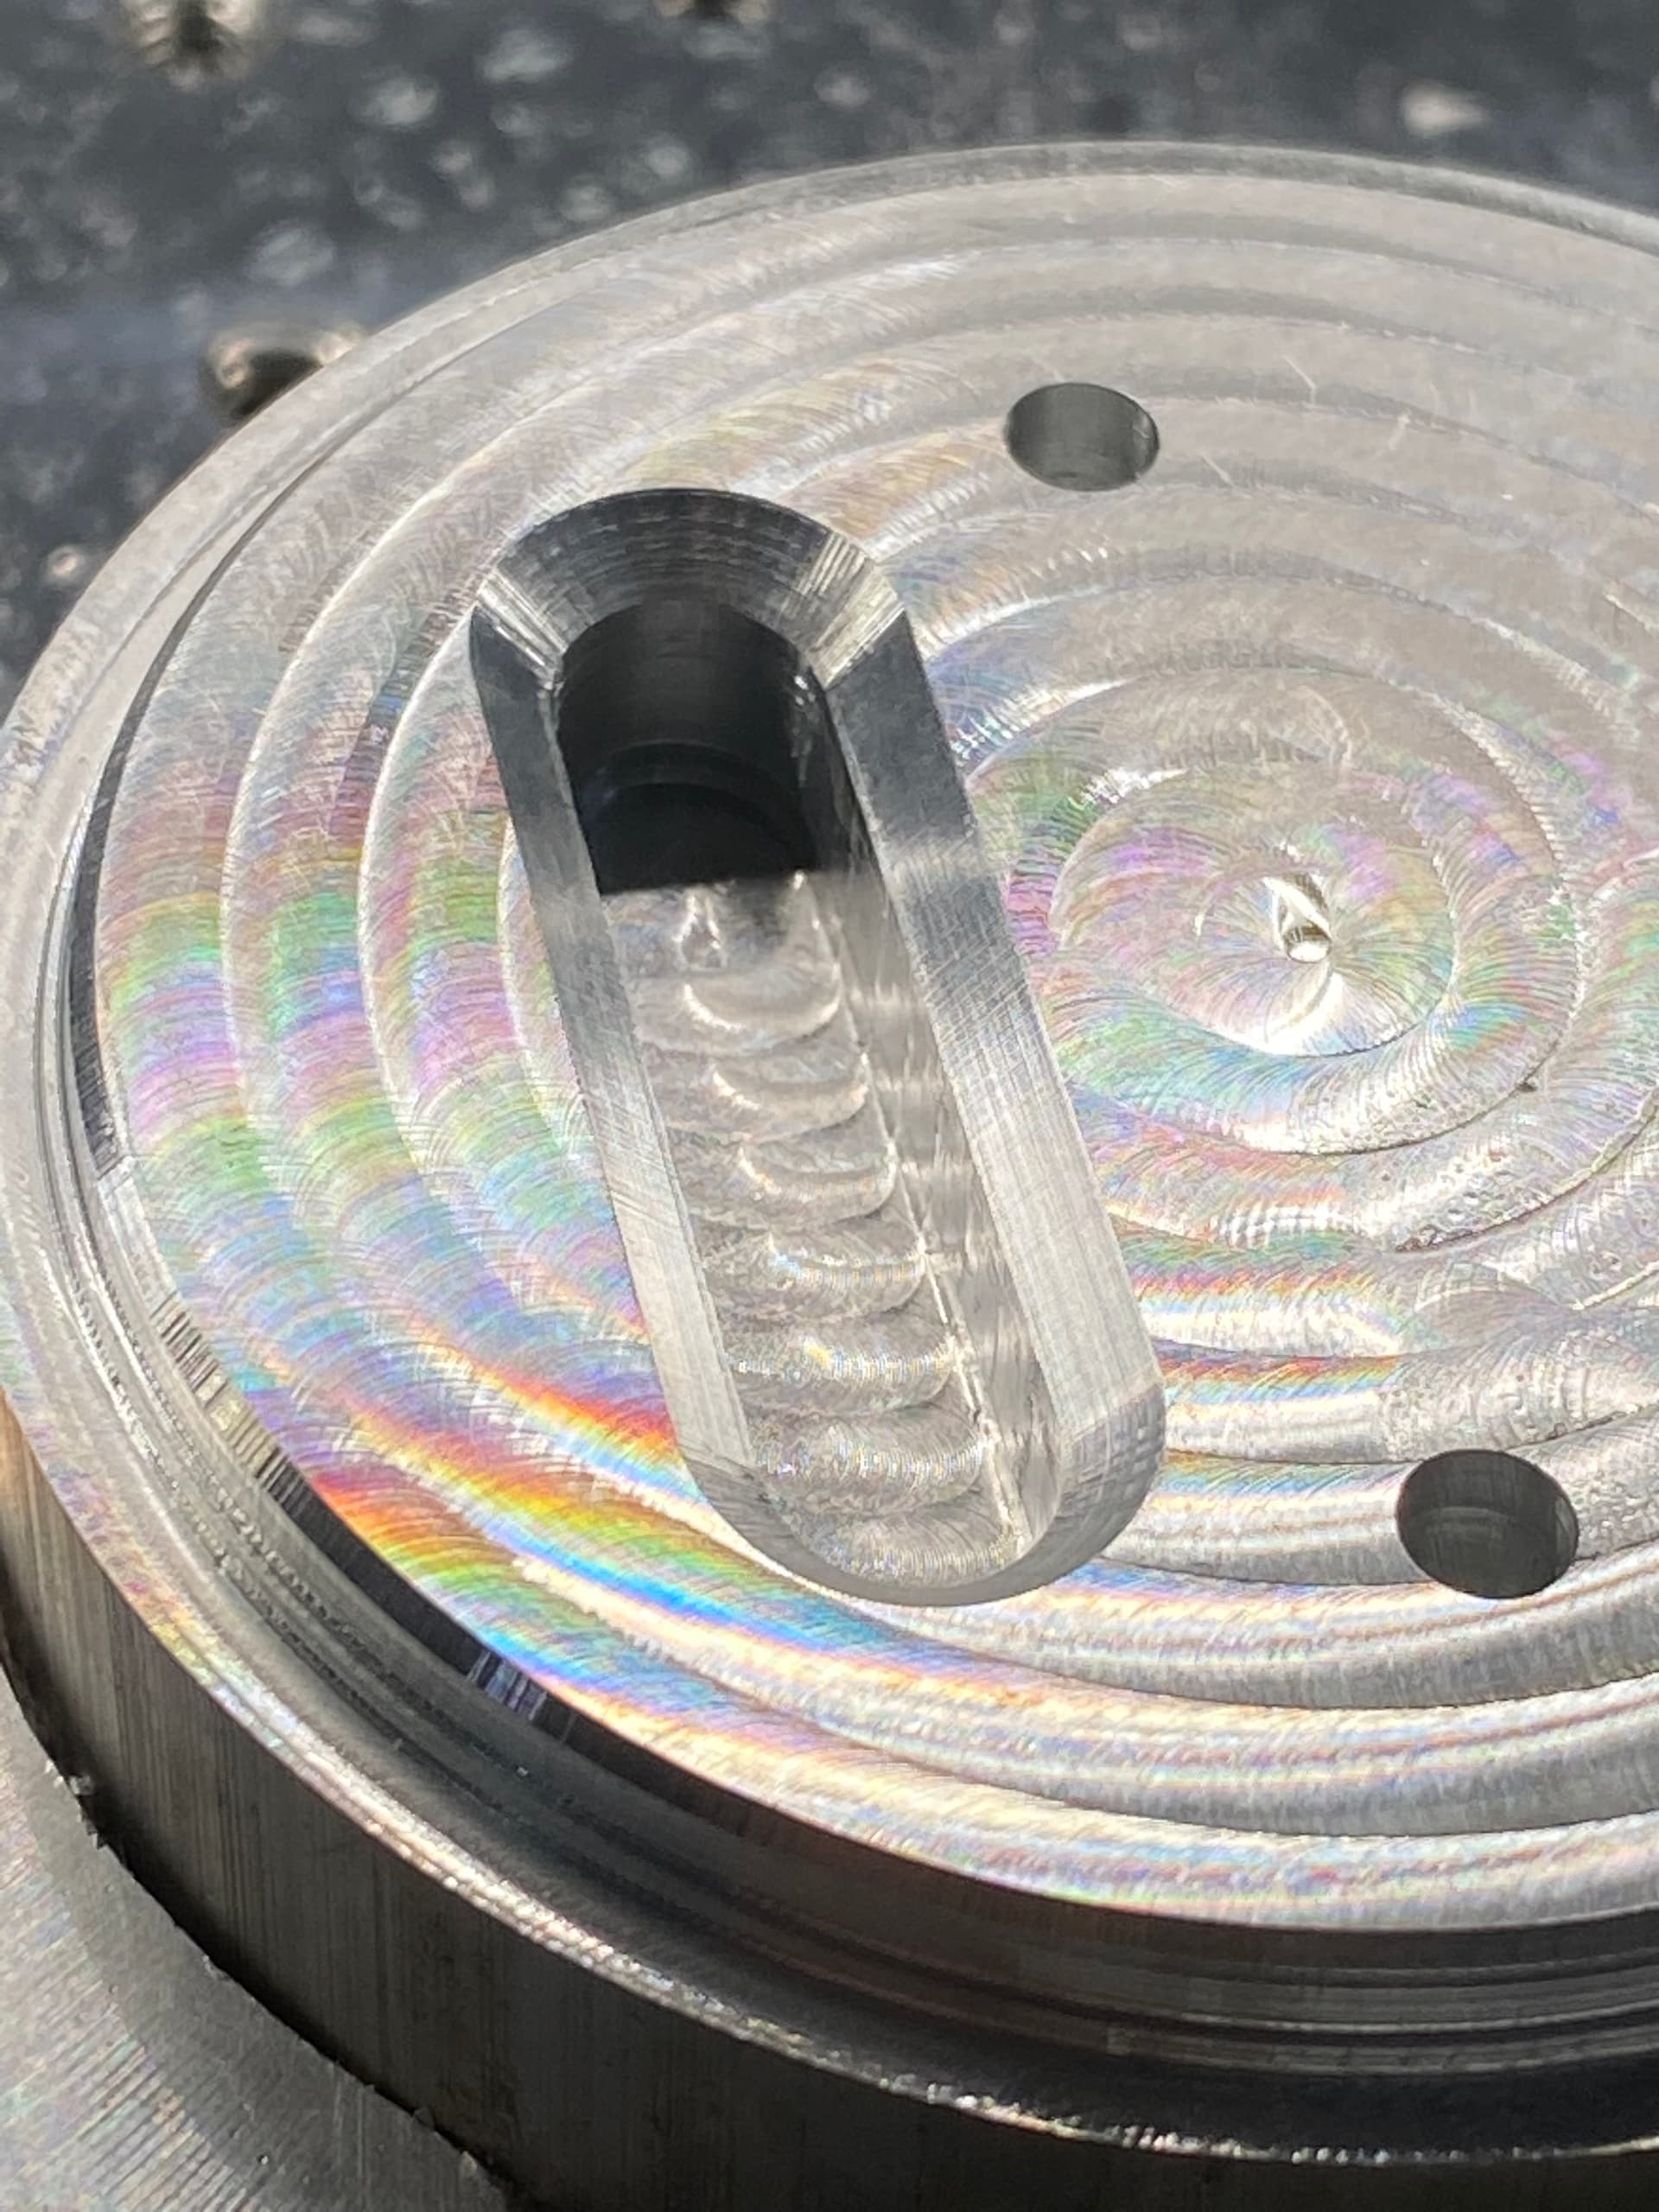
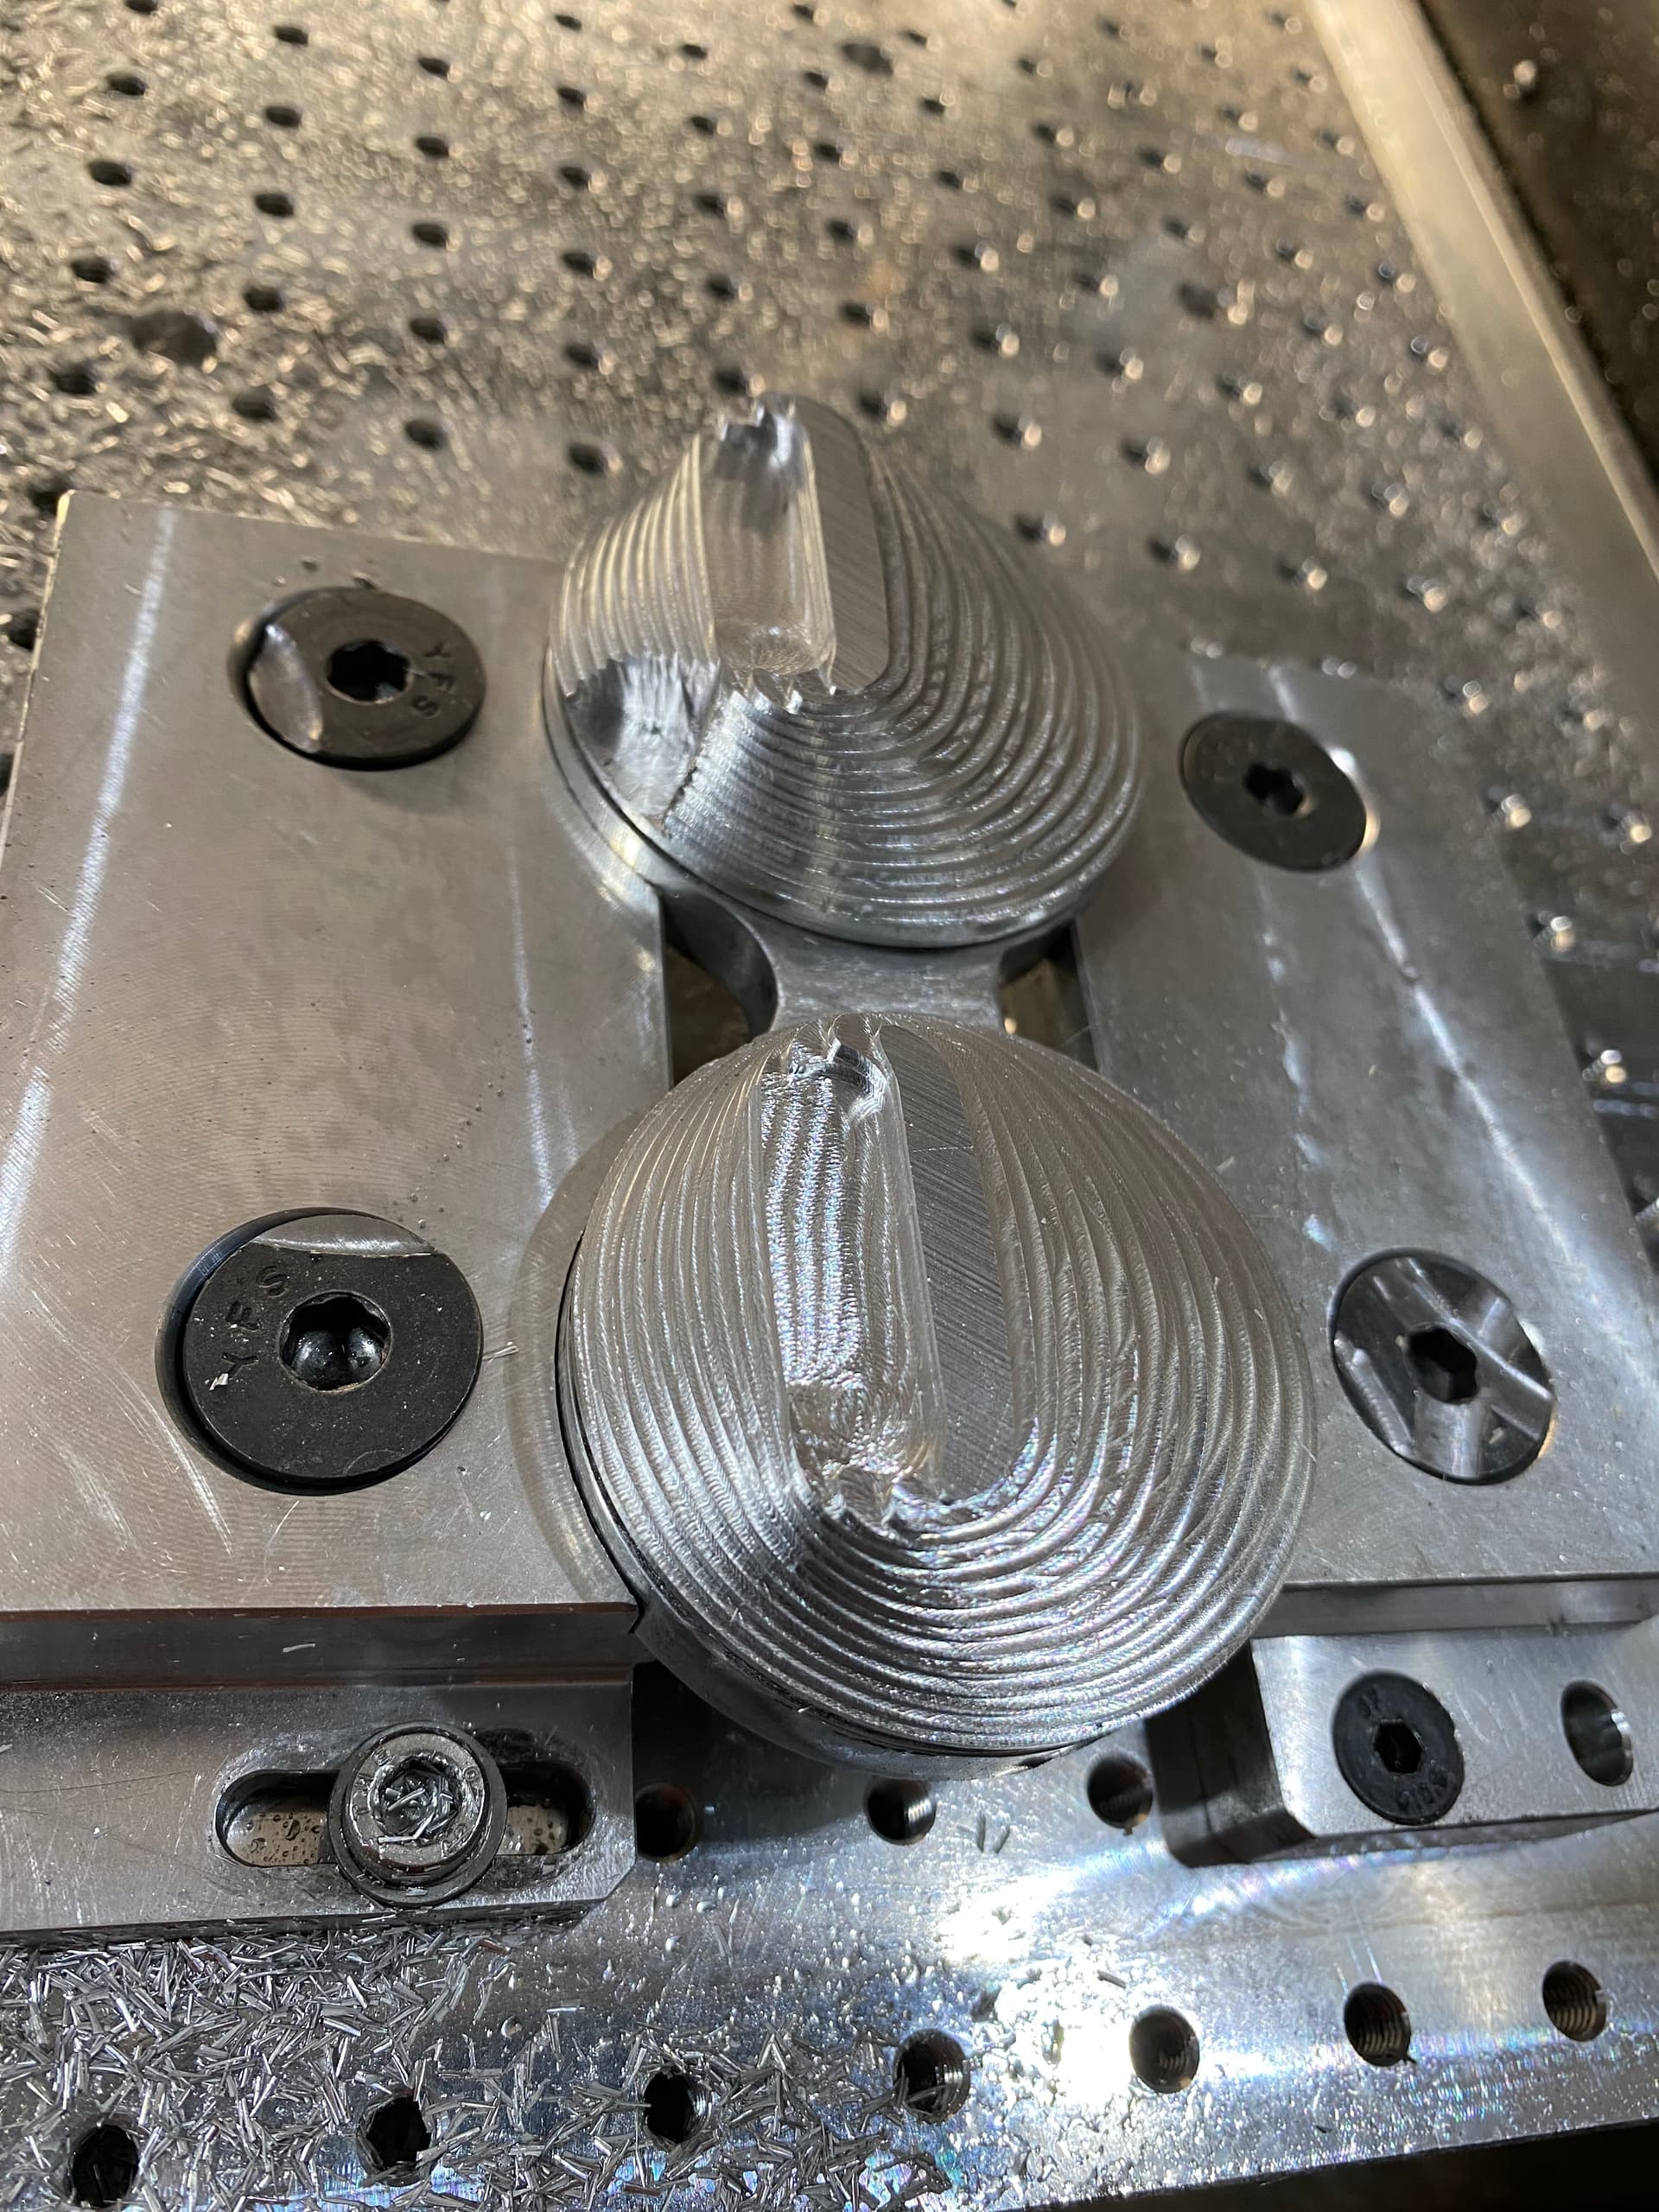
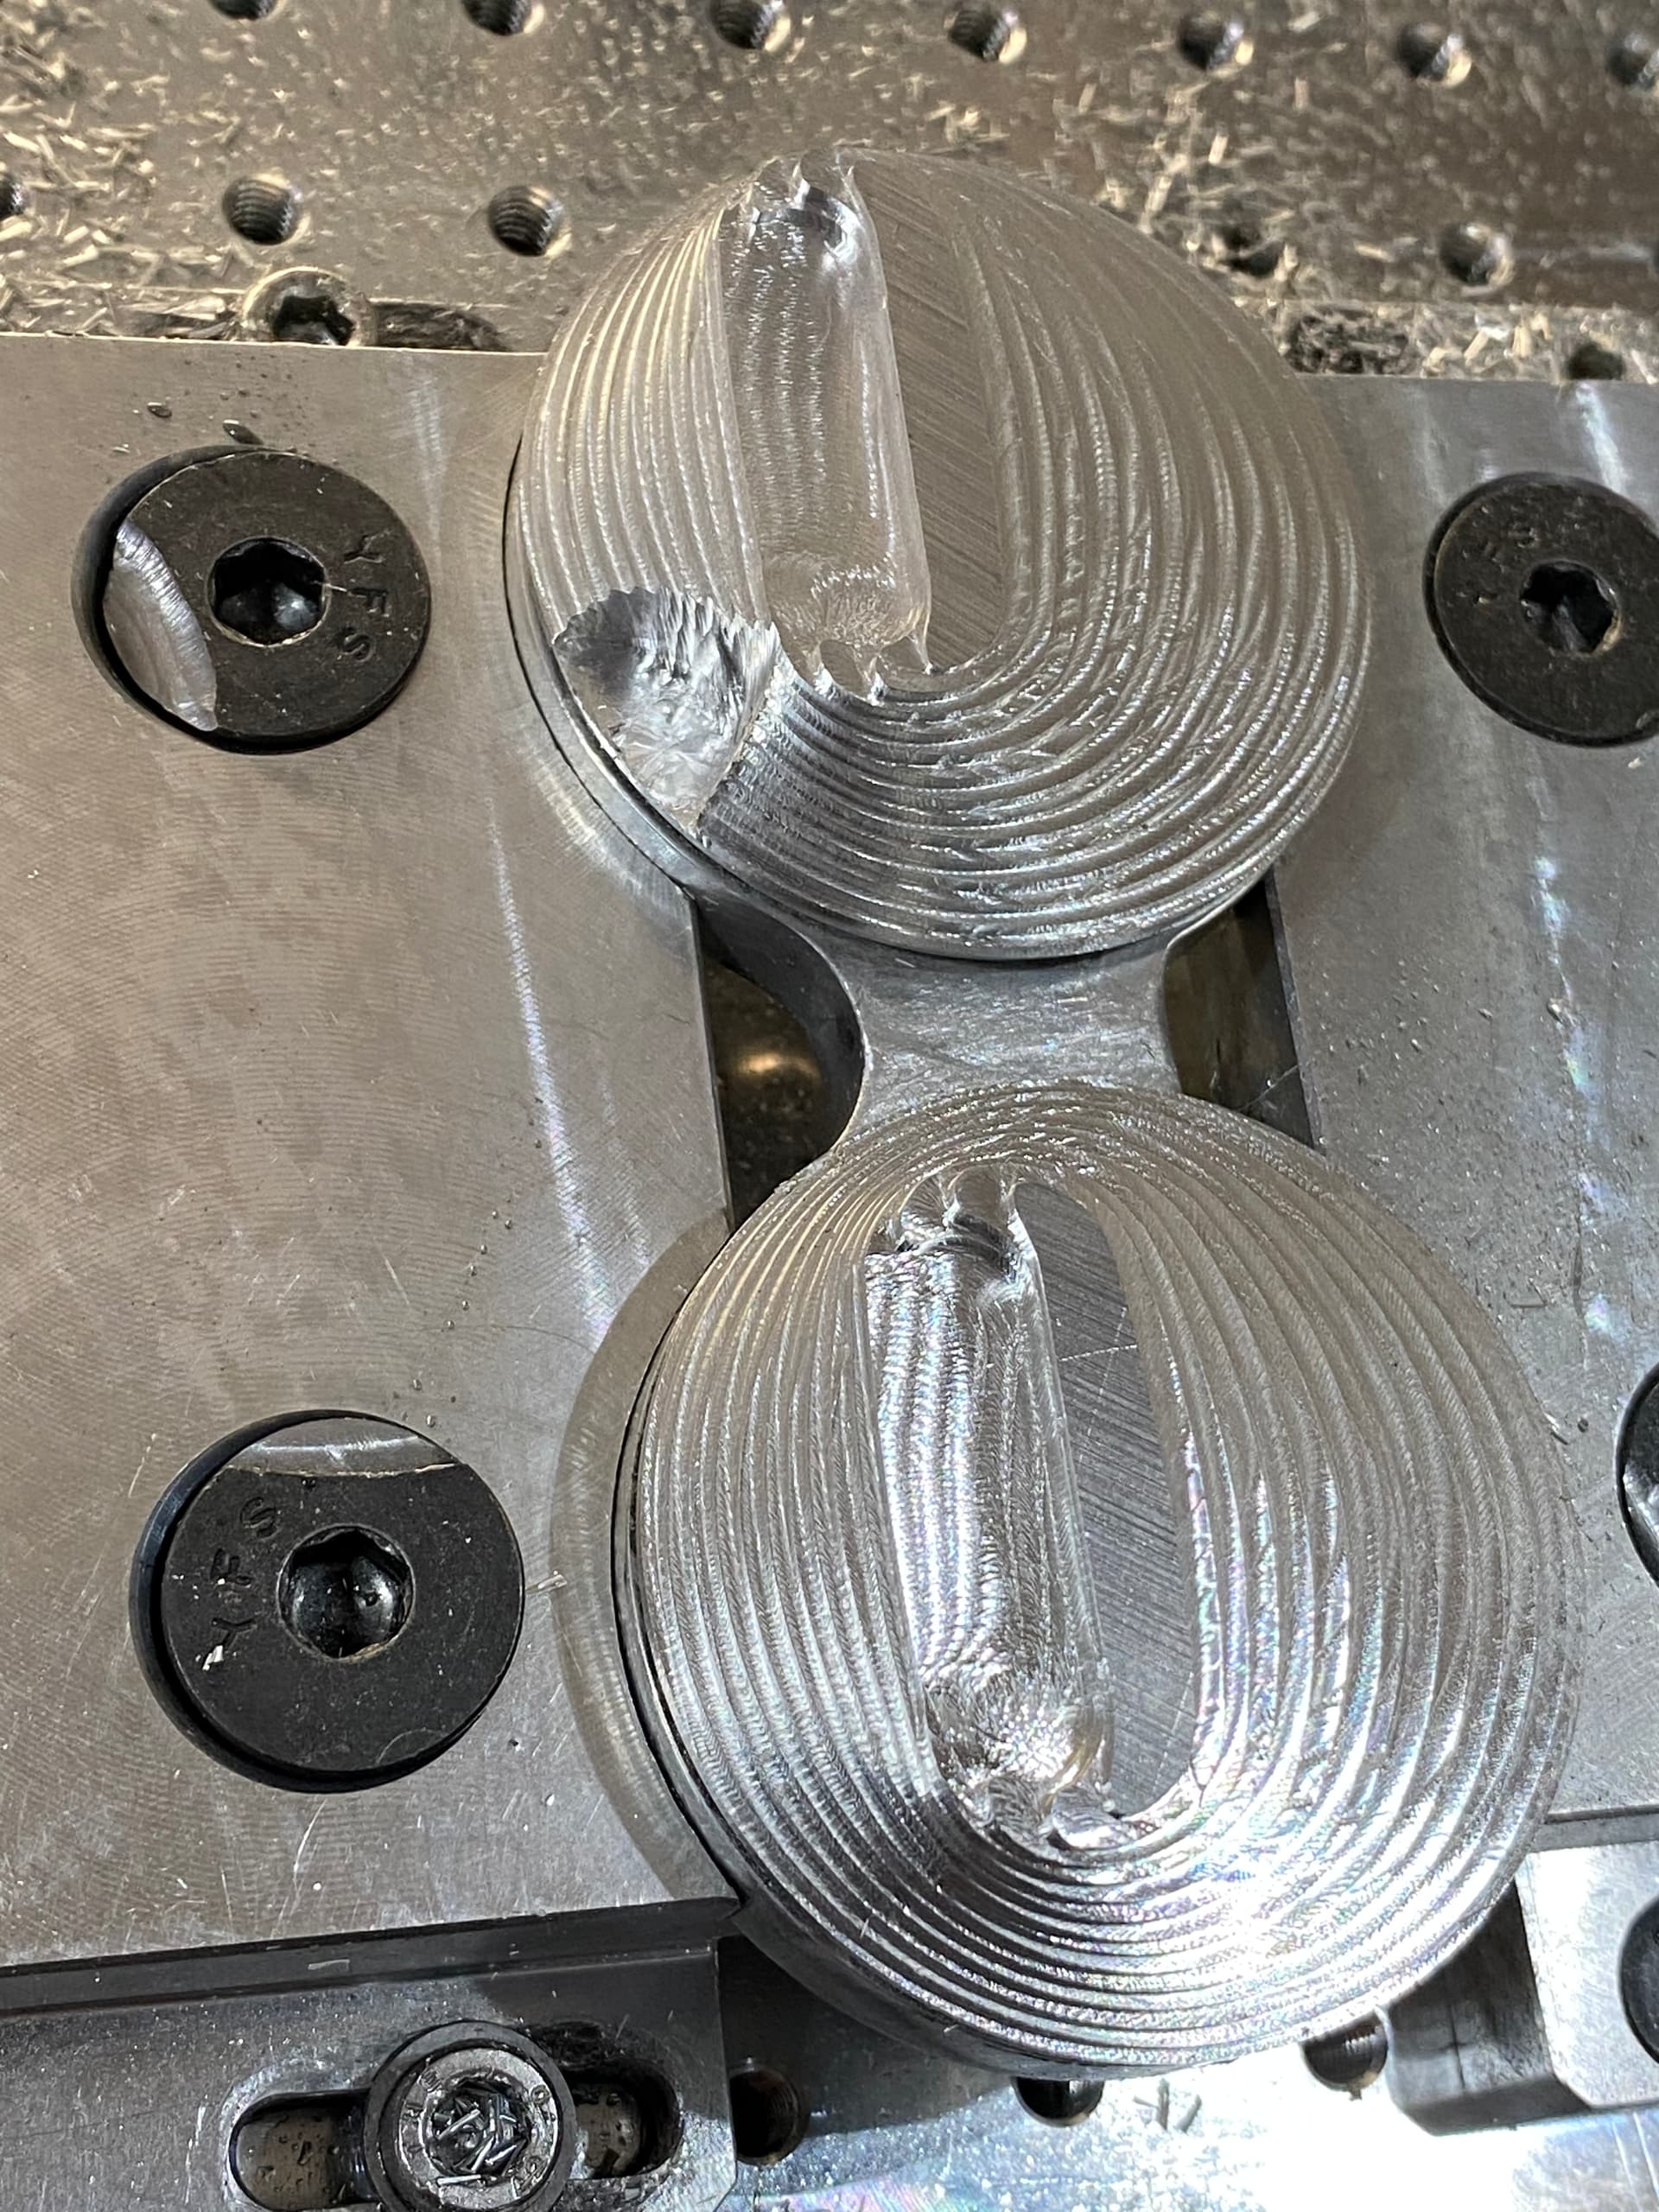
The hole/slot is straight thru, I put a large 2mm Chamfer on the backside so the pull strap doesn’t bind. The operations are pretty simple.
SoftJaw in a SMW vise to hold the 2" stock and a flip plate that is flush with the top of the softjaw
Zero is set at a center point in the second side plate, I machine M5 threaded holes in the first opp to then hold for the flip (and are used as a part install)
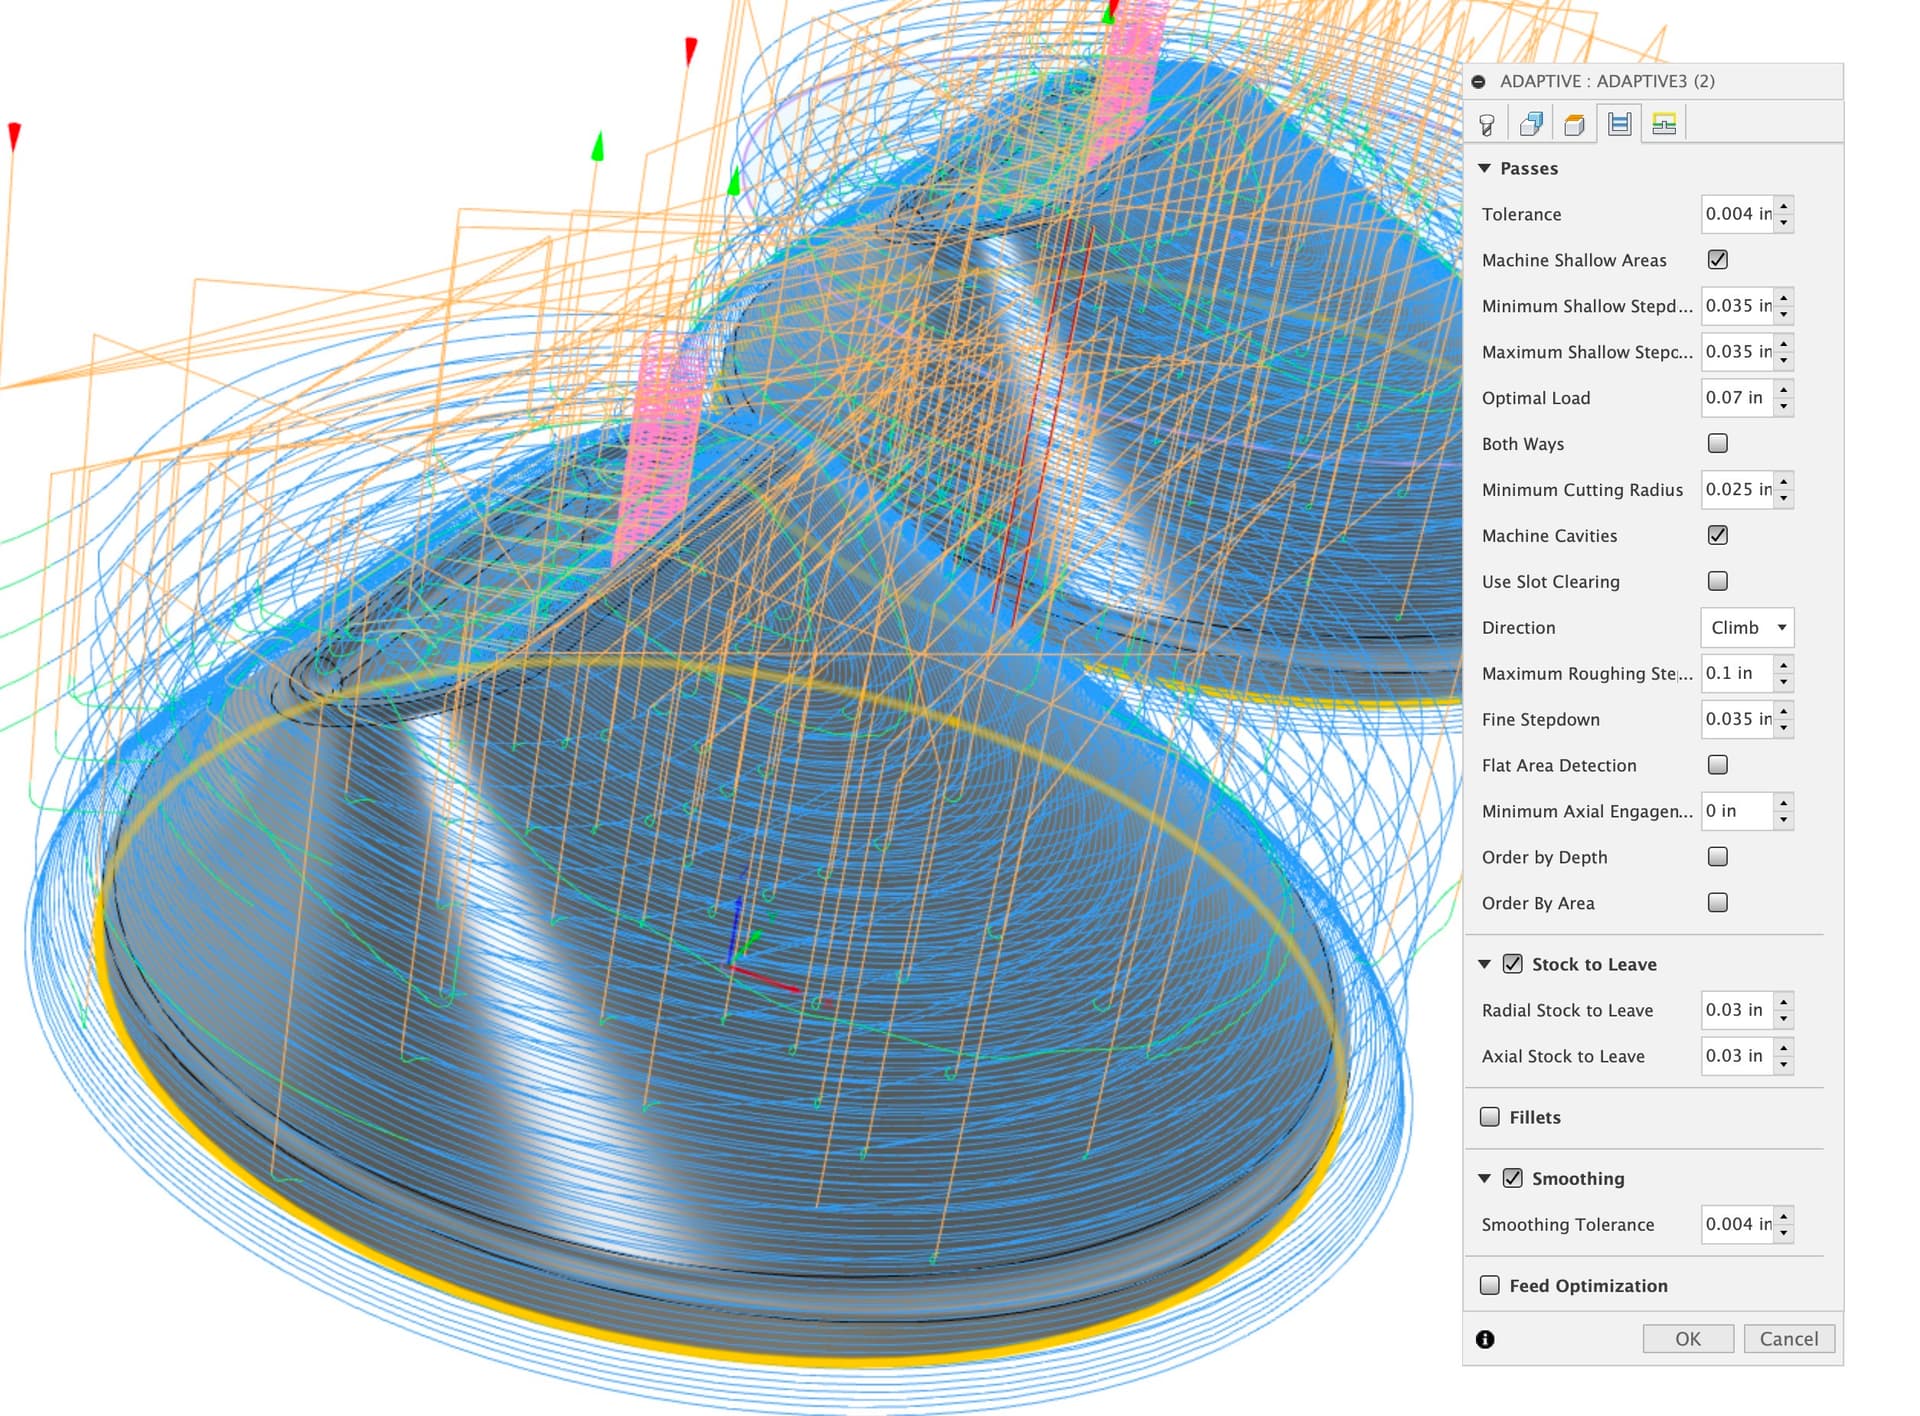
The flip I do adaprtive rough with a .25 Endmill, then finish the slot with a .125 endmill
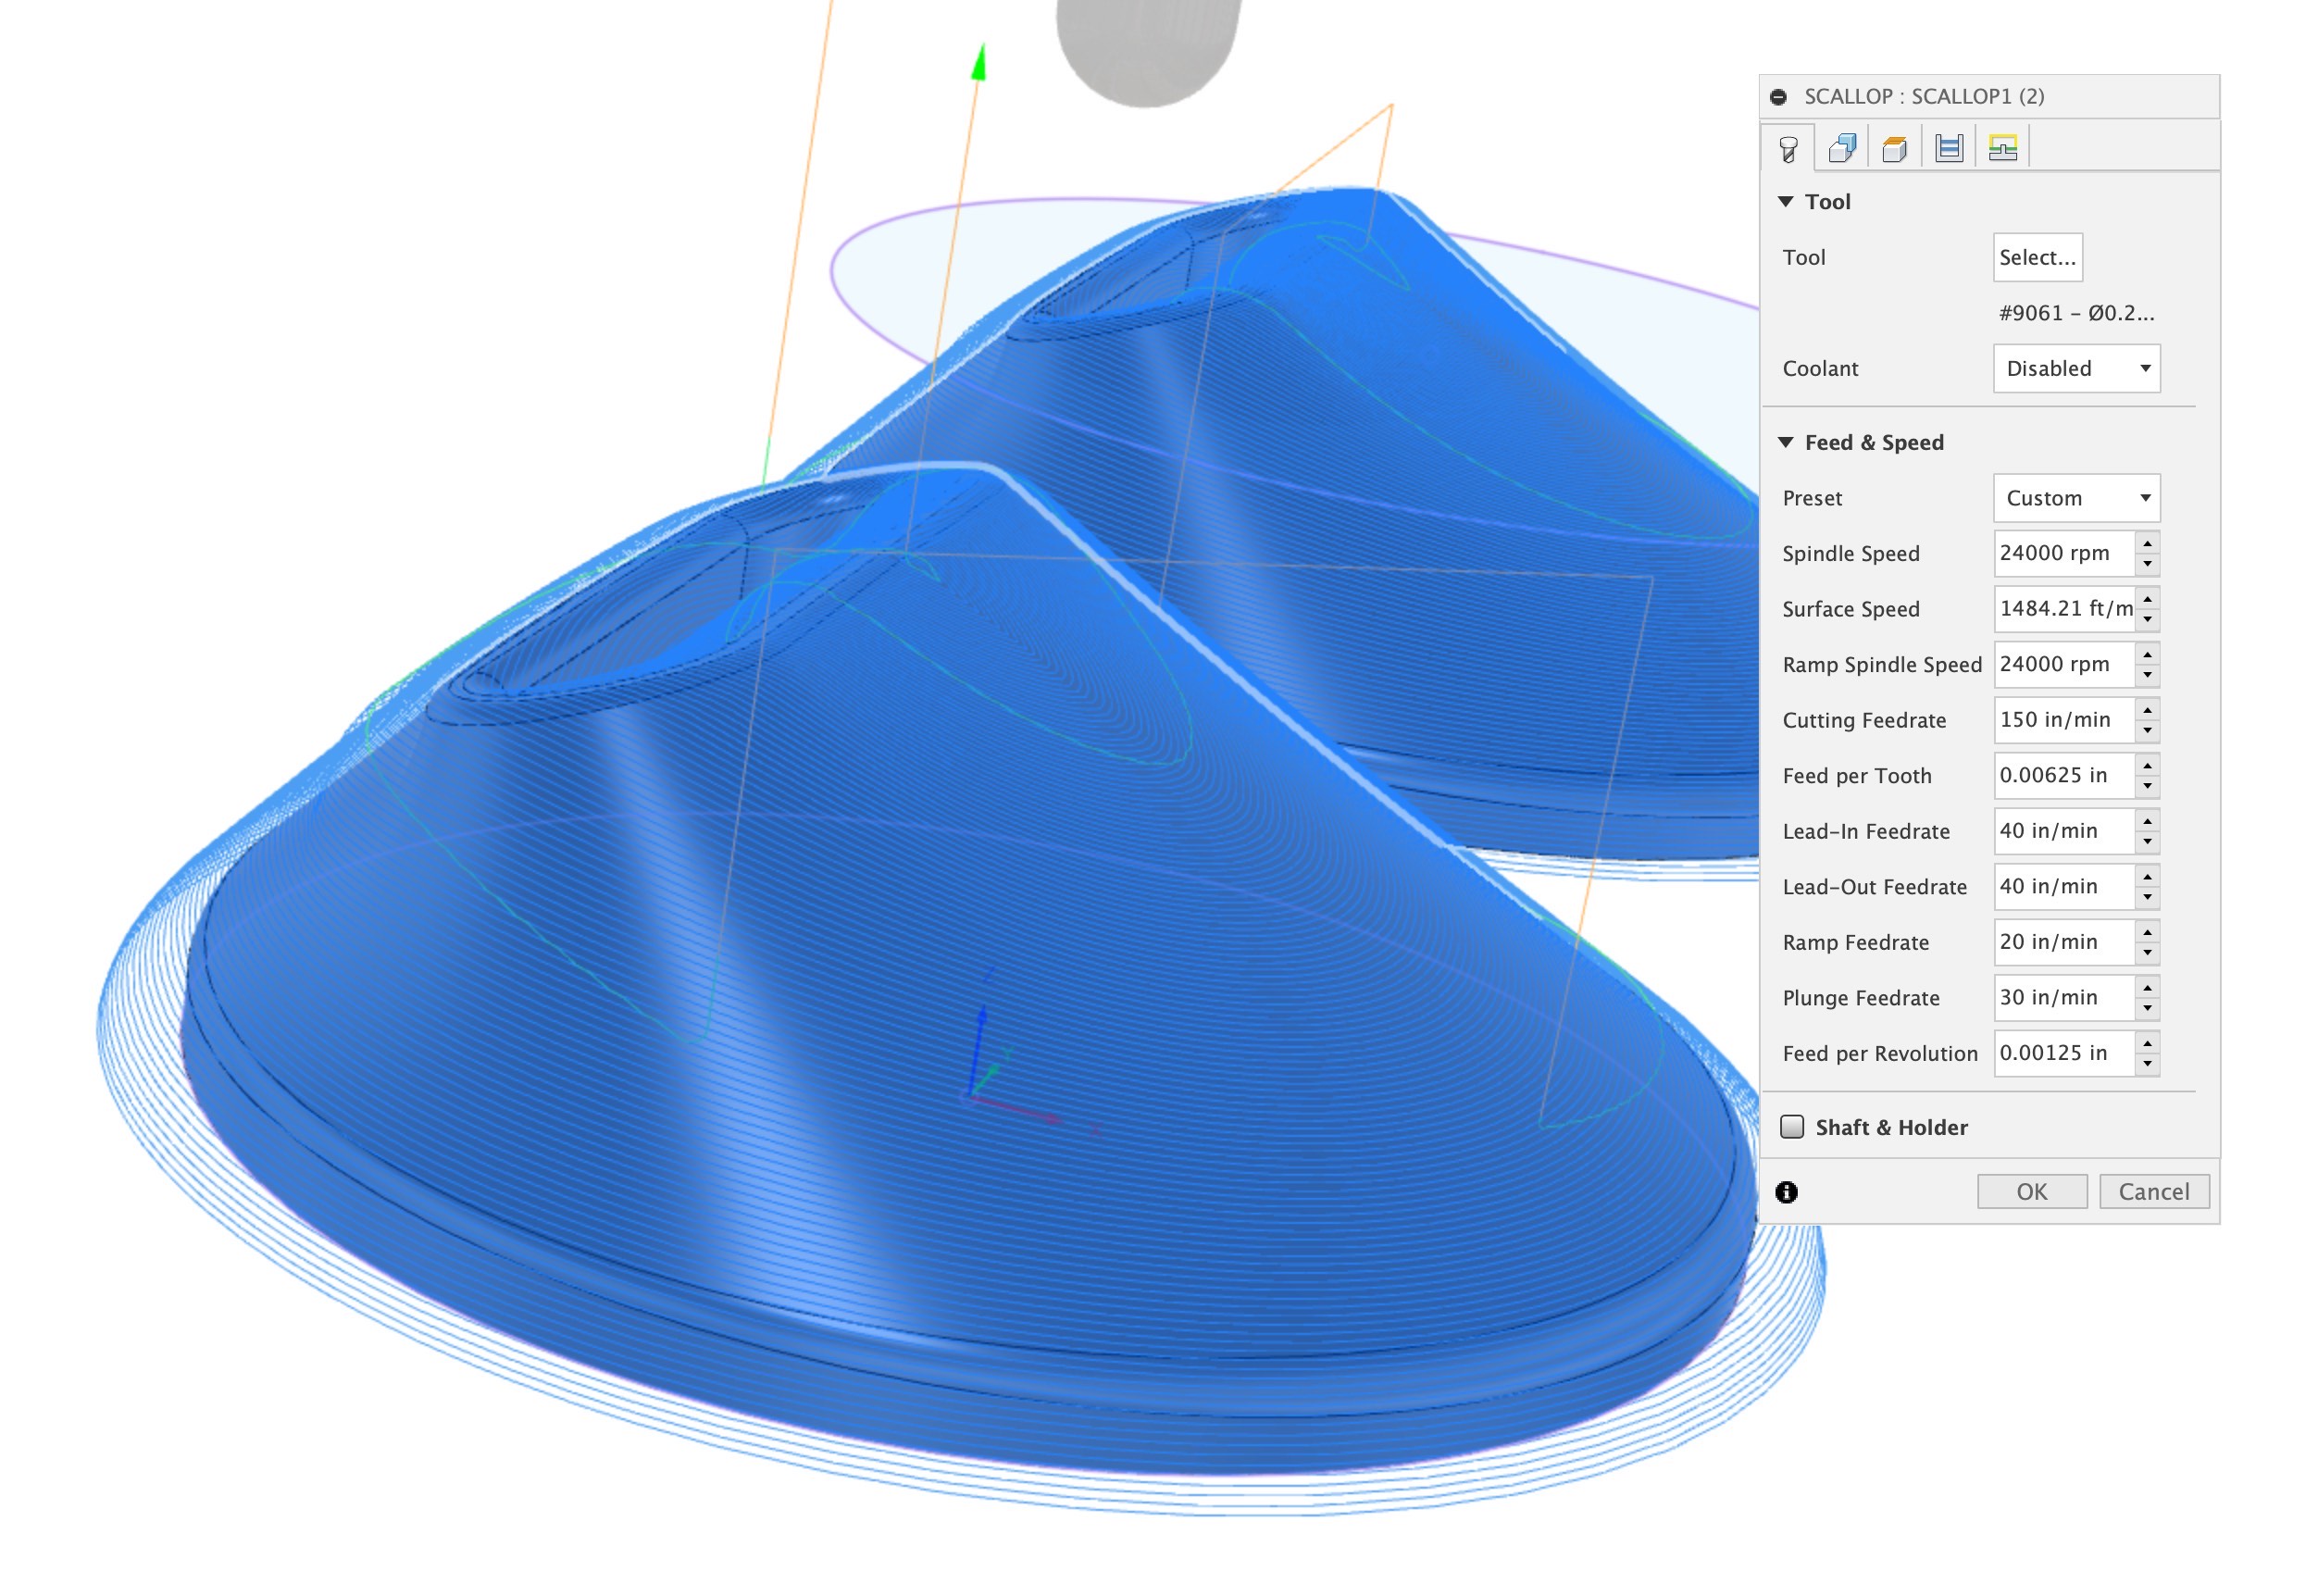
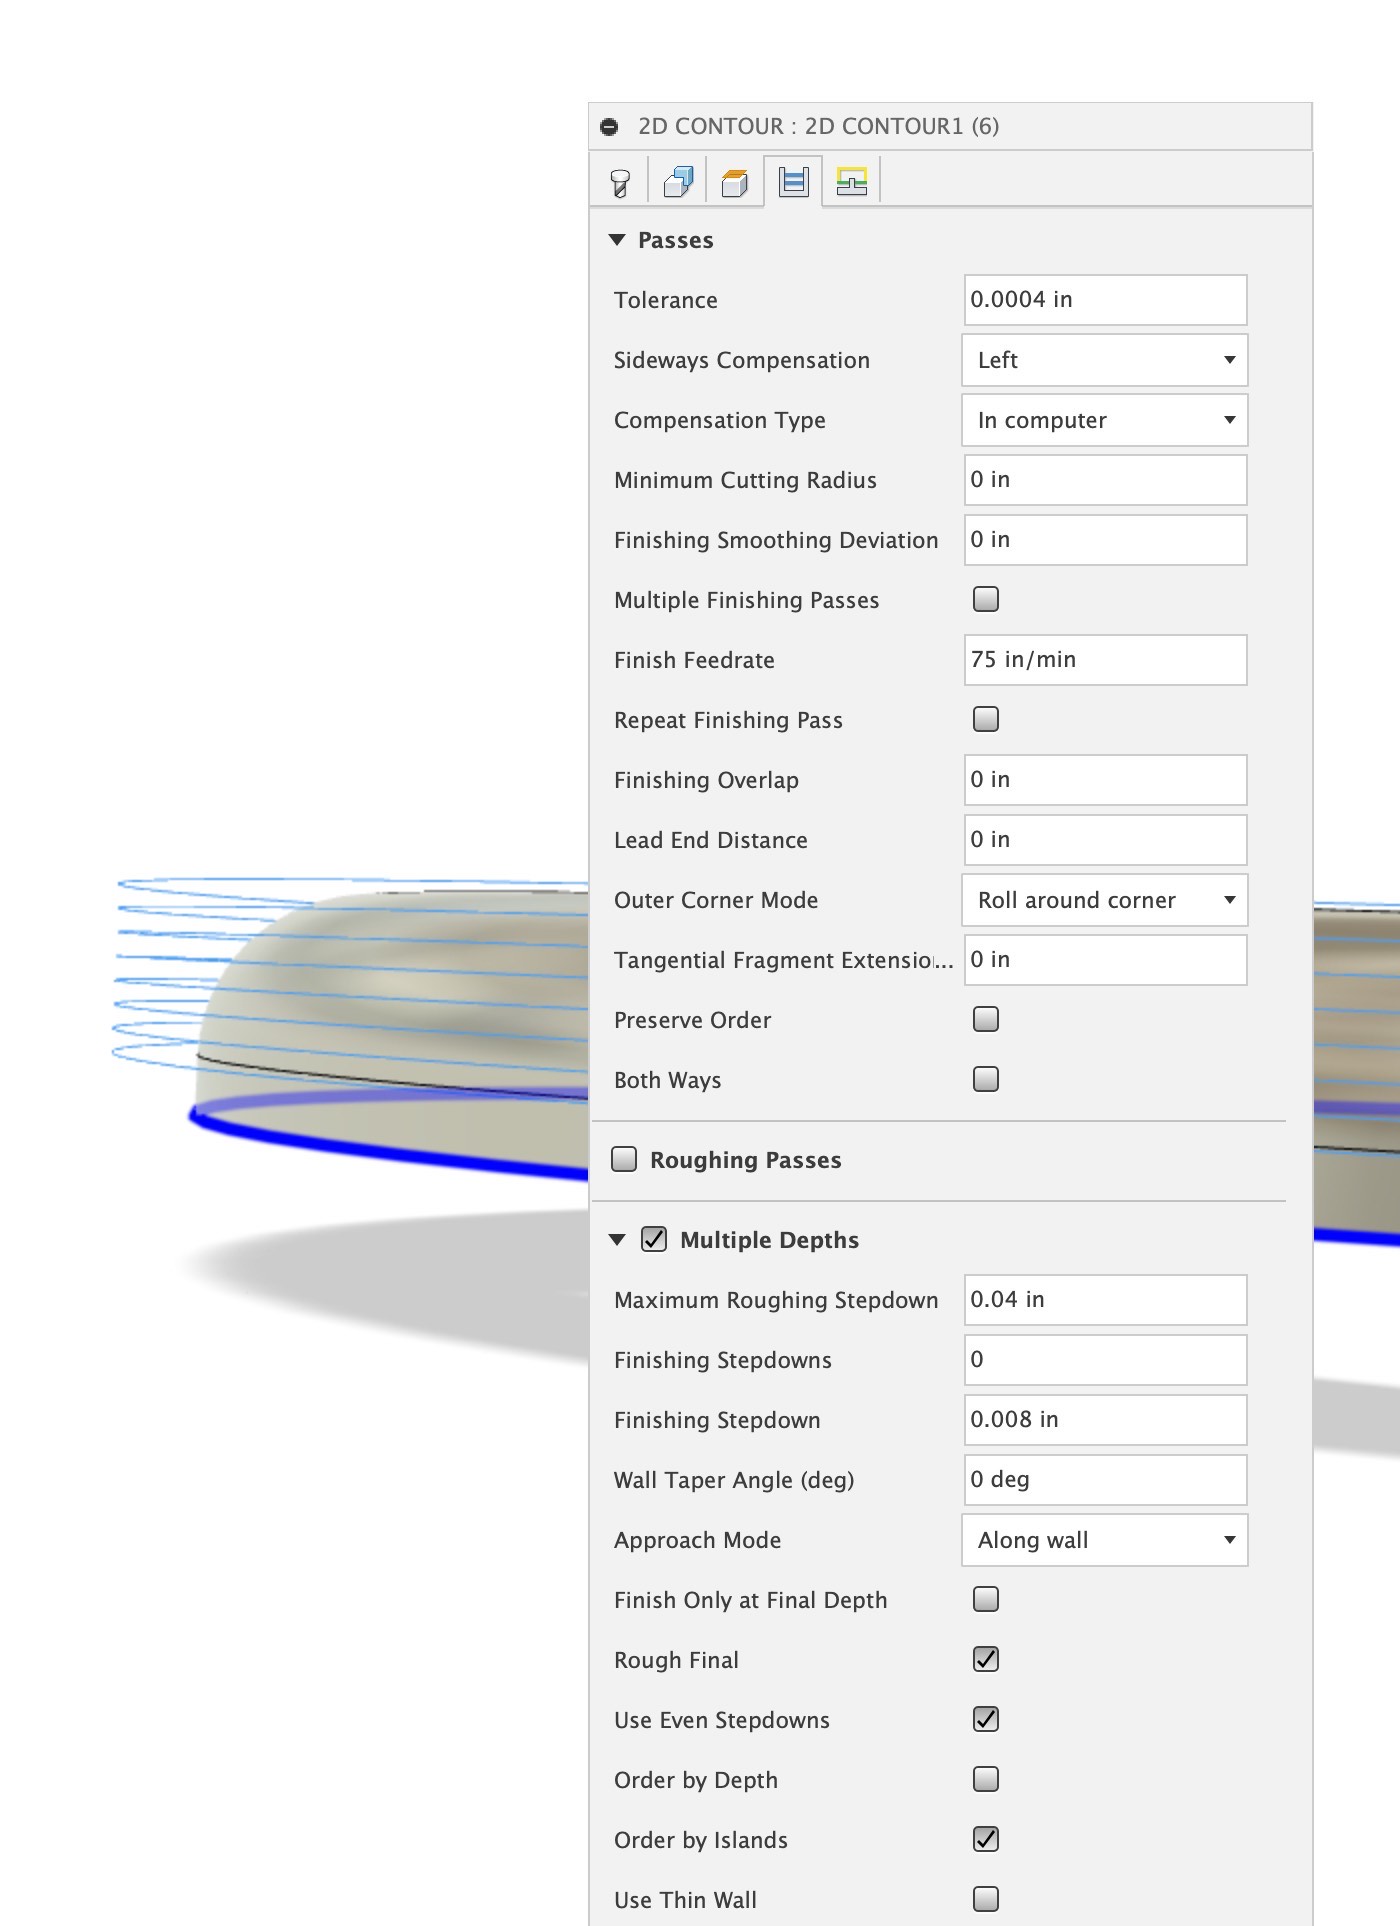
The Finish Strategy is to use a Single Flute Ball Mill from Datron
One pass to .02 STOCK TO LEAVE at a large stepover
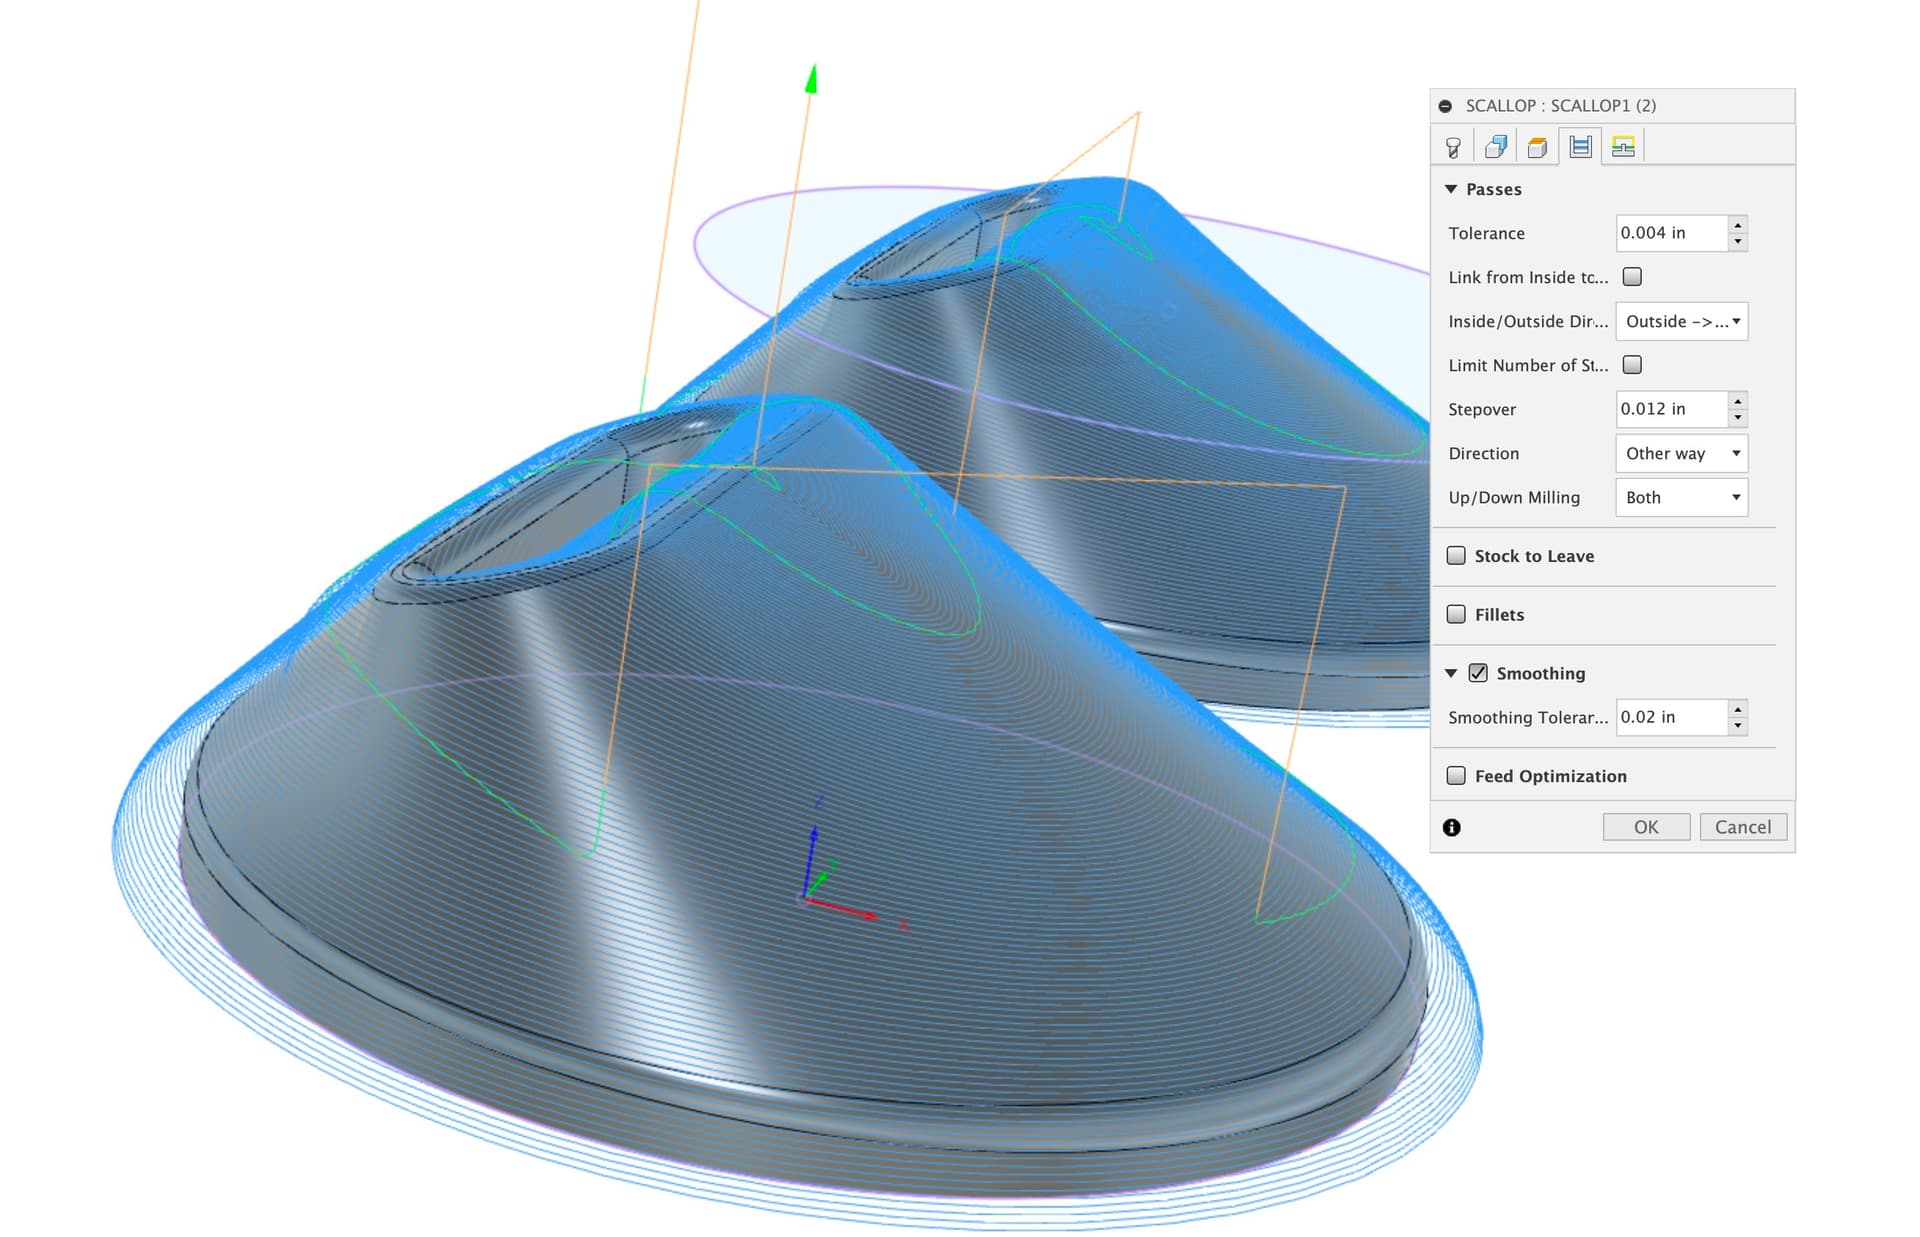
2nd Pass is at .012 Stepover for the finish.
Thank you for the cutting parameters they will help everyone looking to get similar results. I love looking at the strategy’s and feeds people use for work holding and milling different parts.
How do you like the Datron Sf ball mill? I have a Helical 2f on order because of the cost factor is half.
The Single Flute is nice, I use it for certain projects, but with the Right S&F I can get a decent finish with a .25 SPE Ball End Mill too. This complex shape made me use it so I can do a Semi-Finish and finish with the same mill
I hope you don’t mind me asking this here vs starting a new thread.
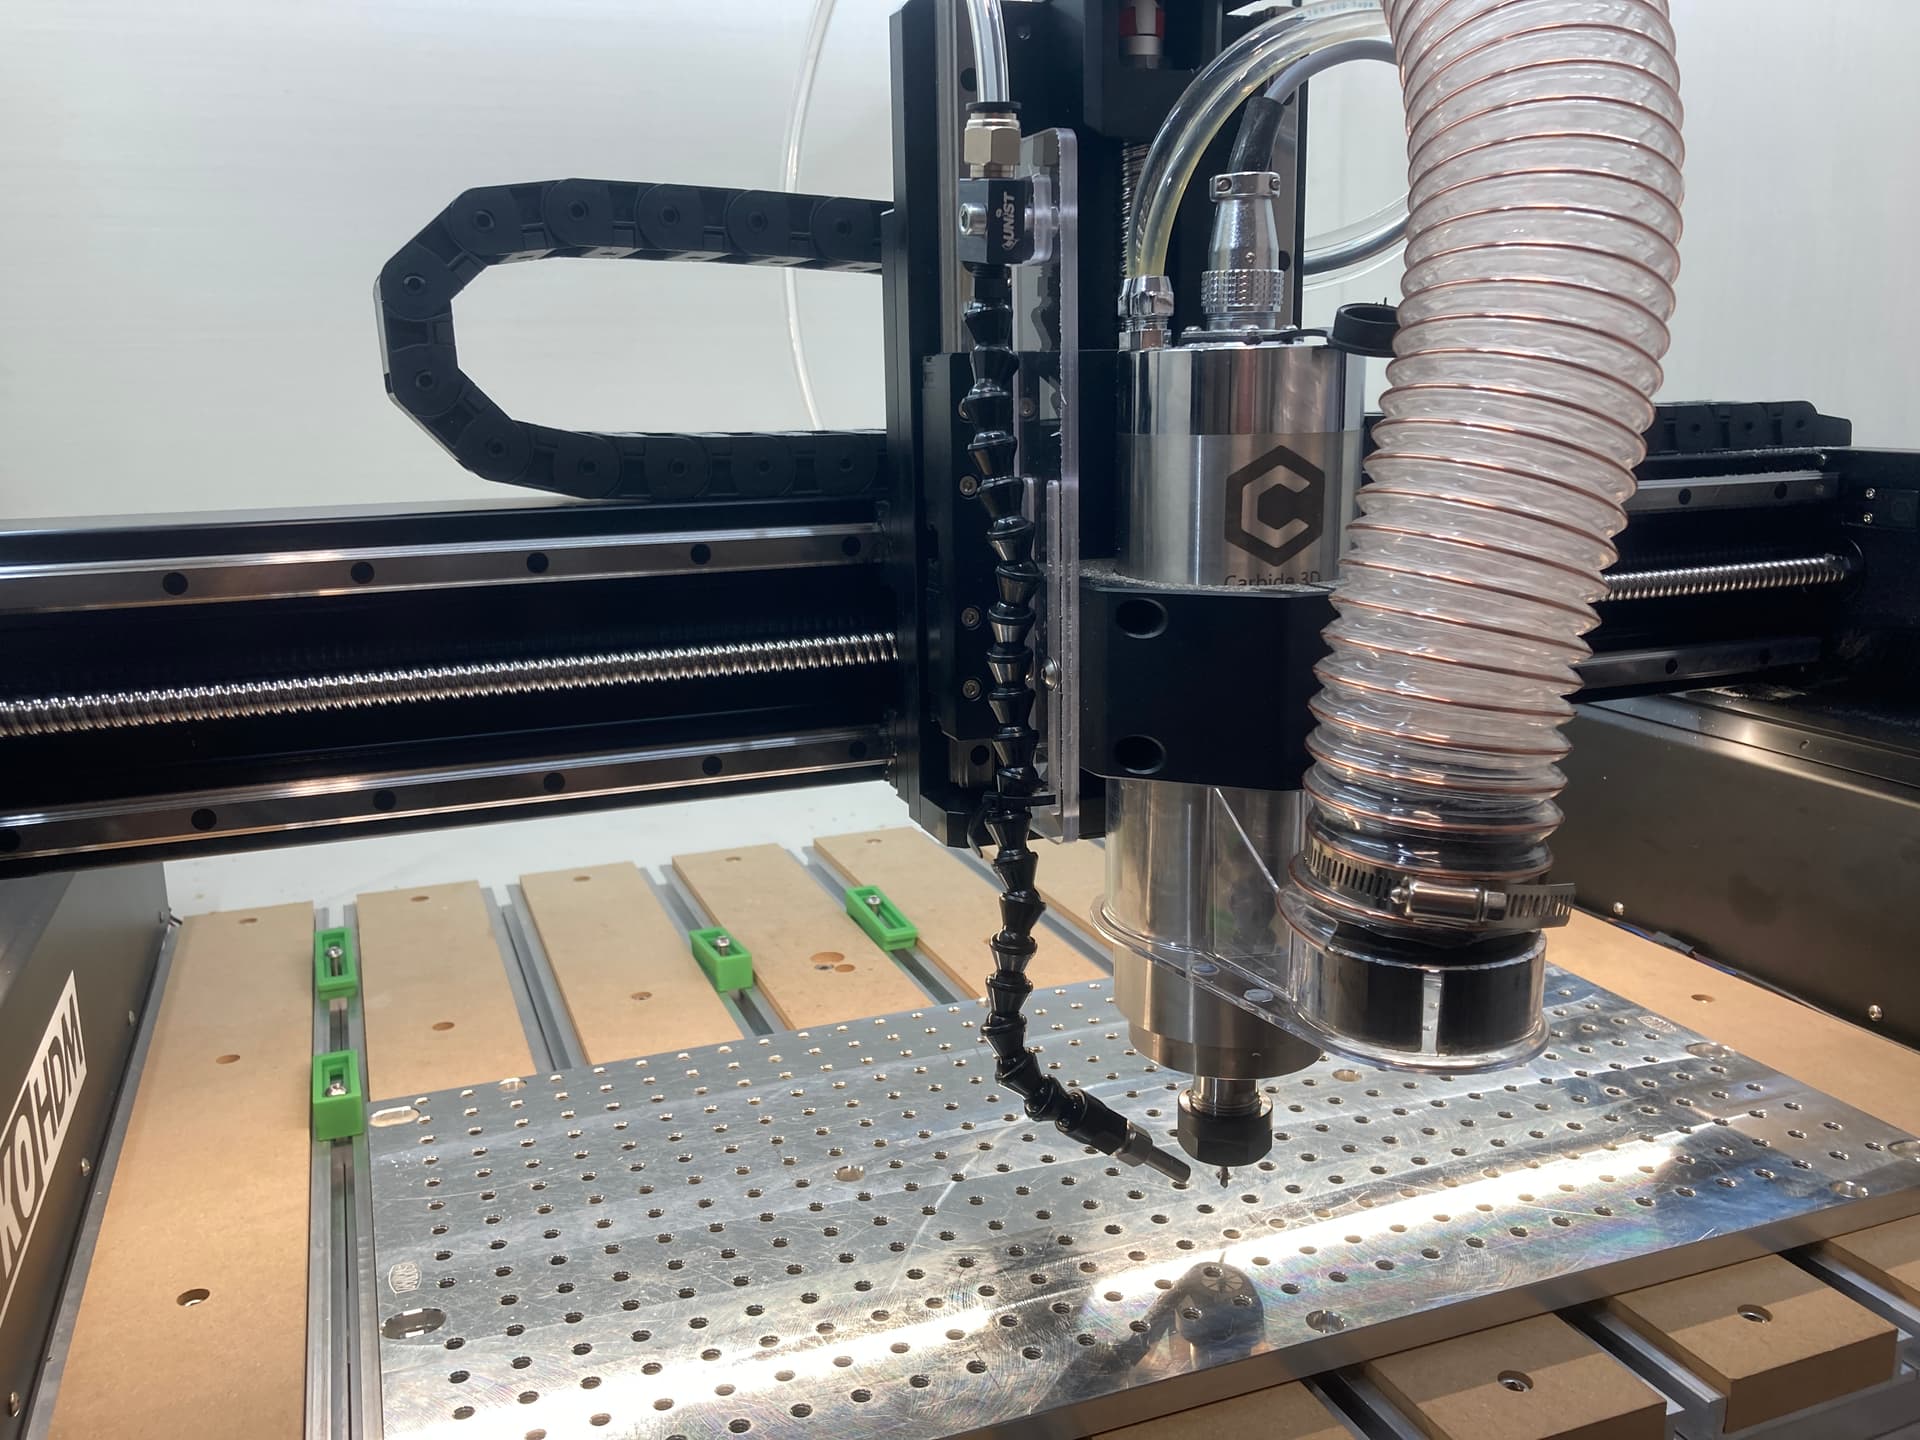
Can anyone tell me what the bolt spacing is for the hybrid table wood slats on the HDM is?
I am going to mill down some 3" x .75" 6061 bar stock to replace half of the wood bed slats so I have a coolant proof base I can drill and tap to bolt down my 1/4" SMW fixture plates from my So3 until I can rob a bank to afford the 1/2" HDM plates and mod vise from SMW.
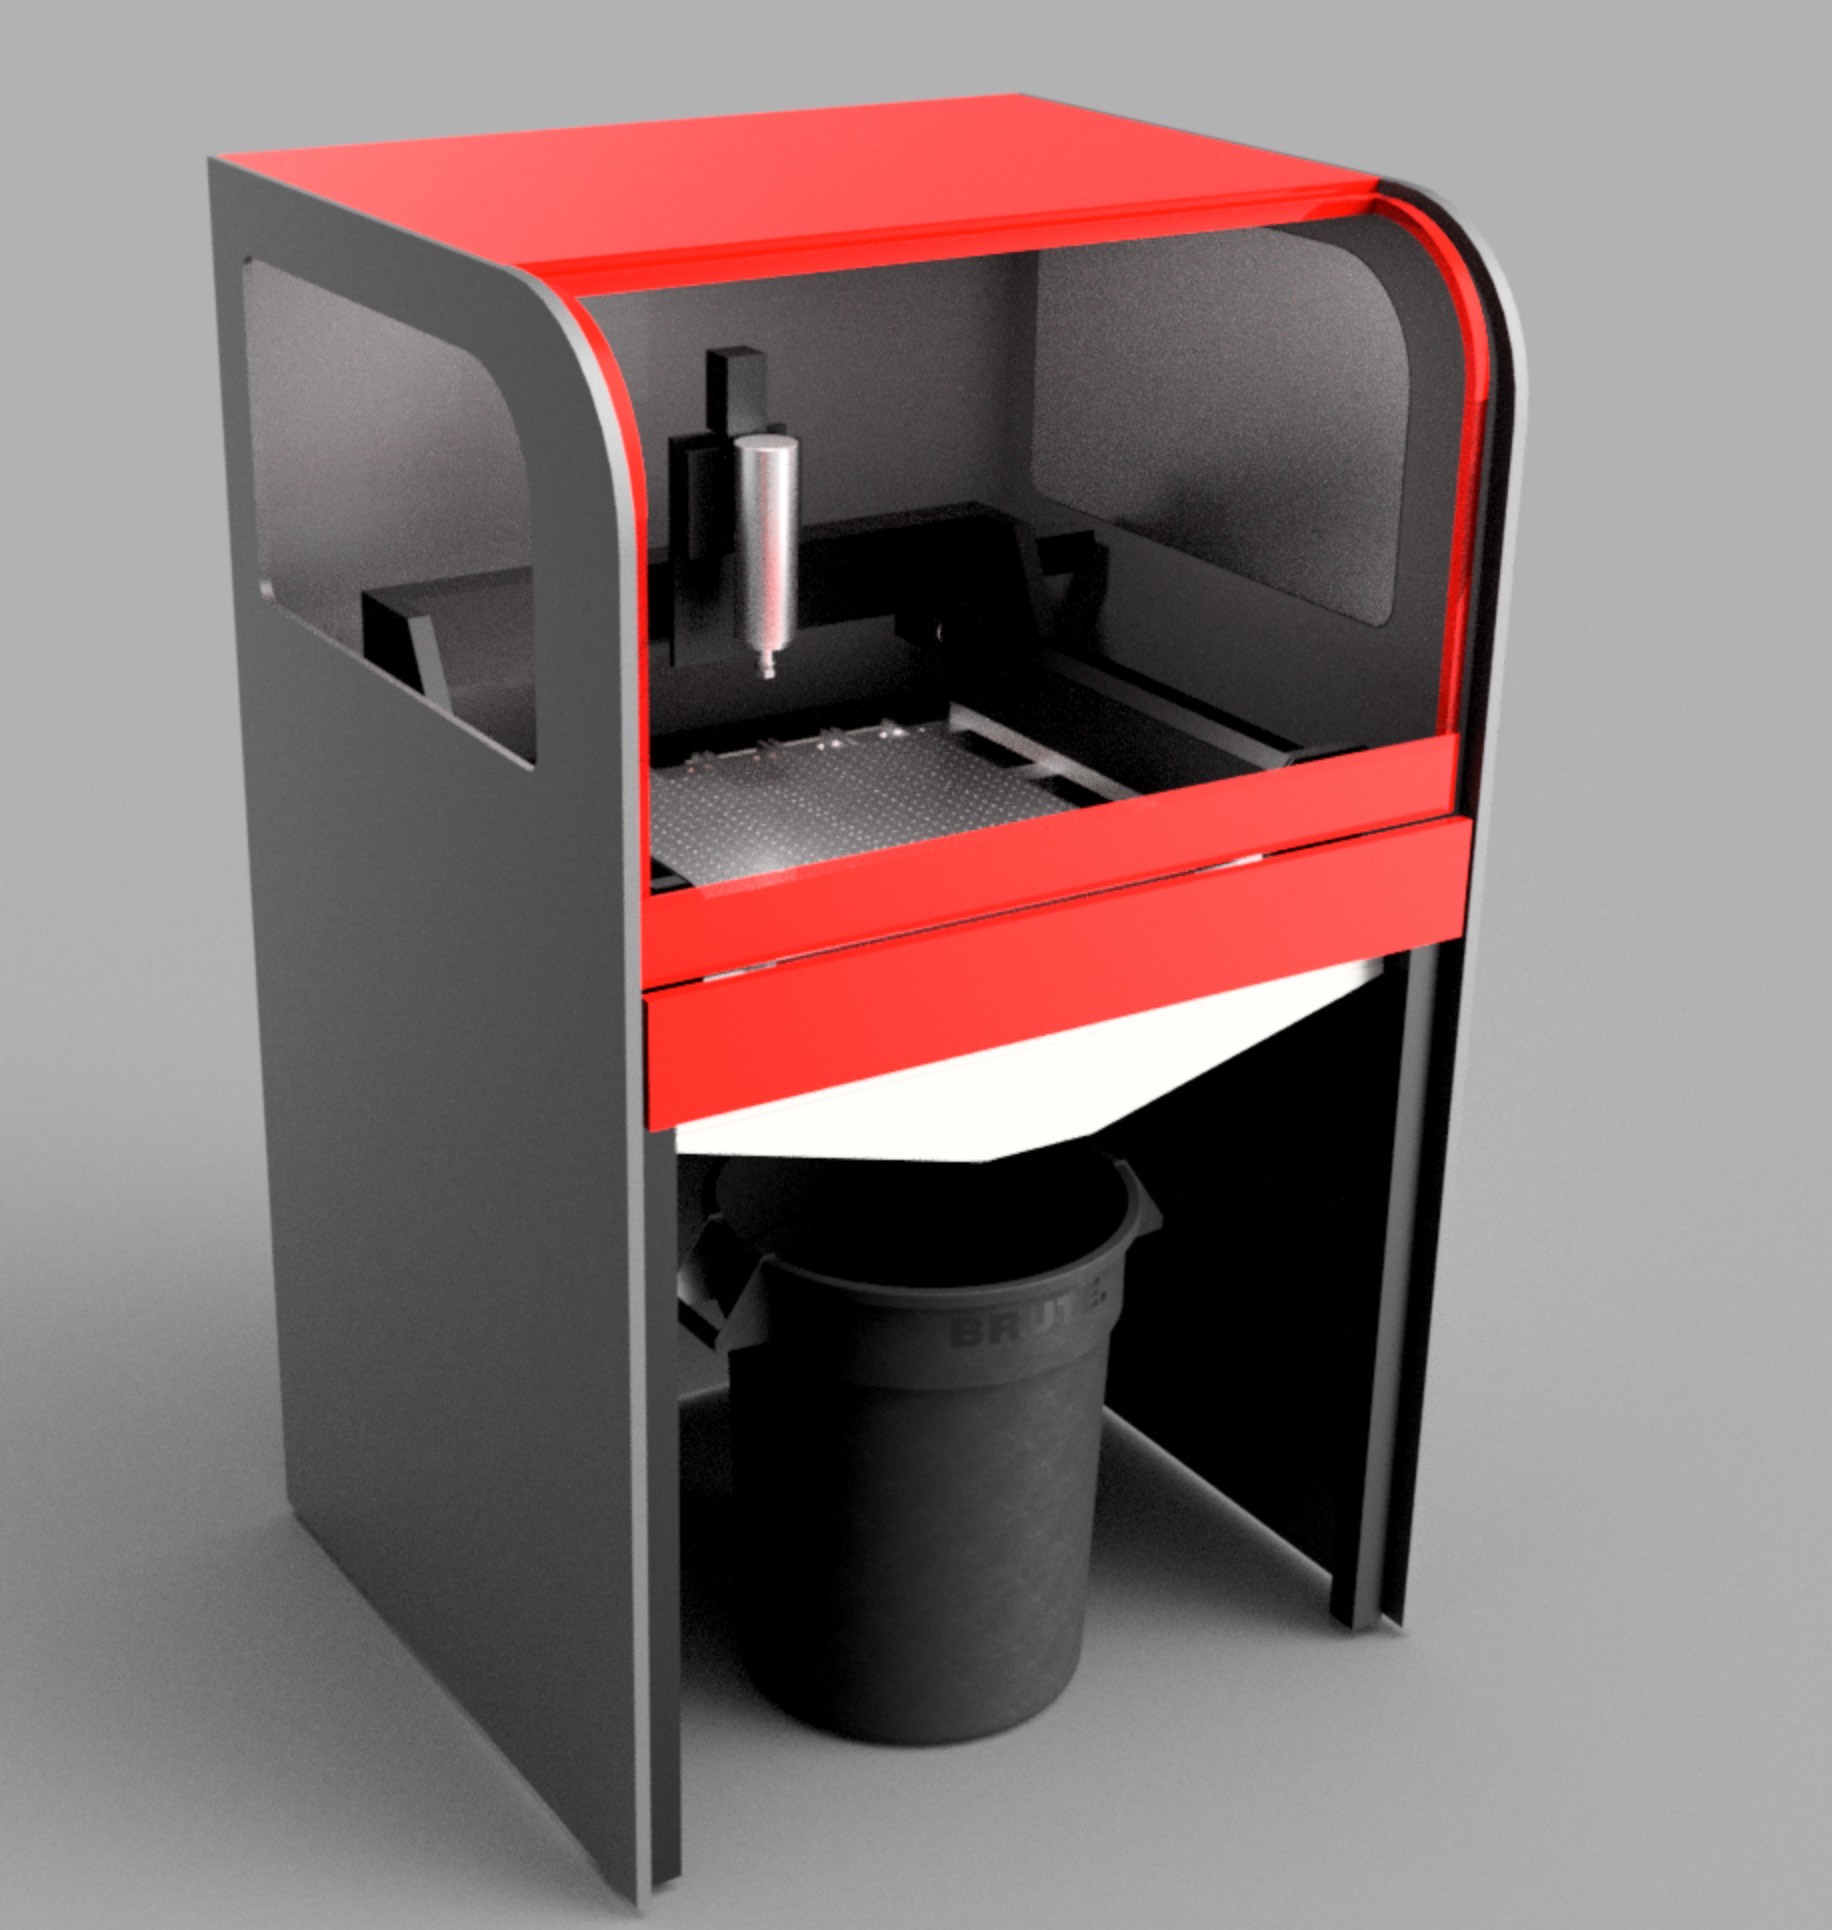
I have to be able to roll my wheelchair under my table so a strait drop tray is not possible for me but your chip tray design makes me wonder if I could open the rear of my enclosure and make a cross draft version that uses the vacuum exhaust to blow the chips to the opening. It would probably just turn my enclosure into a snow globe though.
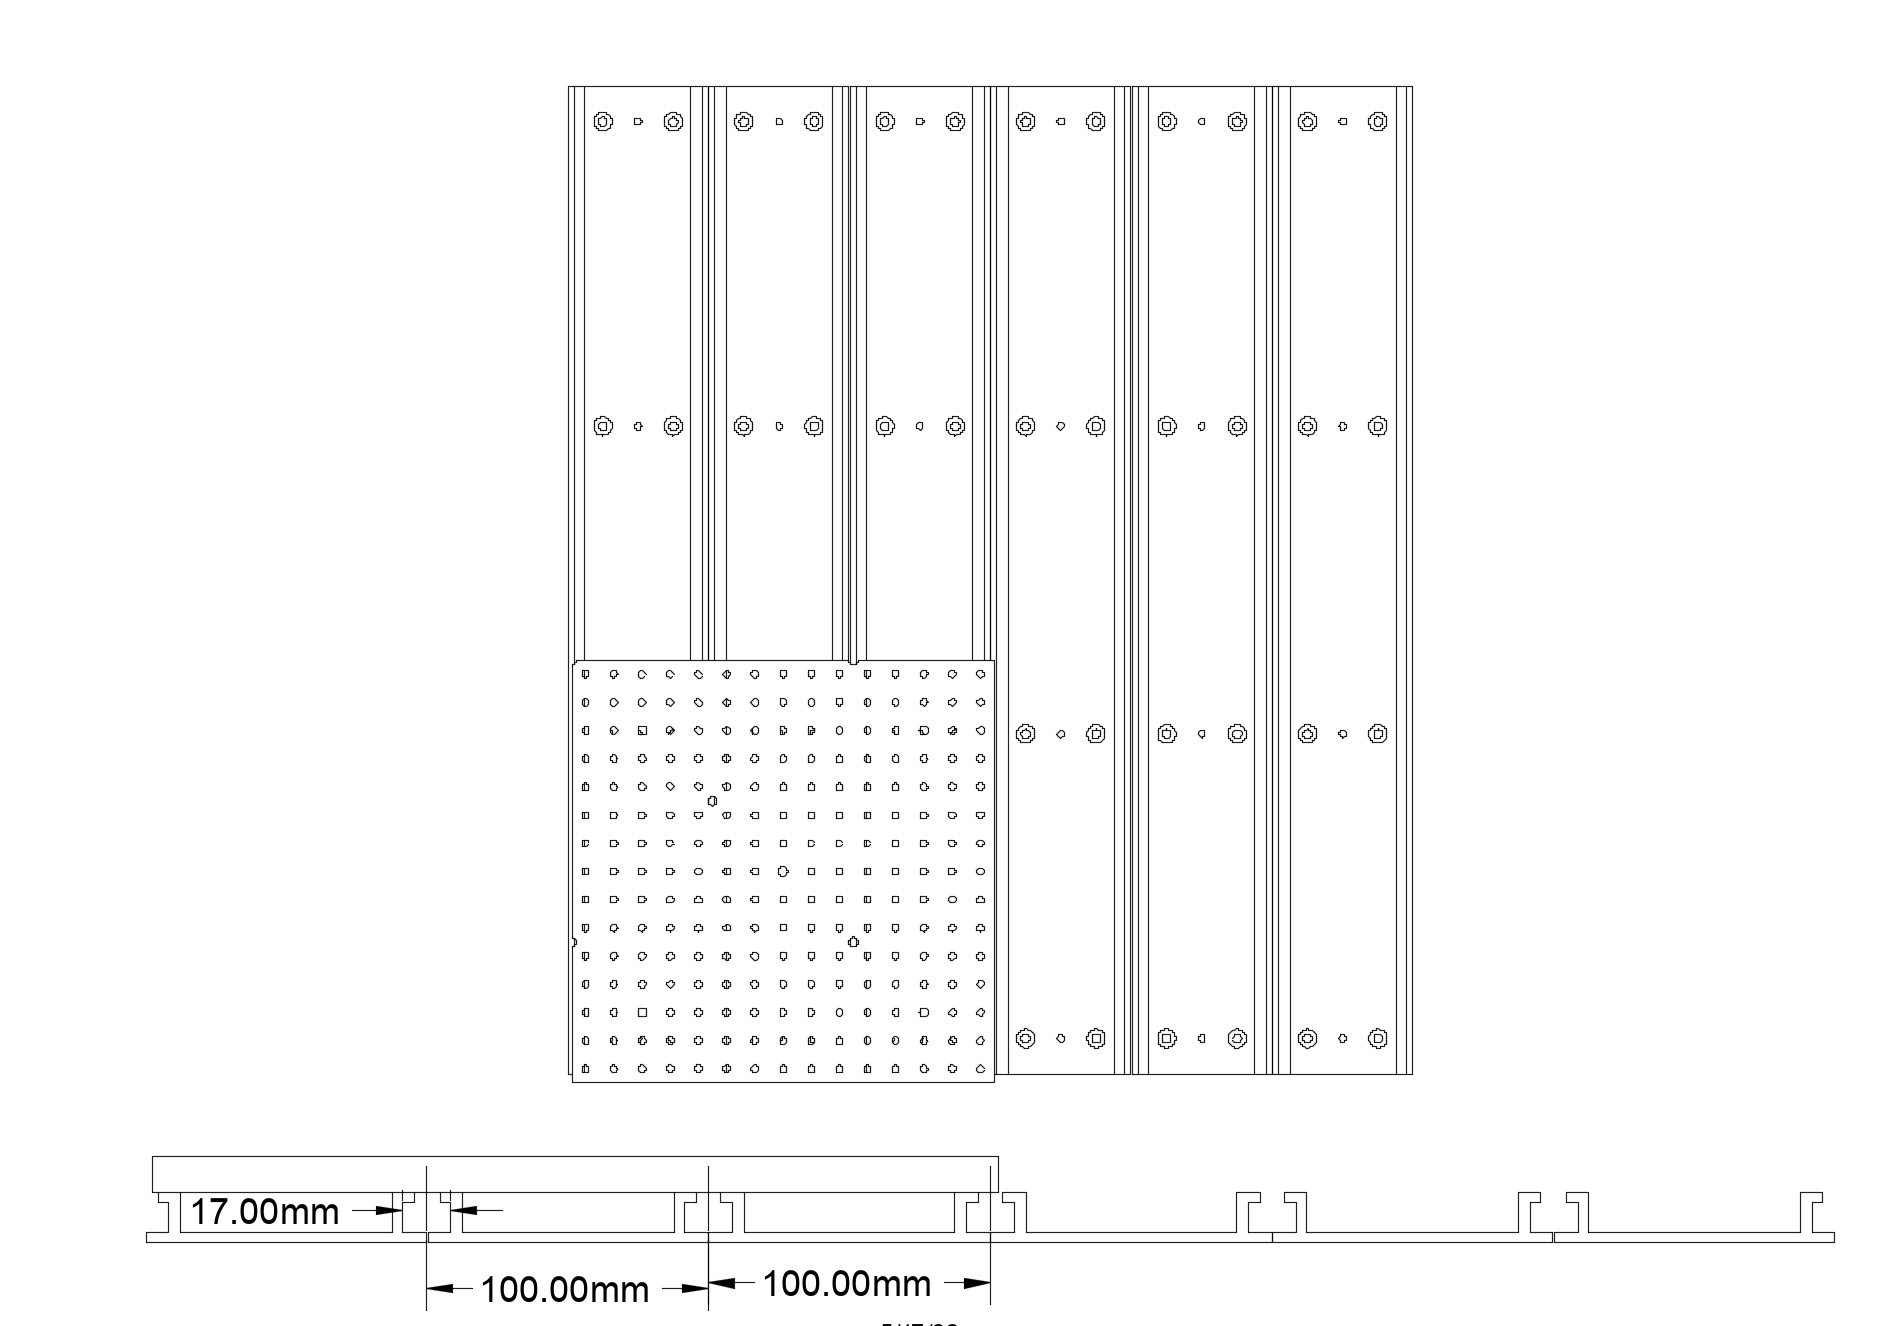
I am planning on using 4 of the original style M6 Plates on my HDM since I have some many of the SMW vises and plates, it will work great from what I have tested so far. See dimensions below.
Per your question below, I think it could work well, once I am up and cutting I plan to test how it could be modified to capture most of the chips as I refine, You can see in my mockups that my plan is to leave the side rails off the base, just the 4 center SMW plates. The plan is to have the chops fall down into the chute to capture them, the whole base is open under the HMD, so it should work well with a blast of air.
This is what I needed so TY Sir and yes Fusion is my go to for any aluminum cutting.
I have the gen 1 non hybrid table plates that don’t line up with the T slots on the sides. Just the center holes line up so I figure aluminum slats will add some extra mass and once surfaced shouldn’t need to be resurfaced again. This should also reduce the need to shim the SMW plates but we will see.
So waiting on a new chiller, but the hdm is setup, my fog buster setup is almost done and it will be ready to roll I hope next week.
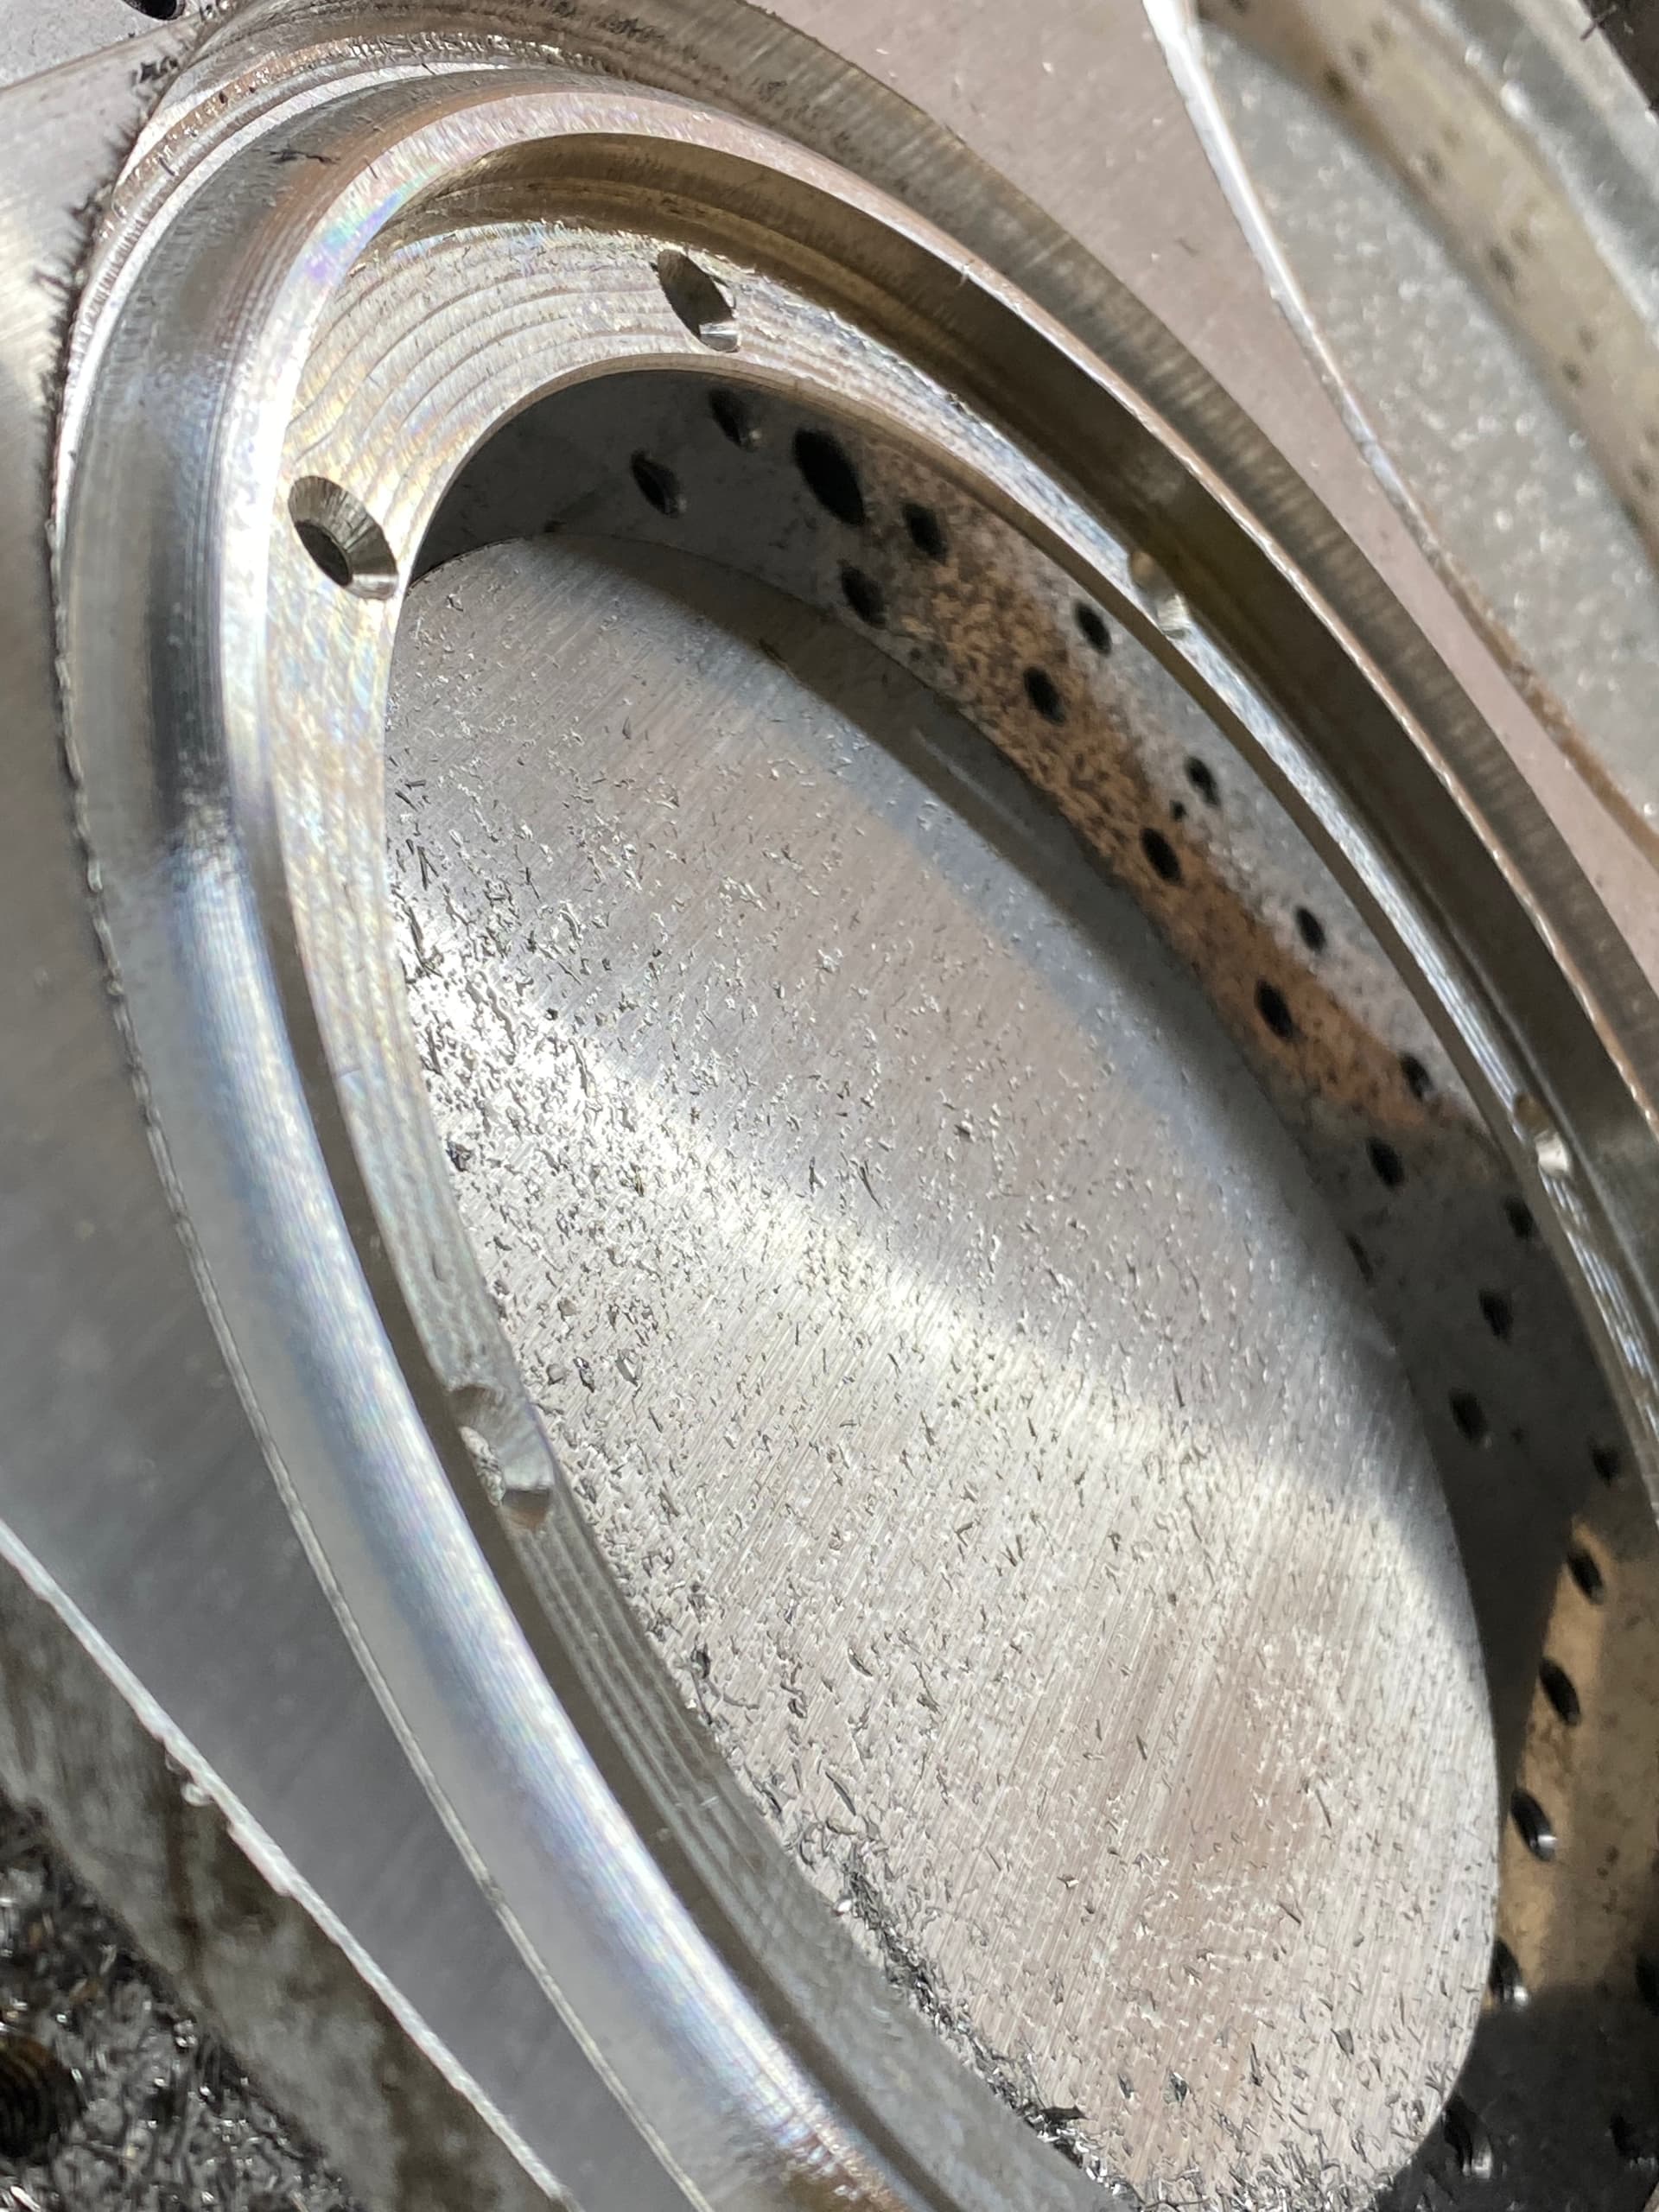
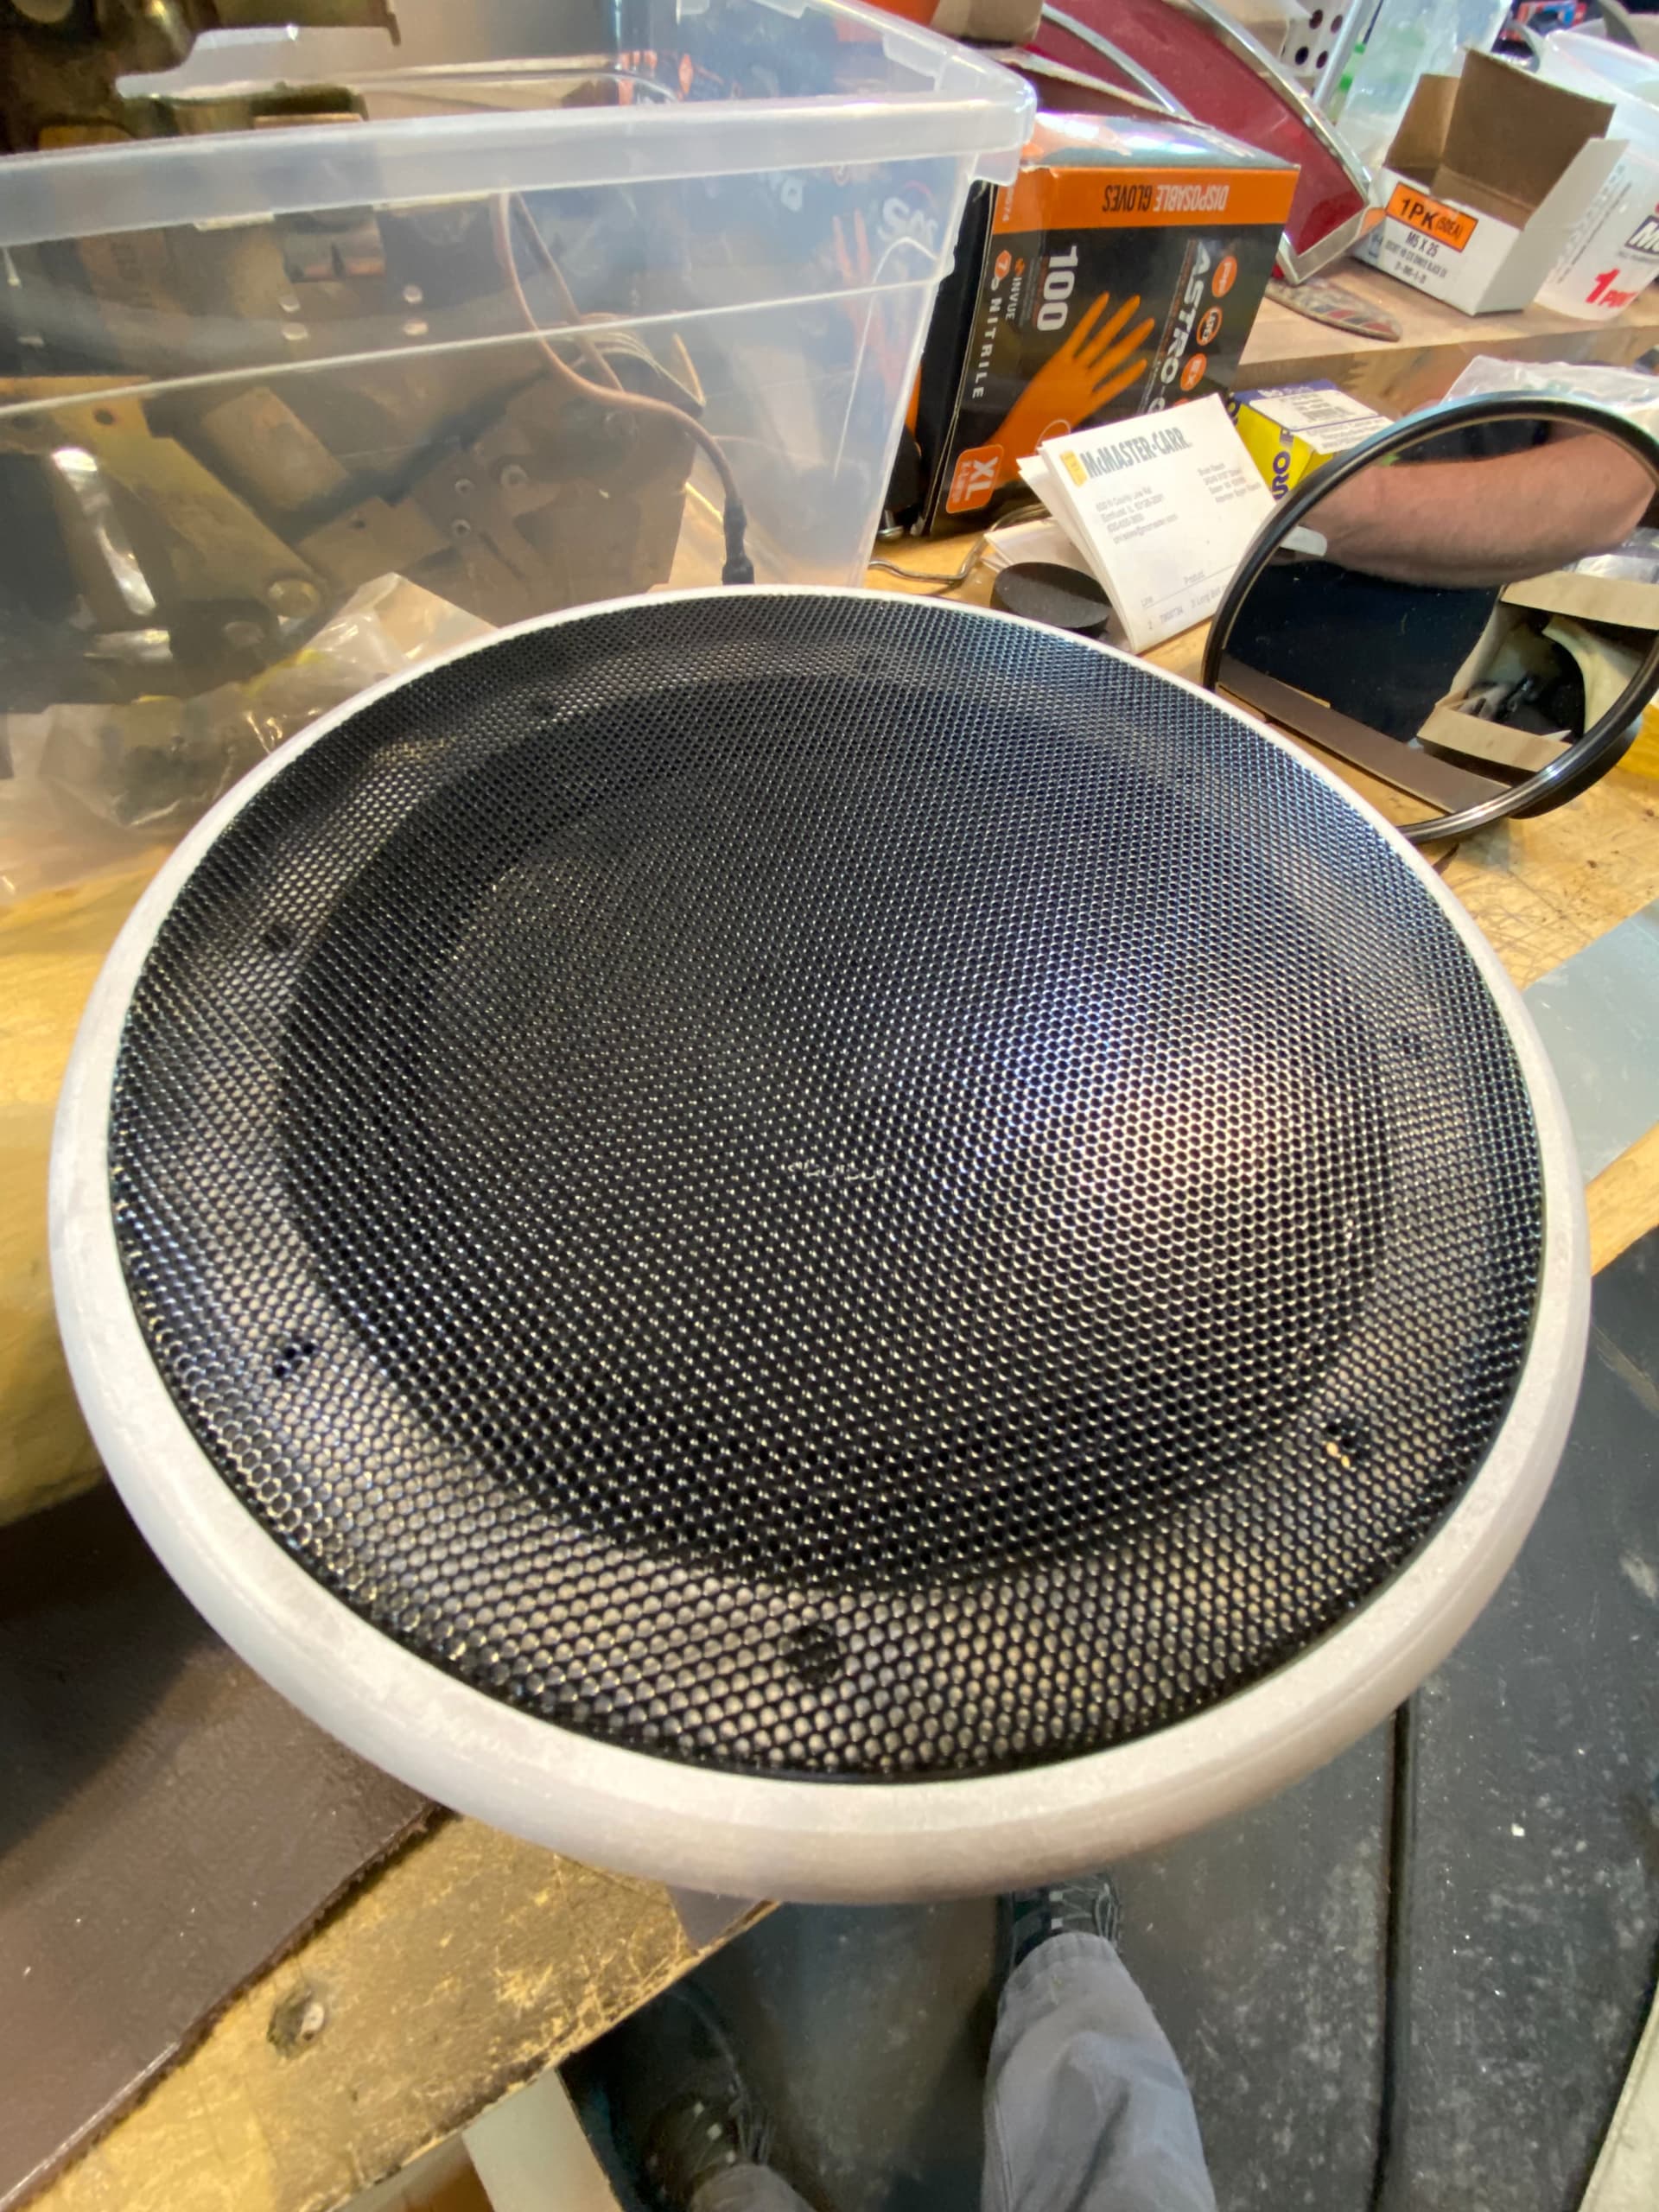
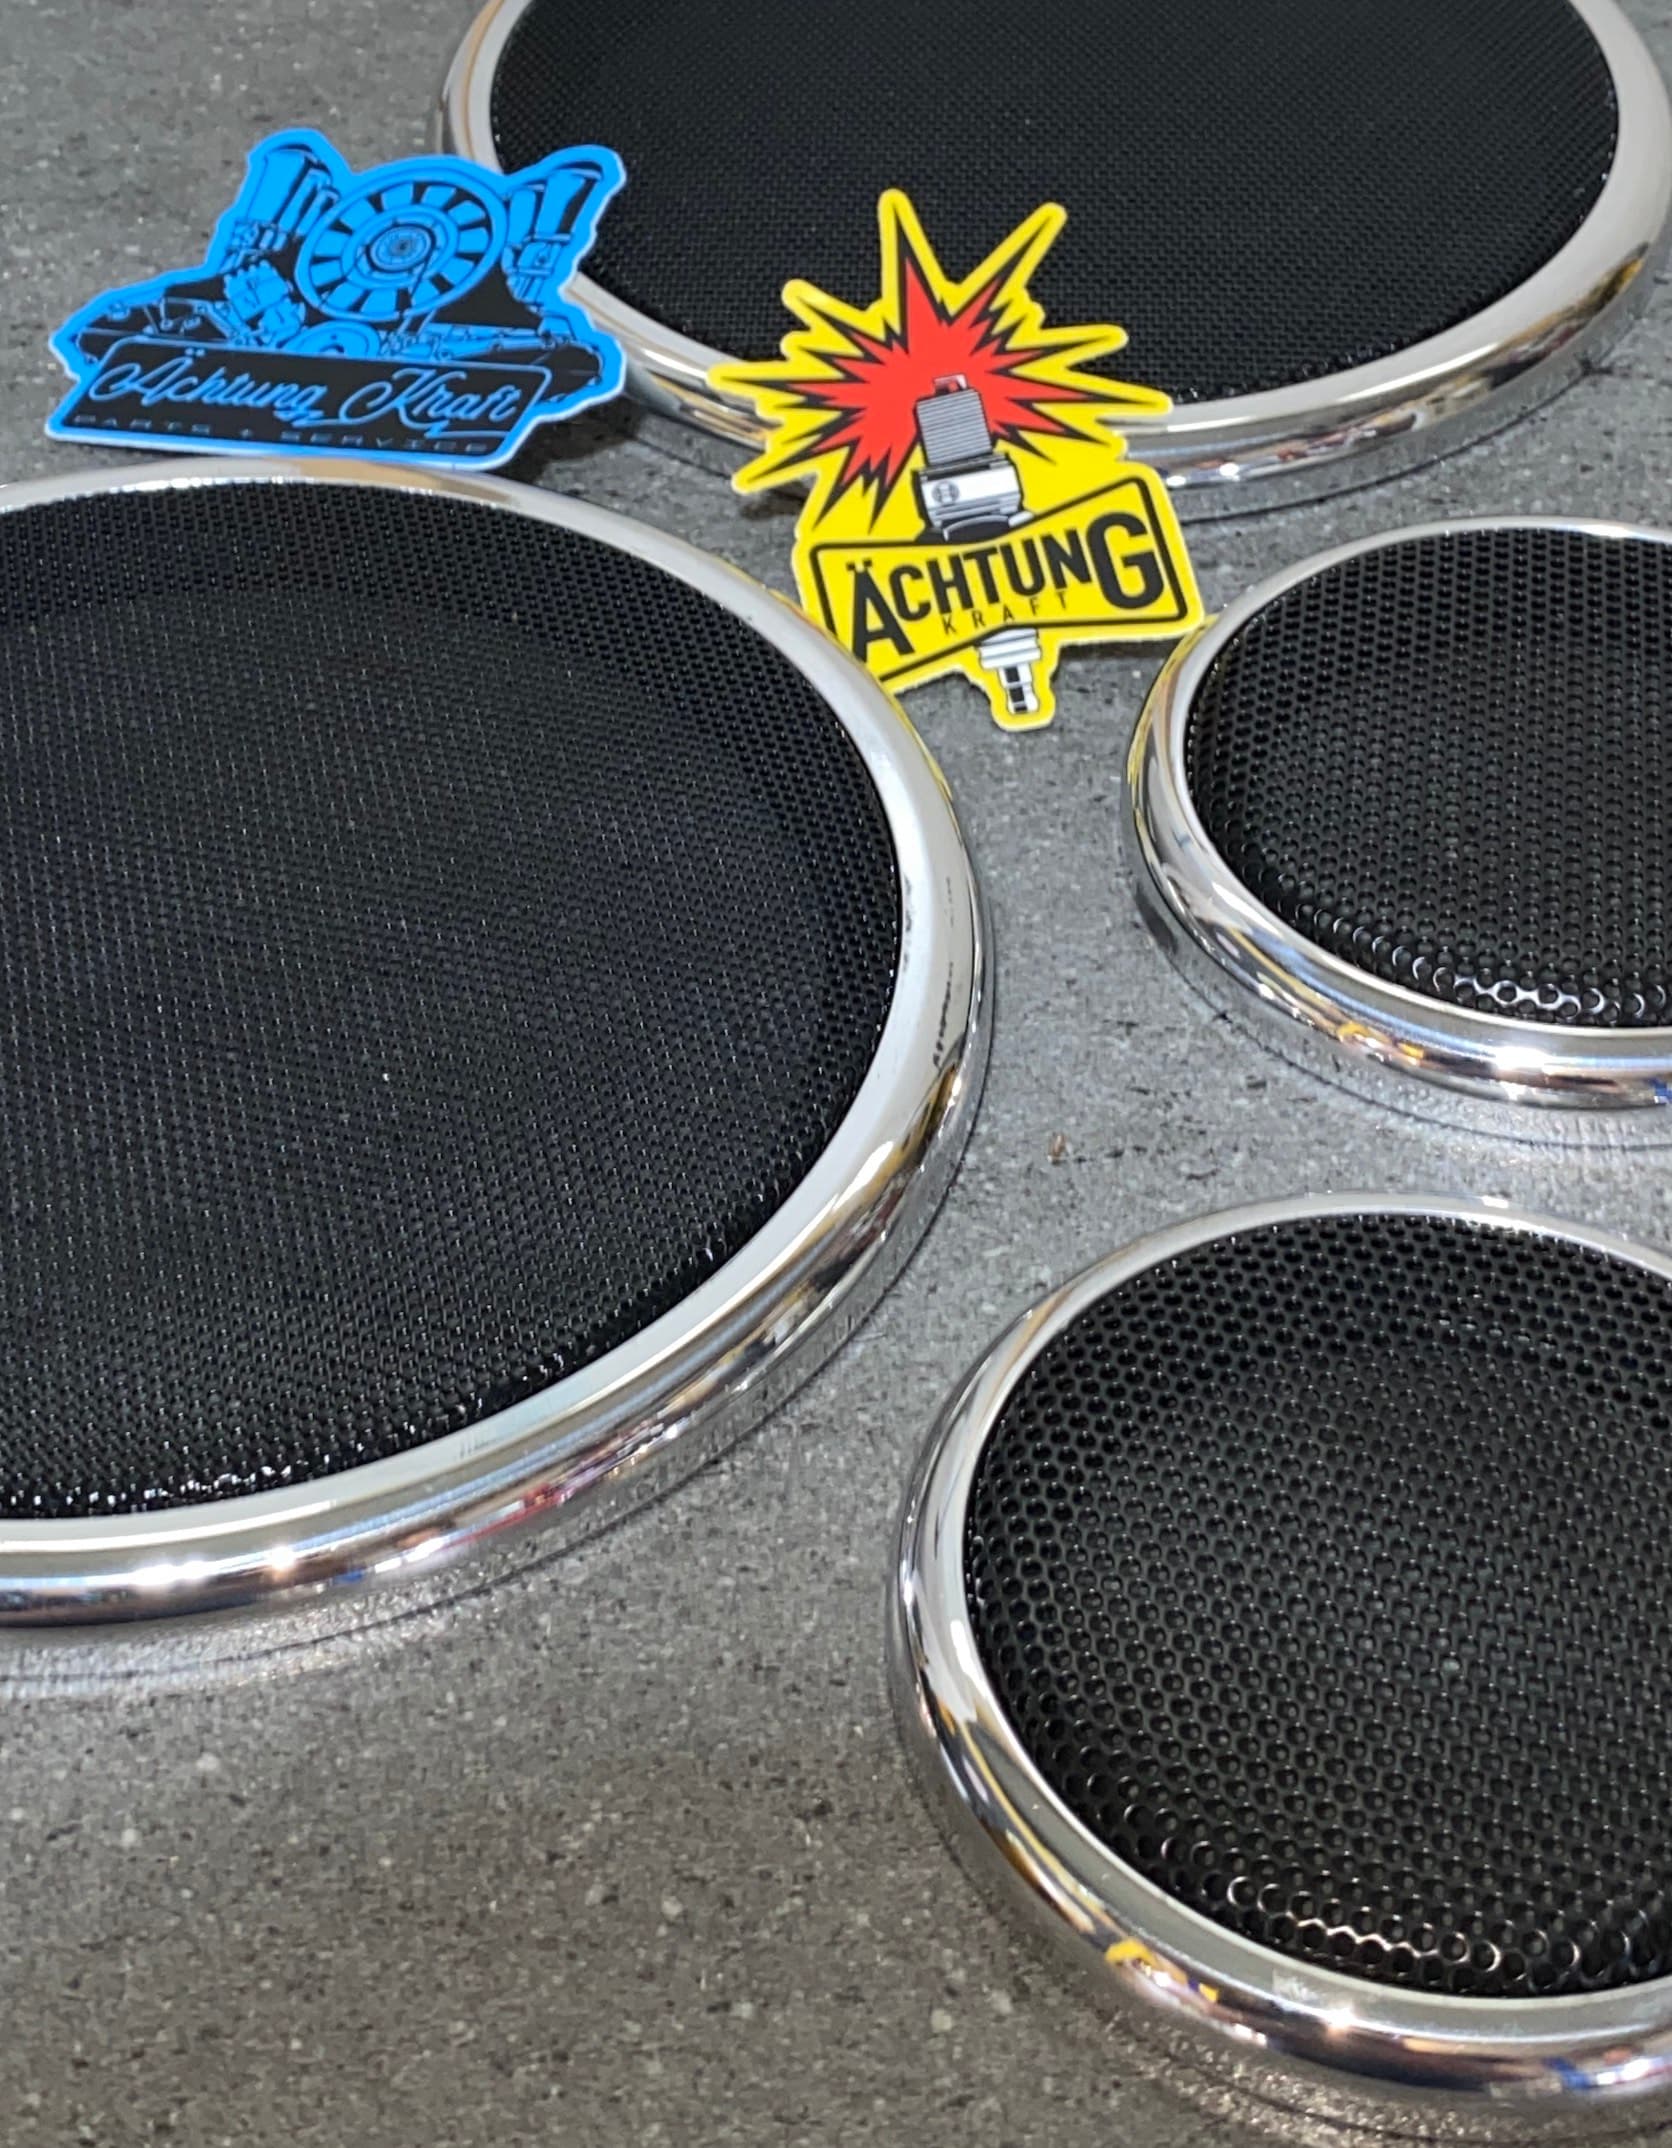
Here are some parts from the pro today, all new speaker grill sizes, .25 single flute at 75ipm and .1 doc. Slotting with ramp and finish they look great. Can’t wait to try them on the HDM
When you cut the center out do you use ramp contour with a roughing pass and let it drop down or did you use a contour with roughing pass and tabs then come back to cut the tabs and let it drop?
I recommend trying .1875" single flutes when you need smaller than .25" they can be pushed significantly harder than .125".
So far .25" is the largest drill I have run with my HDM and it was an old Irwin brad point drill. It got the job done but was sketchy when used on a hole that had a pilot hole because of the tip geometry.
“never again will that style be used on my machine” I have a .25" carbide stub drill on order for future jobs.
Also the 1" 3 insert face mill by bush machine tool leaves a fantastic finish and for $40.00 is well worth it. I saw Vince had good results with a .75" version a few years ago and then I saw DIY Engineering run the 1" version so I bought 1 and I am very happy with the results.
4 Likes
Griff
(Well crap, my hypometric precursor device is blown…)
24
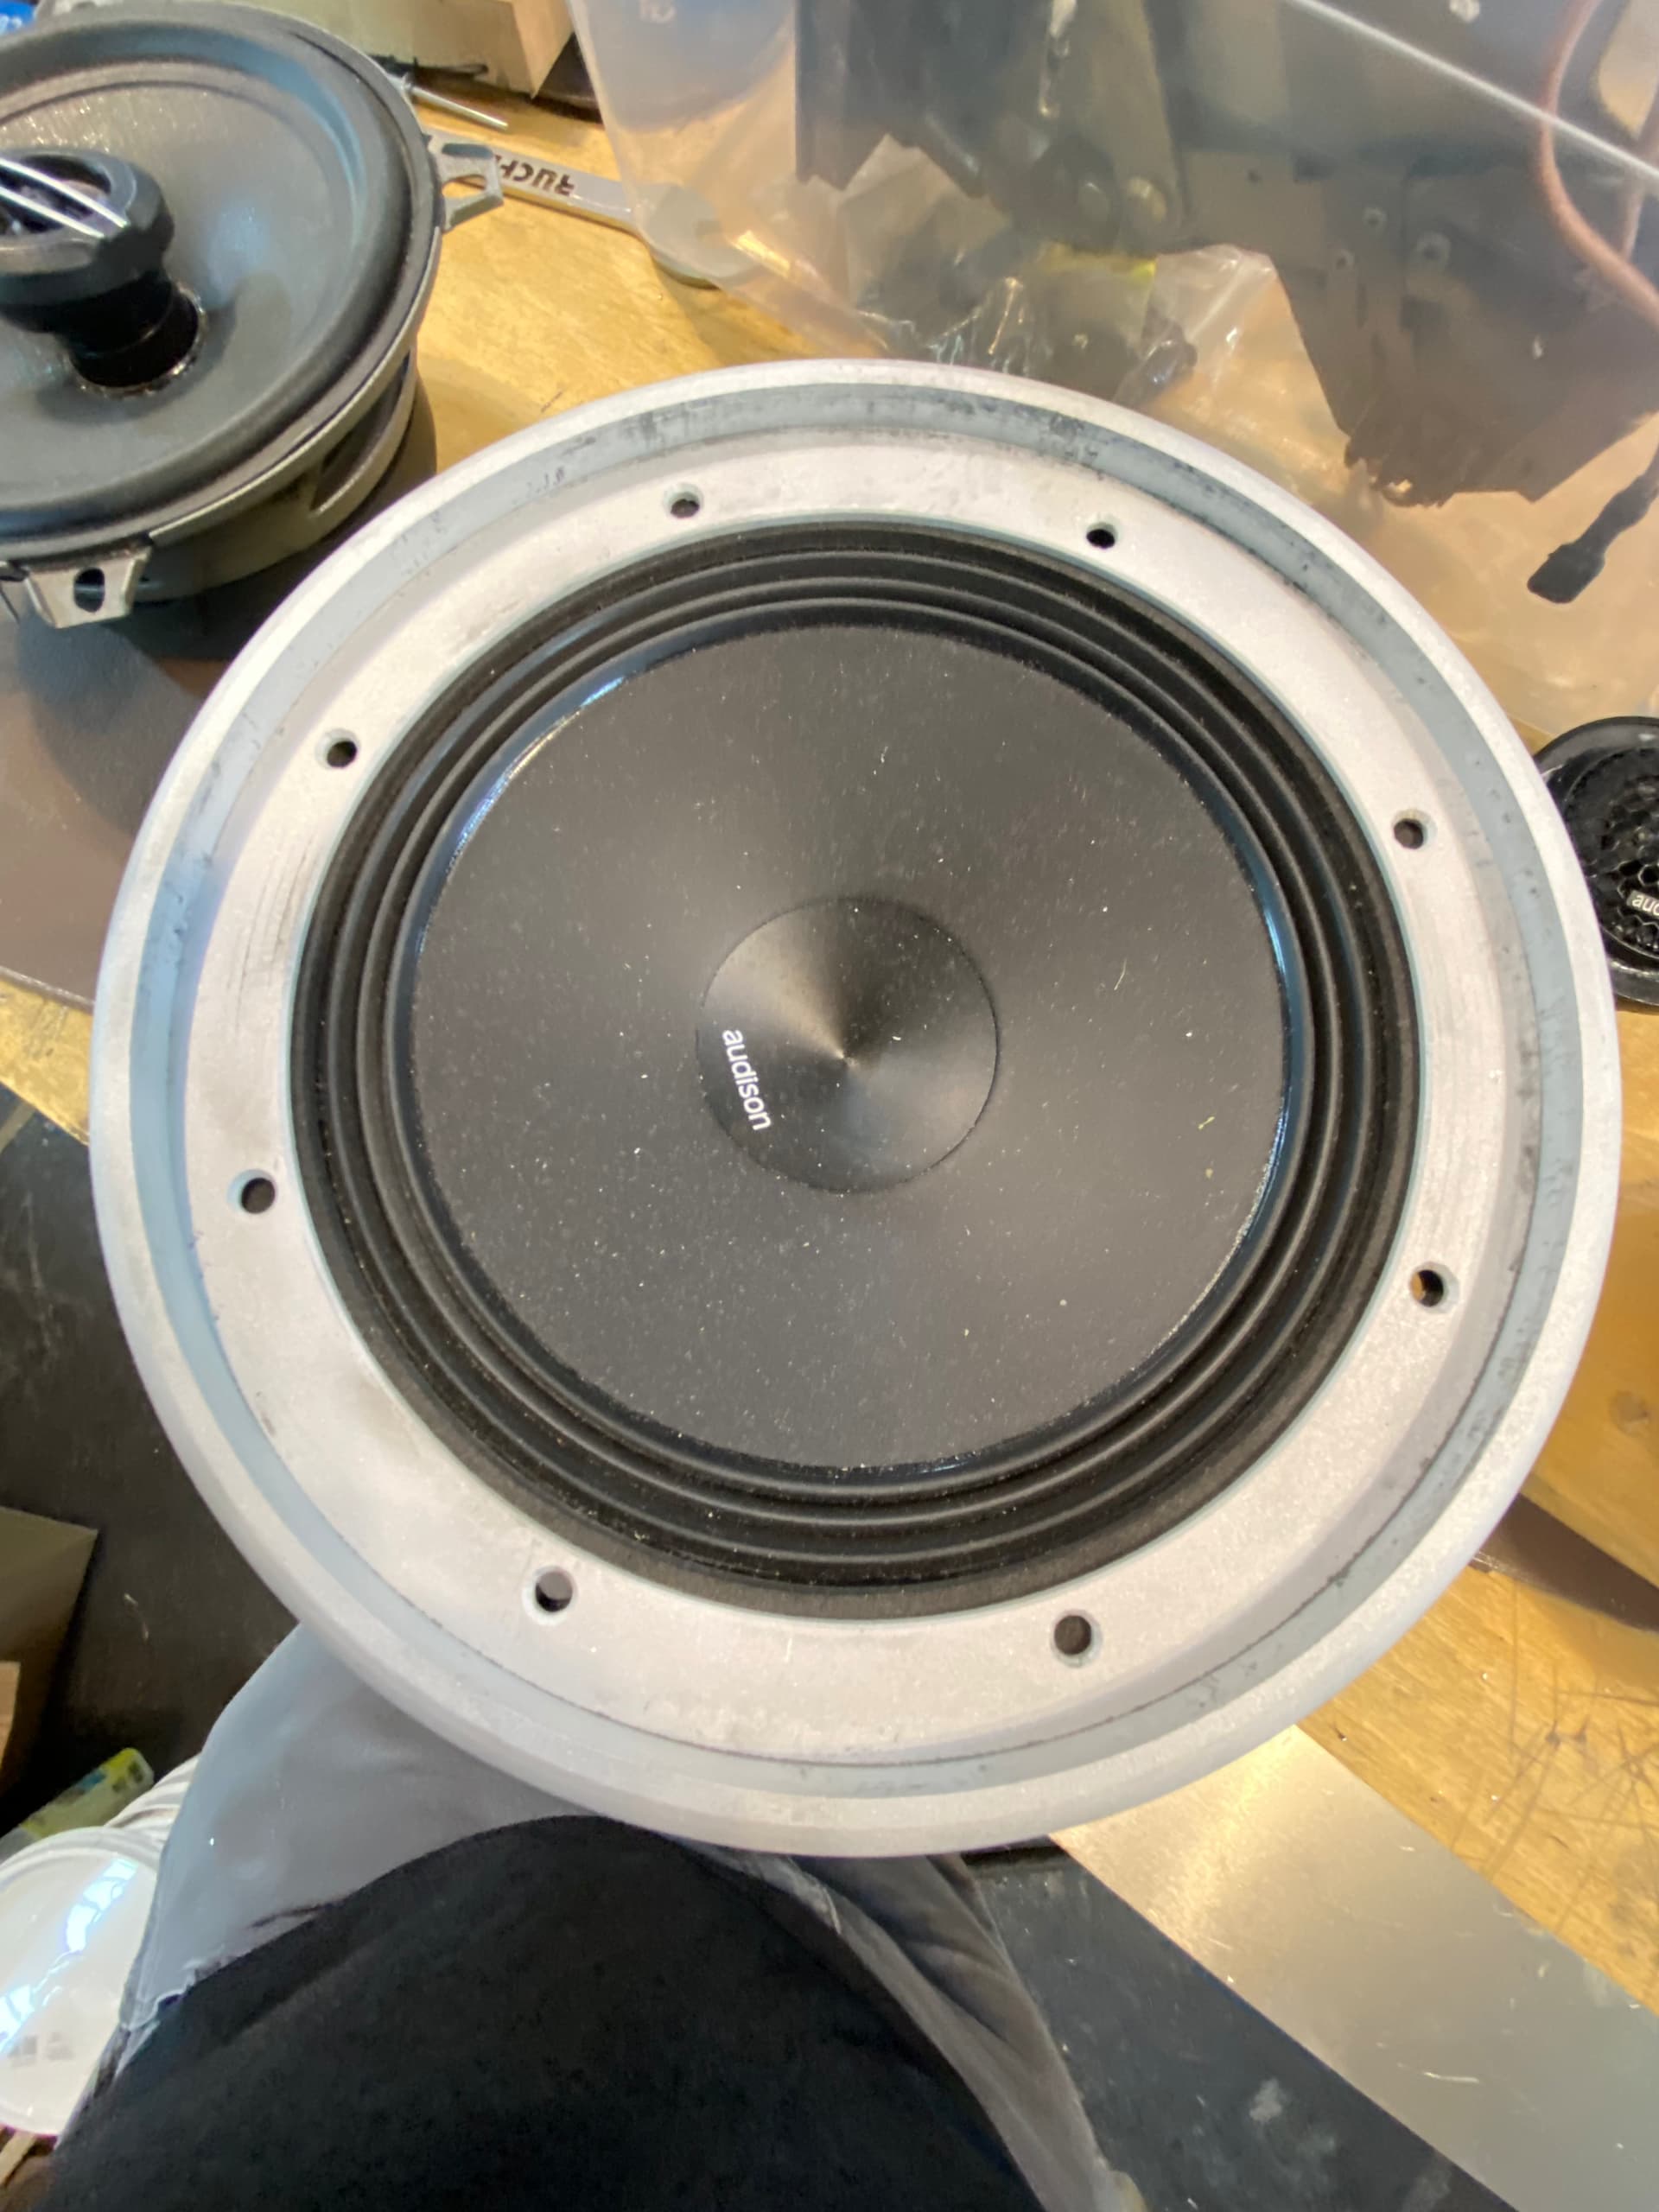
I’ve been looking for something different to do. Care to share or post a link to what the finished speakers look like?
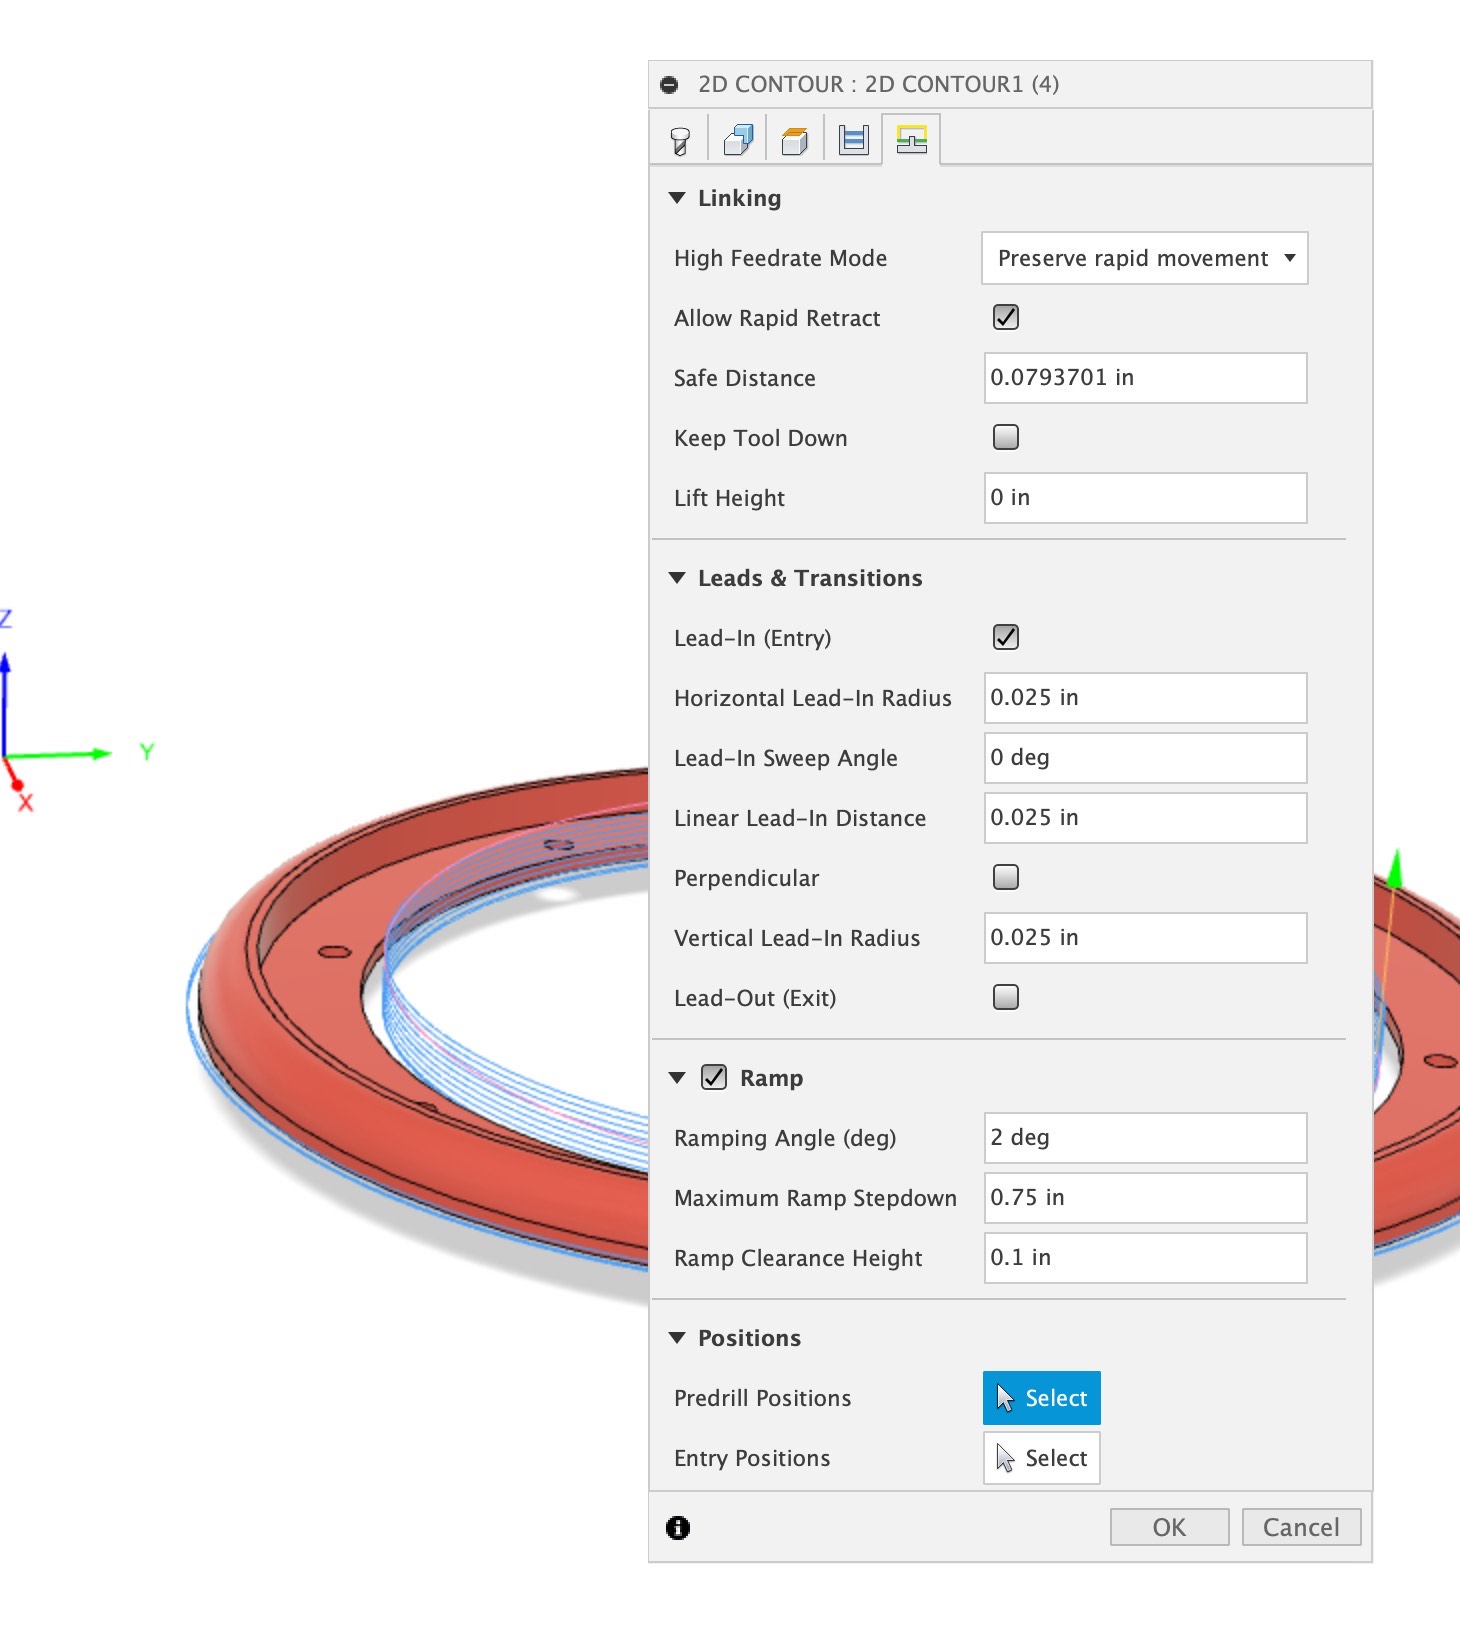
I’ll upload some examples of the tool paths I do, on the pro, I don’t do tabs in aluminum as the lack of rigidity makes marks on the sides, so I typically cut and leave 1.5 to 2mm to them do a final cut thru as the last operation and let the part fall thru. The middle of these speaker trims I do all the way at first as there are no other operations.
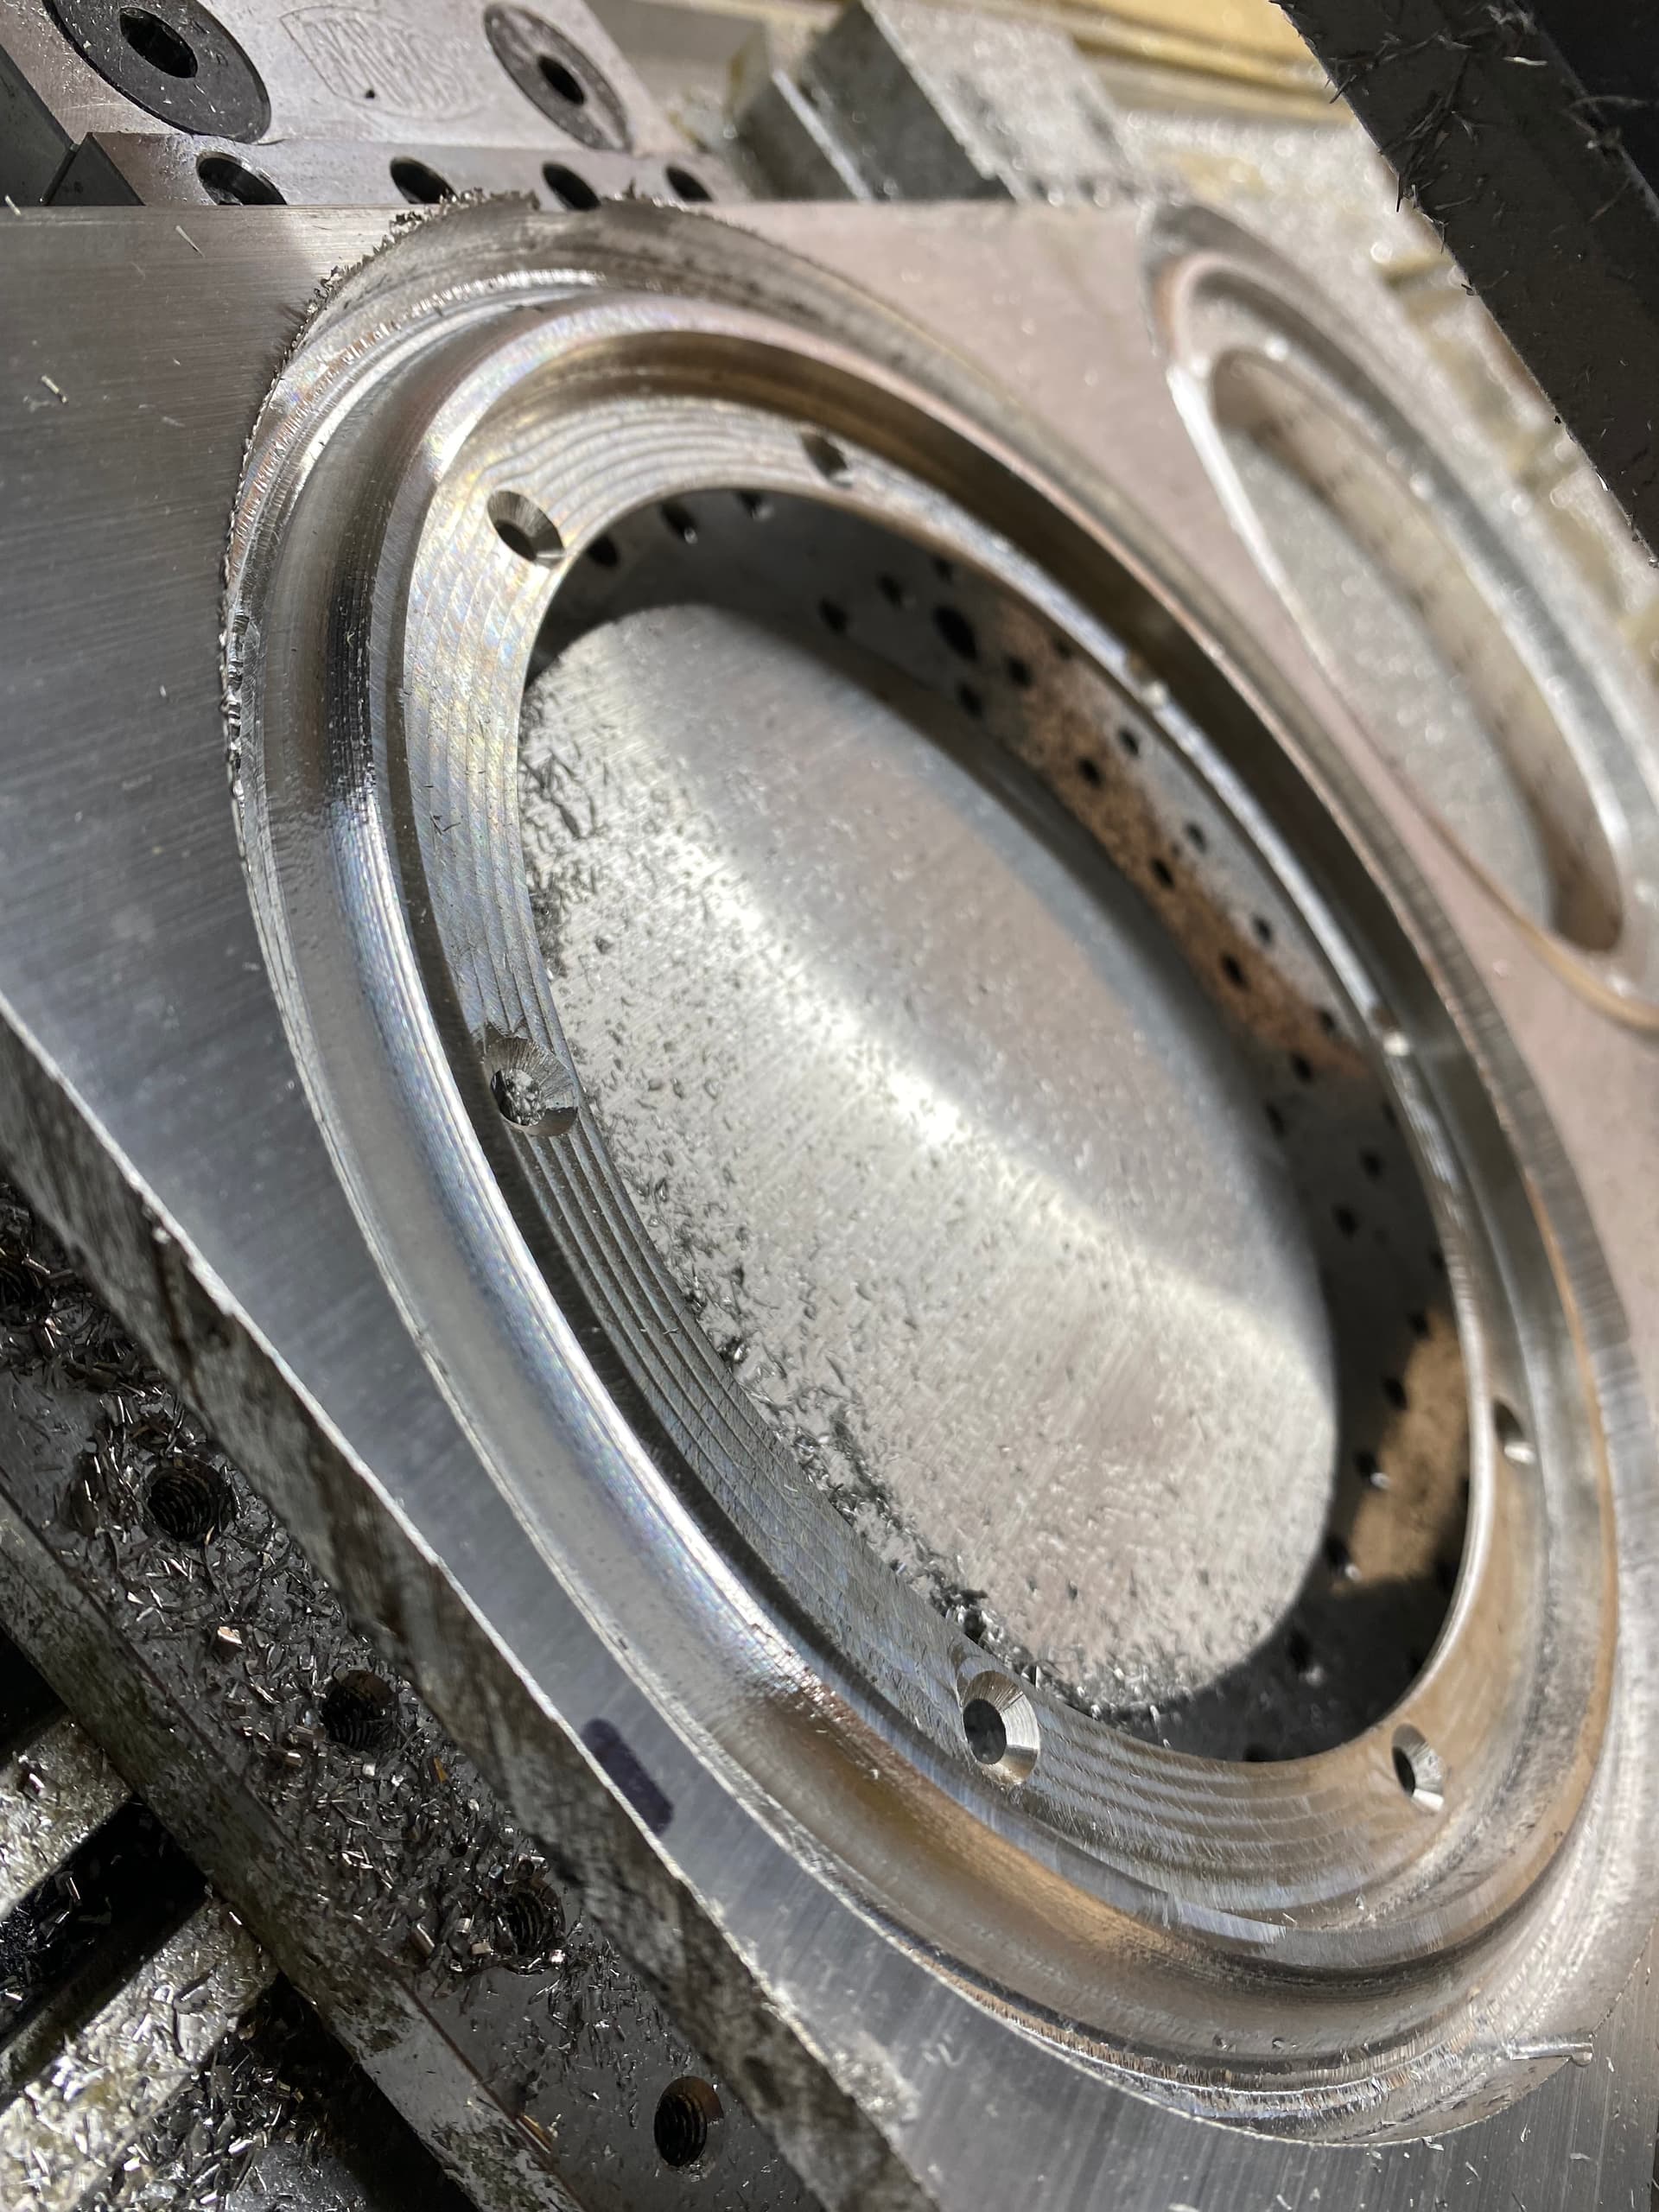
I got the enclosure up and a new chiller going today, so far I’ve tested a few operations that are from the Pro and damn the rigidity of the HDM is so nice… I’m having a few issues with what look like an axis jamming and it went haywire. I know it’s not the Gcode as it’s what I’ve run for months. I’ll chase it down.
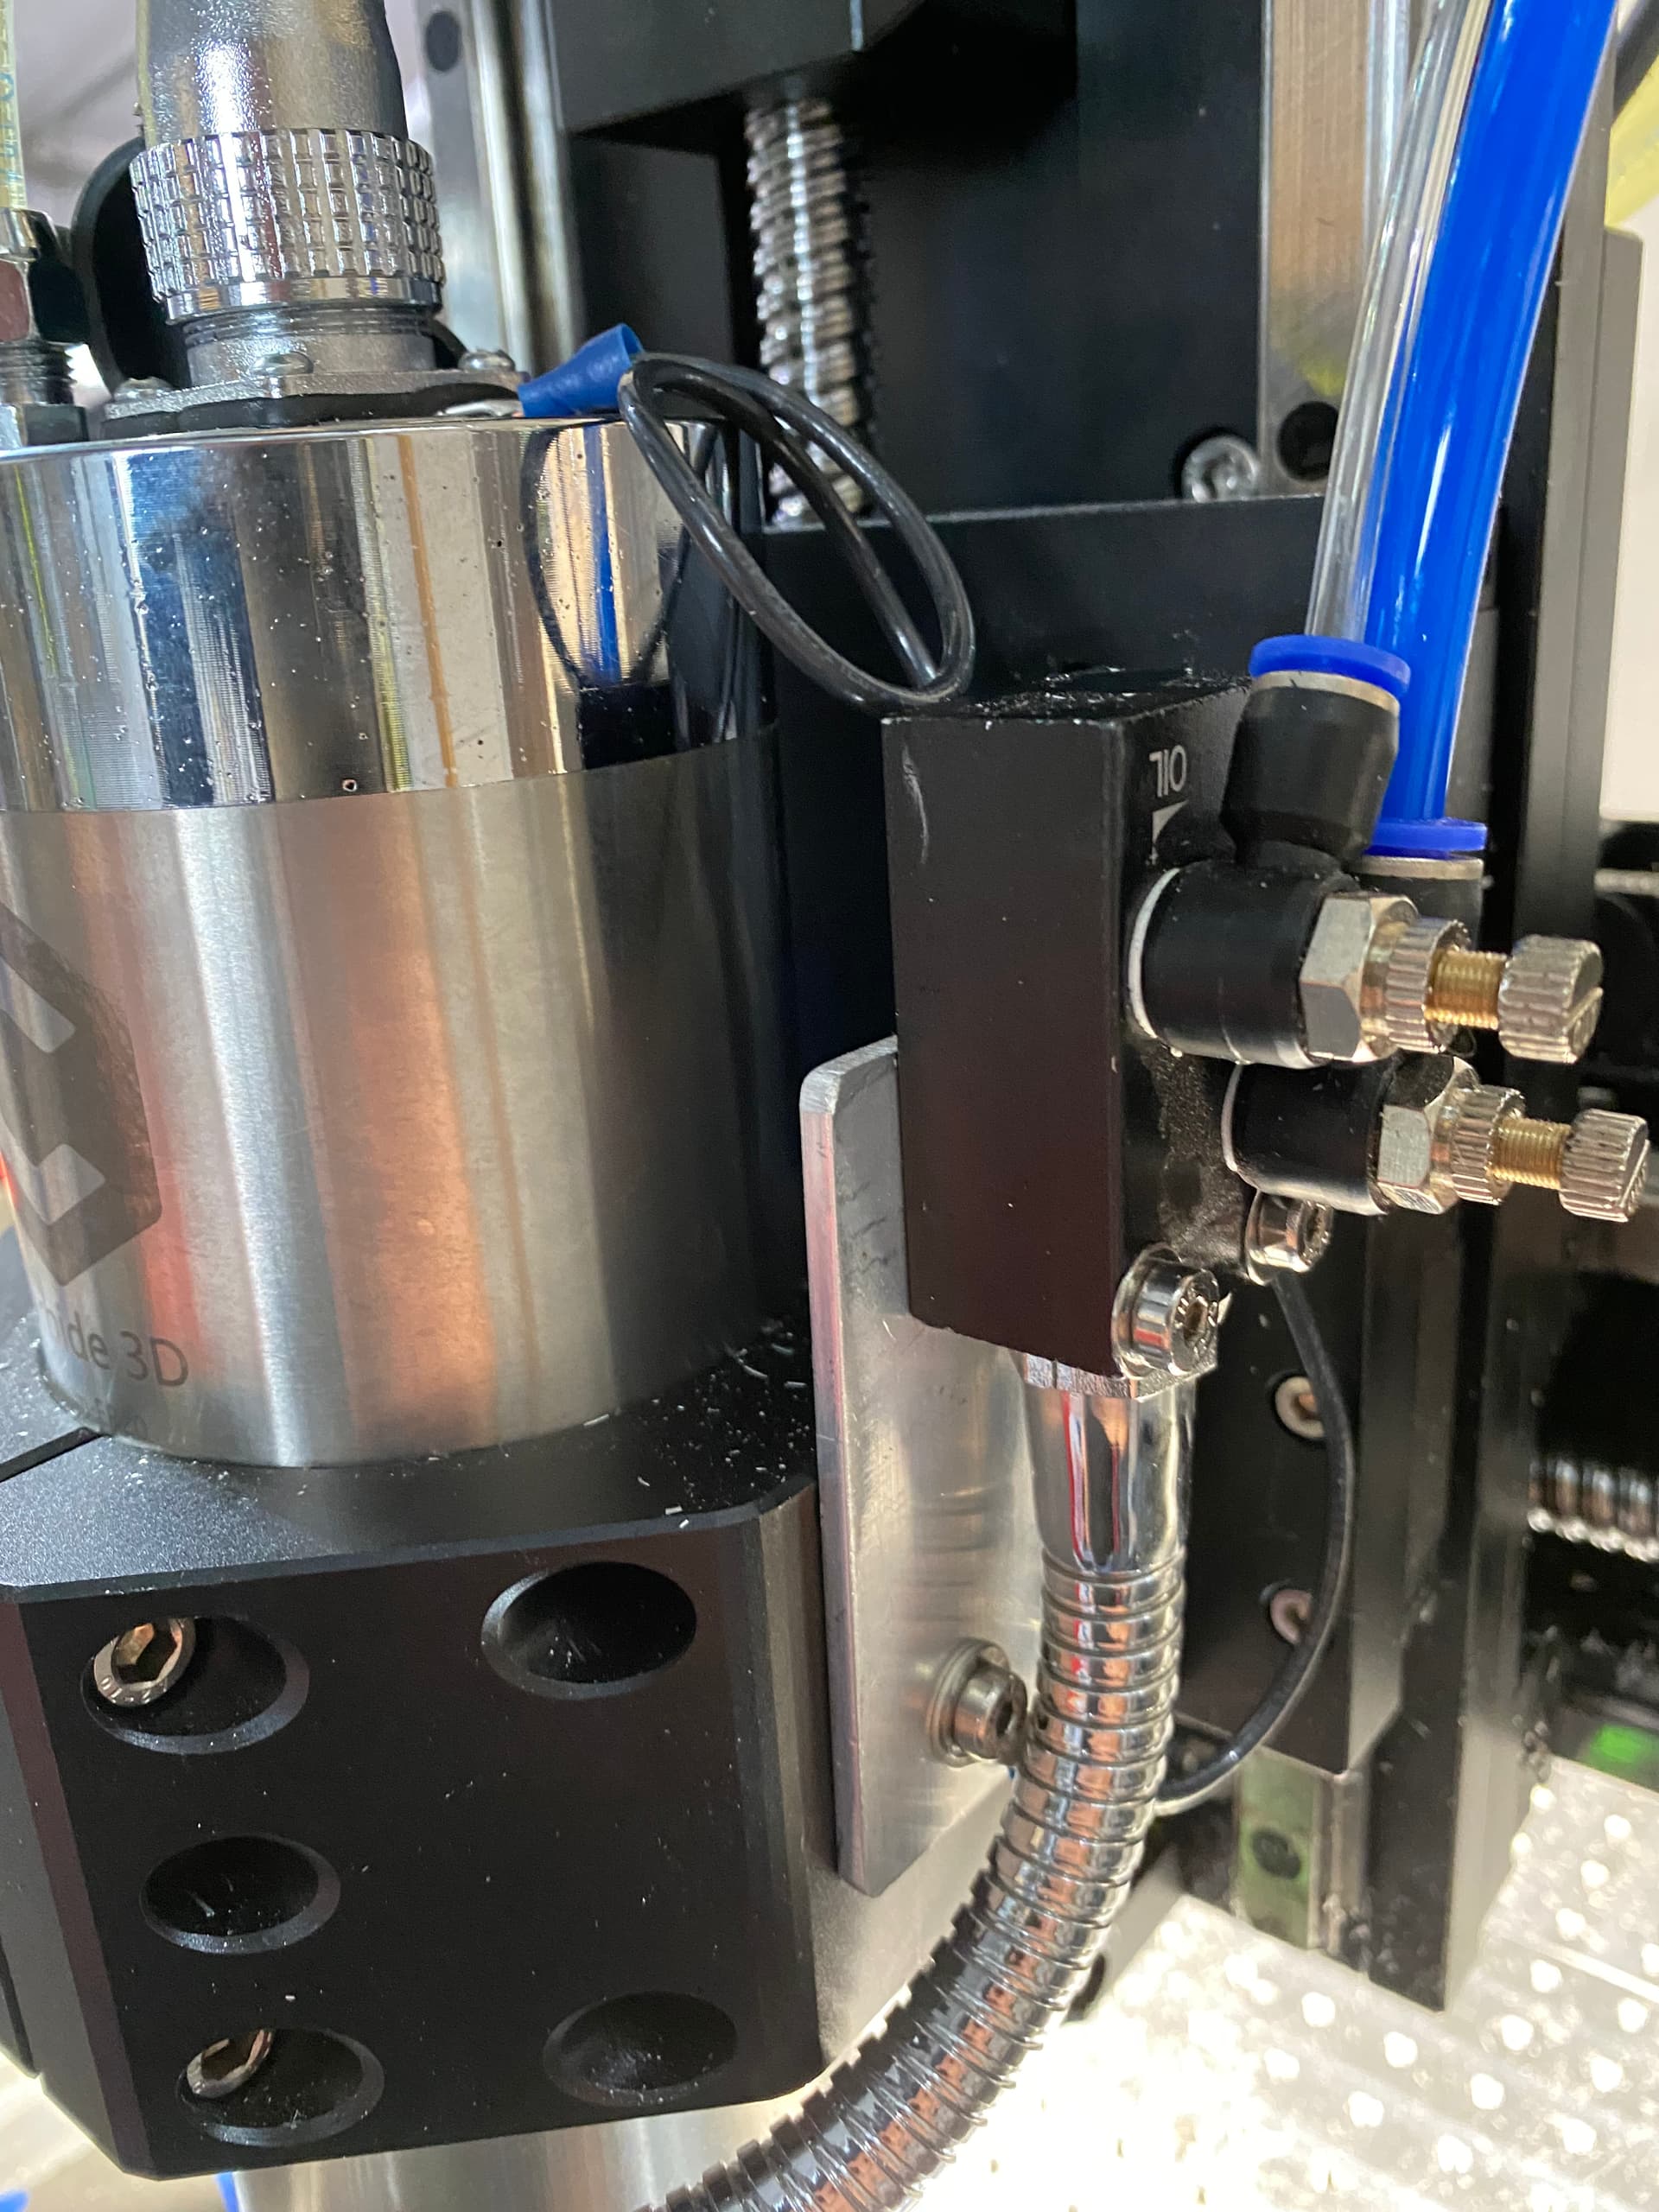
Abe and @Griff here are some pictures of the finished speakers and some of the tool paths I use. Basically the contour is a slotting process that uses a RAMP, selected on the last tab of the fusion tool paths. This makes all the difference in running these consistently. AND also I run a fogbuster/DIY Mister all the time, without that the slotting is not a good idea, with it, its like butter.
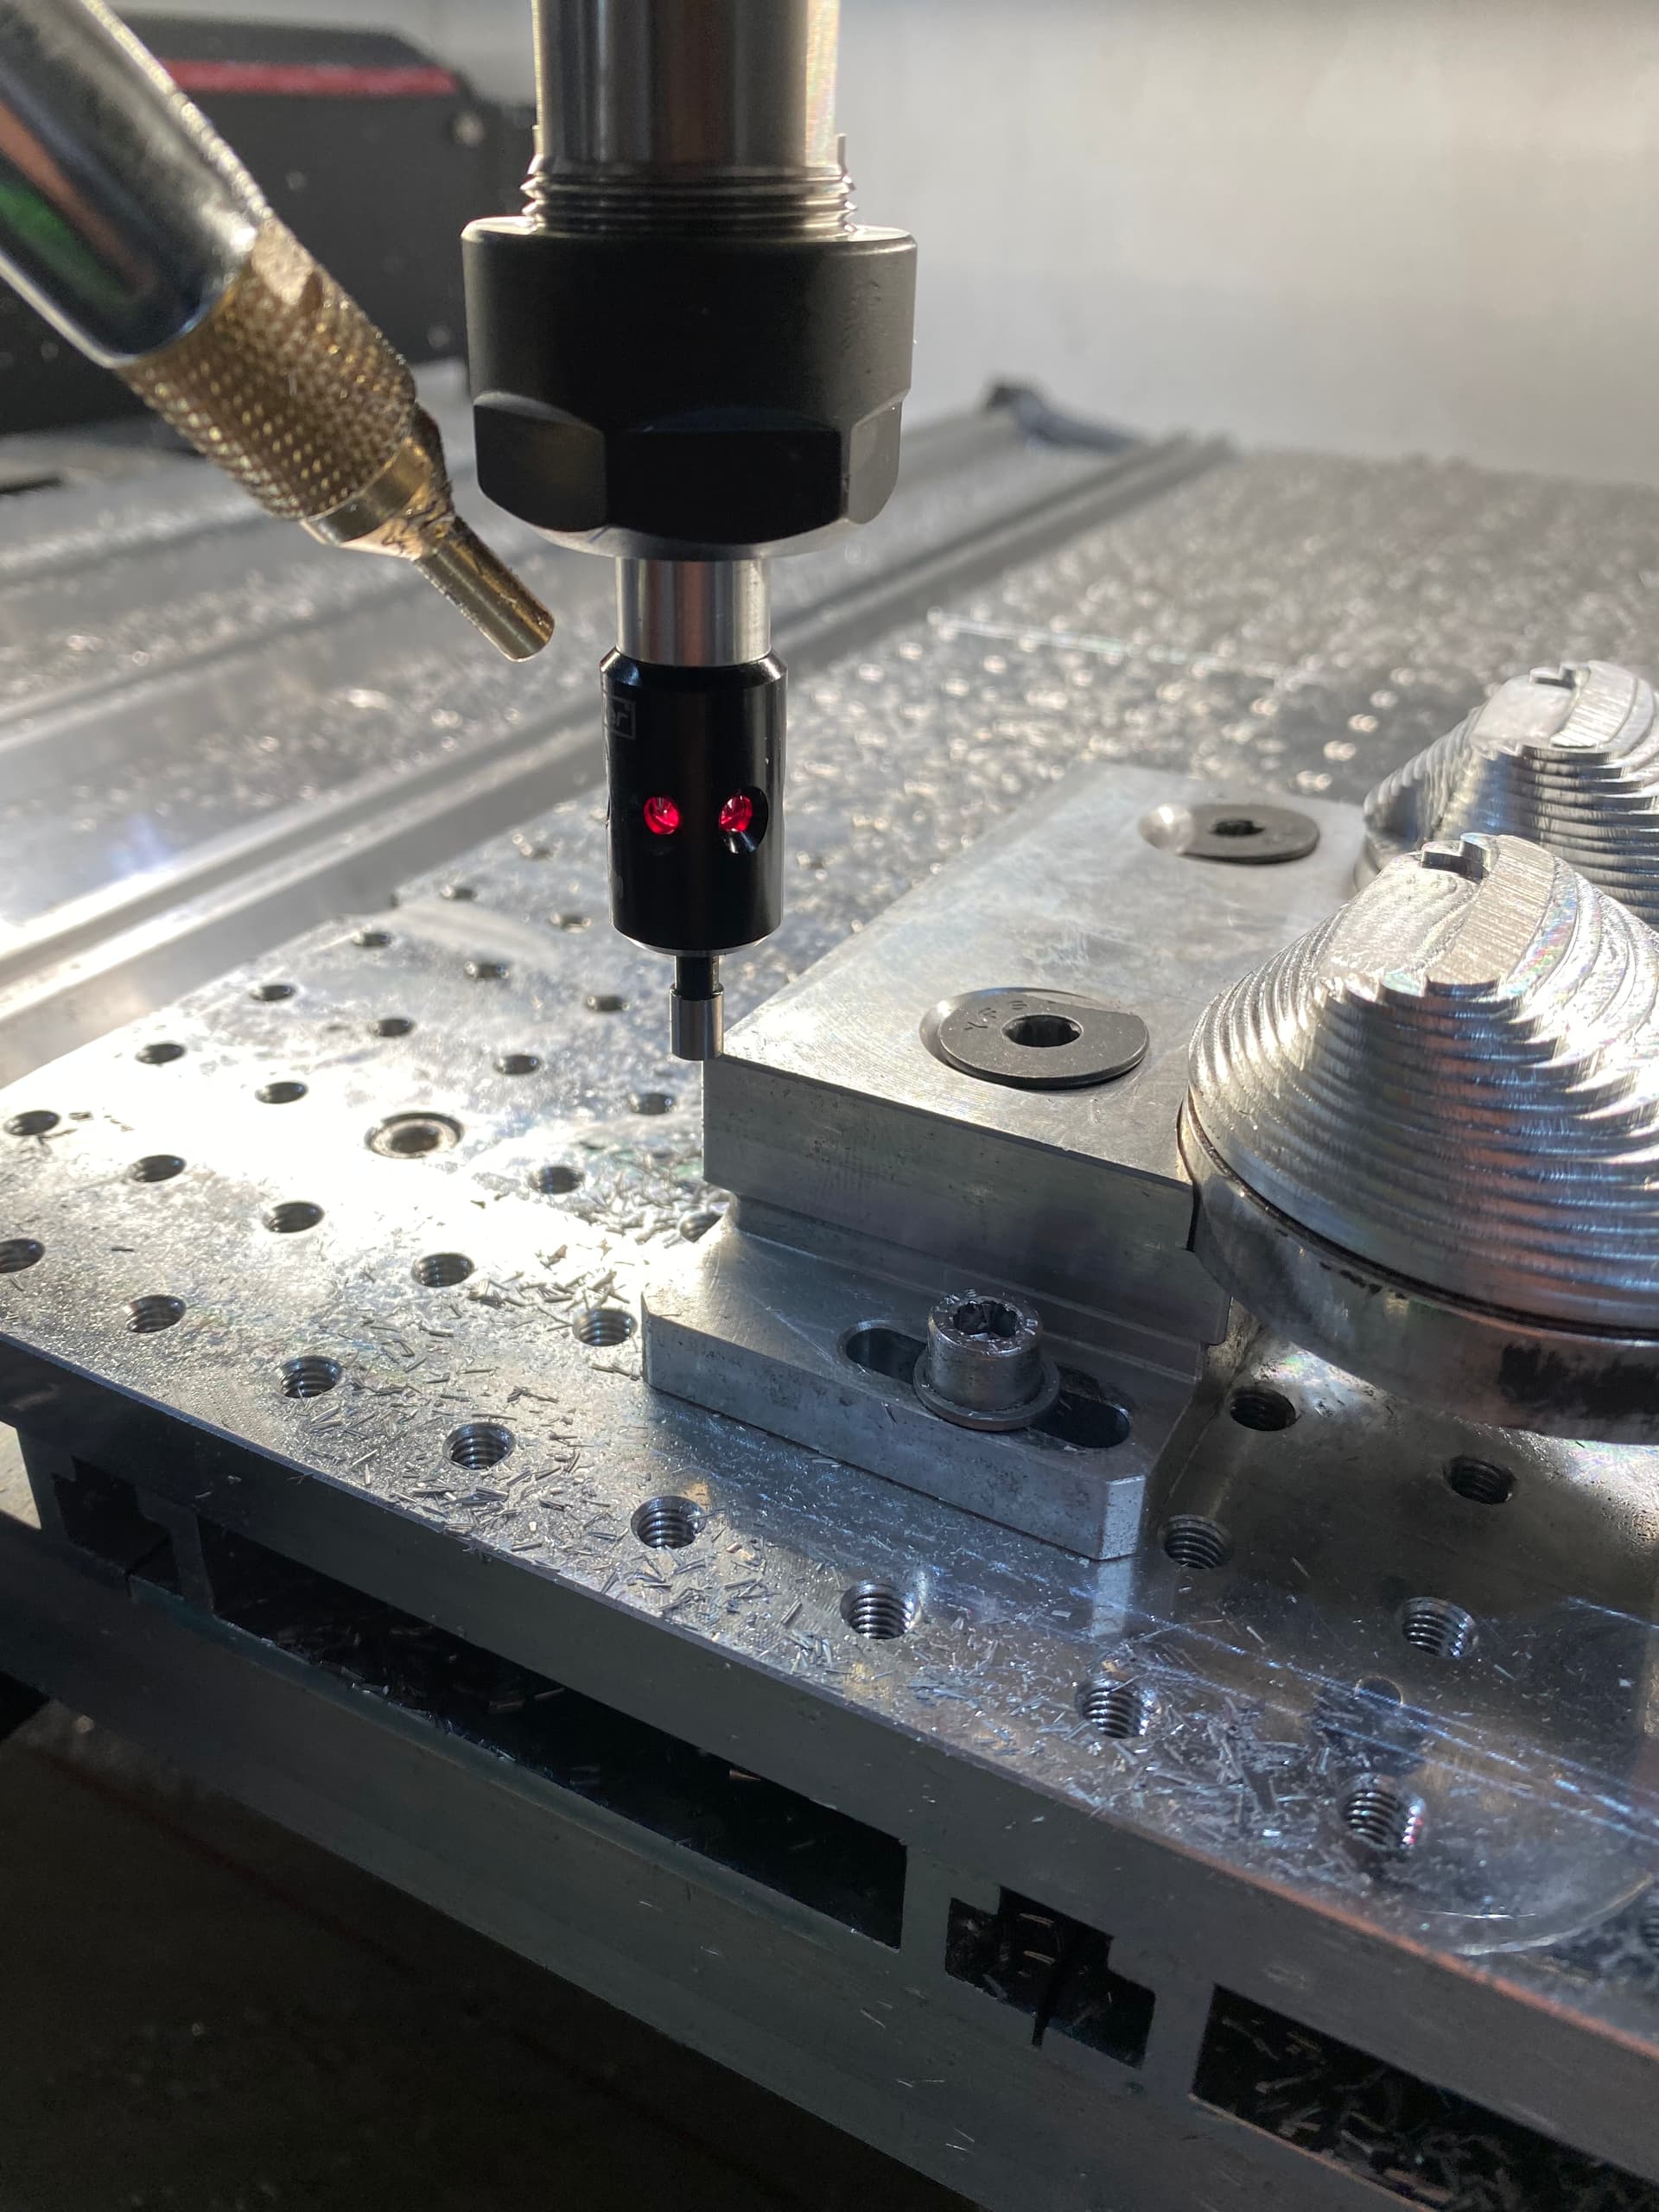
Adding a touch probe to the mix on the HDM, all I needed to do was make sure the spindle was grounded to the same bolts as the mist mount, hoping this will make complex setups easier to replicate vs by eye…
Griff
(Well crap, my hypometric precursor device is blown…)
30
Thanks for sharing the tool path info. My knowledge of all the options in F360 cam is negligible. Nice to see actual examples.
Curious about the touch probe you mentioned in the following post. I haven’t a clue on how to pick one. I have a project in mind that will need to be zeroed on a bore. I think a touch probe might come in handy?
I too had a hard time deciding so I picked a cheaper one to test and see how it will work. It seems to be a good option to find exact edges and then adjust the X or Y by 2.5mm to get exact center. As I test I will report back, as of now I have been mostly setting Zero by eye with a spot drill point bit with much success.