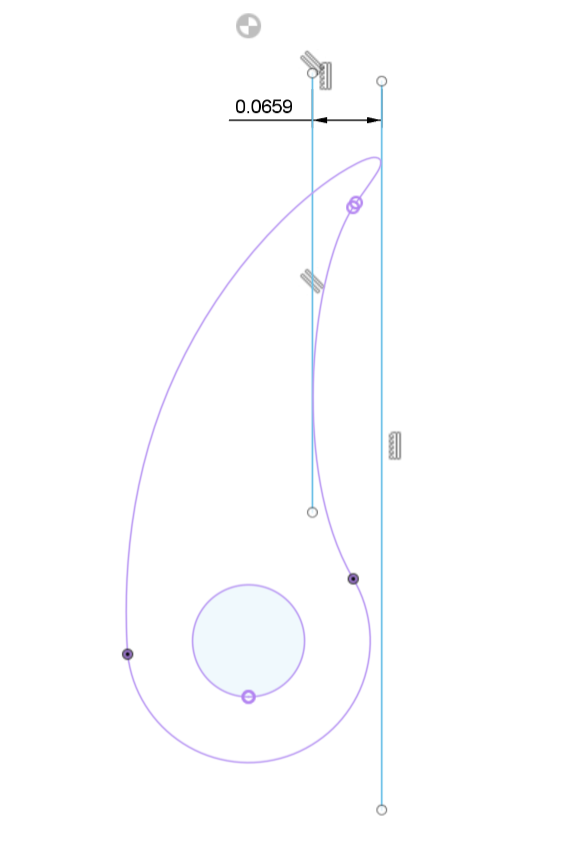
I was thinking a 1/4" round end mill on a 1/8" shank. That would give me .062" of the .0659 I need to cut, but I have not found one. I think that would just fit.
Suggestions ?
EDIT: I guess I am looking for an Under cutting end mill. Not cheap for a science experiment.
Probably overkill but a 5th axis may do it or even mounting vertically attached to a stepper motor that you can rotate a precise amount “manually” with a micro controller
Or, perhaps a tool path that starts outside the diffuser radius and cuts into the radius origin and straight back out? As I think of this option it would take a plethora of seperate tool paths however.
I found a Harvey bit that might work, around $70, or I defer/cheat.
I would assume that the real part is made on at least a 4 axis machine.
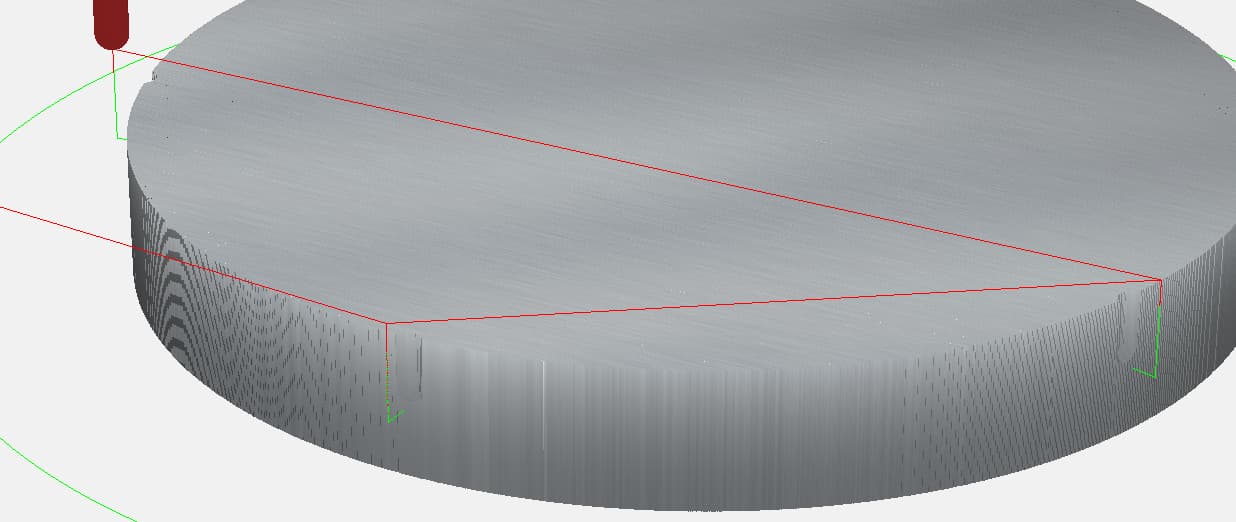
The part is roughly 7.4" diameter and just over 1" thick.
With the Risers from pwncnc, I get 5.3" of clearance under the Z transom, so a 4th axis for me would not work ( but it would be cool ! ).
@CrookedWoodTex suggestion of a separate part is a thought, but I can’t cut a pocket to glue it back into, and I am not a small part guy ( too hard to do ).
Rain is coming for the next couple of days, so cutting this part will be my time consumption devise.
Today I am on my way to RI to get my butt handed to me playing golf with my younger daughter.
She started playing 6 months ago, and she can play this game.
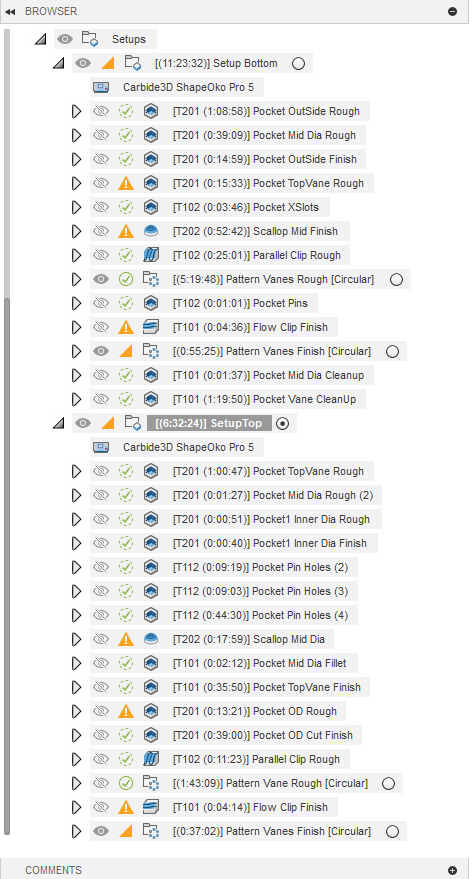
Here is the operations list. I had to learn to use Patterns of operations to make this happen in theory,
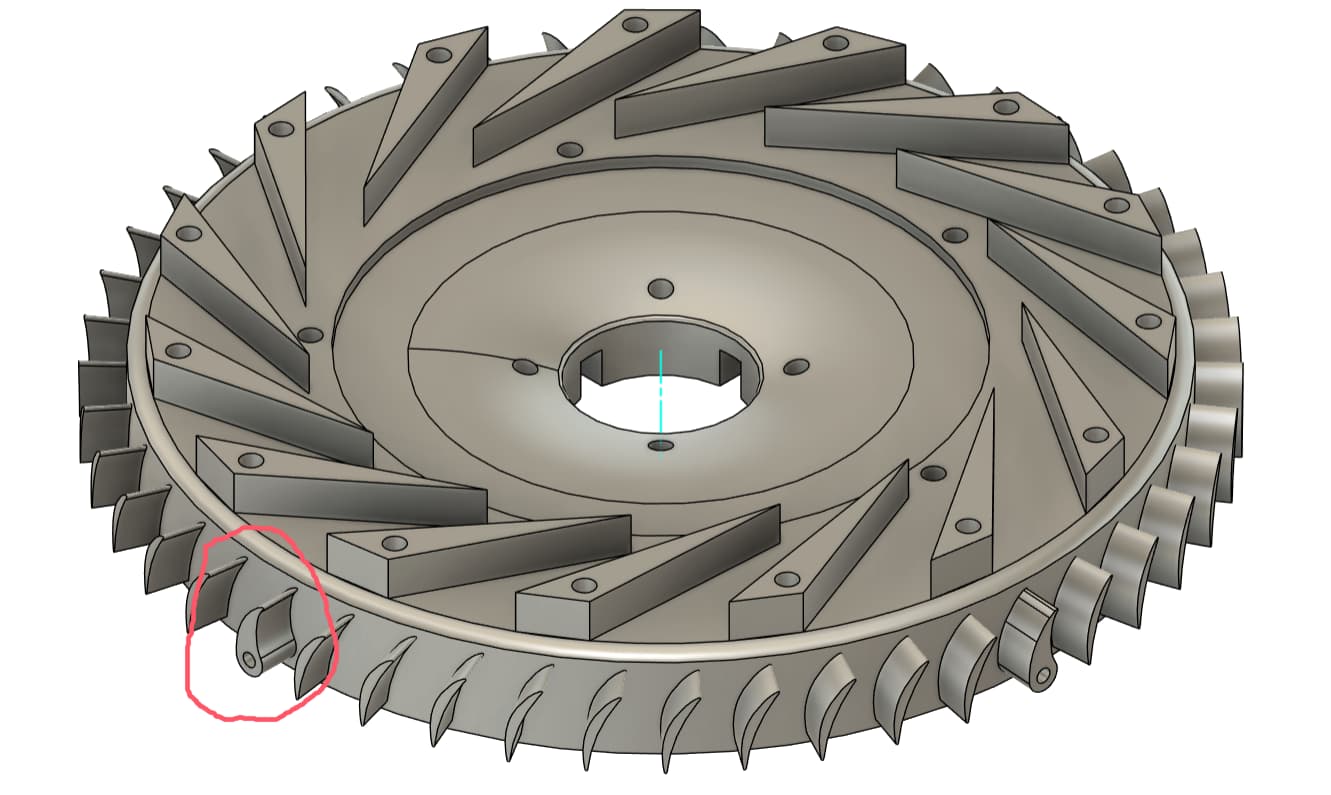
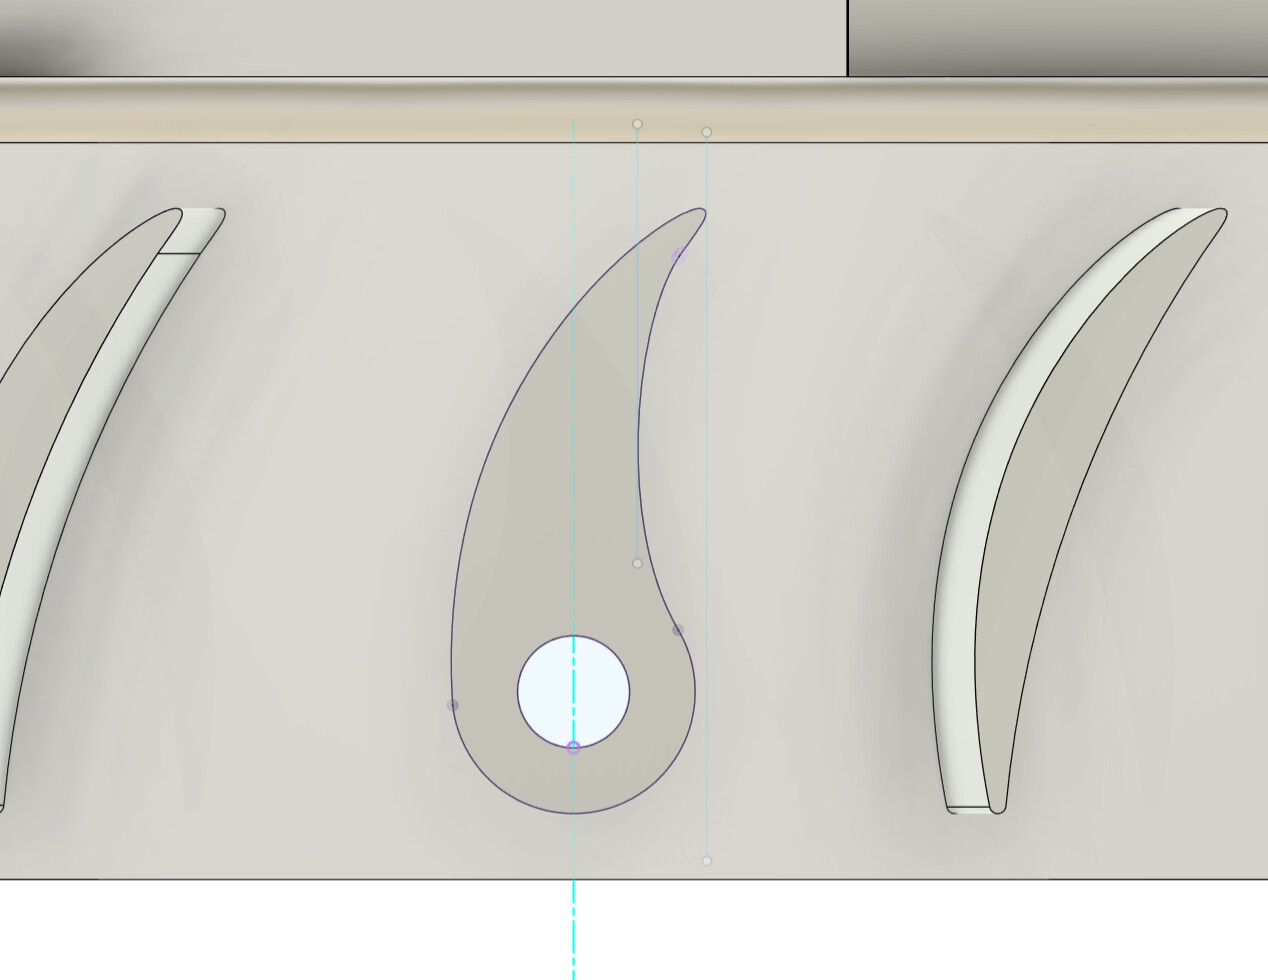
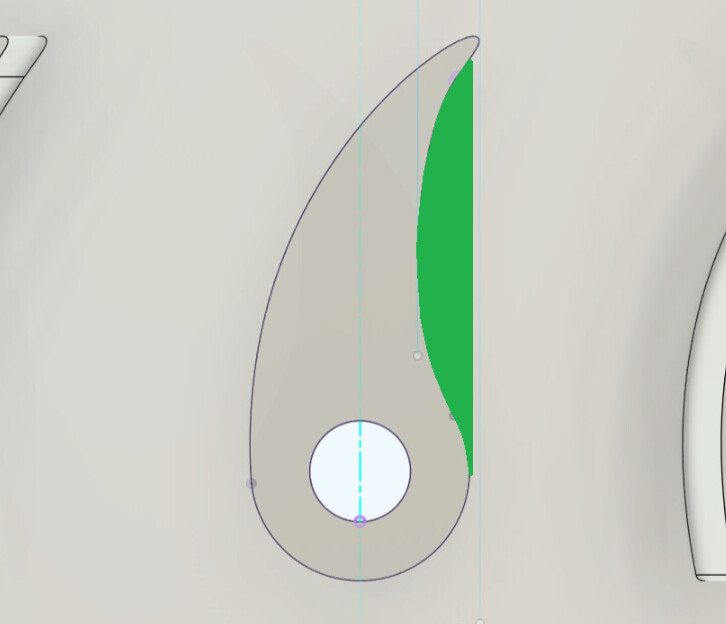
Jim, I’d tend to do the part straight two-sided, then hand-machine (multi-axis compliant biometric feedback-controlled mechanism…) the shadowed part (green here) of the teardrop fins with a rotary hand tool (Proxxon or such)
Since there is a hole for registering that, why not make a fixture to hold the part at the front of the machine in the overhang cutting area, then rotate it to make each cut, using the hole to register/lock the part in place for that cut.
Putting in those radial holes themselves is a whole 'nuther aspect. I think an auxiliary fixture will be needed just to machine them, if only something to guide the hand tool. From the oblique view, it looks like there are five of the “teardrop” fins? If so, they will coordinate with every third “wedge” on the upper surface, which could be used as an indexing feature.
It the shadowed areas of the teardrop blades were machined with a lollipop cutter, there would be huge fillets at their base which would need to be cleaned up by hand anyway…
I know that there is a variation of V-bit engraving using a ball-end, but that is taking things to a whole new level! Radial spotting with a spherical cutter…
Yes, the radial hole in the teardrop blade looks almost exactly coordinated with the axial hole in the adjacent “wedge” on the top surface so that would be convenient.
OK, the workpiece is wood. I wonder if there is a conveniently-shaped (i.e. the right curve radius) gouge that could be used to clean up the shadowed area. (Several decades ago I worked briefly with a casting pattern maker that did everything with basic woodworking tools and much hand skill…) Or 2-sided CNC a custom profile gouge…
Or…… 3D print a jig that matches the radius of the part that hangs over the side with a hole to drill a for an alignment dowel as well as a jig to drill the hole in the machined blade.
@Randy , that looks to be about a 0.4" R. The closest spoon gouge I have would be 0.375", so it would take a couple swipes & a little sanding. A 10mm gouge would be closer. (if they make them).
Marking the holes with a lollipop could be done with a series of keyhole paths