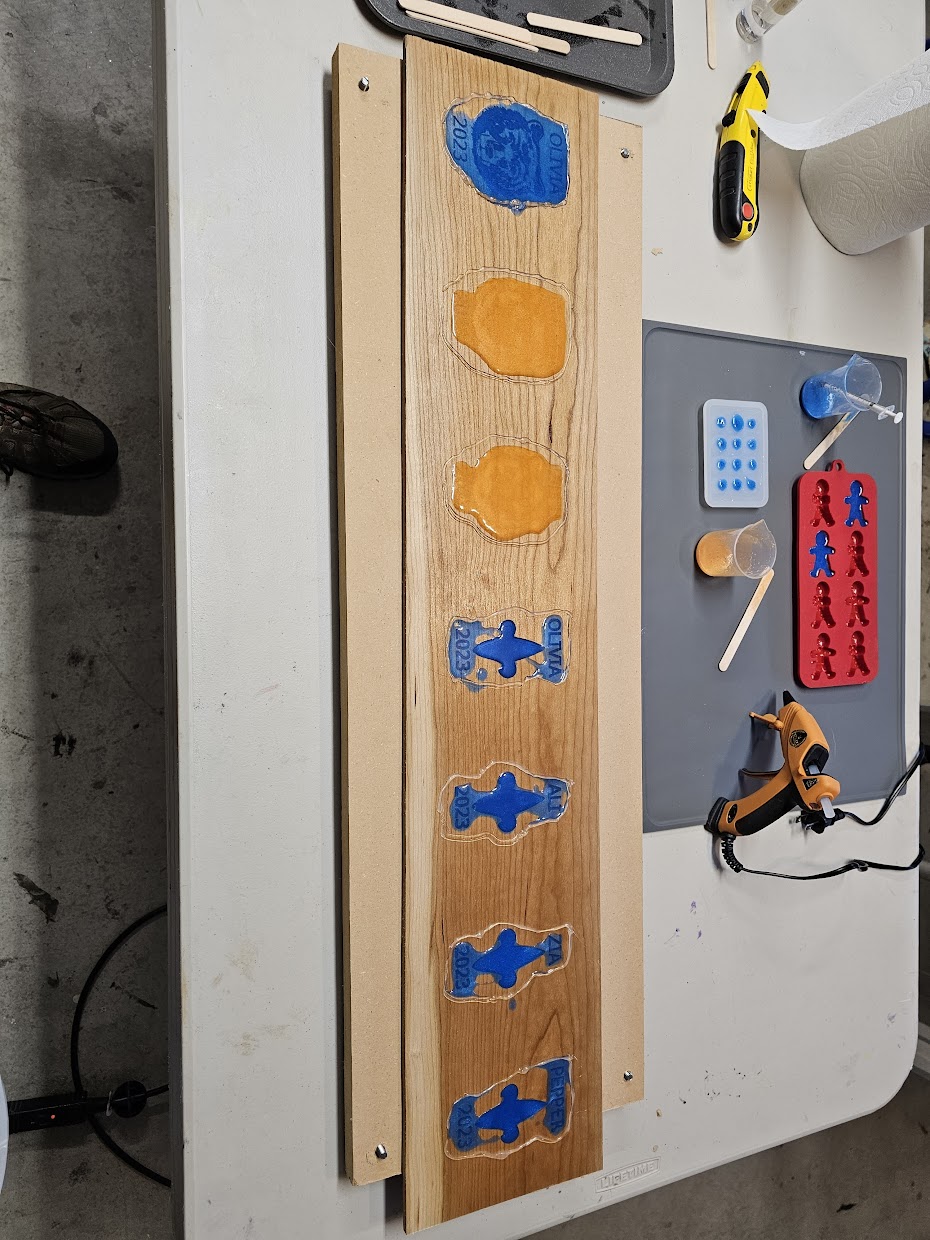
So I am trying out inlays for the first time but had a question when doing multiple colors (making coasters). When pouring the first epoxy layer it comes above the currently set stock surface. How can I account for this for the next pass? Or do I need to do a surfacing pass each time? Or does the extra mil or 2 of extra thickness not really matter? I don’t want the bit to try and take off too much. Attaching a pic to show what I mean… Since I have a jig setup for the board placement I don’t want to adjust any of my zeros so I can get it to all line up correctly.
No expert here, but my strategy has been to start with the wood thicker than I need and then cut a circular pocket down a bit like .08 or .1 inch. Then use that as the start depth for the rest of the carving operations. That pocket acts as a dam to keep the epoxy in.
For each layer of epoxy I repeat the initial pocketing path to flatten back to the true surface level. Some of that is air but it’s Ok.
I have had some issues with the one being slightly deeper than another but I am working on identifying the issue and correcting my methodology. Actually running a set of 5 of a different style now as a gift for my kids teachers.
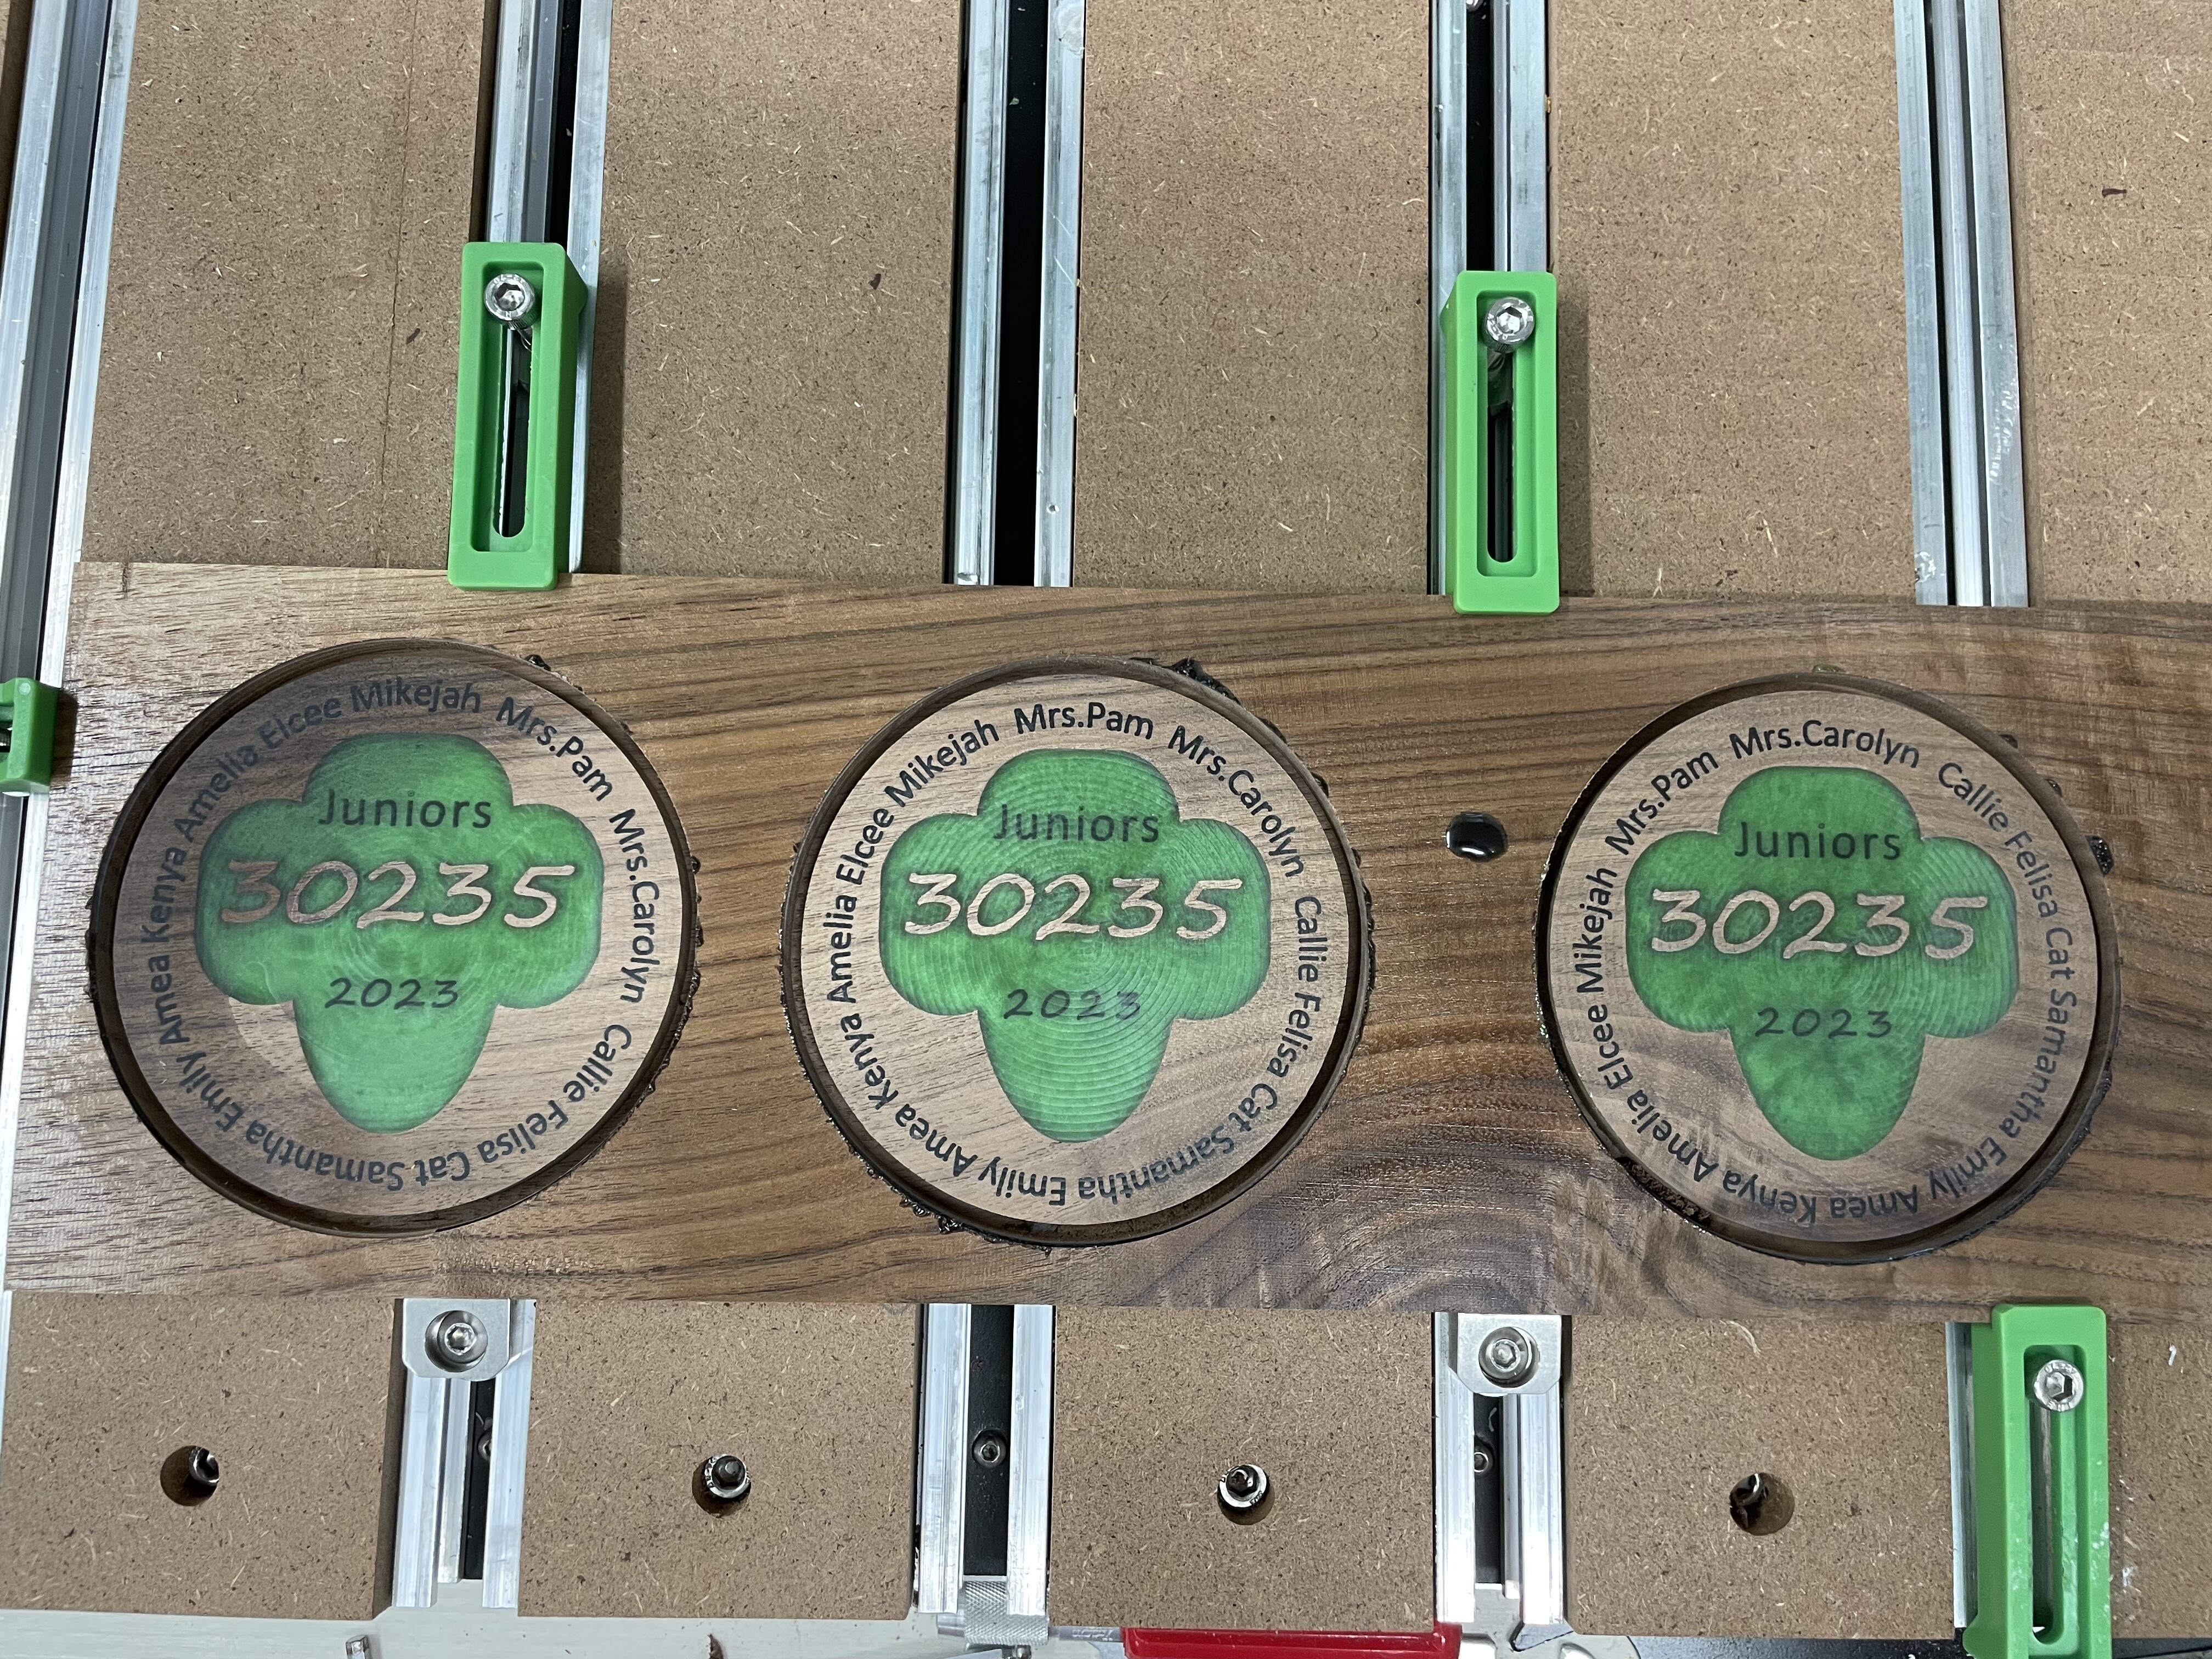
Here is todays project.
The pieces are a bit thick. Finished they will be almost 1/2”. I don’t know if that violates the international standard for coaster thickness but I wanted to see how the end result would look.
I realize that the circular pockets take more time than a traditional flattening path but like I say it makes a good epoxy dam.
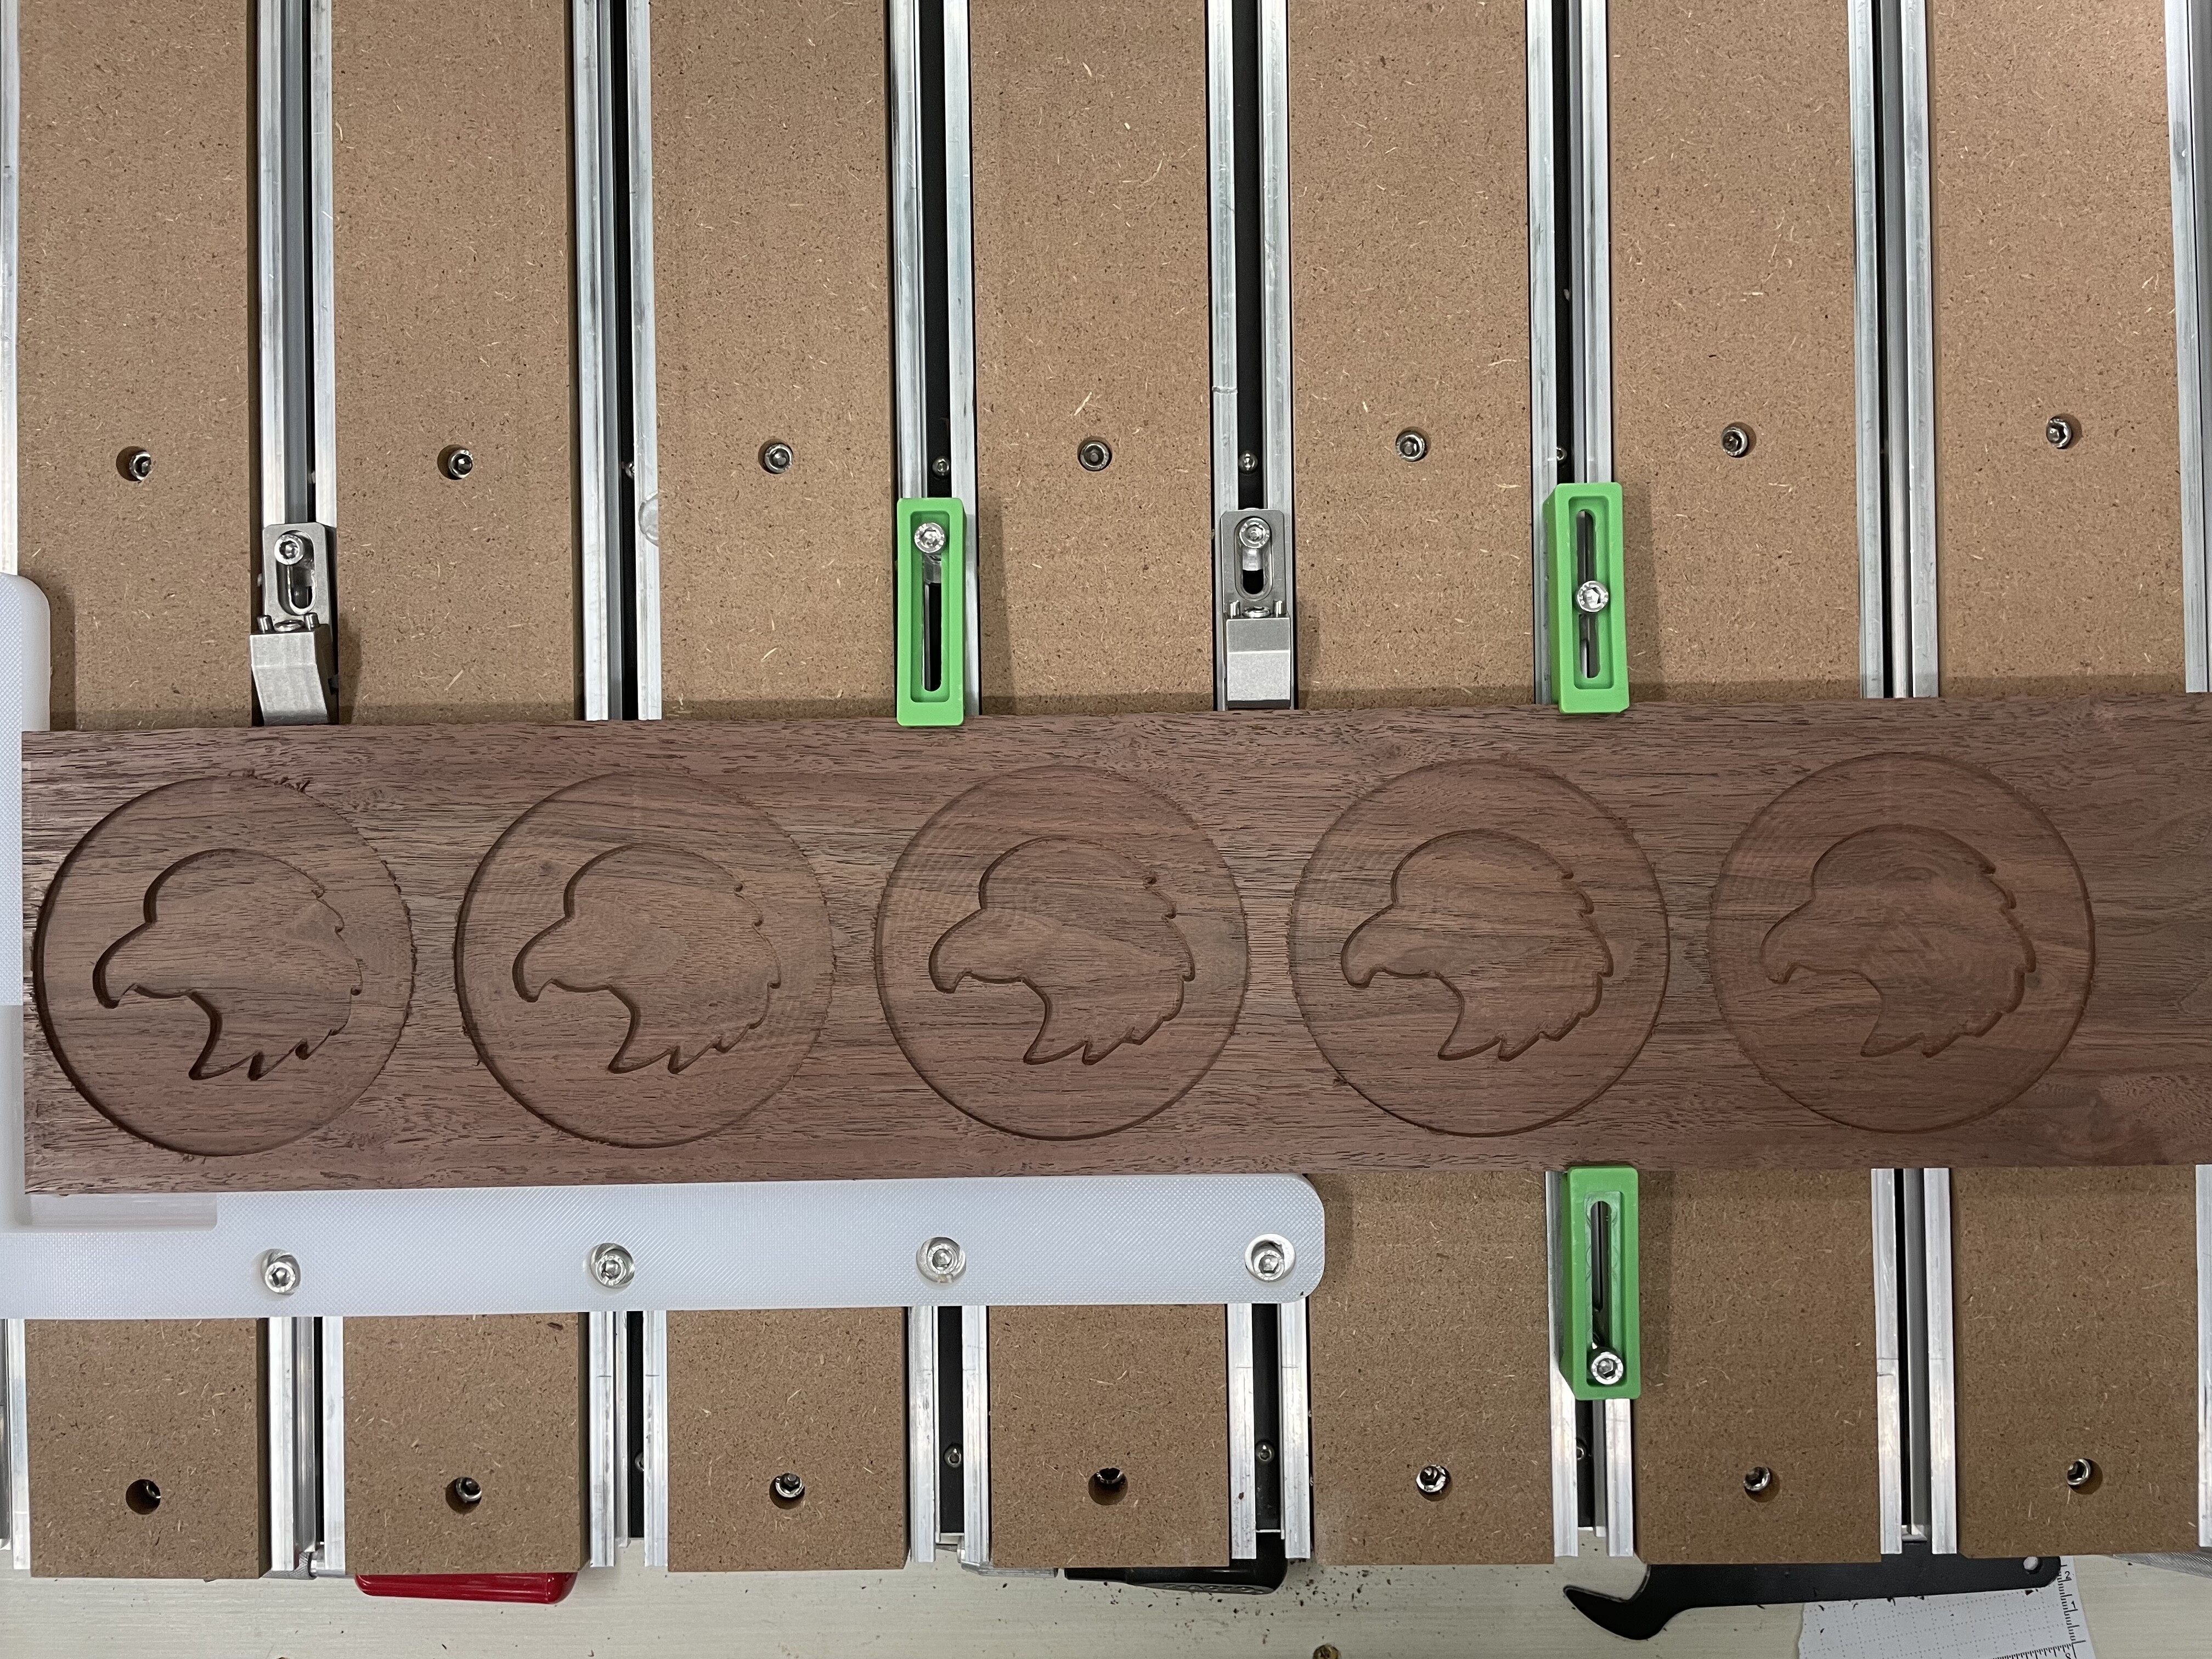
Here was a previous example of that.

1 Like
I never worry about the extra epoxy.
The epoxy is very soft. I set up my job one time and leave it on the machine until the whole job is done.
I like your idea of a jib with indexing holes. I have found that even the tiniest change messed up the whole job. Even re-initializing the machine can throw it off by enough to show through.
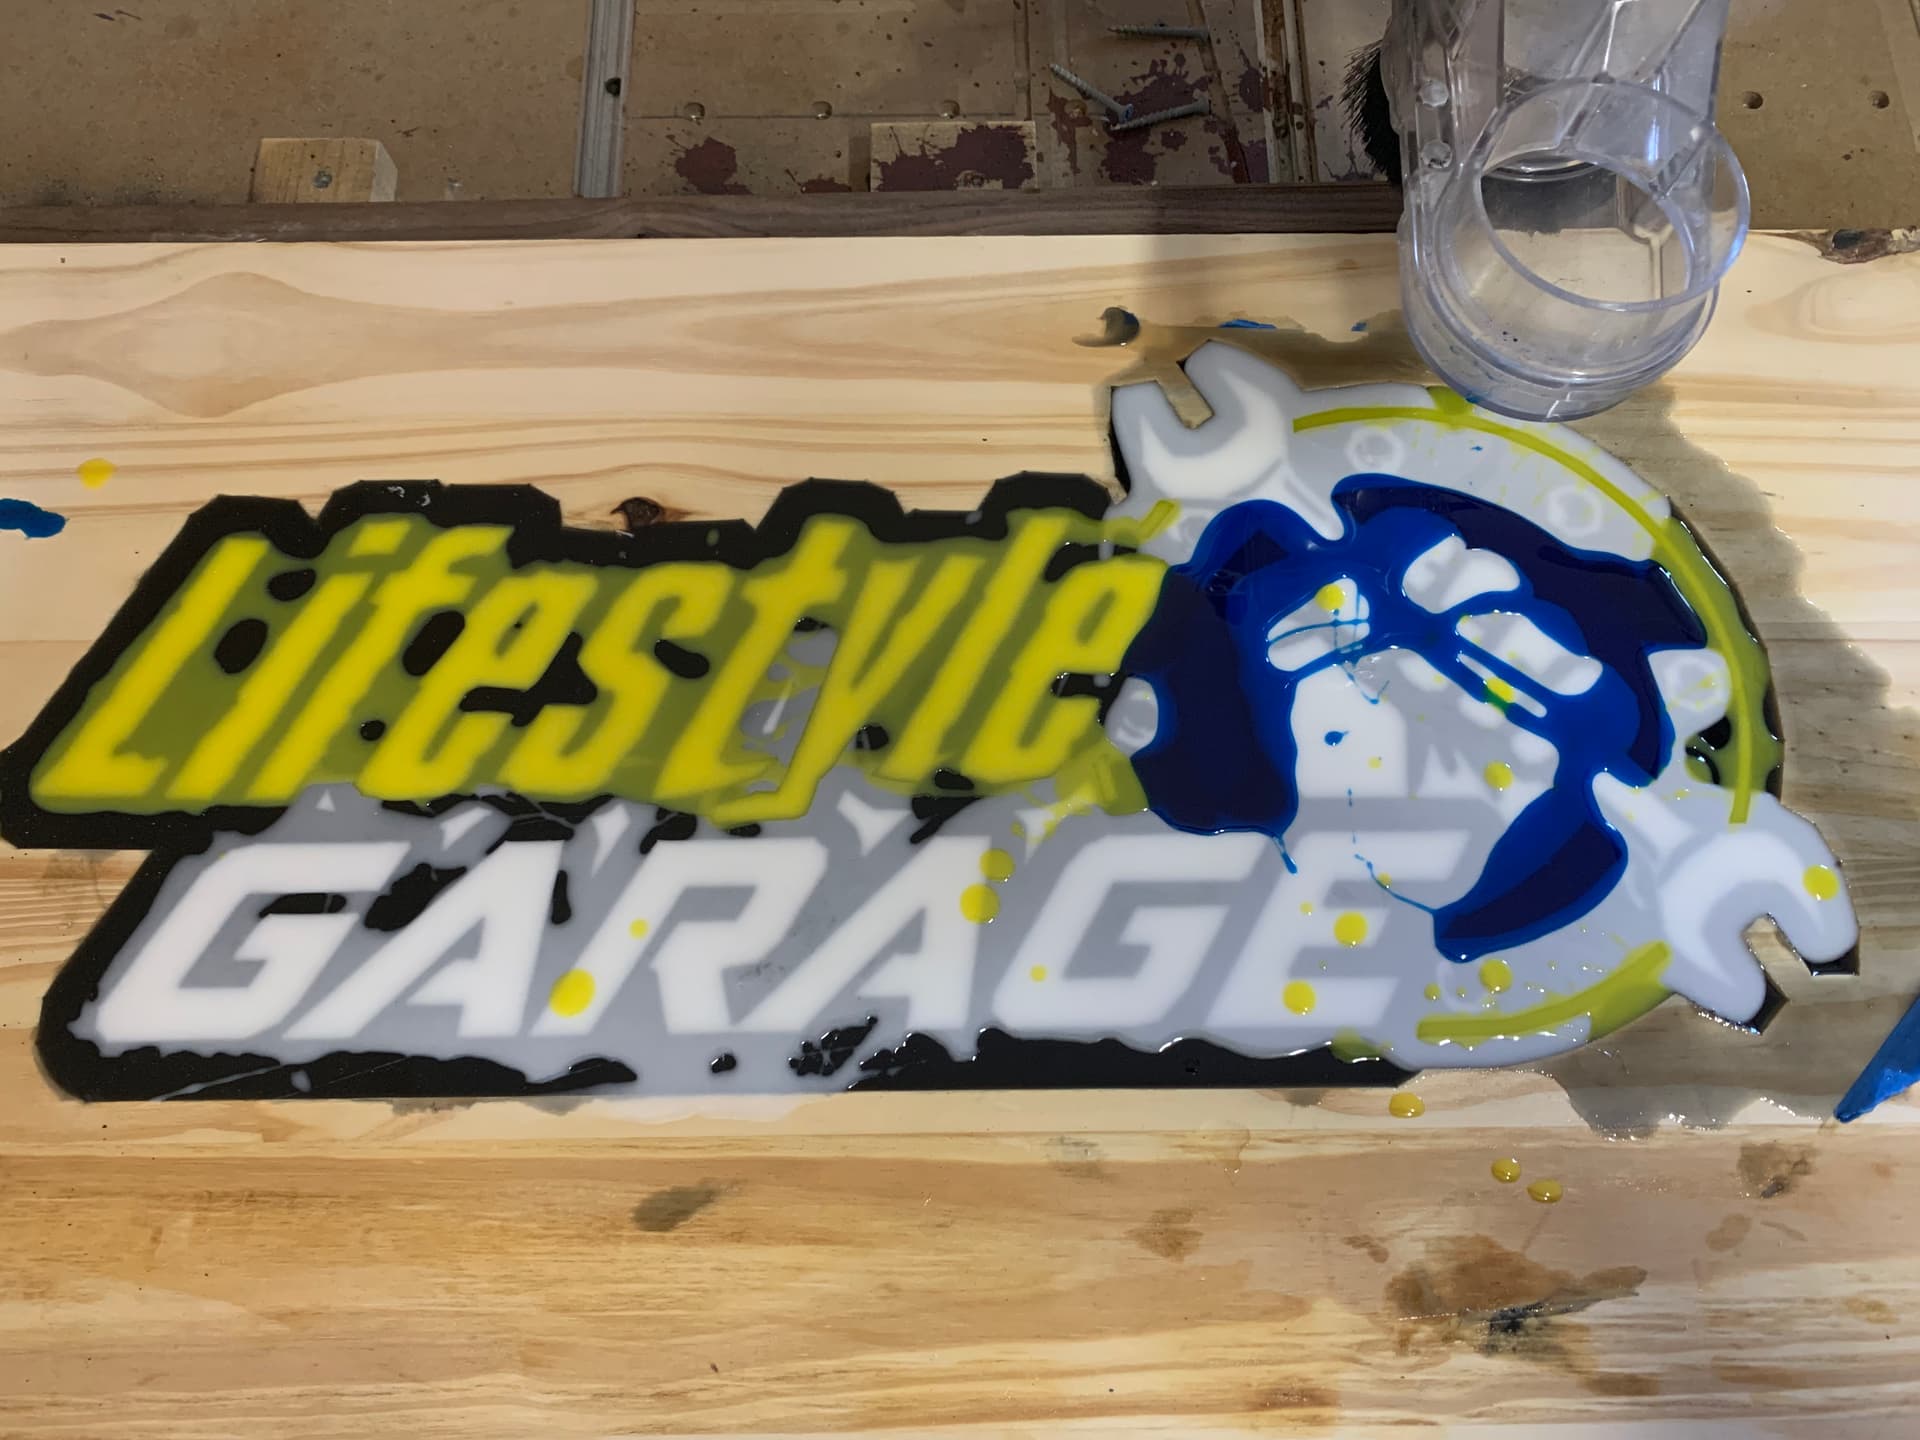
I have done a few epoxy pours. The hardest part is waiting 24 hours to let the epoxy cure for each color.
Is 24 really enough? I have been waiting 72 and it is painful. I don’t leave it on the machine for epoxy pour or dry time since it goes up the machine and would also mean I couldn’t do anything else in the shop for fear of dust getting embedded in the epoxy. I have a square on the machine that I use for placement though.
My last effort was 2 colors and the current will be 3. I may be able to pour colors 2 & 3 at the same time if I am precise enough.
if it’s 2mm… just make sure you set the retract height in carbide create (in the sprocket menu" to a bit over 2mm… say 3mm. that way the bit, when moving distances, will clear the epoxy.
if you want to cut another inlay into the existing epoxy, I would recommend surfacing say 0.5mm above the zero of the wood (so leave 0.5mm). The 0.5mm won’t really hurt in terms of how much extra you cut, but avoids multiple finishing passes over the same material… when you do the final final pass you still cut everything once.
(in carbide create one can do this by making a copy of your file, set the “zero at bottom” for this file only, and claim it’s 2mm thick material – all in the sprocket menu. Then do a 1.5mm pocket operation … which means it’ll leave 0.5mm behind)
1 Like
syringes are awesome for this ![]()
24 hours is the minimum.
I do not do enough projects to worry about my machine being down, but you are definitely right that waiting with the machine and no other projects going is wasteful. I am just a hobbyist so no harm no foul for me.
I like this idea… will give it a go when evryrhing is good and cured.
This topic was automatically closed after 30 days. New replies are no longer allowed.