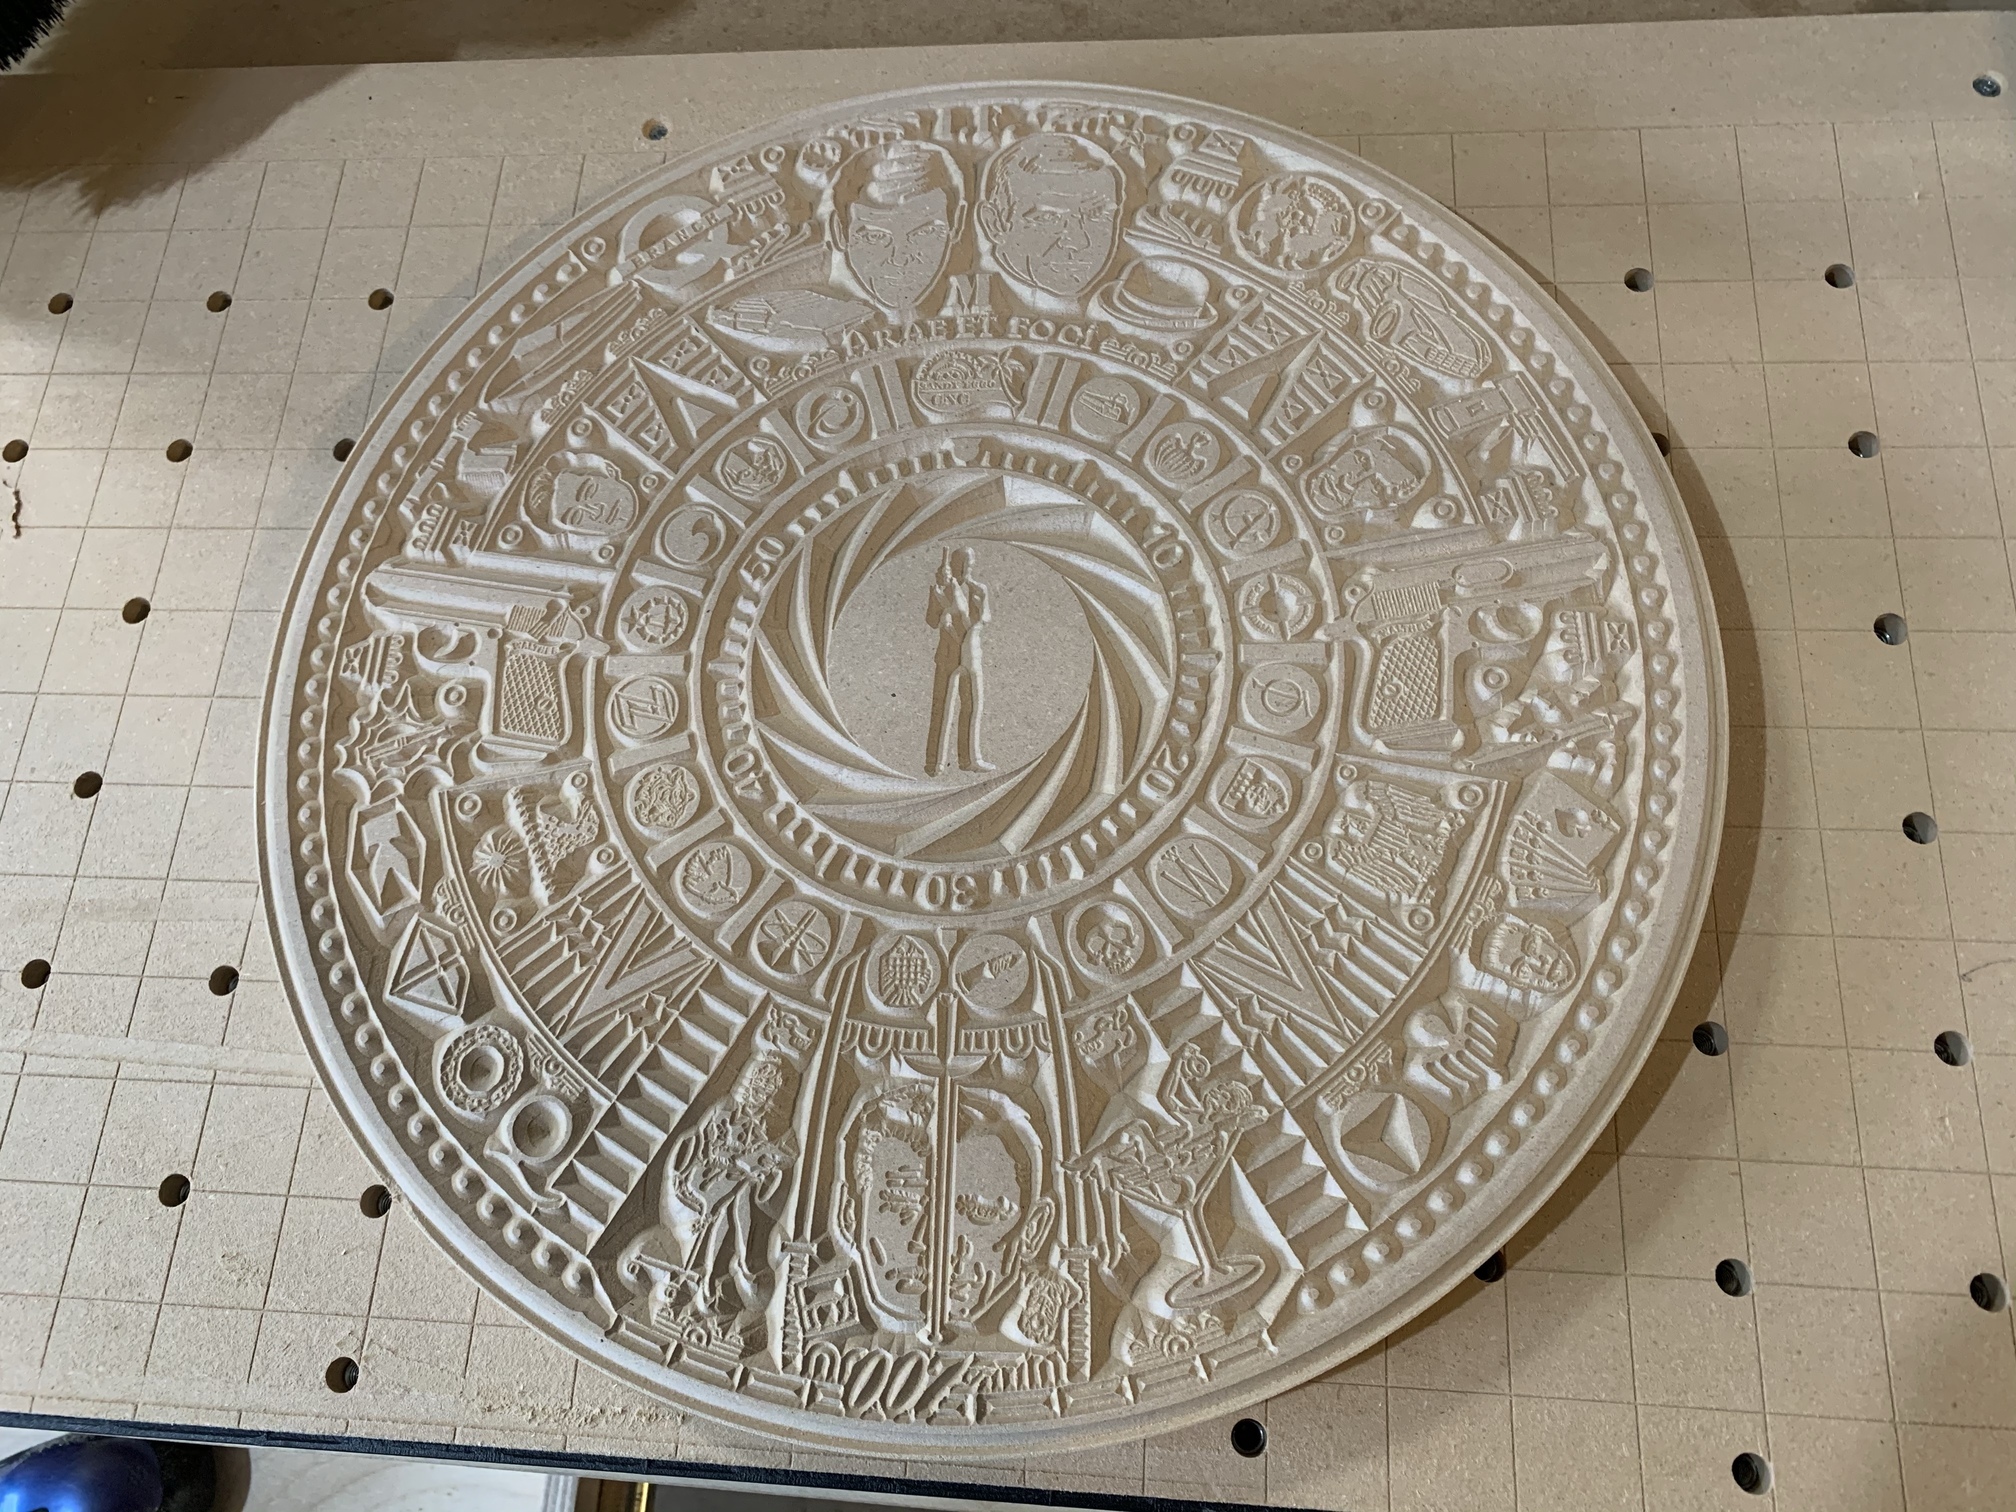
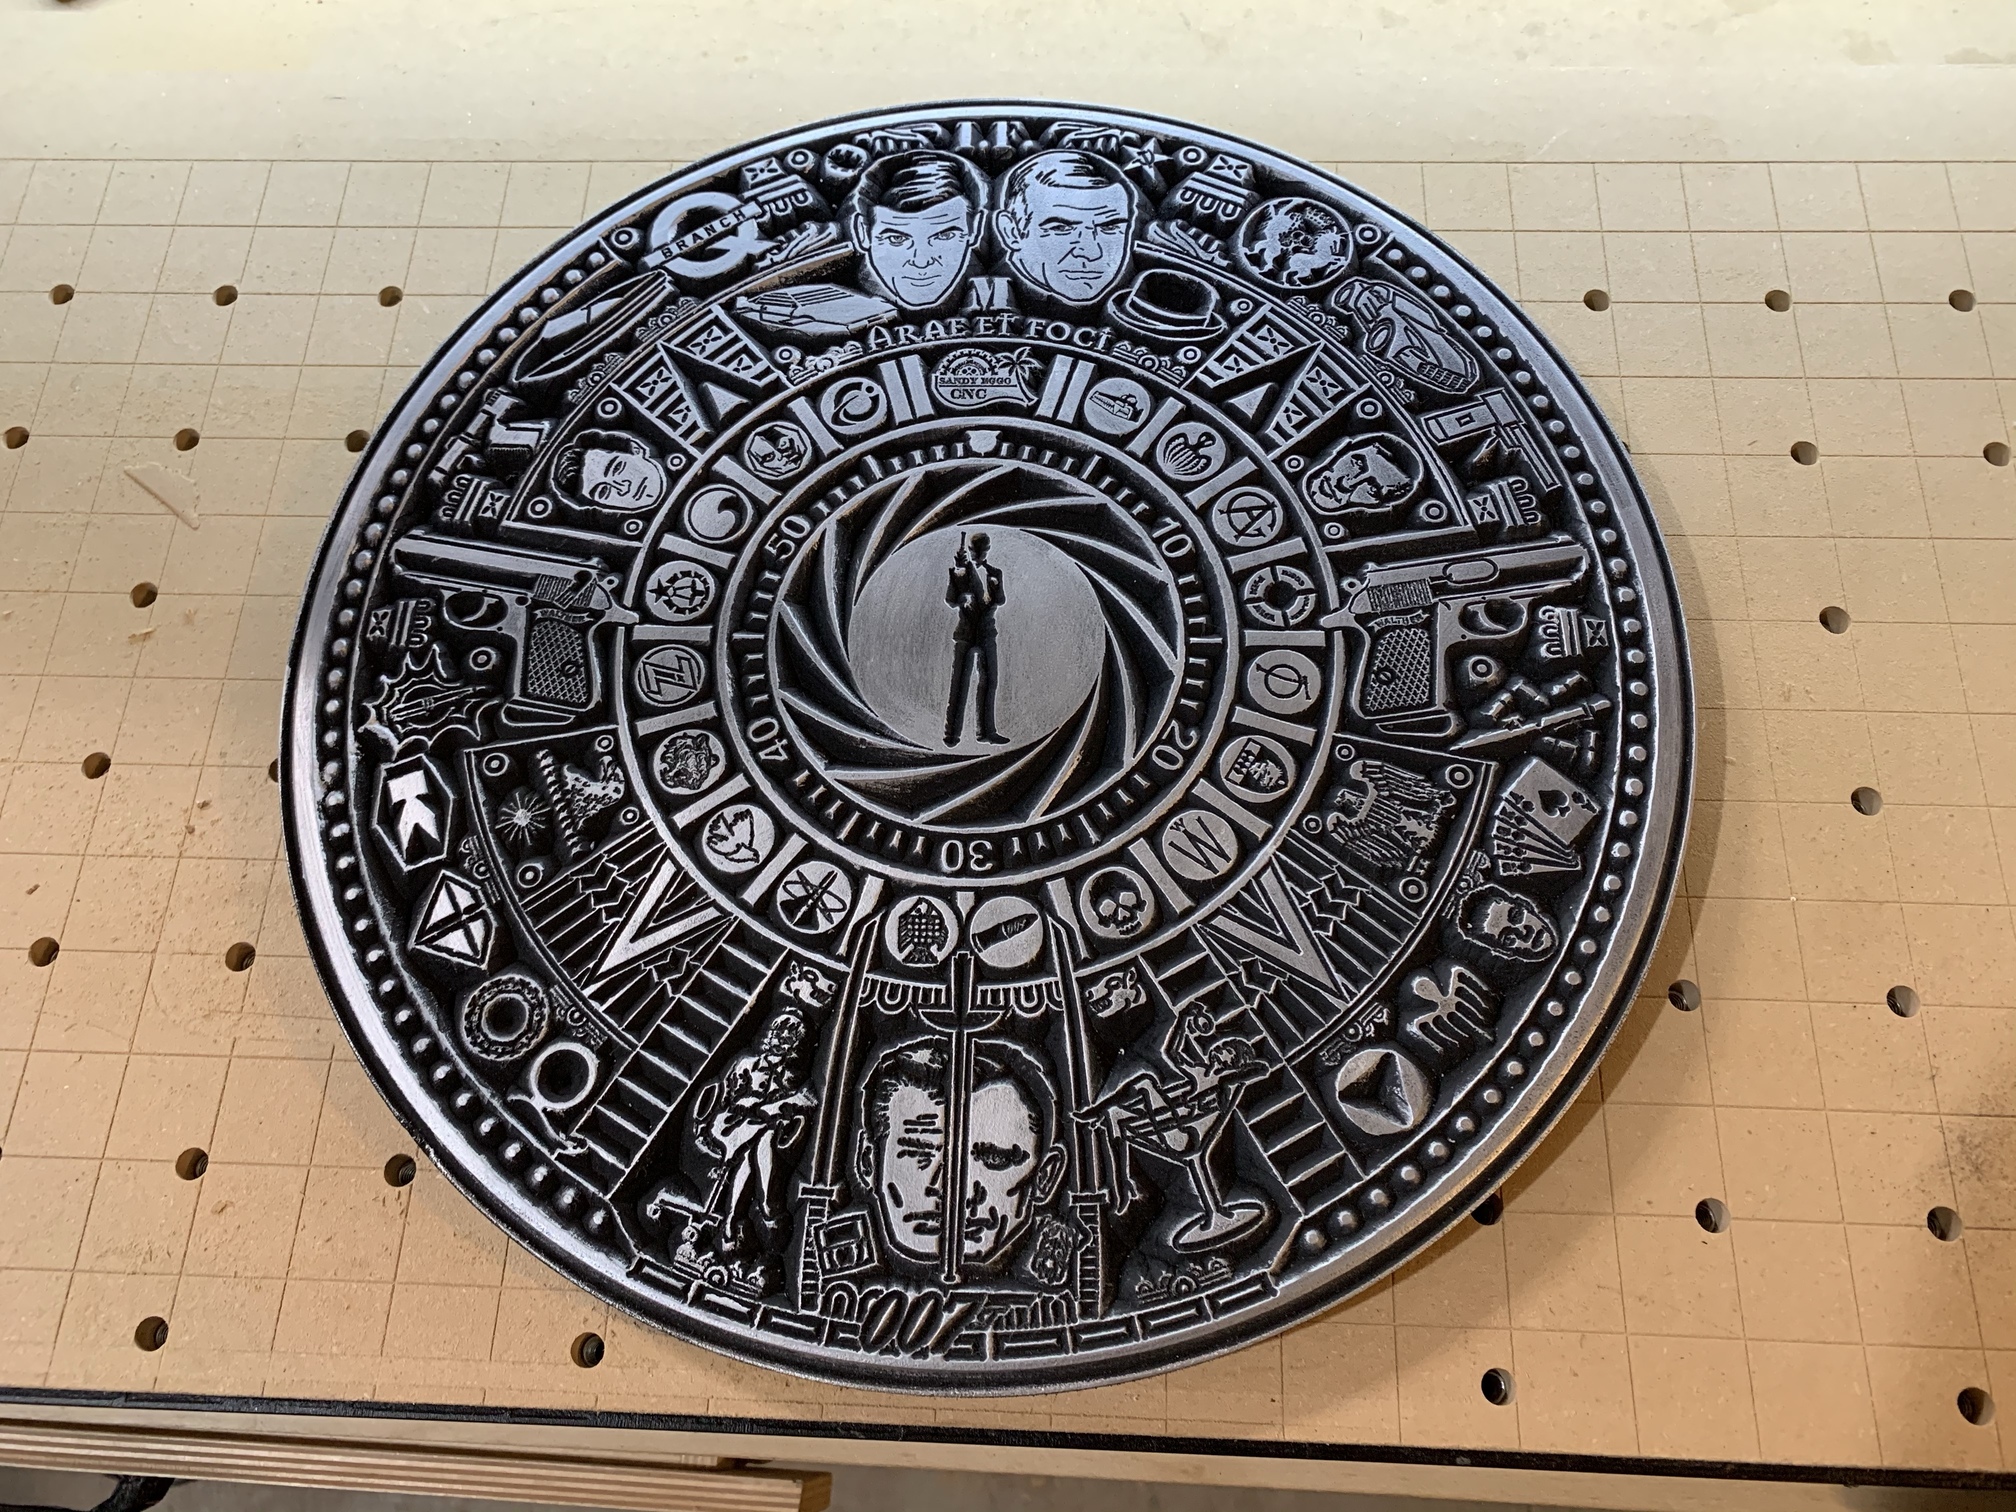
This is the 6th “calendar” that I’ve made. It was designed by @sandyeggocnc. You can get the file at sandyeggo.com. His design has a 24" diameter, but I shrunk it to 14" to fit on my XL. The material is 3/4" MDF. It is spray painted flat black and then silver Rub n’ Buff is applied.
15 Likes
Timely because conflicting reports of Tanya Roberts demise has been circulating. Tanya was a Bond girl in a View to a Kill with Roger Moore’s last role as Bond.
wow that is amazing.
@TomH thanks for sharing and for the link. I’m liking the DC calendar but got to thinking about how to accomplish this in carbide create. The file he provides is well designed but I can see myself clicking for hours to properly select things.
Any tips or tricks that you can share around your process?
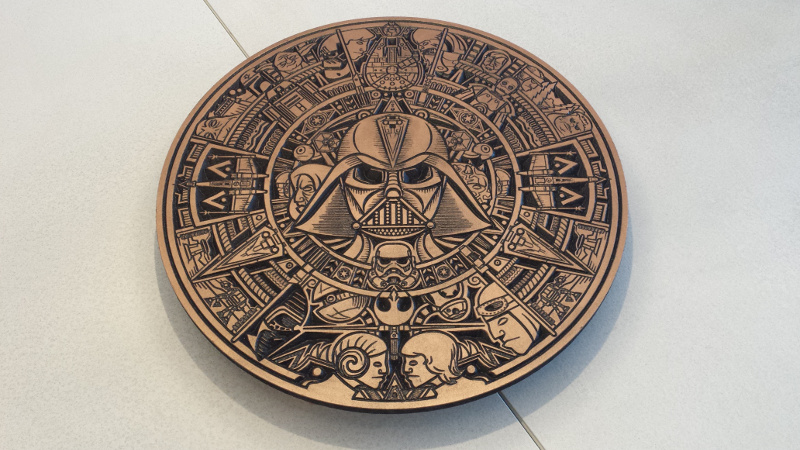
Carbide Create is fine for simple things, but it would crash when I tried to make the Star Wars calendar. That’s why I moved to Vectric Aspire. Create might have improved since then…I don’t know.
V514 has been able to handle complex designs where V474 and earlier would crash. I’ve done several of these projects Marvel, DC and Zelda Triforce in V4 but the Norse Mythology Calendar would continually crash until V5 betas were available. I opened the James Bond SVG and quickly set up tool paths (advanced Vcare 1/8" clearing, 60 degree V) without issue. It was as simple as selecting everything and grouping it, then configure an advanced Vcarve toolpath. Add a circle around the artwork for a cutout path and your done. Actually there was an open vector set on Moneypenny’s note pad that required a few segments to be joined but that was a quick fix. Carbide create is continually improving which is encouraging. I’ve been contemplating Vcarve Pro for some time but can’t justify the expense (as a hobbyist) until there is something I can’t get done with Carbide Create.
3 Likes
VERY NICE.
Thanks,
Rex
Can you go into more details on how you apply the silver rub n buff that it doesn’t affect the black
One of the variants of the painting technique is explained very well in that video, in my opinion:
I’m pretty bad at painting stuff, and pulled this off by following it:
2 Likes
I tried the method that Julian suggested, but didn’t have good results. The black acrylic paint just did not come off neatly and left the whole thing very dark. That’s why I started using the Rub n’ Buff. A great explanation of the whole process is given by Tim Celeski here -https://www.youtube.com/watch?v=I1KopKqounM. The bottom line is that you have to be careful and just rub a small amount at a time across the surface. If it does get down in the black paint, just touch it up with a paintbrush.
2 Likes
Both these videos are great…
What is super interesting is that both videos create a base layer, but the CNCNutz video that @Julien sent has the second coat painting the groves (carved) black, where as @TomH video by Tim Celeski has the second coat painting the top surface silver, leaving the black grooves (carved area) in tact.
1 Like
Amazing! what bit do you use to acheive that detail
\
I use a Whitesides 1/4" 90 degree V-bit.
1 Like