Griff
(Well crap, my hypometric precursor device is blown…)
41
@Vince.Fab. Okay, thanks for the Toolpaths, VERY helpful to me.
I reduced stock thickness to 12.8 mm, x and y to 65 mm, model at bottom of stock.
I ran all paths as you set them up, all with the same .25 endmill, at reduced speeds/feeds, doc.
Initial speed at 2000 mm/min, bumped to 2500, DOC 1.5 mm, spindle at 28000, cheapo .25 two flute, non coated Carbide end mill.
As you might have guessed I skipped the flip paths.
This is a great part to learn on, thanks @neilferreri. I hope one of you smart guys will be kind enough to share some other, more challenging 3D designs and paths!
Thanks for sharing your version @Vince.Fab. I will hopefully give it another go this weekend. I modified my toolpaths to include the horizontal finishing pass and switched to a contour for the profile cut. I think i got a little ambitious after upgrading my Z to the Beaver. X & Y are now my limiting factors.
Griff
(Well crap, my hypometric precursor device is blown…)
45
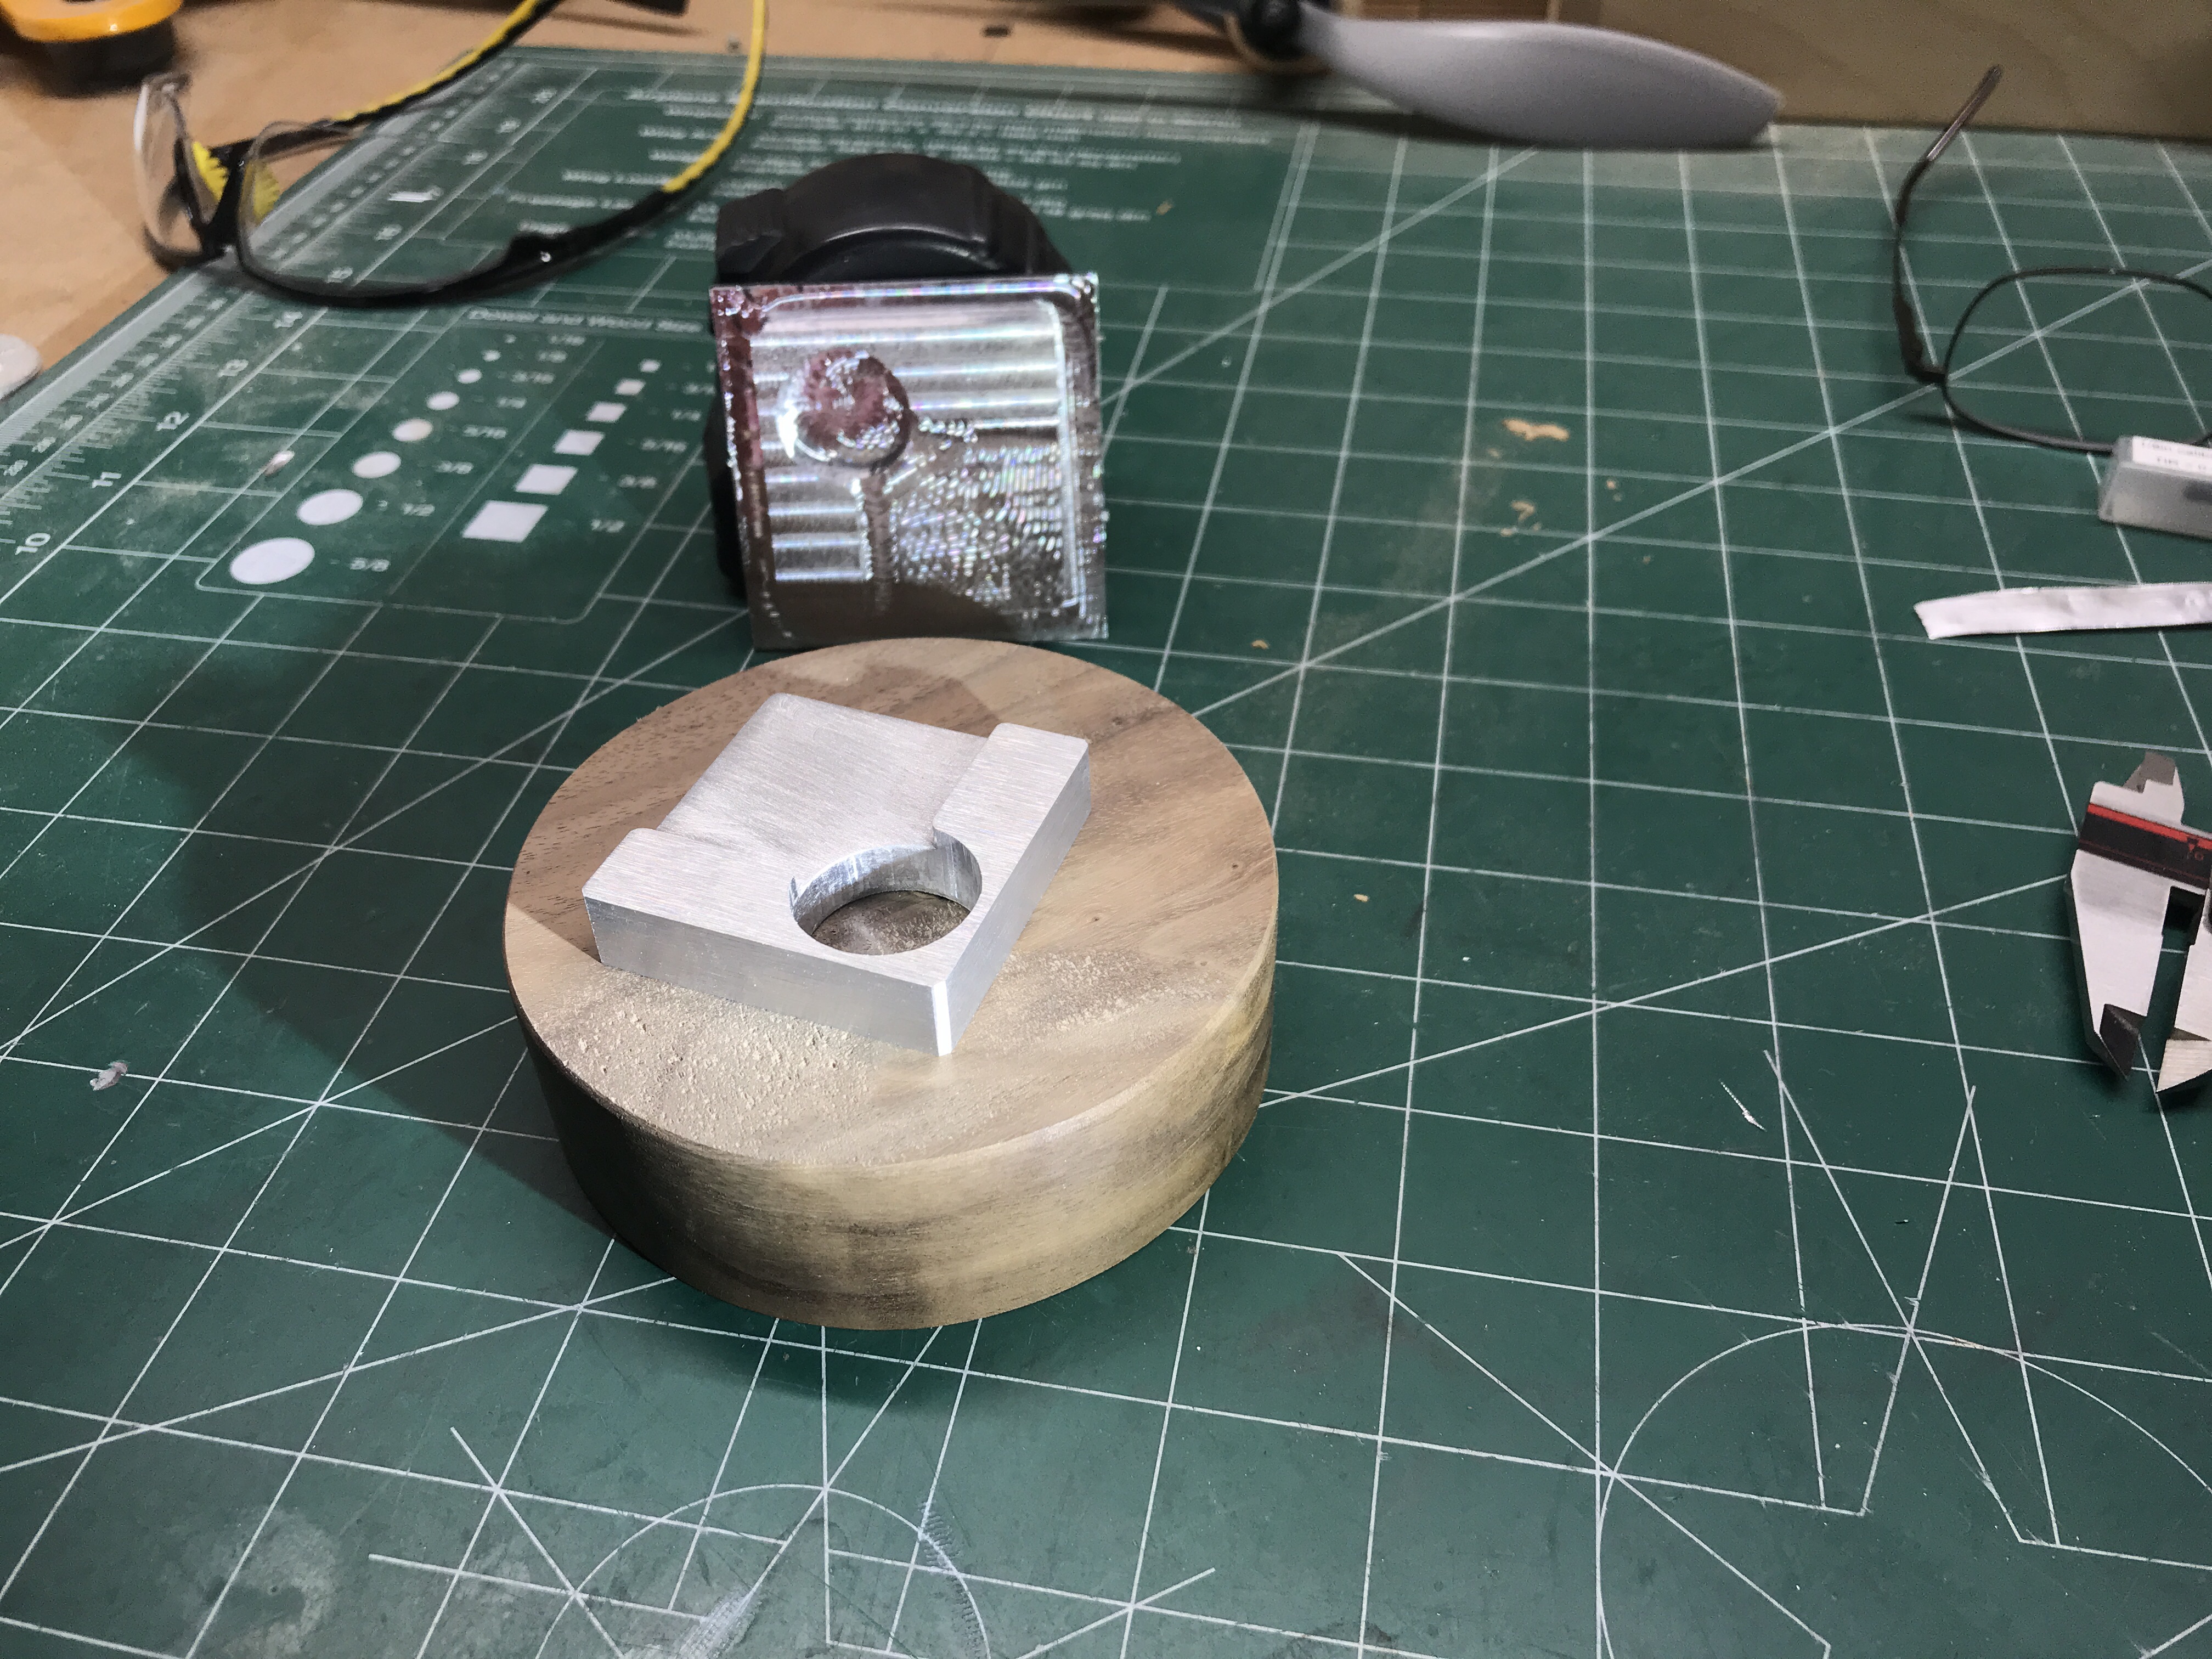
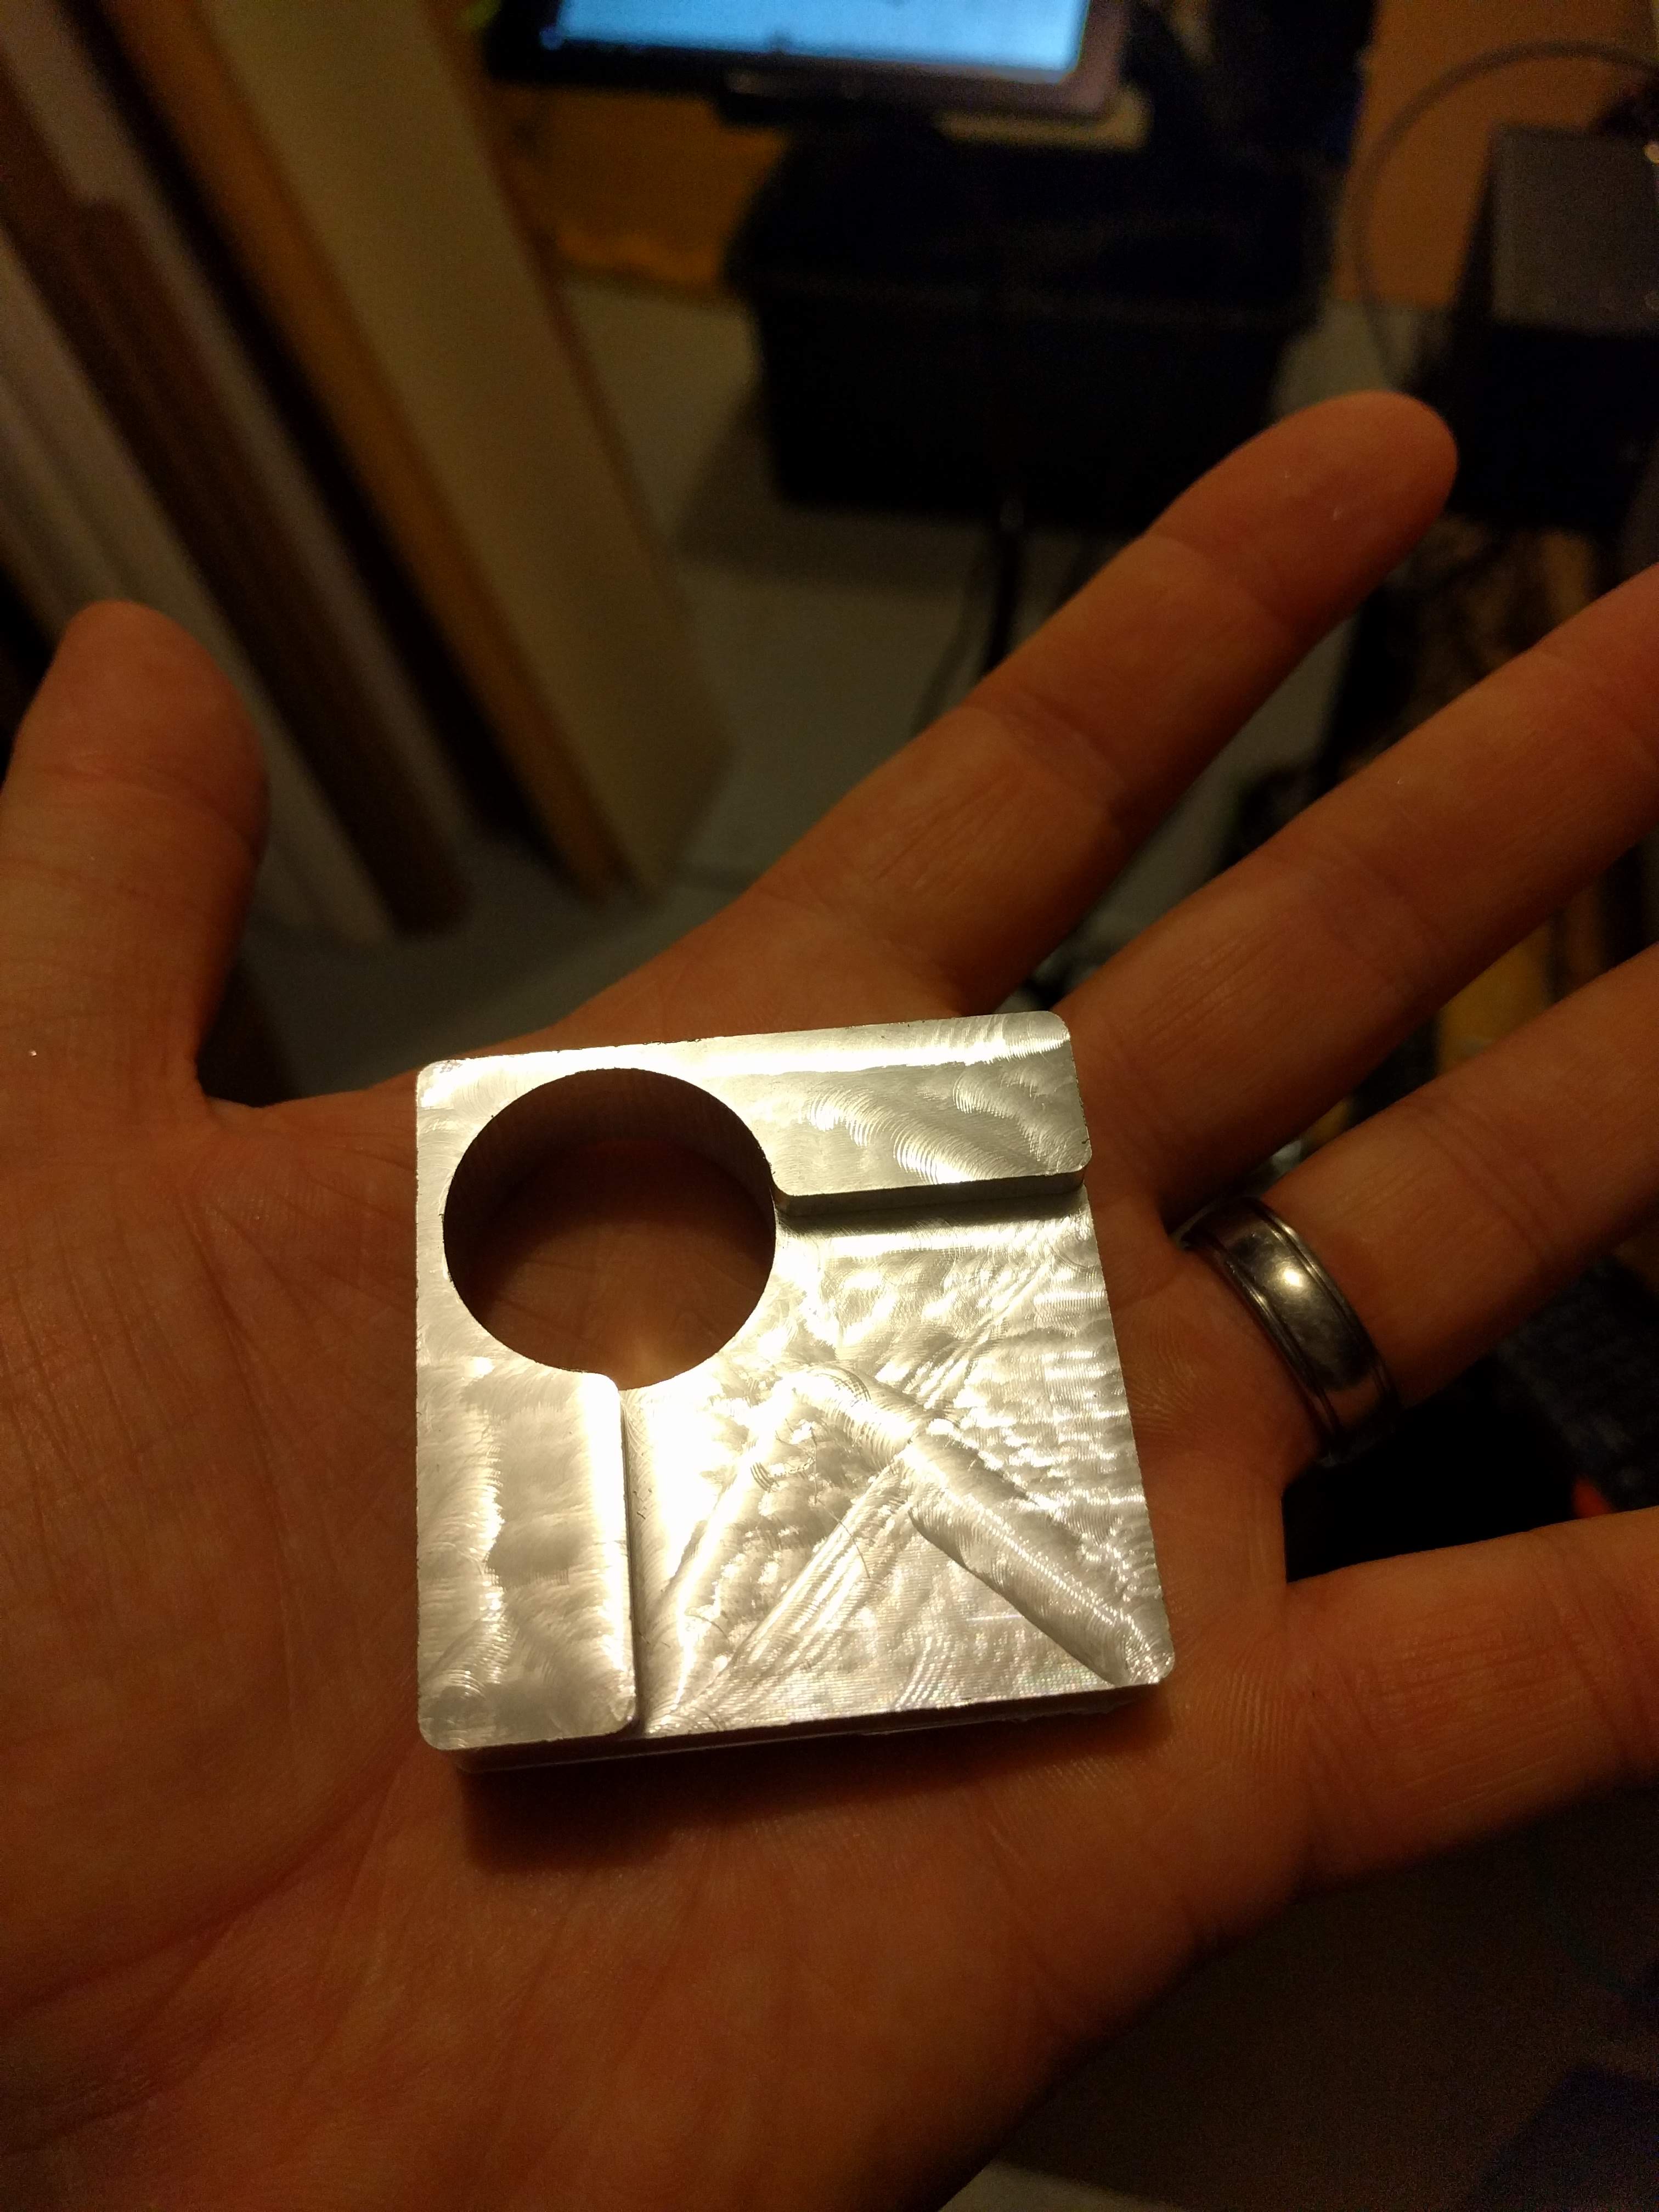
I did indeed. X and Y @ 50.01 mm and 49.89 mm. Hole is 24.02 mm. Z at 12.45 mm and step at 3.4 mm-lost 0.6 mm somewhere. Not too bad for a Woodworking machine.
The top surface is smooth as glass. I should’ve measured my stock thickness better as I cut through on my adaptive pass, so I had to hit stop before that finished, but I was able to cut it out with my last contour operation. I’ll need to face the other side to clean it up, so it will end up a bit shorter.
I went a little deeper just because I thought I should be able to. I might try another go with an even deeper DOC with a smaller load. I like the way it looks when the end mill is making a deep pass in metal. I was using a 4.2mm DOC on the adaptive.
Here’s a link to photos and vids
I took during the process (I really need an enclosure if I’m going to start more aluminum).
Also, I found this video from Autodesk that helped me understand what to look for with the adaptive toolpaths. It makes sense to use more of the cutting edge while taking less of width of cut. They mention the sound of the cutting, and I think we all get used to it. It’s reassuring with those adaptive cuts when the cutting sound is consistent.
Here’s the thing with our type of benchtop machine, you can’t cut like a large cnc mill. We just dont have the ridgity and mass.
I was testing multiple adaptive strategies last night on a large roughing op. Yes it may be “cool” to rough at full depth but I guarantee you it’s not the most efficient way to remove metal on shapeoko.
The name of the game is minimizing cutter forces and you do that by increasing rpm. I run my cutters at the highest SFM they can take while taking a good chipload. Last night I settled on a 3/8 TAS going 175ipm @0.060 opt/0.100 doc with 2.3 chipload.
The consistent sound is the best part of adaptive, constant audible check of how things are going.
@Vince.Fab Any tips on finding the balance between depth and optimal load? I went for a deeper cut with a smaller load. I figured my HDZ from @Luke was the more capable part of my setup. It was cutting so smoothly at 4.2mm depth & 0.6mm optimal load, I think I could go more and reduce the passes (albeit less load).
1 Like
Griff
(Well crap, my hypometric precursor device is blown…)
49
Here’s a little practice part with Toolpaths that I came up with to experiment with adaptive clearing and finish strategies. It’s small and cuts quickly. I’m curious about the finish on my first attempt. I used a 1/8 “ ballnose but most of it looks kinda like a watery surface. I wonder why that is?
Best part, each insert can be rotated 3 times and they are relatively cheap to replace compared to full carbides
1 Like
Griff
(Well crap, my hypometric precursor device is blown…)
51
Thanks Vince. Yeah, I’ve got a couple insert face mills, 1” and 1 1/2”.
Just taking baby steps here and seeing what sort of surface finishes I can come up with. Still curious about the ball mill “water” finish, if it’s repeatable I might use it on some artsy pieces I have in mind.
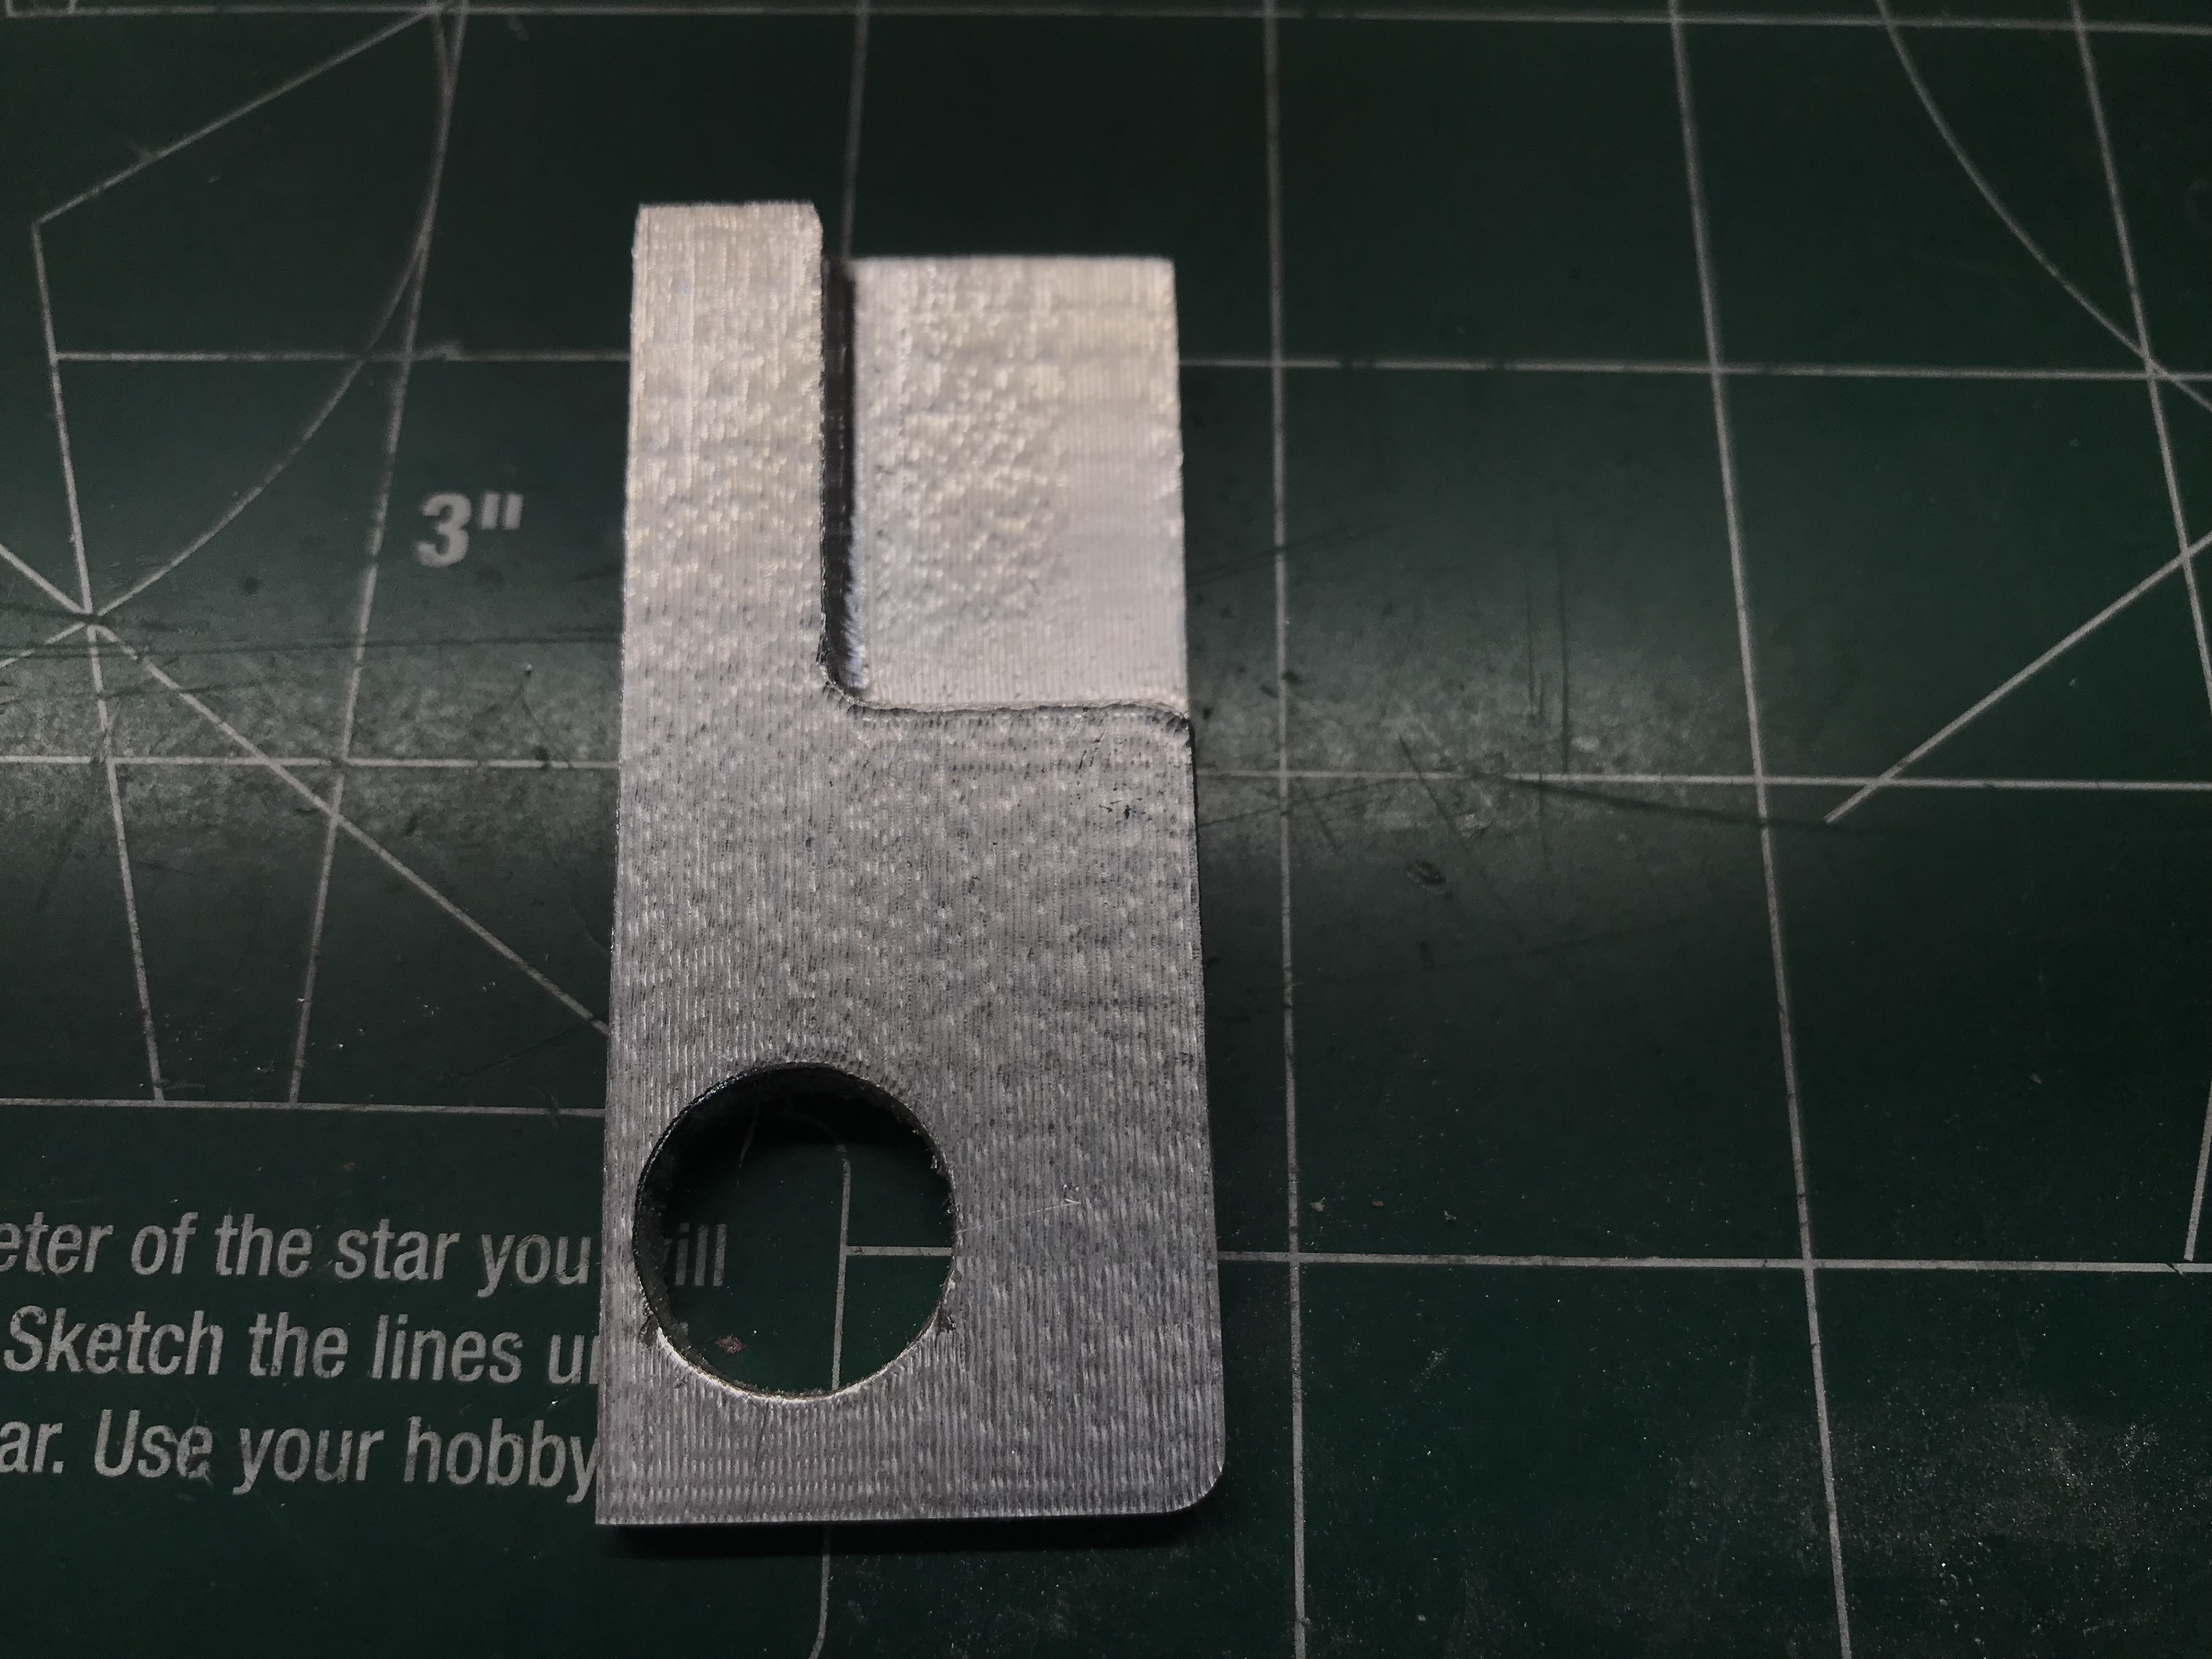
Depending on desired tolerances with that kind of slant shape i would set it up a little differently to be able to machine all surfaces efficiently. I would set it up as a block in a vise and machine it straight up and down, flip, then machine the slant. That way everything is a little simpler, the doughnut can be machined 100%. At a slant you will have overhangs and unless you run a lolipop its not going to come out right.
This cam is for a minimal glue\tape workholding and machined in one shot. I included a couple different way to do the hole fillet for you.
I try to not do tool changes and rest machining on adaptive strategies because they can become very complex and my laptop doesnt like it. Let me know what you think @Griff , the foundation is there but slight changes to speeds and feeds would be needed for surface finish quality.
On the 1/8th finish it might have been a combination of deflection and speeds/feeds. When ball finishing I run a 0.010 stepover on 0.020/0.020 stock left after adaptive. Climb ball milling is the only was to go!
Griff
(Well crap, my hypometric precursor device is blown…)
56
Thank you sir. Precisely the sort of advice I’m looking for. I appreciate you taking the time.
Griff
(Well crap, my hypometric precursor device is blown…)
57
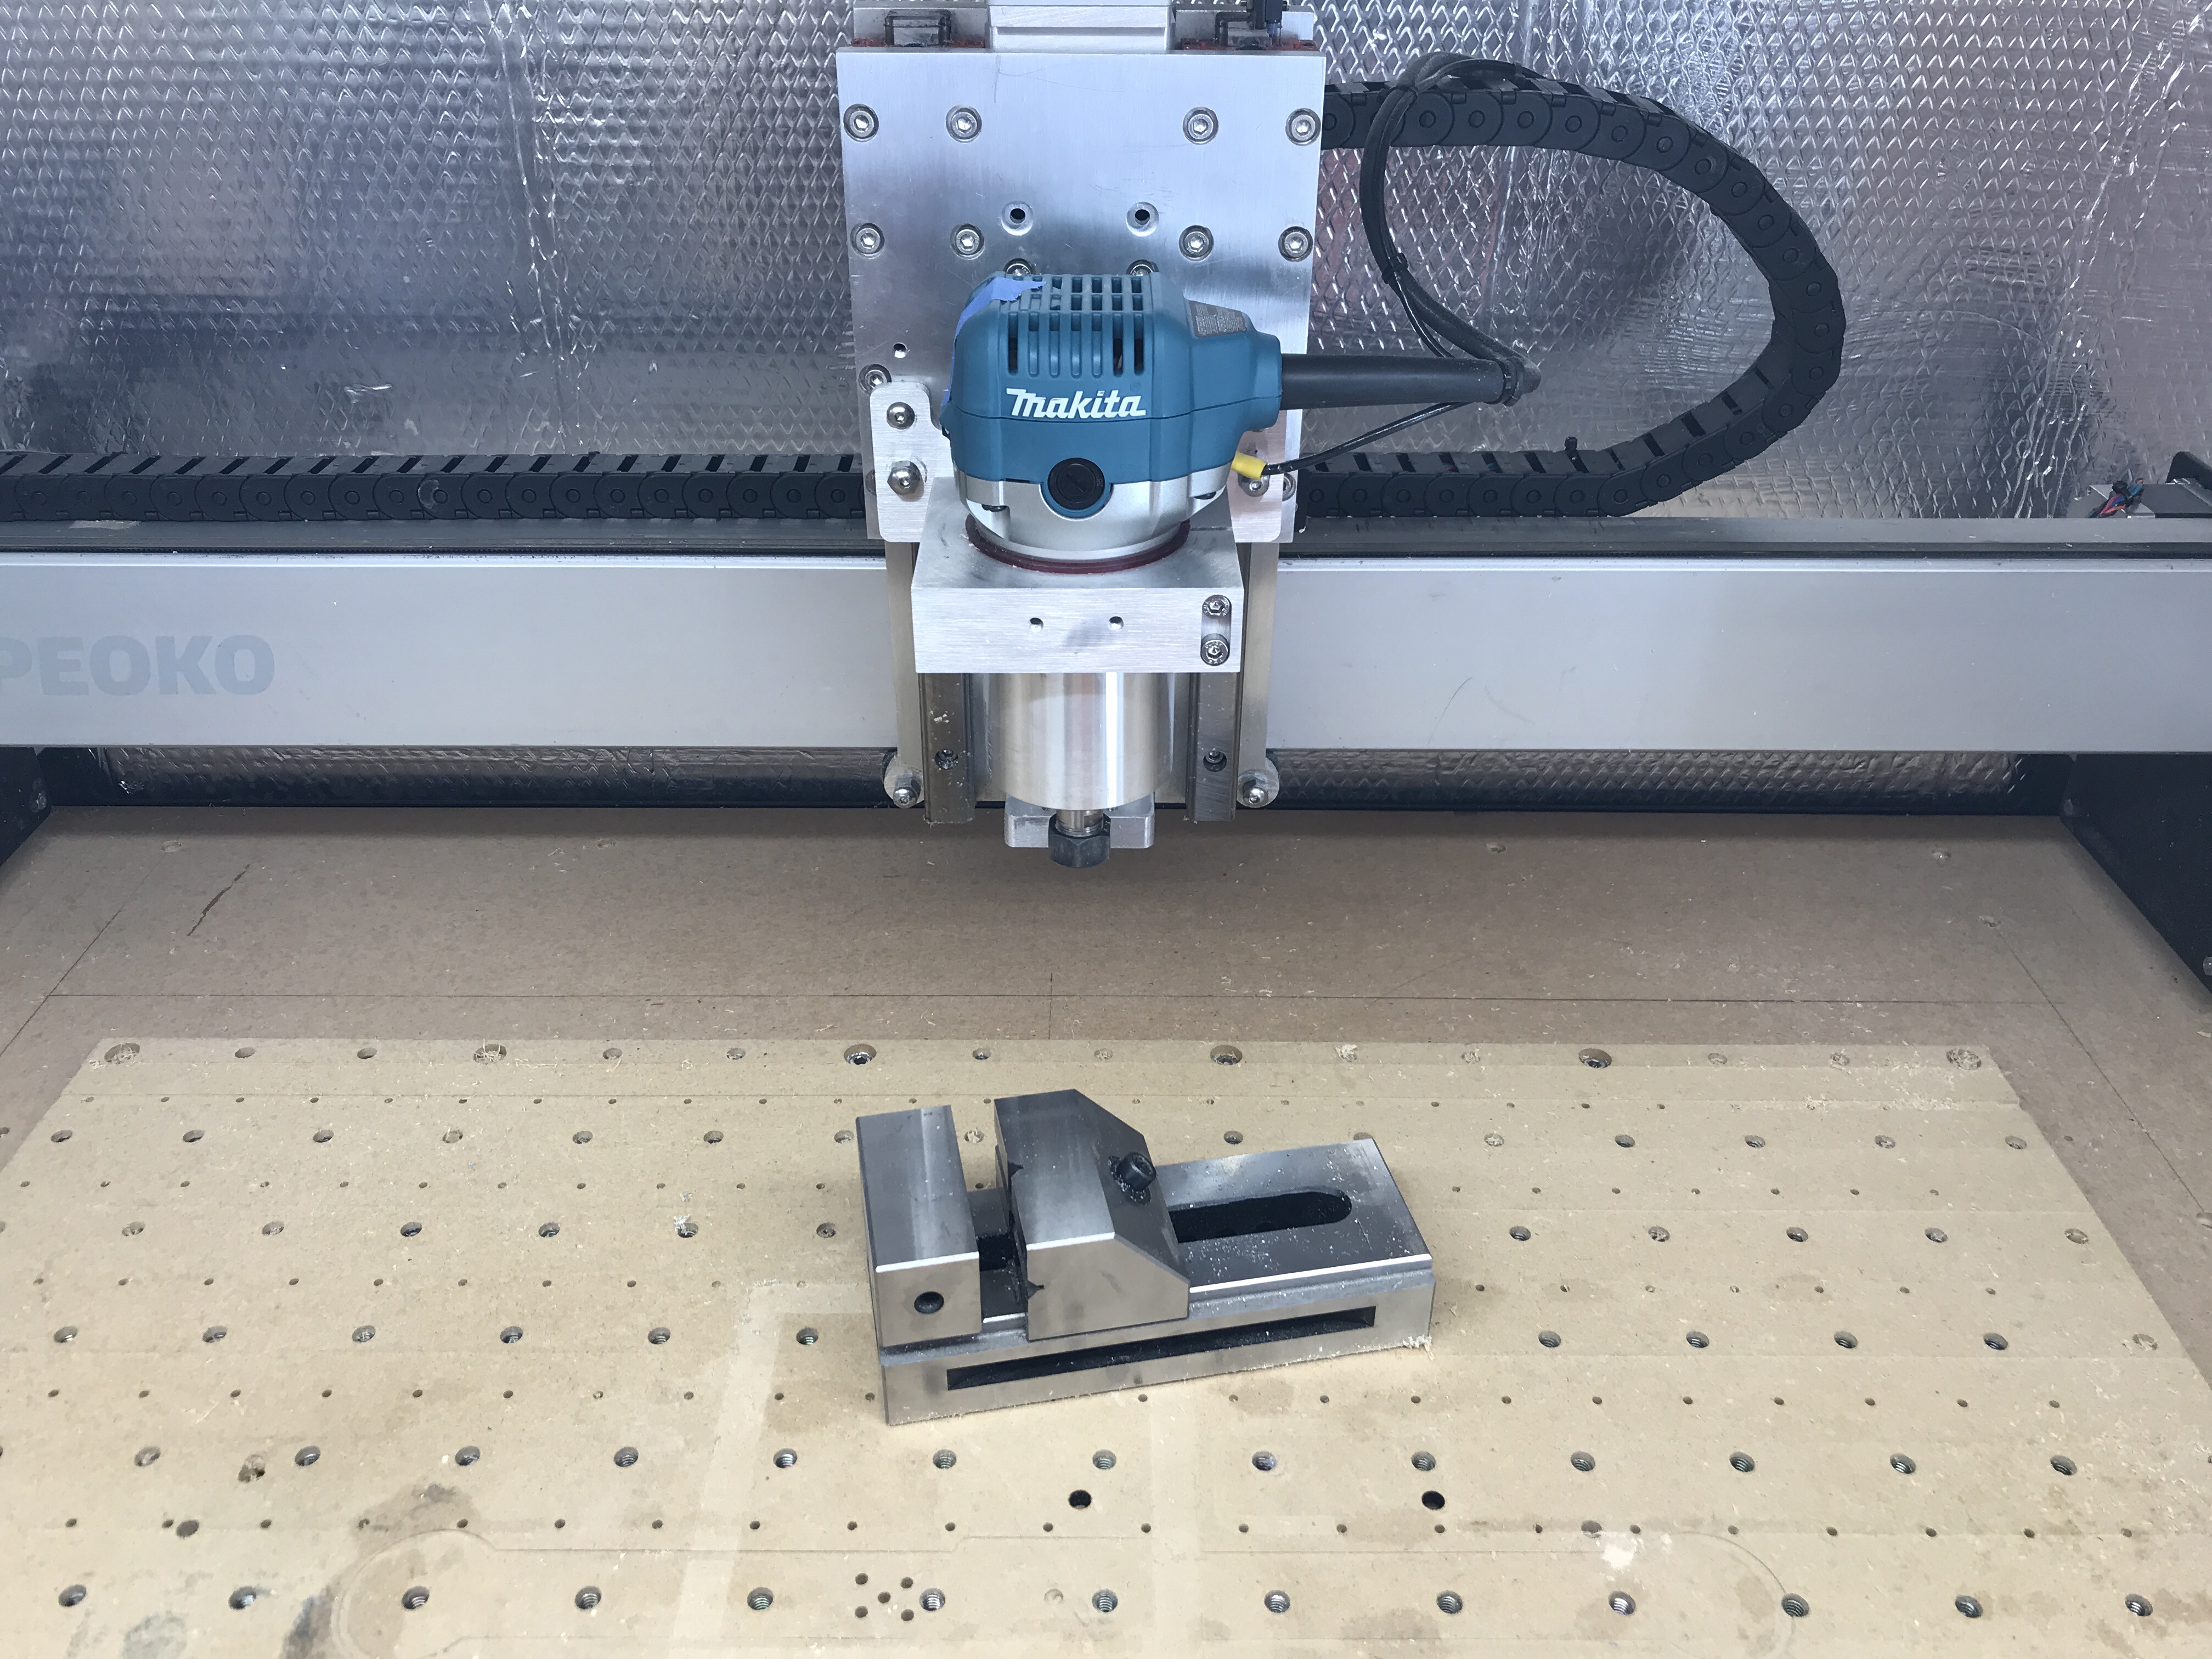
A vise would be ideal but imo there isn’t one on the market that is good for shapeoko sized general use without heavy table modification.
Always multiple ways to approach problems.
The incredibly awesome thing about cad is that once you have your points, its super easy to build off of. Use your drawing and create an angle fixture plate (can be 1 piece in your case)
Superglue tape the top, run the angle cut, superglue tape it to angle fixture and run the top. This would also be a great exercise in critical cnc setup thinking.
I’m actually doing a similar thing right now, due to geometry angles I have to make an angle fixture plate for a 3rd setup. Super easy to to do with offset planes, angles
3d adaptive is easy. Look closely at the small things on the finish ops, touch\no touch is really fun. Also a great habit it to generate a toolpath without messing with the feeds and speeds just to see what it wants to do. When you want to make changes its also really handy to duplicate the toolpath and mess with that one. That way you have something to compare against.
honestly you just need to find what your machine likes. At what chipload was your cut? I found that the opt load has much more an impact than doc when it comes to higher speed machining. Im biased though, most of my parts start out pretty big and material removal is my #1 priority.
With smaller parts a slower, full depth adaptive might be perfect. Plus it makes cooler looking chips
Would anyone running a stock XXL care to share their adaptive settings? Cutting out some simple pockets I can’t go much more than the following without getting some serious chatter
1/4" 2 flute flat end mill
0.45mm optimal load
0.8mm doc
1000mm/min
12000rpm.
I notice some guys are running 2000mm/min at 25k rpm… Is that worth trying? I haven’t been able to test on this part as it needs to finish well.
My ramp entry is also very loud and Chattery… 400mm/min 1 degree helix… any ideas on that one?
I’d kill for an HDZ but it just isn’t in the budget at this stage!
Thanks to all for sharing, a thread like this is just what I need!