That looks like an awesome setup @RichCournoyer!
How do you find using the drill chuck on the S3?
Awesome…WITH the ZPlus head!
With the standard Z…LOTS of missed steps UNLESS you make tiny increments in the size…maybe 1/16 if you are drilling Aluminum…even then, you need to really pay attention to the sound of the machine listening for that missed step clunk…
Awesome, that sounds great!
I have a Z-Plus on my machine, so might be something to try soon.
The 1mm DOC is for decking stock down. Adaptive I run my 6mm end mill at 2.5-3mm DOC .8-1mm stepover 25k at 1500-2000 mm and finish with a 2d contour.
I get better results running lower DOC with my longer end mills. I will get some stub mills in the future because you can push a lot harder when you don’t have much stick out.
I had linear rails in my near future but then my impacted wisdom teeth blew that plan out of the water. At least the oral surgeon gave me 4 pages of receipts to dry my tears with. Last week was a rough gause filled face throbbing adventure.
That sounds great.
The stub mills can definitely be pushed a lot harder. I mostly use them when I can, however some cases require a longer end mill.
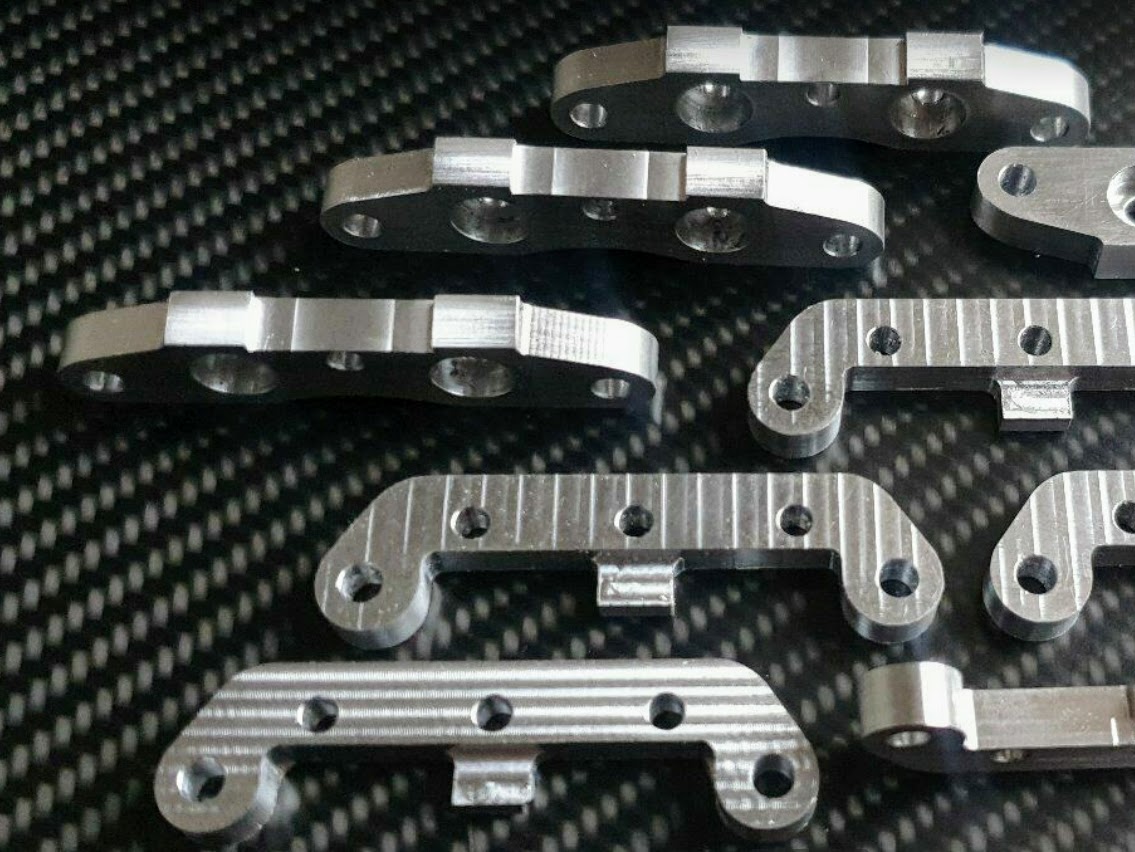
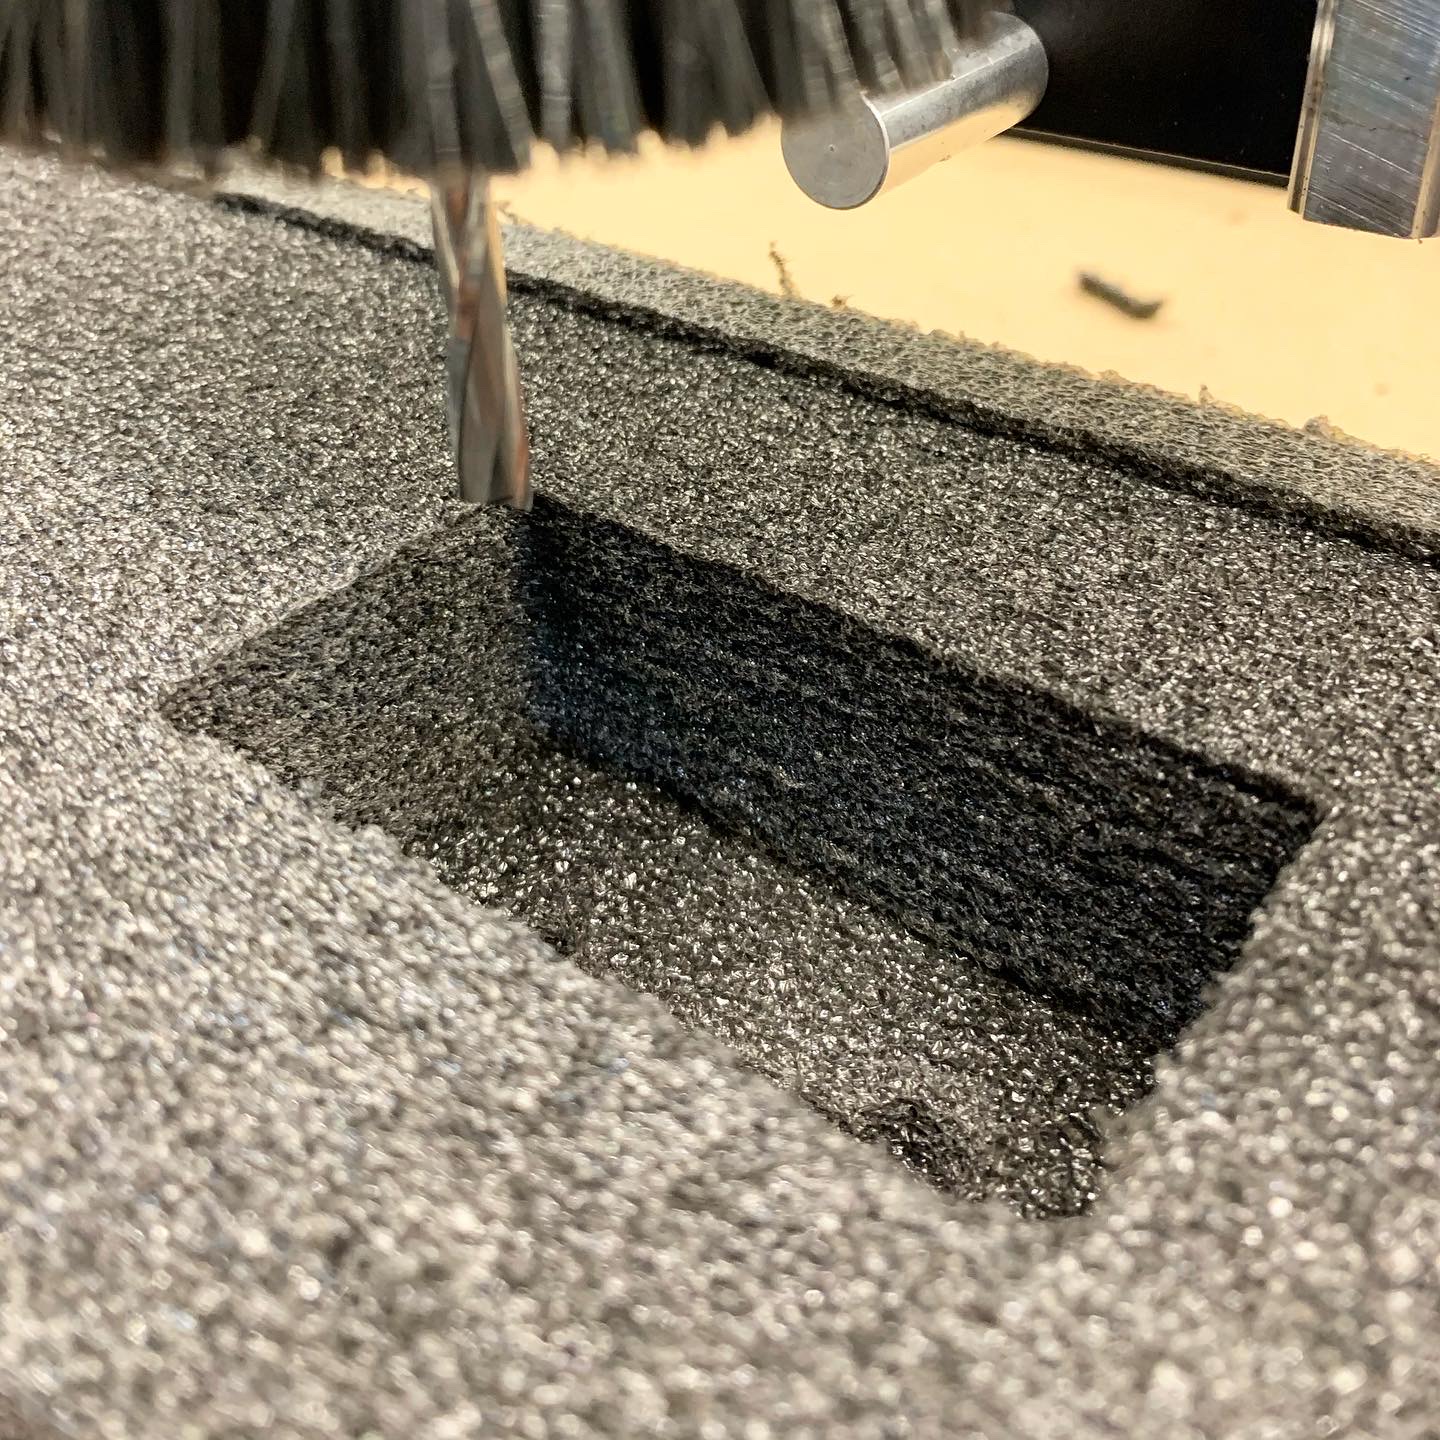
Although I mainly machine aluminium on my S3 I just wanted to share some of the work I have done with foam.
Kaizen foam cuts really well on an S3. I can run most of my cuts with the feed rate maxed out on the machine and running at 24,000 RPM. I have used a normal single flute end mill before, but get much better results when using a high helix two flute end mill. The only other thing to be careful of in foam is using conventional rather than climb milling.
Here are a few images of some simple pockets cut in Kaizen foam.
What badness happens if you use climb milling?
Also, what depth of cut do you recommend?
Do you use screws for work-holding and if so is your fixture board pre-tapped in specific locations ?
Climb milling tends to push the foam out of the way instead of cutting through it cleanly.
For DOC, I’ll use a 100% DOC for the end mill diameter. If I was using a 6mm end mill, I’d go with a 6mm DOC. You could push this a bit more, but I’ve found that I get a better finish when using this method.
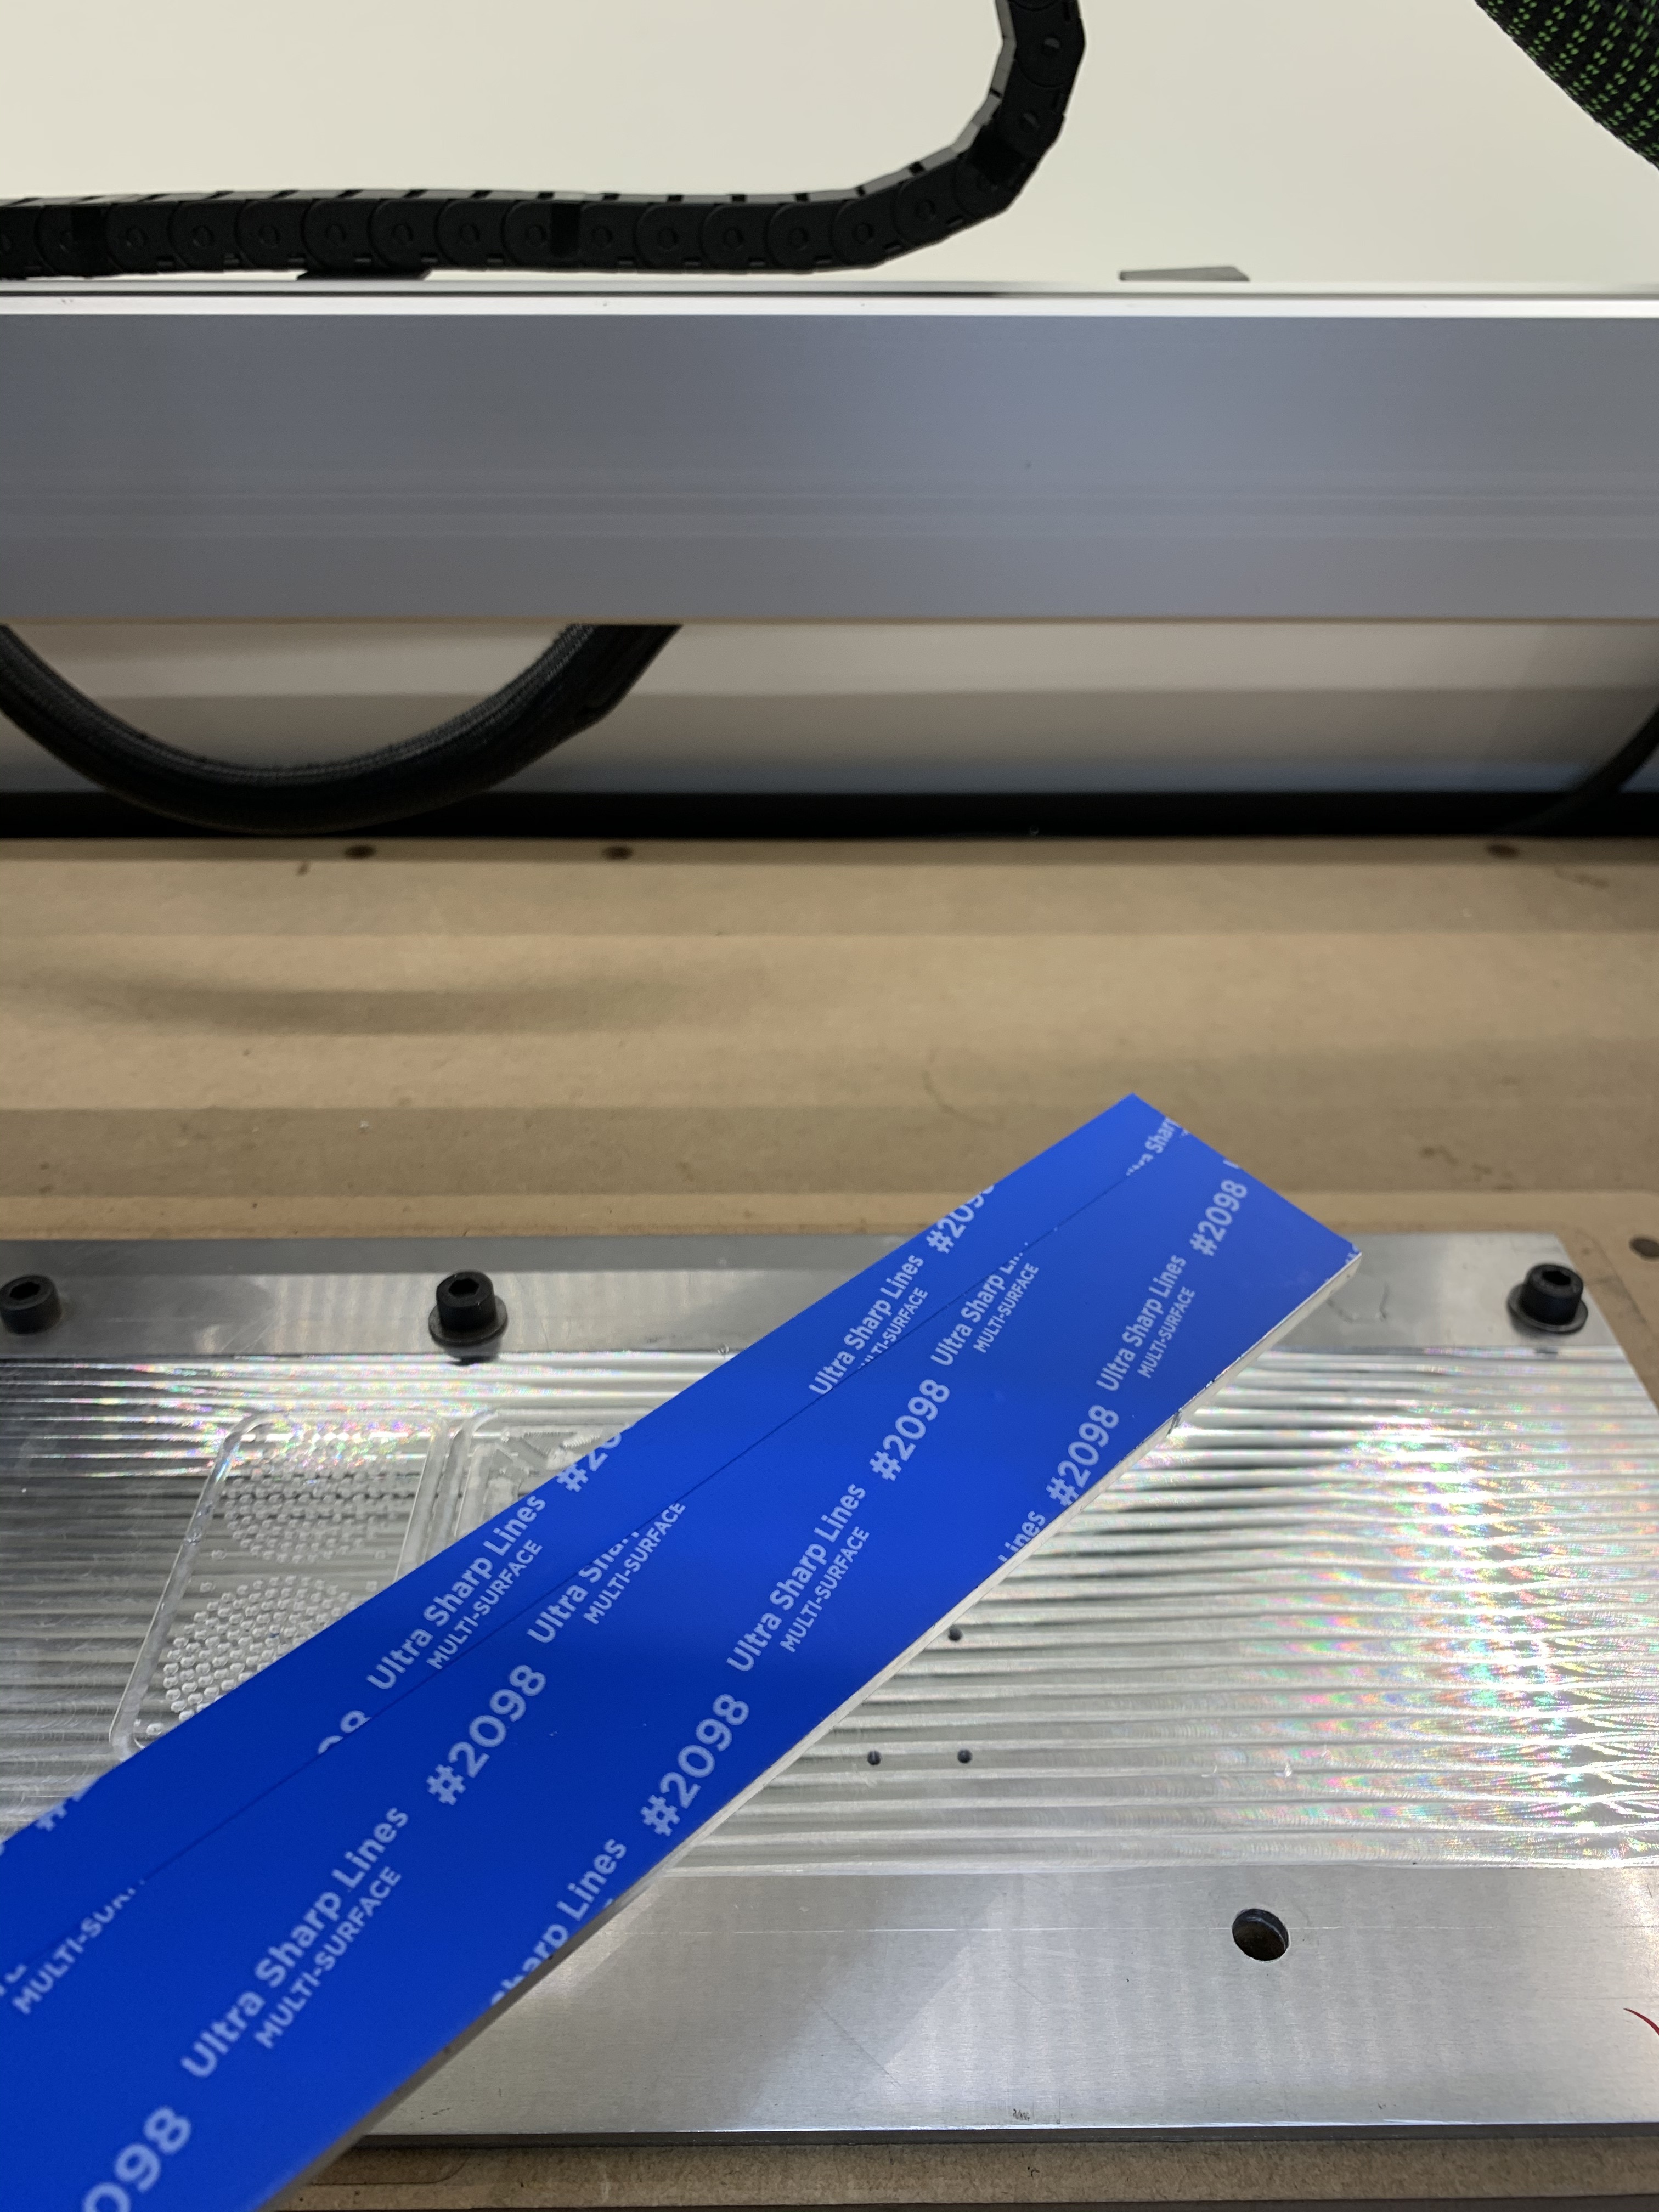
Normally I’ll machine small fixture plates that I can bolt down to my MDF waste board. The MDF waste board has M8 T-Nuts spaced at 50mm which provides lots of options for mounting fixture plates too.
I also use adhesive work holding for foam and also when doing quick prototypes in Aluminium.
Really nice work, you’re getting such nice finishes on those parts!
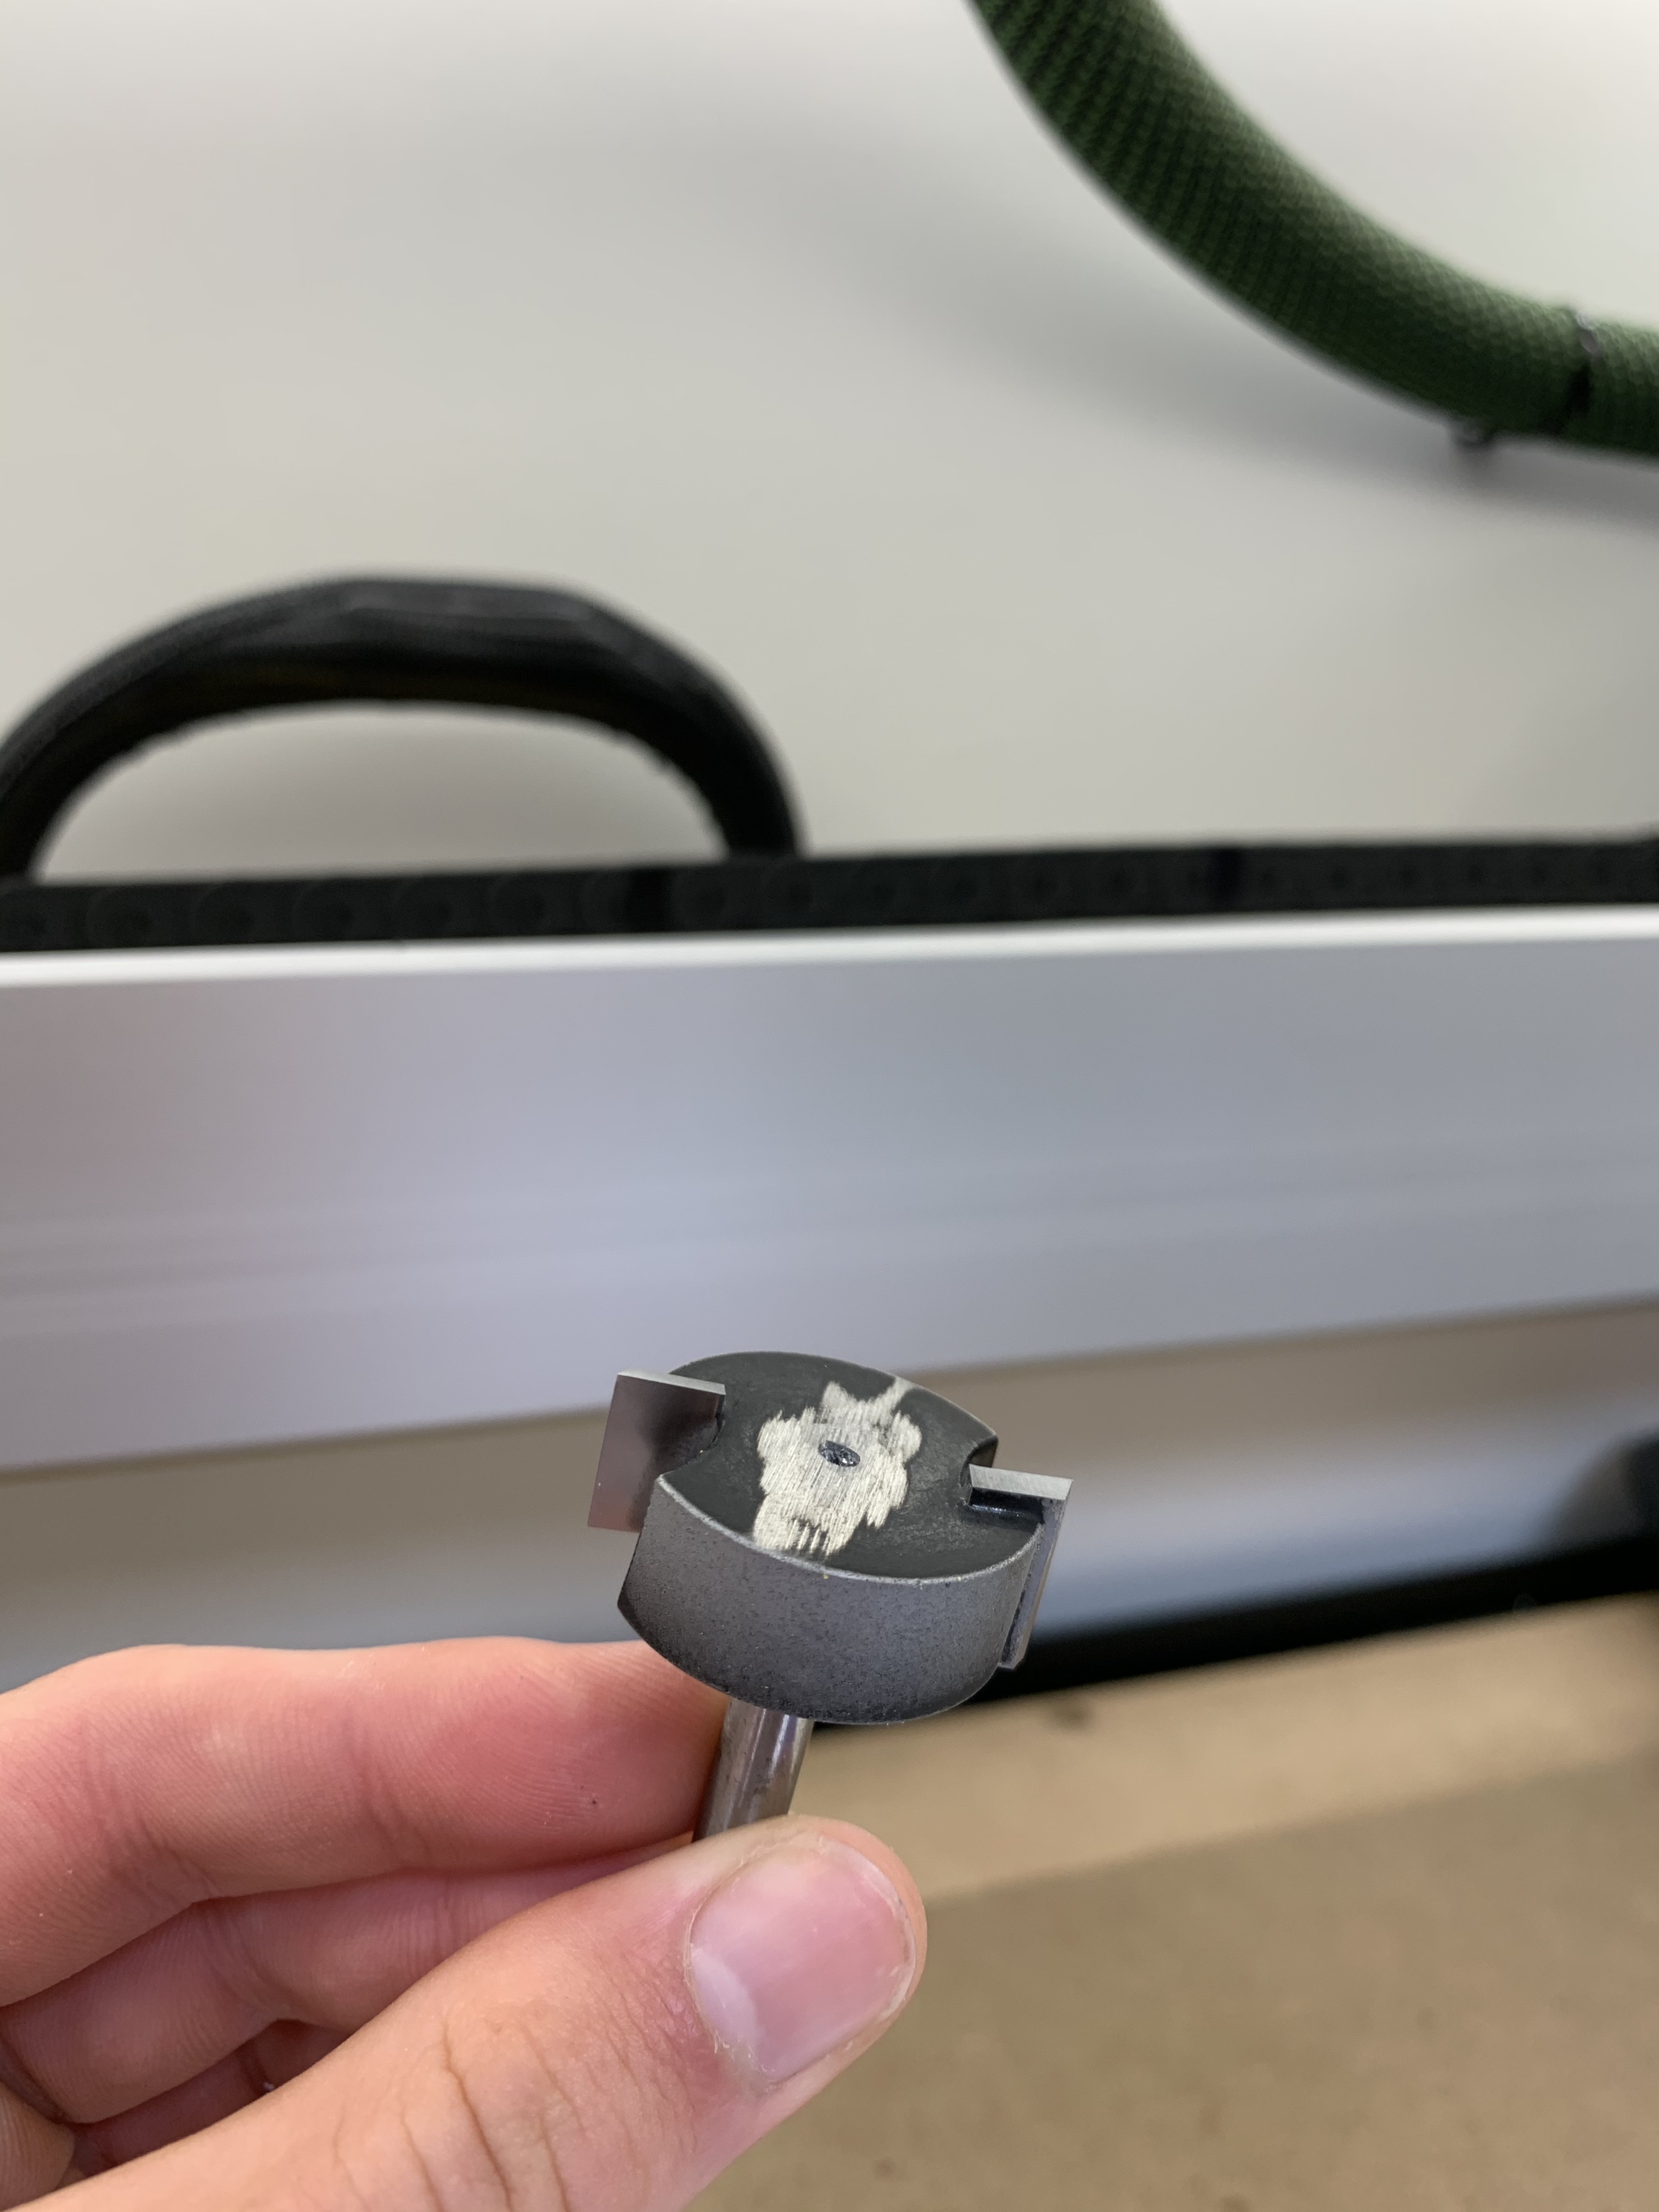
Would you mind sharing where you found that facemill? I have been on the hunt for one and local to Aus is even better. Datron is another option I’ve looked at but haven’t pulled the trigger yet.
Its cool to see how you fixture 2 sided parts, I need to spend some time learning to do that. It really is a level above just clamping down stock.
How are you zeroing your jobs?
Thanks @stutaylo!
Link here for where I purchased my facemill: https://www.timbertools.com.au
It’s actually a modified router bit, the bearing and other features were turned down so that only the two carbide cutting edges were left. I’ve been really impressed with it so far, but would also like to try the Datron.
Here are a few photos of it:
For finding my zero points I’m using the BitZero, but before that I was just doing it manually.
but how do you hold small workpiecies (full cutouts) to your fixture plates?
I use a combination of Mitee-Bite fixture clamps to hold the parts to the fixture plates. I use them for the first operation right up to the final operation as they are really versatile and can be used to fixture an almost complete part.
I mostly use the Pitbull and Cam action clamps for holding my parts. They are available in lots of different sizes, so can be made to suit any part.
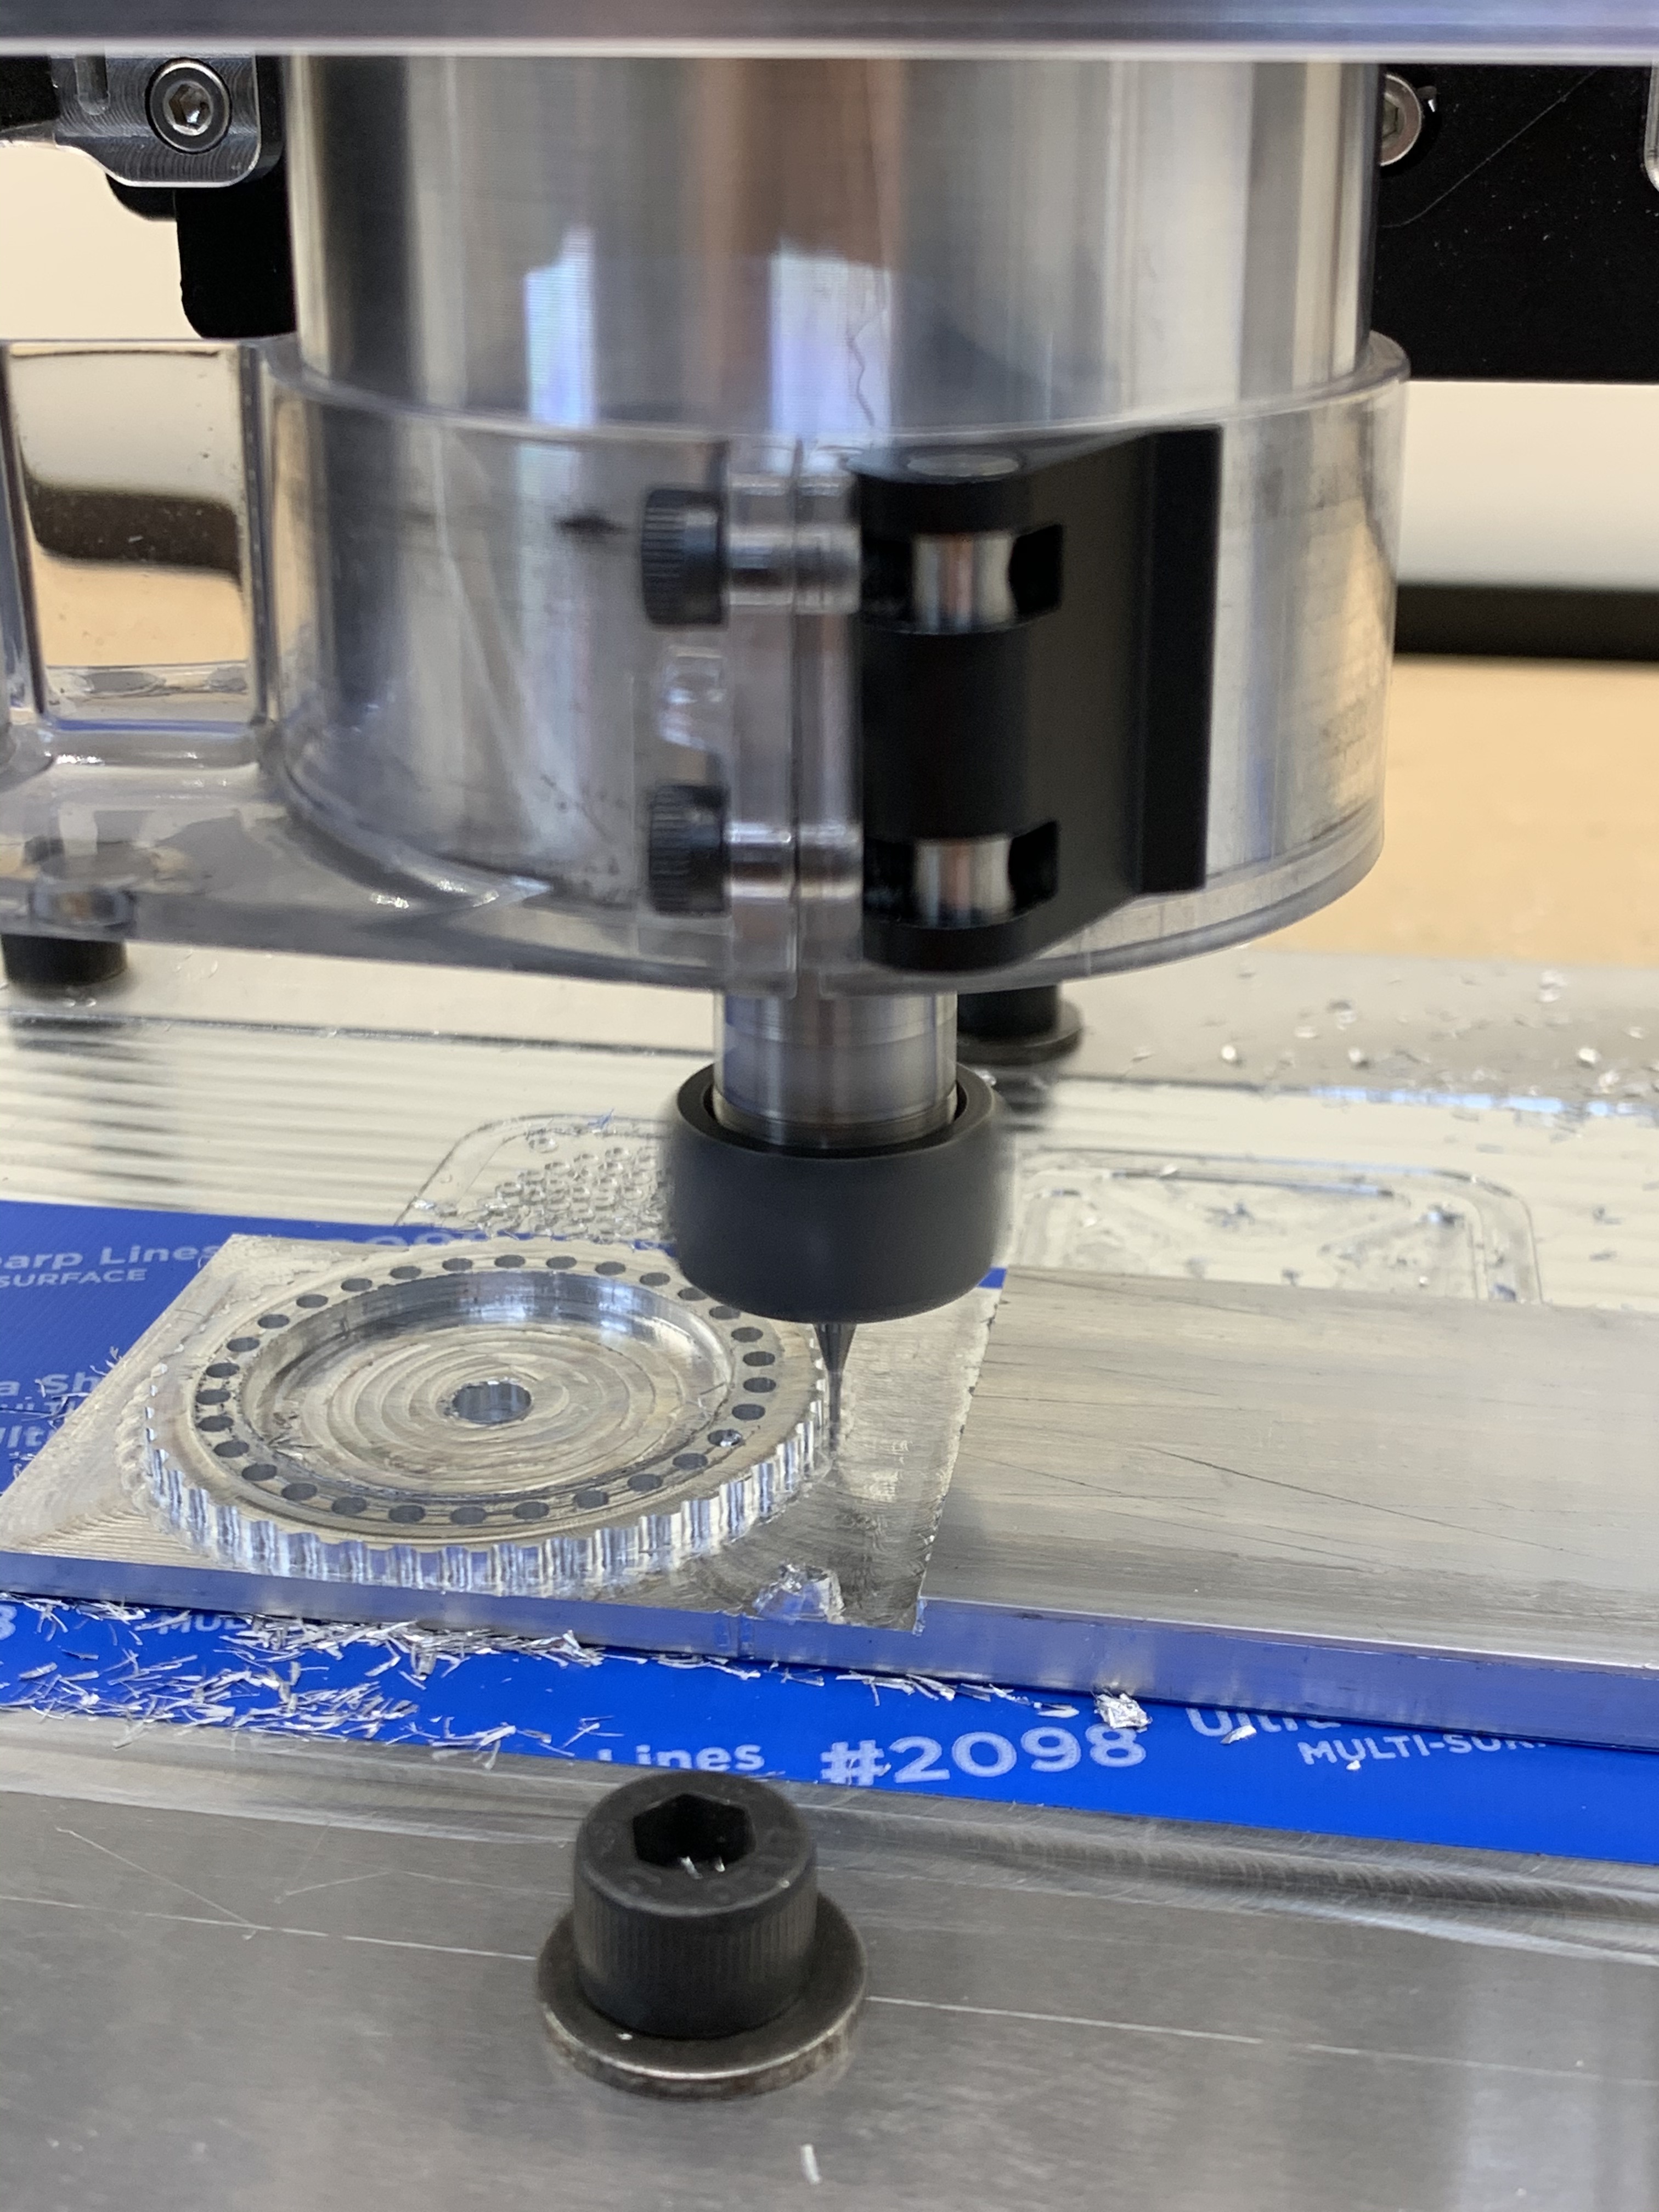
First prototype started for a new project. When machining prototypes I tend to use adhesive work holding and a simple fixture to secure the part. This helps save some time and test the concept before designing the final fixture for the part.
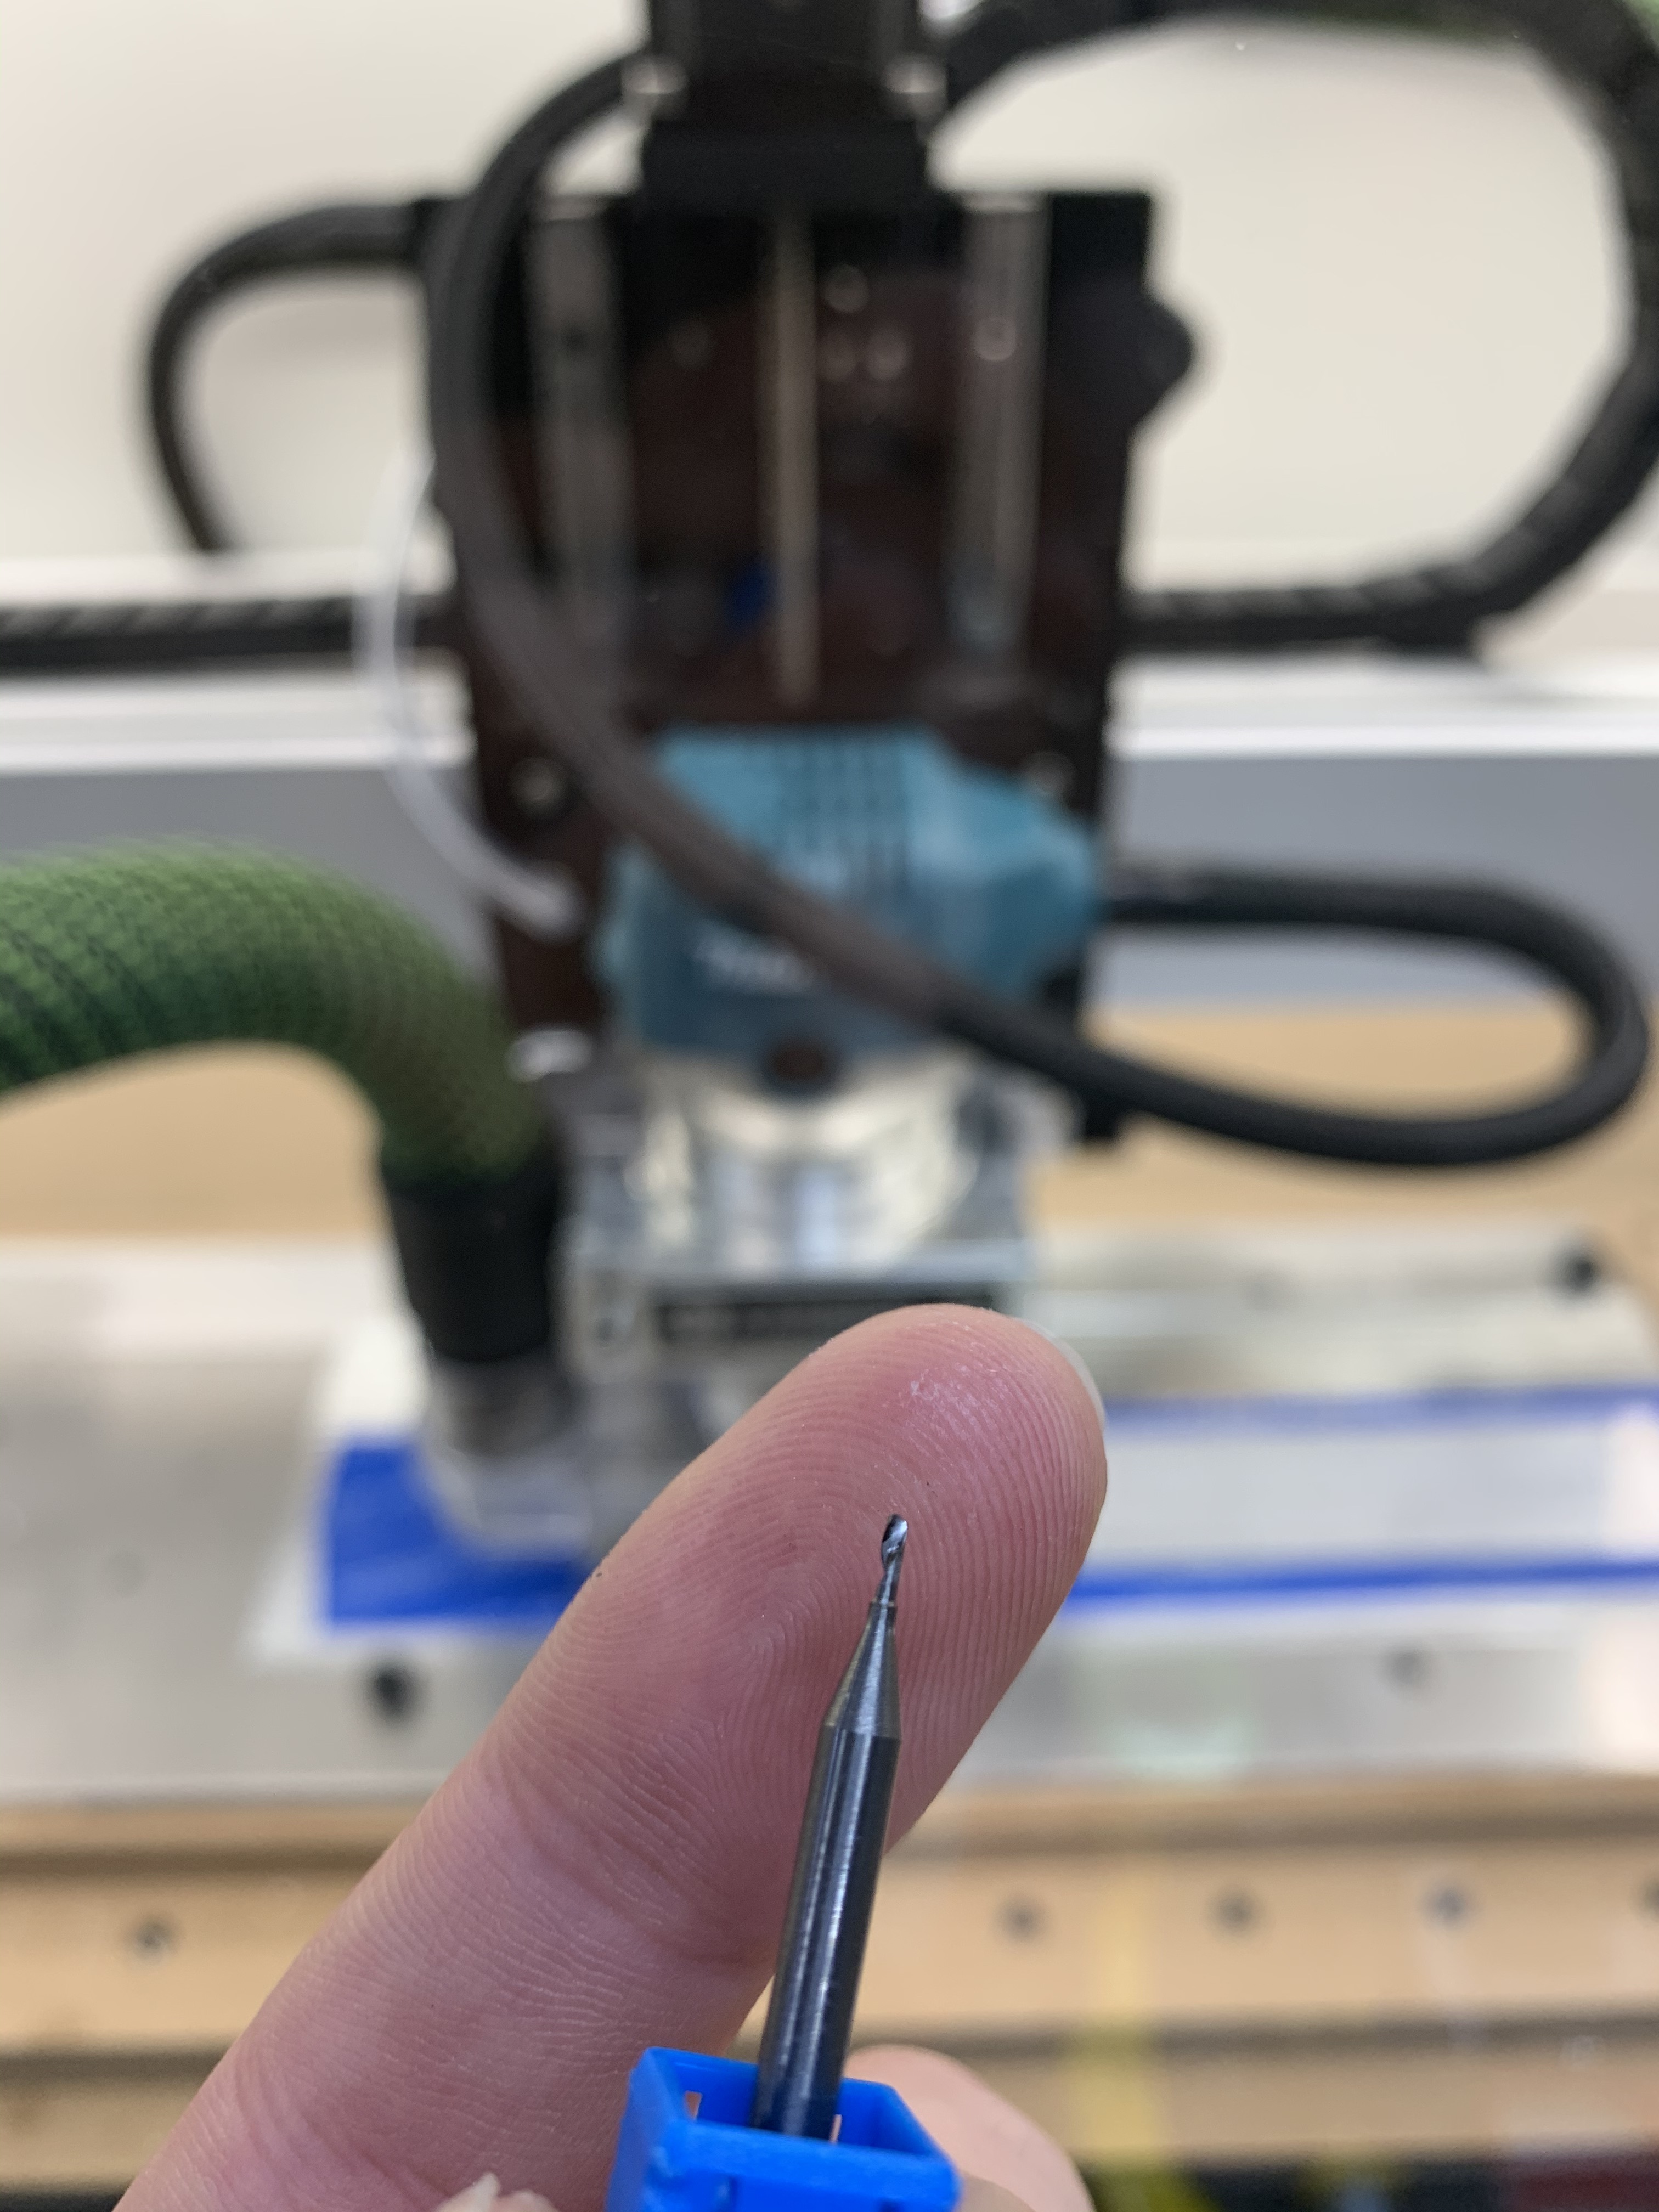
Small 1mm single flute needed for this part.
Finally a work in progress image.
More to follow over the next few days. This was just a little insight into how I prototype parts.
Nice,
Don’t suppose you could share your feeds and speeds with that 1mm cutter as some comparative info pls?
I’m currently being very cautious with a 2mm square and 2mm ballnose.
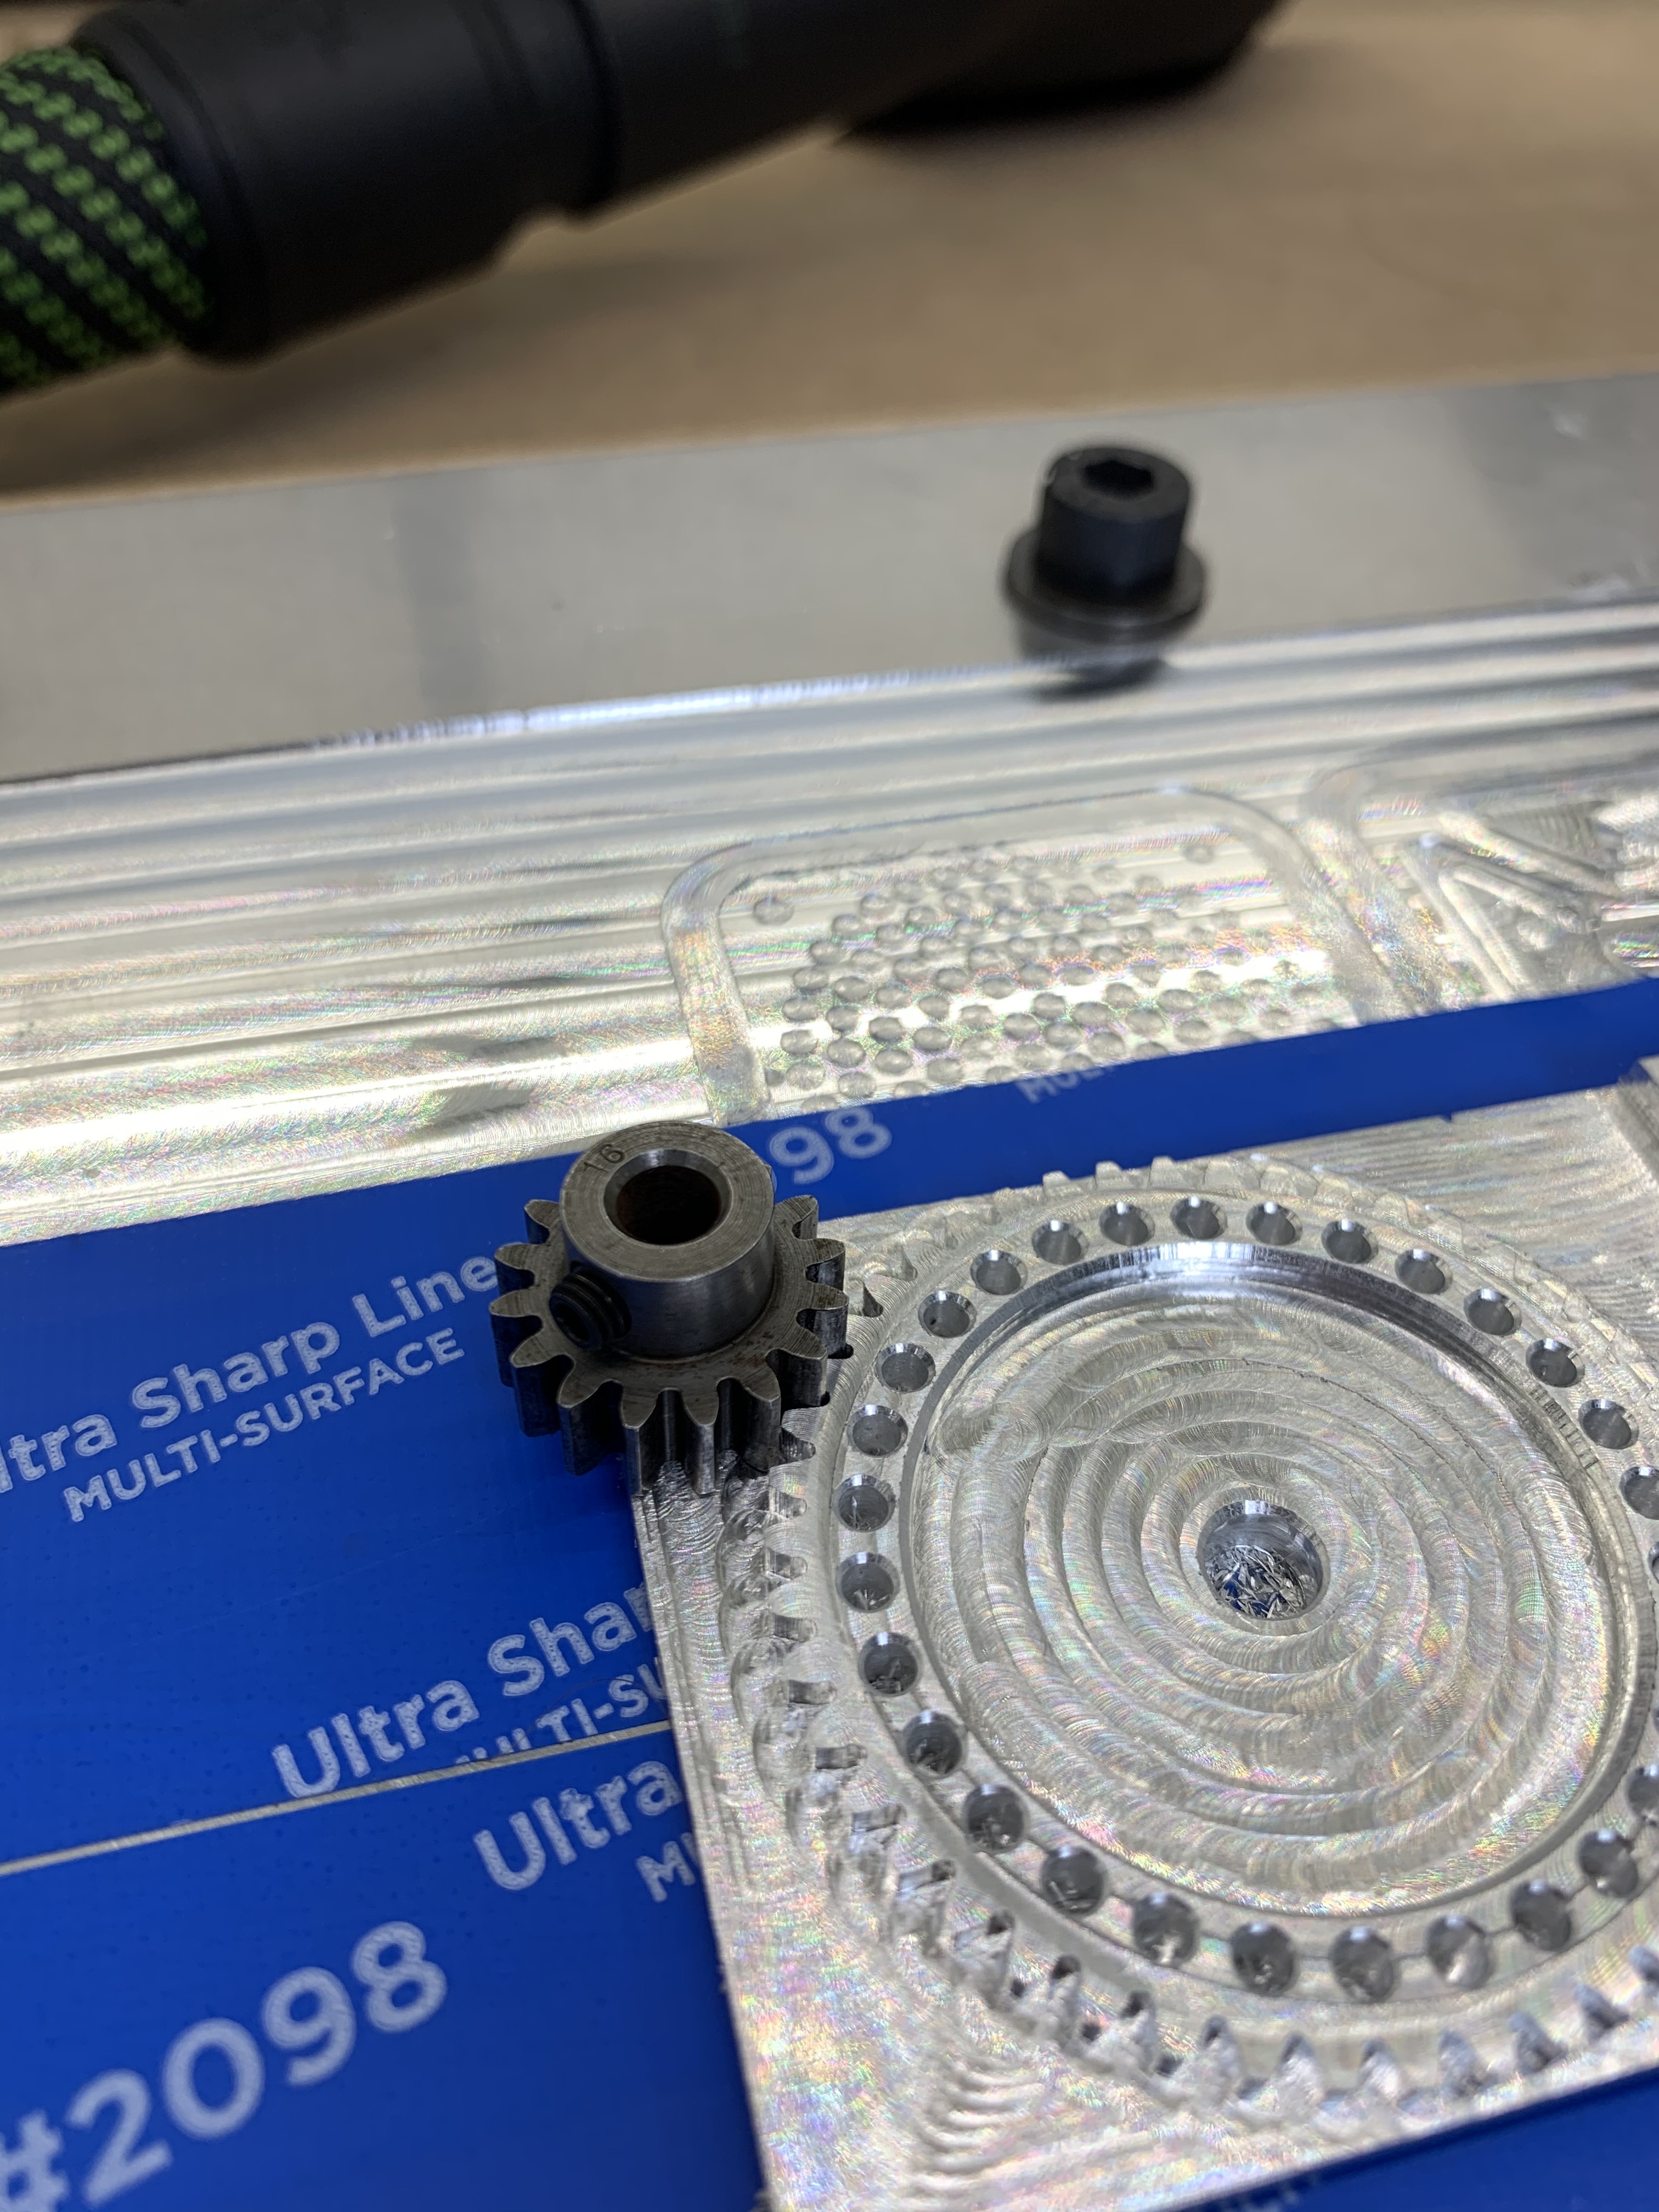
I am curious how long that spur gear will last being driven by a hardened steel gear. Is this just for testing the fit? Do you plan on having a steel version made? I also wonder if a ZrN coating would make an aluminum gear hold up to the steel pinion.
I wish I could use glue and tape but with my physical limitations I would end up with crooked stock that I couldn’t pry off. So it’s vise and clamp mounting for me.
For that first cut I was running at 10,000 RPM, a feed rate of 250mm/min, a 2mm DOC and 0.1mm WOC. I tried to keep it conservative for this first one, but will see if I can improve on this for the next part.
The hardened steel pinion gear was just being used for a test fit. It would be interesting to see if a coating would help, but I think overtime the aluminium will wear a lot compared to the steel.
The glue and tape works well, but it would also be nice doing that in a vise.


 I would love to share. Single flute 8mm cheap Amazon cutter quite decent results!!!