I am trying to cut out a box with mitered sides. I have 2 files set up for the sides and the top/bottom. My tool paths are the advanced Vcarve…The thickness is .4o10, and I have the bottom depth set to .400…
It will not cut to full depth…and I cannot figure out what I’m missing… Even got a 1"wide Veebit because I read somewhere that your bit has to be twice as wide as your depth…
I’ve attached the sides file and the G-code for your enjoyment… box sides.nc (6.1 KB) Box sides.c2d (31.1 KB)
is 0.4010" a stock thickness you actually measured?
do you have a belt-driven Z axis and did you calibrate the number of steps per mm ? If it is slightly off, it could be that
does your V-bit has a flat tip ? CC will generate the toolpath as if the Vbit had an infinitely pointy tip.
can you double-check that the Z zero AFTER you completed the cut is still where it should be? by jogging to the top surface and checking whether that is still at Z=0.0 (or close enough). If not, you may have lost Z steps during the cut, which could explain why it’s not deep enough.
Yes, that is the measured thickness…
I have an HDZ, a bit setter and a bit runner(santa was very very good to me )
the veebit does not have a flat tip…
I have not done that…It does seem to me that the Z Height is off…When I start up and initialize, I insert the bit as directed…the machine jogs over to the bit setter and does it’s thing…I then jog over to set the XYZ zeros with the touch probe… and I zeros on everything except Z height, which is 1.022…
I’ve tried the paper method and setting everything to zeros, and still no joy…
There is at least a tenth of an inch or more remaining…
What bit did you have in the machine at powerup/during machine initialization, when when/how did you install the Vbit? The (one?) pitfall in the bitsetter workflow is changing the bit without using the “change tool” button, which can result in an improper Z offset being applied.
(heading to sleep right now but this is a common discussion here, others can comment)
So… that would mean that a 1" Veebit would cut .5 inches deep, right? So if my wood is .4010, then theoretically, it should cut all the way through…correct?
I get that I’ll need to widen my cut(I think)…My math skills tend to end about the same time I run out of toes…
I have the Veeebit. Once the machine initializes, and then moves to the front, I insert the Veebit, then load the file and then zero it out. I’ll try Will’s math and see if that cures it…Good night!
Ok,
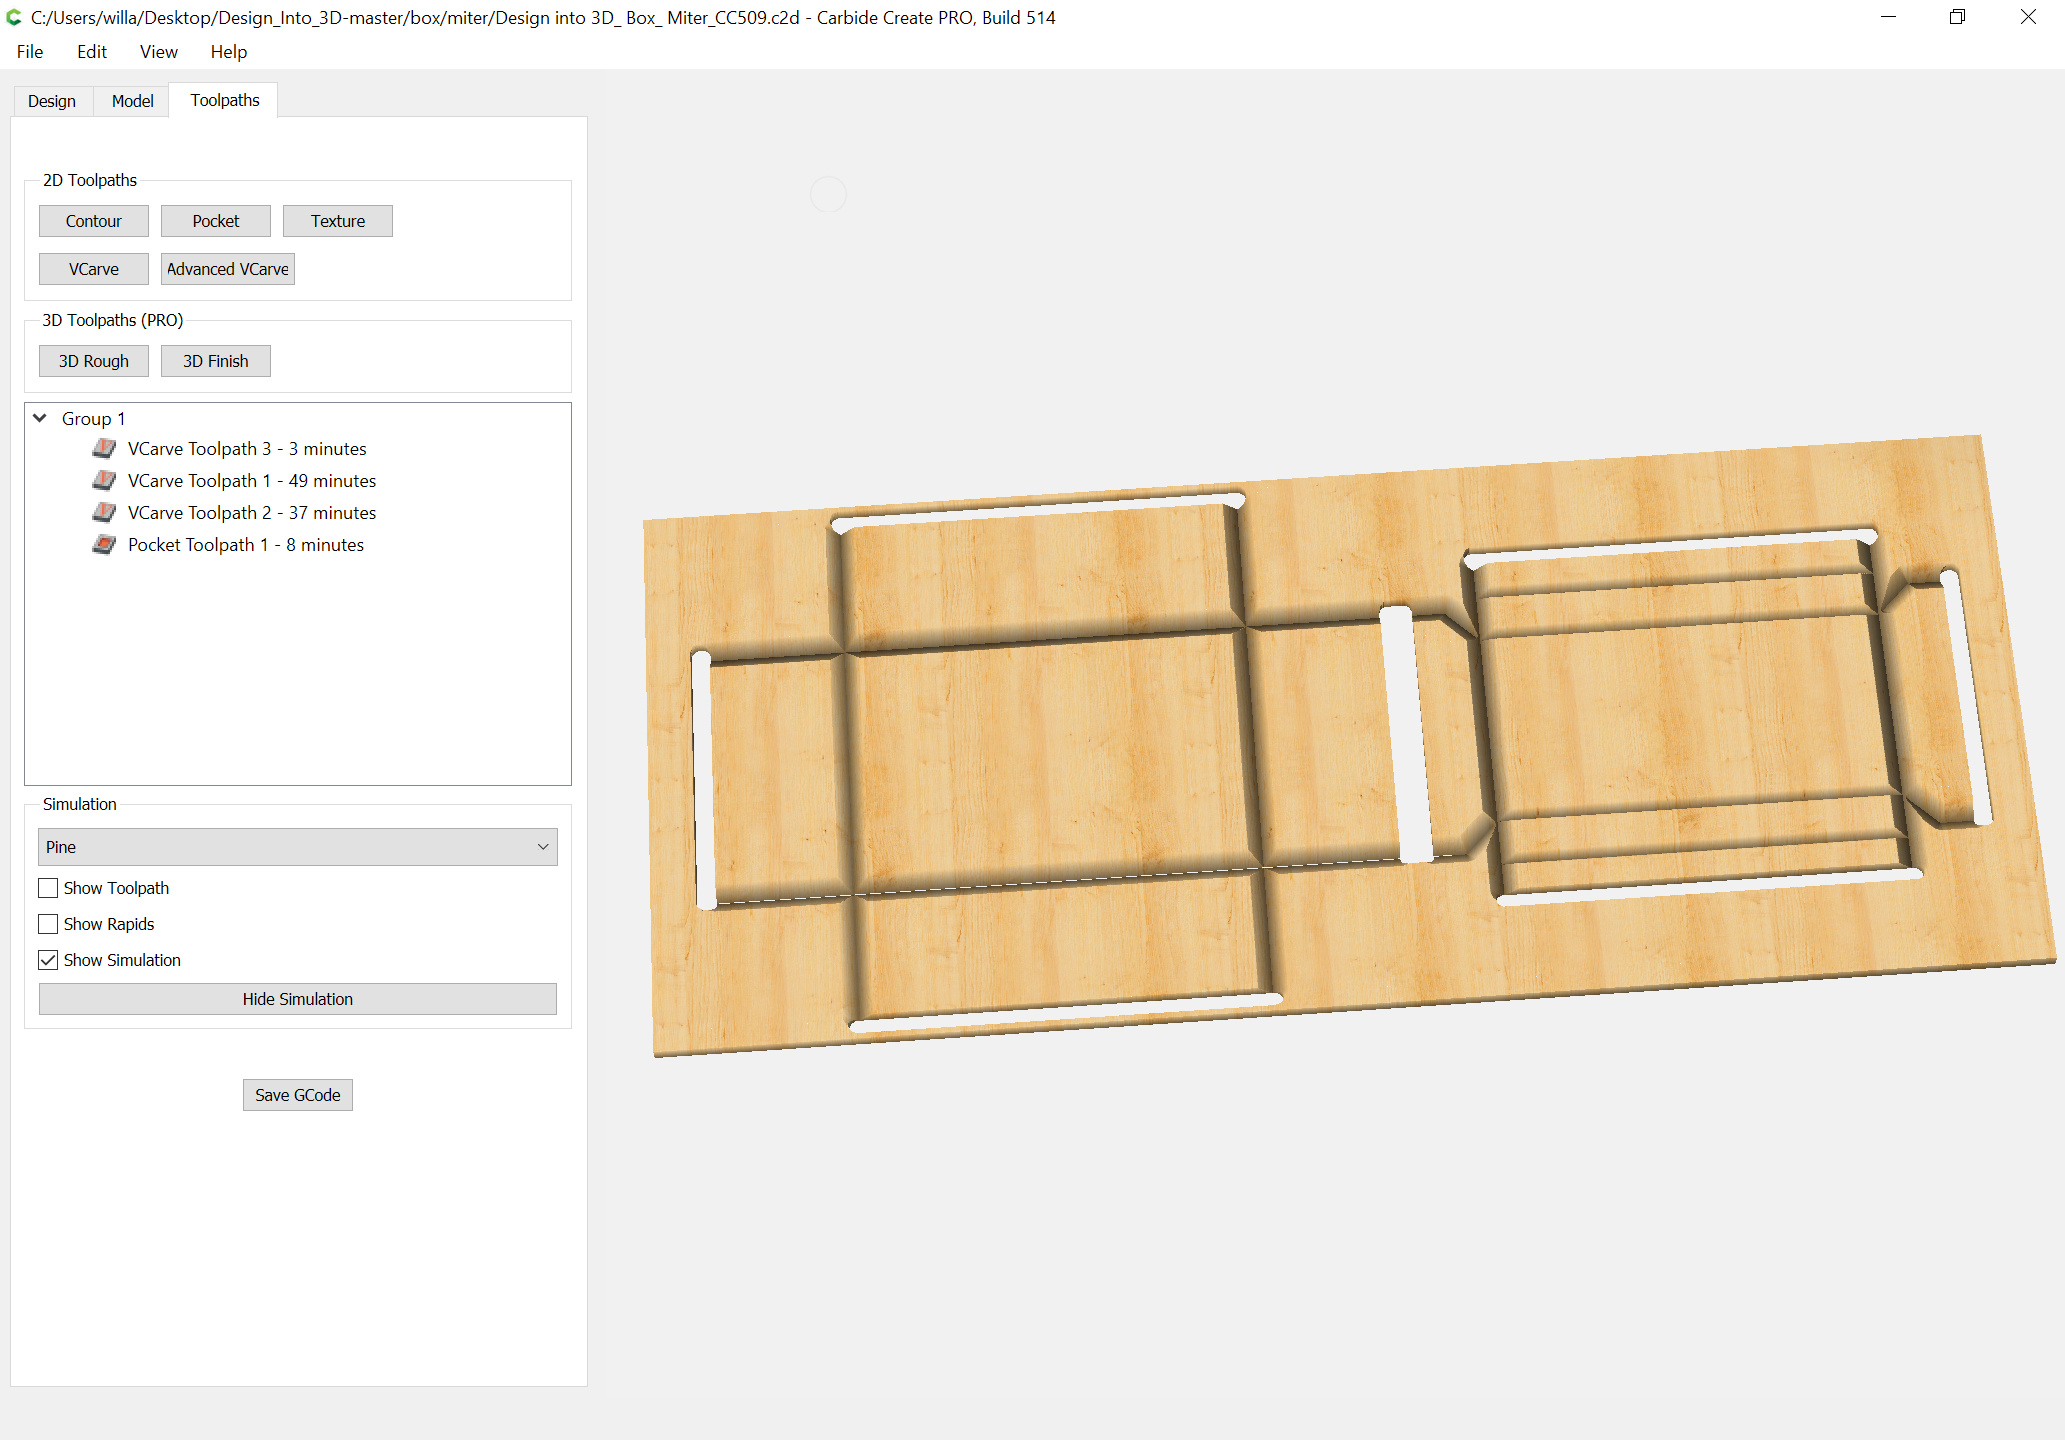
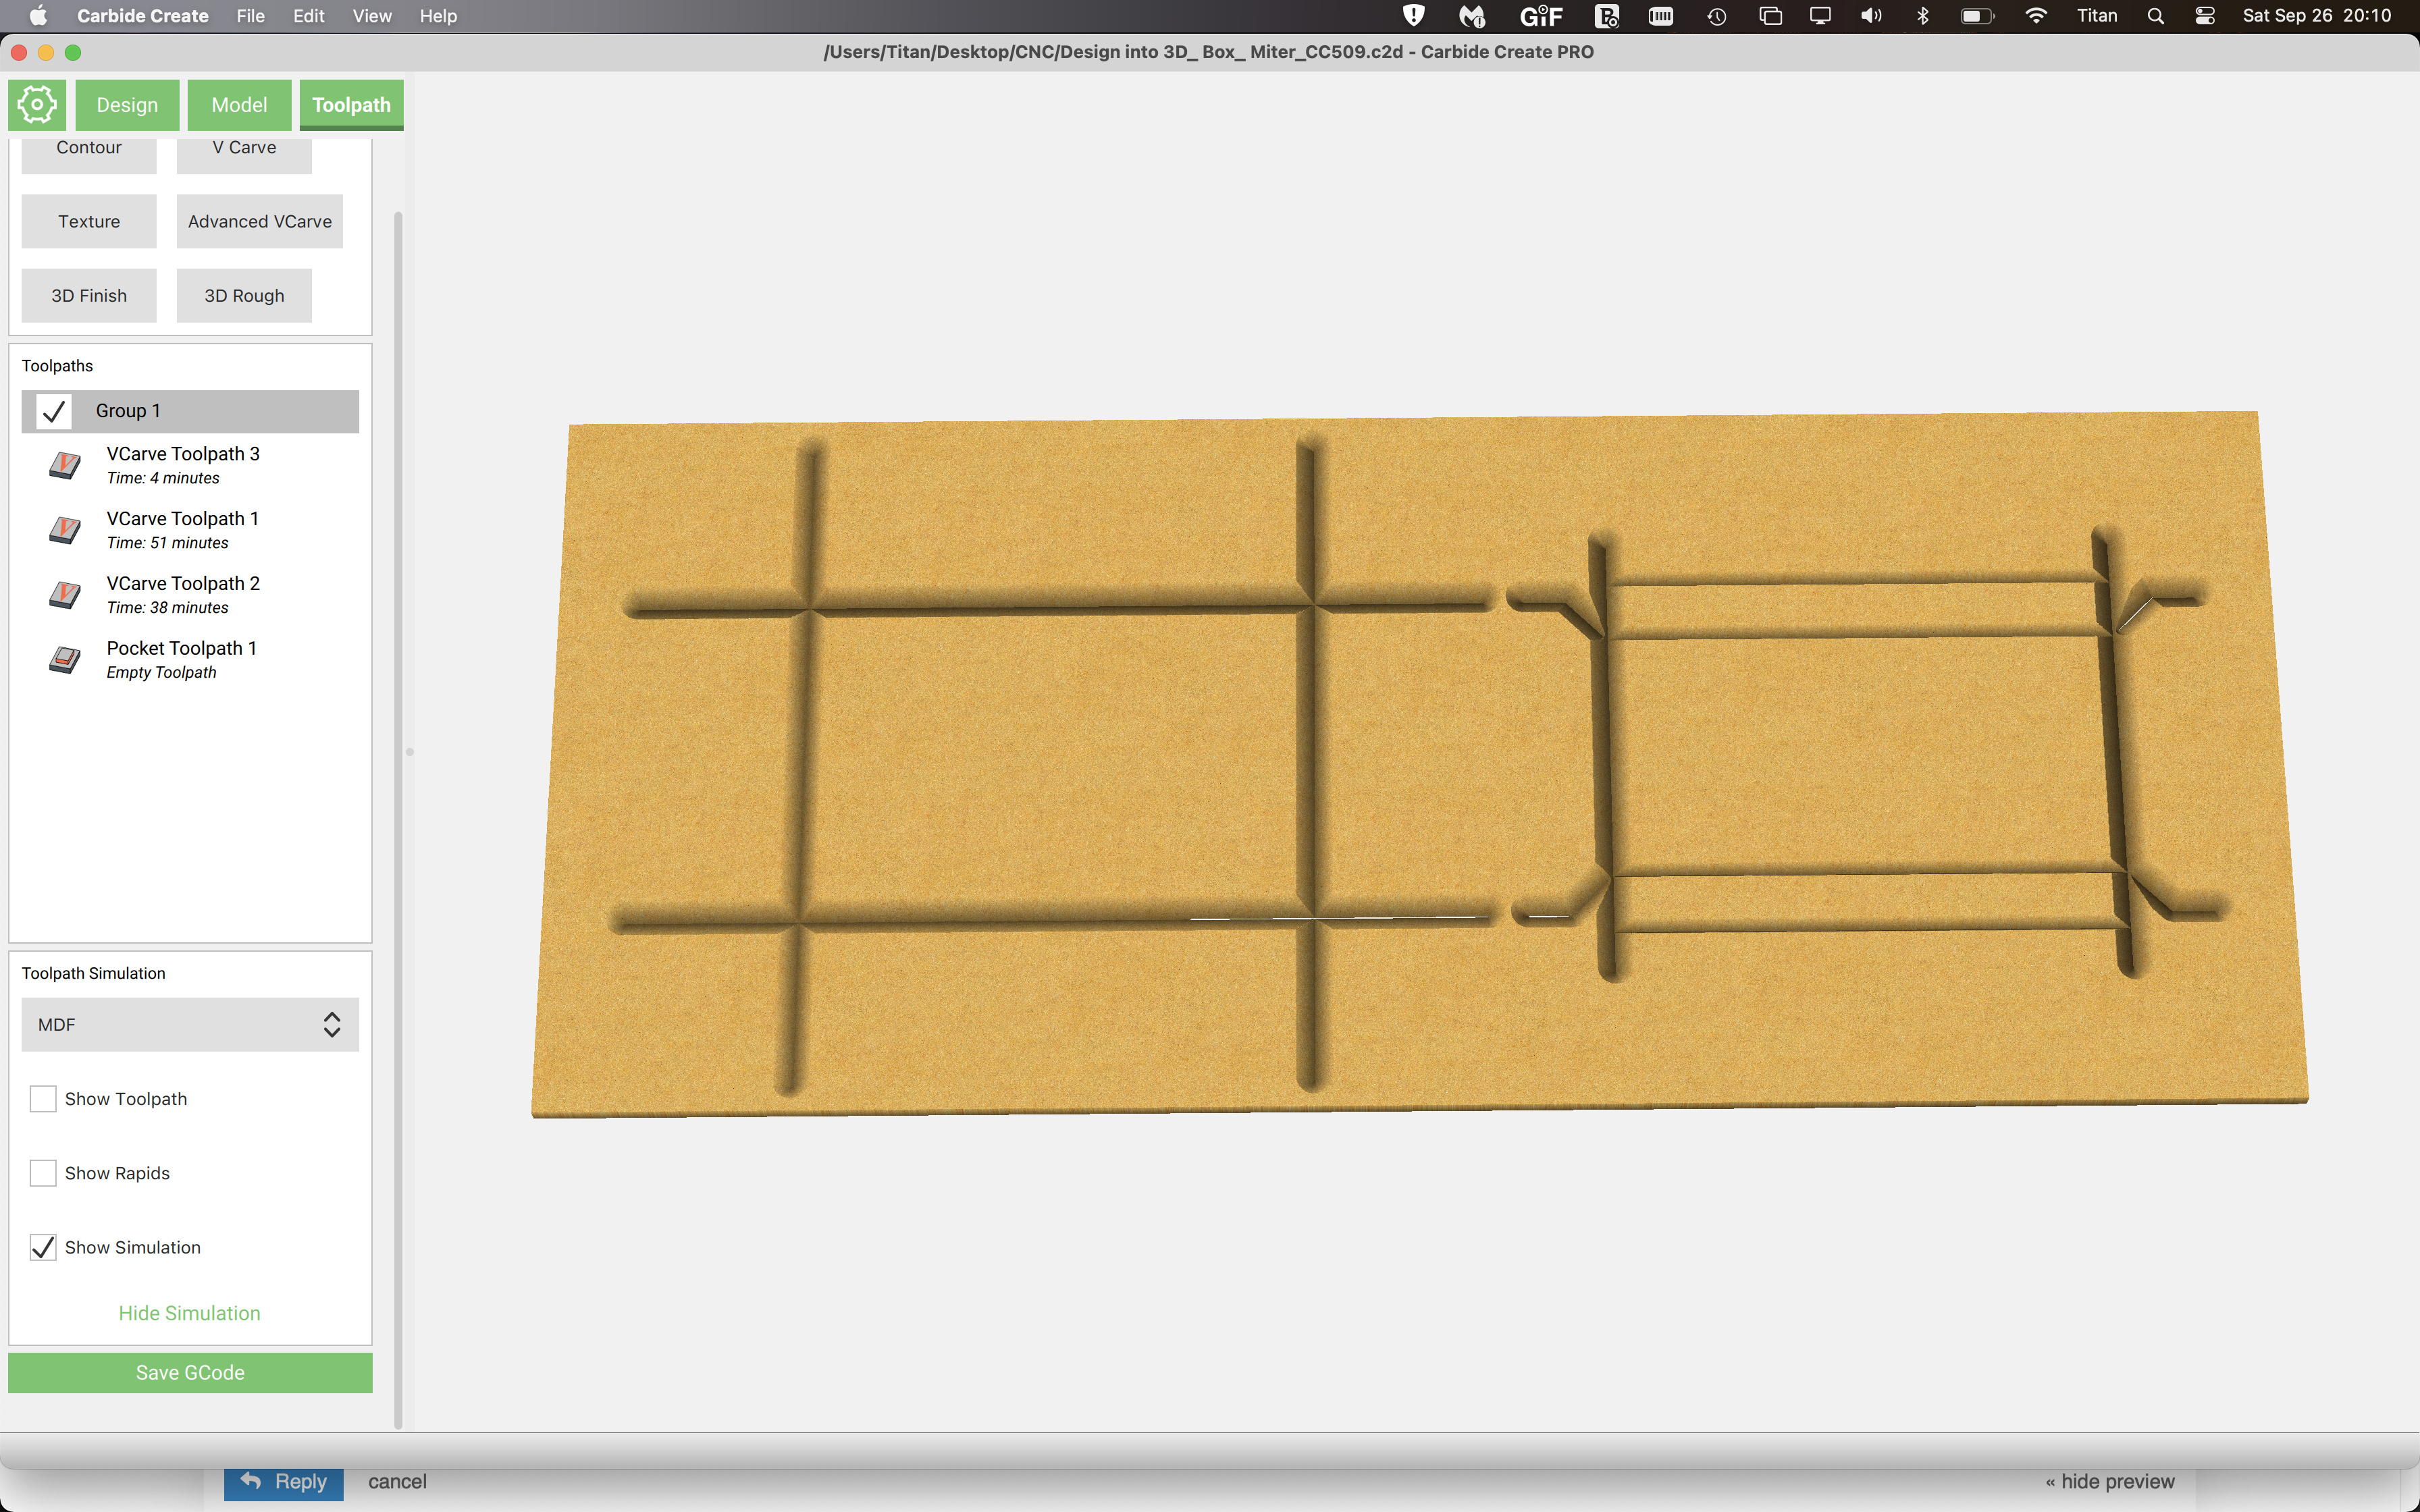
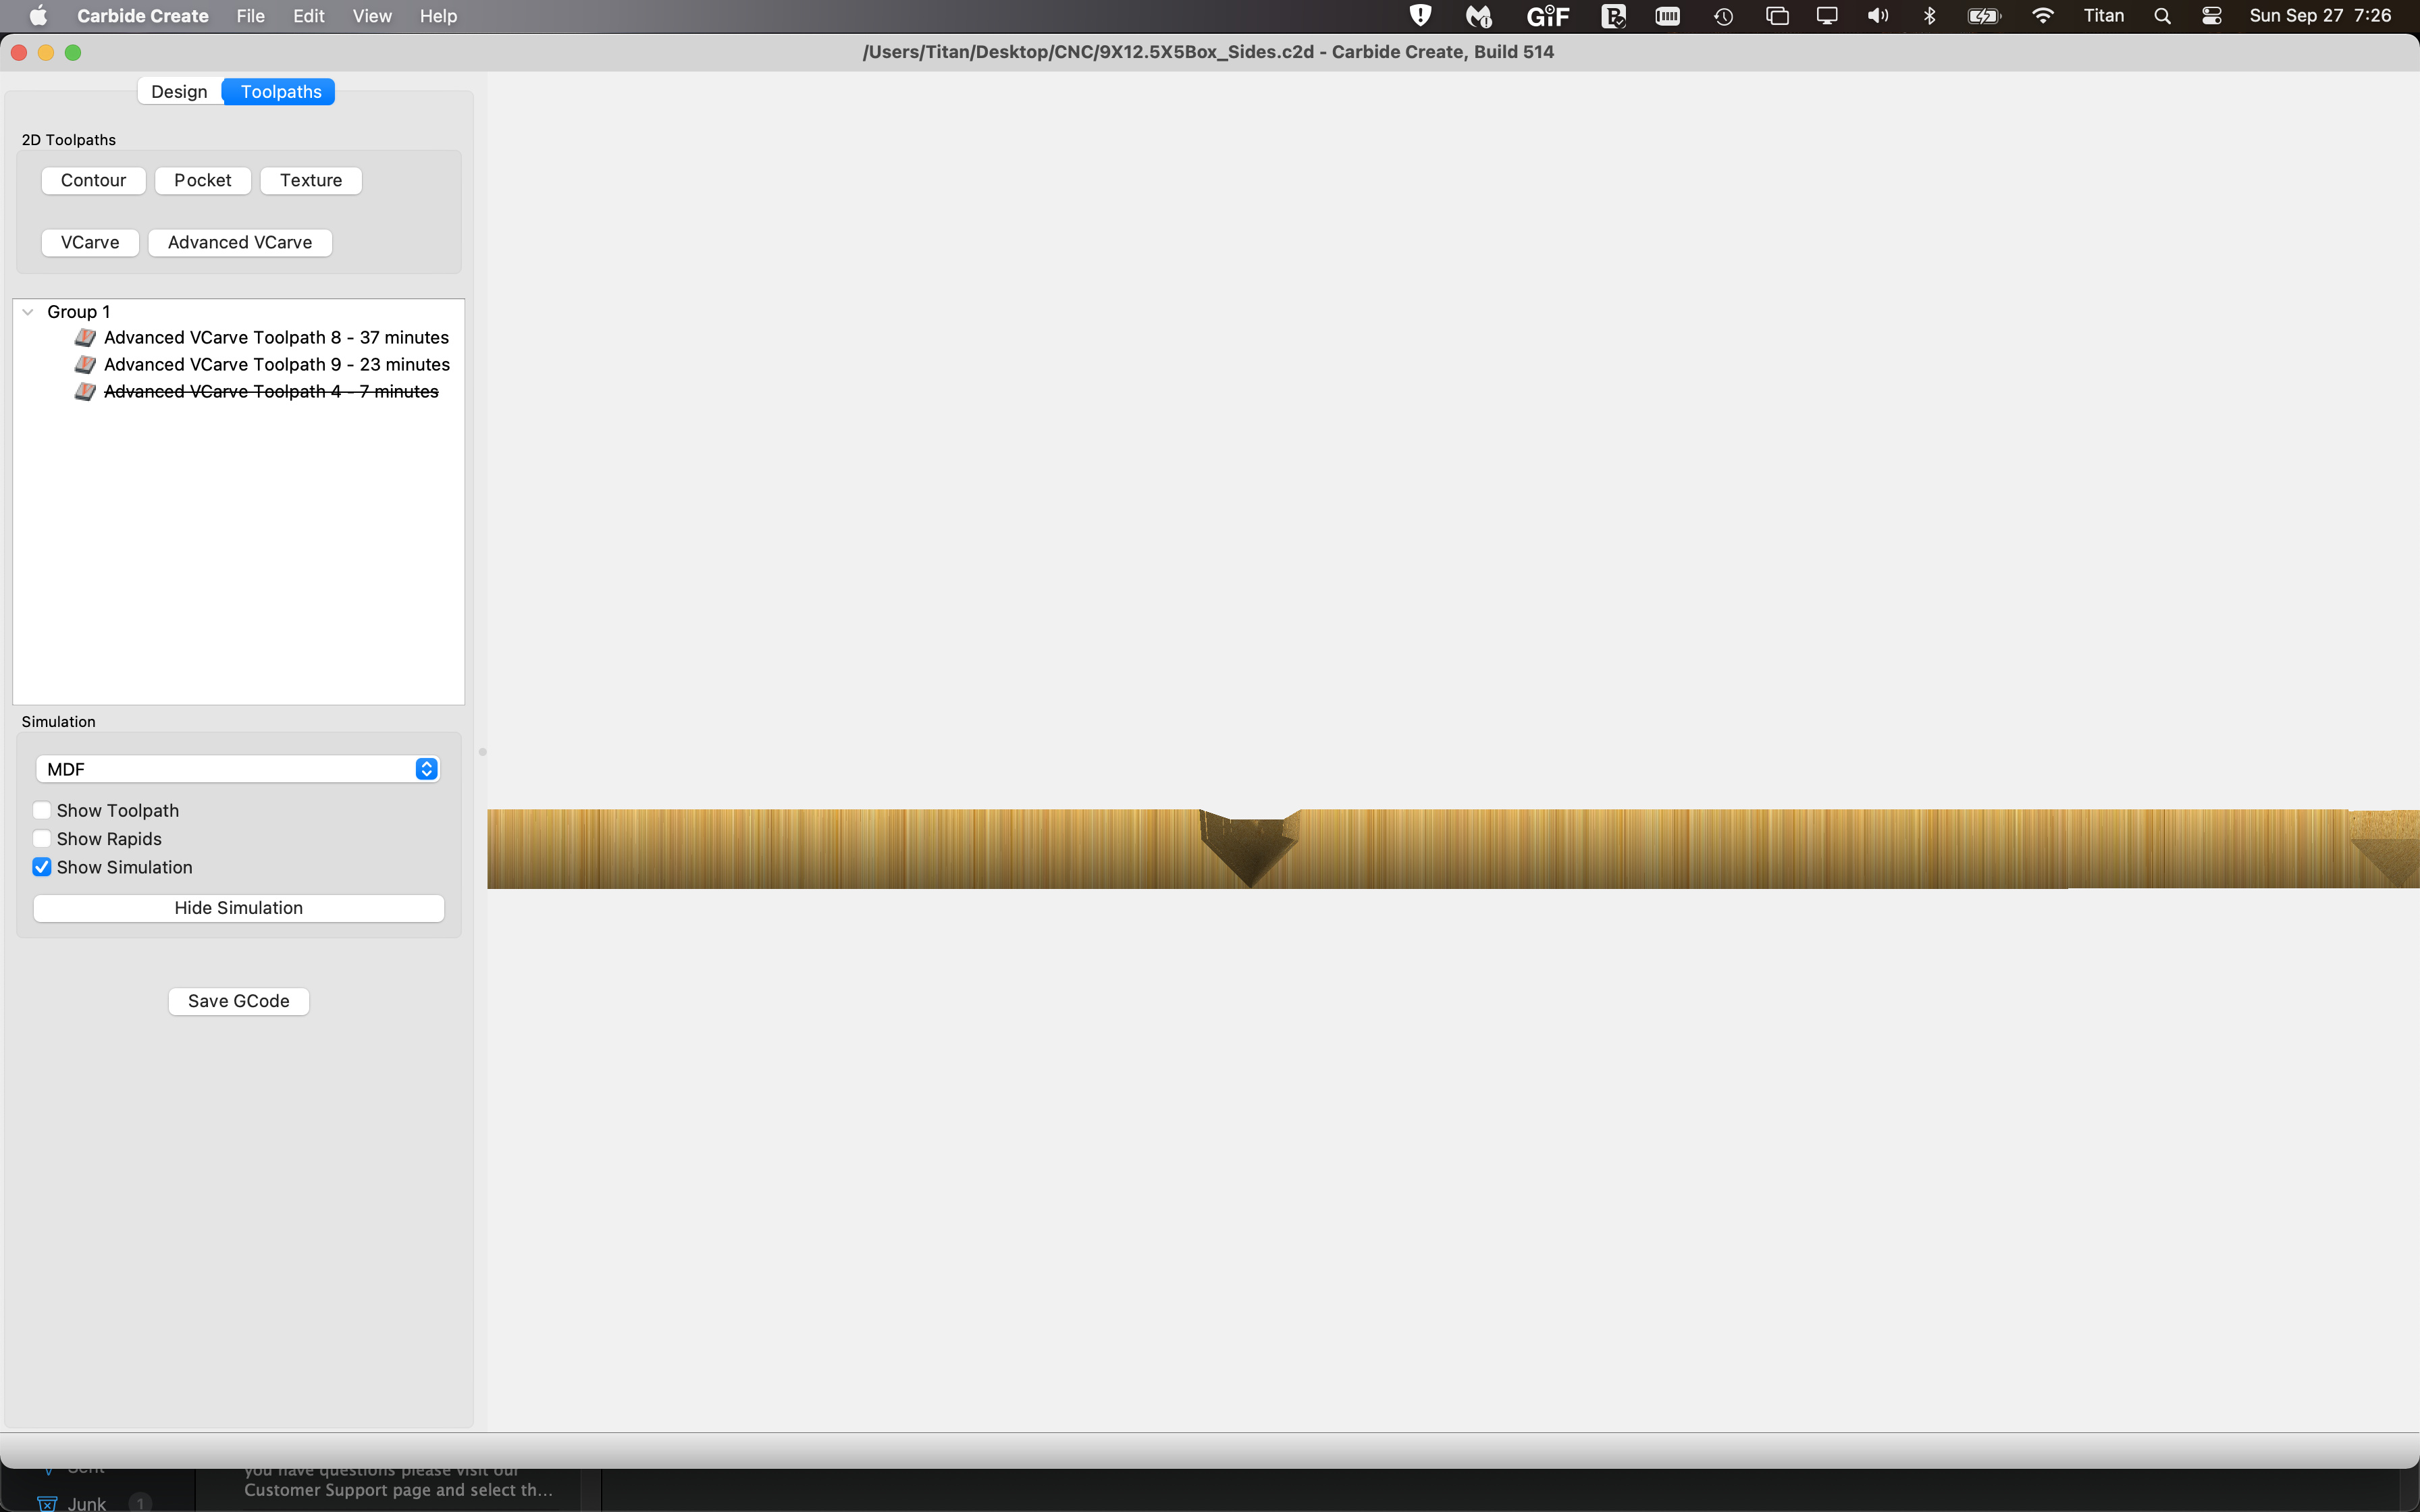
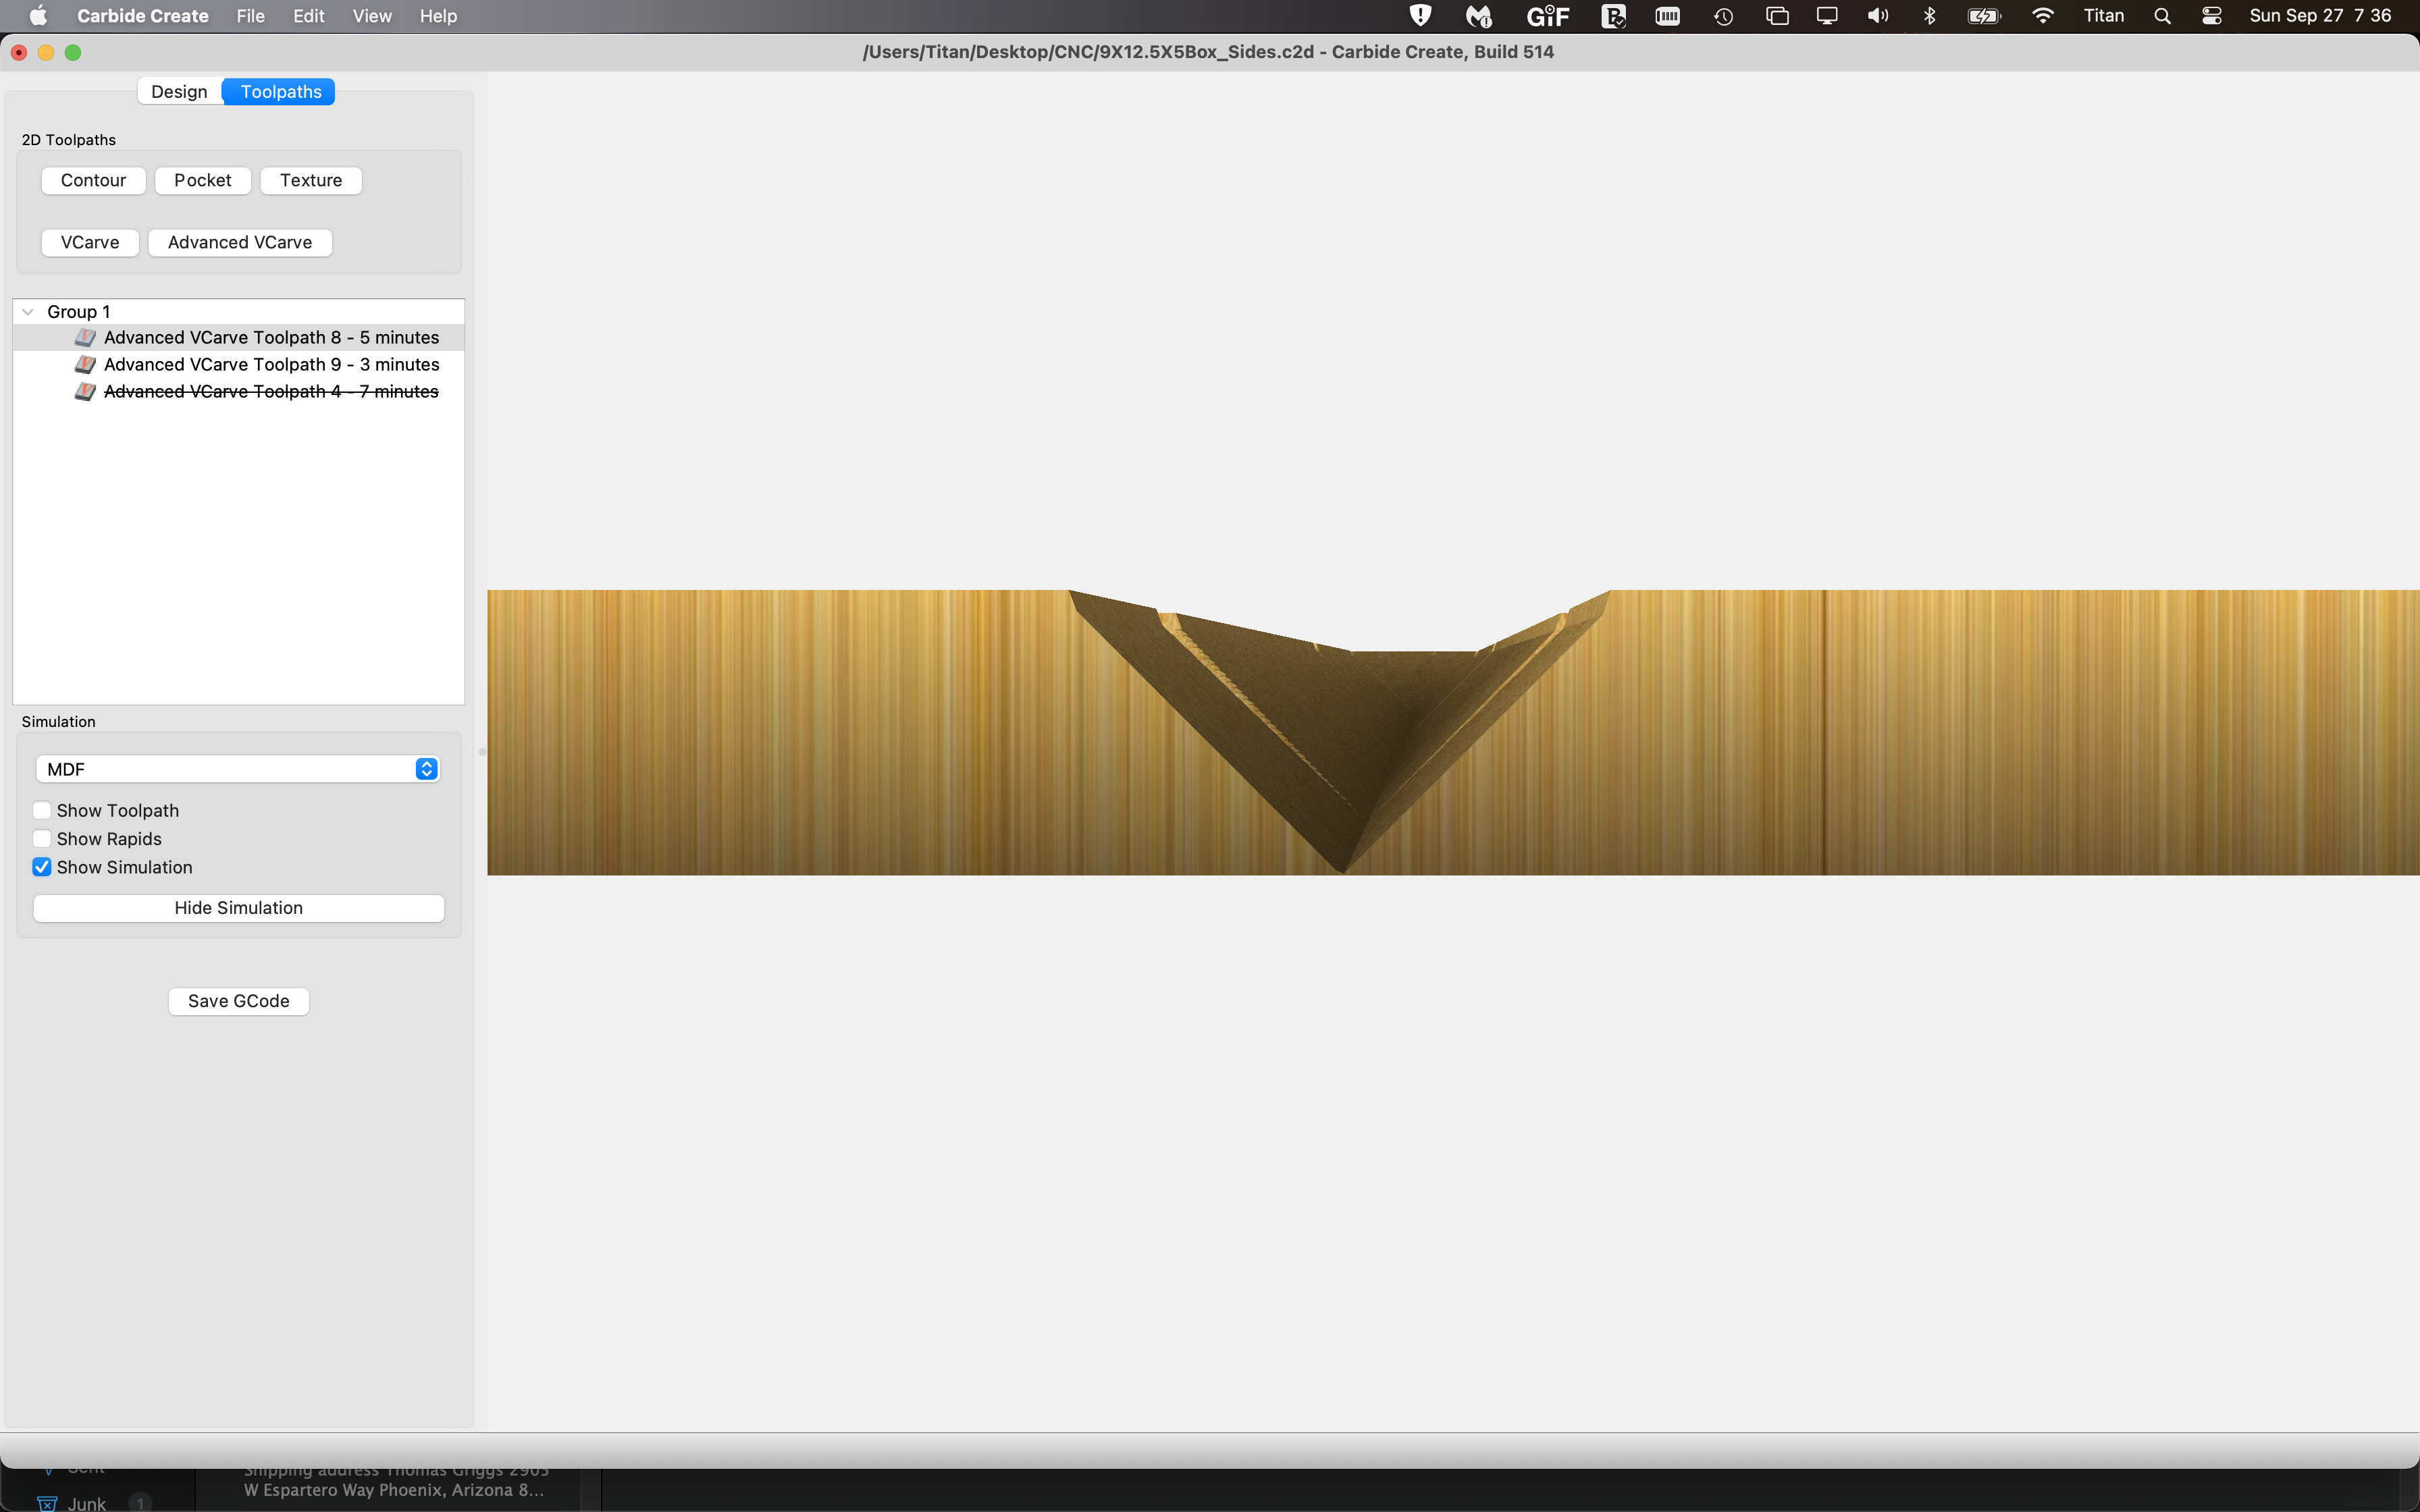
I did that…on a test file, the simulation shows it cutting all the way through. when I did the exact same thing to the real file…the simulation shows it not going all the way through. The only difference is that the lines are longer…What am I missing?
So…when you opened the files I uploaded, what did you get? I noticed that you have a much newer version of CC than I do? Also, you did a V-carve, and I used advanced v-carve…
I wonder if part of your difficulty isn’t that you used Advanced V Carving. Your file seemed fine, but that’s the big difference — if that’s not it, then I suspect it’s mechanical and you need to calibrate.
I’m going to look into some systematic testing tomorrow, and I found a length of lumber I should be able to use for a cut similar to what you have been working on.
Next I’ll look into a variation I worked up previously which the new CC5 makes much easier.
I downloaded the new version…the simulation shows exactly what I’m seeing when I cut, so I don’t think it’s a hardware issue at all. I’ve been making other inlay signs all week, with no issues…
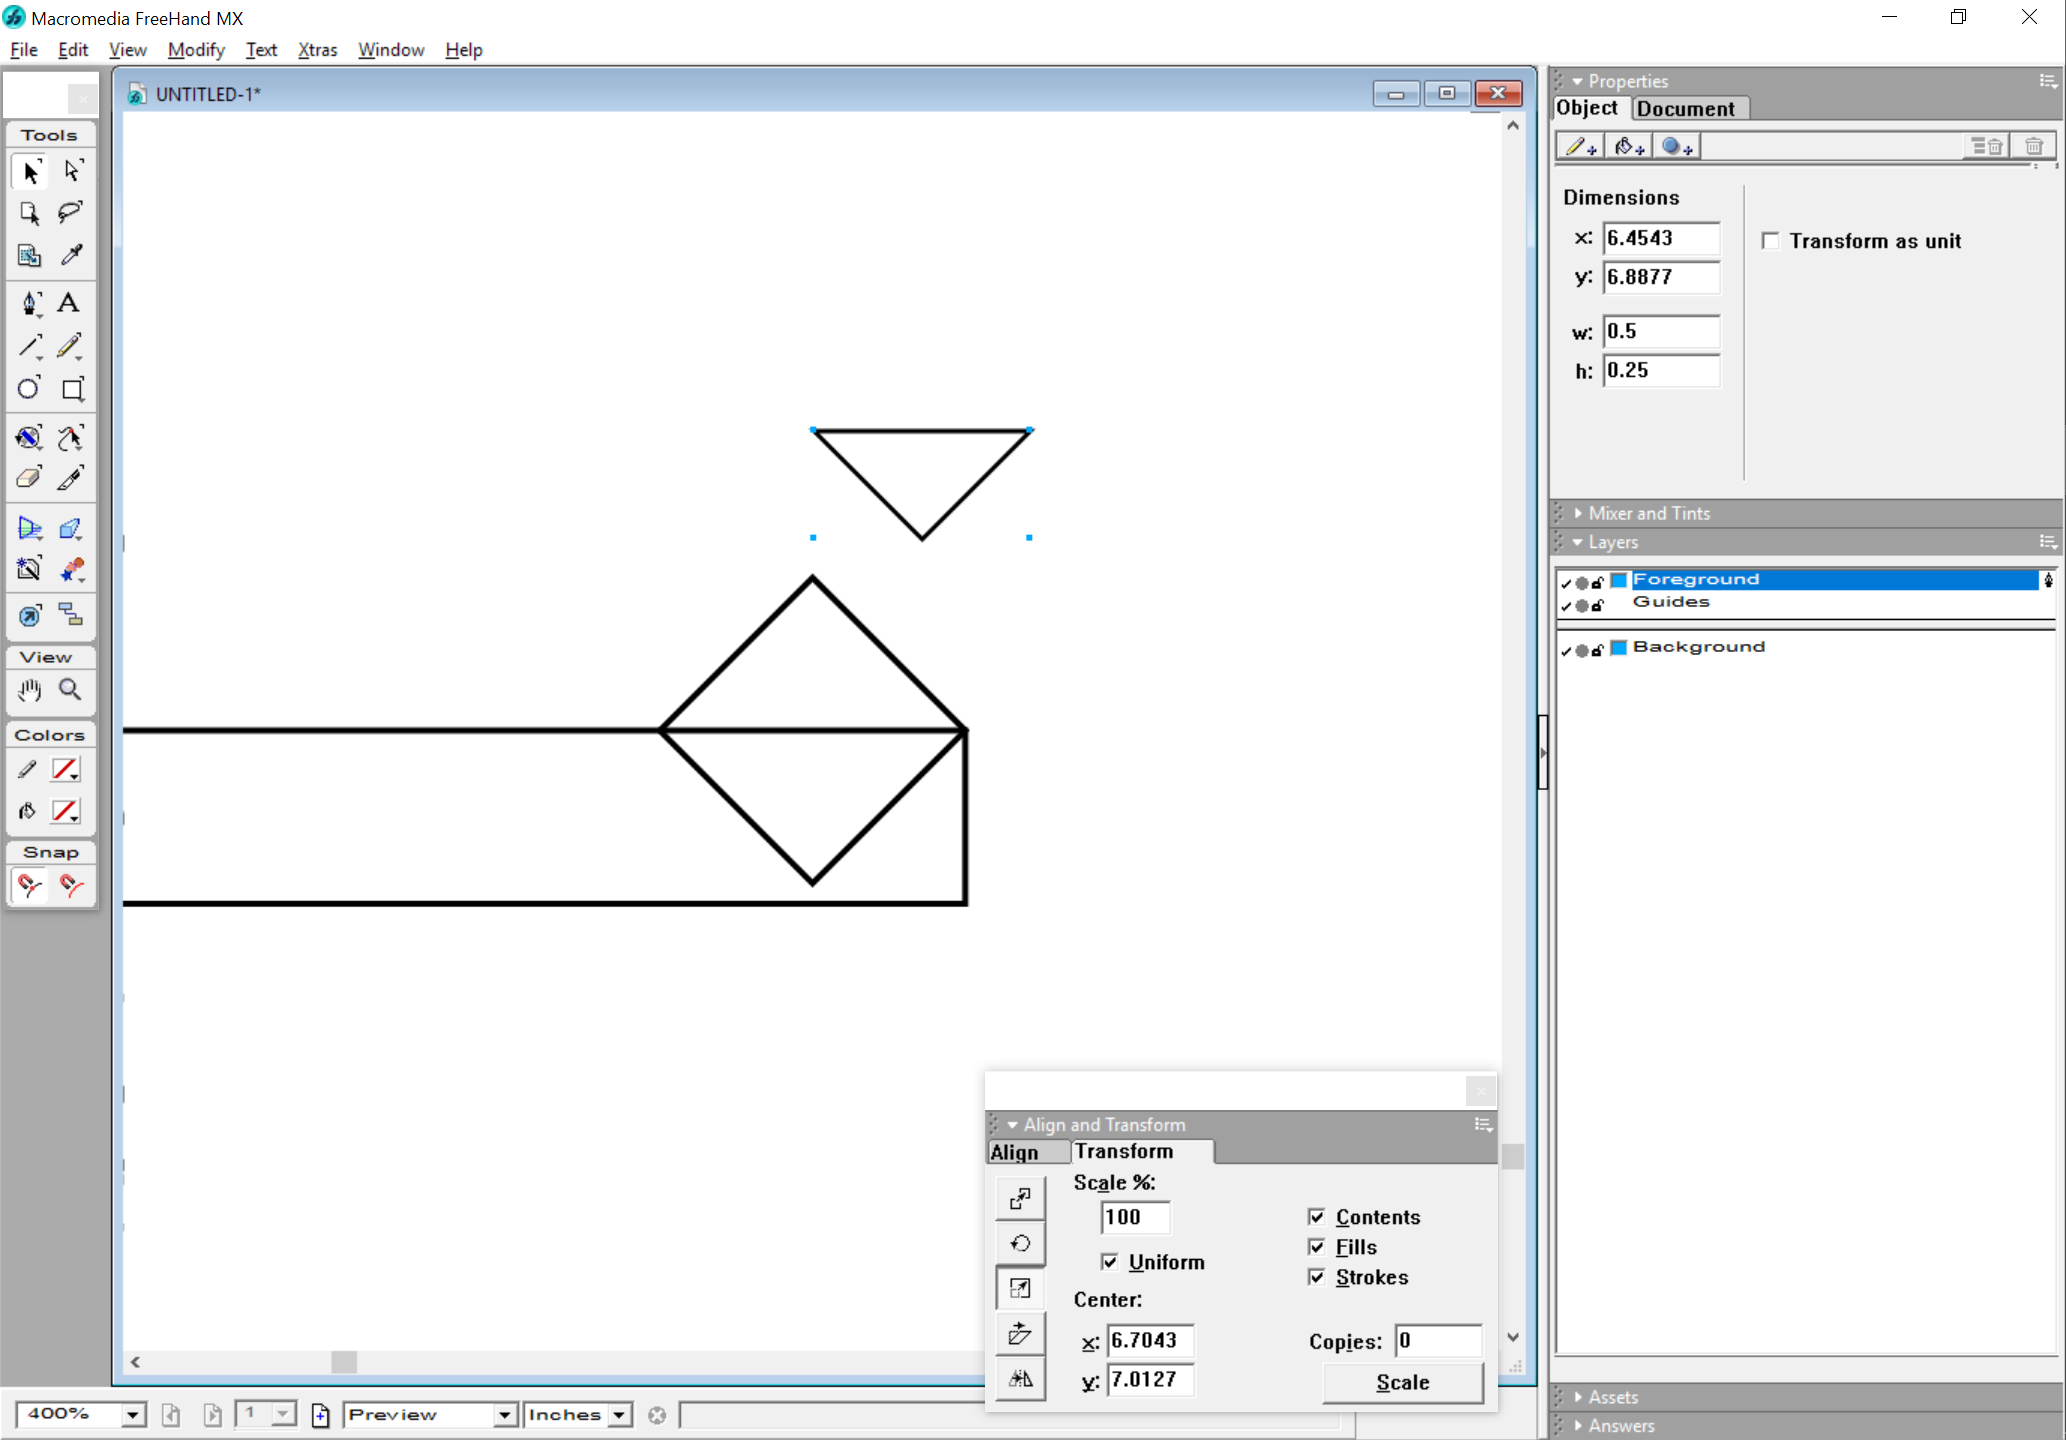
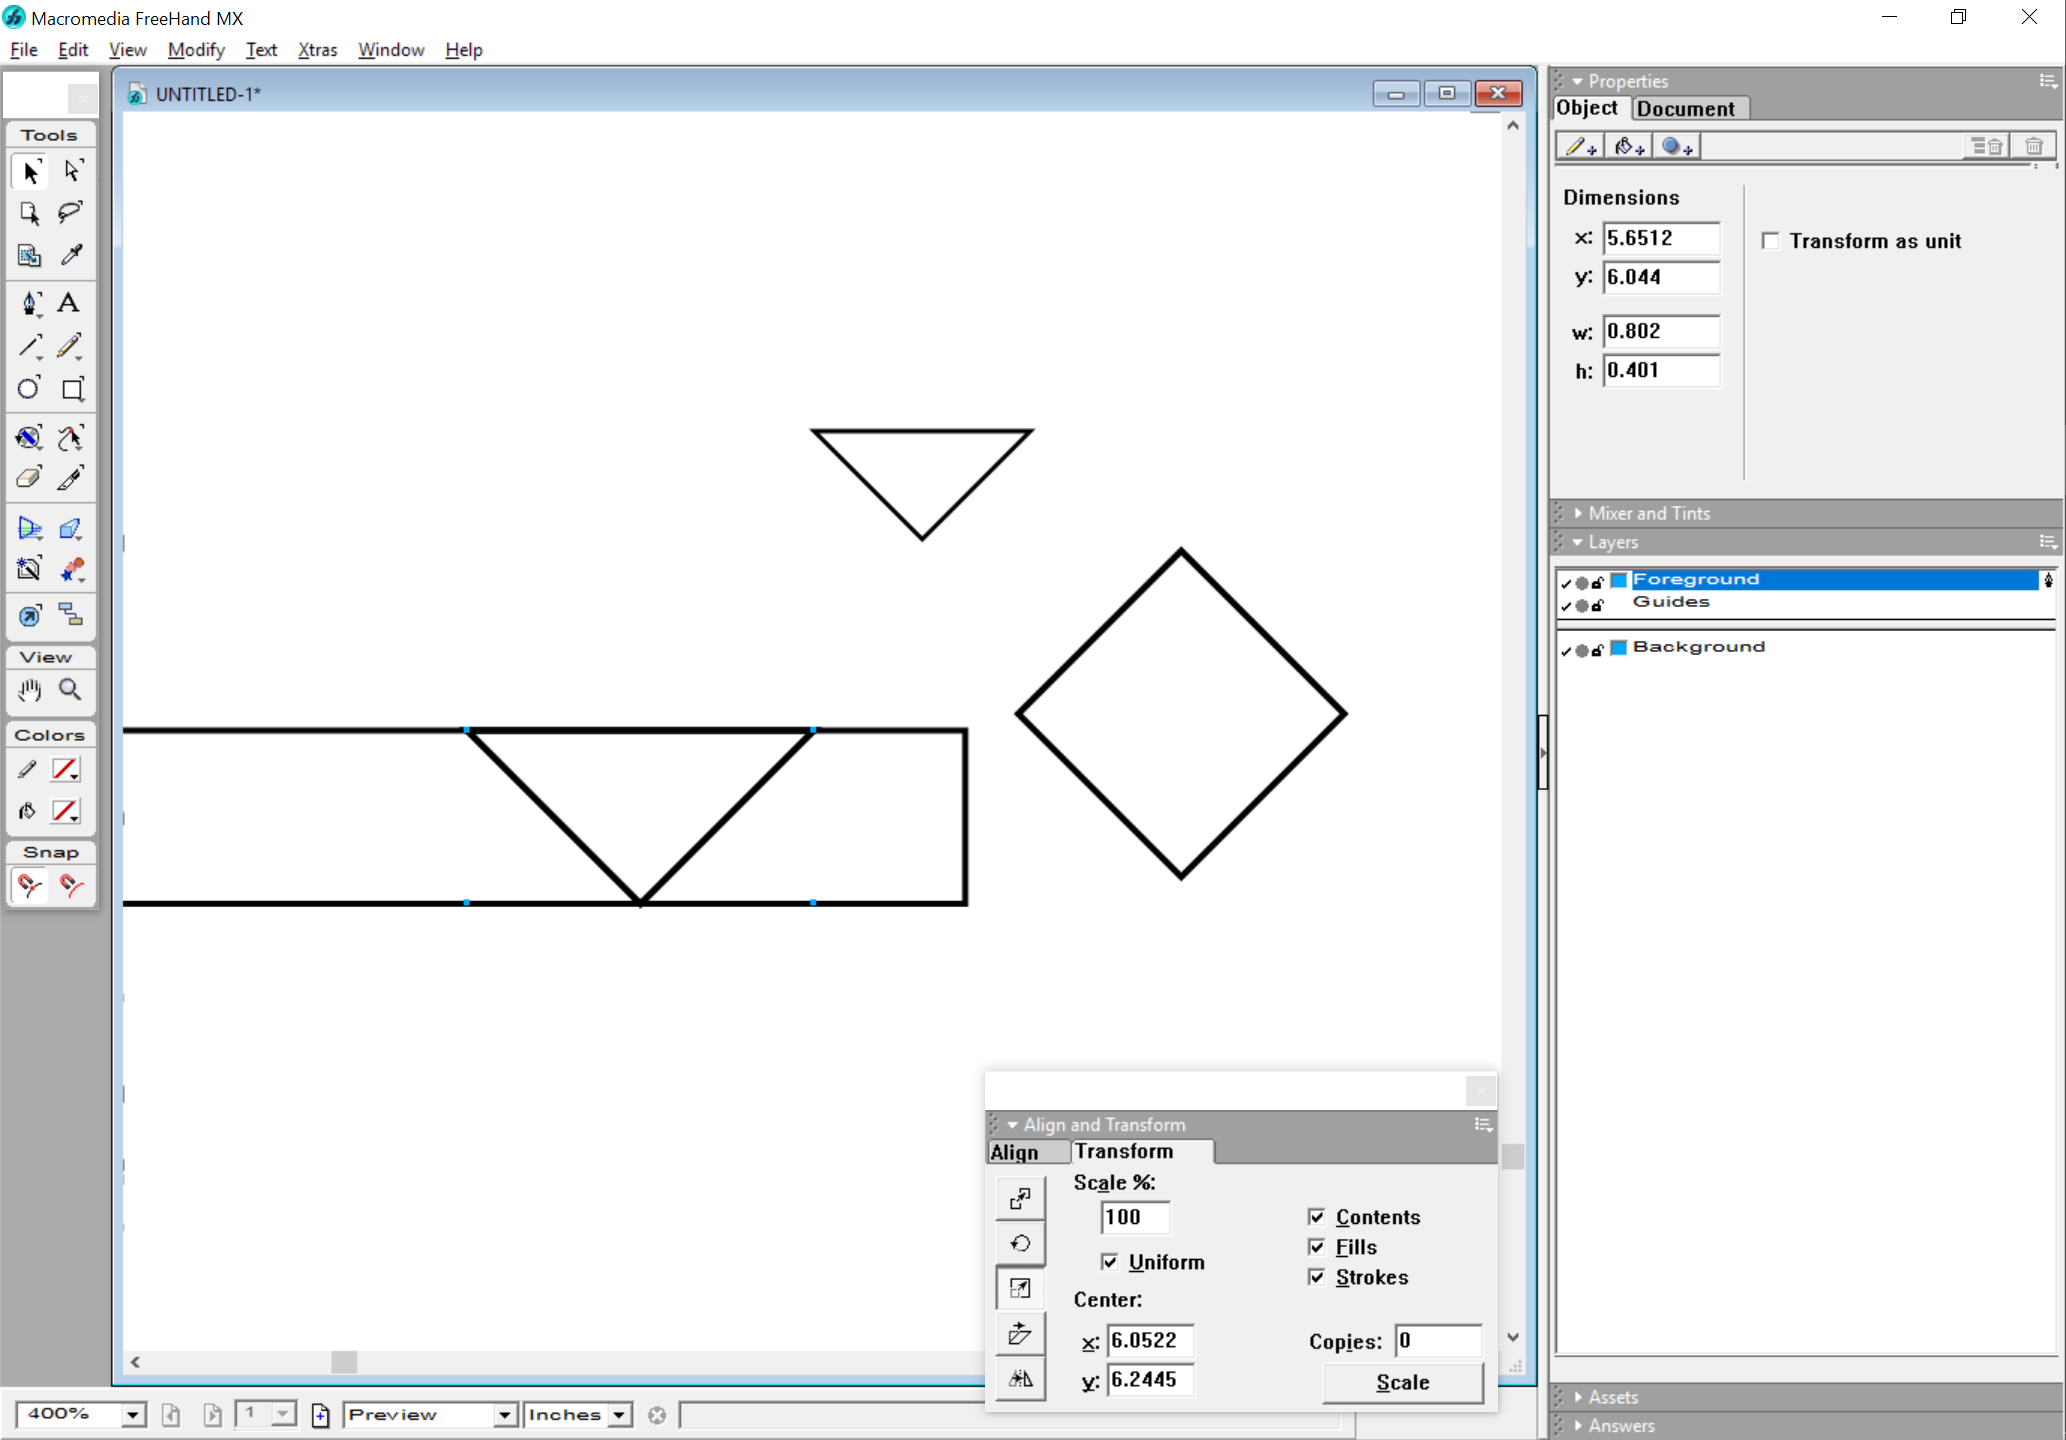
Here’s a screen shot of the “cliffs”…
I’m wondering why the v-carve and advanced v-carve tool paths clear out the ends of the vectors to full width, but will do multiple passes for depth in the main body, but will not make the vector the full width as specified…that’s part that’s truly confusing to me.
I bought a 1.25" diameter Amana Veebit, We’ll see how it does after I’ve had my coffee
When I make these boxes I use a Vbit also twice as wide as the thickness on the material.
I do not use a vcarve tool path.
Just a profile tool path where you set your depth of cut to be just shallower than your material thickness.
I take 1 piece of wood and 4 vectors run the cut and cut the corners out put glue in the v groves and fold the 4 pieces together and hold the corners with tape and you end up with a 1 piece box
Jeff
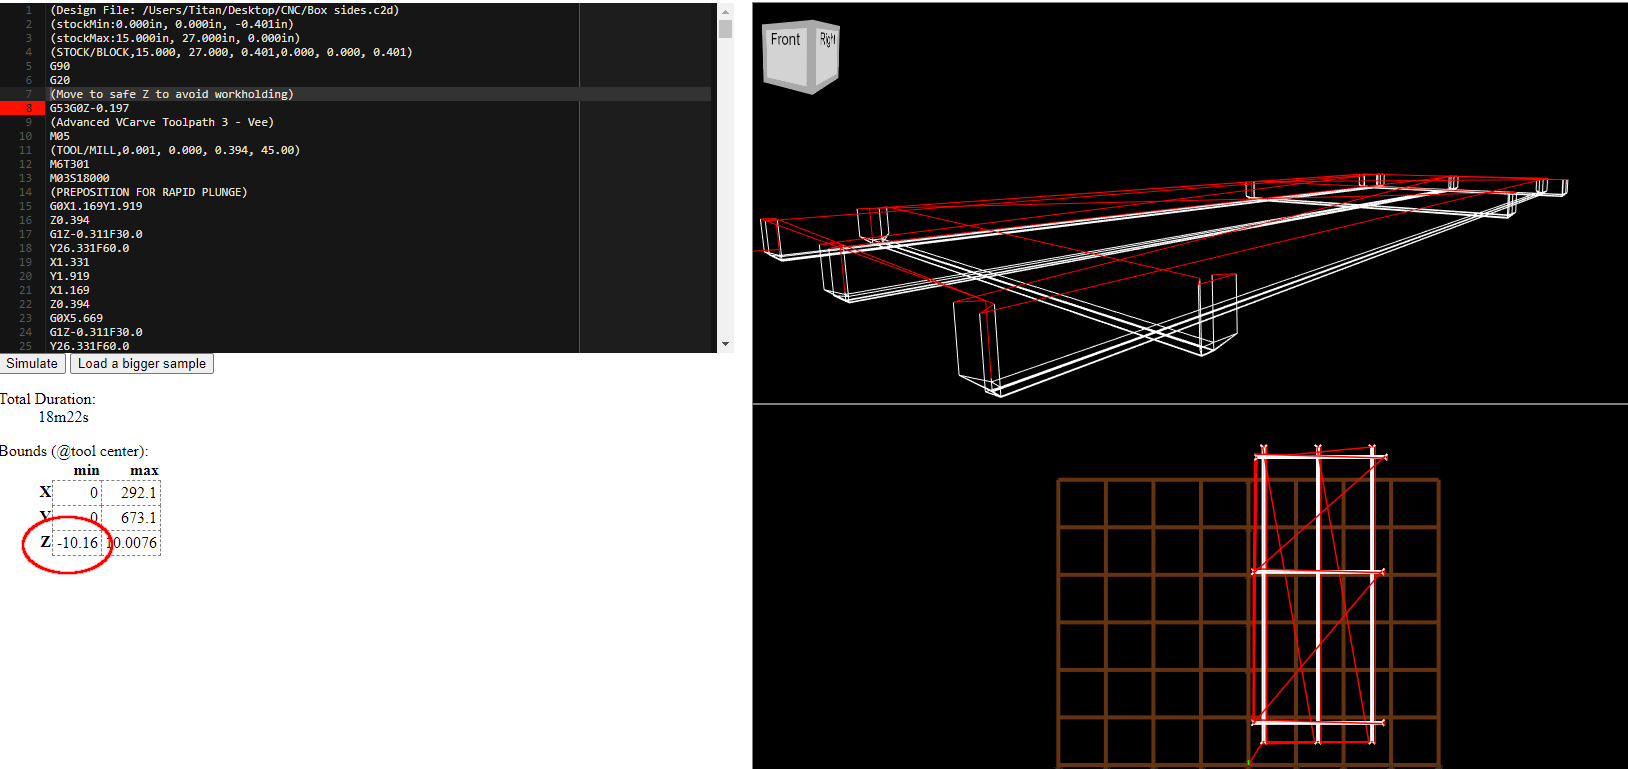
I will note that if you have an endmill which is too narrow to cut a miter you can still do this — just cut an Advanced V carving toolpath (or more than one if need be) for appropriately wide areas to cut down to the last toolpath where one can finish up with a normal V carving toolpath.
This sort of thing is why I always draw up a profile of my tool and the stock to verify stuff such as this.
thomas I use Vectric V carve Pro .
I use the polly line tool to create the vector. Selecting on the line to make the cut.
use a v bit that is 2 times the dia of the wood. use a profile cut and set the depth of cut so that your bit will not cut all the way through
If you can make any size you want you can also make the sides and height you want as well.
Also Thomas It is a lot easer to have the right size vbit on hand to make the miter in 1 cut. you can but vbits with 1/4inch shanks in all the sizes you would nee to cut common thickness plywood.
Jeff
 )
)