Hi Guys, i have been working on this machine to make it cut Aluminium parts for Telescopes and Astronomy accesopries…
i hope you like it, it needs a bit more work, i will soon finish all the details…
Hi Guys, i have been working on this machine to make it cut Aluminium parts for Telescopes and Astronomy accesopries…
i hope you like it, it needs a bit more work, i will soon finish all the details…
Nice did you make your own accordian chip guards? Looks neat and tidy, what parts are you making for the telescope out of genuine curiosity
Jon
Diego!
I think that is a little more than steroids! Looks really good.
Nice beast!
Do you feel like posting (lots of) details about that upgrade?
I would be quite interested to hear about your BOM, custom parts you had to make, and assembly process.
Also, that X axis ballscrew hanging in the air makes me uncomfortable for some reason 
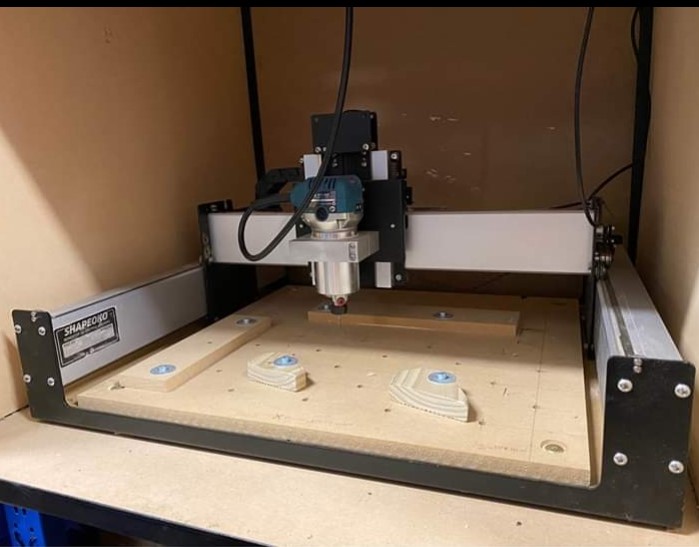
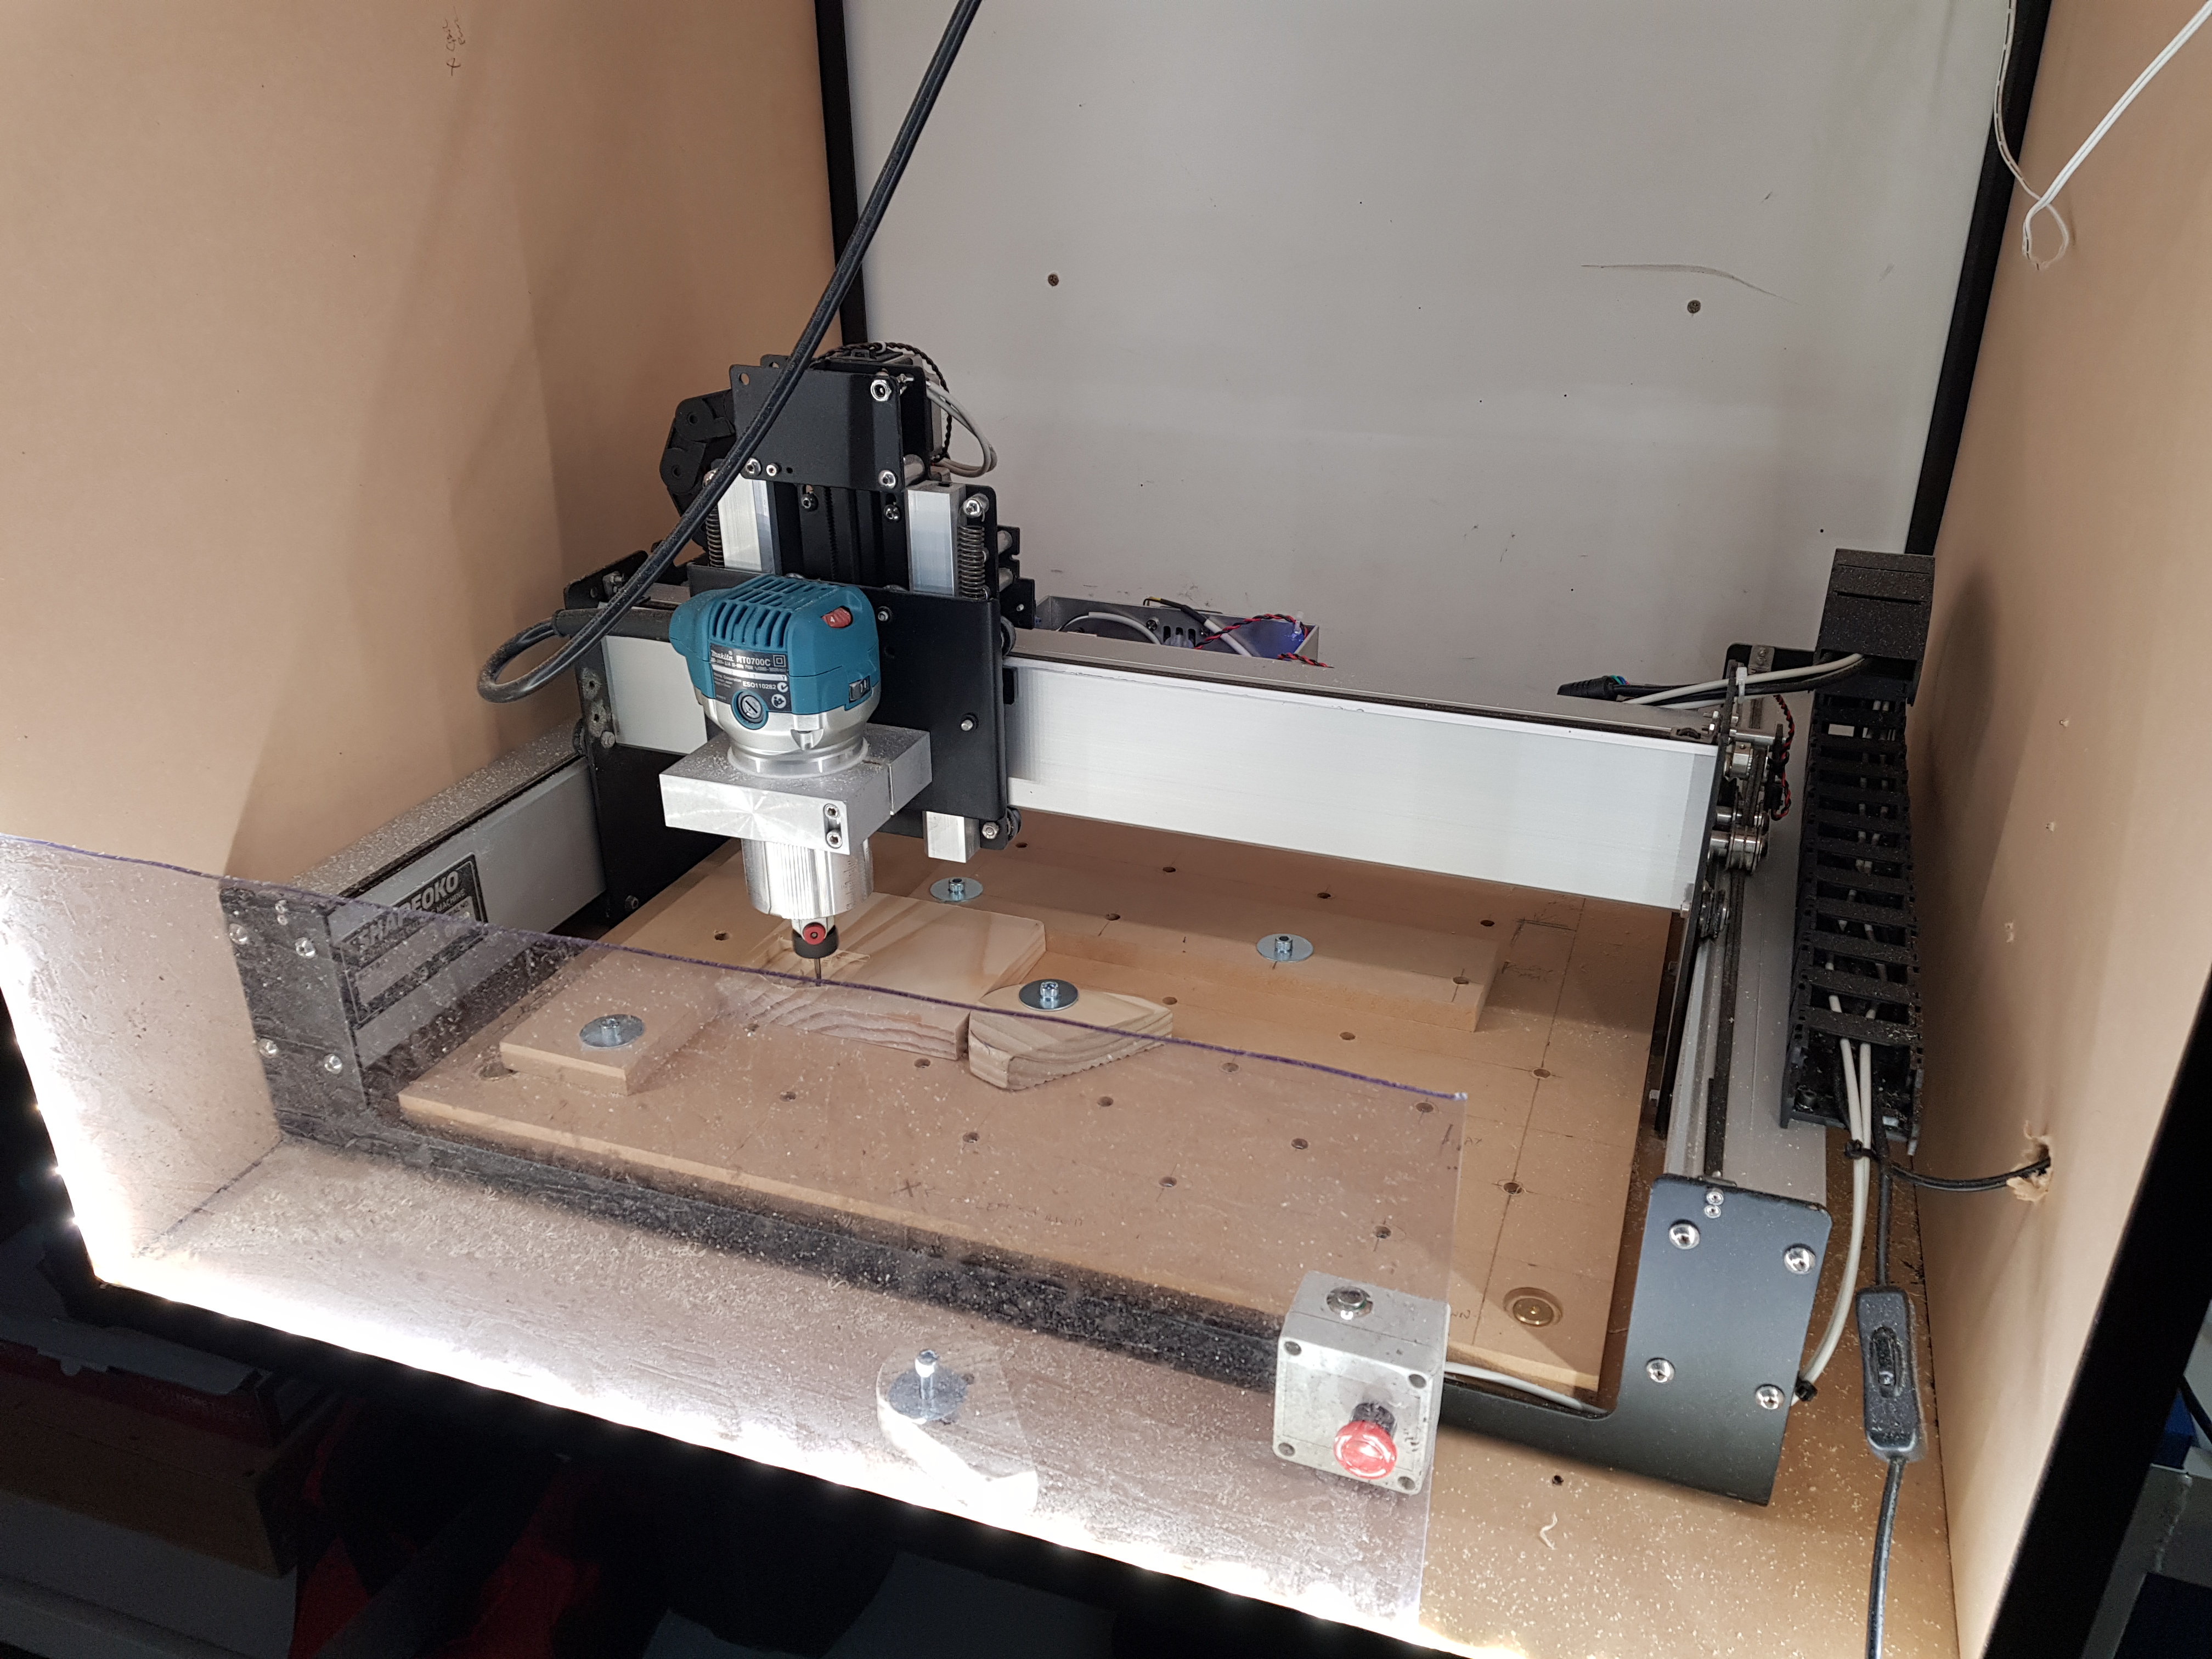
She started her life with me looking like this…
then i installed this z axis parts from Bluecarve
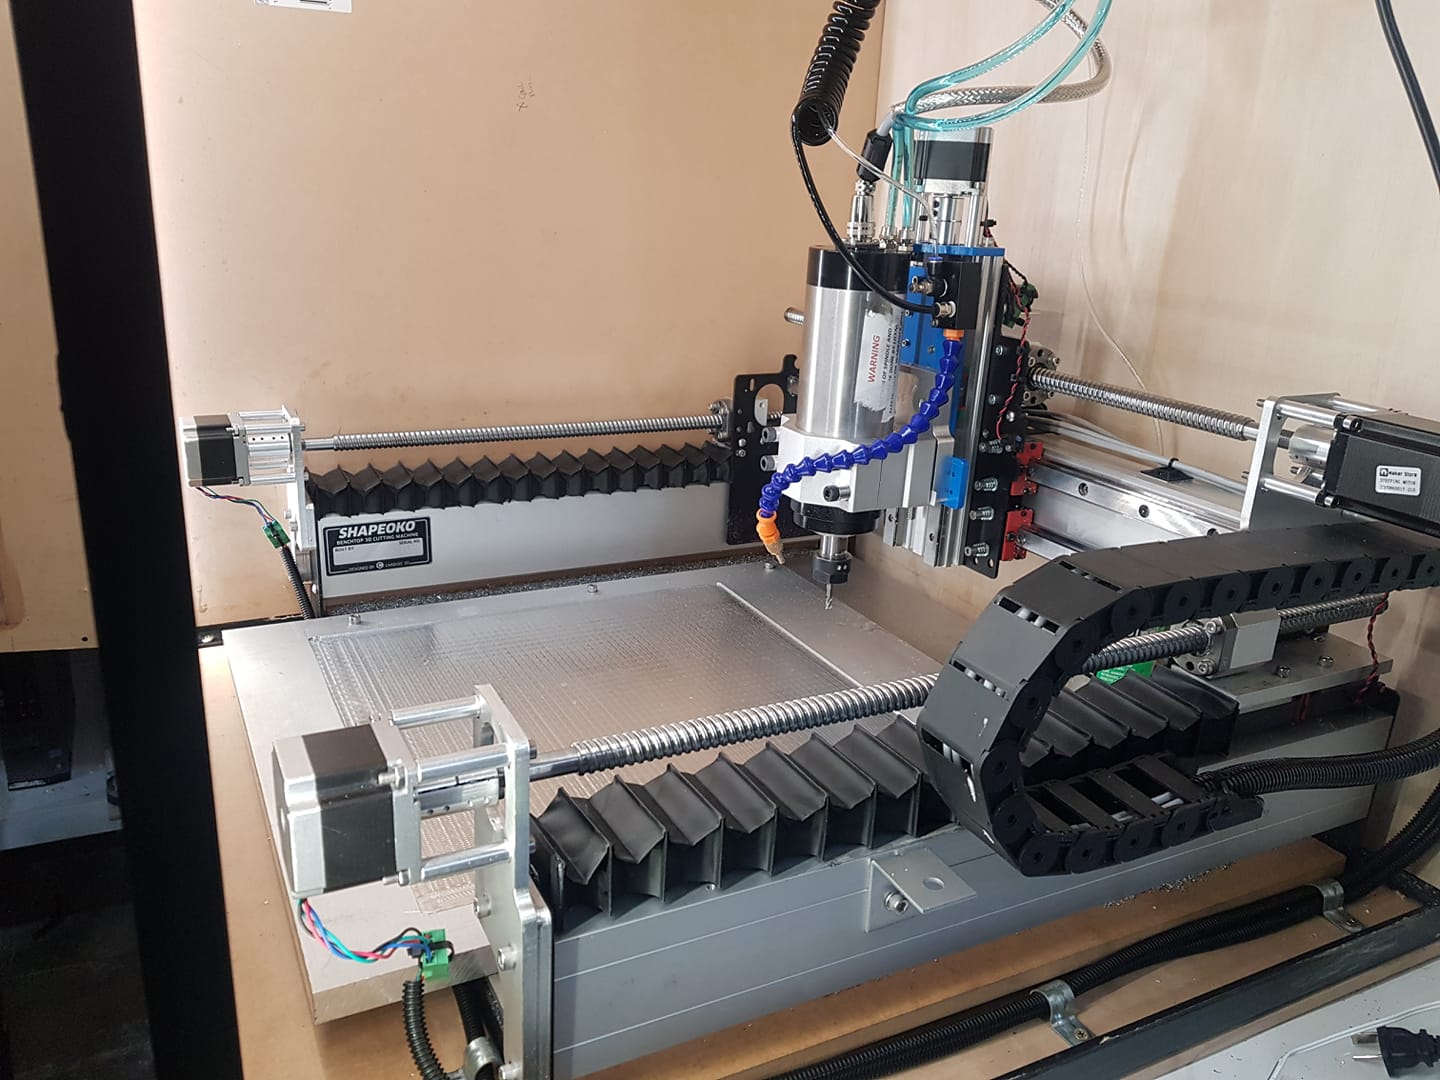
After trying better belts and wheels i decided to stripit off and install rails and screws…
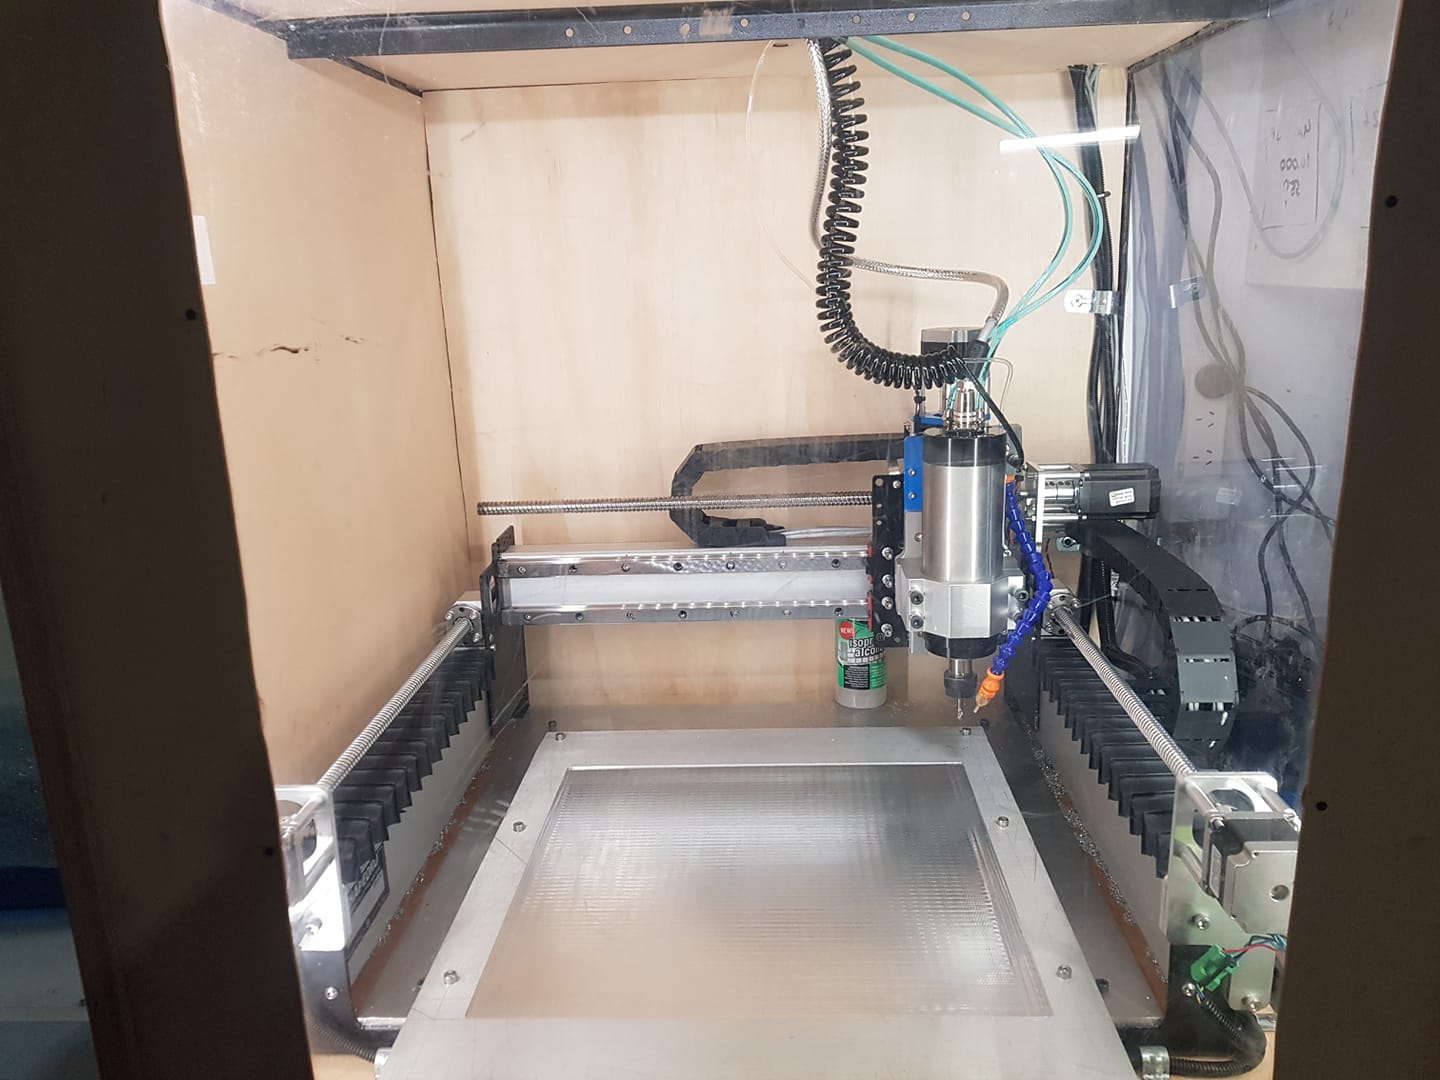
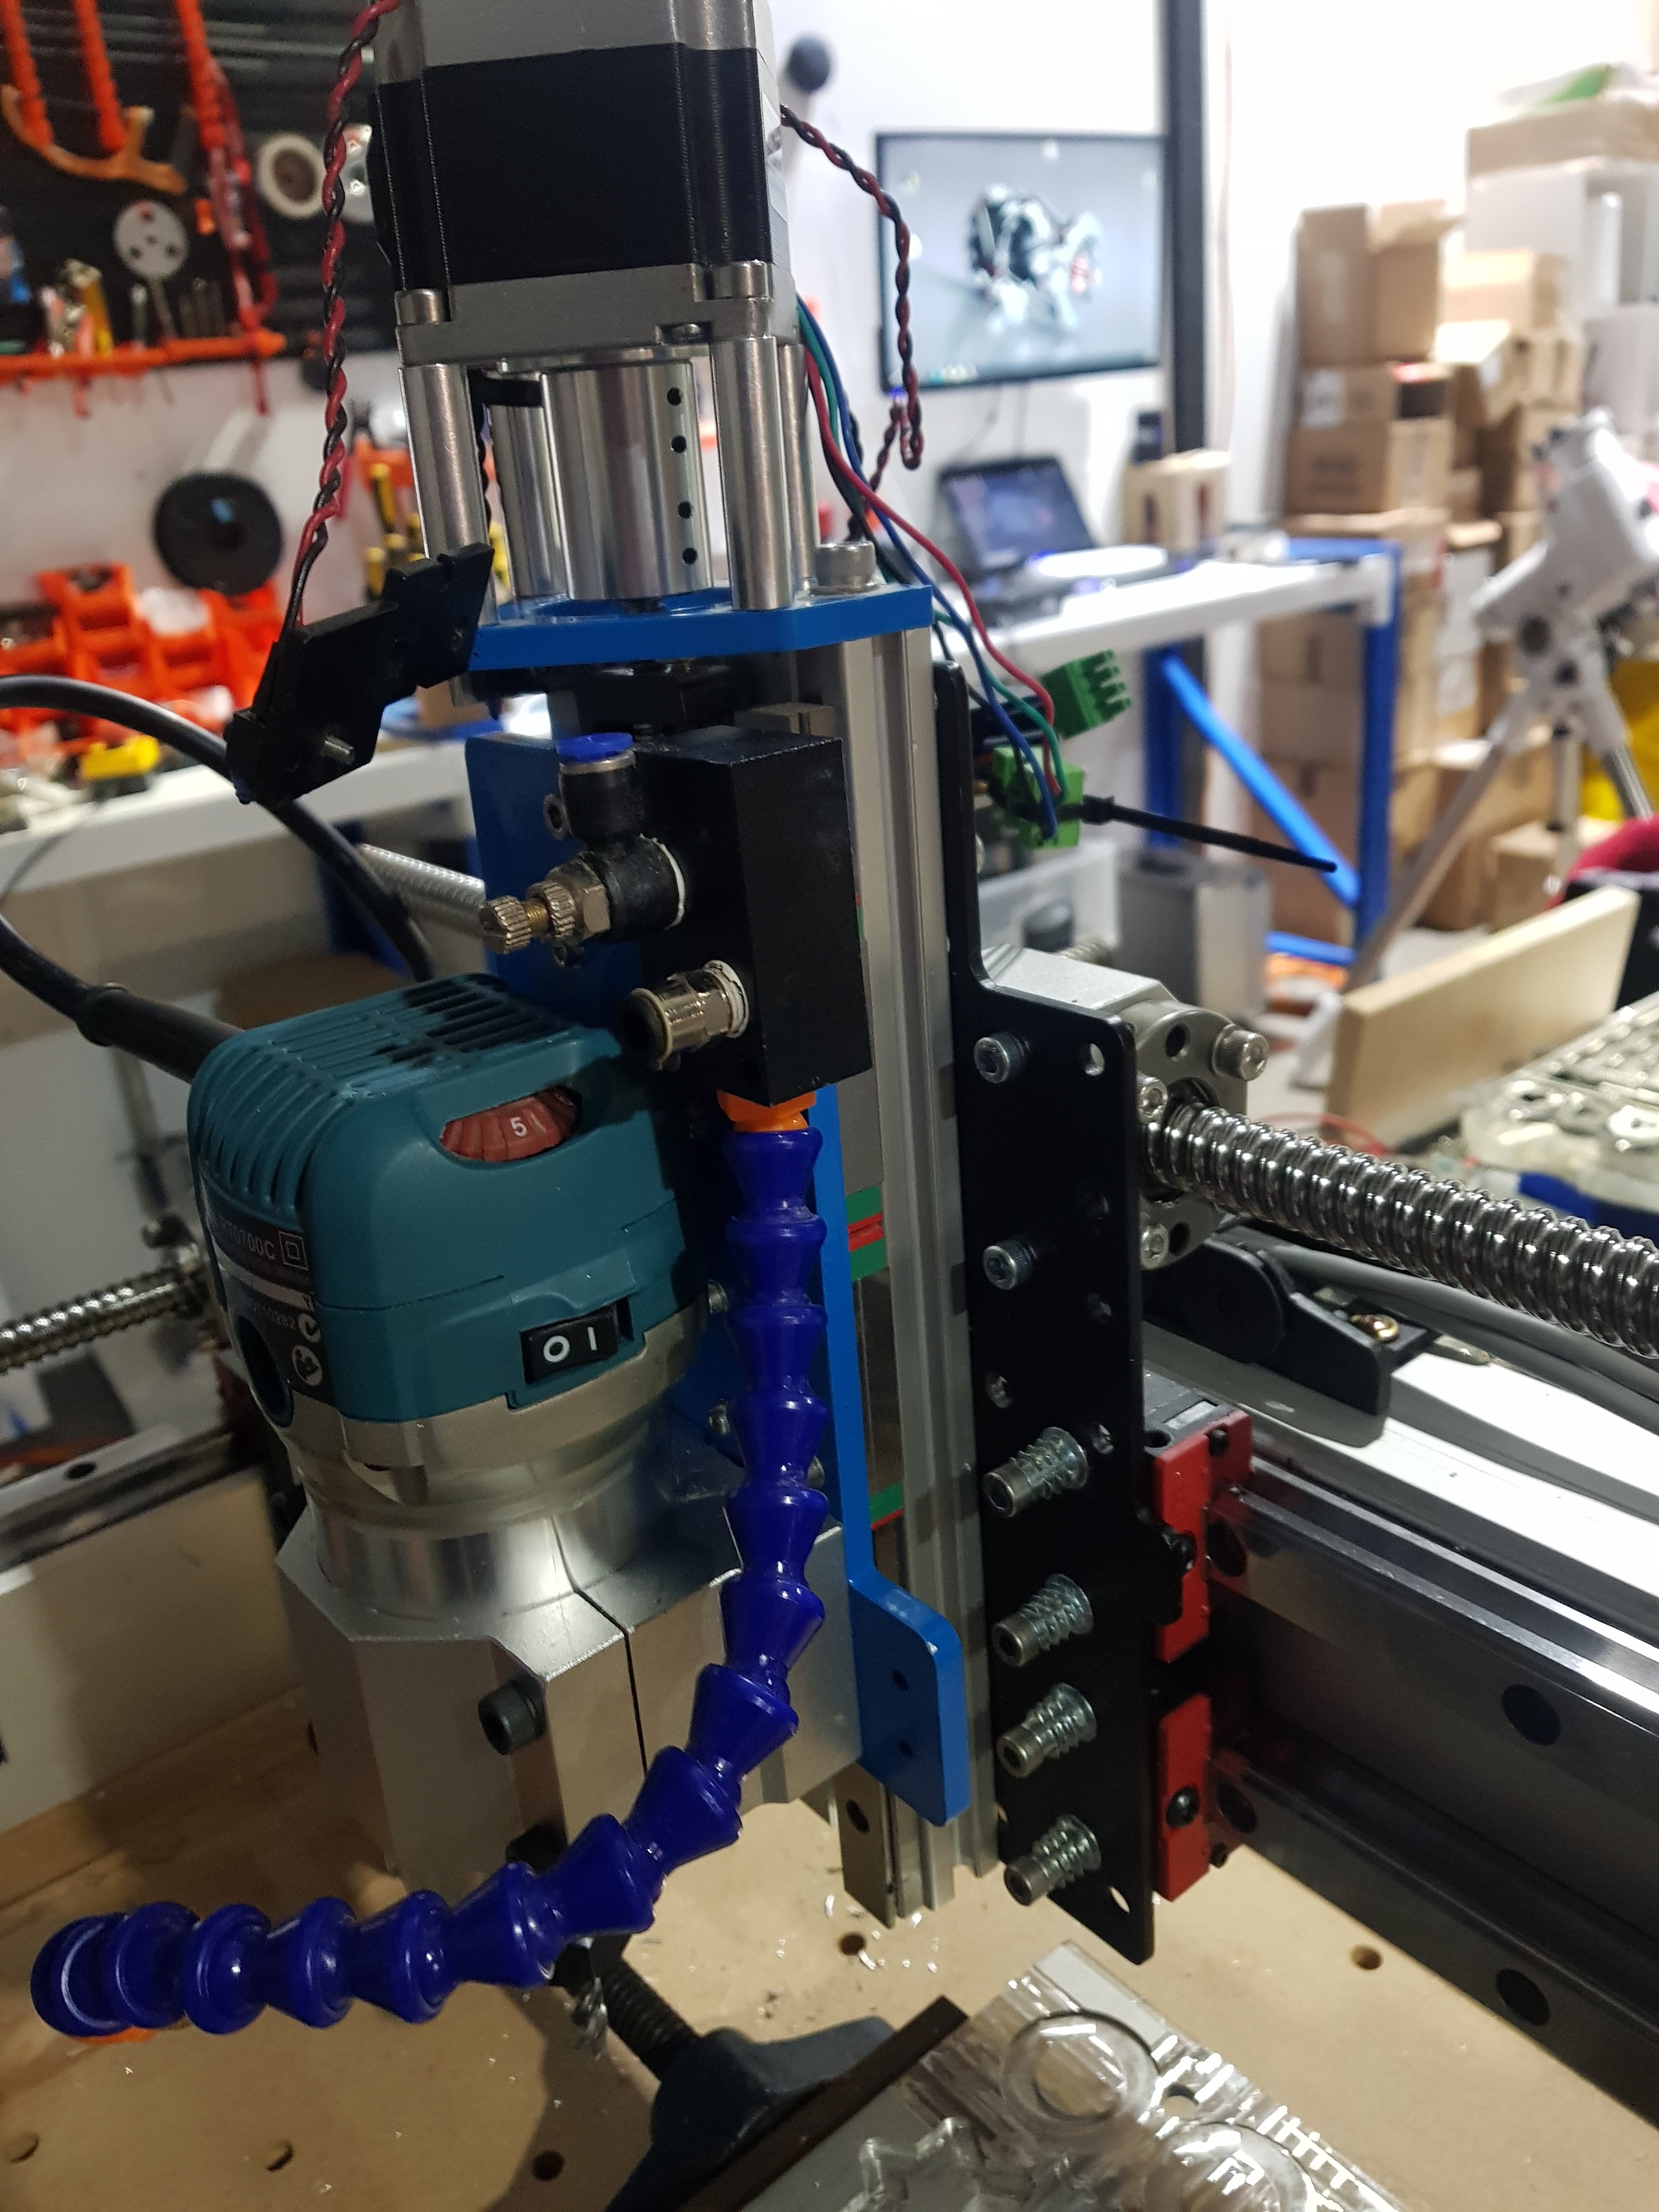
Then came the 2.2 spindle and needed reinforcements
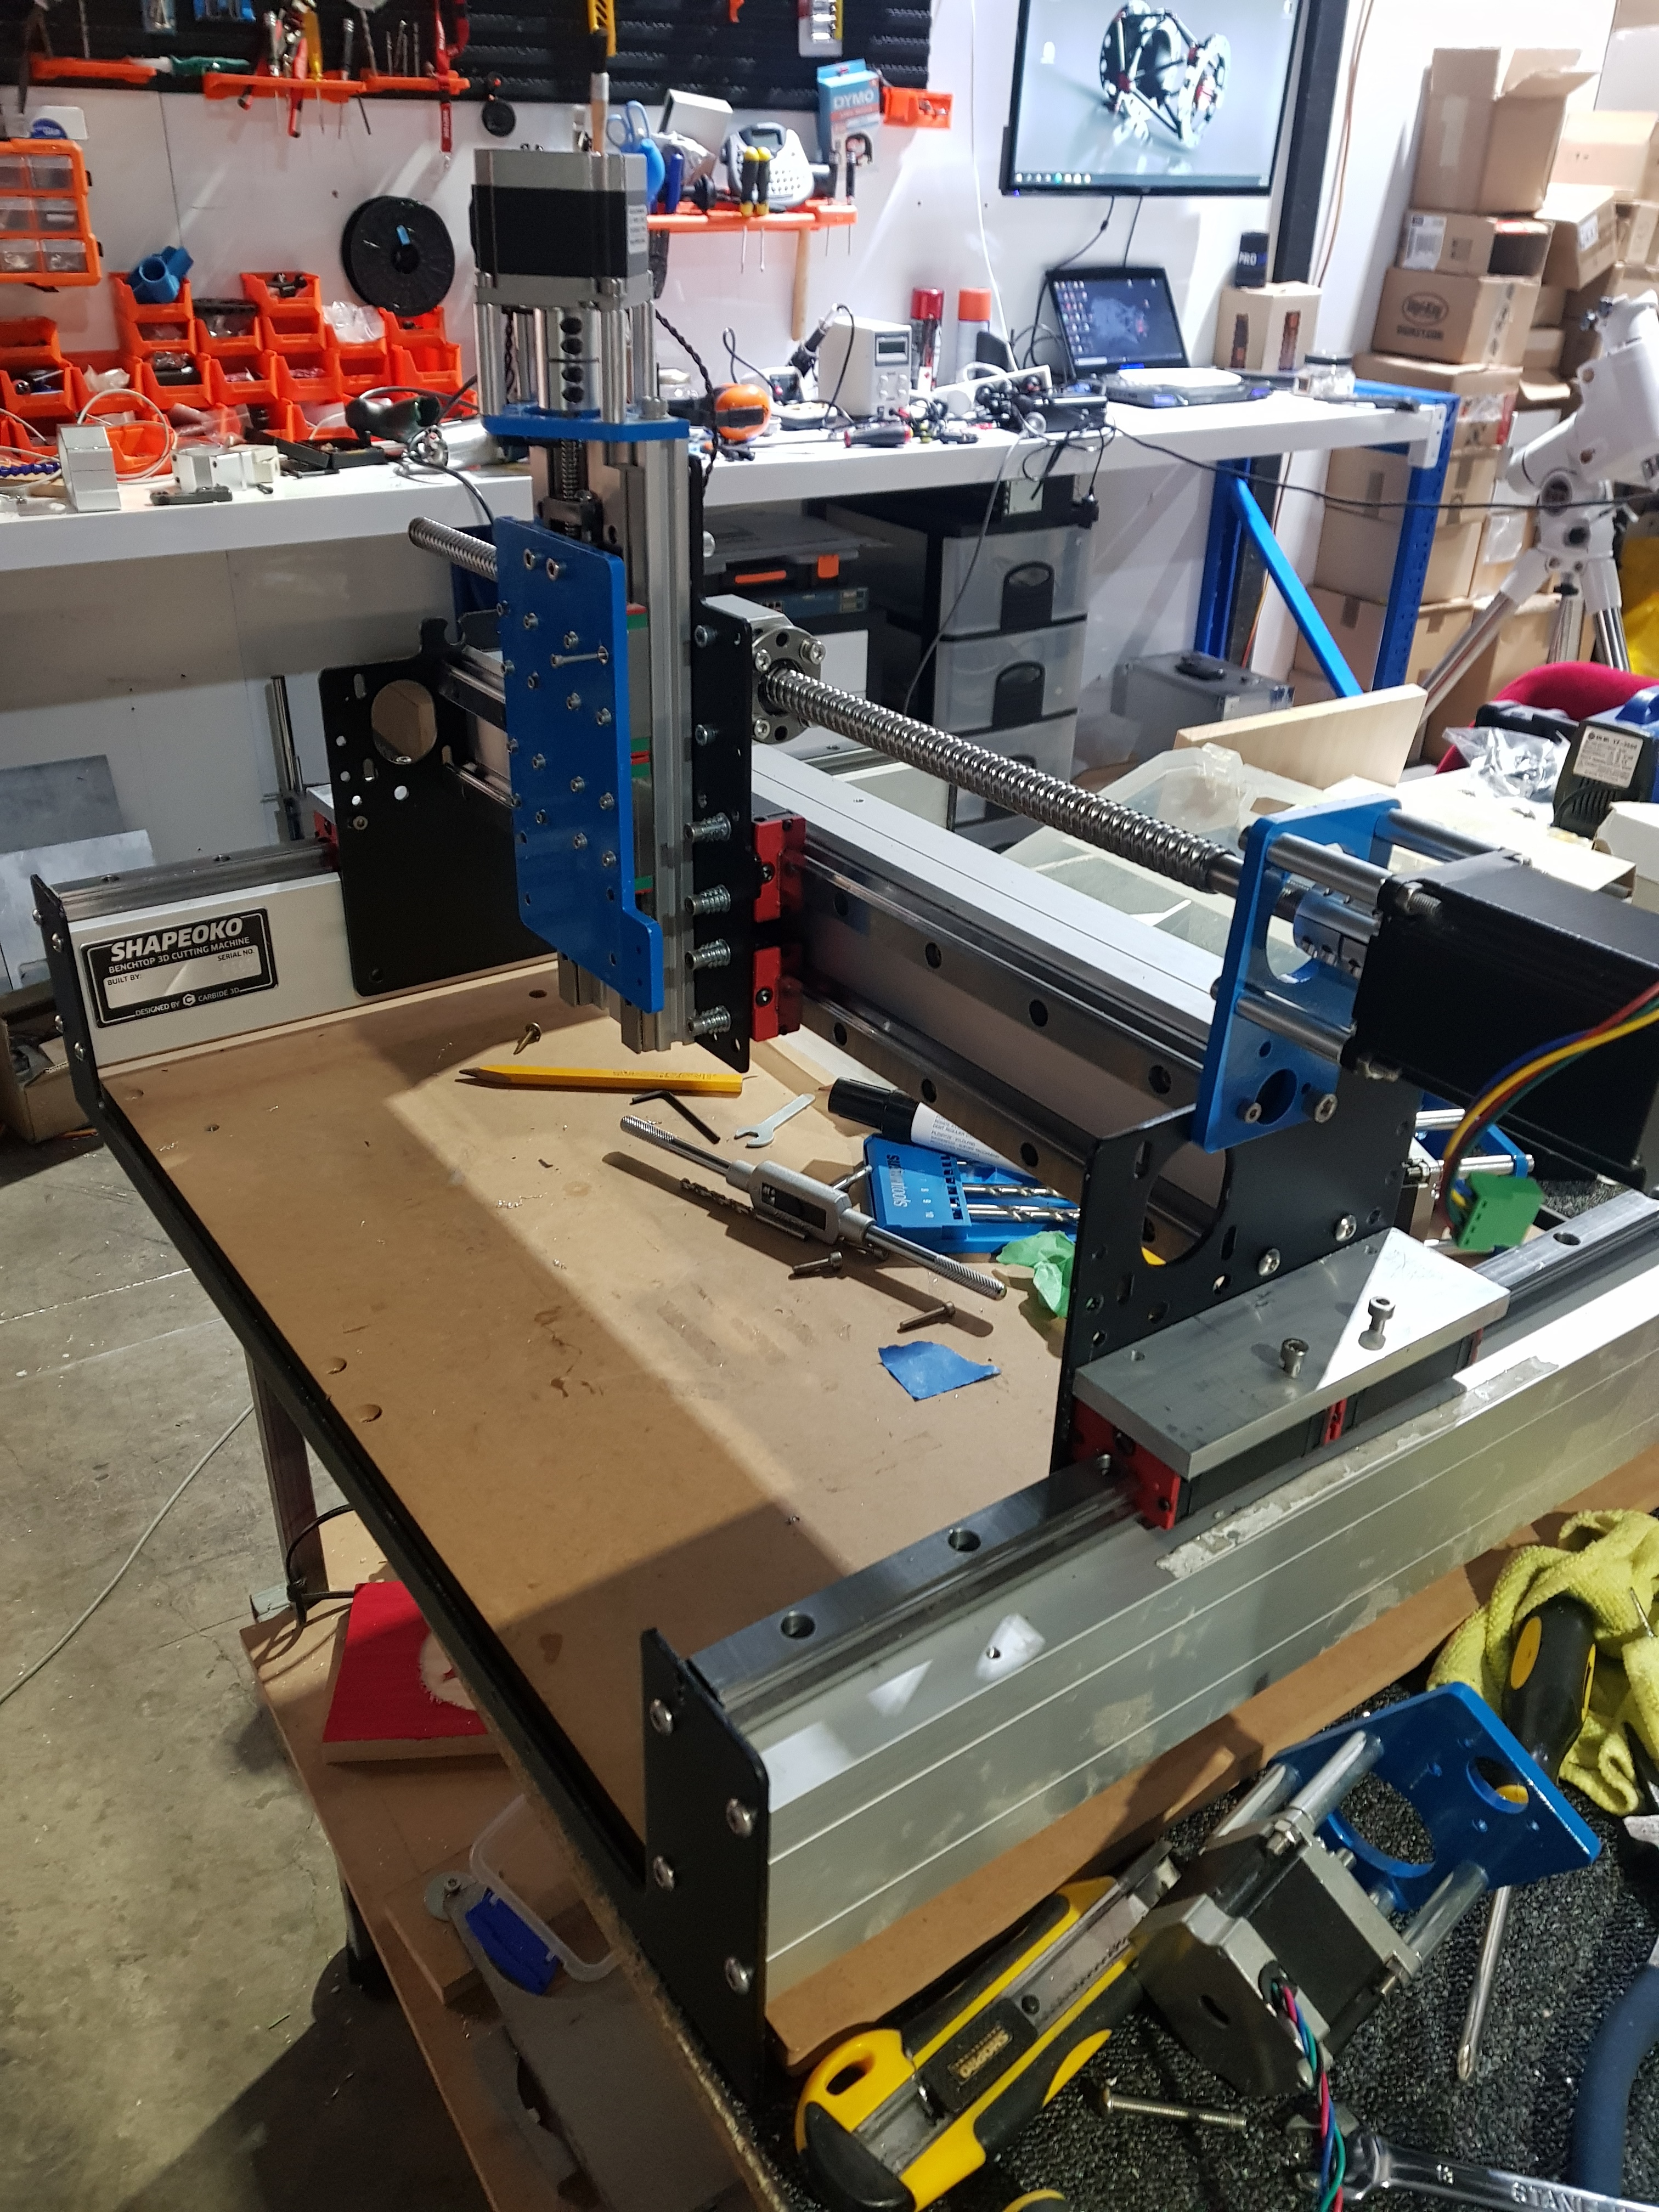
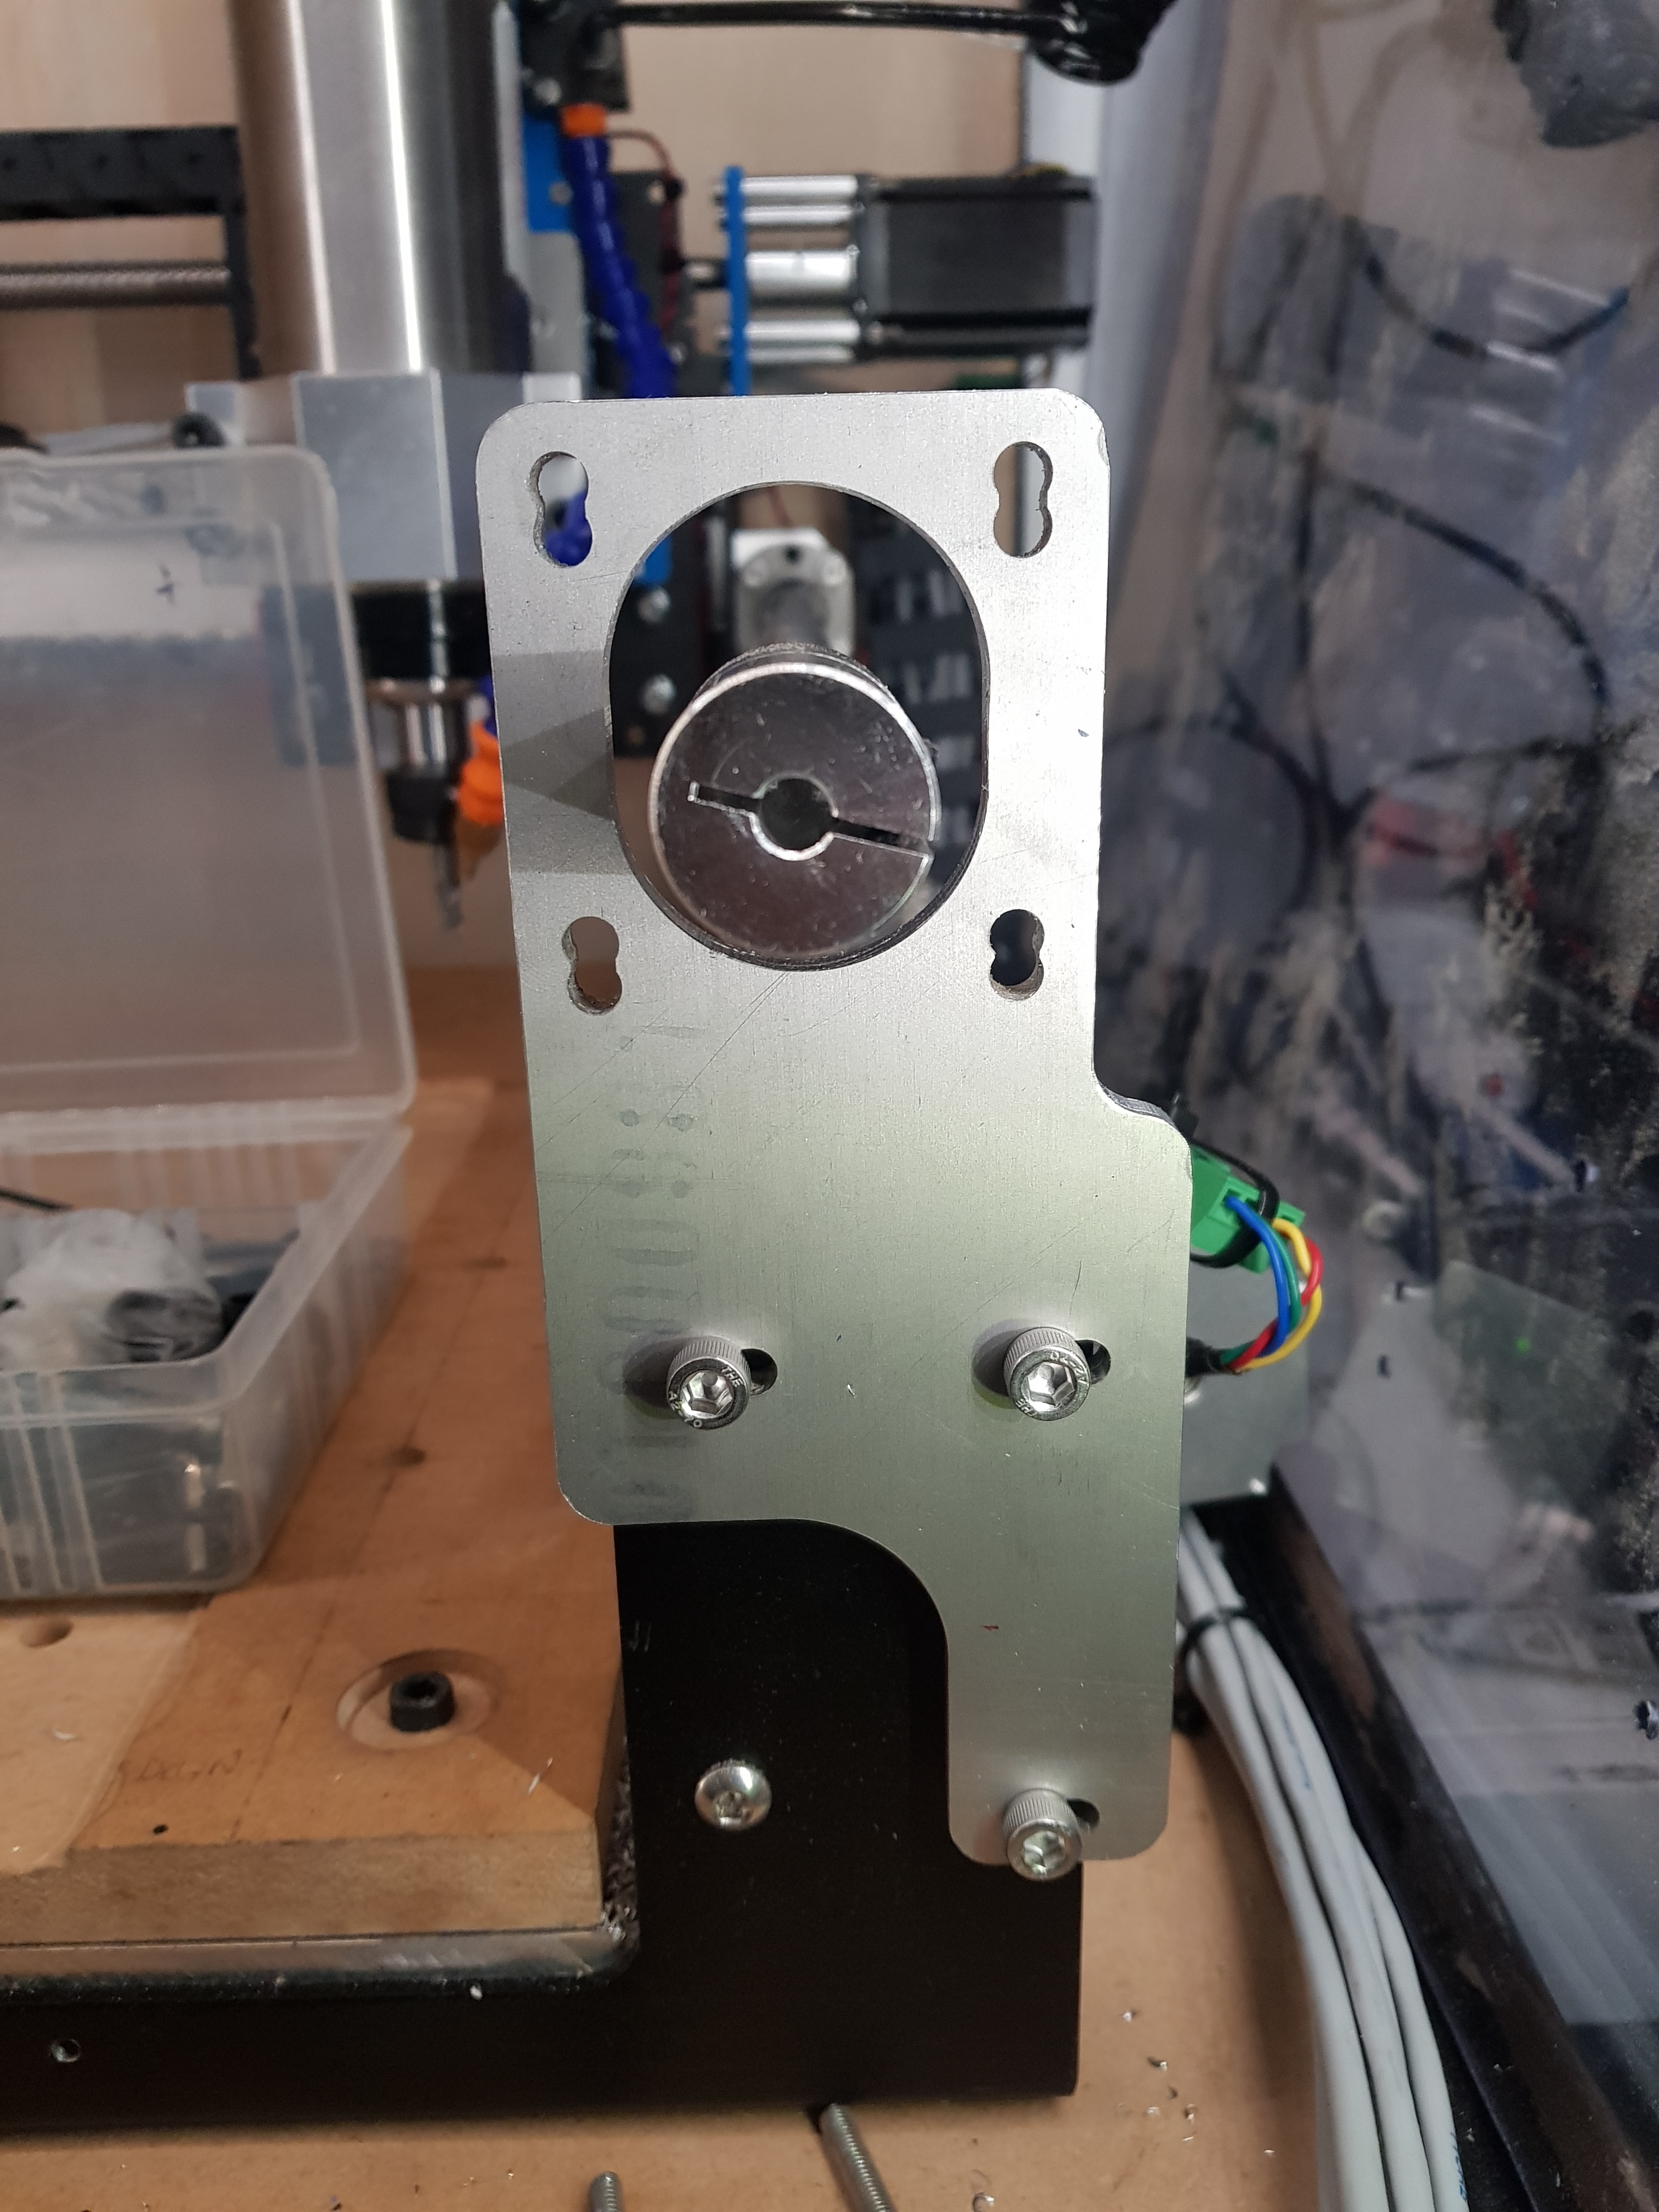
then new Stepper plates!!!
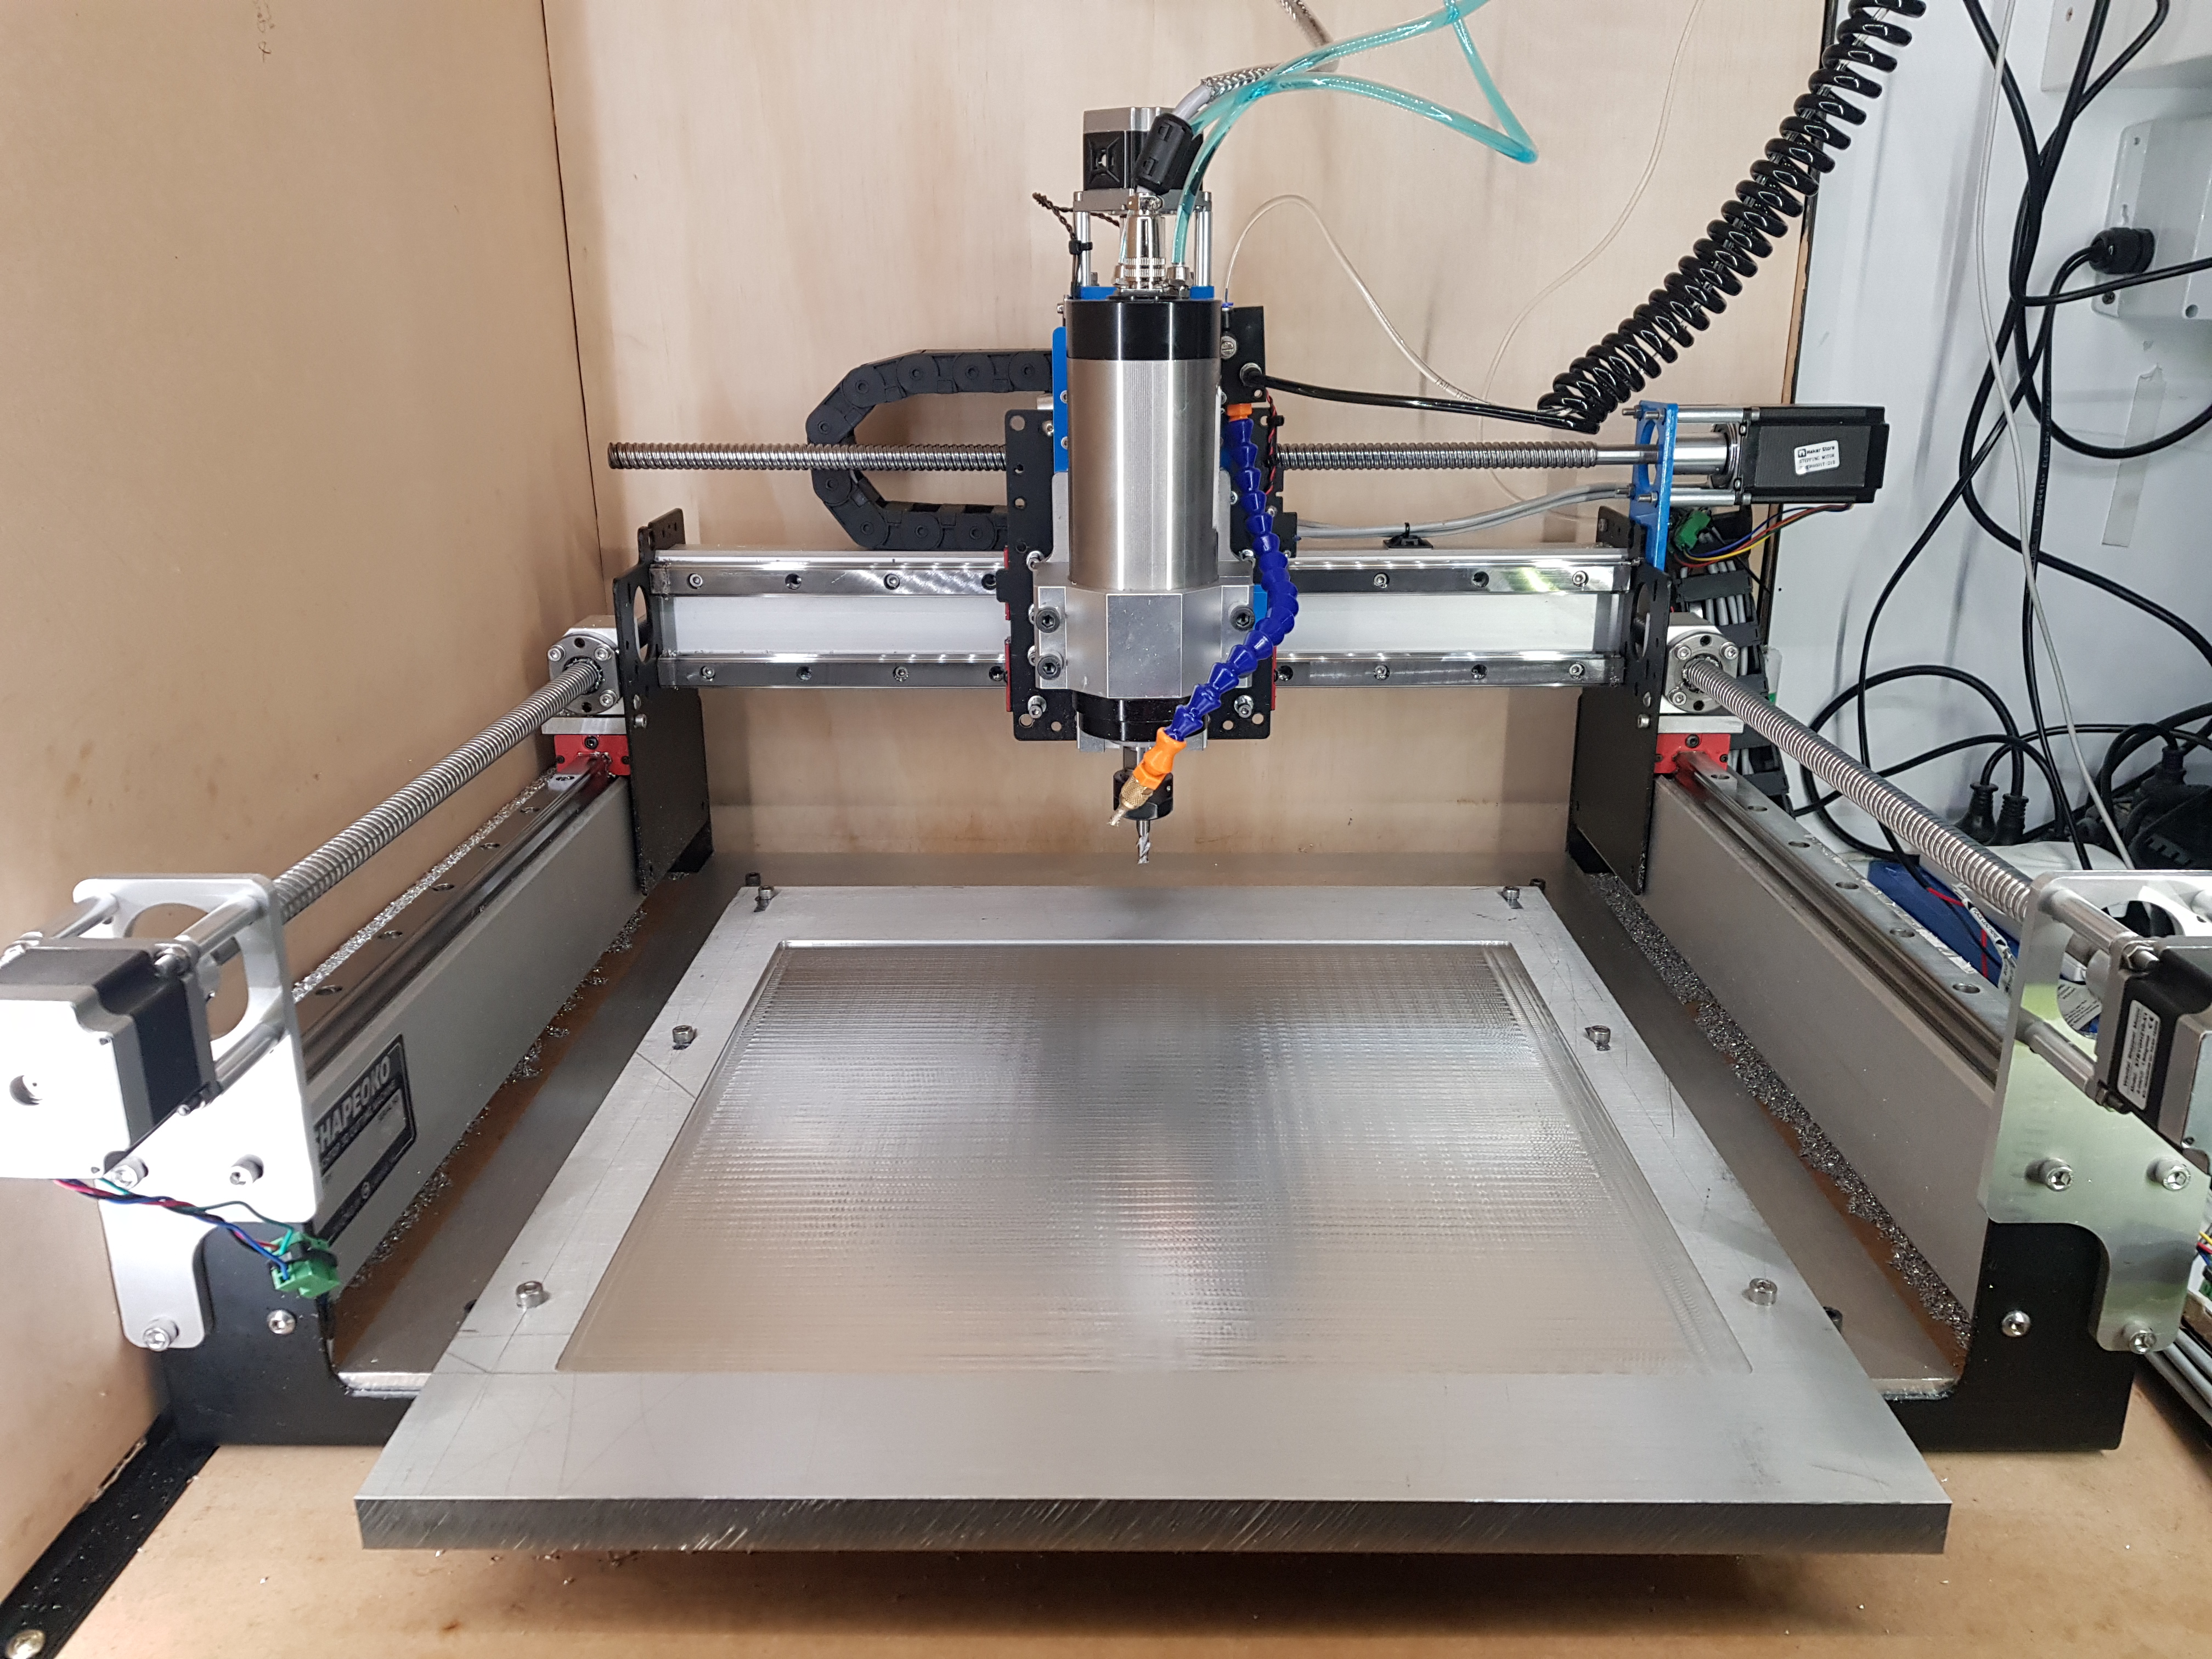
No more MDF wasteboard!!!
New high torque motors for all axis
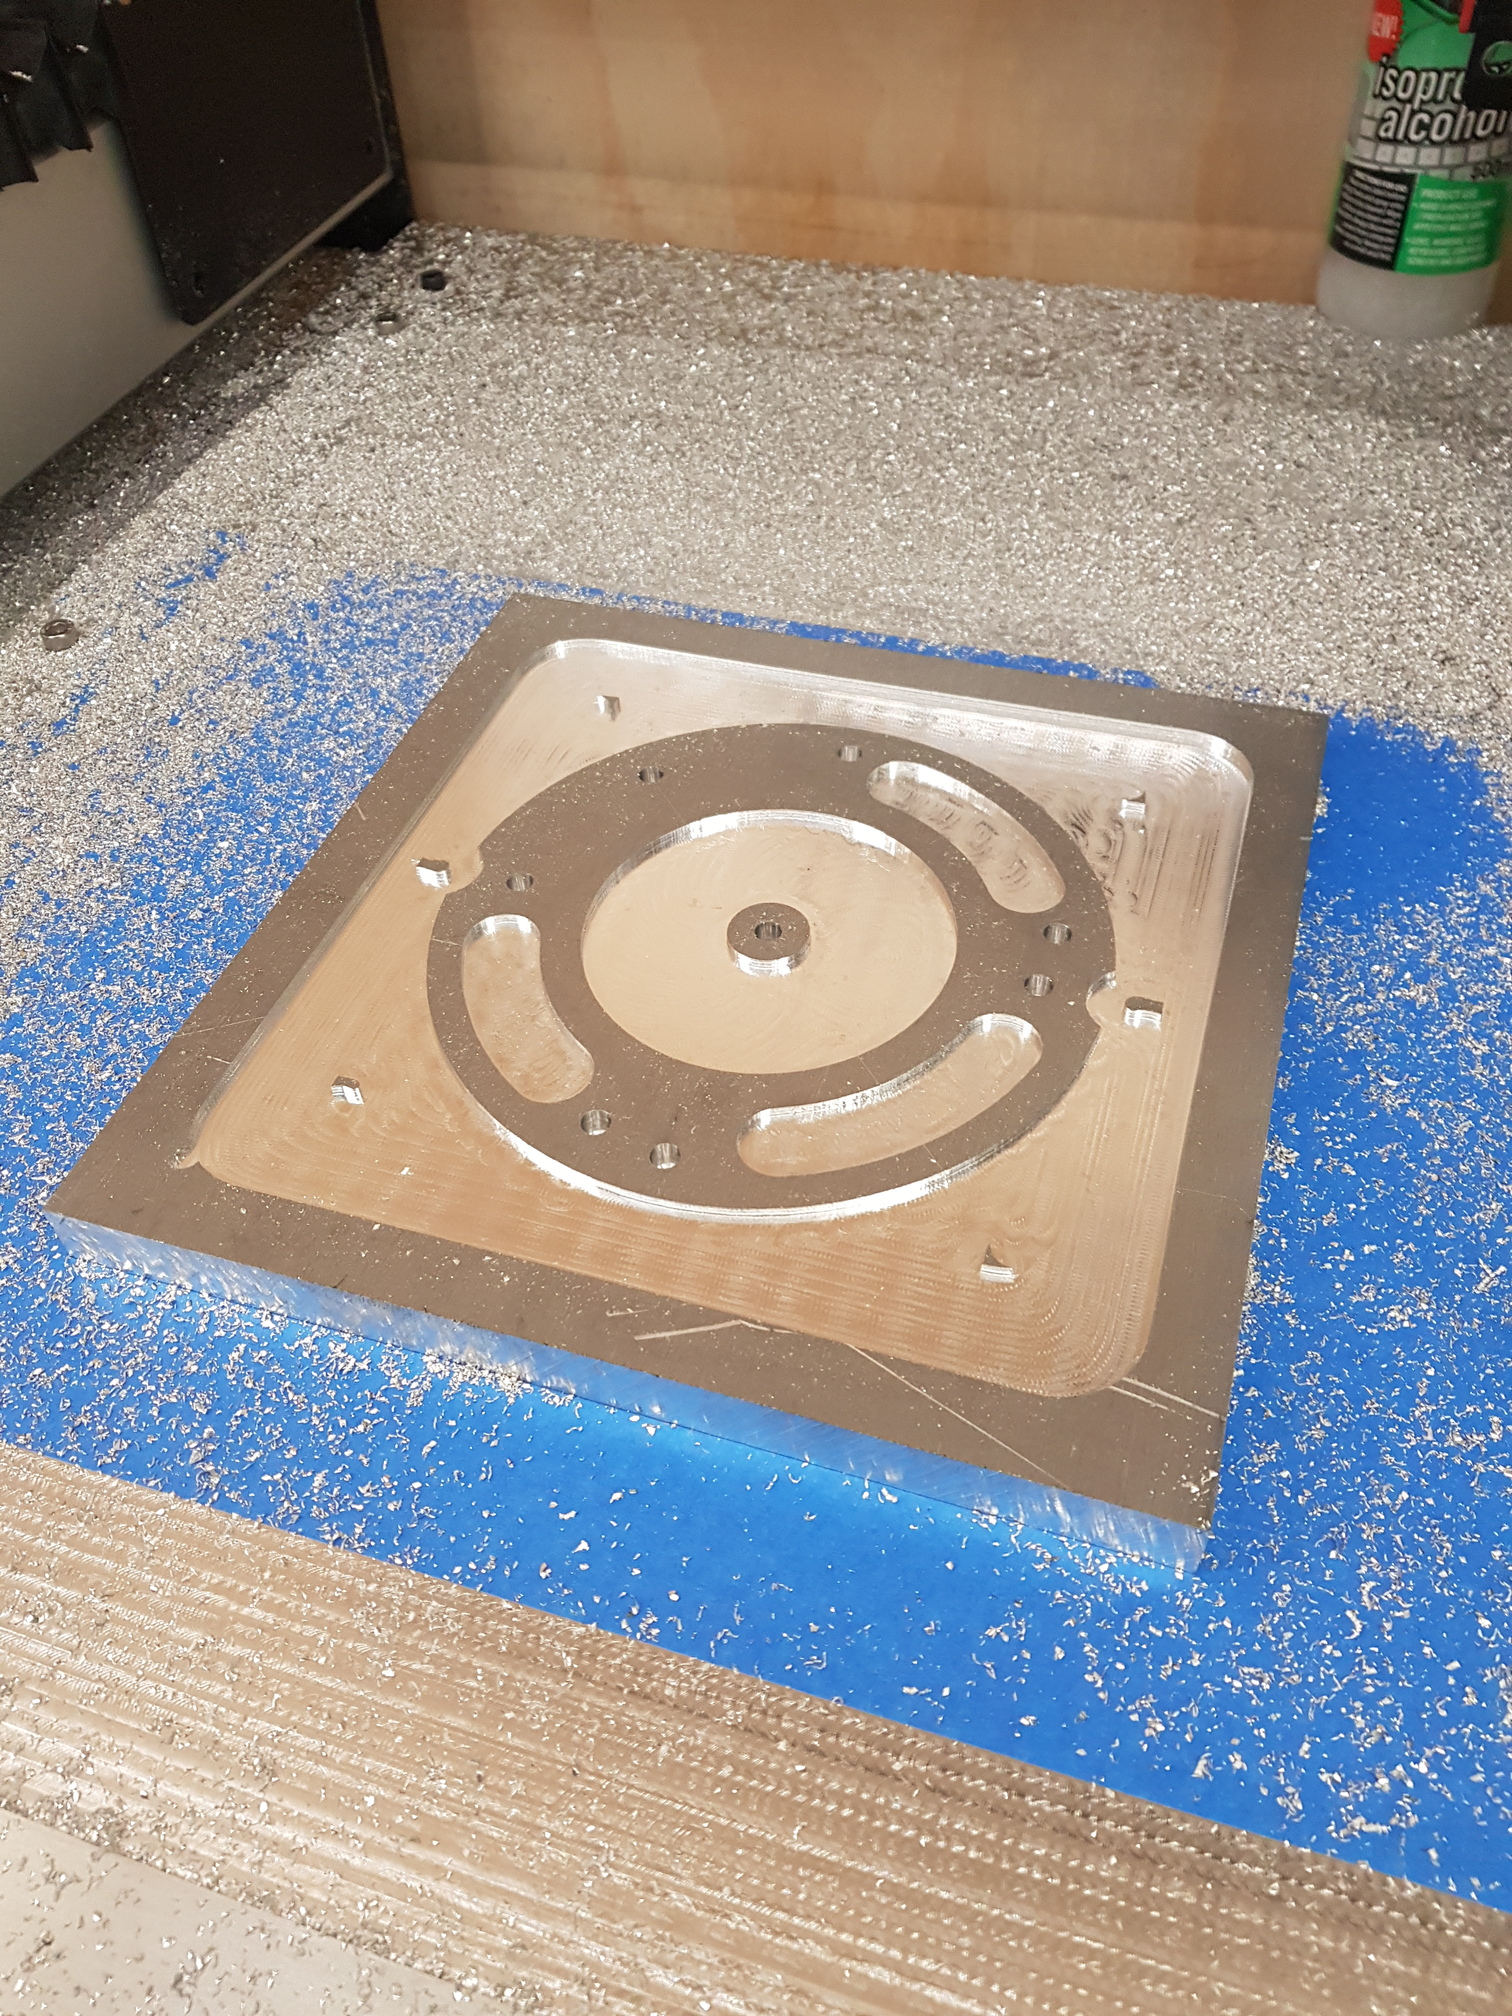
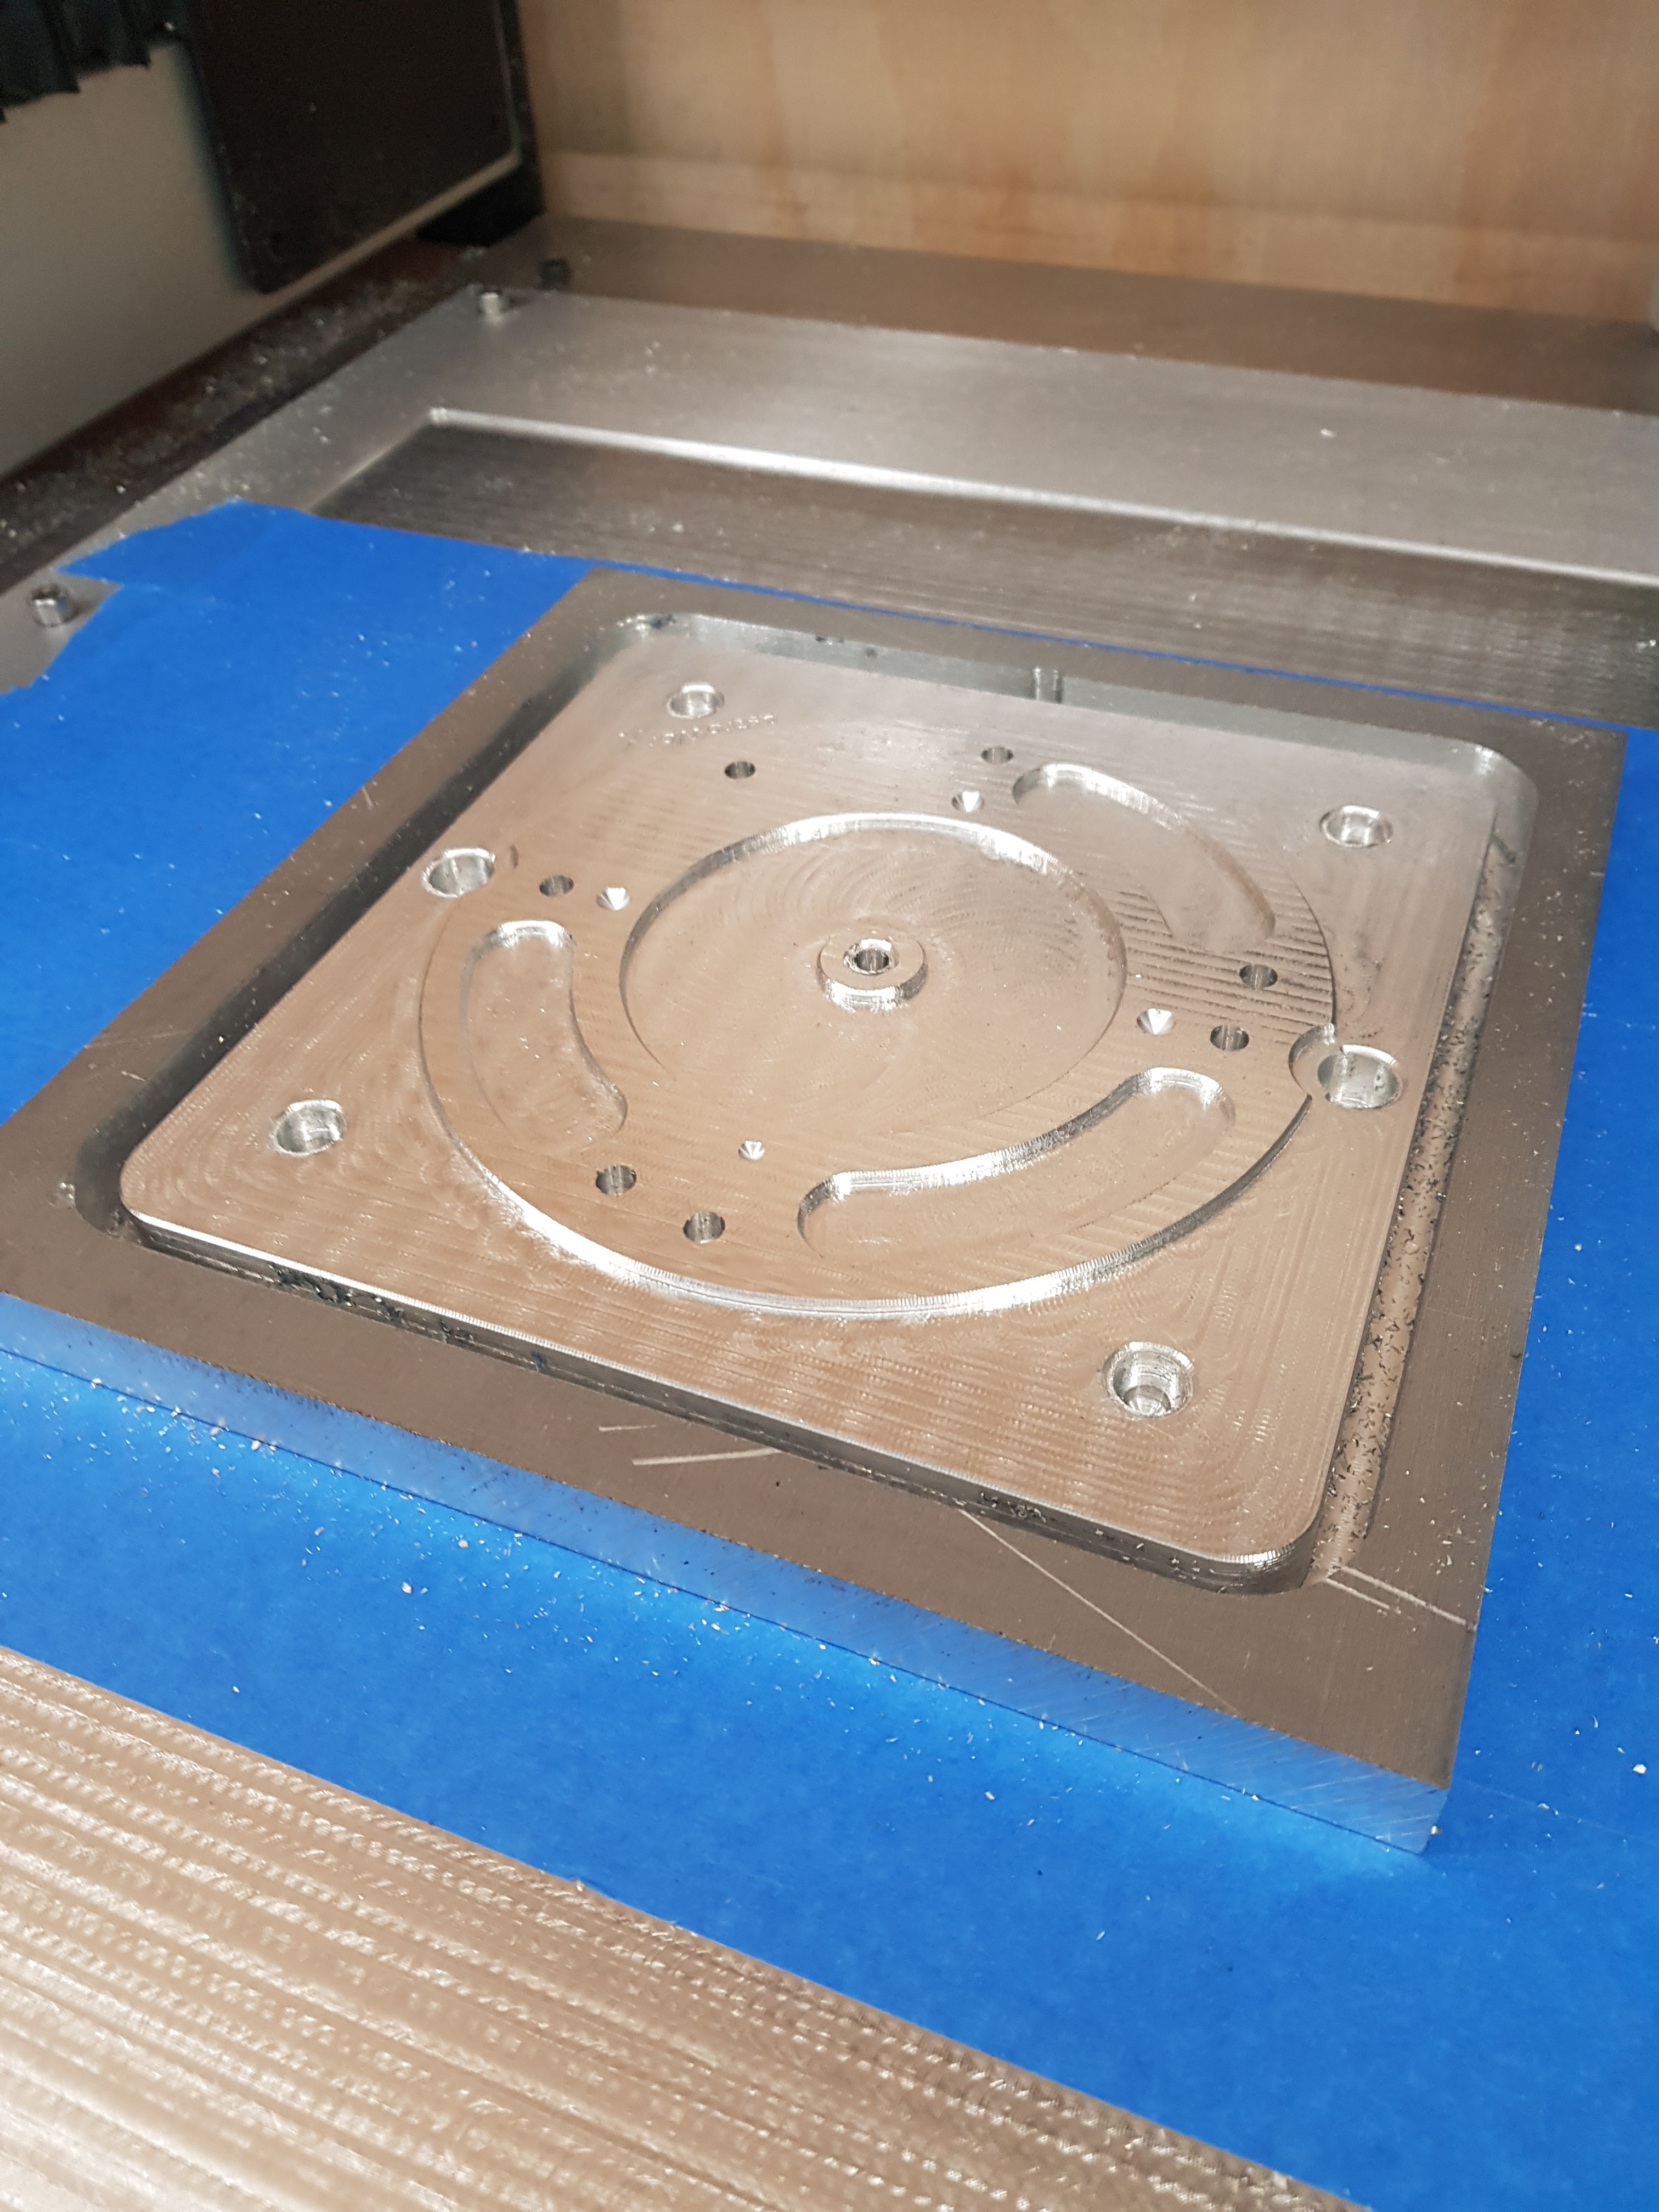
todays work half way done
ready to pull out of the bed
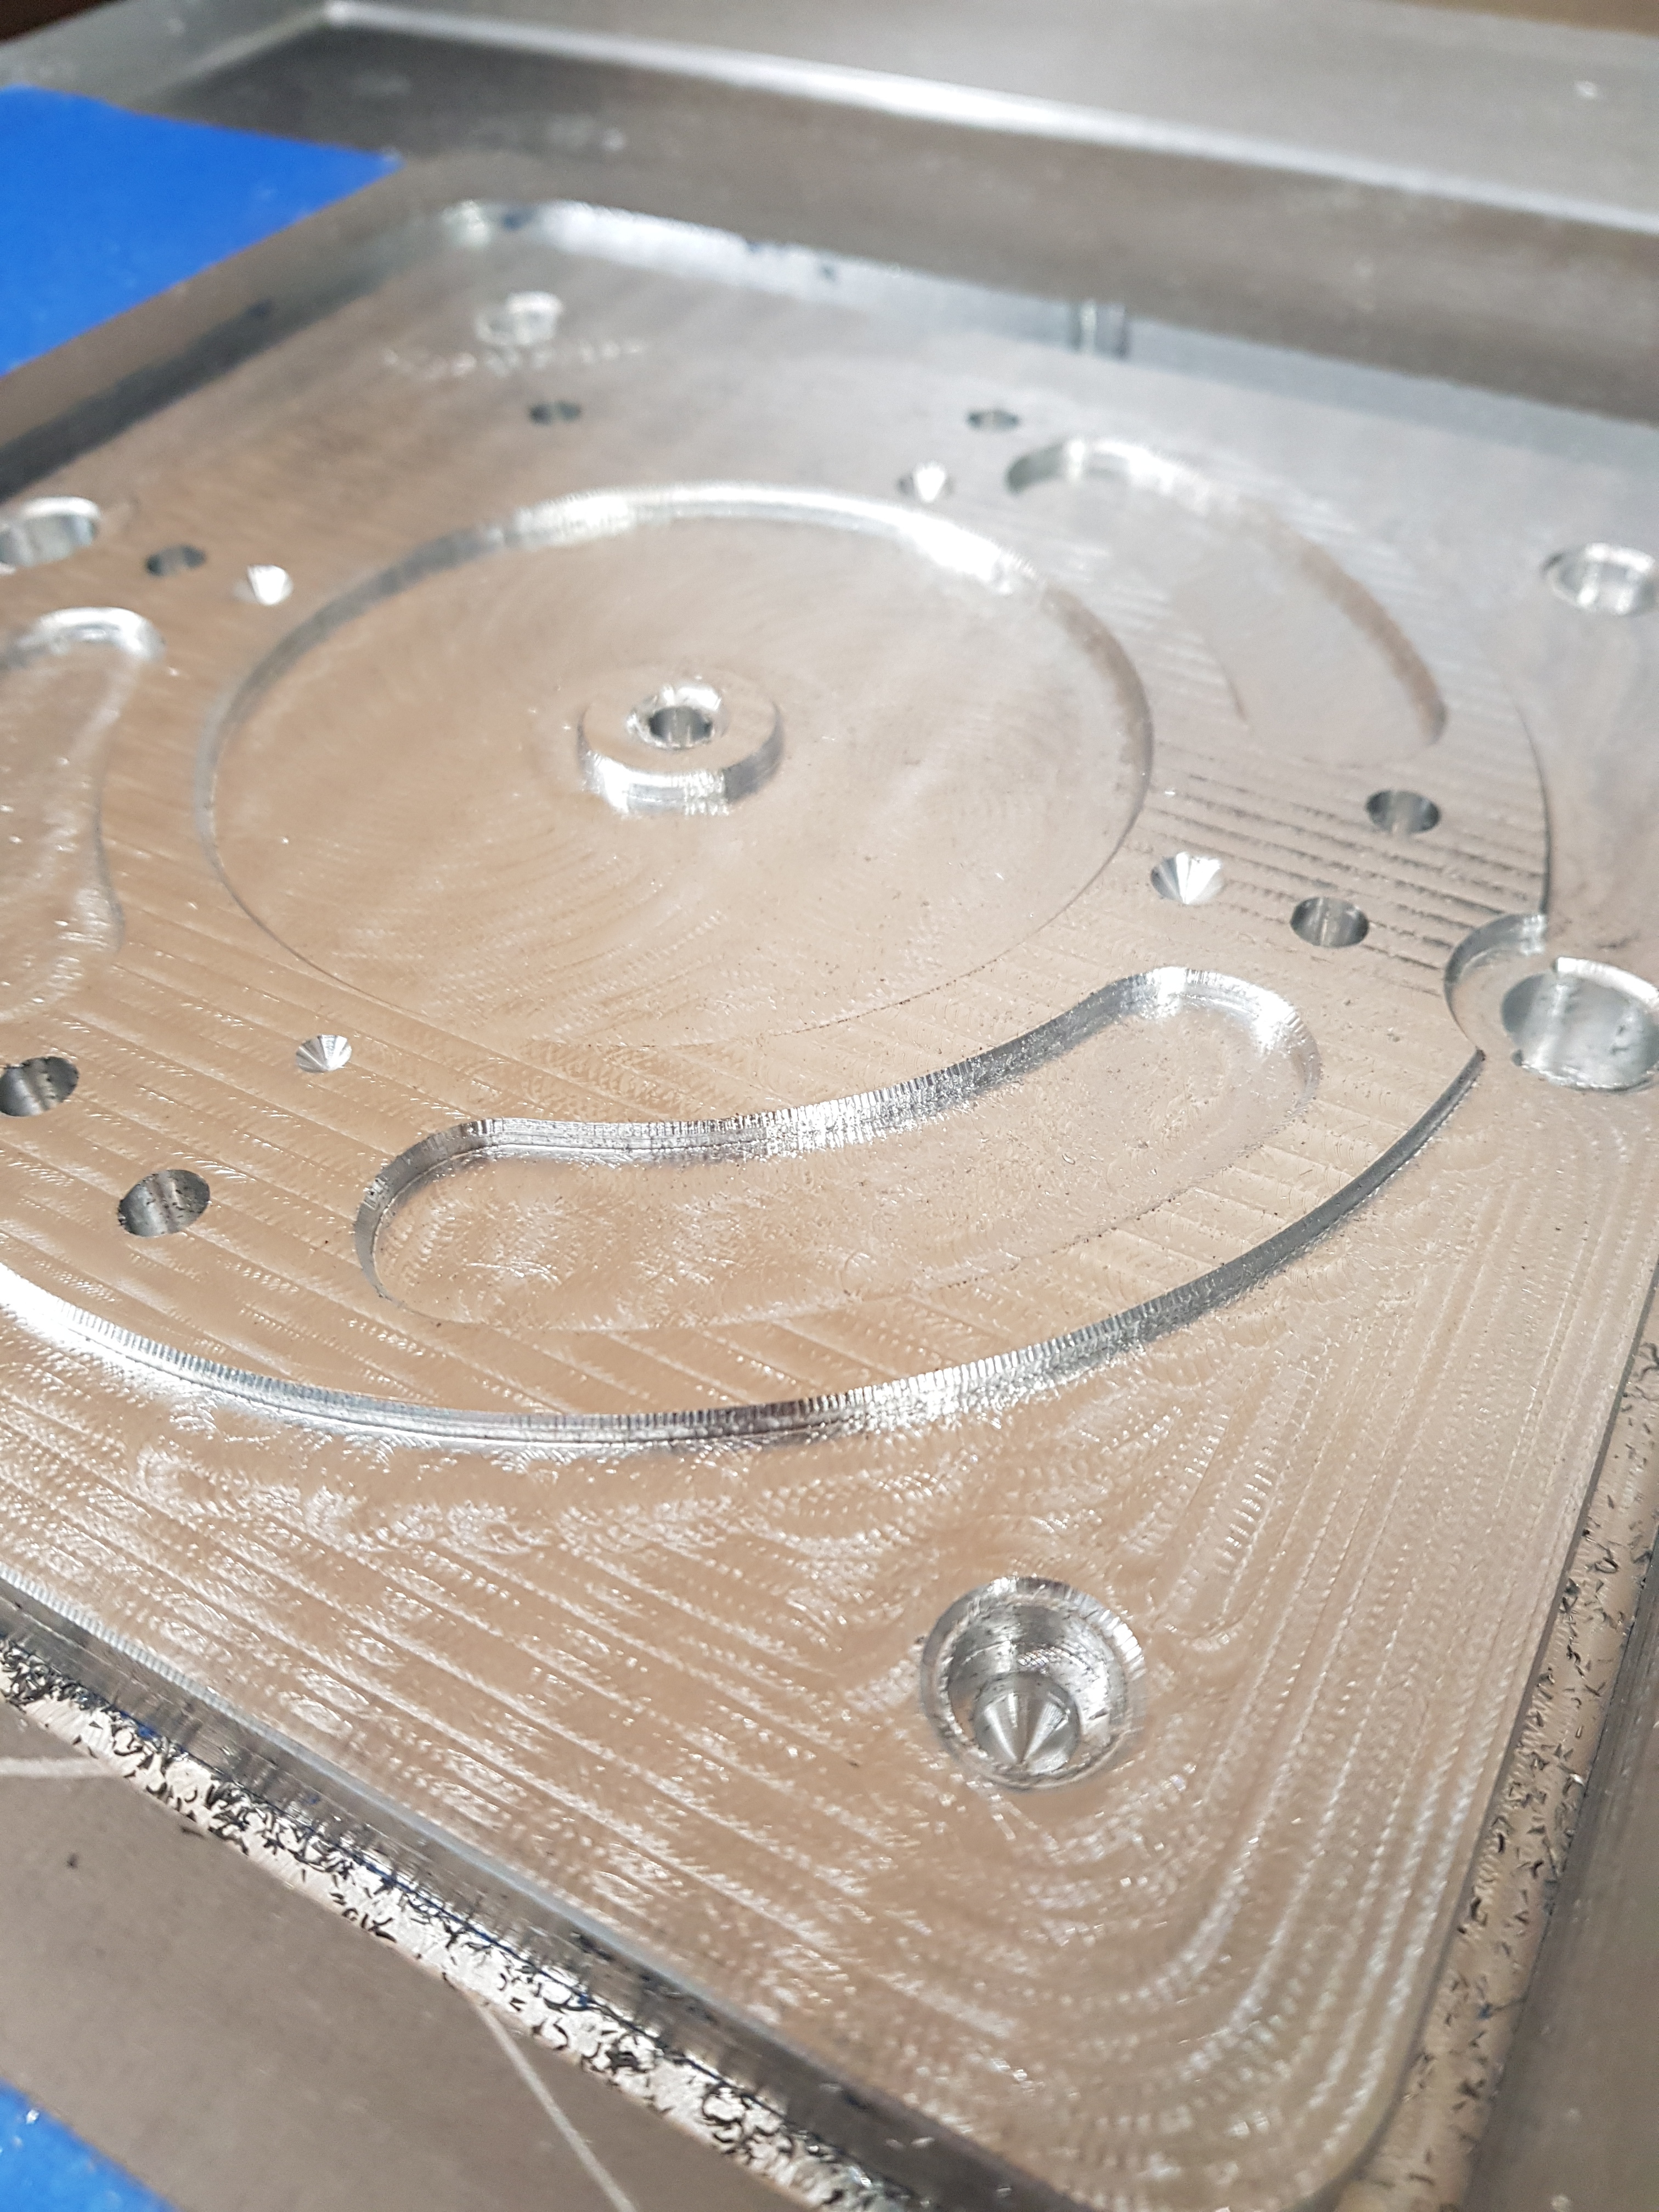
I know, looks funny, but is super soft to the touch, i love it!!!
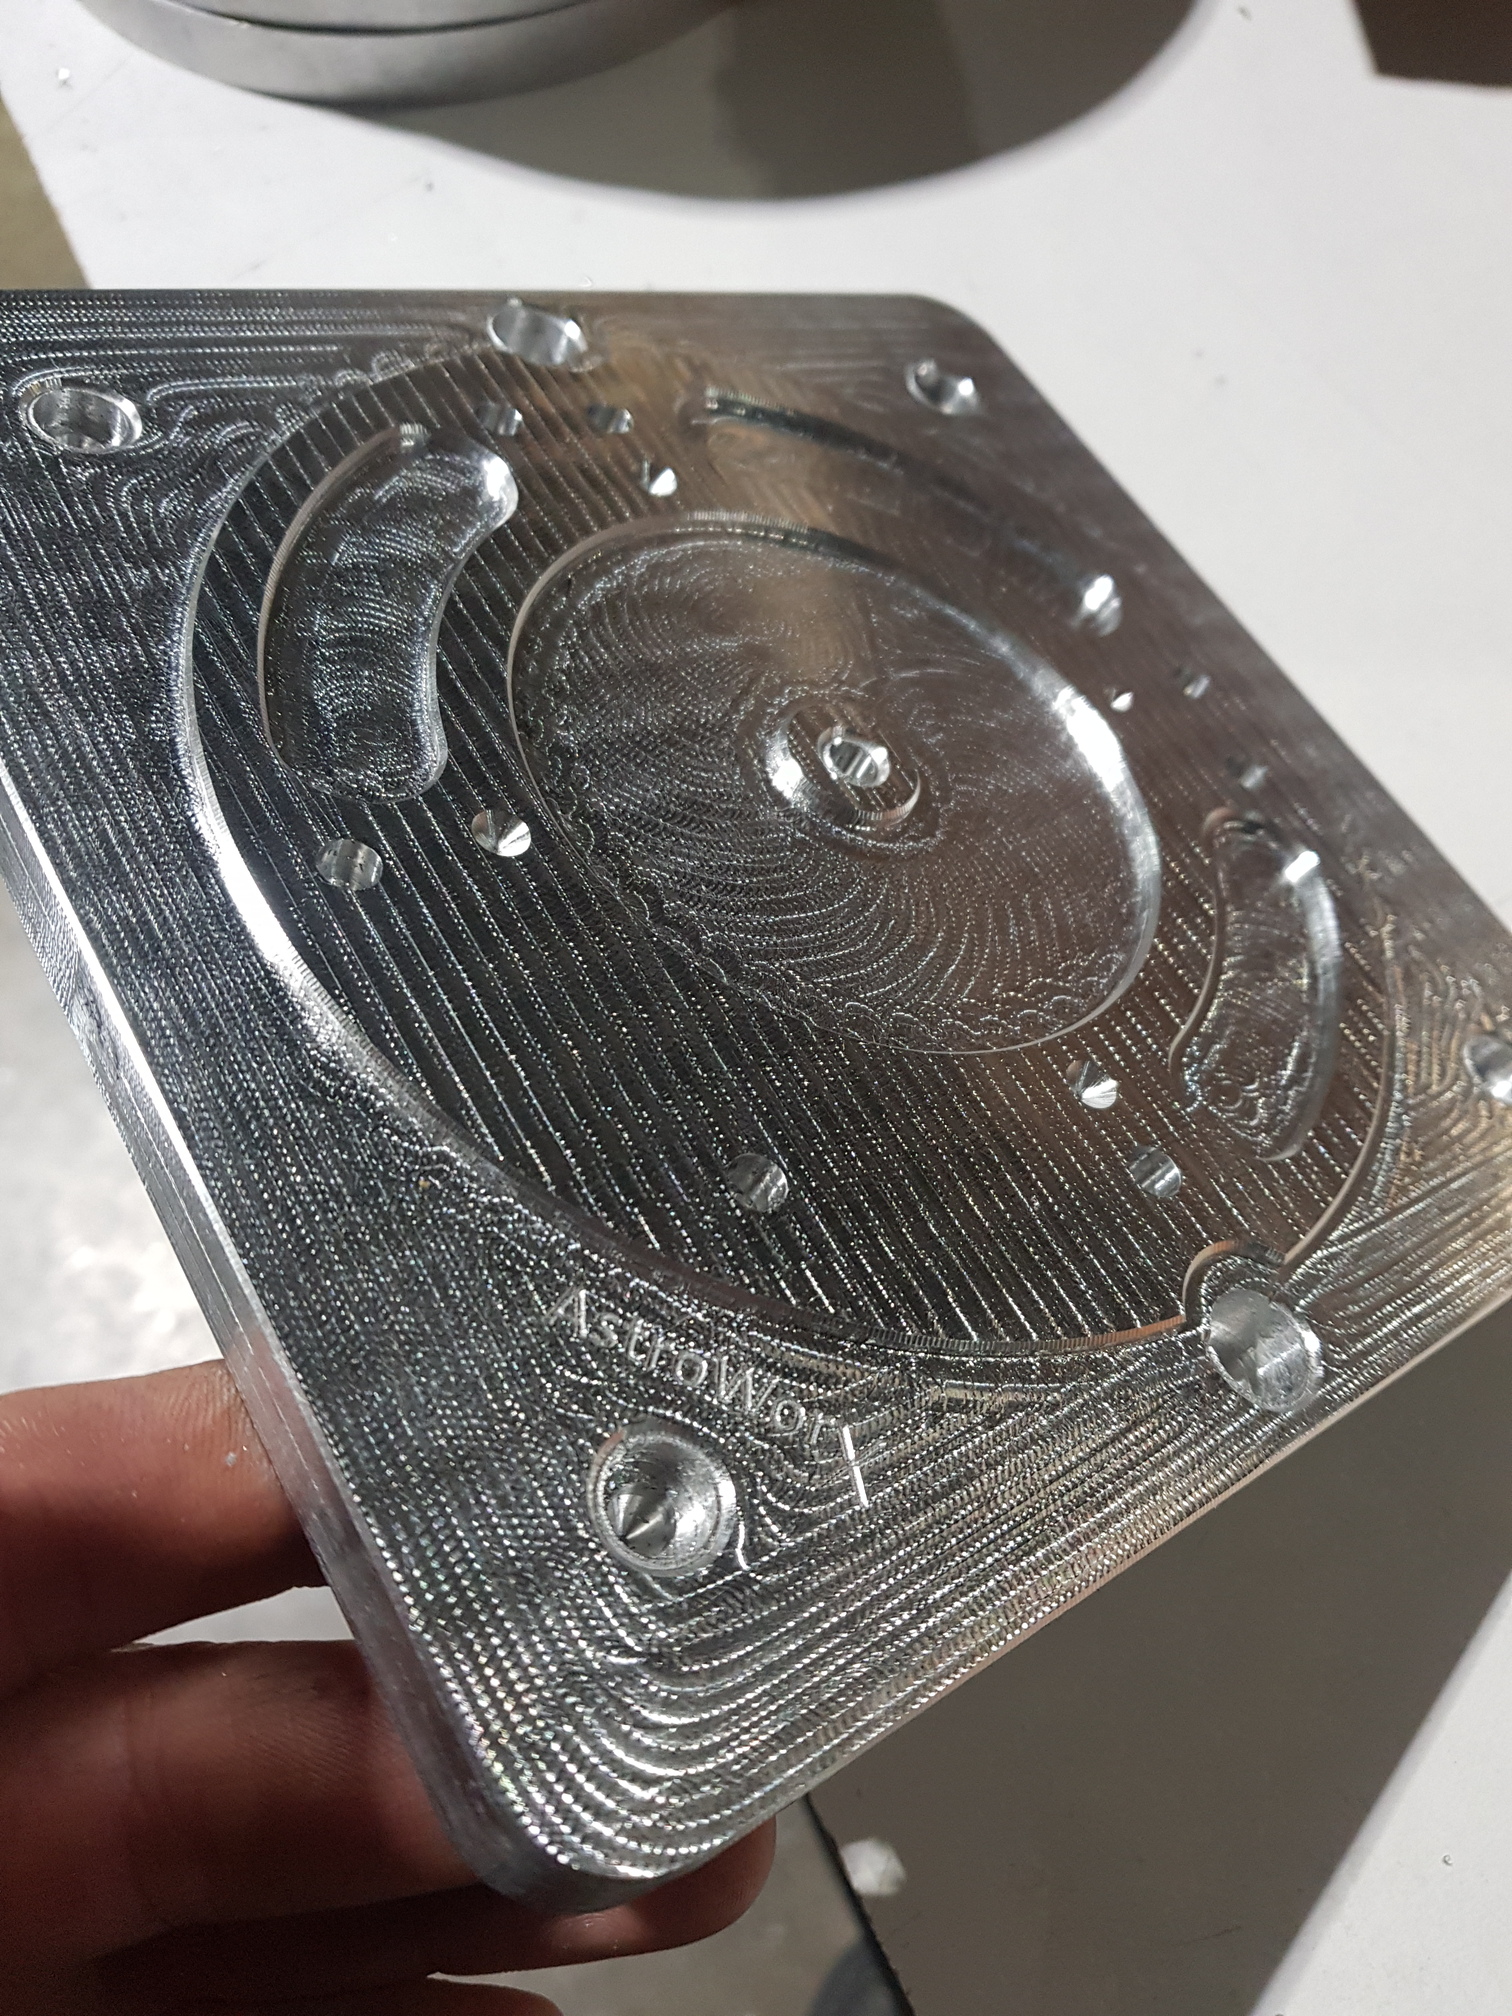
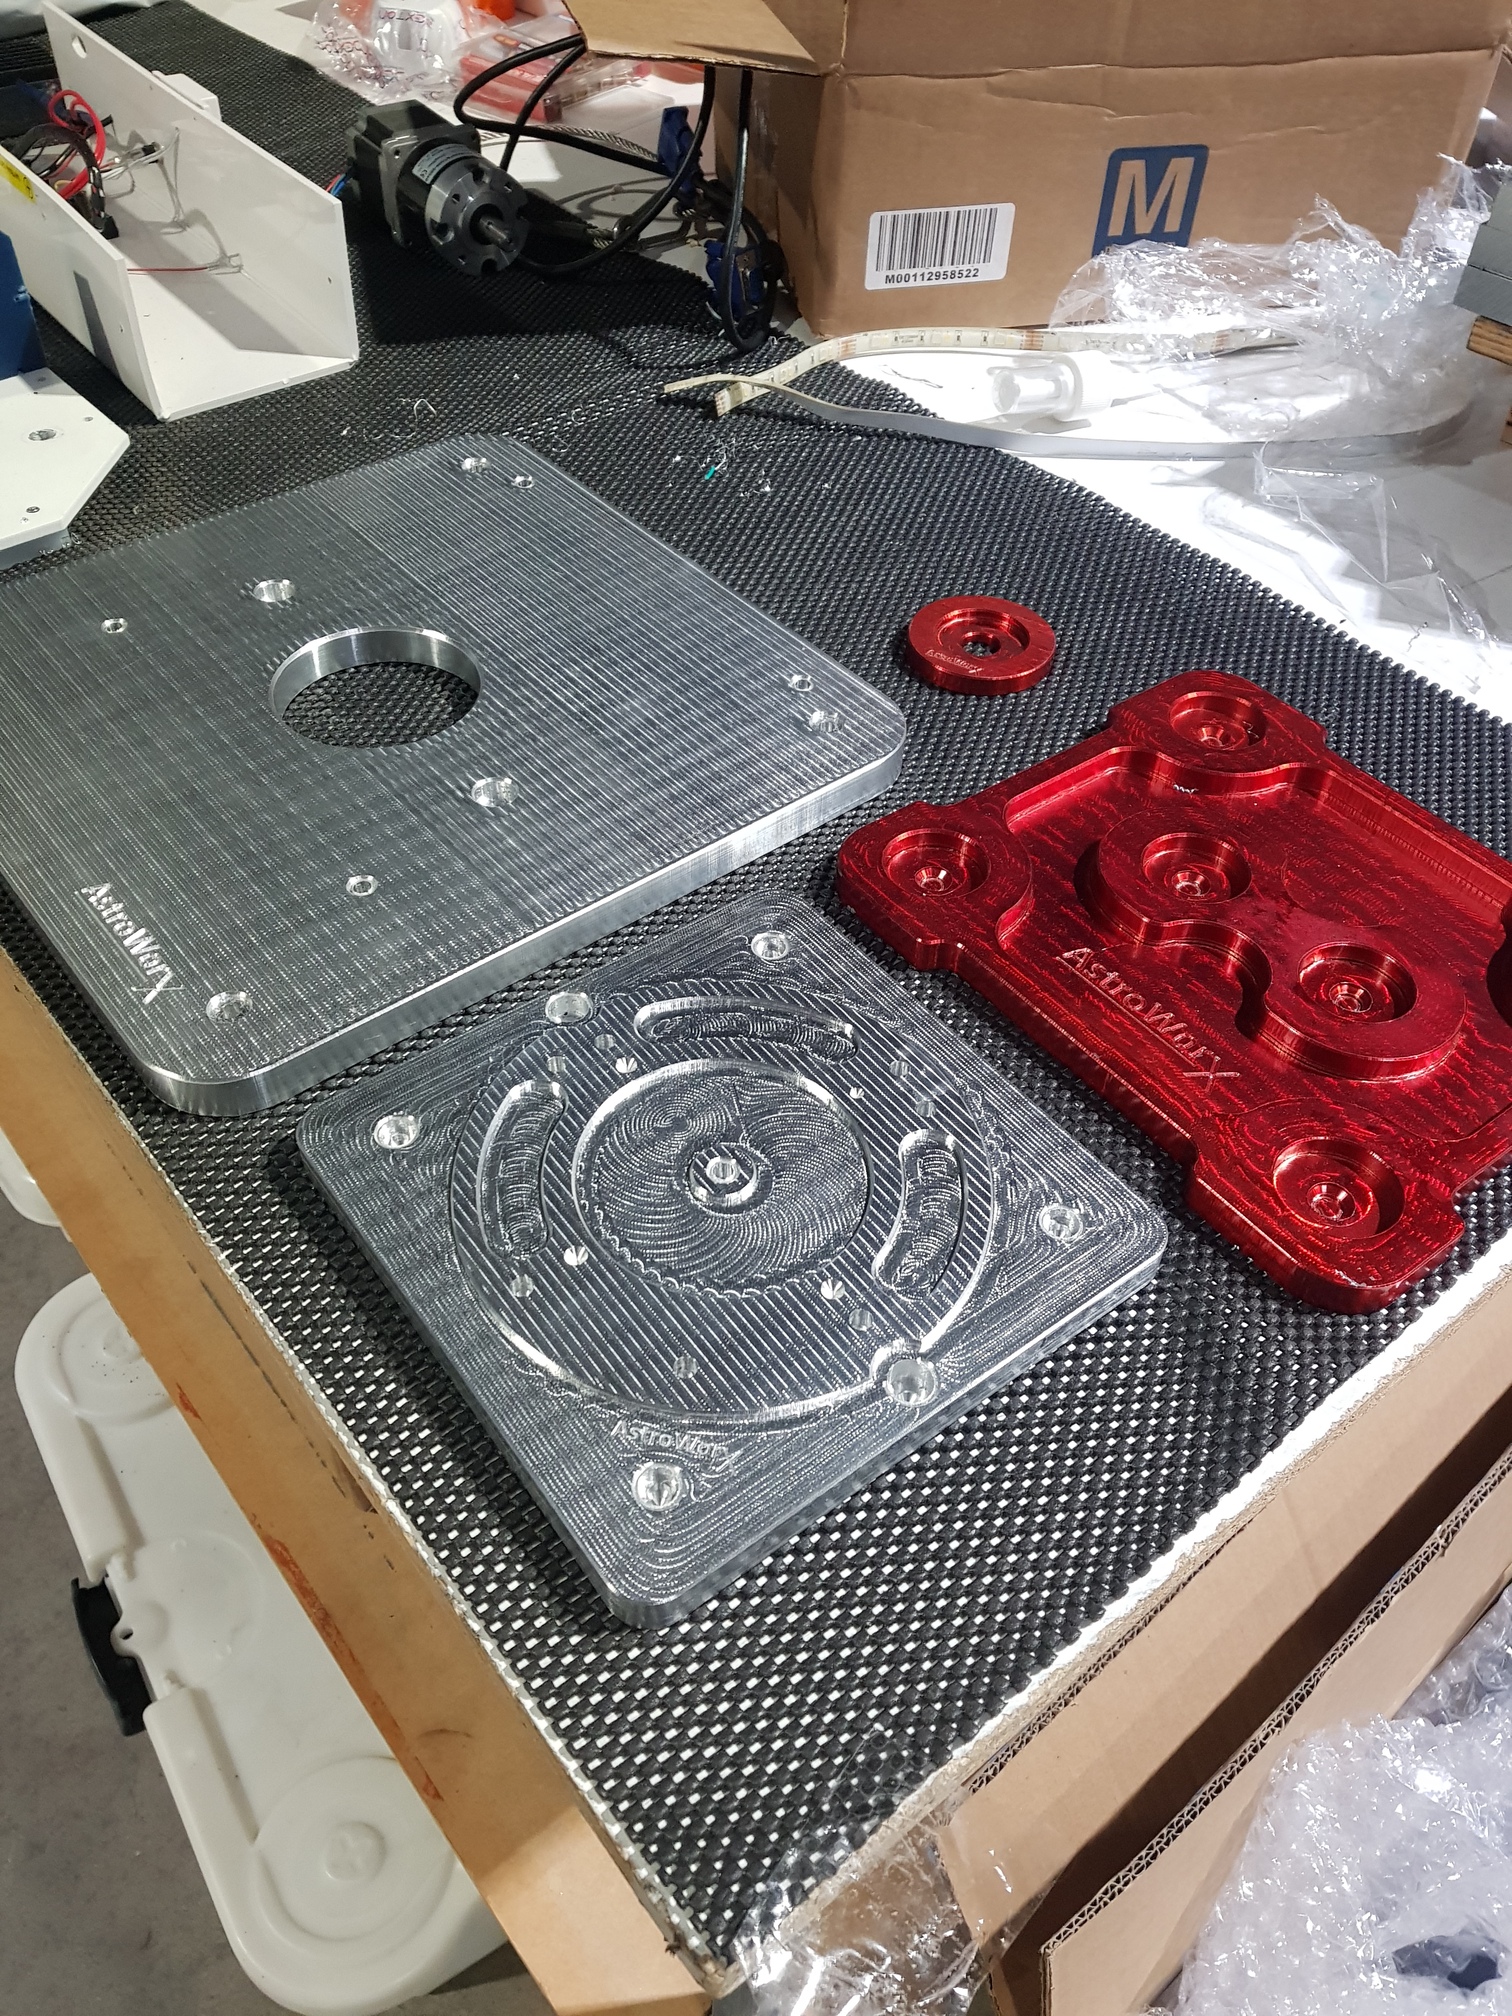
Some other parts i Have made
What was the timeline from receiving the machine to the current state?
Looks awesome!
Do the ballscrews need thrust bearings or do the steppers have thrust bearings in them?
Have you measured deflection under load and backlash?
Also what finishing strategies do you use? Maybe we can help out with the consistency. Soft is good though.
Pretty cool. Are you still using the original Shapeoko controller ?
less than a month i think
i have the bearing blocks but haven’t installed them, i will do at least the steppers on the Y axis this weekend
Wow! I’d wager you’re one to kiss on the first date.
Cool machine!
thanks Vince, i tried to message you on FB but maybe you dont use it much, i havent measured backlash but i saw your posts about the steppers taking the load and came up with a temporary solution with delrin washers between the stepper and the coupling, and it stops the shaft from moving inwards and works perfectly… i will install those bearing blocks anyways…
sadly not, it happens that i wanted to upgrade the stepper motor on the x axis and the carbide board that i had (white one) i think it can only do 2 amps per stepper, so i went with a Blackbox that feeds more juice and has bit more features… i am driving coolant with gcode, the spindle control, an additional relay with aux functions… happy so far… (i am missing the bitsetter from carbide)…
i now have all the steppers replaced with big motors and it sings!!!
at the moment these are Pier plates, bases to install telescope mounts in observatories
Love this. Now I’m torn between this and the design Dan did. Are you planning on releasing the BOM and design for the custom parts you did?
Can someone clarify the lingo? What does “soft to the touch” and “soft is good” mean in this context? Thanks.
Oh, this keeps getting better!! This is a real eye opener to all that is possible with the Shapeoko. This makes it clear that if you have the motivation and know how, the SO3 is just a starting point to whole lot of customization.
Today’s Update, reinforced x axis stepper base, ready to install the bearing blocks, tomorrow, dial in the Tramming (i dont like tramming)
Please note the bigger steppers, i love them, also note the beautiful feature on the cenmter of my bed, i copied and pasted a 2d contour and forgot to edit the bottom offset… bum… 0.1mm slot…
This is probably the first aluminium WASTEboard I see around here
Forgot to ask earlier, how much of a pain was it to align everything (rails & ballscrews) for smooth movement everywhere ?