NEMA 23 with connector on housing

I’ve only seen connectors on either smaller 17’s or on closed loop servos.

Here’s a smaller 17: https://www.omc-stepperonline.com/nema-17-stepper-motor/nema-17-bipolar-18deg-18ncm-255ozin-07a-29v-42x42x25mm-4-wires-17hs10-0704s.html

Interestingly, these guys now have an integrated driver that mounts on a 17/23 stepper too.

I’d still like to try a closed loop servo, but they’re just more cost than I’m willing to blow on a “might me neat”

2 Likes

Here?

2 Likes

That’s what I was looking for, but a connector doesn’t justify spending that much more. I’ll rig something up.

Here’s what I came up with for a prototype on this.

Uses these connector pairs and four M3x25mm screws.

4 Likes

Neat!
Just curious, what usecase do you have for plugging/unplugging motors often enough that this plug will make it easier for you ?

Off-topic: I’m picking up my Prusa tonight, would you have any assembly tip? I browsed the assembly instructions & forums a bit and the only pitfall I spotted is to not overtighten things.

I’ve had a very bad experience with aviation connectors mounted so close to the motors on my diy cnc. After few months started noticing that the machine was loosing steps and began acting erratically. After few minutes from the power up aviation plugs were getting very hot and upon disassembly discovered that most of the pins were badly burned. Not enough to completely loose connection though. It might just be my setup, maybe some of the components weren’t “happy” working together, maybe it was my soldering or some other reason to it, but after removing connectors everything is working perfectly.

I also have aviator plugs mounted on my electronics enclosure (far away from the motors) and they work just fine and don’t heat up at all.

2 Likes

In building a new machine, I just wanted to avoid some of the problems. It’s not as much about plugging and unplugging as just making it easier to wire and replace wiring (in the event I’d need to). I haven’t had it happen on my XL (yet), but I’ve had to replace stepper wires on a few 3D printers after a lot of use. It’s just nice when you can unplug a broken wire and plug the new one in. I never liked the idea of a stepper extension / soldered connector being located in a drag chain. This way, the motor will never have to be replaced, but If I want to swap motors that would be easier too. It also looks cool :sunglasses:

Good info to have before I commit to this! Do you have a connector you’d recommend? It looked like most bigger CNC use a similar connector.

I used those connectors for exactly the same reason. Figured it’s easier to just unplug the motor and swap it whenever I need but I was wrong. It takes forever to do a good job soldering those aviation connectors and you have to be very precise. I find it much easier to splice a wire and solder it. Takes me no time and I know that the connection is solid. Not sure I can recommend any other connectors as on my new build - ball screw so3 - I’m just going to use cable glands to make sure that the wires won’t get pulled out of the controller.

1 Like

My original plan was to use a simple terminal strip inside the housing, but, like I said, in looking at what people use I found those aviation connectors. I never knew the name for cable glands…I always called them “fittings”. I might go back to the terminal strips and pick up some cable glands.

1 Like

Because they are fittings after all, aren’t they? :wink:

I actually like that idea a lot more than aviation connectors. The enclosure that you designed will keep wiring clean and screw terminals are so easy to use. Besides every time you’d be changing a motor you’d have to solder a new aviation connector to it and trust me it was the least enjoyable part of the wiring process for me. It’s just my opinion though.

1 Like

You’ll have no issues…pretty simple. Belts don’t need to be as tight as on a subtractive CNC. Use a decent hand driver instead of the allen wrenches. All in all, it’s really well designed. I still need to upgrade my extruder and find the time for the MMU.

2 Likes

So I started assembly yesterday evening, and I must say it very much brings back memories of assembling the Shapeoko: except for a little tweaks here and there (removing powder coat from some holes in the plates to enable better squaring, mmh, I wonder when I last did that :slight_smile: ) it feels like quality and good, efficient, cost-effective design.
Actually it feels like Prusa found that same sweet spot in the 3D printer value for money range, as the Shapeoko did for desktop CNCs.

2 Likes

Not sure why they’re called “aviation connectors” - I’ve never seen one like those in aviation. The big mil-spec ones have totally different construction. These are… junk.

1 Like

So what’s the recommendation for a four or five pin connector?

The same number of electrons go through a connector that is close to a stepper motor or further away. If you connections are hot it is because of resistance. The resistance is most likely caused by poor connections. If you can isolate where the heat is being generated it will give you a clue what is giving you the high resistance. What I mean is the heat in the connecting pins or at the point at the end of each connector where the wire connects. If the heat is at the soldered/crimped connections then it is poor connectivity. If the heat is in the mating of the pins then it is a poor connector connection/design.

When soldering most people get cold solder joints. Cold solder joints are when the solder does not melt properly and causes a poor physical connections. You want your solder iron to be hot, the tip clean and your solder ready. You heat the joint for a few seconds and when it it hot put the solder to the tip of the iron. If the wire and connector are hot enough the solder will flow. If the solder is not flowing then you have not gotten the components hot enough. One thing that is very important for a wiring connections is that you have a good physical connection between the wire and the connector. This is accomplished by wrapping the wire on the connector. The solder will melt and make permanent your connection. If you do not have a good physical connection between the wire and connector you will probably get a poor connection. As always there is a fine line between too much heat and not enough. You can try to isolate the connector above the joint with alligator clips. The clips works to keep the connector cooler where the male/female connections contact in the plug. It is not good to glop too much solder on because the soldered joint is now fixed vibration and flexing tend to break the connection, but you still need enough solder to connect the joint together. What I mean is wipe away big globs of solder dripping down before it hardens or reheat and draw away the solder with the iron.

3 Likes

One other thing to keep in mind is KISS, Keep it Simple Stupid. While I will not tell anyone how to build their machine I will remind you that the simpler the better. The stepper motors do not go bad that often so why make it complicated. The stock components seem to work well but the stock connections were designed for ease of manufacturing and not necessarily for repairs. Many modern cars the whole engine and transmission is assembled and then pushed up in the car along the assembly line. That is great for manufacturing but not so easy for the average shade tree mechanic to remove as a unit.

Make your machine your own but KISS.

2 Likes

@gdon_2003 My intent in doing this was not for stepper replacement but for ease of wiring and trying to keep the connections at the stepper rather than at a flex point. I’m pretty confident in my soldering ability, and I’m probably going to just try out the “junk” aviation connectors. I got a cable gland that would fit the cable I have, and it’s nearly as big as the connectors. I’m also trying to just make these easy to connect. I’ve done similar on 3D printers, and when a cheap wire goes bad due to continuous flexing it’s a nice feeling to throw a patch cable in and get running within a minute.

@gdon_2003 Totally agree with everything you said about soldering and keeping your system as simple as possible, however I can only speak about my own experience building a robot and while all the connectors were soldered at exactly the same time, with exactly the same technique and the same materials. ALL of the connectors right next to the motors failed misearably, while ALL of the connectors on the control panel are cool and in a great shape.
@mikep lol my exact thoughts, at first was wondering if they’re commonly used in the aircrafts

Ok, you weren’t super specific about what kind of 4-5 pin connectors. I’ll go from cheap to eye-watering.

If you’re only interested in cheap, molex knock-offs are a dime a dozen from china. They’re not awful connectors, but they’re also not sealed, and some of the pin/sockets I’ve seen have been “sketchy as frig”… You can get good, gold or copper plated pins and sockets for cheap (as long as you don’t buy 10…buy 100) from a good vendor.

Another cheap option is to use D-sub connectors, which I’ve had great luck with as well - 9-pin connectors are cheap, easy to get in crimp or solder cup, bulkhead or wire-wire. With the right hardware and backshells they’re very secure.

I prefer the Switchcraft EN3 series, which is plastic, when I need that general style (circular, inline or panel mount). These are really high quality, easy to work with. Easy to find crimpers (see below).
https://www.digikey.com/catalog/en/partgroup/en3-series/2186?mpart=EN3C4FX&vendor=137
http://www.switchcraft.com/Documents/Switchcraft_EN3_NPB_602.pdf
https://www.digikey.com/product-detail/en/switchcraft-inc/EN3C4FX/SC253-ND/2080458

JST JWPF series is my go-to for super secure in rough environments. Sealed, very secure. They’re not super cheap. I haven’t seen a knock-off of these yet. I think these are only available as in-line styles. An assortment kit will set you back a lot of money, so just buy the parts you need. They can be a little fussy in the 2 and 4 pin “single row” style, but they’re SUPER secure, as in “I know these come apart!” secure. Crimpers below work just fine.
https://www.digikey.com/products/en/connectors-interconnects/rectangular-connectors-housings/319?k=jwpf%20series

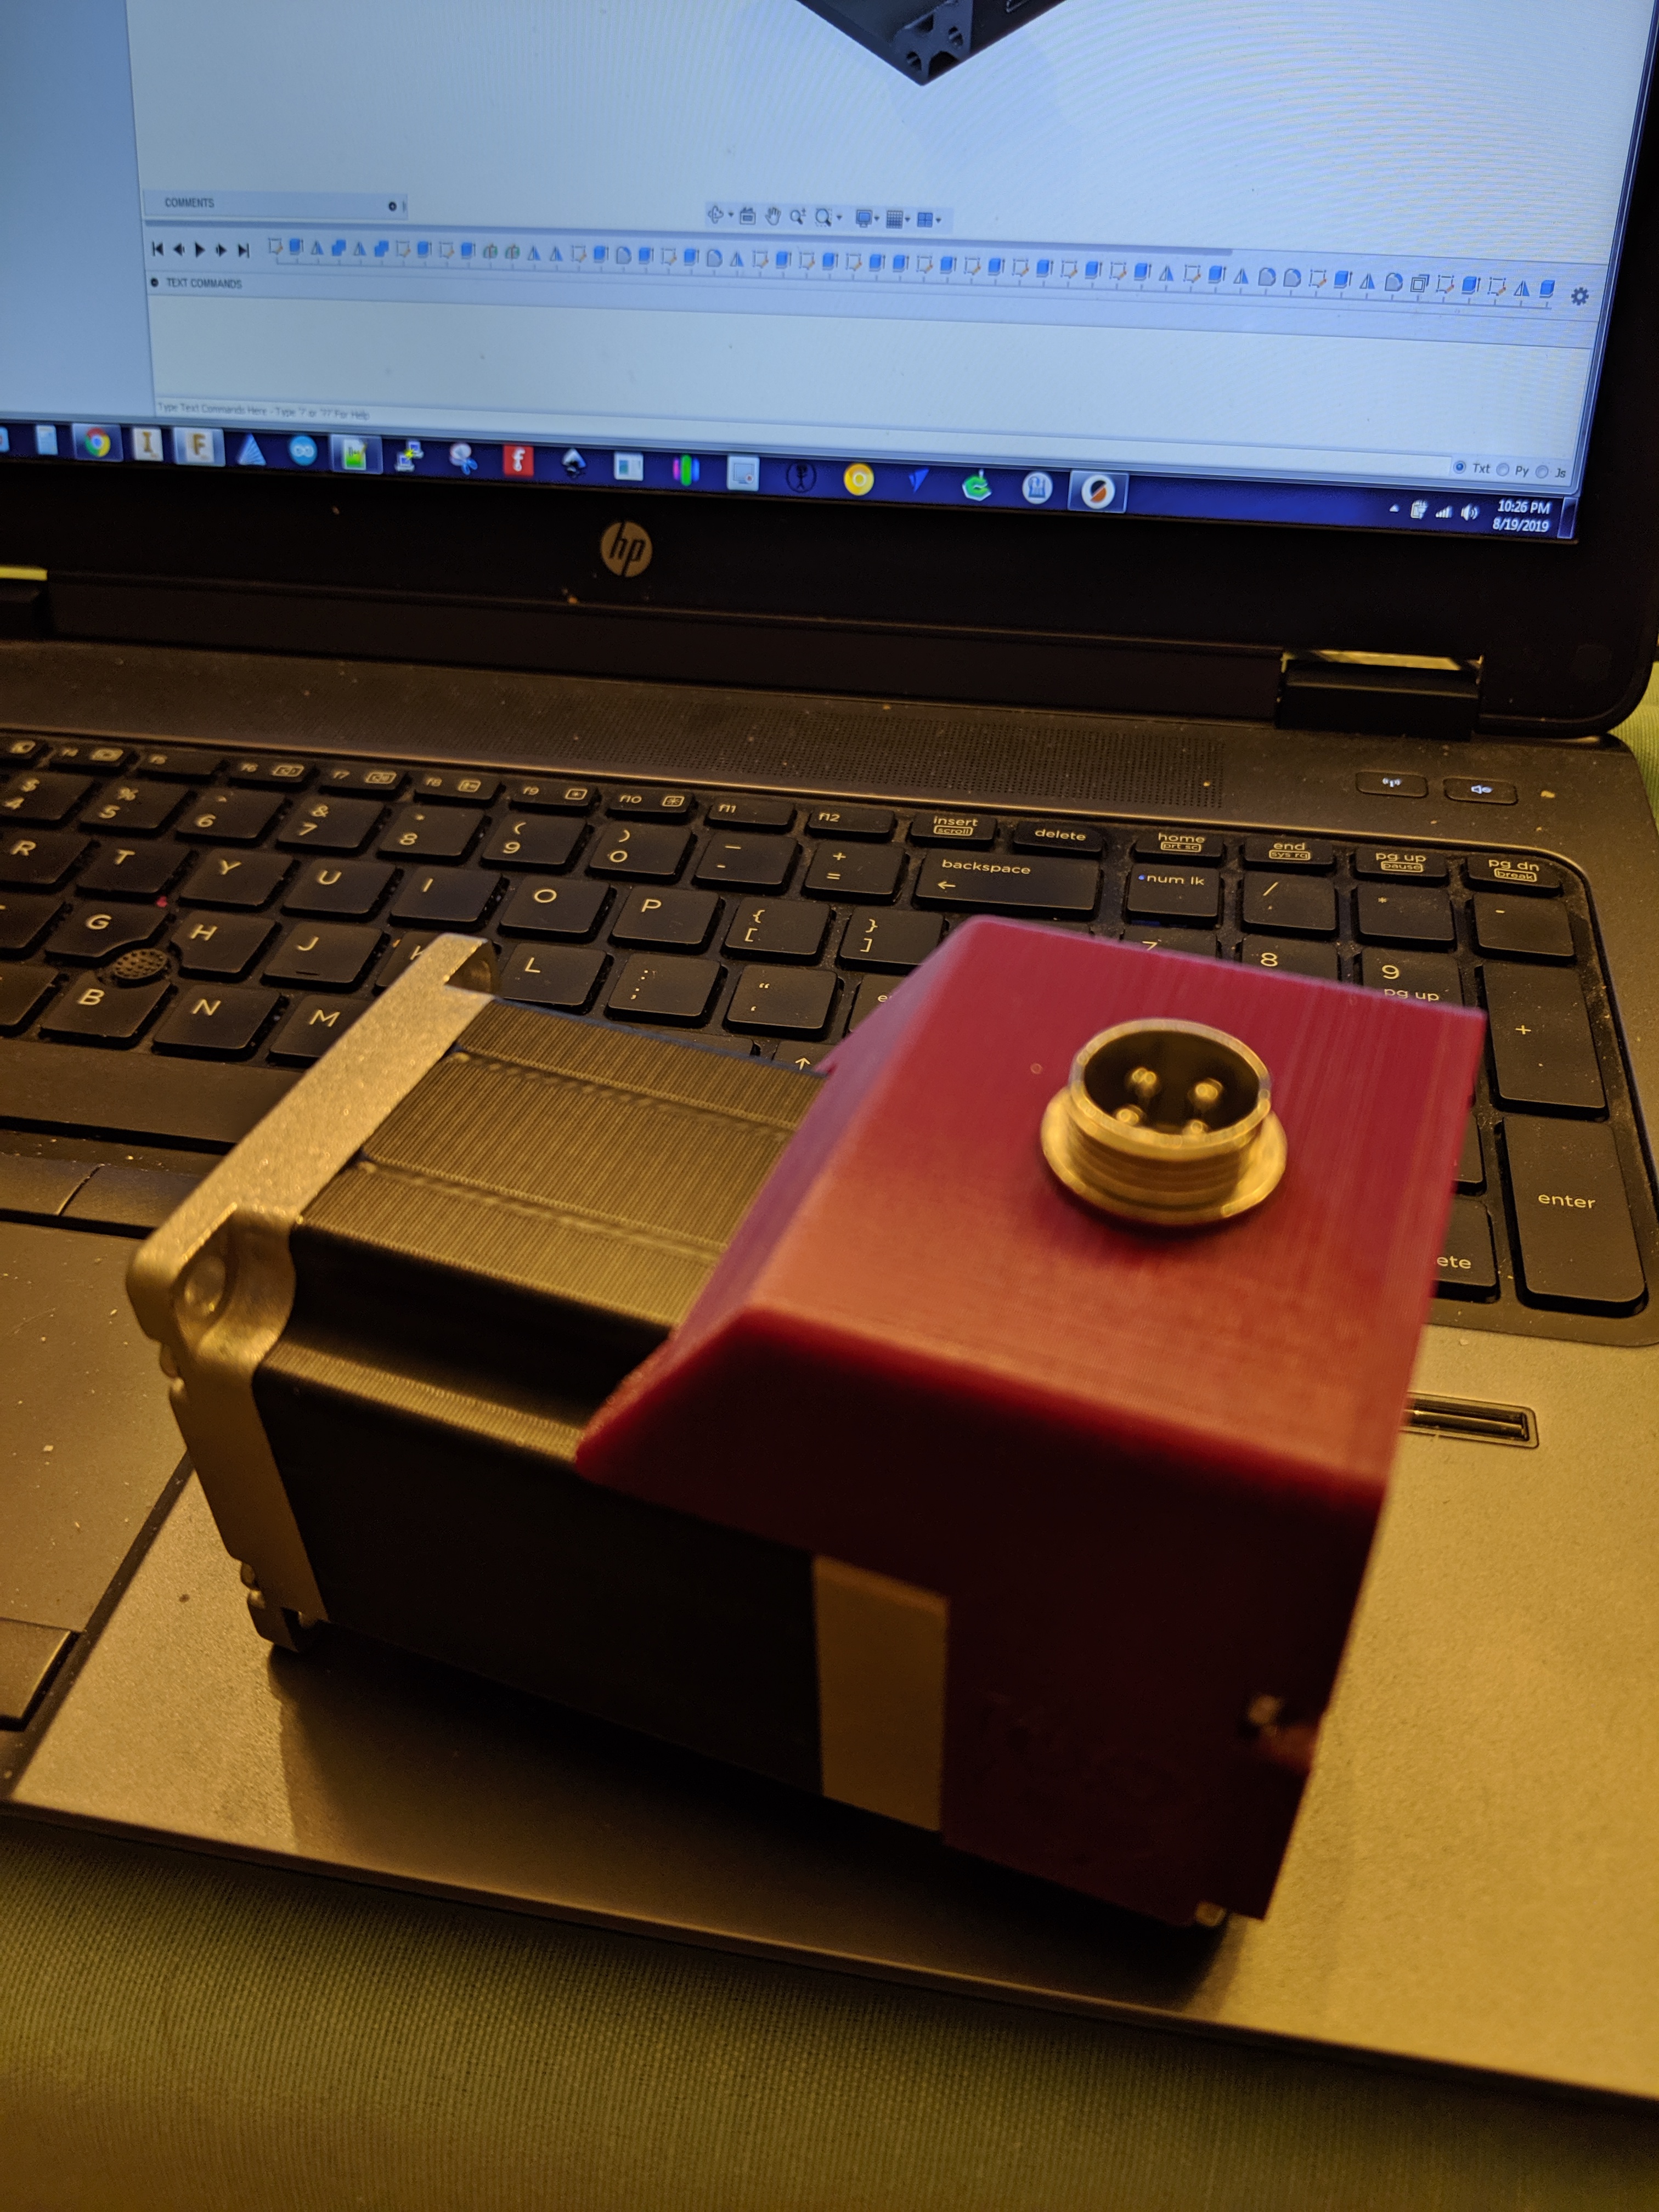
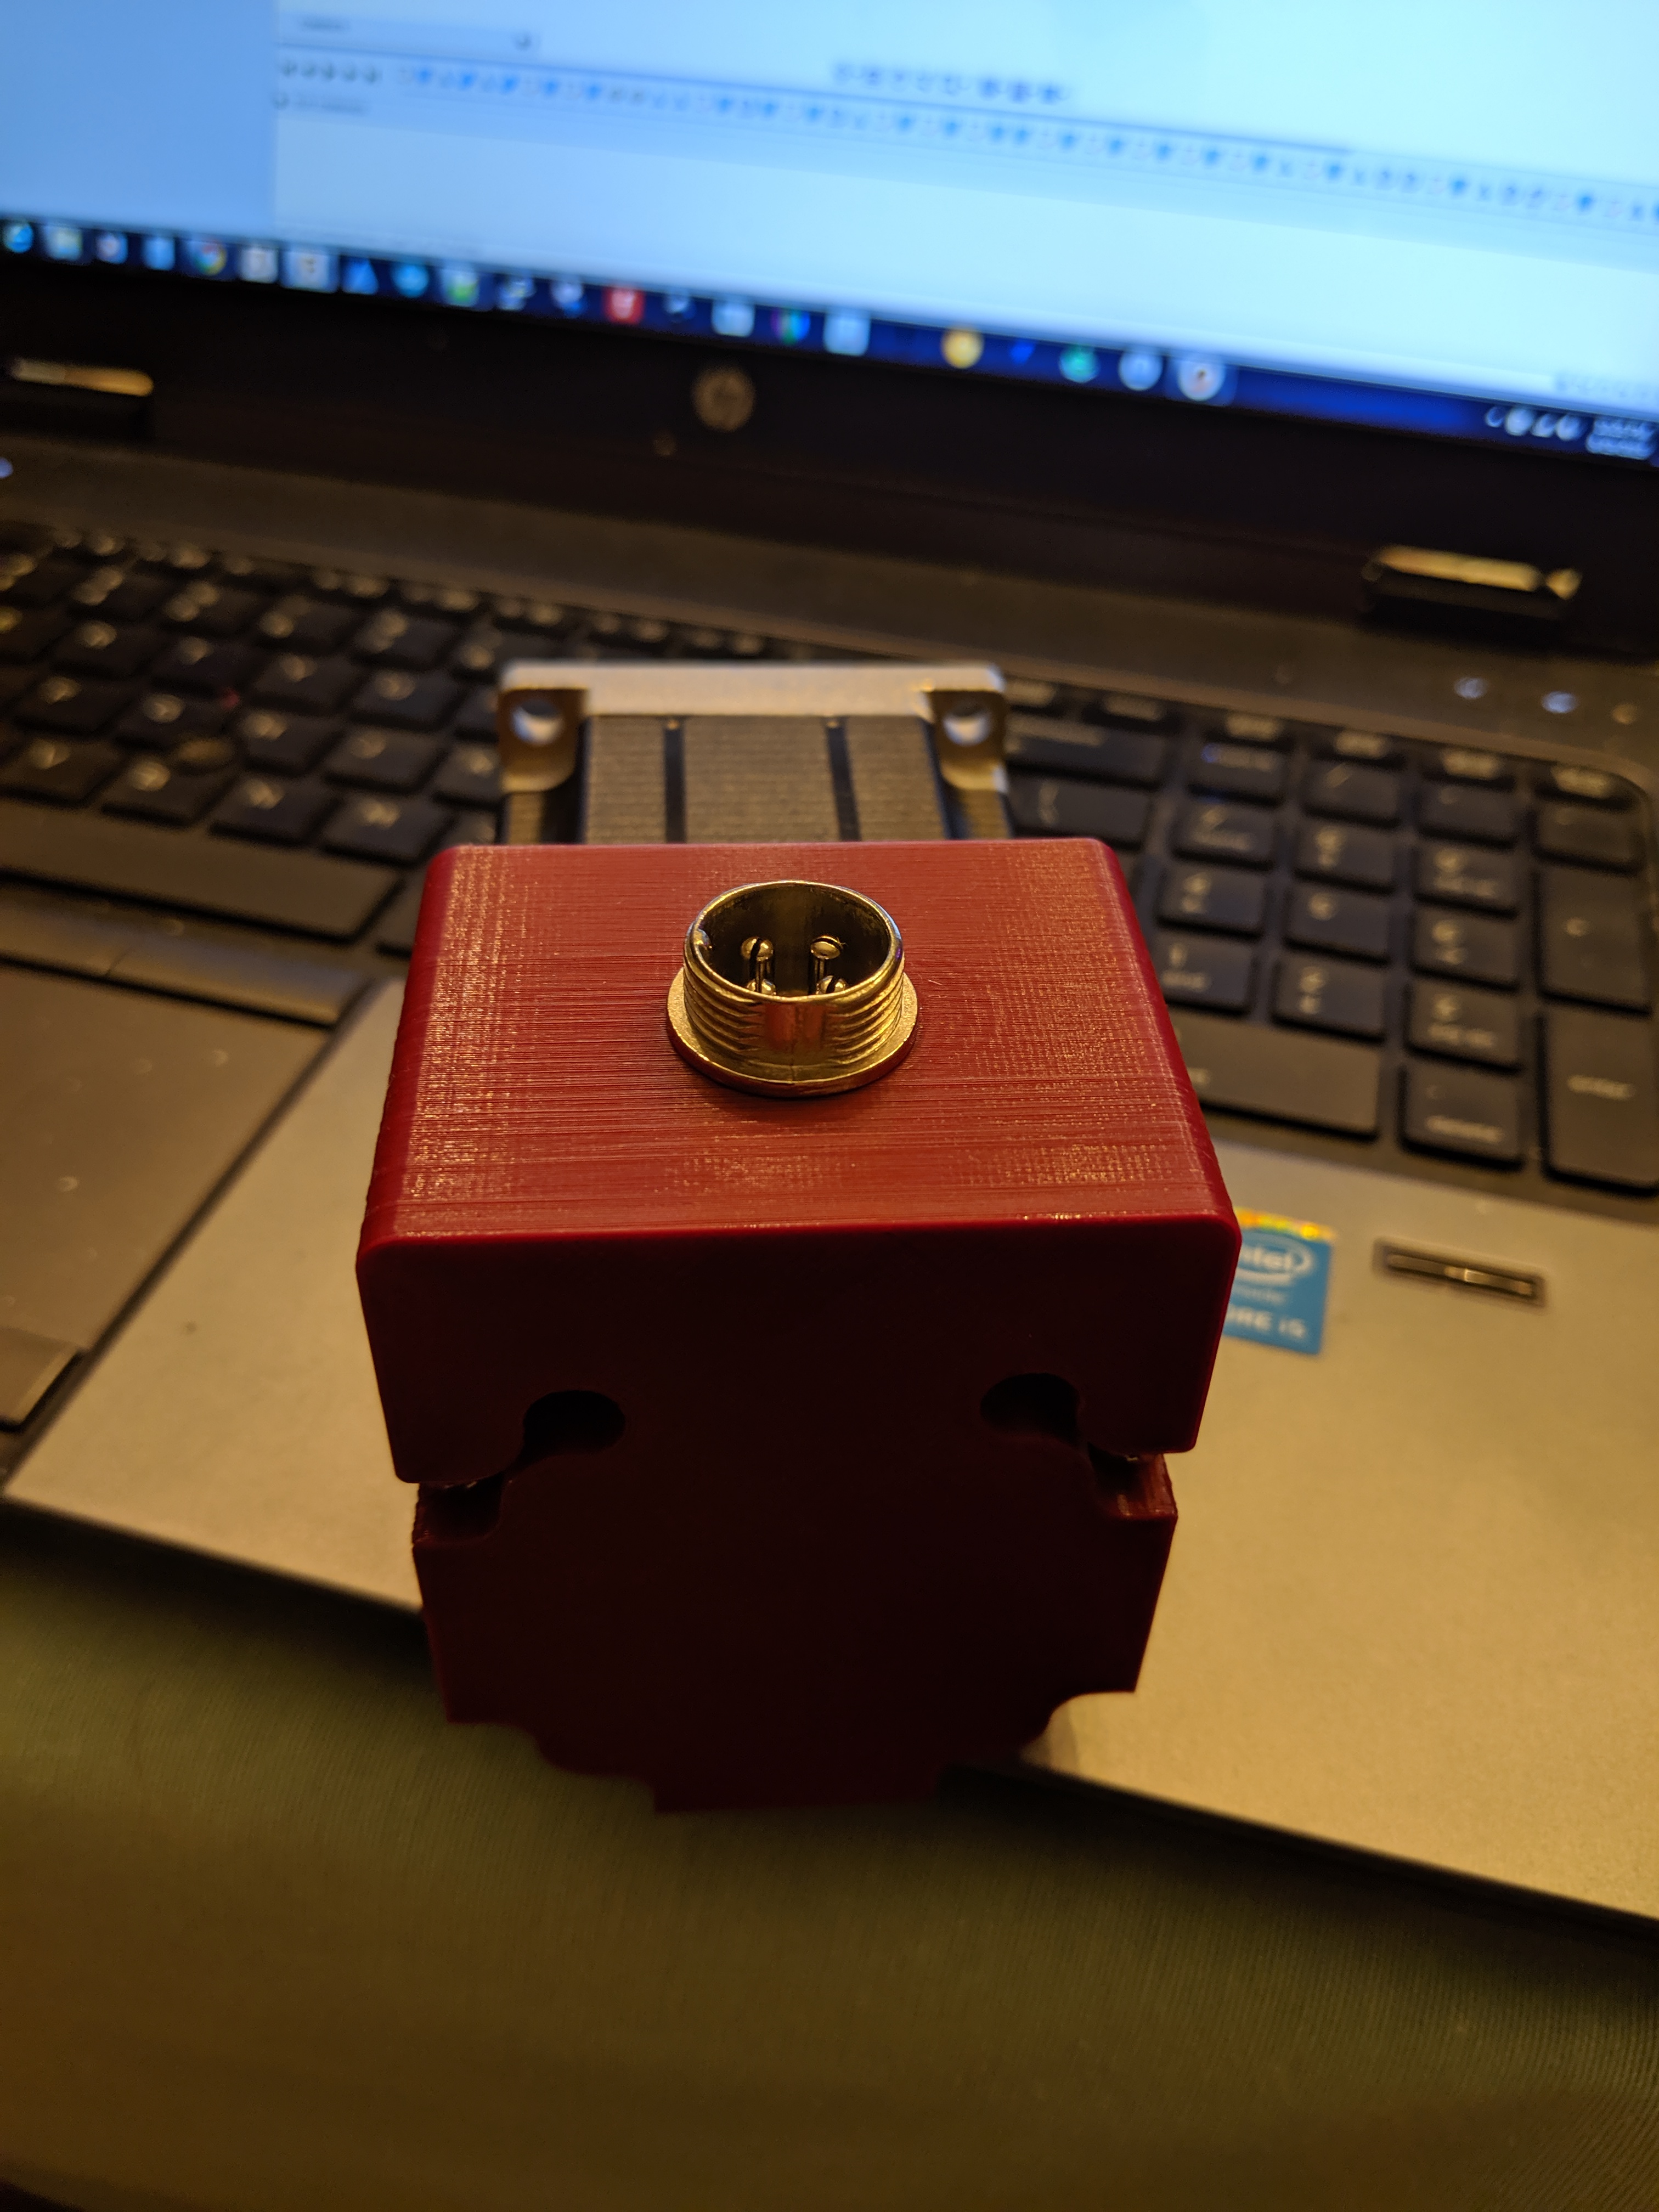
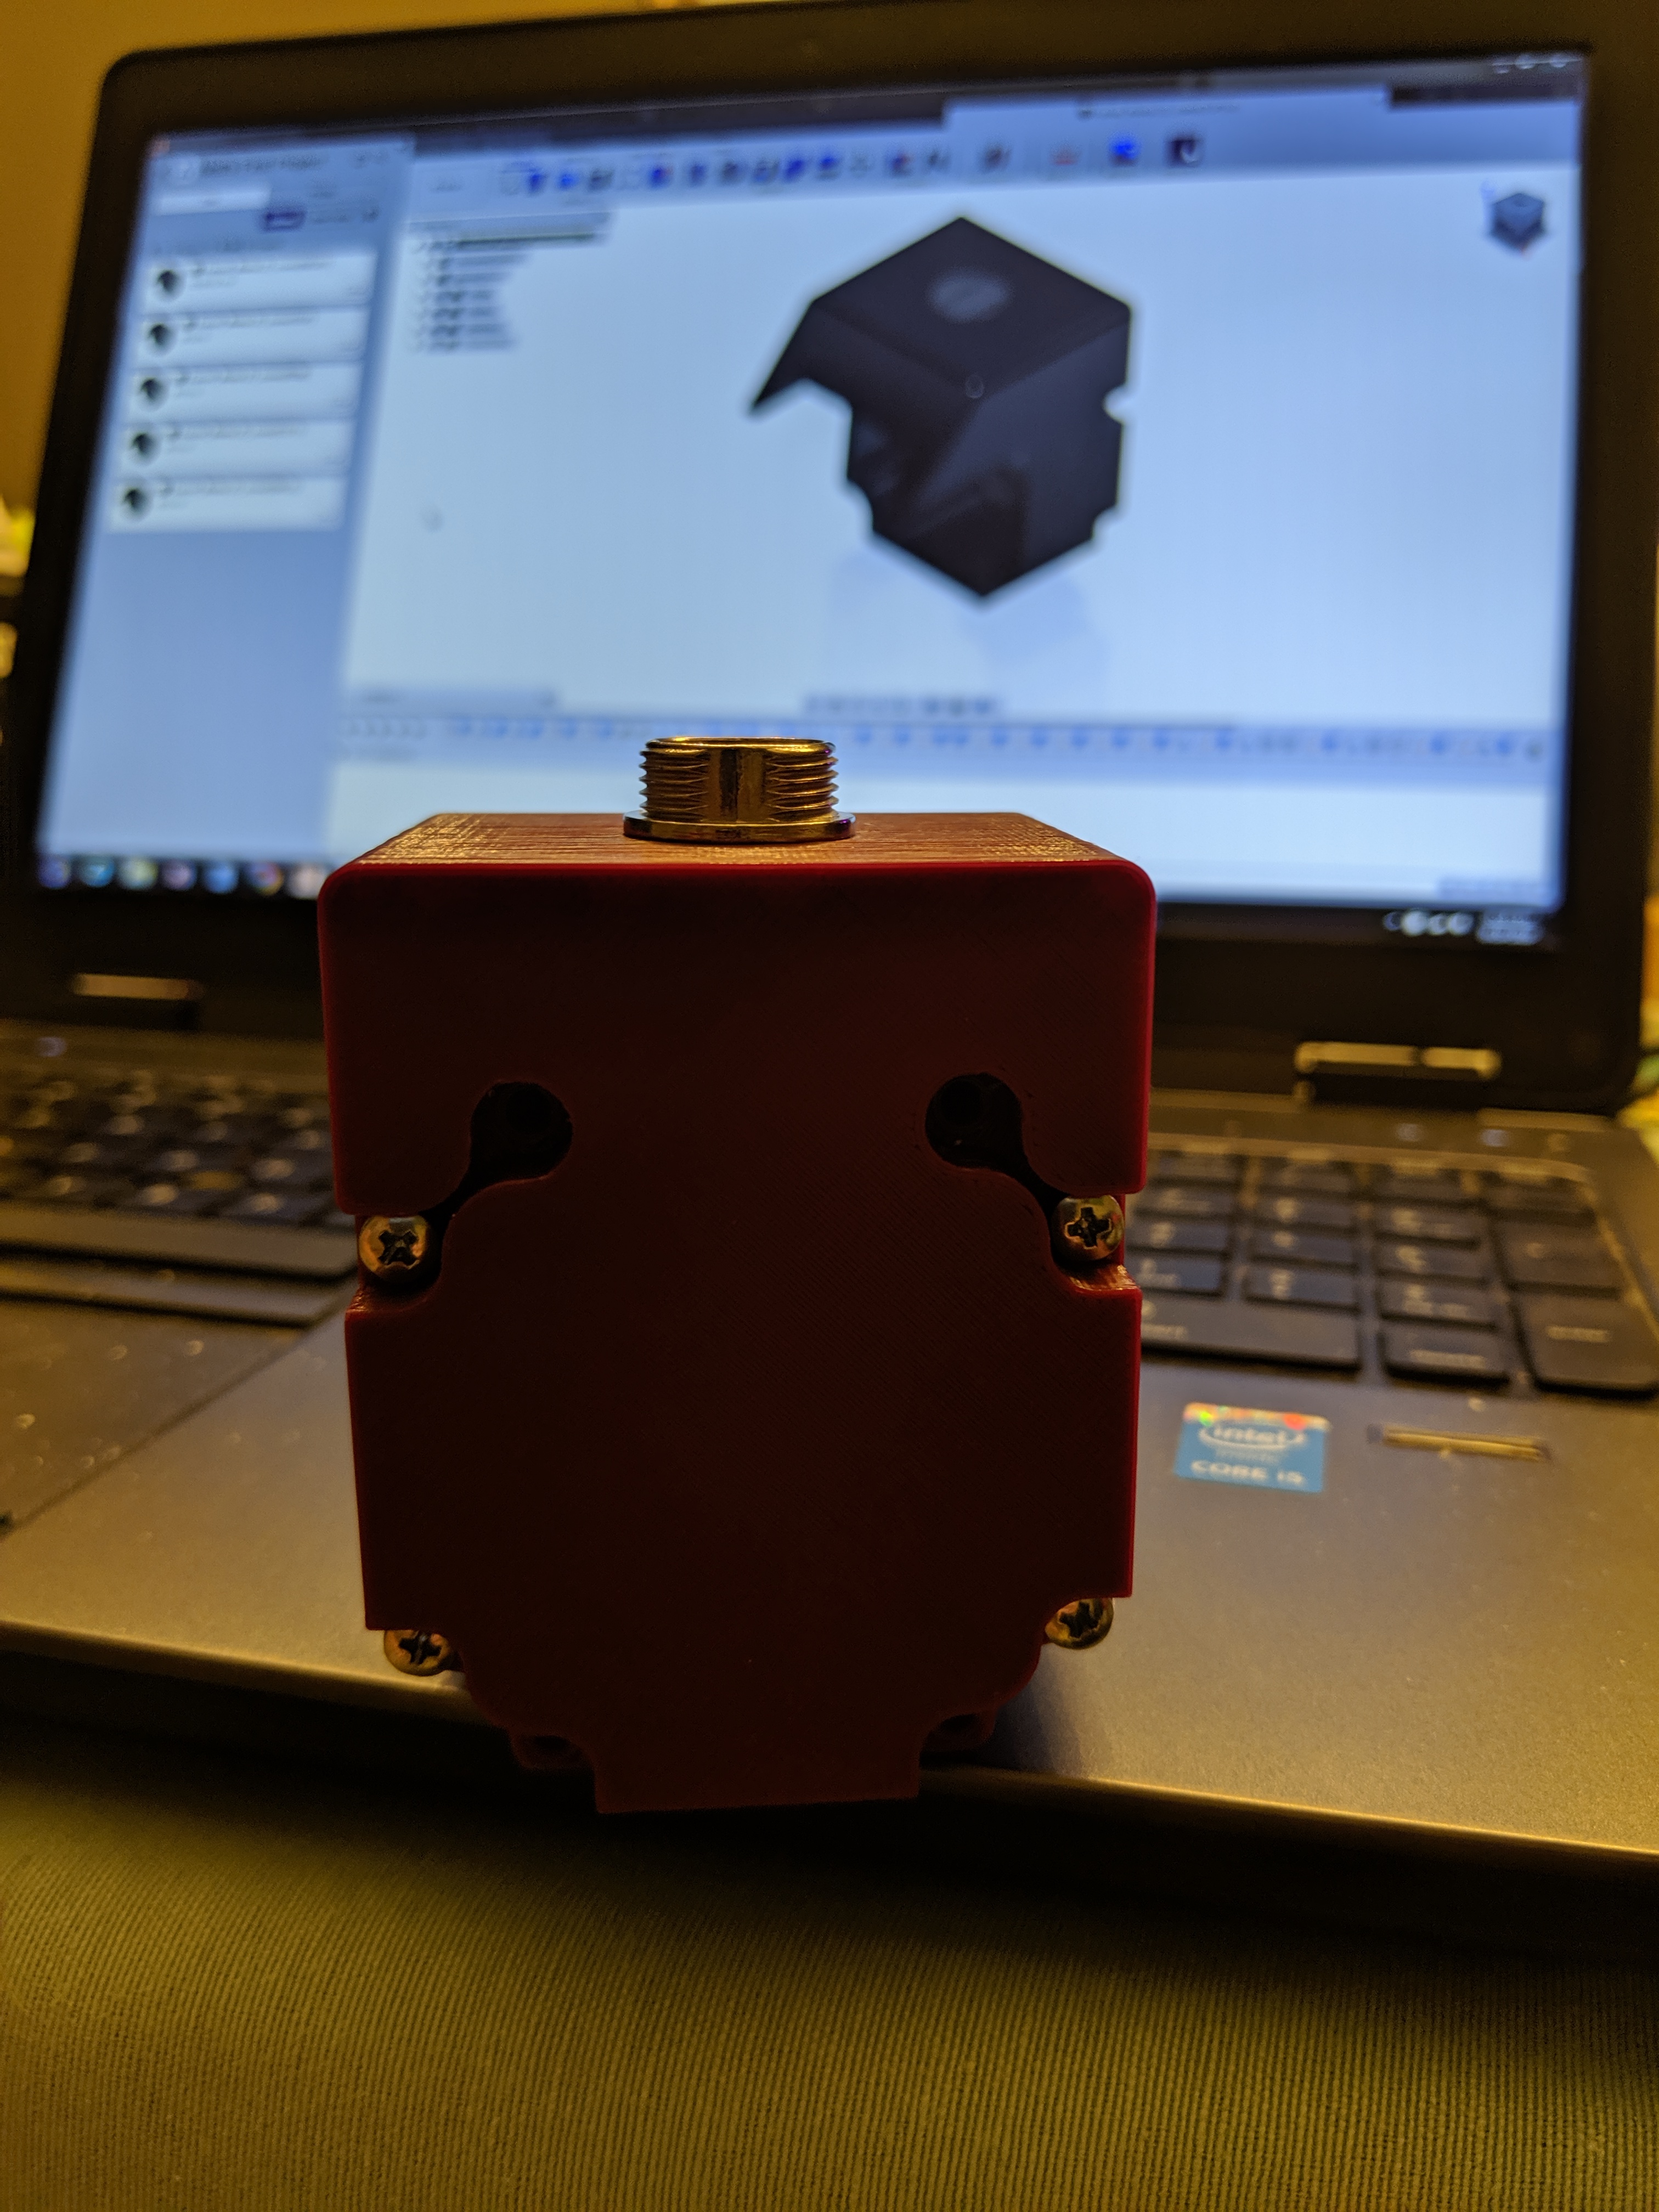
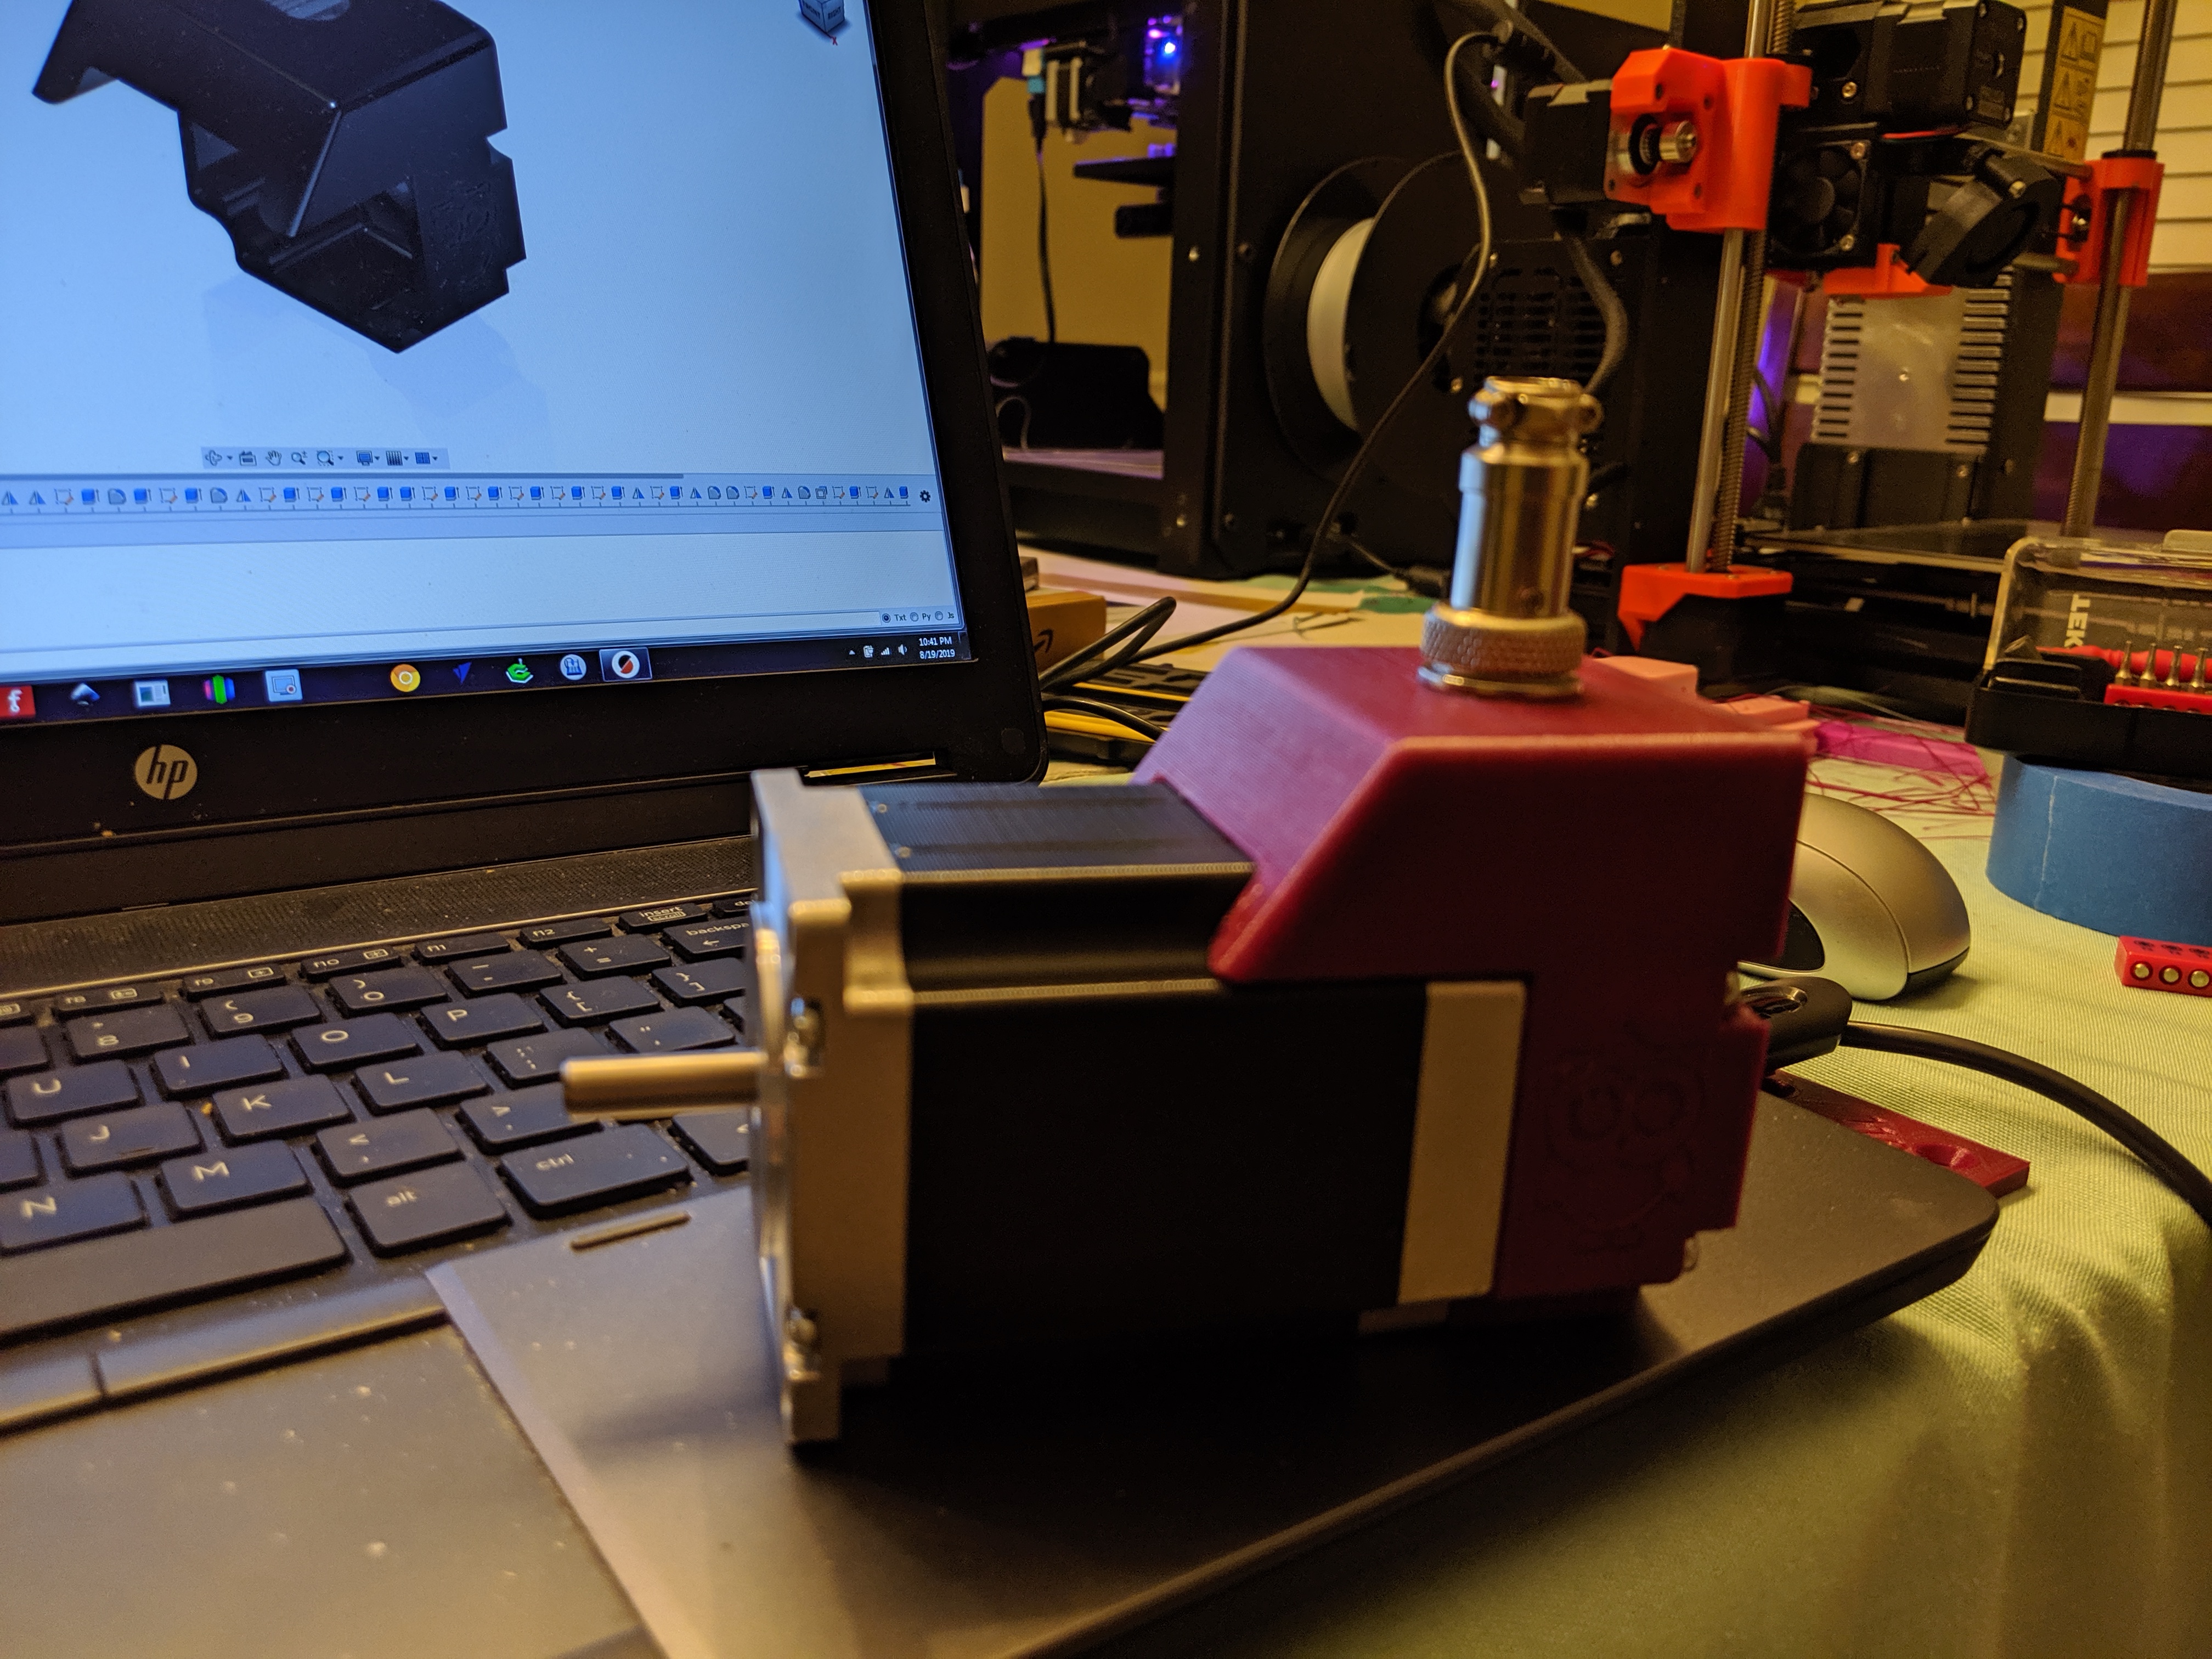
If you’re really wanting a classic “aviation style” circular connector, you’re thinking Hirose. I don’t recommend this path. Plastic ones are ok, the metal ones are massive overkill.
This is the plastic version that’s only “pretty expensive”: https://www.digikey.com/catalog/en/partgroup/hr30-series/2193?mpart=HR30-6R-6PD(71)&vendor=26
As opposed to “heart attack inducing” with metal shells
https://www.digikey.com/catalog/en/partgroup/hr22-series/2191?mpart=HR22-12WTPA-20S(73)&vendor=26

Crimpers. Not as nice as the manufacturer built $400 crimpers, but work well with a little care. Between these three, you can crimp pretty much any small size crimp pin or socket. These used to be about $25 each, but work so well I guess they raised the price ($40-$50 ea). You will regret every penny spent on crappy crimpers, just don’t do it:


4 Likes

This topic was automatically closed 30 days after the last reply. New replies are no longer allowed.