I had been using a Metro-brand rack to support my S3. The top, at 24", wasn’t quite deep enough so I made a frame from some Doug fir 2x3 to go between the Metro and the S3.
It worked okay but the Metro isn’t super-solid so the entire thing wobbled while the S3 rocked. The Metro also isn’t super straight/flat (the Doug fir frame mostly took care of that, though).
I had thought I’d build a new stand from 2x4’s I have, but I didn’t have enough and didn’t want to wait for new ones to dry more. I also thought, “hey, what if you want to use coolants some day, I don’t want that soaking into wood.”
So I bought a 24x36 steel shop stand from Rockler. These are pretty nice and overpriced for what they are. They are quite solid, though, so fine, whatever.
Then I got to thinking that if I skip making a top and just move my Doug Fir frame over, I’ll have better access to the underbelly of the S3.
And that meant my spoil board wouldn’t need threaded inserts because I could just reach under and toss a wing-nut on 1/4-20 bolts I used to secure my fixtures.
And that opened the possibility to using double-sided t-track. Now things are getting interesting! Now I can use my normal fixture boards that I use with binder clips (for holding thin stock), and I can also use t-track that will allow me to pinch (at the edges) sheet goods.
My plan is to eventually replace the Doug Fir frame with welded steel, and the spoil board w/ plastic (I will find some that is acceptably flat), and then I’ll be able to put a large tray underneath the table to catch any dripping liquids. Then I’ll be able to rut materials that need coolants (maybe).
Here are some pics…
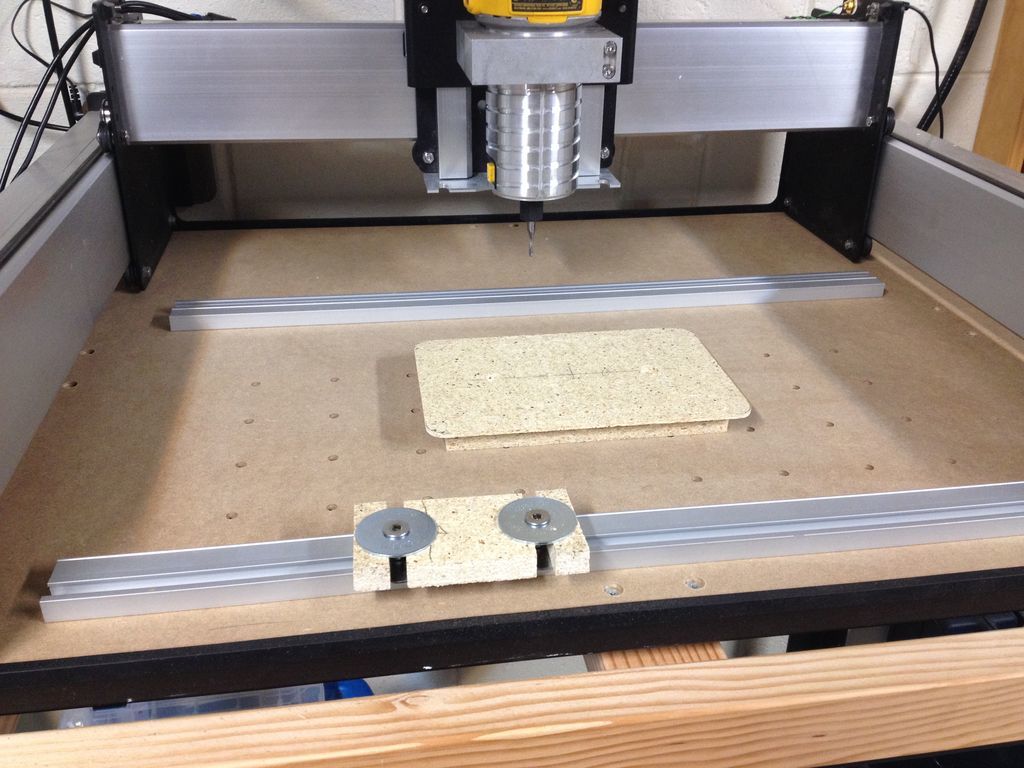
Here you can see the double-sided t-track. I wanted it to be removable/repositionable and run nearly the width of the S3 so I can take full advantage of the ability of my software to tile. If I want to work on materials that are 20" wide by 100" long, I can pull my unit away from the wall and take advantage of the gantry-style machine the S3 is. My clamps are simply flat-headed screws, fender washers, and a nut. A small scrap of the material I’m using provides some symmetry for the clamps. The result is a very low-profile clamp that holds great. I didn’t have the energy to clamp a larger piece, so imagine that piece in the middle is larger and spans 2-3 t-tracks.
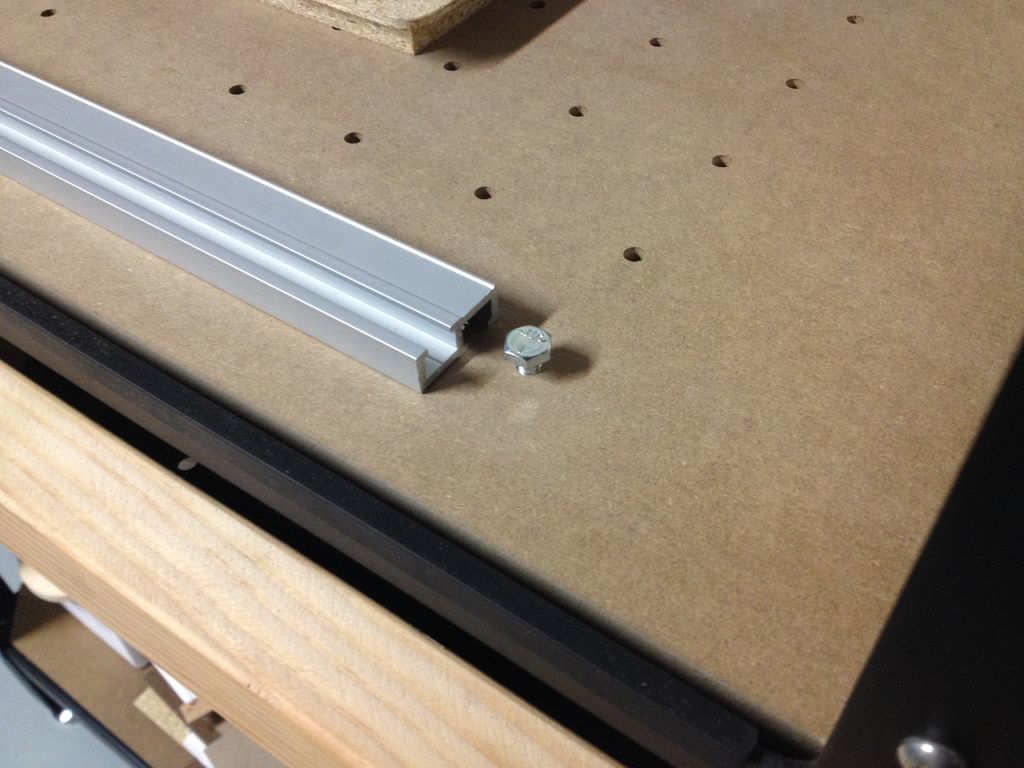
Here is a pic showing the profile of the double-sided t-track. It just slides over a 1/4" nut, couldn’t be easier.
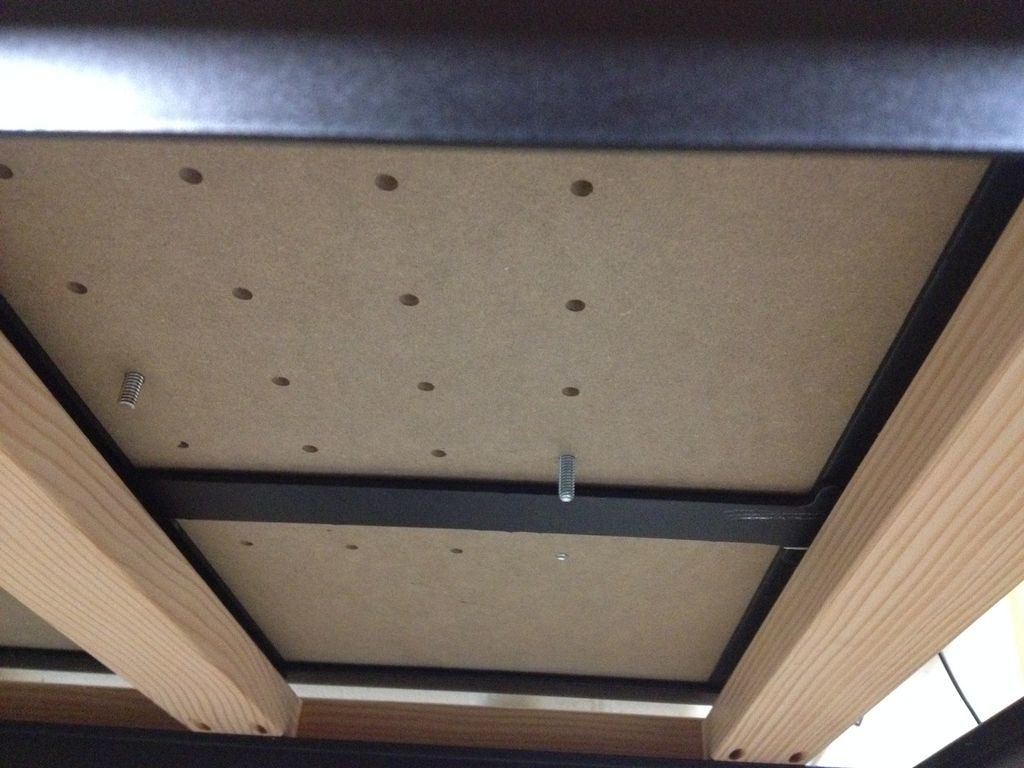
Picture from underneath the S3 showing the protruding fasteners, easy-enough to get a washer and a nut onto:
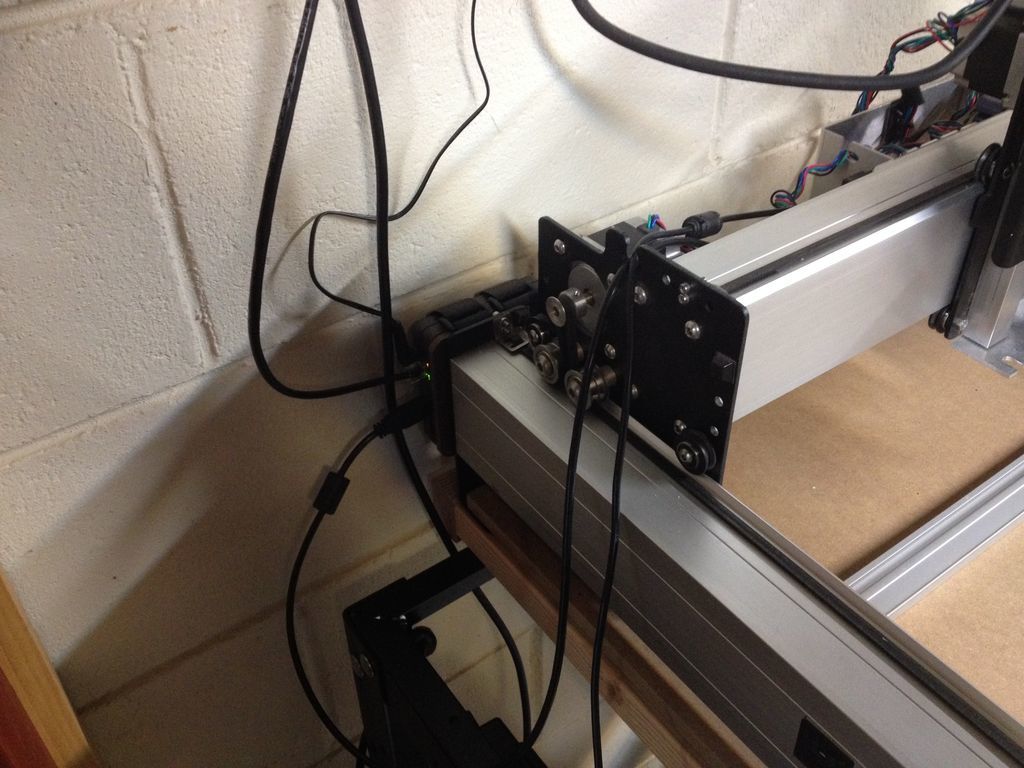
I figured I’d toss this in. A couple of months ago I posted that I was testing a USB Ethernet server with the S3, and it has worked wonderfully, I have not has a single hiccup using this thing. It allows me to avoid long USB cables or having cables running across the floor, etc. I do have to keep to wired Ethernet for things to run smoothly, my older wireless doesn’t cut it. I normally use copper, though, so that isn’t a problem. I’ve attached this unit directly to the S3, I made a piece of hardboard that attaches at the rear using the y-axis rail screws. I added a couple of plastic spacers and I wrapped Velcro straps around the board and around the USB server box. In this location, a 2’ USB cable is all that I require.
There you have it, what I’ve been working on during my spare time.