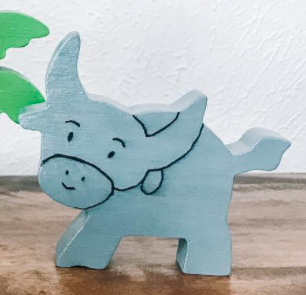
Hi guys! I’m super new to CNC and still learning the ropes… I’ve successfully cut some basic animal shapes and now hoping to add some basic lines so I can use them as a guide for painting. Check out my photos below… so what I’m hoping to accomplish is to carve/draw the lines on the cow’s face so I’m not having to carefully paint those lines.
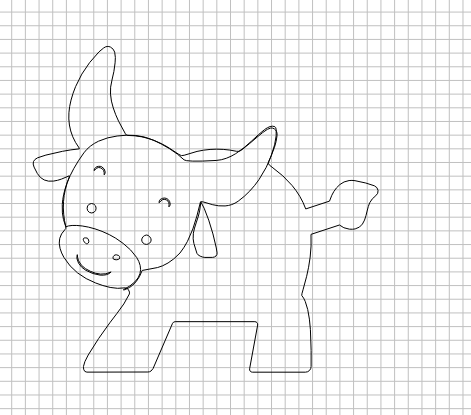
In the second photo, I added those details but I don’t even know what bits to use and what to choose in Carbide Create. Any basic tip to get me started and try it out? Thanks so much!
A 90 degree V endmill would be fine, a more acute one would do better with details, but would cut a bit deeper.
Usually for normal V carving one sets the depth limit to match the stock thickness and ensure that the widest feature to be carved is narrower than the endmill is wide…
This may not be best practice, I’ve only just started with this stuff, but it’s possible to do a contour cut with a V-carve bit, which means you can use just use lines and set the width by setting how deep the cut it. I did this just as a test to see how flat my wasteboard was, and didn’t see any issues with it. I did have some oddities in my cut depth, but I think that was my fault and not the machine/cutting styles fault.
Toolpath 1-First I would use a #112 0.063 flat end mill or a 122# 0.031 flat end mill with a very shallow cut to trace the whole design. Use a shallow depth of cut, maybe 0.05. That will give you all your cut lines for painting.
Toolpath 2-Then do the second toolpath that you are currently using to cut out the design and release it.