Carbide 3D Community Site
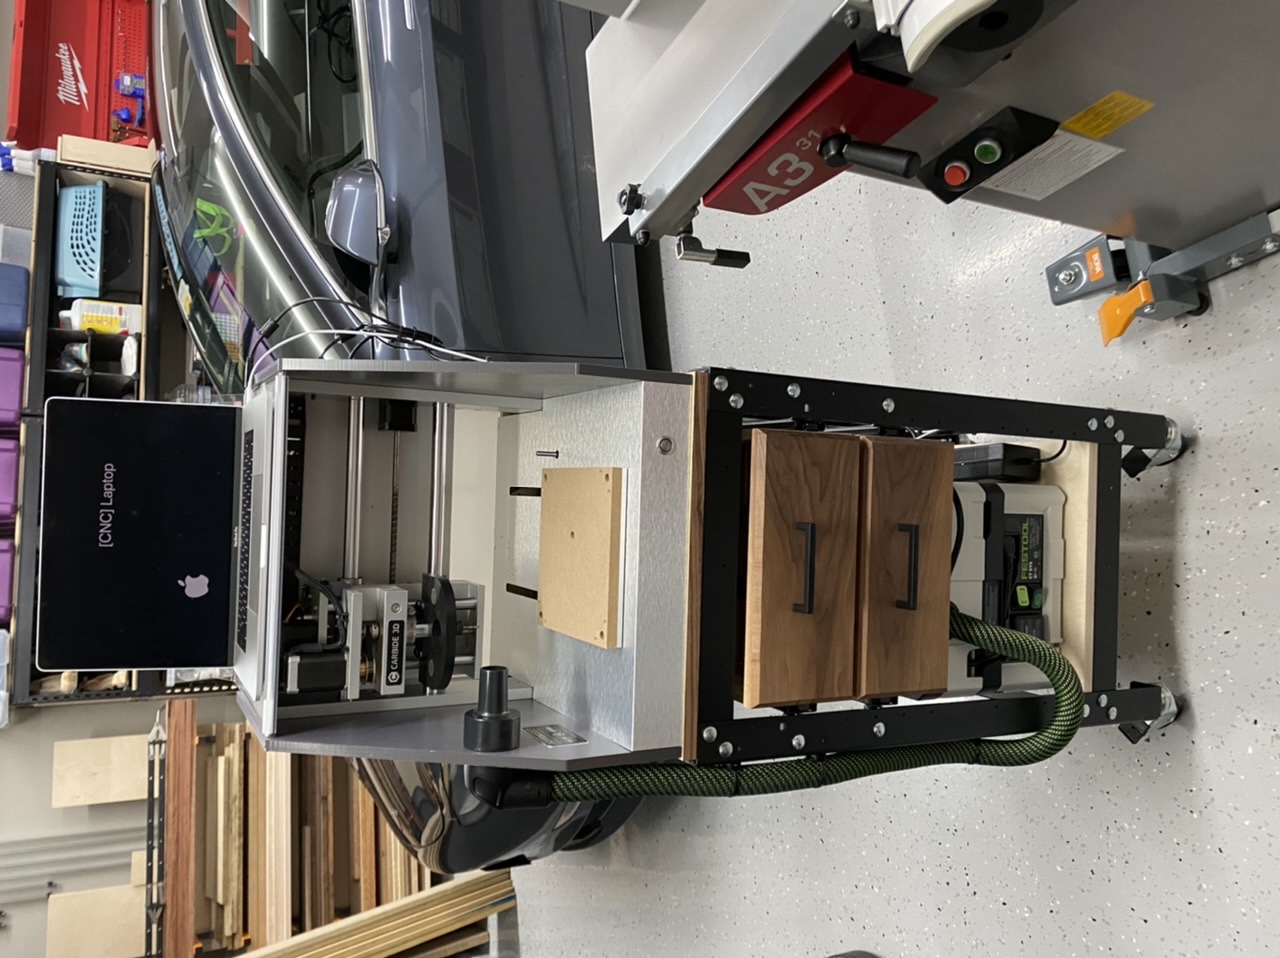
Nomad and SO3: Custom Enclosures (the enclosure zoo)
How To
mcb
(Matt Byington)
December 30, 2019, 4:04am
84
image
1280×958 297 KB
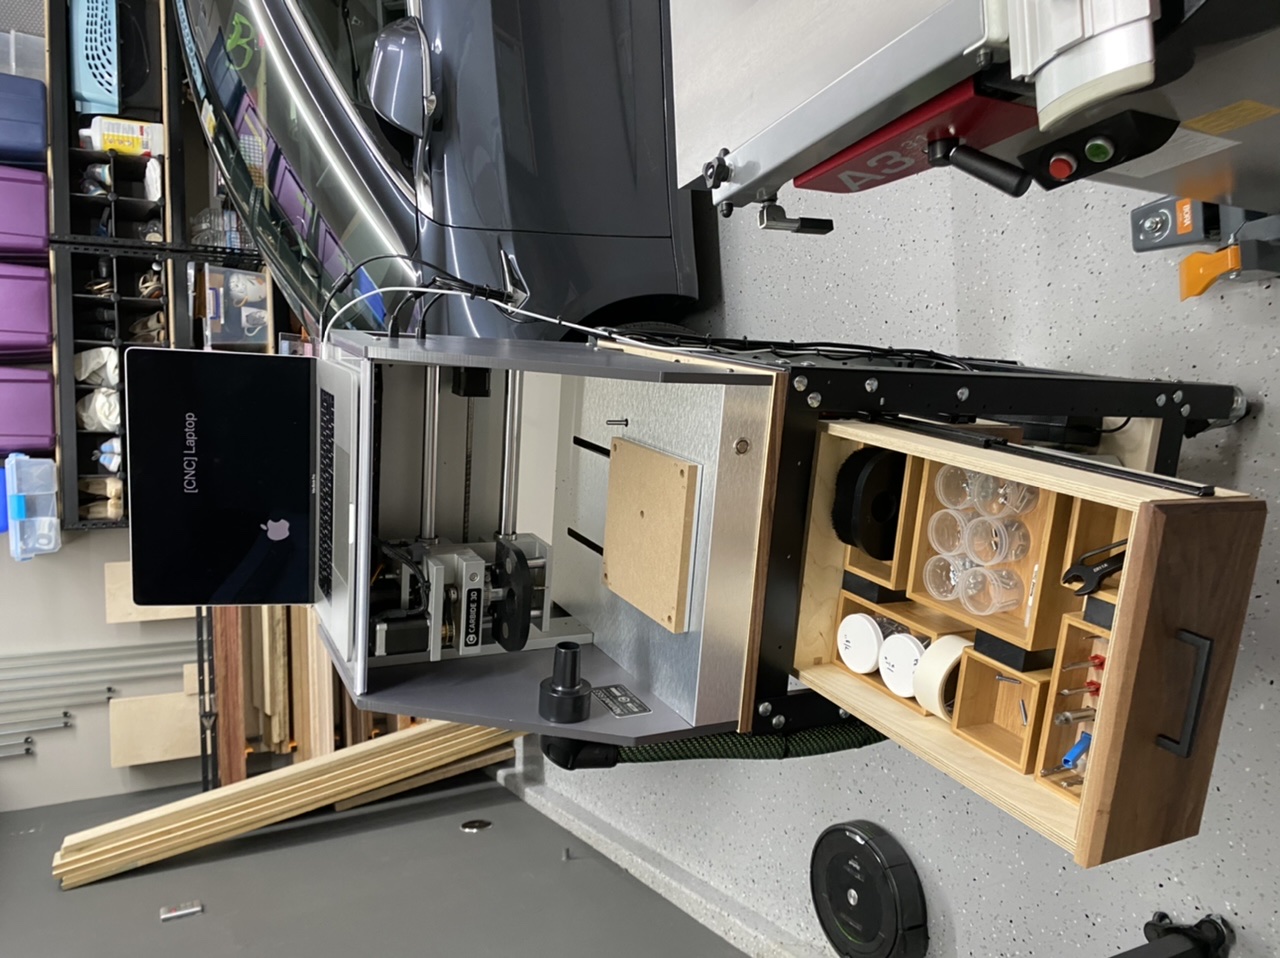
image
1280×958 332 KB
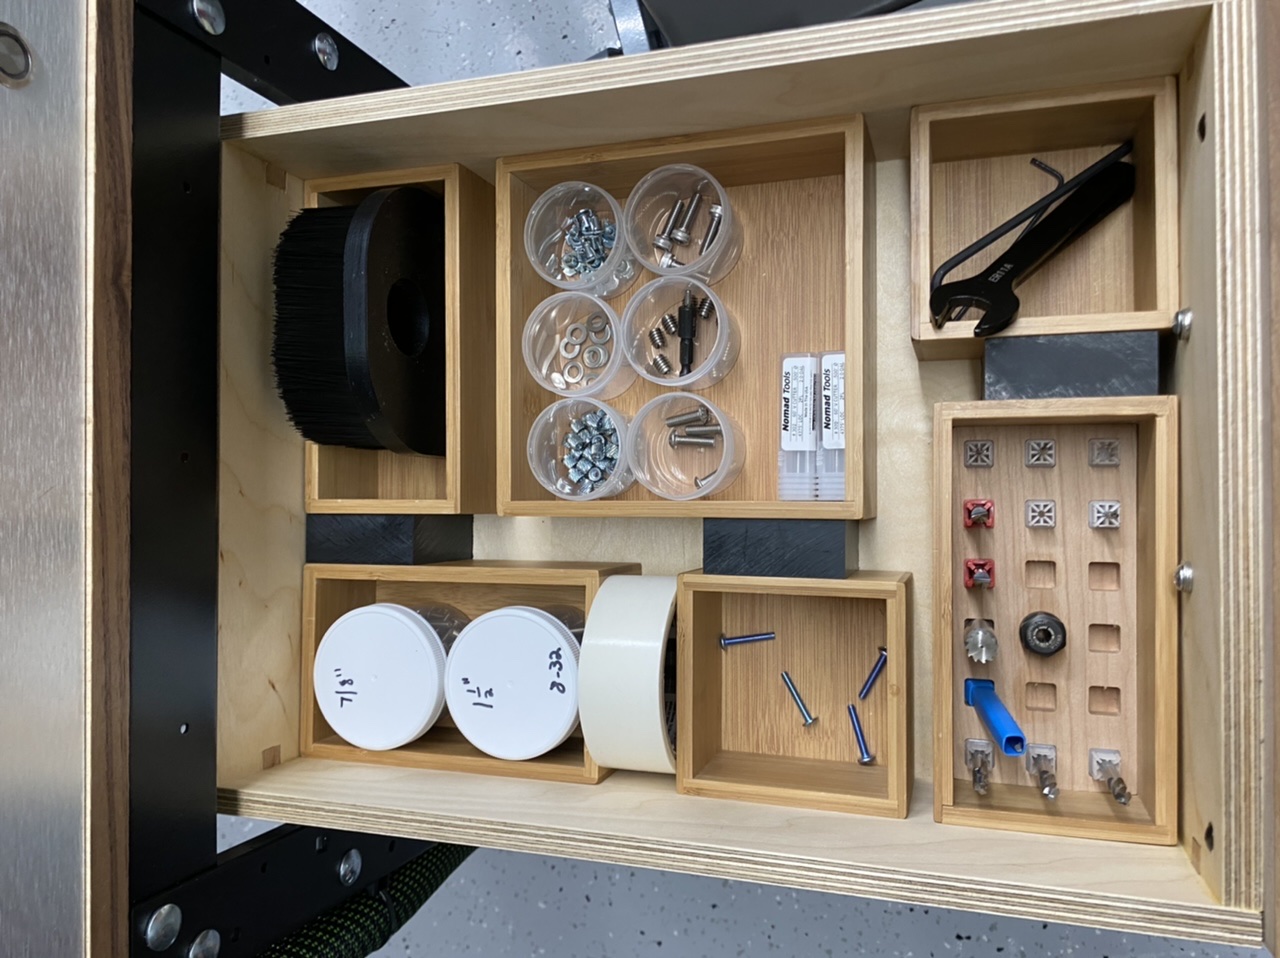
image
1280×958 311 KB
10 Likes
[A selection of forum threads]
show post in topic