I had a friend ask me to mill him a replacement handle for his old rowboat and I said yes before running the machining time simulation. As a result, I can say that the Nomad is capable of machining large aluminum stock, but it’s going to take a while.
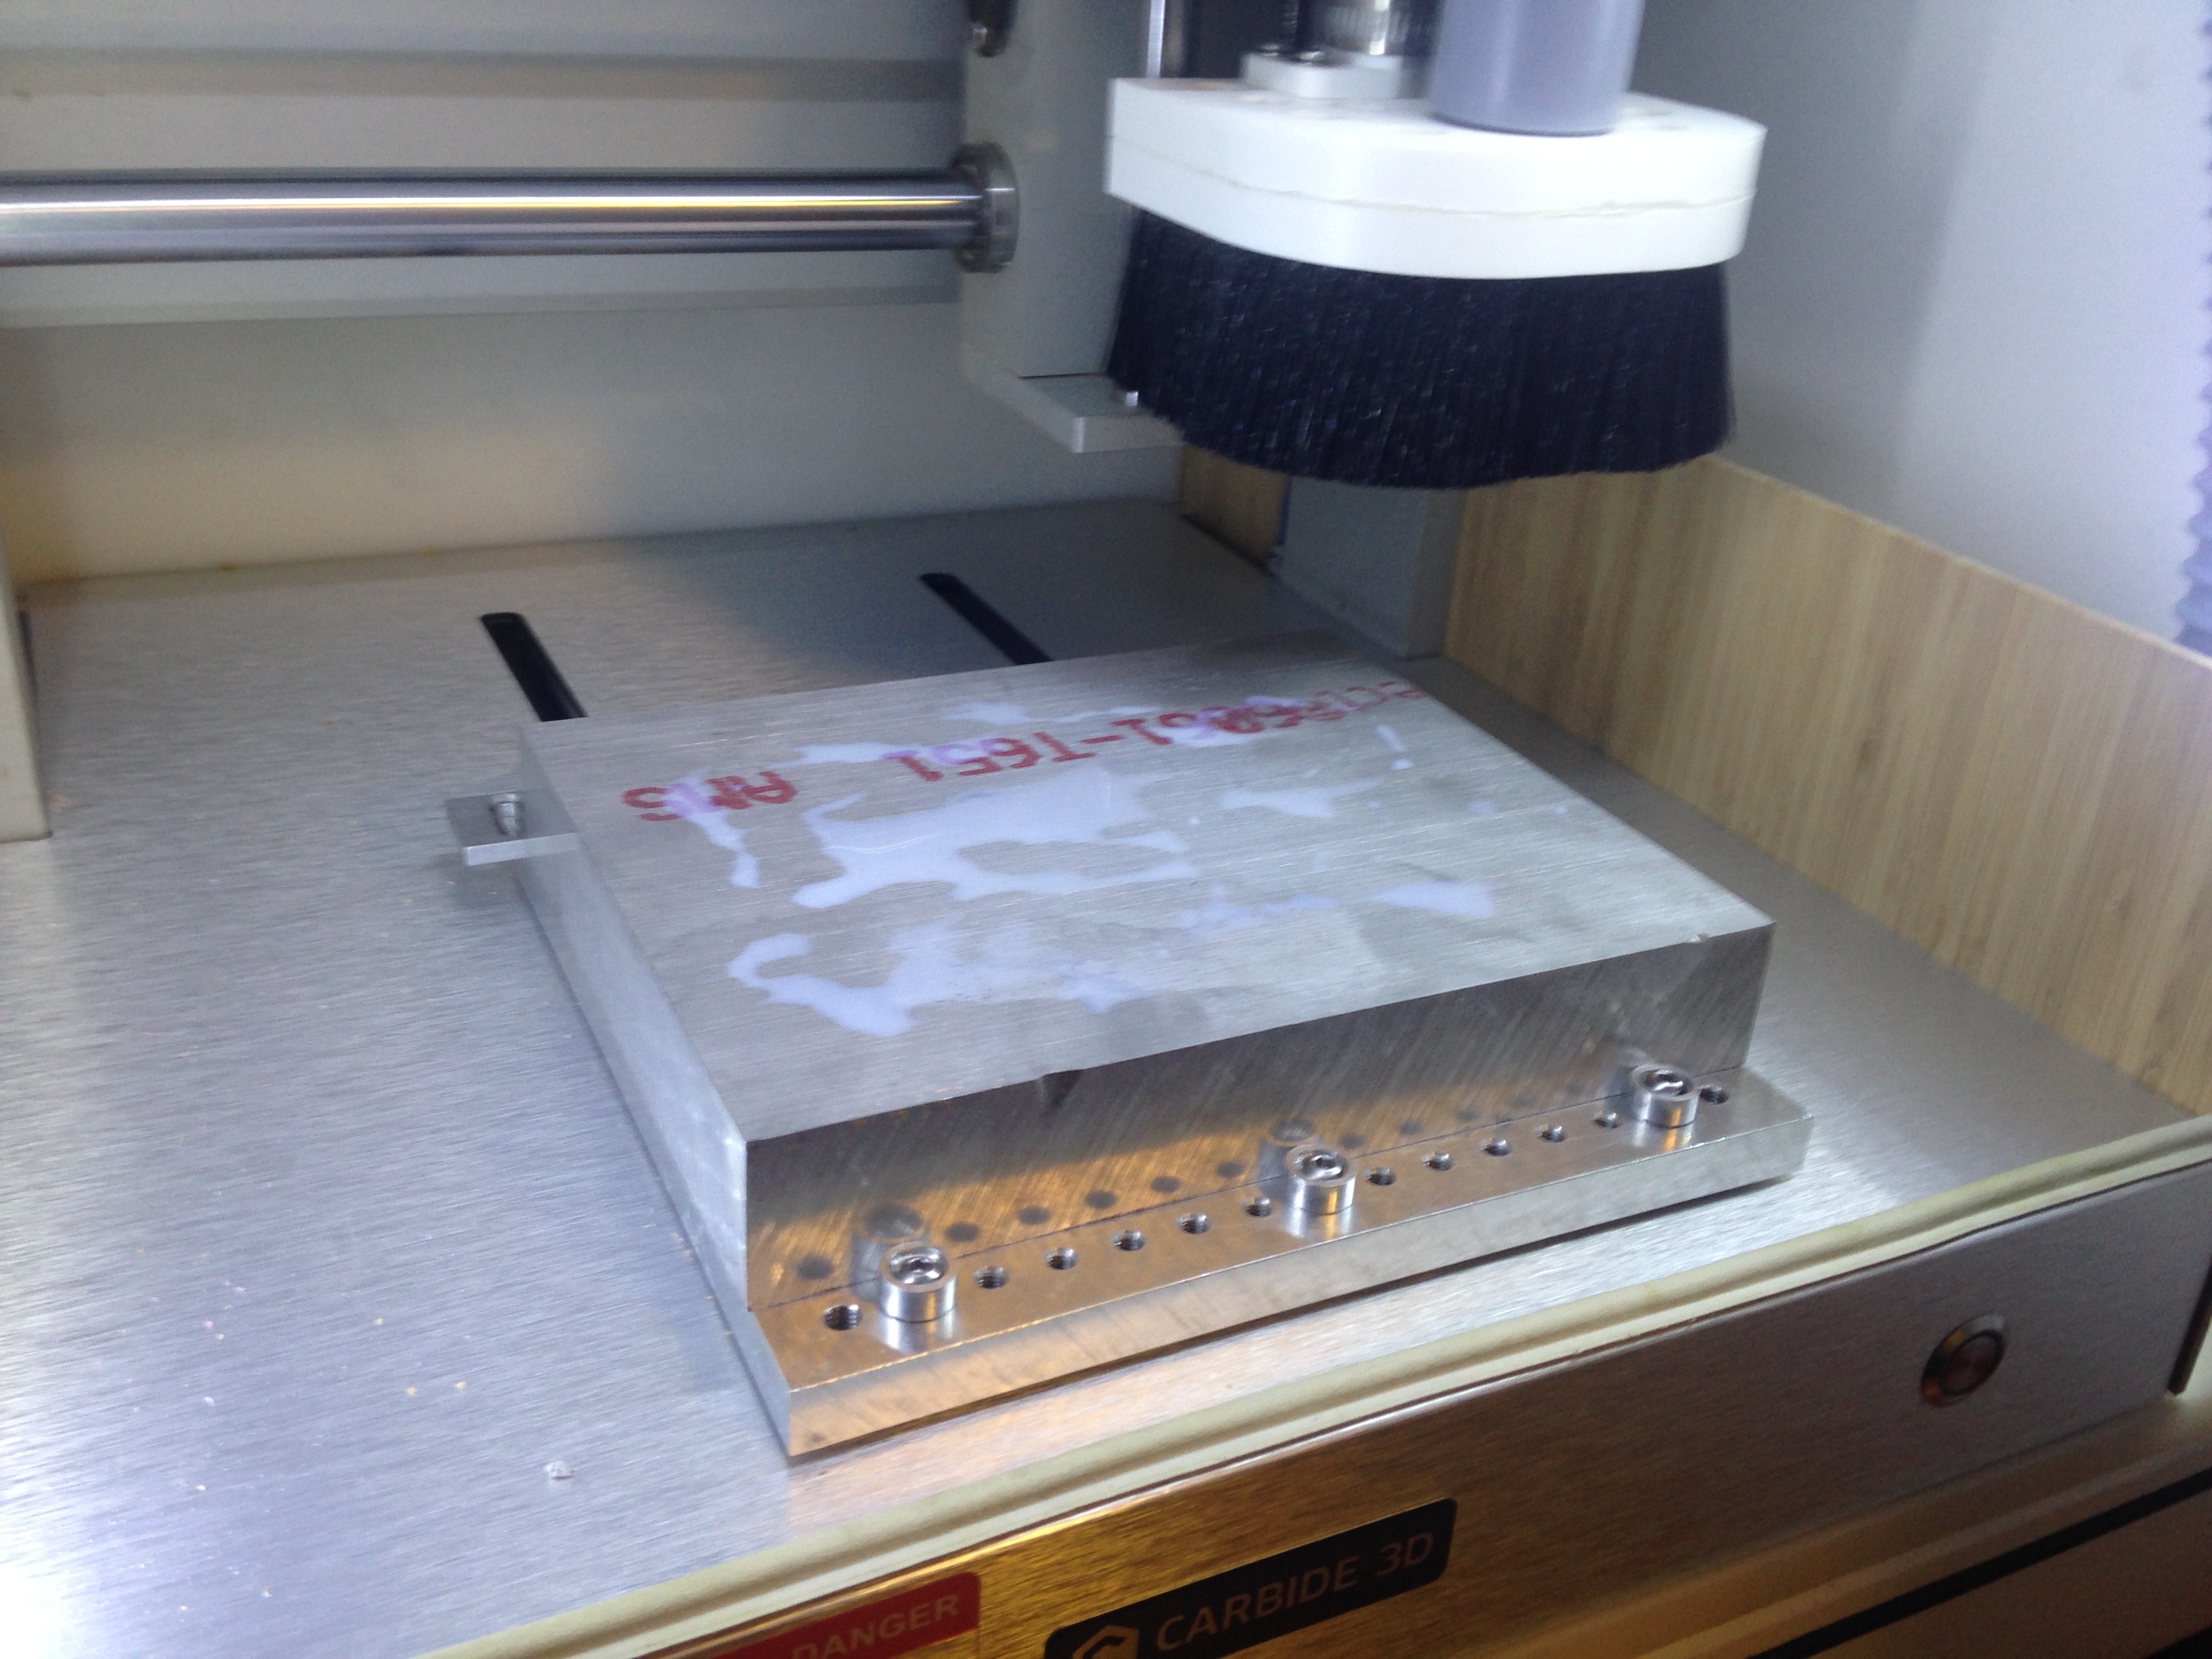
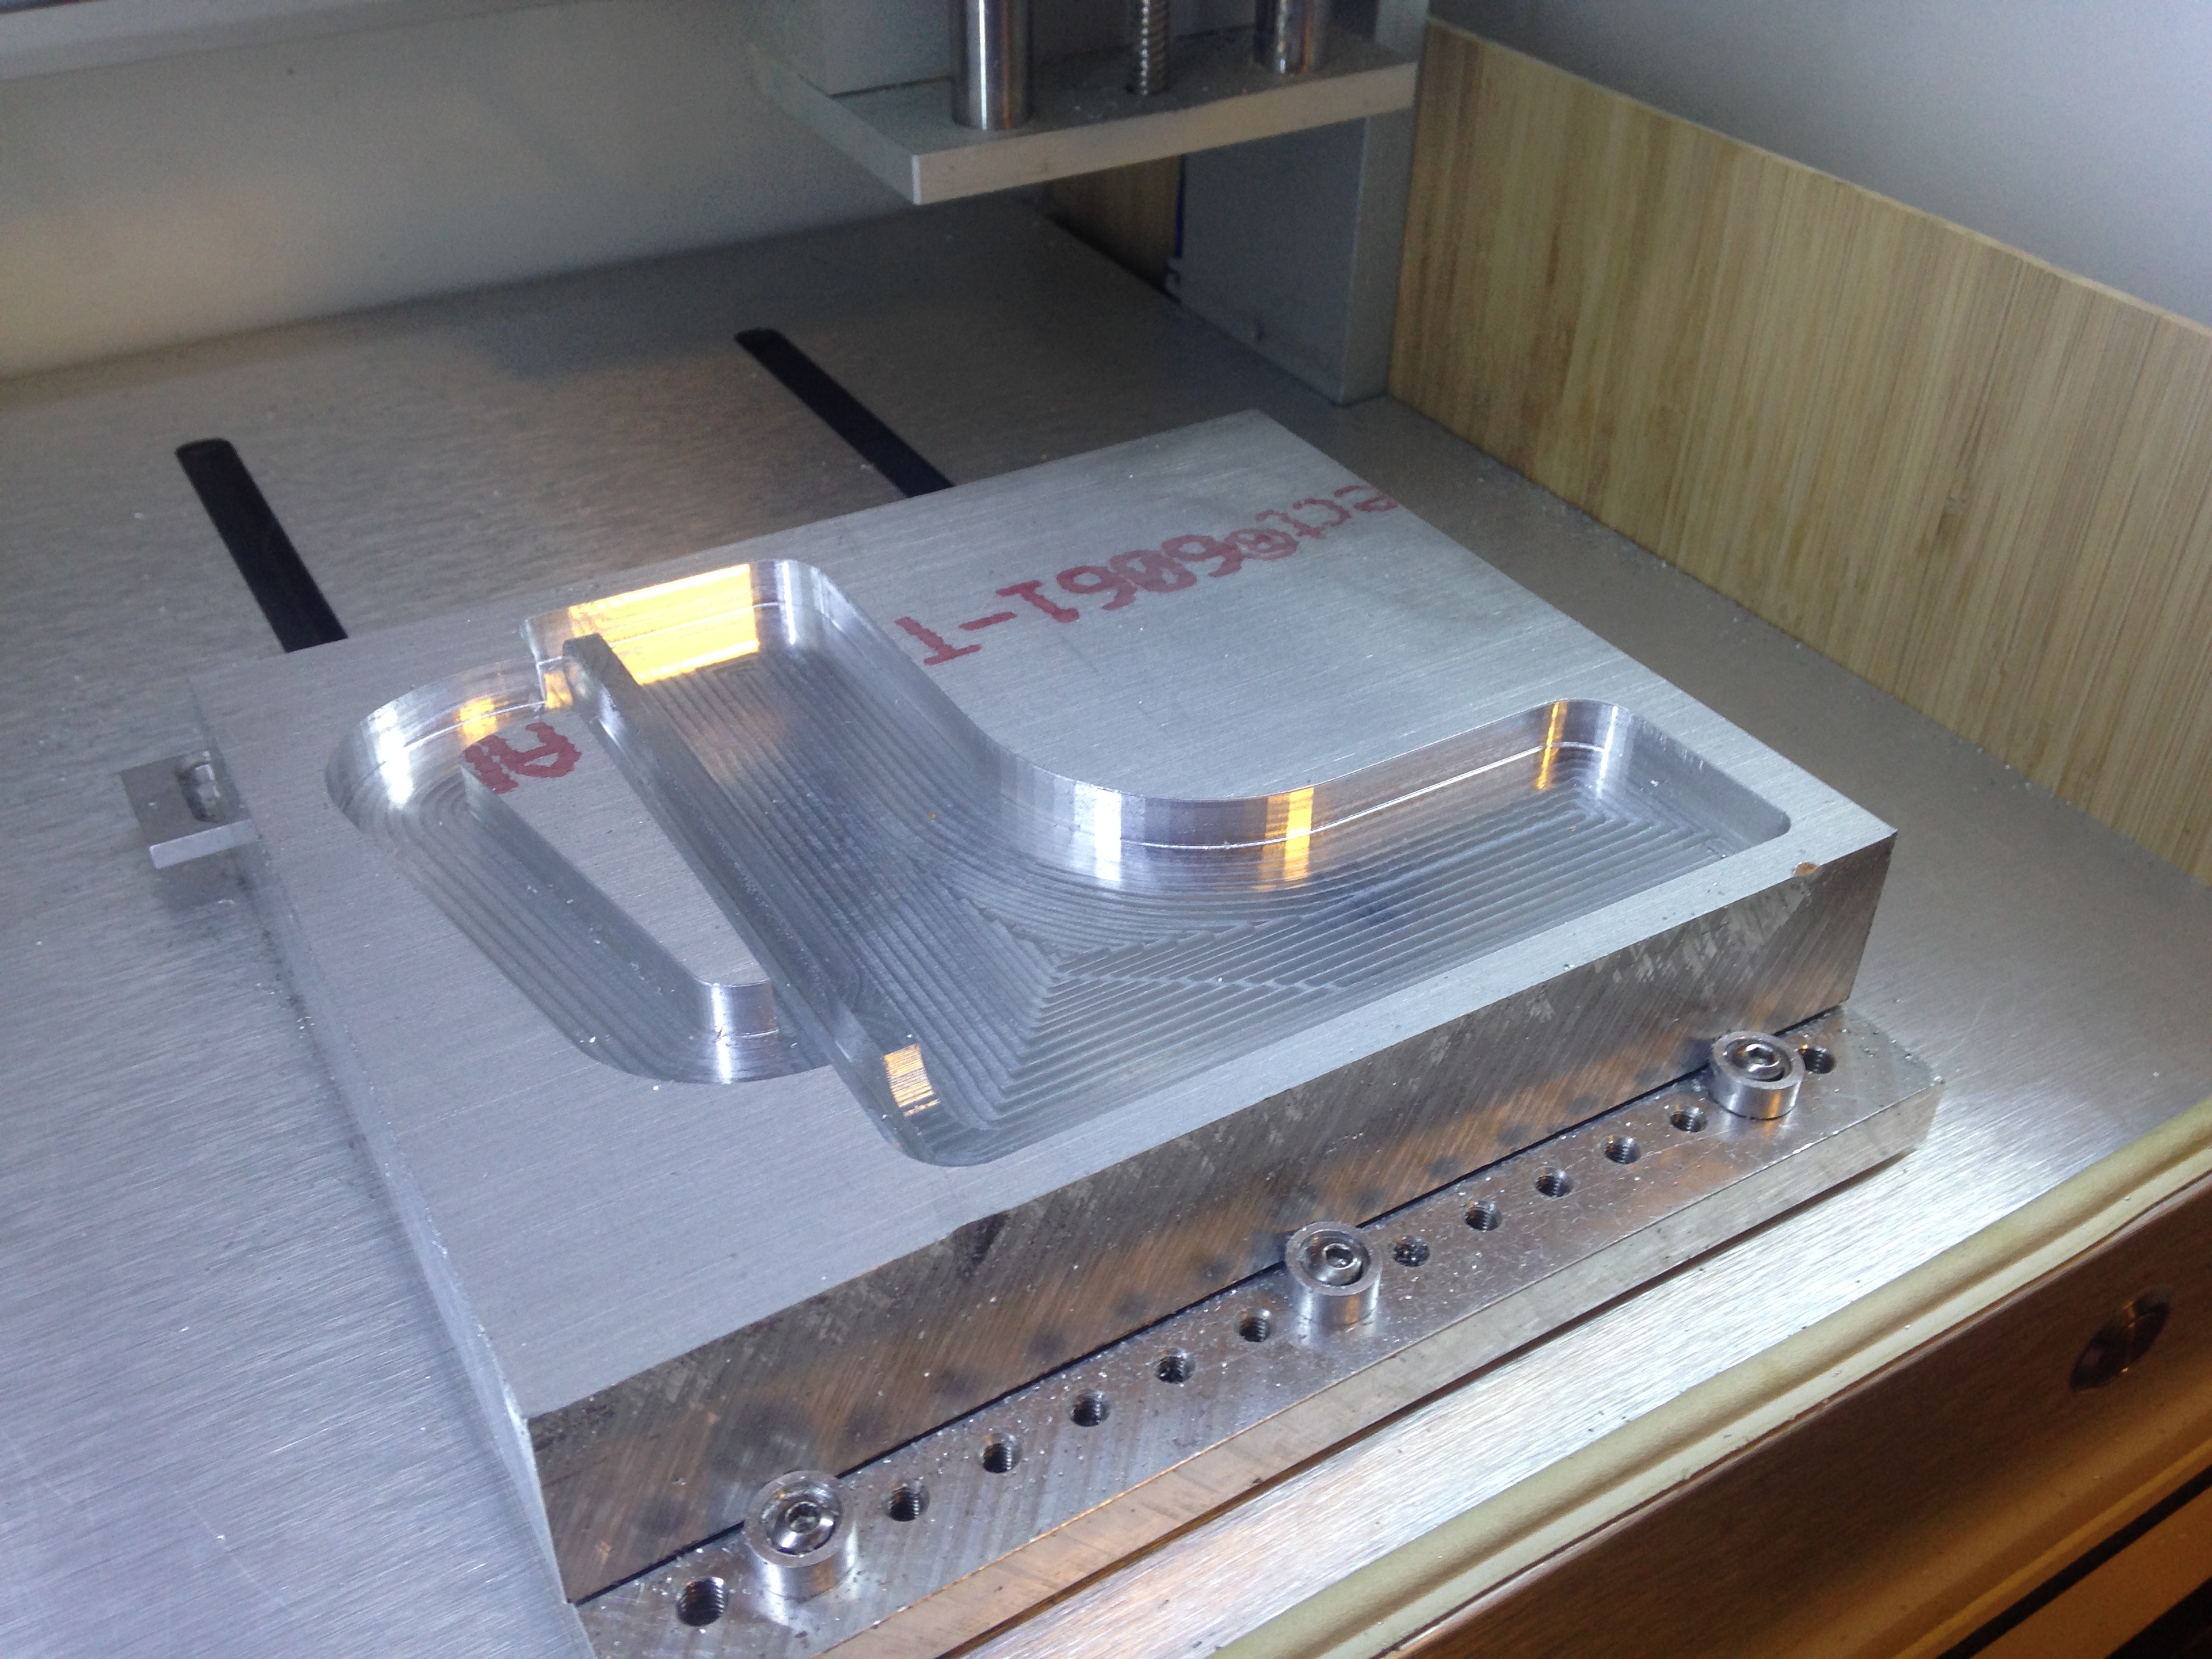
I started with a 8"x6.5"x1.25" thick piece of 6061-T6 aluminum and used an 1/8" 2-flute ZrN coated end mill from lakeshore carbide for the majority of the roughing. I also had to order a long reach end mill to get through the full depth since the part was so tall. I used a combination of conventional milling and adaptive clearing to reduce the machining time but, even with this, it was about 40 hours total.
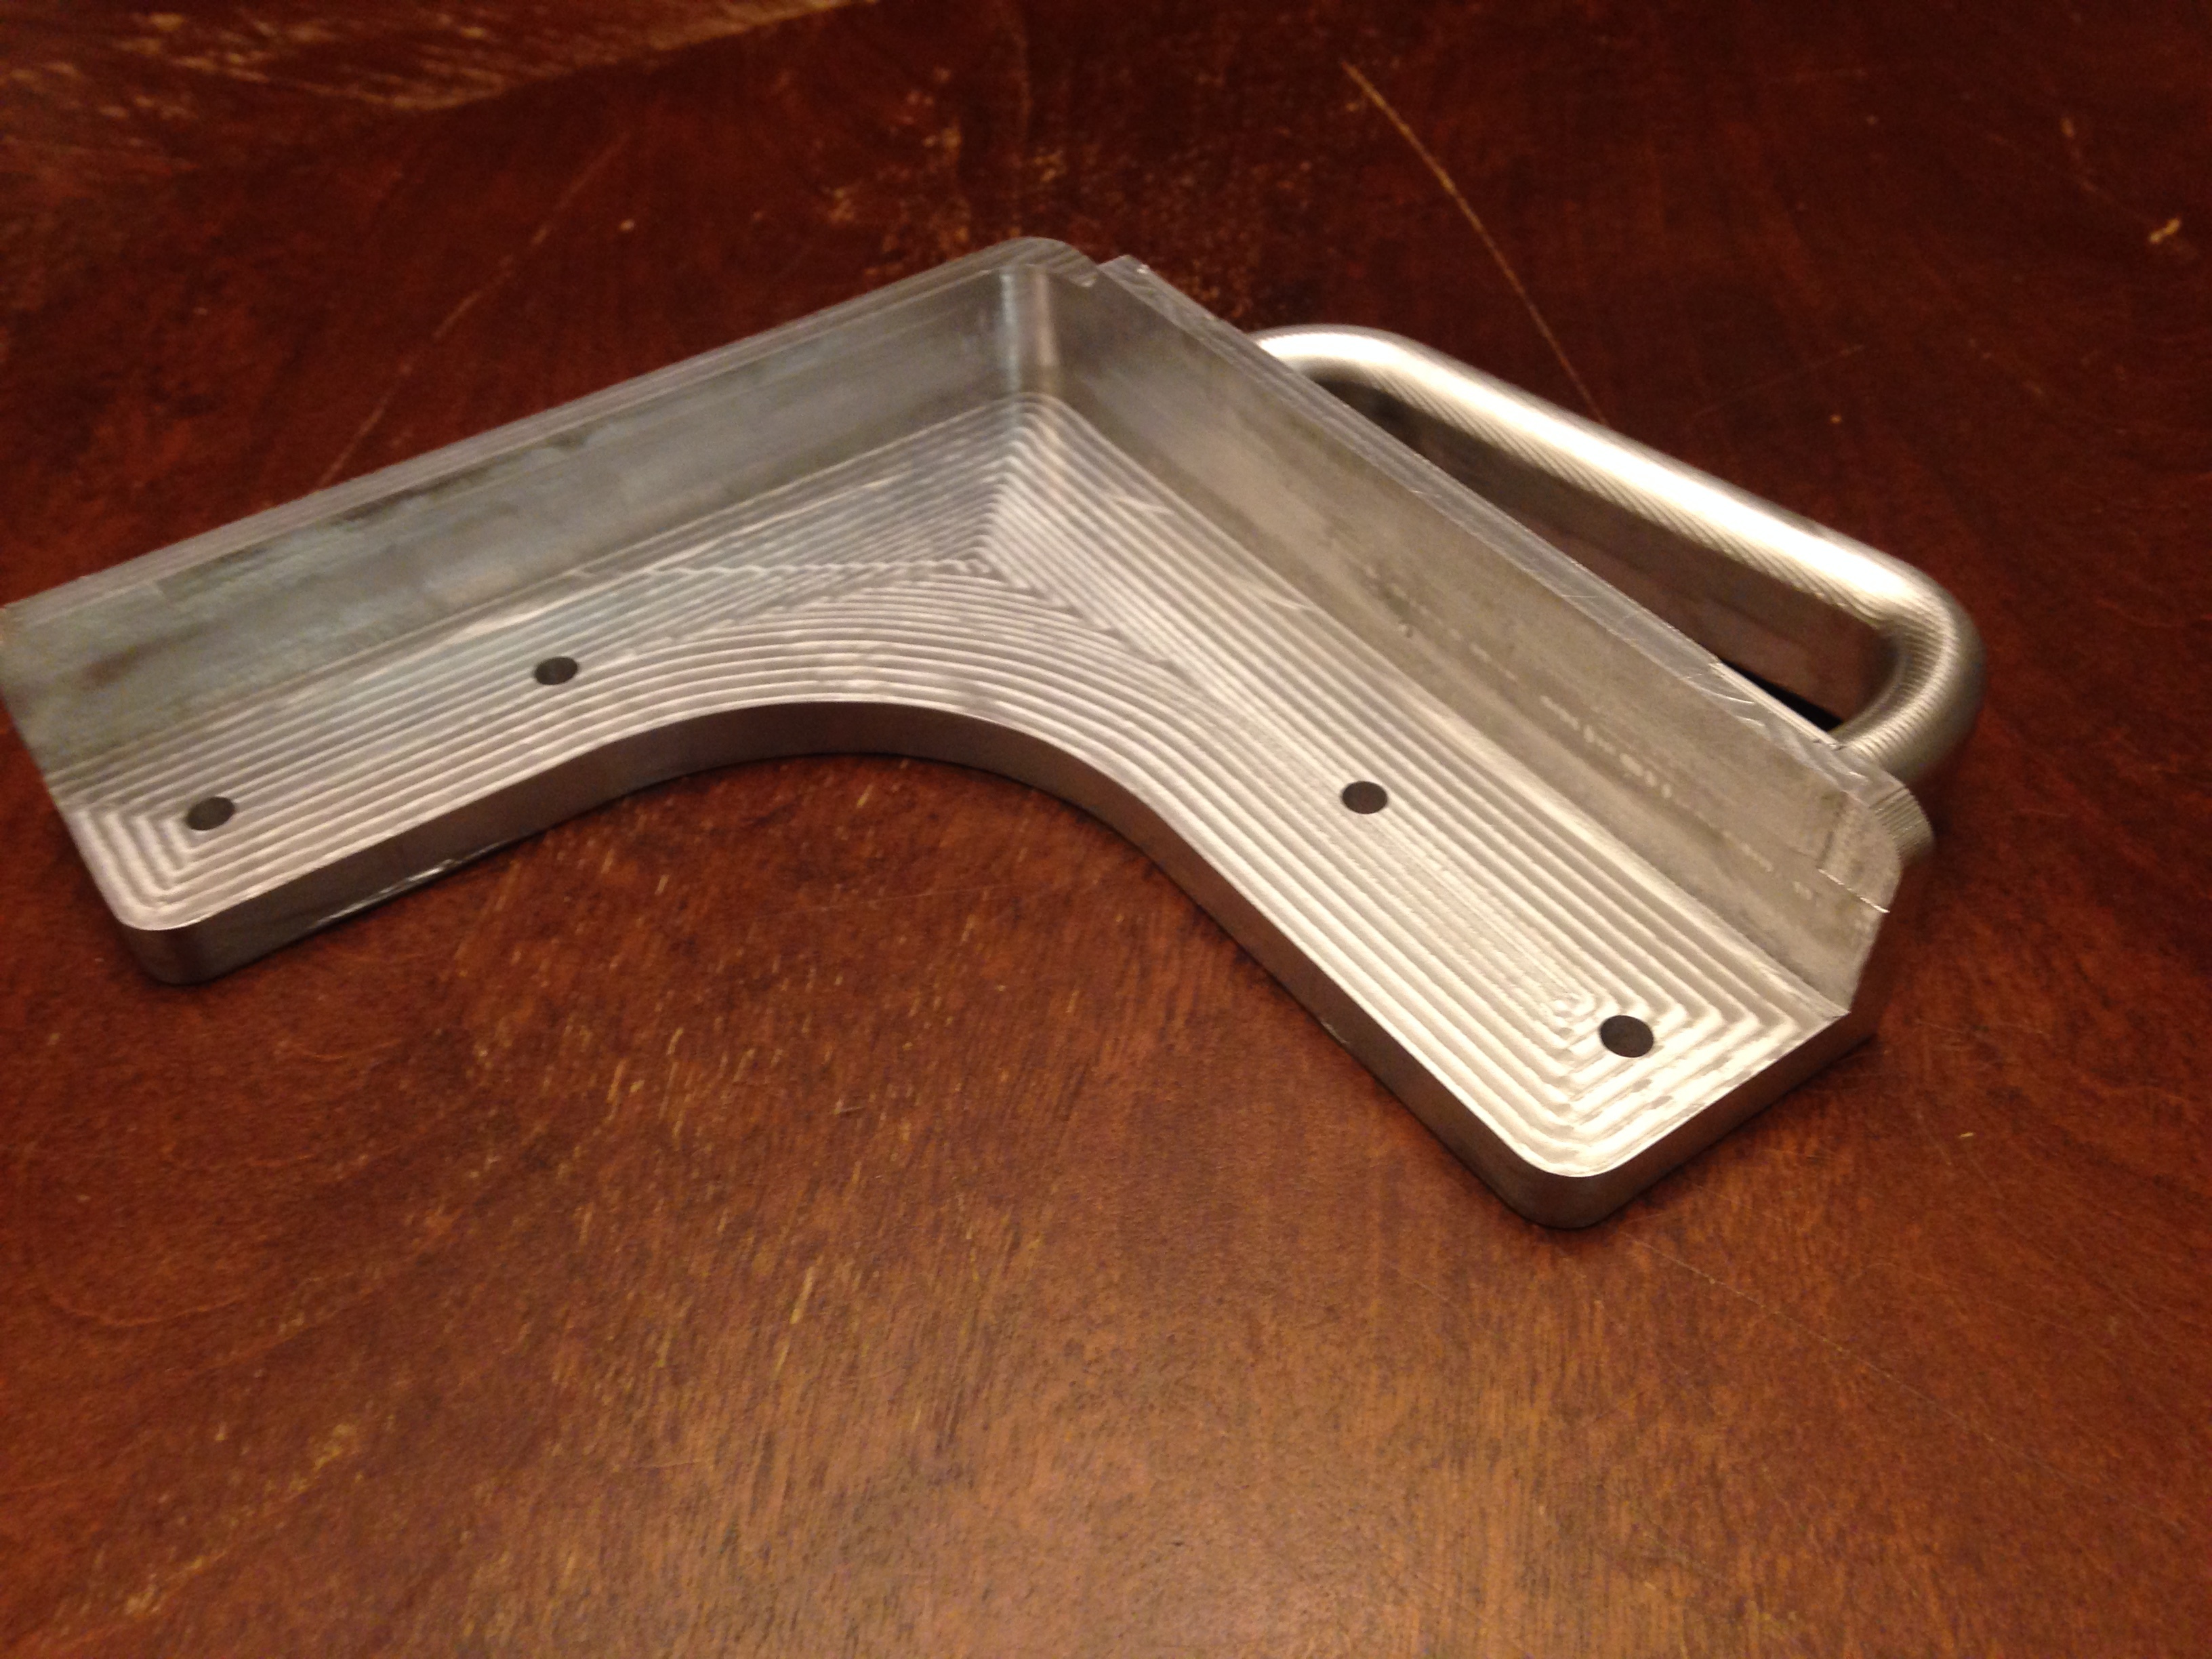
Here is the part after about 10 hours of machining on day 1. It took me six days to finish all together since I decided not to quit my day job in order to finish this thing.
I used Fusion 360 for the toolpath generation and simulation. This also made it easy to split the job over multiple days just by setting the top and bottom height for that day. I also discovered that the 2D contour toolpath allows you to add tabs to the part which was essential for my workholding strategy.
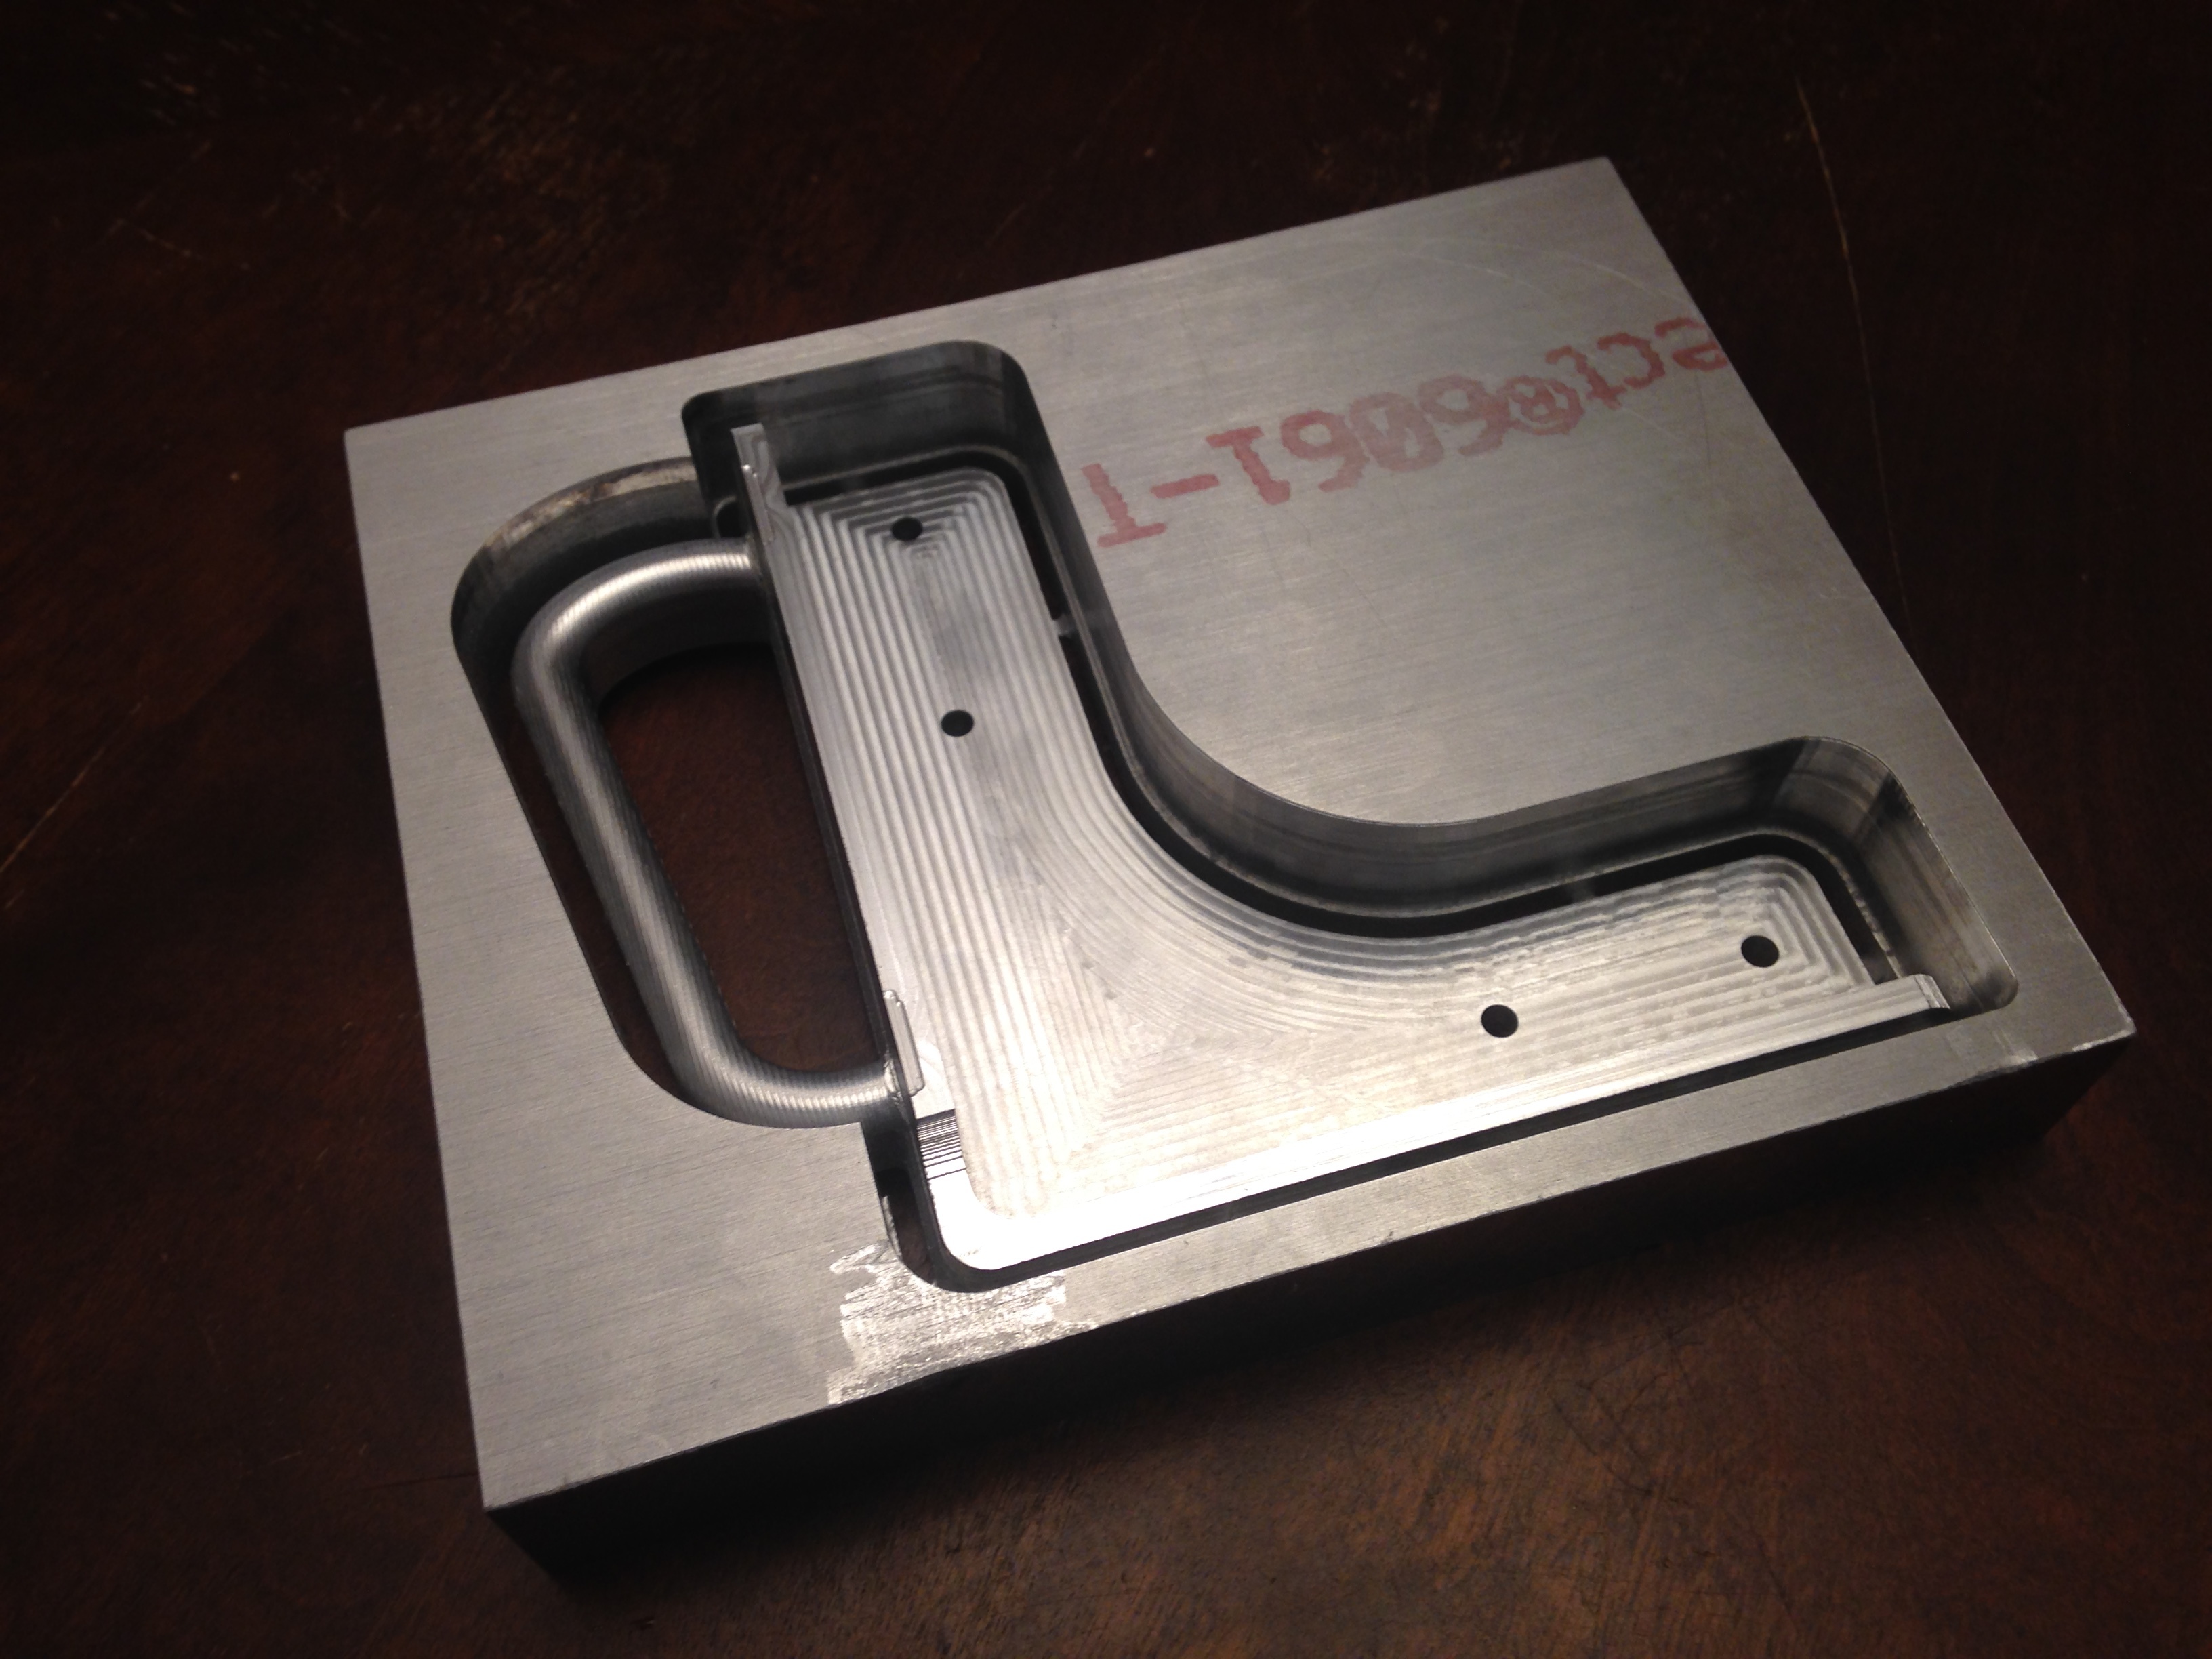
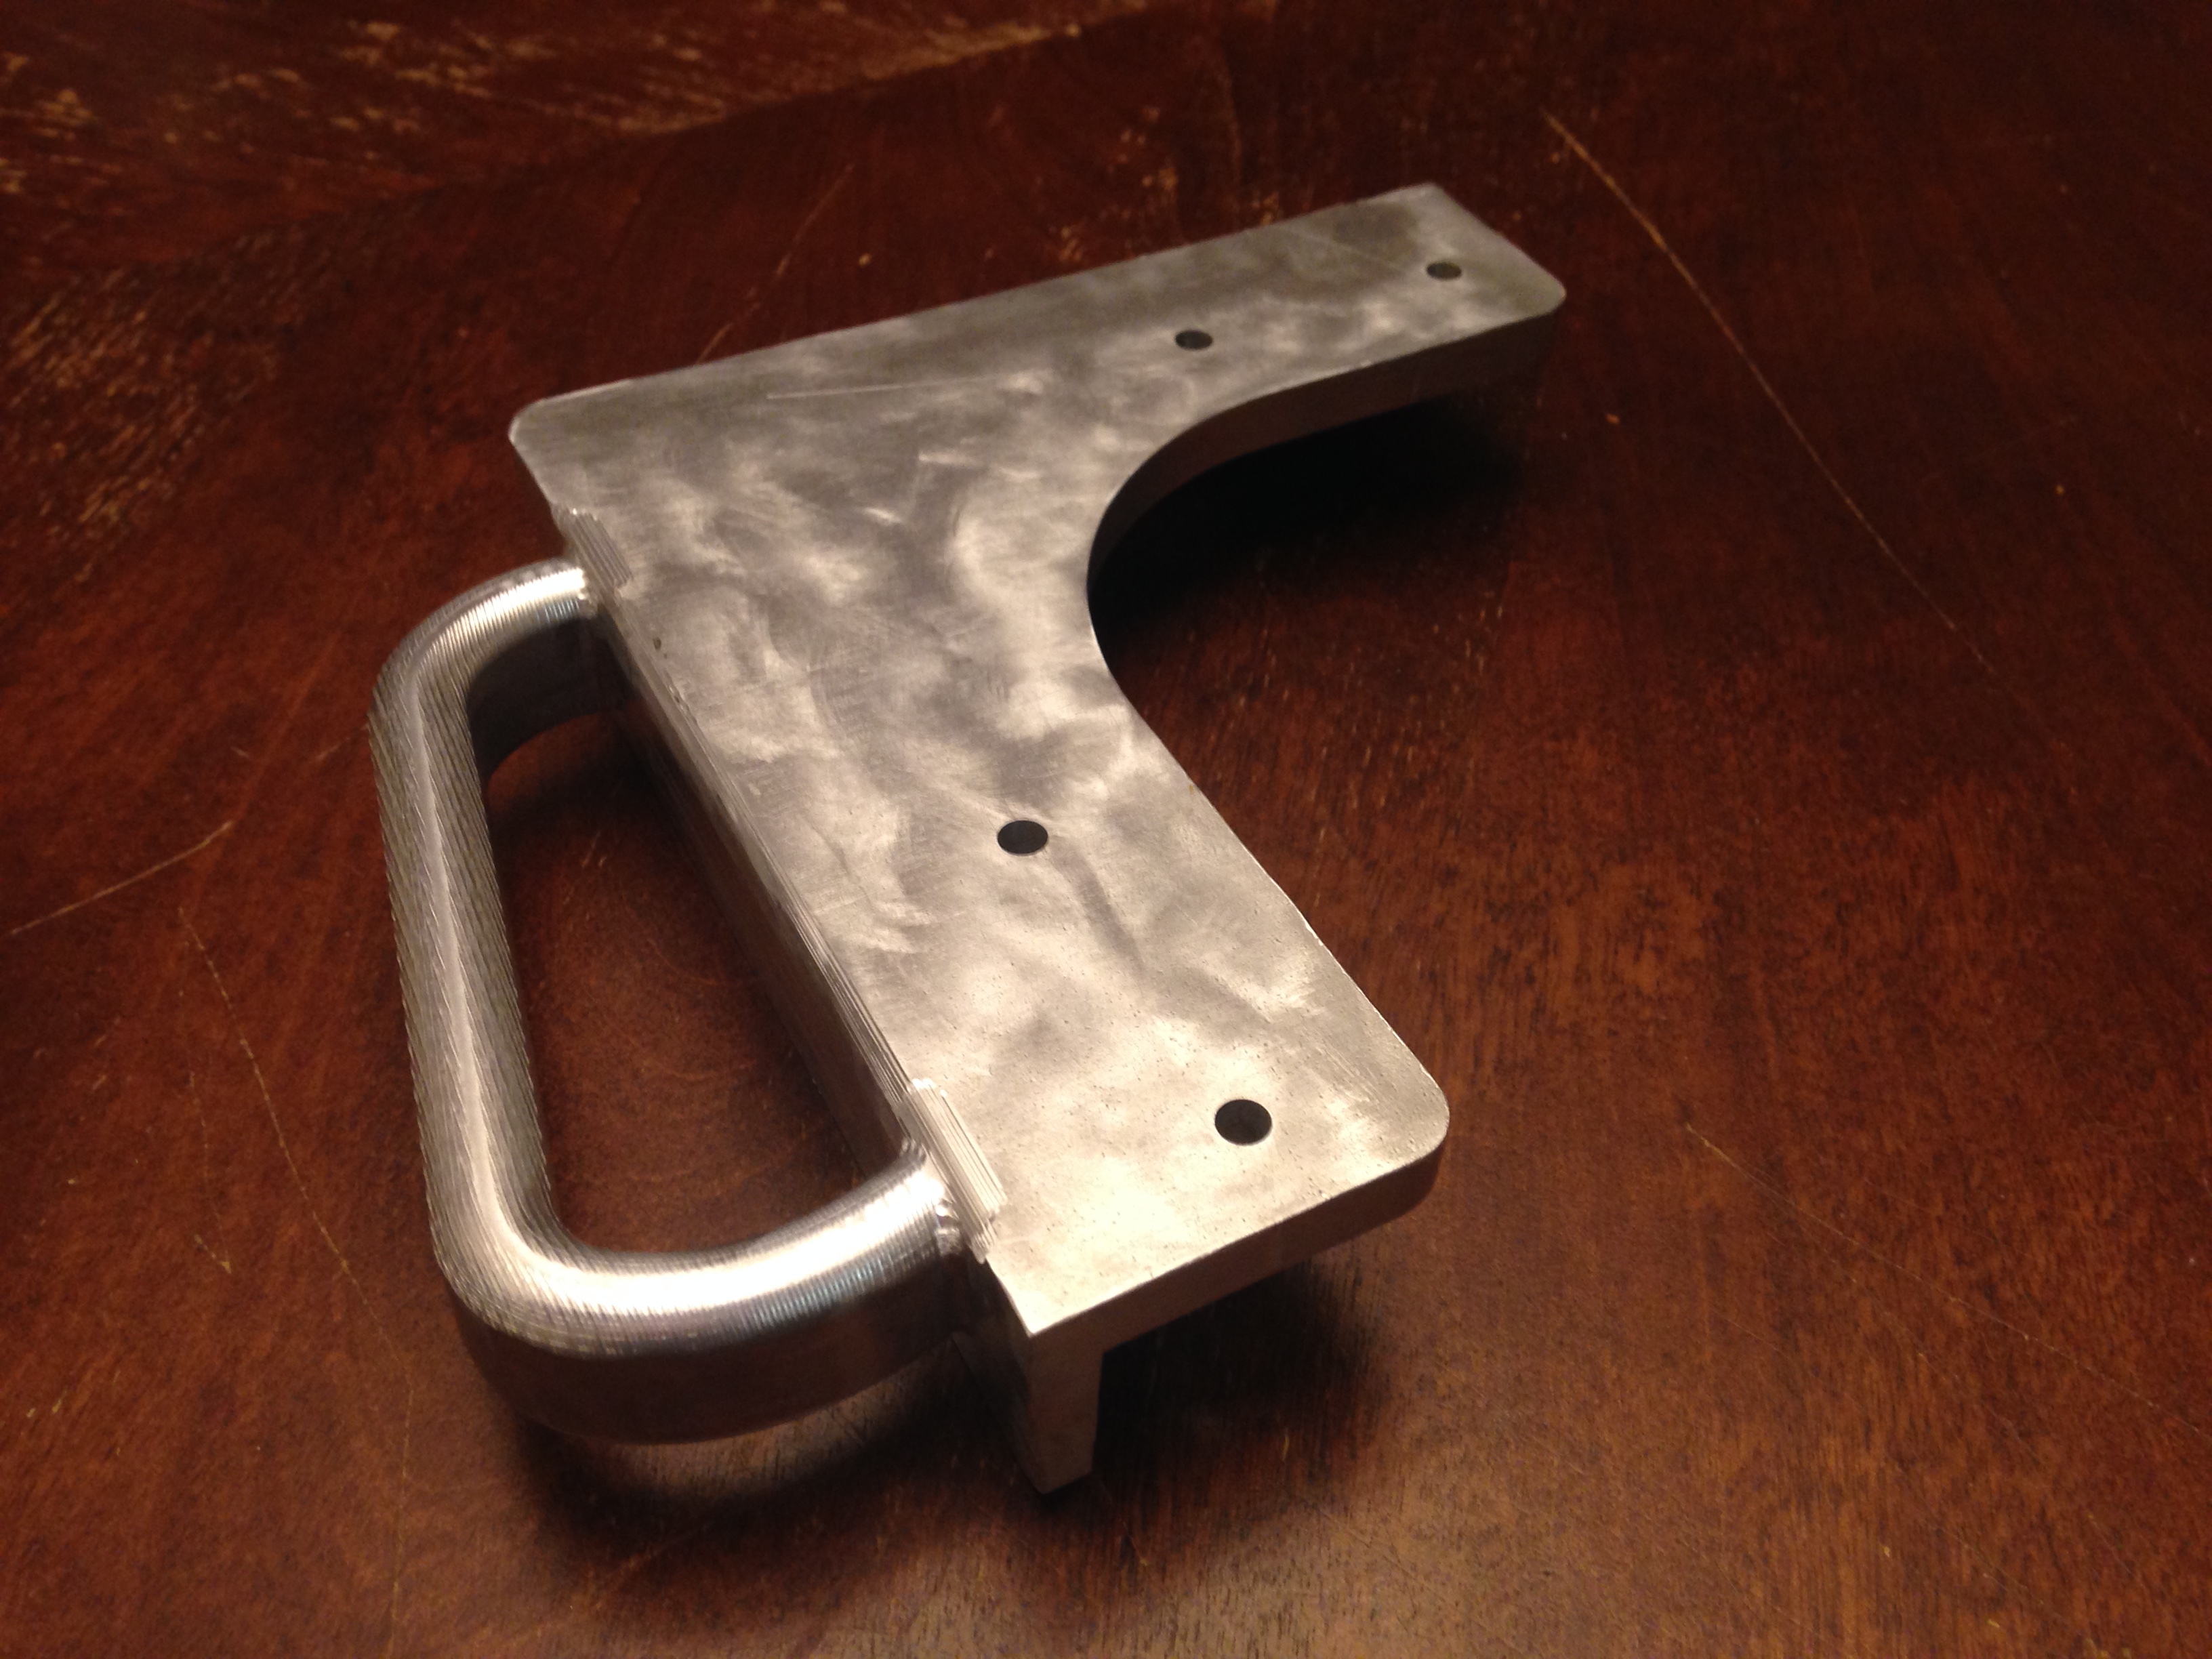
I only did finishing passes on the handle itself so the rest of the walls were a little rough but non-critical to the function of the part. I used a dremel to cut off the tabs and polish it up when it was done and I think he’ll be happy with his new handle… he better be happy with his new handle!
Remmy, thank you for your amazing work and posting. It is inspirational to see what you’ve done with the Nomad. I’ve been wondering about machining some 1.25" acrylic and you’ve answered my unasked question about how the Nomad copes with long endmills.
Hey Randy, I bought the billet from online metals custom cut to 8"x6.5". It came in with nice cuts on the 6.5" length and I didn’t worry about squaring any further. It also wasn’t exactly cut to 6.5" however so I moved my origin to a known registration point for finishing the handle on the backside.
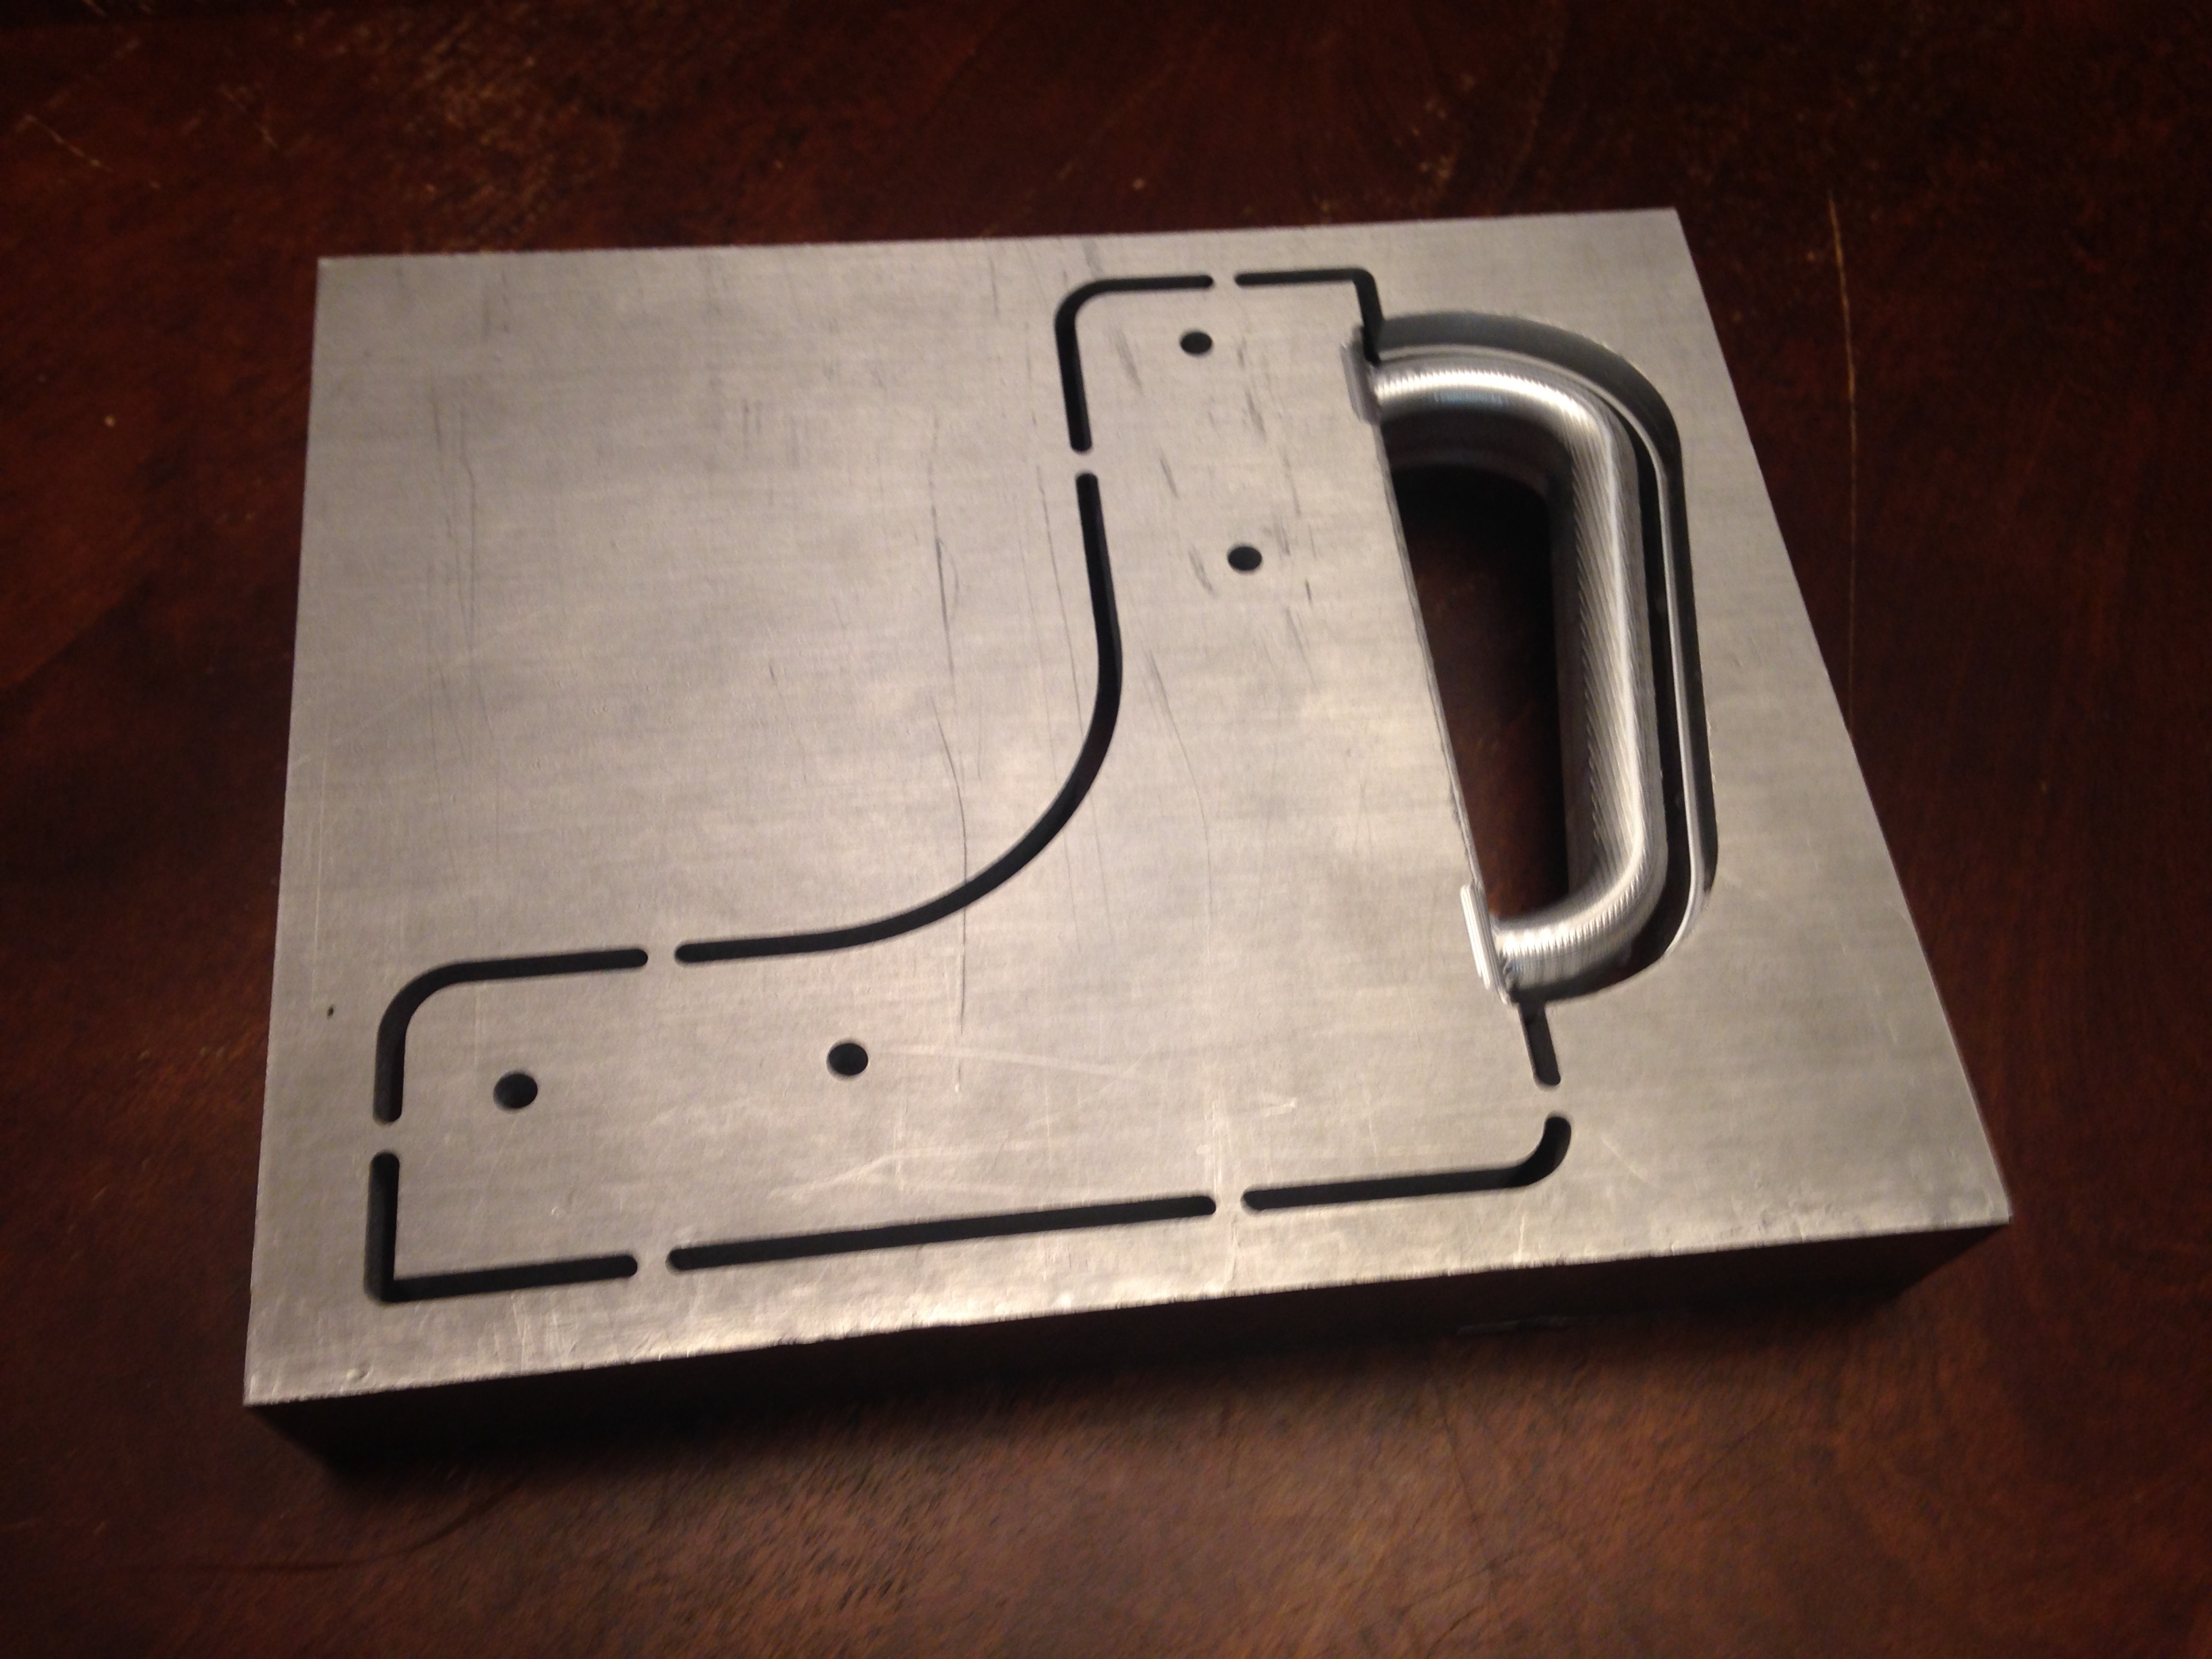
I had a 0.40" thick piece of sacrificial aluminum sheet underneath it when I machined the top, which allowed me to cut all the way through from the top side. Once I flipped it, I was able to put the cutter into X and Y slots and rezero it using the new edges of the part itself. The only risk this introduces is that the outside edges may not be perfectly parallel with the part edges inside but I got phenomenal alignment using this technique so that handle cuts came out very clean. Squaring the stock before a 2-sided project is always the best practice but I used this trick to save some time since the handle dimensions weren’t critical to a working part.