Pictures of Level, Square, Parallel Methods (Newbie requesting photos)

Hello, again friends! I have found some great advice on Wiki and the forum specific to the Shapeoko regarding our squaring procedures. I understand what I am looking at with light gaps, gauge readings, and even the math, but I have no confidence in the physical setup tricks/ methods. I bought a lot of tools for this but I don’t have a clear picture of how to mount them or physically implement them with the Shapeoko.

Please share pictures of how one might (properly) implement measurement tools such as:

Engineer Square
Machinist Level
Dial Indicator and Magnetic Bases
Setup Blocks, Etc.

PLEASE TELL ME IF MY (one handed) PICTURES ARE WRONG SO I CAN EDIT THEM OUT
(I don’t want to confuse anyone just starting out like myself) :yum:


Uploading: IMG_1646.JPG… Uploading: IMG_1647.JPG… Uploading: IMG_1648.JPG… Uploading: IMG_1649.JPG… Uploading: IMG_1650.JPG… Uploading: IMG_1651.JPG… Uploading: IMG_1653.JPG…

Looks like a good start!

My recommendation has always been to start from largest and work to smaller parts systematically:

  • table level
  • frame level to table
  • Y-axis rails level and at right angle to frame
  • X-axis rail level and square to Y-axis rails
  • Z-axis carriage level and plumb and square to X-axis

It can be a maddening, tail chasing thing, but usually with each successive pass, the adjustments get smaller.

There’s a reassuring e-mail we send out from support@carbide3d.com and c.f., https://wiki.shapeoko.com/index.php/Calibration_and_Squaring_the_Machine#Squaring_the_Machine

The video is helpful as well, though I disagree with the idea of using ratchet straps from an idealist/perfection viewpoint, not 'cause it doesn’t work.

@WillAdams I am going to use those general steps moving forward! Just ordered some heavy duty leveling feet for my bench on Amazon. So I can put my S3 XXL on my MDF/Ply bench top sandwich. Also planning on adding some additional cross members to my bench legs.

Then hopefully I can figure out how to implement my setup blocks and machinist level. I played with the ratchet strap idea for the first alignment to get me within “shim’able” dimensions and now I have a couple of cans cut ready for shims. That brings me to this juncture trying to nail down a physical strategy for a consistent repeatable tolerance evaluation method.

Don’t mind tail chasing one bit, I am having a lot of fun learning about tolerances of this magnitude.

1 Like

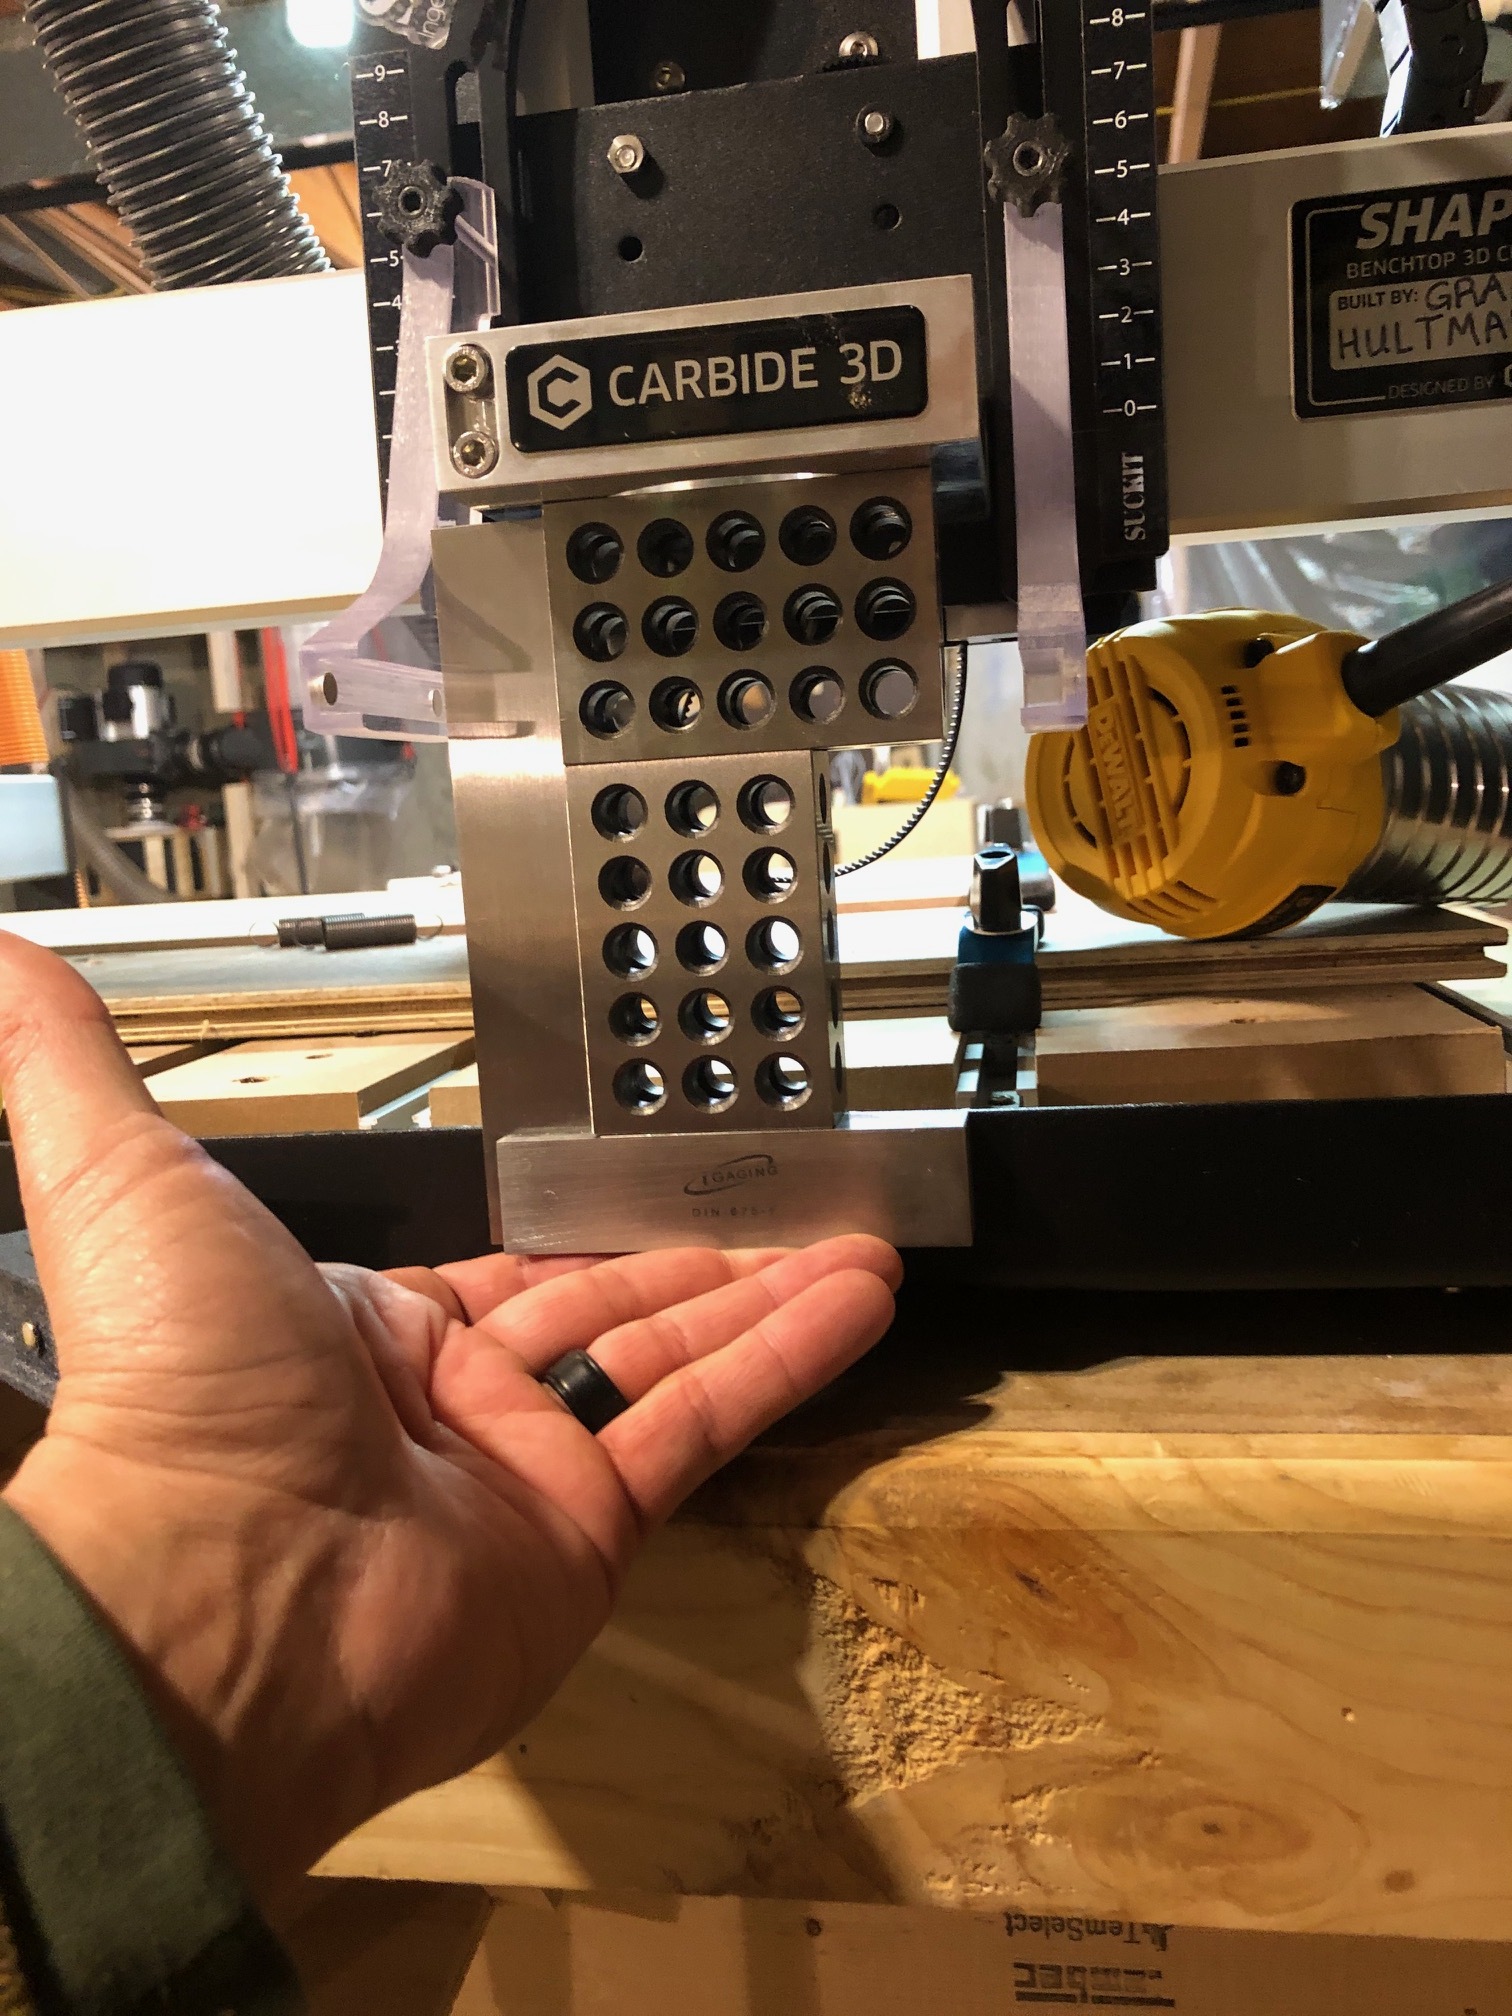
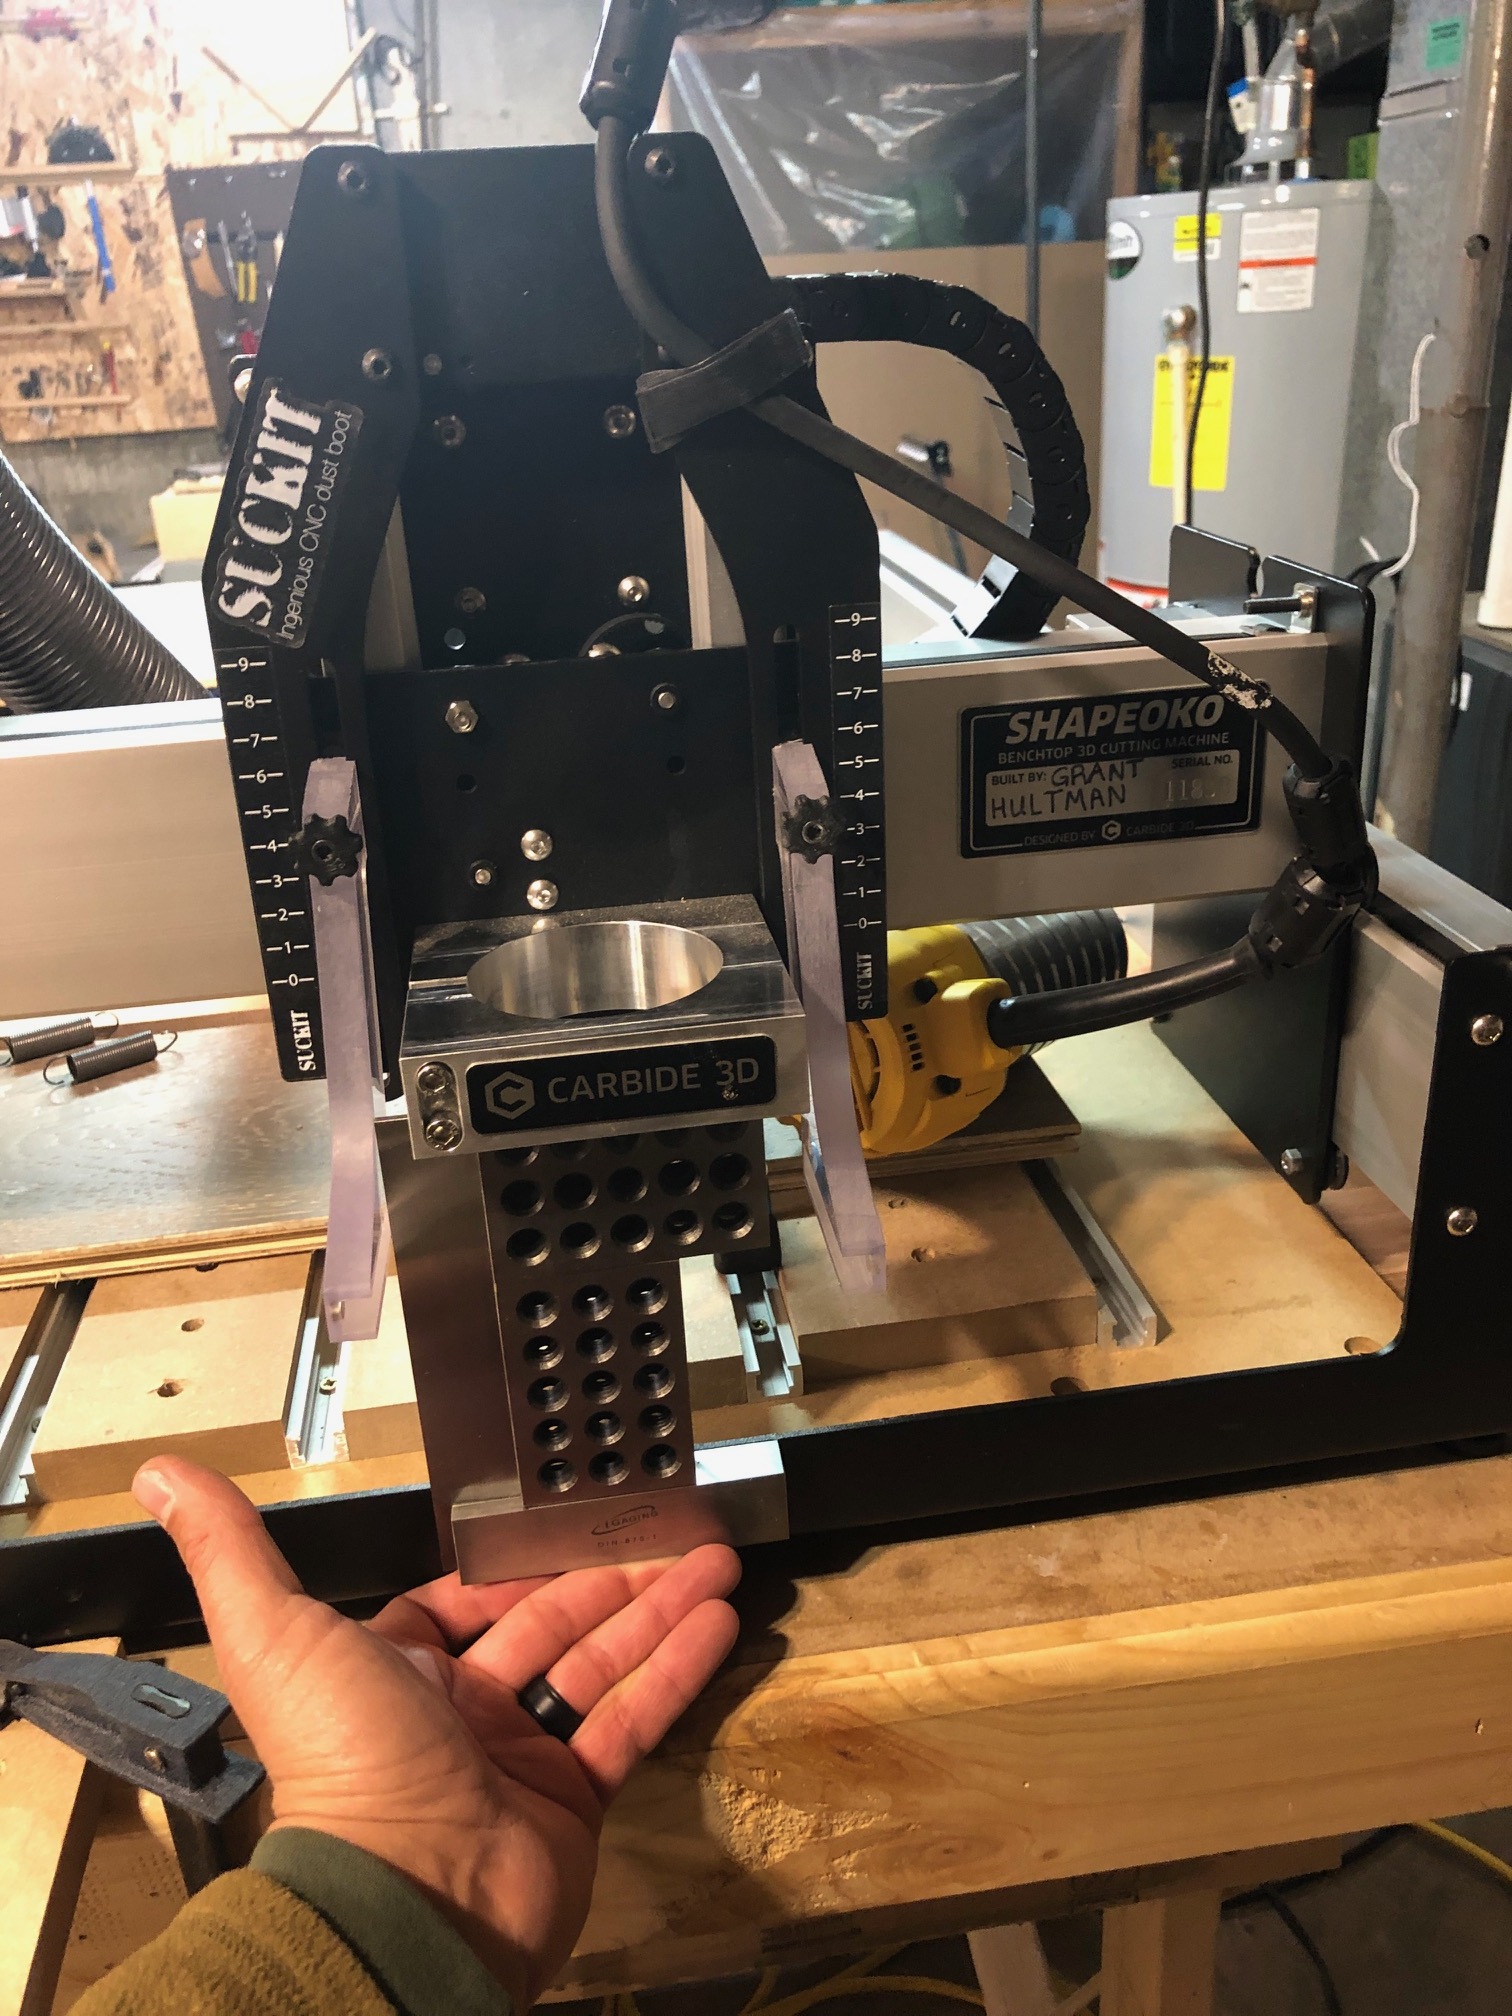
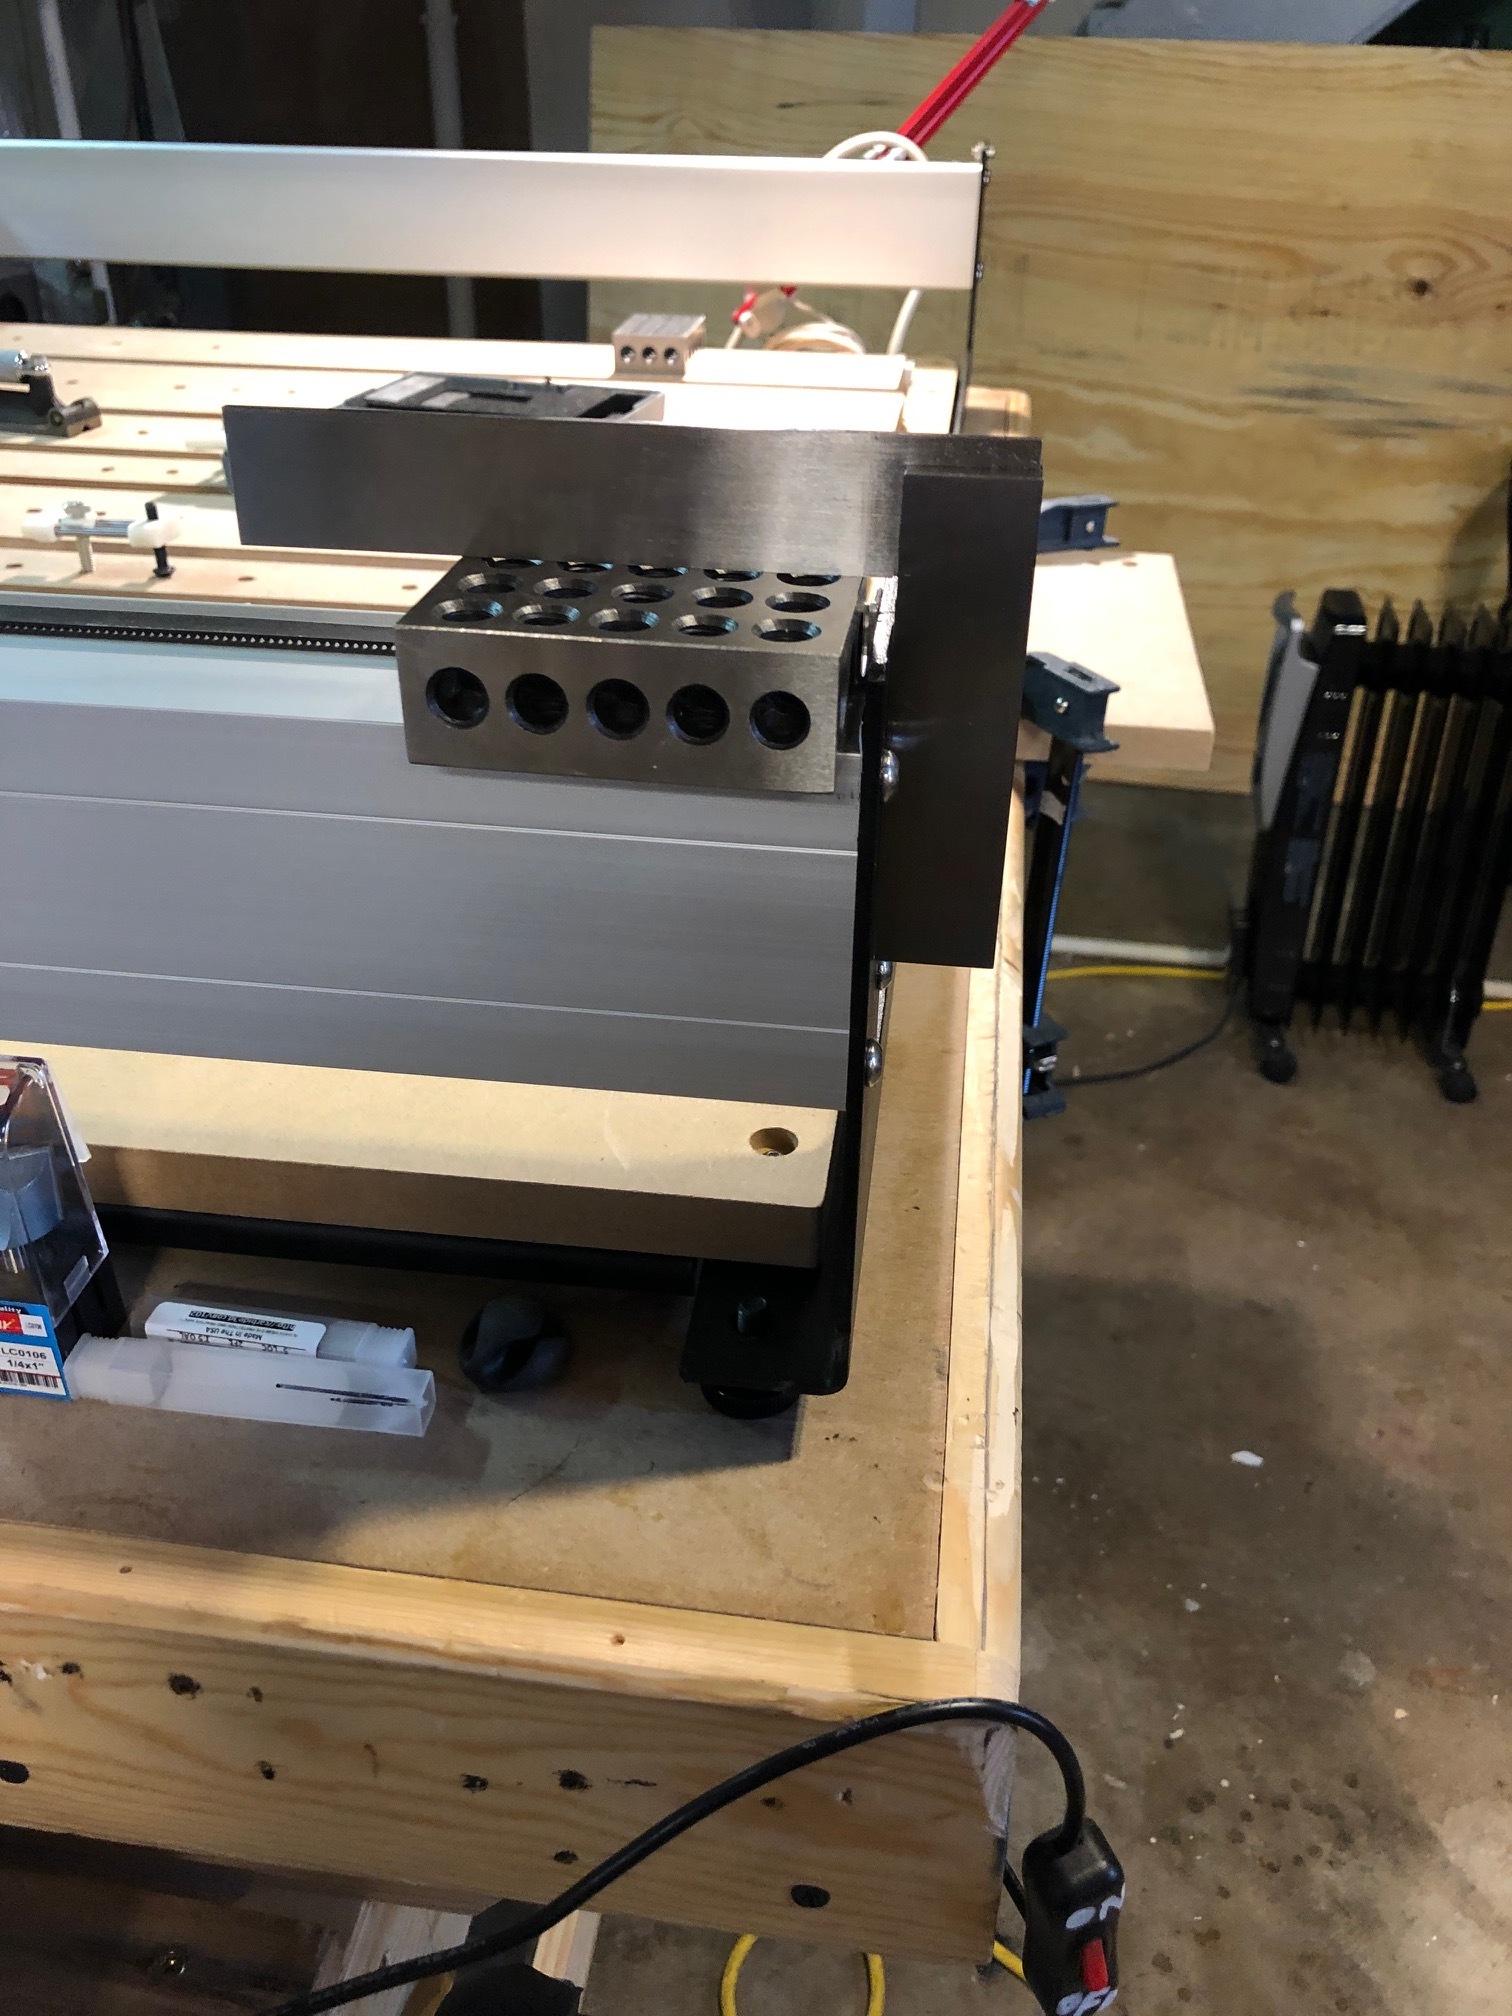
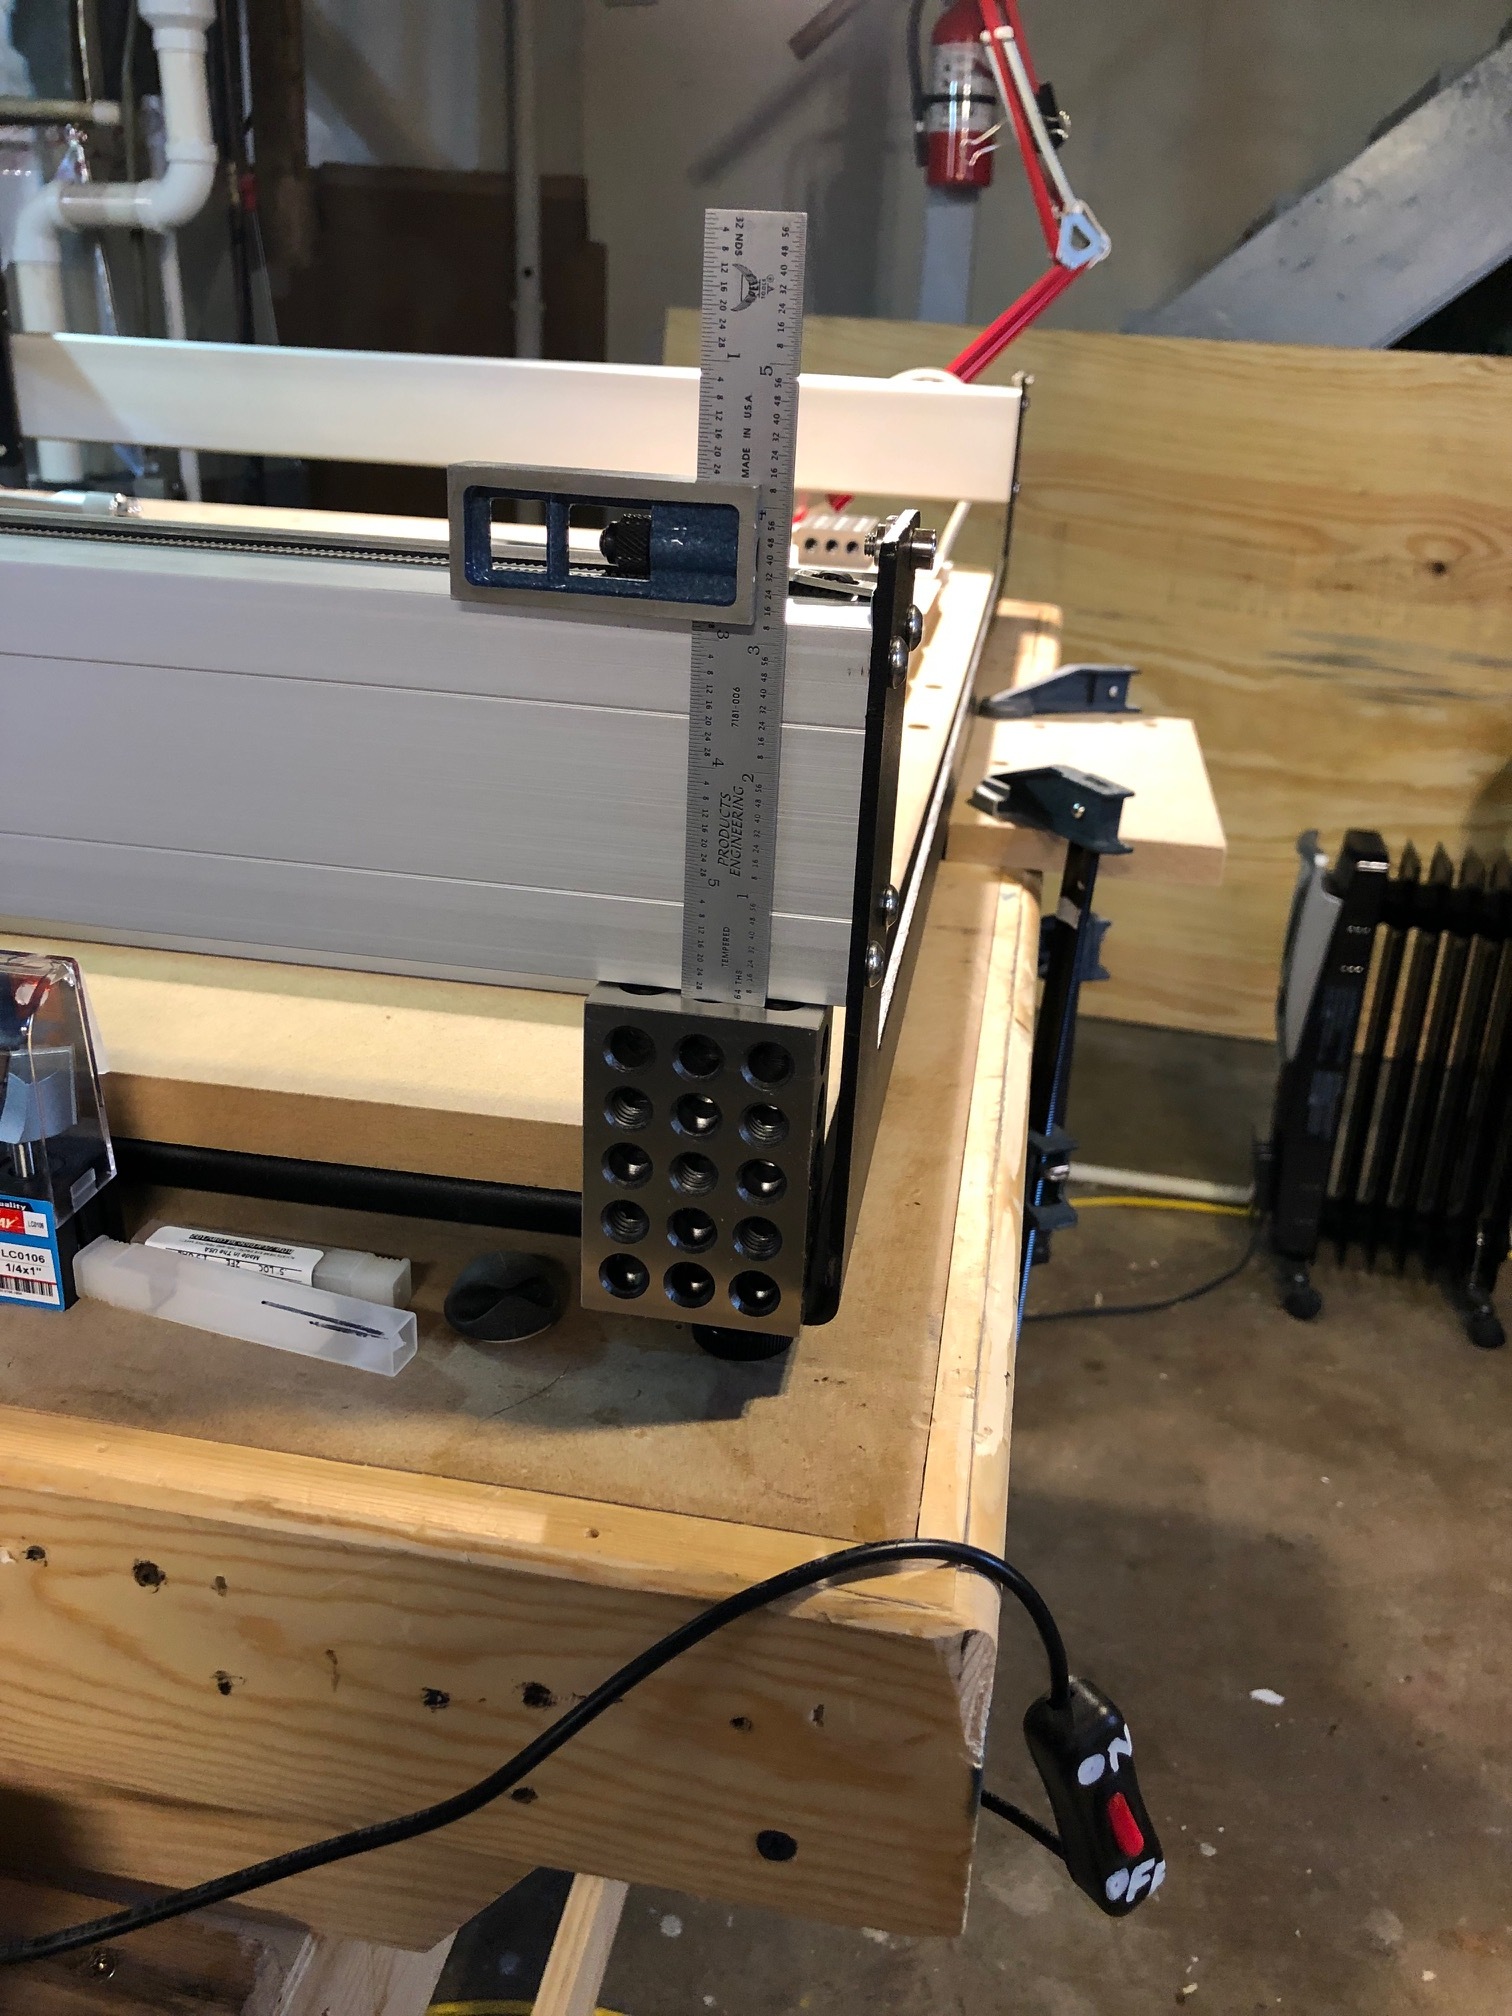
Picked up a great spindle mount squaring method from Winston Moys videos. Really helpful.

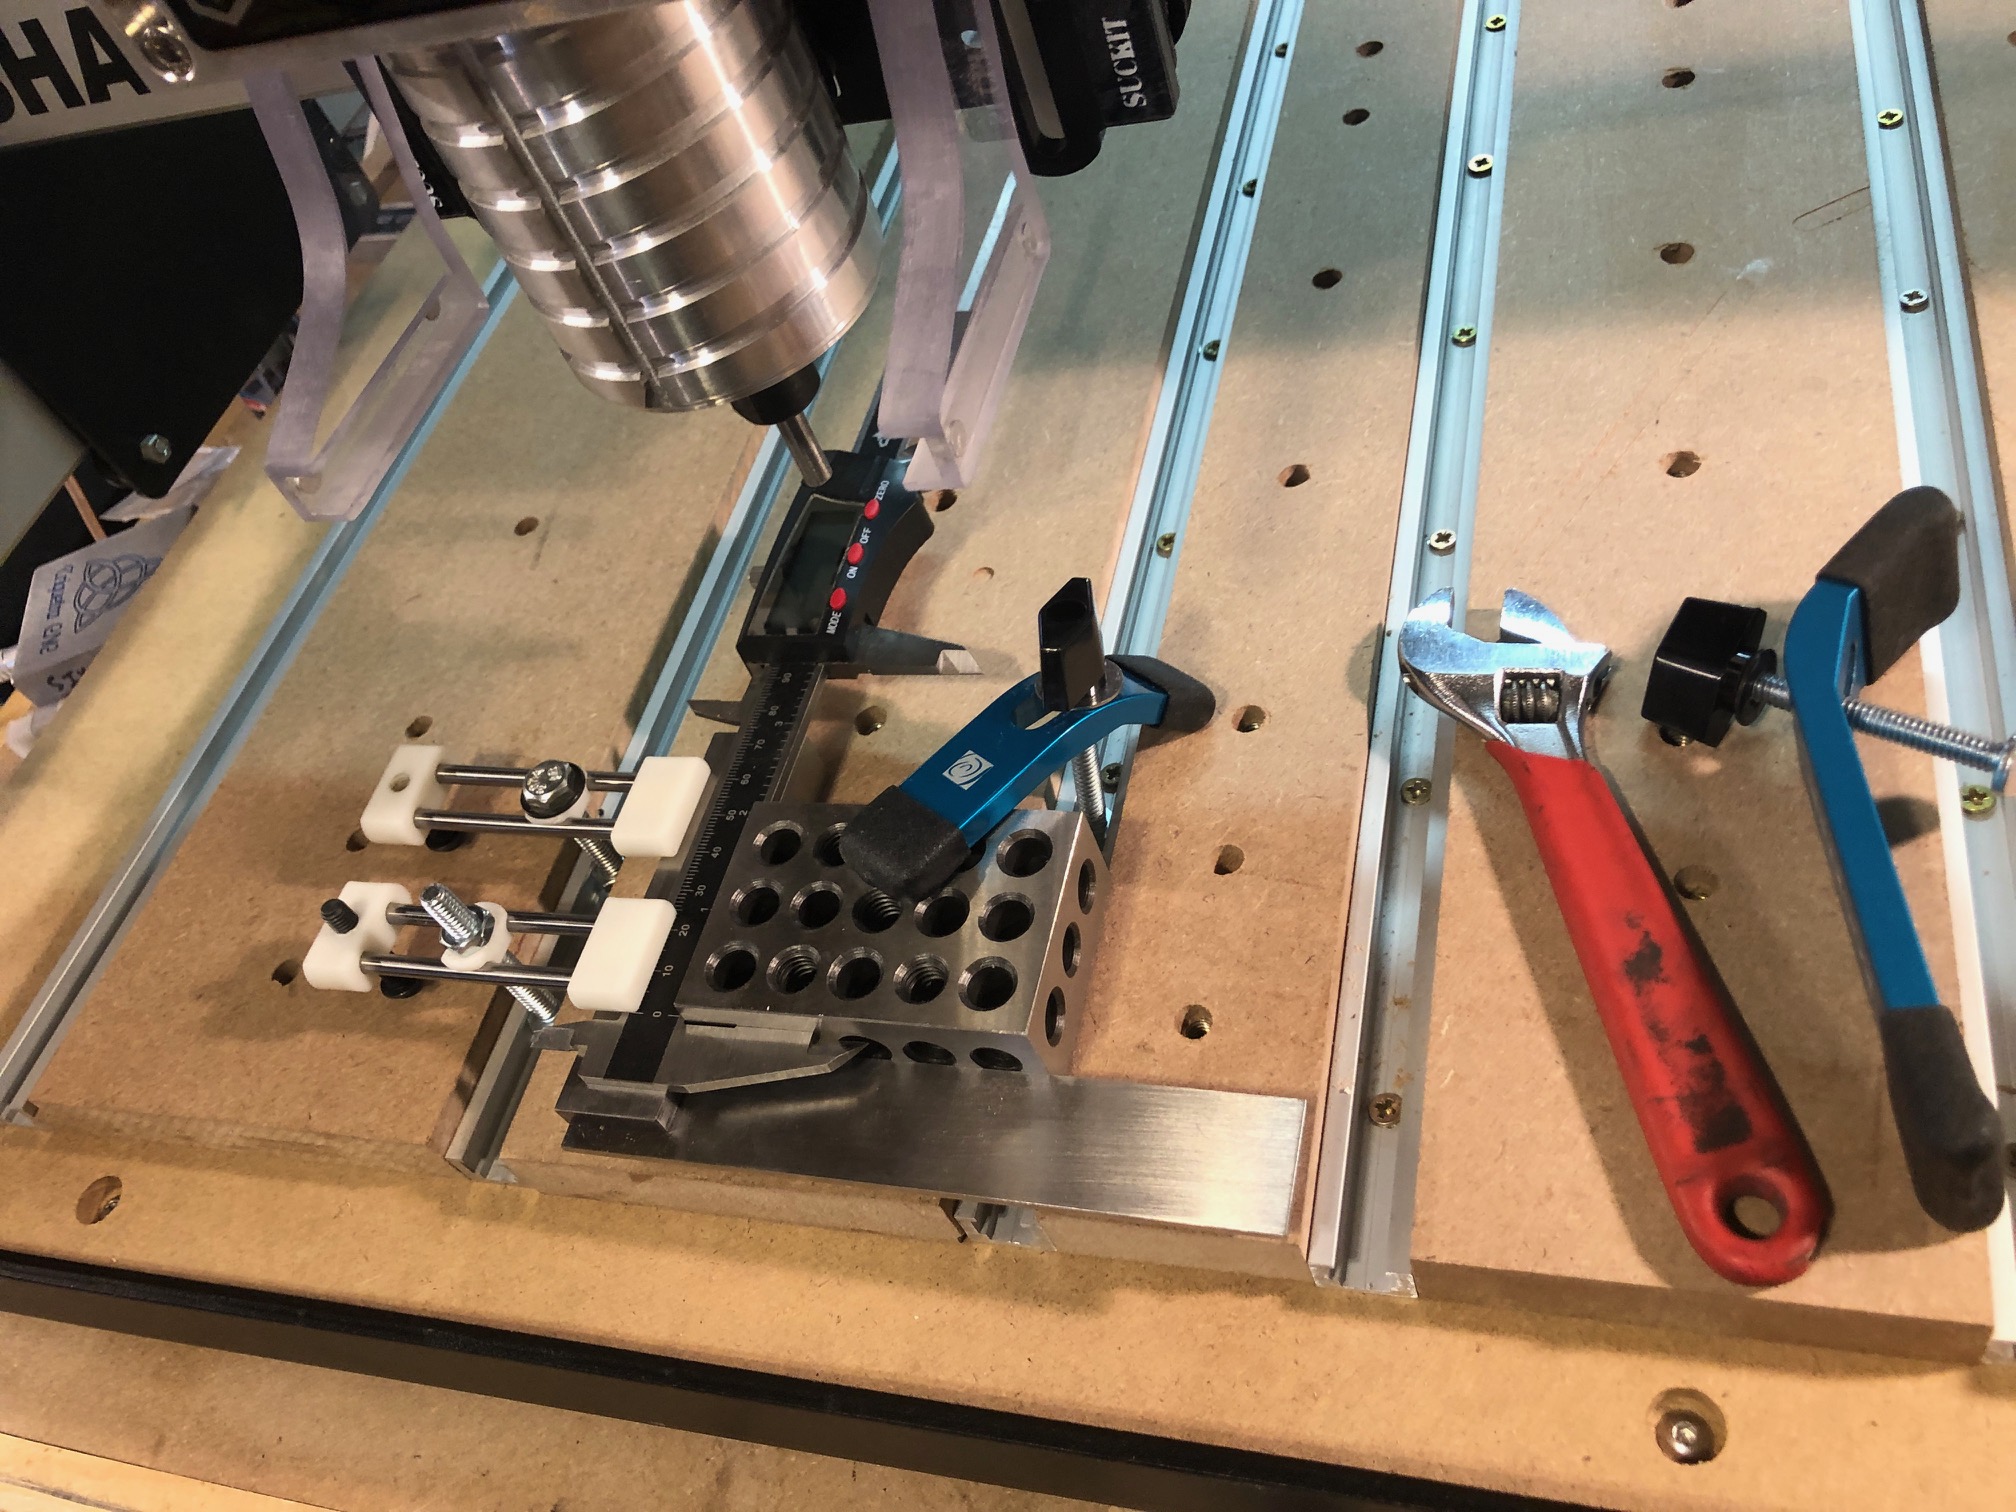
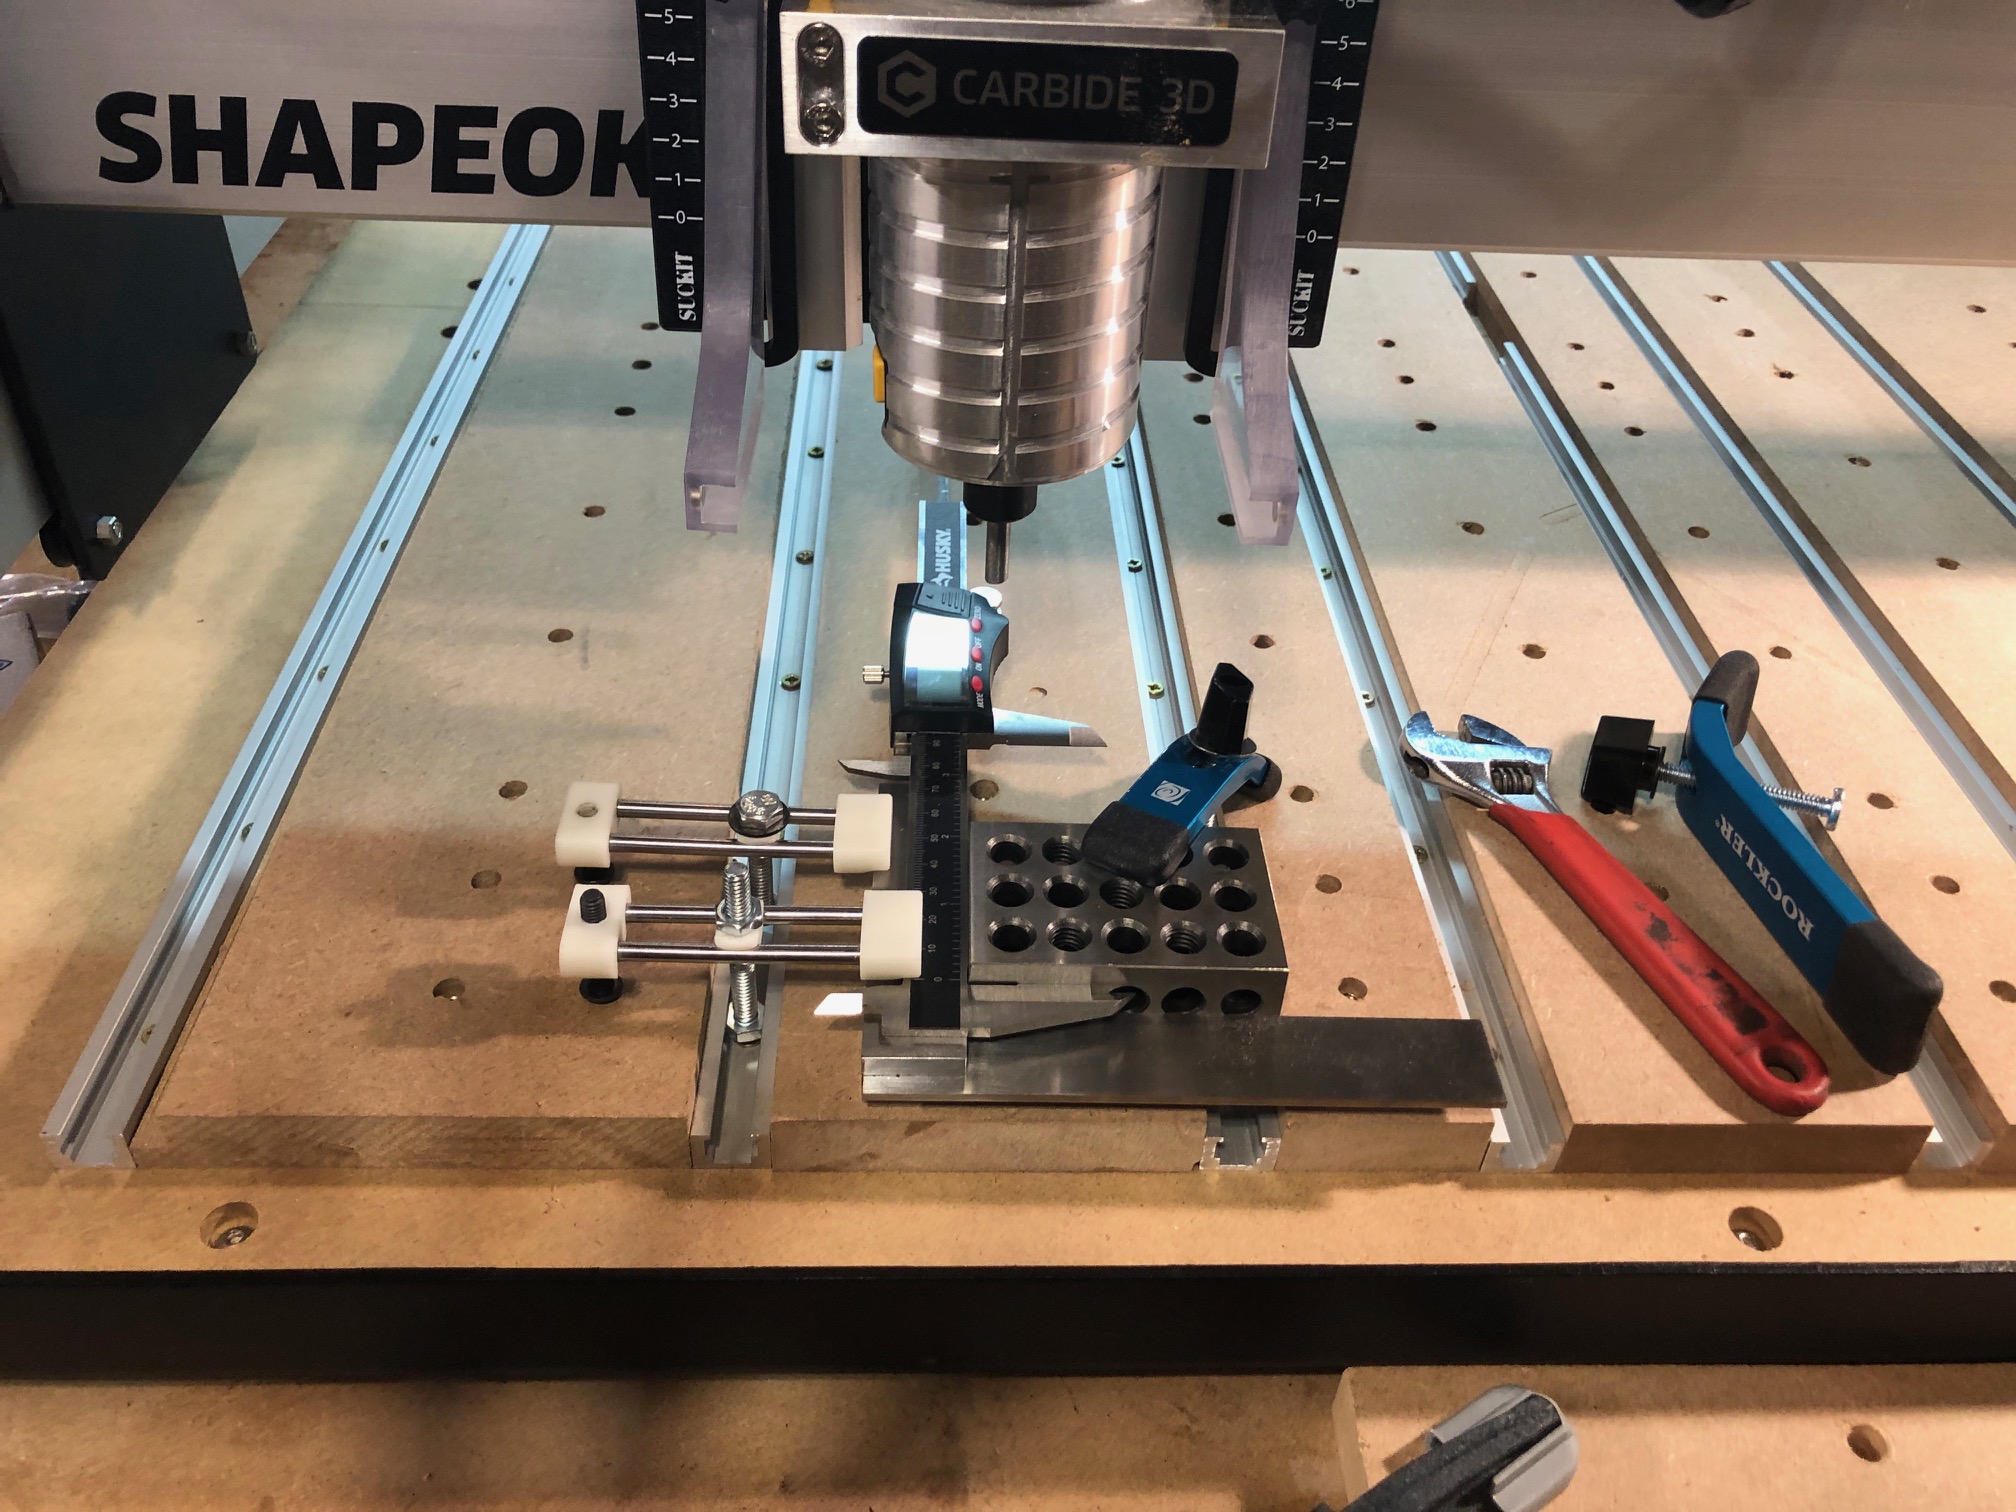
Based on @mikep AWESOME breakdown (link below) I took a shot at the setup but struggled with the MDI input due to my extreme newbie’ness.

4 Likes

This topic was automatically closed 30 days after the last reply. New replies are no longer allowed.