I’m still on my quest to machine a precise and perfect cube. Am able to put the bottom of the cube on the bottom of the vise, but when I tighten the vise, even if I try tapping the cube down afterwards it still lifts off the bottom at a slight angle and then the cube is off.
So I’m thinking I need a more precise vise. Any thoughts on what might work, or other ways of compensating for the imprecise sides?
Nice! Do you happen to know if that fits the Nomad bed as-is or does it need the sea-of-holes upgrade?
(and aw crap, doesn’t ship to Finland. But maybe I can find one elsewhere.)
Got vise, looks good, but I’m going to need a way to attach it directly to the bed (I tried clamping the vise in the nomad vise but that definitely doesn’t work :D)
Sea of holes bed it is. Off to look for what people are saying about the various options now…
Sorry, I’m a little late, but I own both the Nomad vise and Hitech Systems sea of holes bed (not the Carbide3D version). I hardly use the vise anymore since receiving the bed. The optional cam clamps that came with it work well for my needs. My accuracy has increased greatly. I also looked at the Proxxon vise and their other products and they are high quality. I think you will be good either way.
Jerry
I’m curious about the cam clamps–how do they work? There are only static pictures on the Hitech site, would like to see a description or video of them in action. I assume they’d work on the Carbide bed too?
Hi,
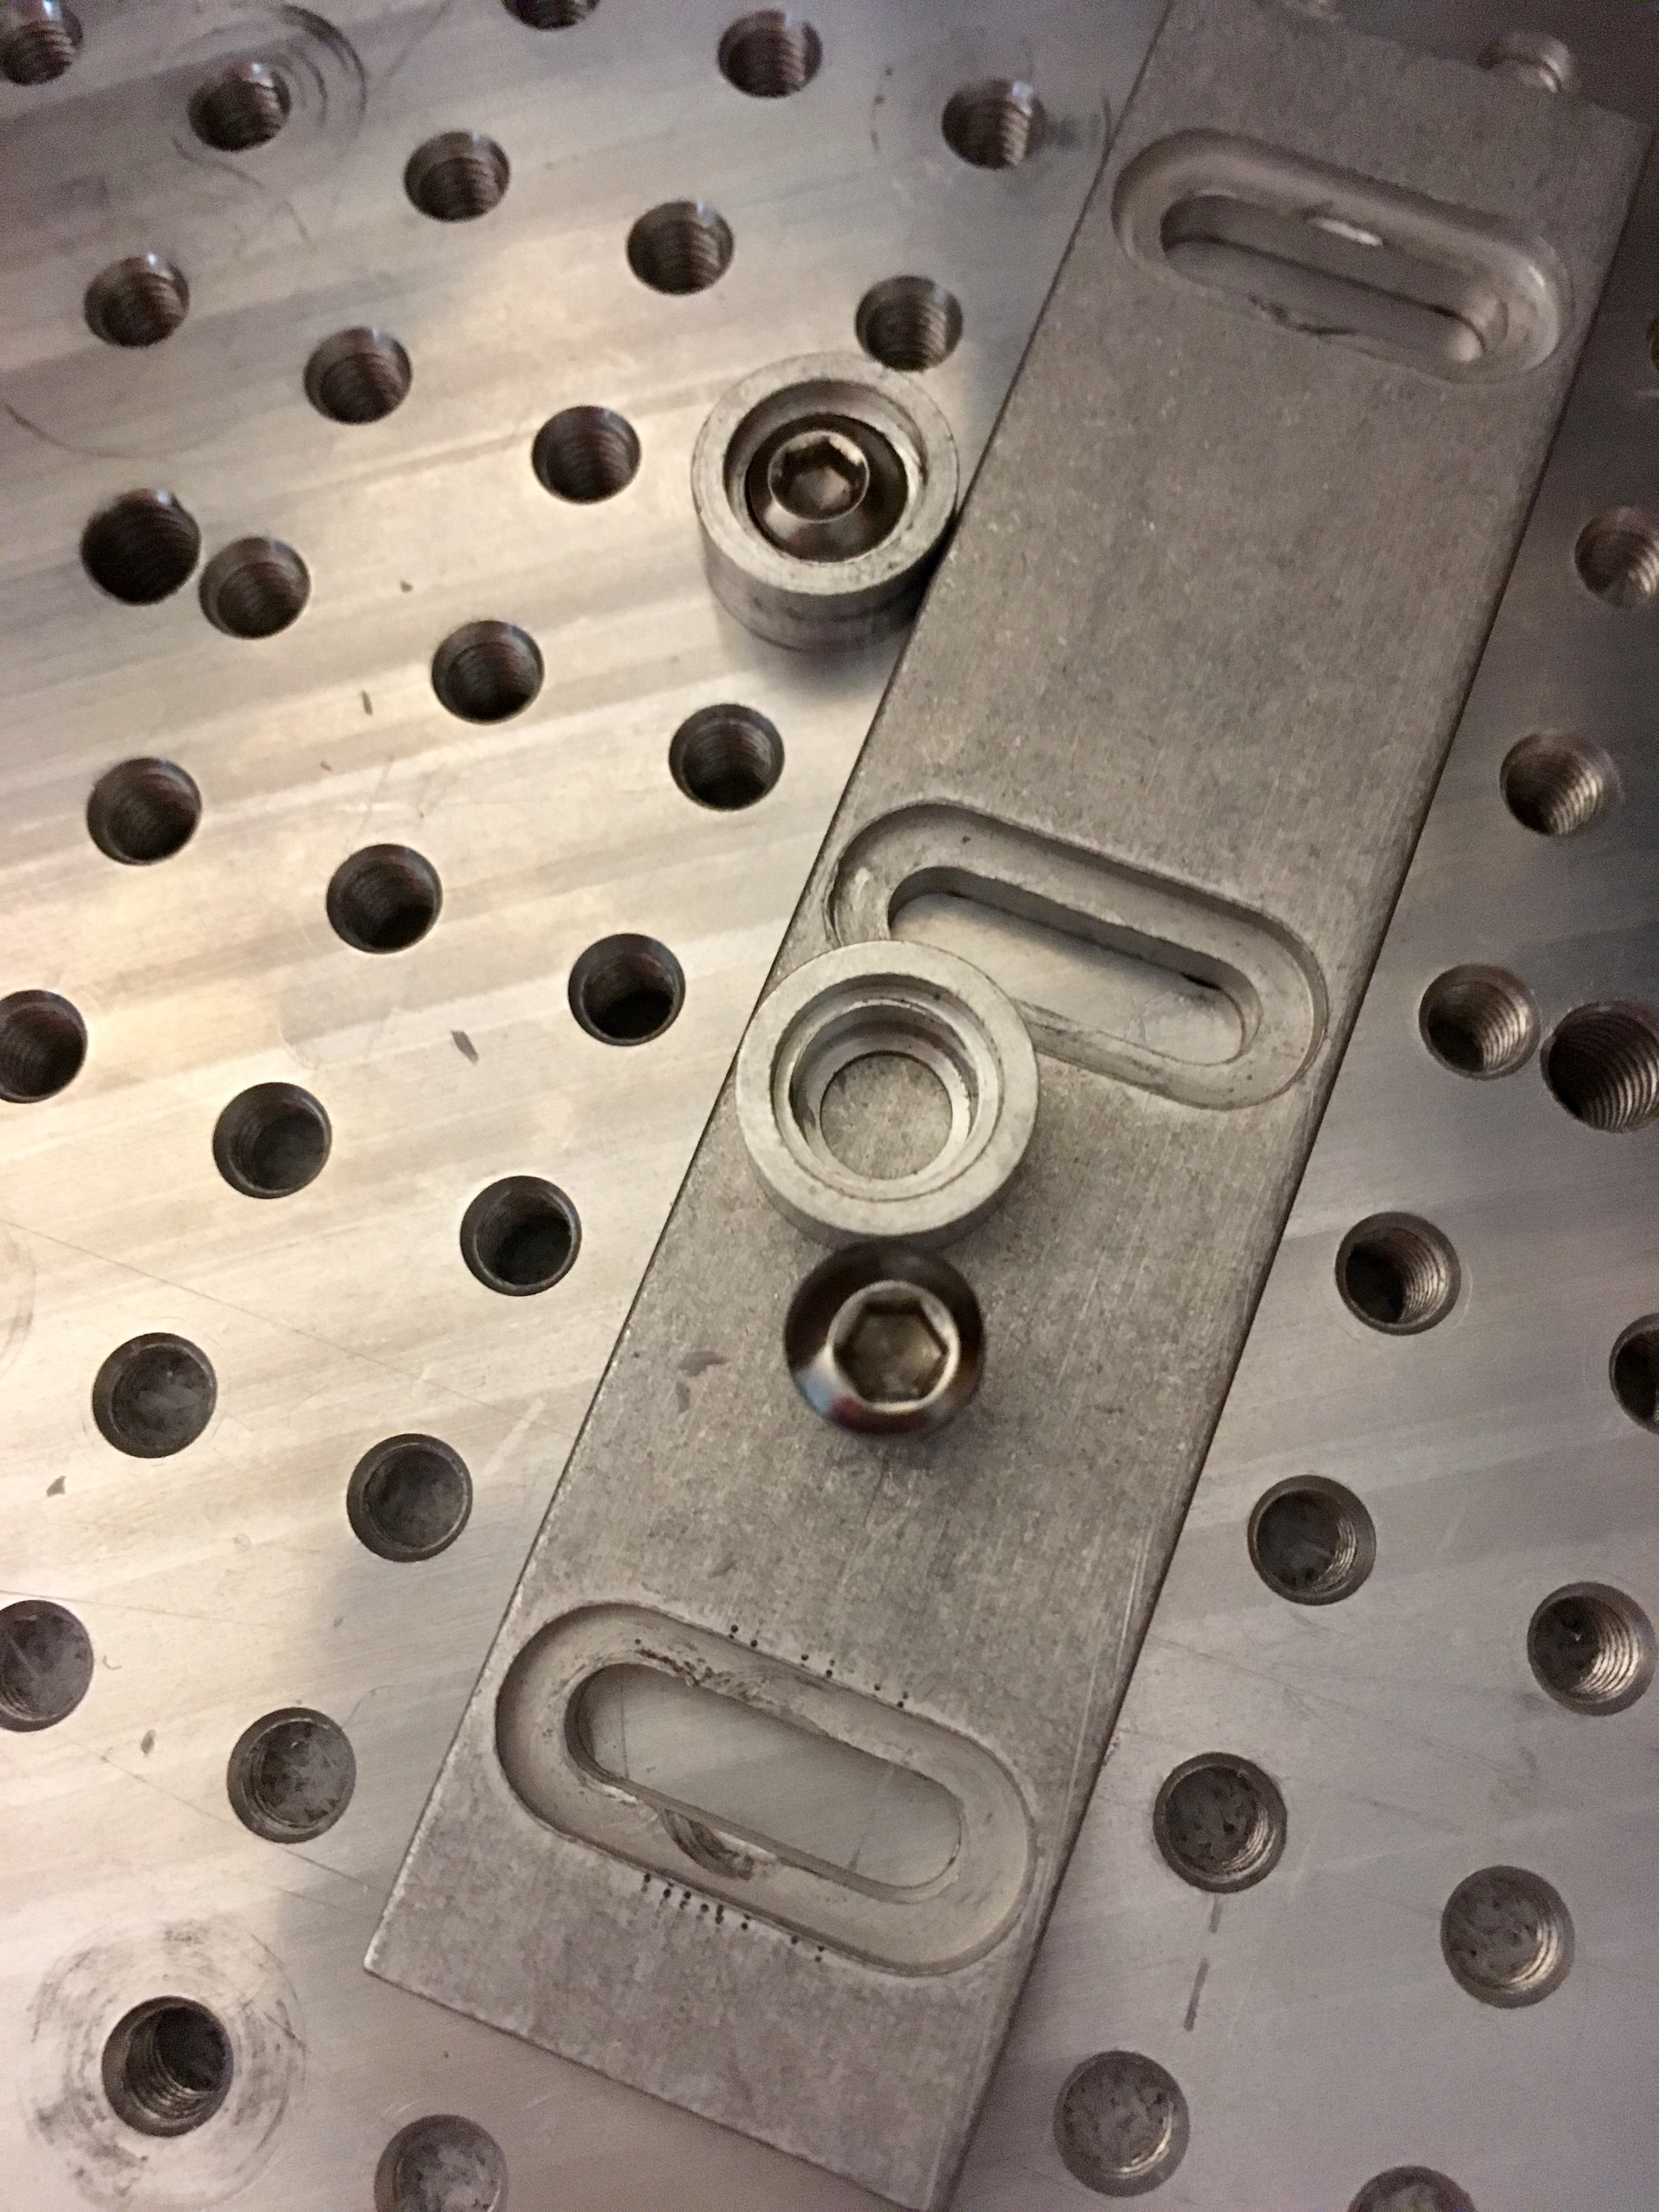
I’ll try to explain. The clamps themselves are perfectly concentric aluminum cylinders with 2 recessed steps for what I assume are for different sized screw heads. The screwheads themselves are off-centered so that when tightened the side furthest off axis applies pressure to the side of stock. This allows for machining the entire top of stock without worrying about clamps getting in the way. The trade off is that they do not apply downforce. They work very well for what I’ve used them for. I didn’t know this when I bought them, but you could probably make your own screws by machining a circle while simply setting your zero somewhere off center, if this makes sense. As far as the Carbide bed is concerned, they use metric screws (the Hitech is Imperial), but should work if not much bigger.
The image below was taken at an angle that exaggerates the eccentricity of screw for illustration purposes. The rectangle bar is 1 of 2 alignment brackets included. There are 4 each large, medium and small cams as well as standard button cap screws included in kit.
Jerry
Ah, I see, so the screw heads are what push the otherwise completely symmetrical cylinders? and to make my own screws, I’d take existing screws, screw them down, and then machine an off-center circle off their heads?
Yes, exactly. Kind of convenient actually. That’s just a starting point for machining all sorts of fixtures. Keep in mind that depending on at which point the cams start to “grab” your stock you may start going out of square. You could square on one side using standard screws or the alignment brackets or some combination of both. I’m anxiously awaiting the Nomad touch probe to become available for even more accuracy and repeatability.
Jerry
What is the distance between the mounting screws on the vise?
The Nomad threaded table have M6 holes on a 1" grid and as Proxxon (not being Americans) usually uses metric dimensions I’m wondering if it will fit the threaded table.
Could you measure the distance between the mounting screws? I would like to get a vise like that if it fits.
Kind of unrelated, but does anyone with the Nomad threaded table know if it can be bolted directly to the Y carriage (as opposed to on top of regular table?) All of the pictures I’ve seen are this way. It might be a concern since you already lose 1/4" in the Z axis as both the HiTech and Nomad tables are 1/2". Stock table is 1/4". Add to this the height of the vise and you might run in to problems.
The hitech table bolts directly to the axis, it does not sit on top of the other tables.
Something you might not expect about the hitech table… It’s threaded field is 10-32. The only metric holes are those that fit the vice and flip jig, and the 4 corner holes that take the screws that let you bolt down the stock mdf waste board on top of it if you want. It’s not really a problem, it’s just a little odd to have a mix of metric and imperial on the same table like this.
I’m sorry. I should have made myself clear. I have the HiTech. I was wondering if the Carbide3D threaded table could be mounted directly, so that you only lose 1/4" of travel and not 1/2". It would be nice to stay with metric since, I’ve gotten used to working this way now and wouldn’t have to stock two sets of hardware.
BTW: A simple fix that I use when looking for a quick and precision mount for adding devices to my machine (Threaded table) is to make an adapter plate.
Take a piece of 1/4 aluminum about 1 - 2 inches (25 to 50 mm) larger then the device (The precision vise in this case).
Drill some mounting holes into the plate that match your machine’s threaded holes.
Mount the Vise to the adapter plate (make sure that the vise is square to the level of precision that you need).
Now you can mount the vise anywhere onto the table (parallel to the X OR Y axis in just a few seconds.
FYI: Advanced User Tip: I have favorite vise positions on my table that I like to use, so after mounting the vise to the table the FIRST time, I carefully find the X, Y and Z position of the back left solid jaw, and record this dimension in a word document that I keep on my home page.
When I am ready to machine a part in a vise I mount the vise on the table, load my part to machine (I will also use the back left as my X0, Y0 during programming) and move my machine to this home positions (copy and paste from my word document recorded earlier) of the part located in the vise without ever having to measure anything again. Work Smart.
I assume the vise sits on top of the adapter plate? (thinking of the z dimension loss when I’ve got the original plate, the carbide threaded bed, then the plate, then the vise) Or do you mill out a pocket for it?
Do you mount the vise to the plate via threaded holes or in some other way?
Since there is no standard, 99.99% of the time, the vise mounting holes don’t match the machine spacing, hence the adapter plate.
Mount the plate to the machine’s threaded plate (I like flat head screws, since they lock the plate solidly to the machine, as compared to say cap screws that have clearance (slop) issues)
Place the vise onto the adapter (via clamps) (I indicate the back jaw within 0.0005"), then locate the mounting holes on the vise, and Drill the mounting holes using your CNC machine.
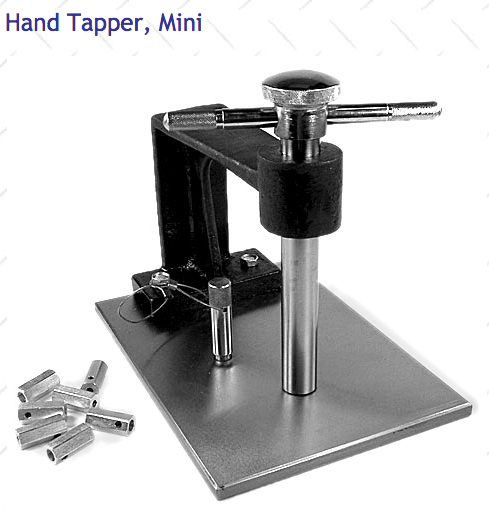
Remove the adapter plate, tap the holes using an aid to ensure they tap is normal to the hole. ( I use a mini hand tapper (see photo).
Loosely (snug) mount the vise to the adapter plate (using quality fasteners and Loctite on the threads), and place the adapter plate back on the machine.
Indicate the back edge of the vise and tap the vise so that it is straight, square, and then tighten the Vise mounting screws TIGHT
You’re done!
The problem with these low budget CNC machines is the Z height (never enough(, and yes this design does sacrifice 1/4.