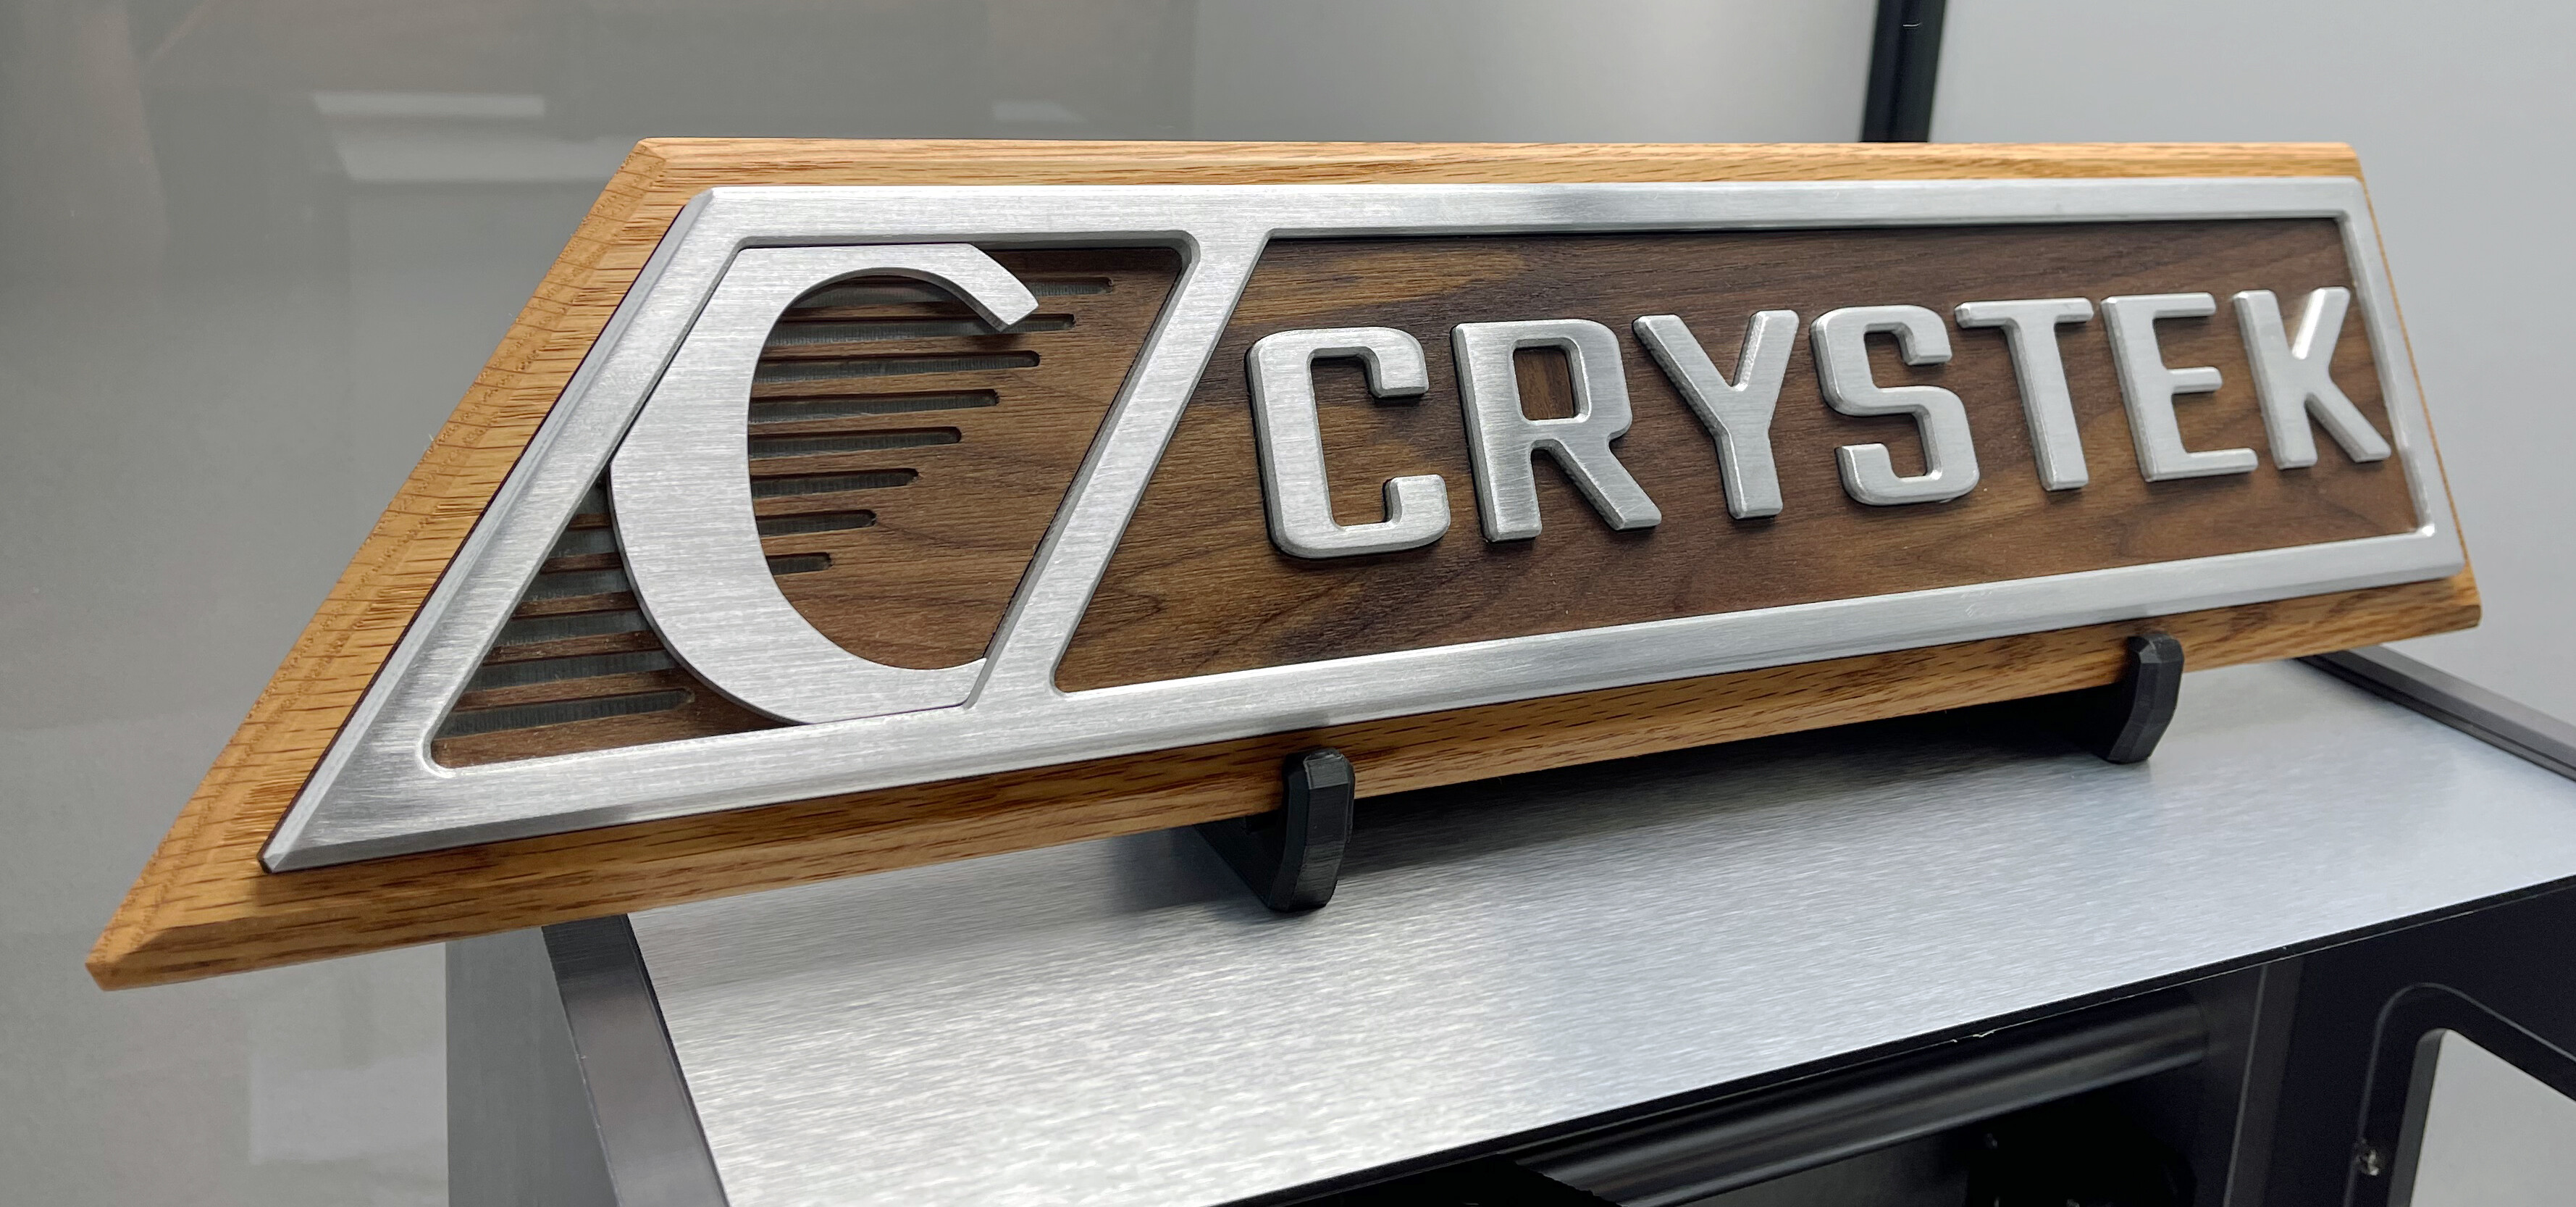
Got a lot of compliments for this piece, the Pro let me gap accurately at .015 for a perfect fit all the way around!

39 Likes
Thats a great brushed finish!
One of those ‘hey - I know that logo’ moments. Good company if you like things that oscillate.
2 Likes
Gorgeous and inspiring as always, Max! Thanks for sharing!
2 Likes
Wow, beautiful! How did you get that finish on aluminum? Hand finish it in one direction?
2 Likes
@PhilG - I was lucky enough to get a tour of the brand new Crystek facility yesterday, all I can say is wow!
@Microwave_Monkey - Thank you Scott, I study every one of your posts with great detail and consider you a master craftsman. Your body of work is beyond impressive.
@The_real_janderson - This photo was a mock-up, it got some more detail brushing before being presented. I polish the metal to 5000 grit then brush it with 220. On this particular instance, I took 6" sticky orbital pads and stuck them on a table, and dragged the piece in one direction repeatedly for quite a while, lol. You have to continuously go in a straight motion all the way from edge to edge. Stopping or wavering mid way will cause a noticeable scuff that will take many passes to remove.
I feel that brushed is the best way to preserve a nice surface, polished is instantly fingerprinted and dulls so quickly.
Painters tape will help a lot.
10 Likes
Beautiful work really nice and another reason why i need a Pro (just getting me list ready for Board approval lol)
how long was machining time please if you know?
Regards
Jon
1 Like
@Sherpa -Thank you very much Jon. Do not hesitate. The Pro is so nice, I loved my standard S3 but the Pro is so strong and smooth and sturdy, it is a significant upgrade.
All together not including the 3d printed stand, it took about 72 hours.
Mistakes were made! Unfortunately I let my Sweepy V2 get a little too low and it bumped a clamp and lost position. This caused me to lose a 40 dollar piece of aluminum and 18 hours of carving.
3 Likes
Absolute class @CNCInspiration There’s something about timber and brushed aluminium - it’s a good look!
May I ask what tooling and feedrates you used for your chamfers? I often struggle getting a clean chamfer on my XXL, even my best results end up with a bit of chatter
1 Like
Hi Stutaylo,
Thank you, I very much appreciate the compliment!
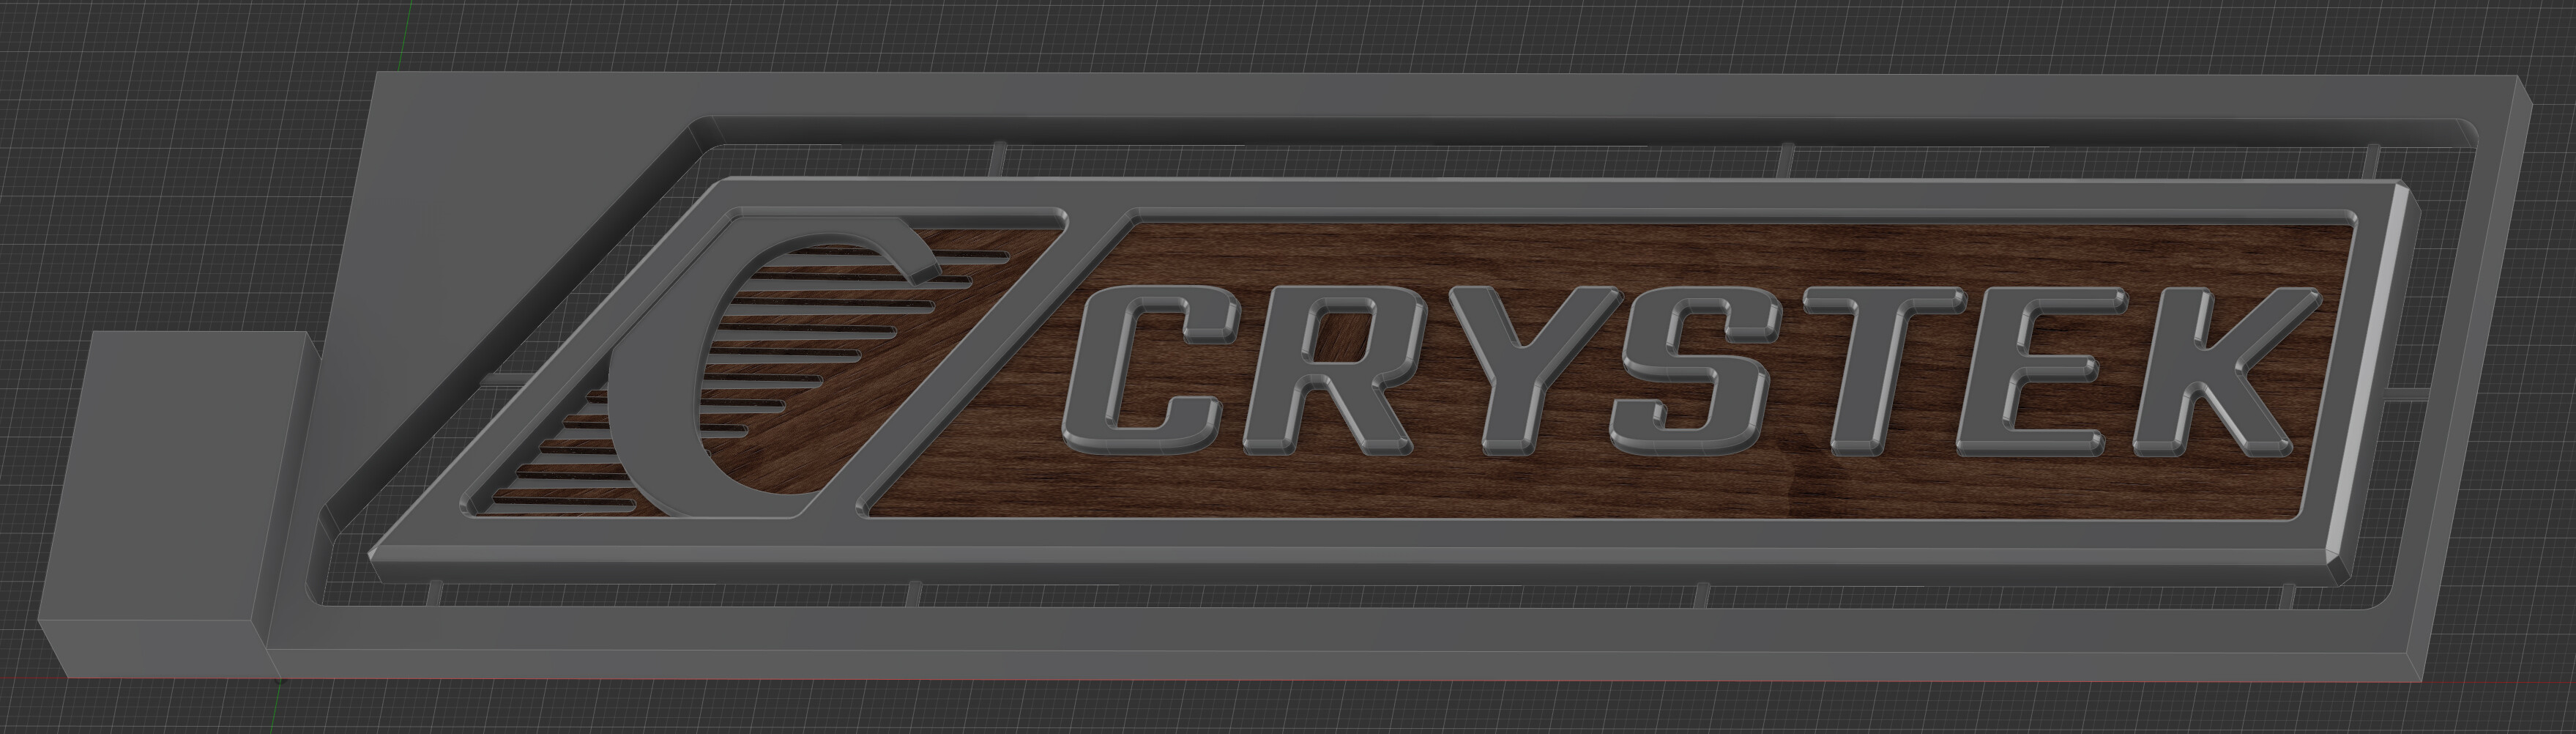
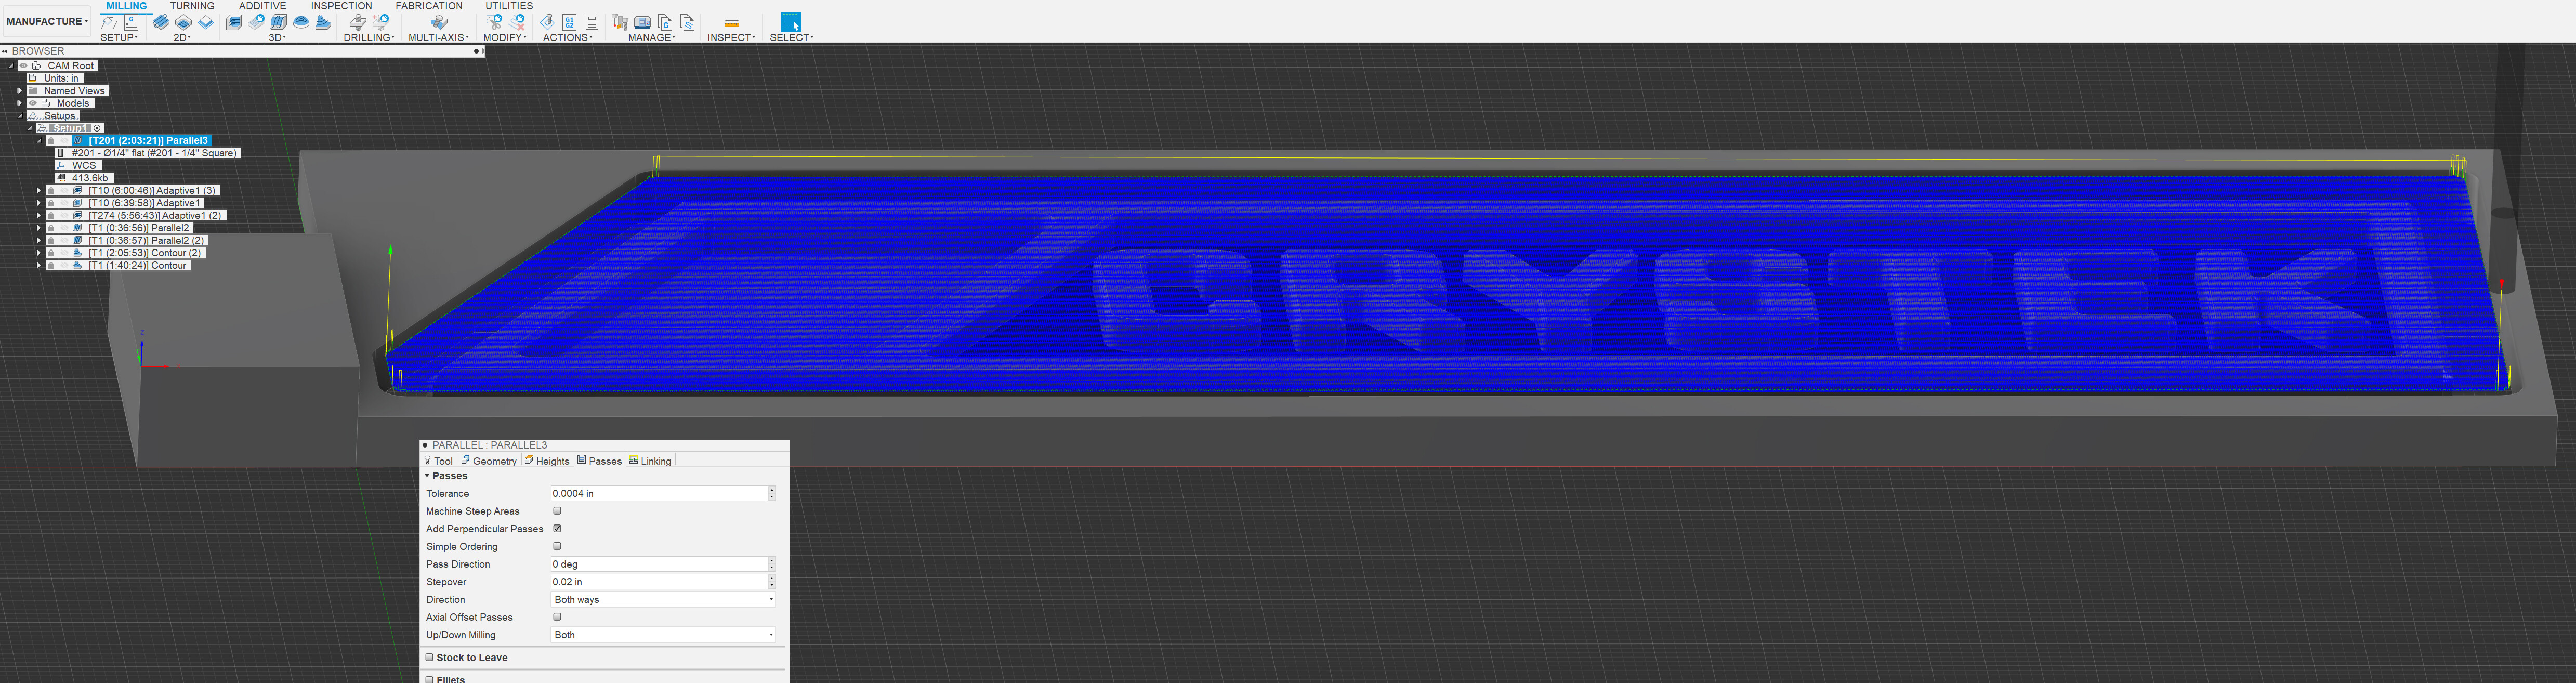
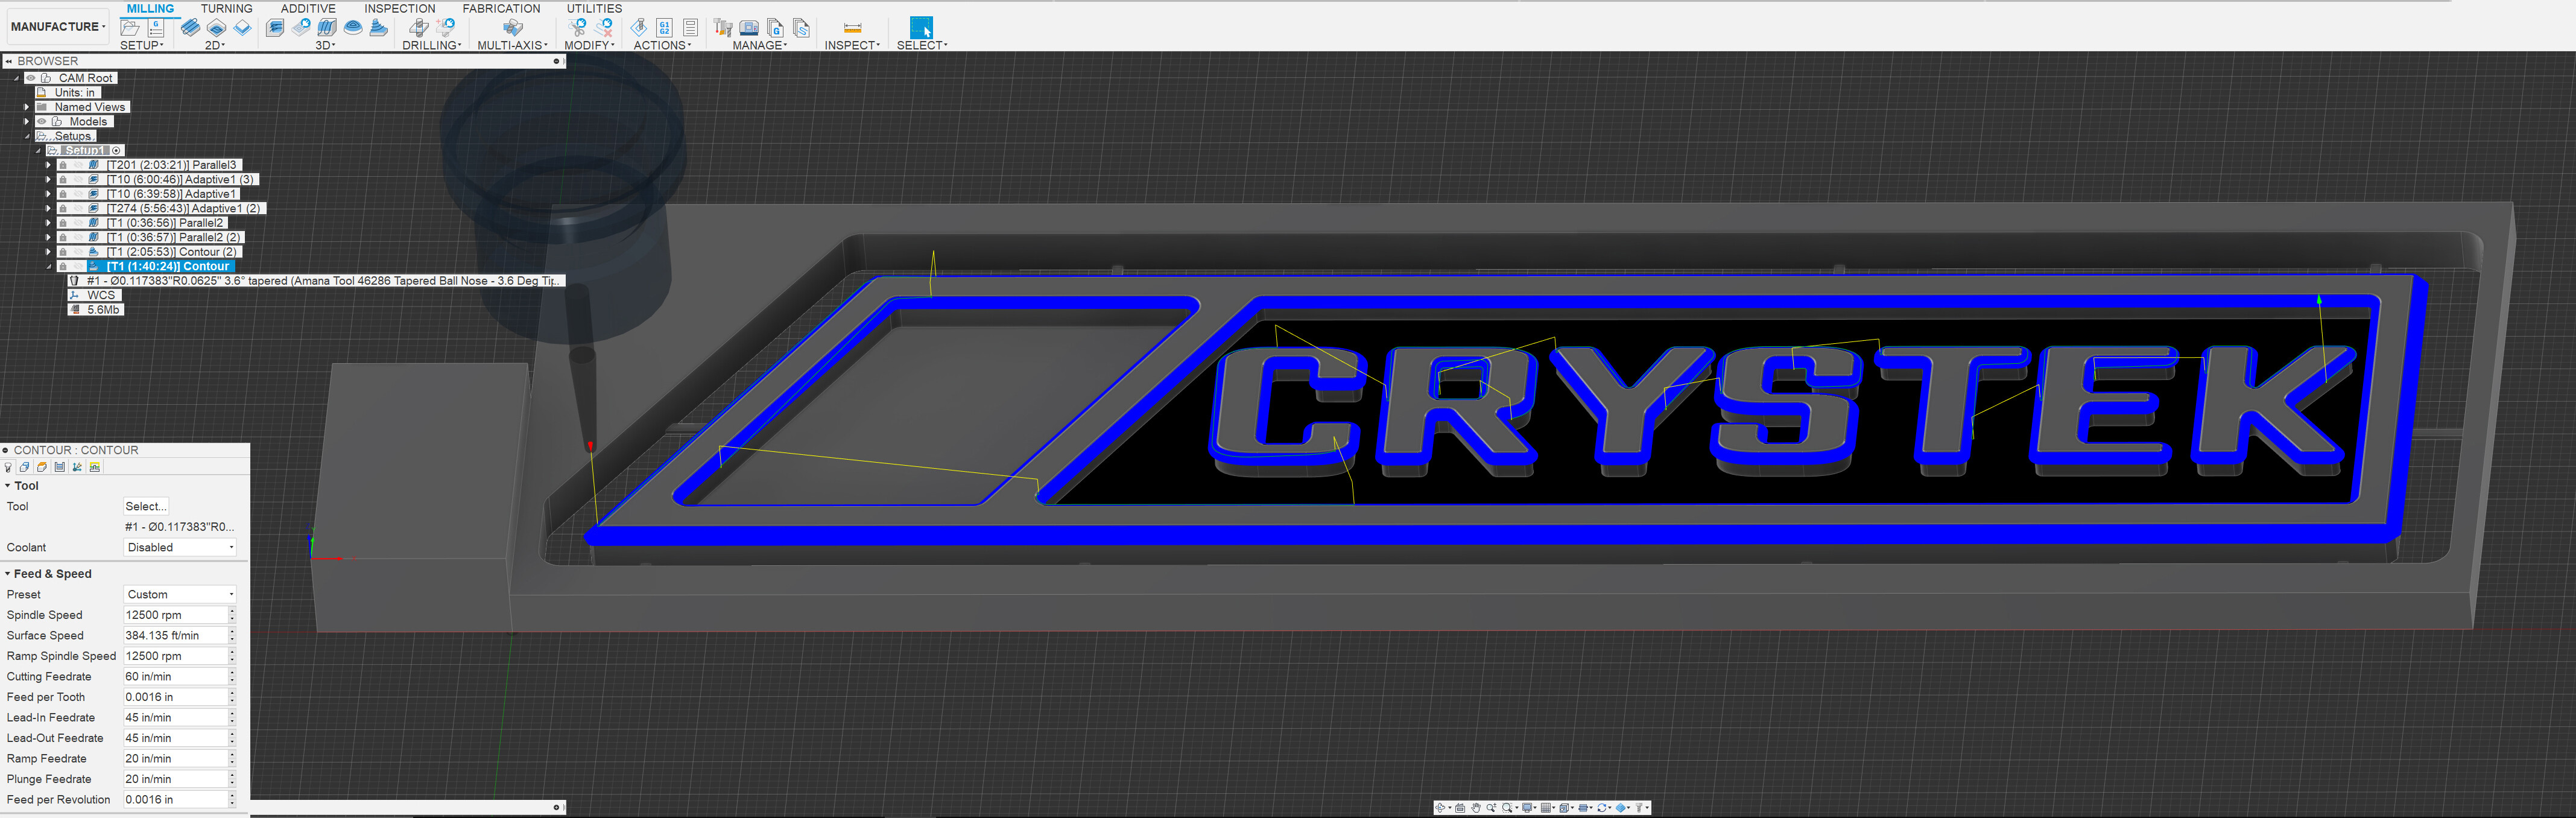
On this piece I start by modeling the top surface .01 below top. I run a parallel with a Carbide 3D #201Z flat 3 flute end mill with the perpendicular passes option checked, for a criss/cross top finish at .02 step over. This gives me the best top surface I can get.
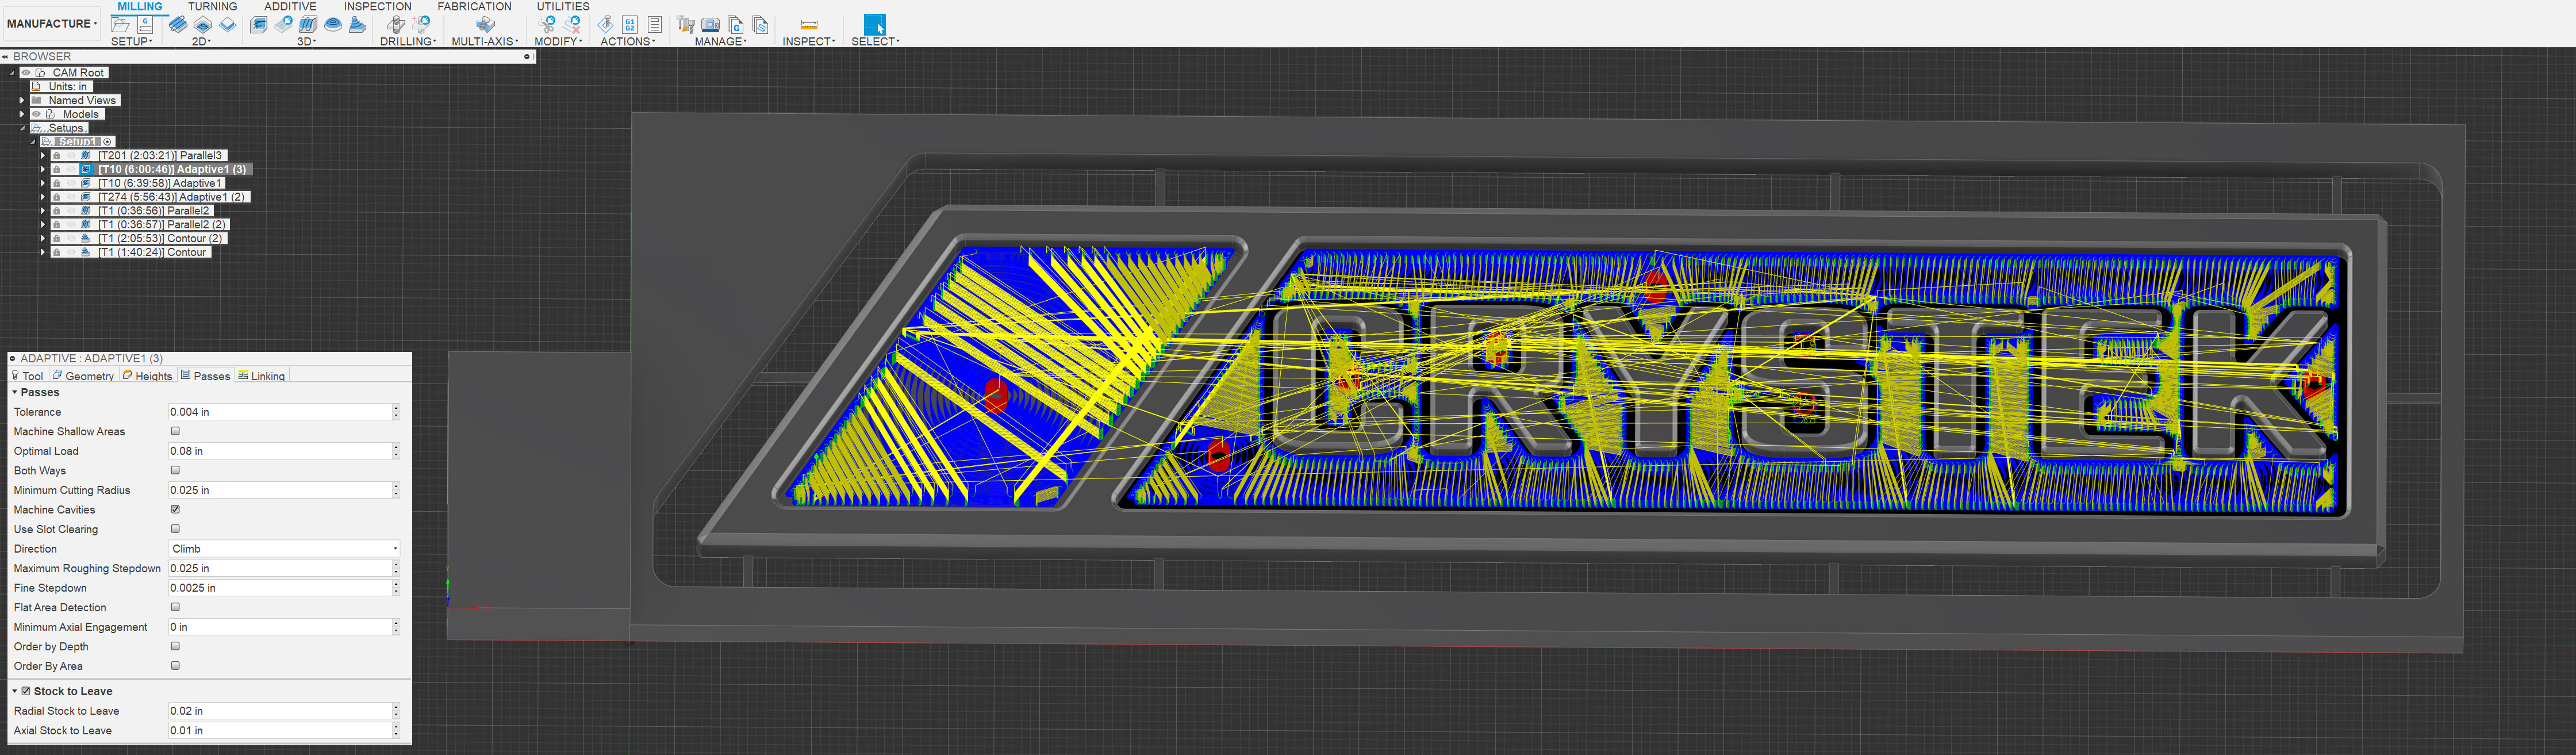
I then use a Carbide 3D #278Z 1/4" single flute to hog out the center parts, with moderate settings.
Next the same settings with outside outline only selected to carve out the outside frame, no Axial stock to leave so it does not mess with the tab heights.
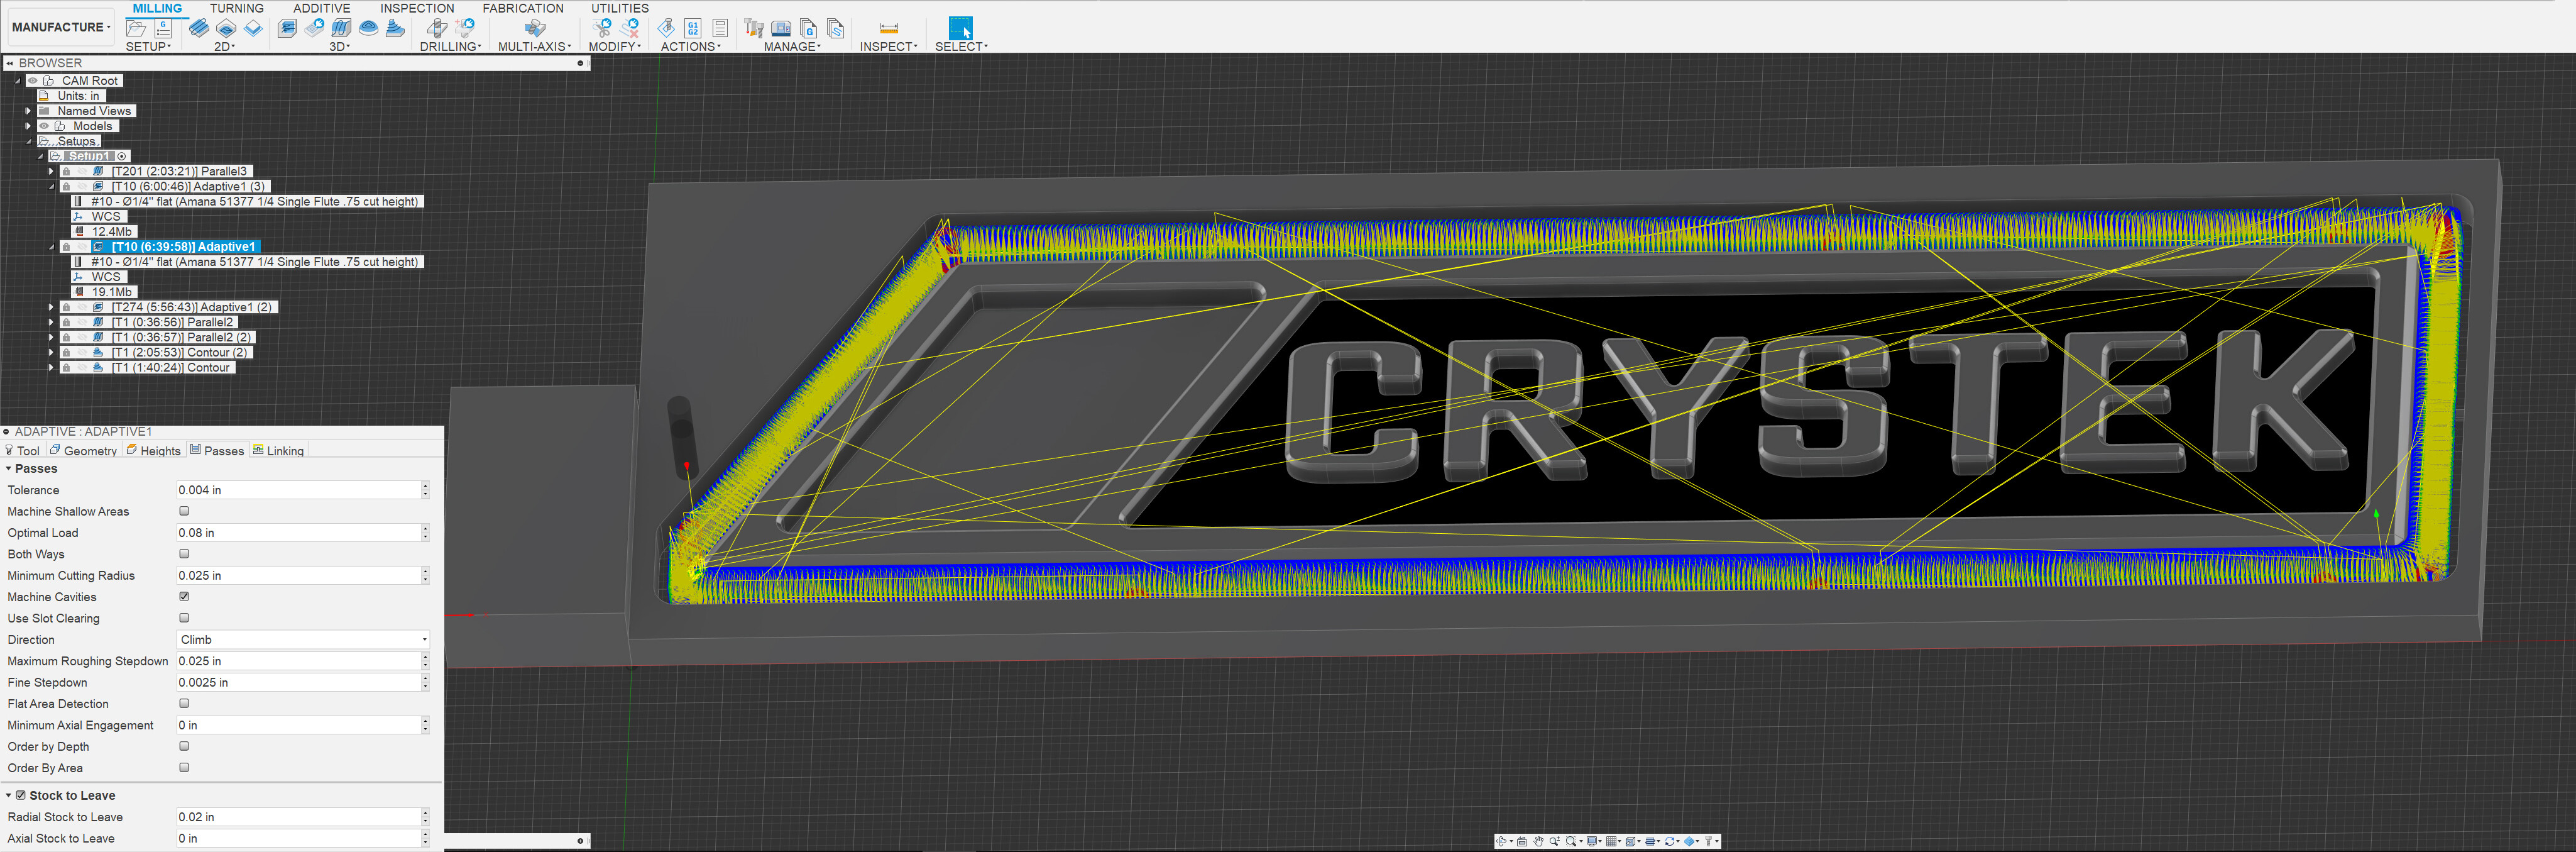
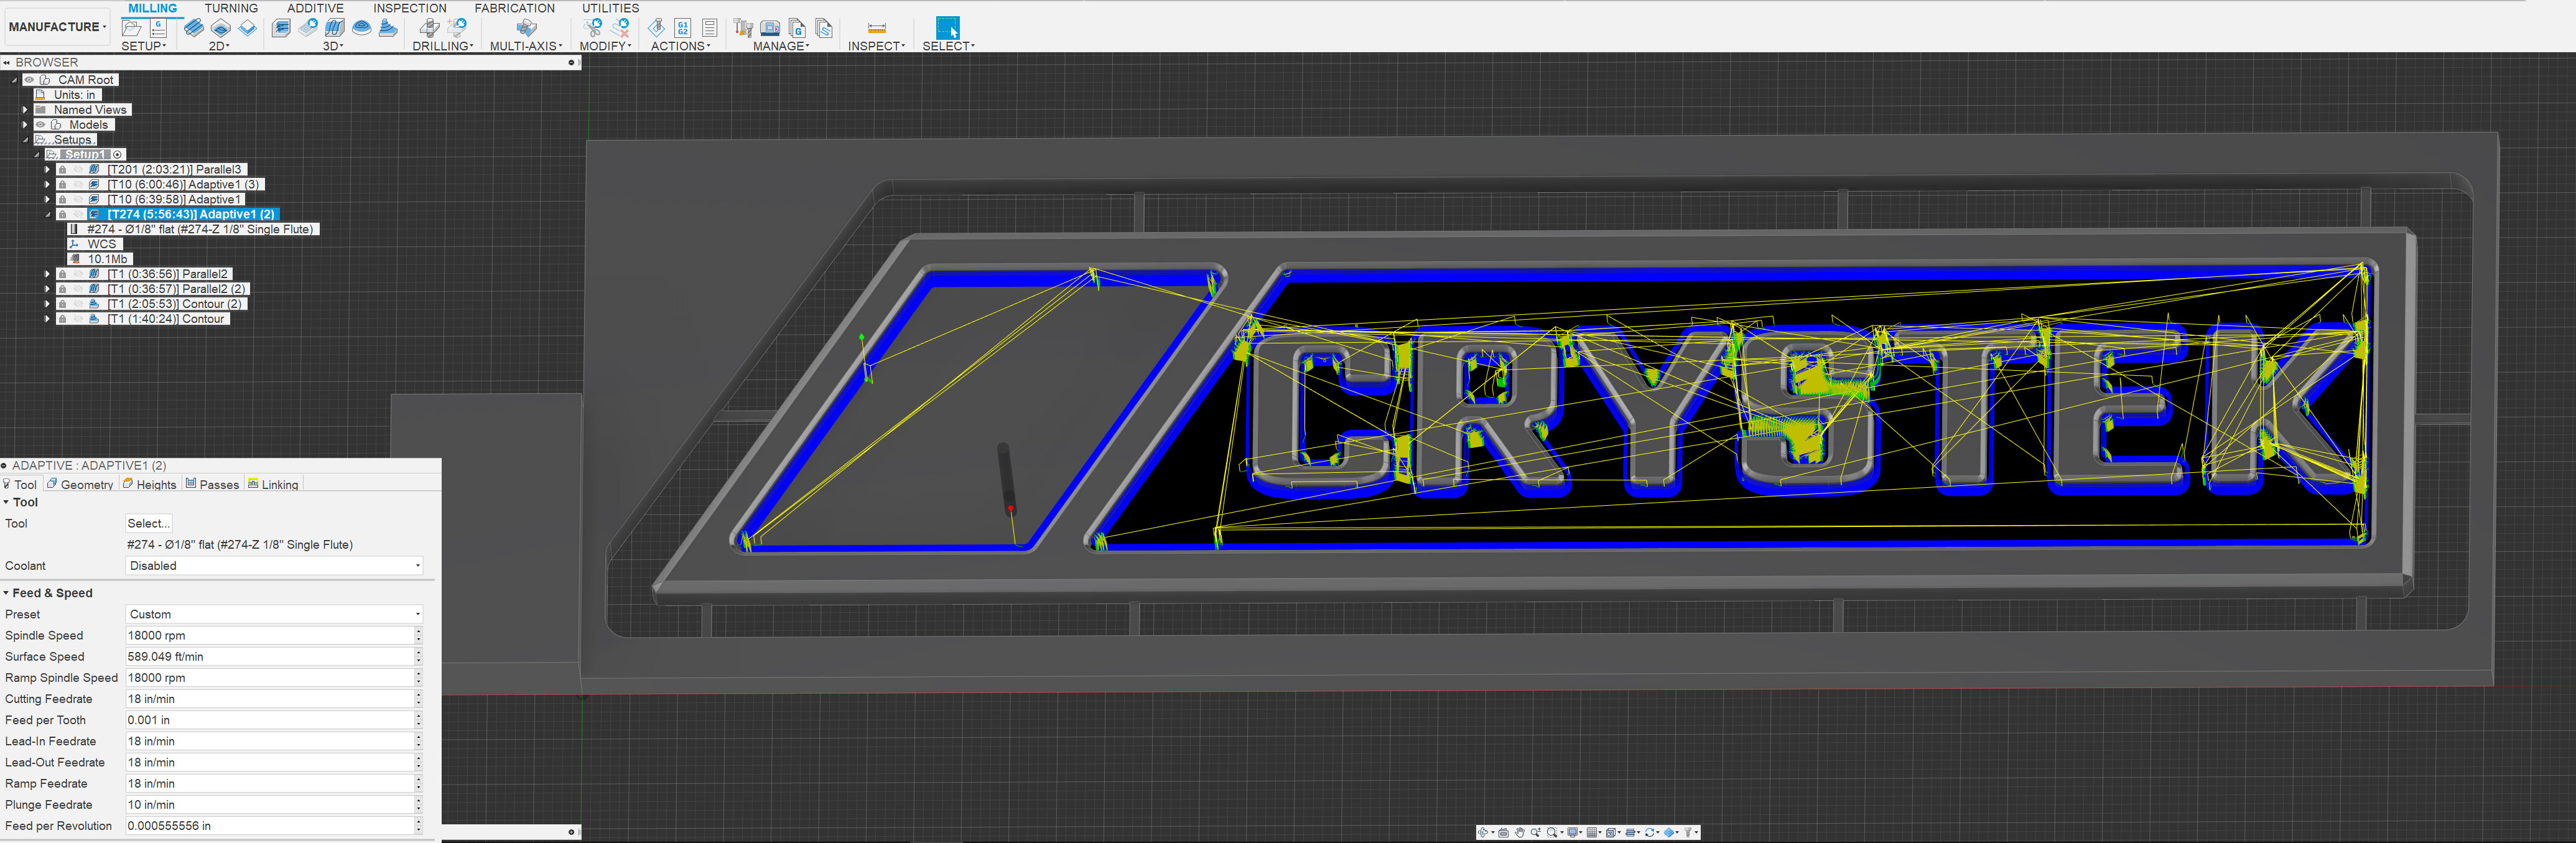
Next I step down to a Carbide 3D #1/8" #274Z single flute and gently carve out all the tight corners that I carefully designed to fit a .125" end mill.
Then I run two parallel operations with an Amana 46292 -3 flute, flat end mill. I give myself .01 stock to leave on the sides, and dig in .005 per pass, so I don’t bump into the letters, and do perpendicular passes to get that criss/cross holographic look on the inside floor.
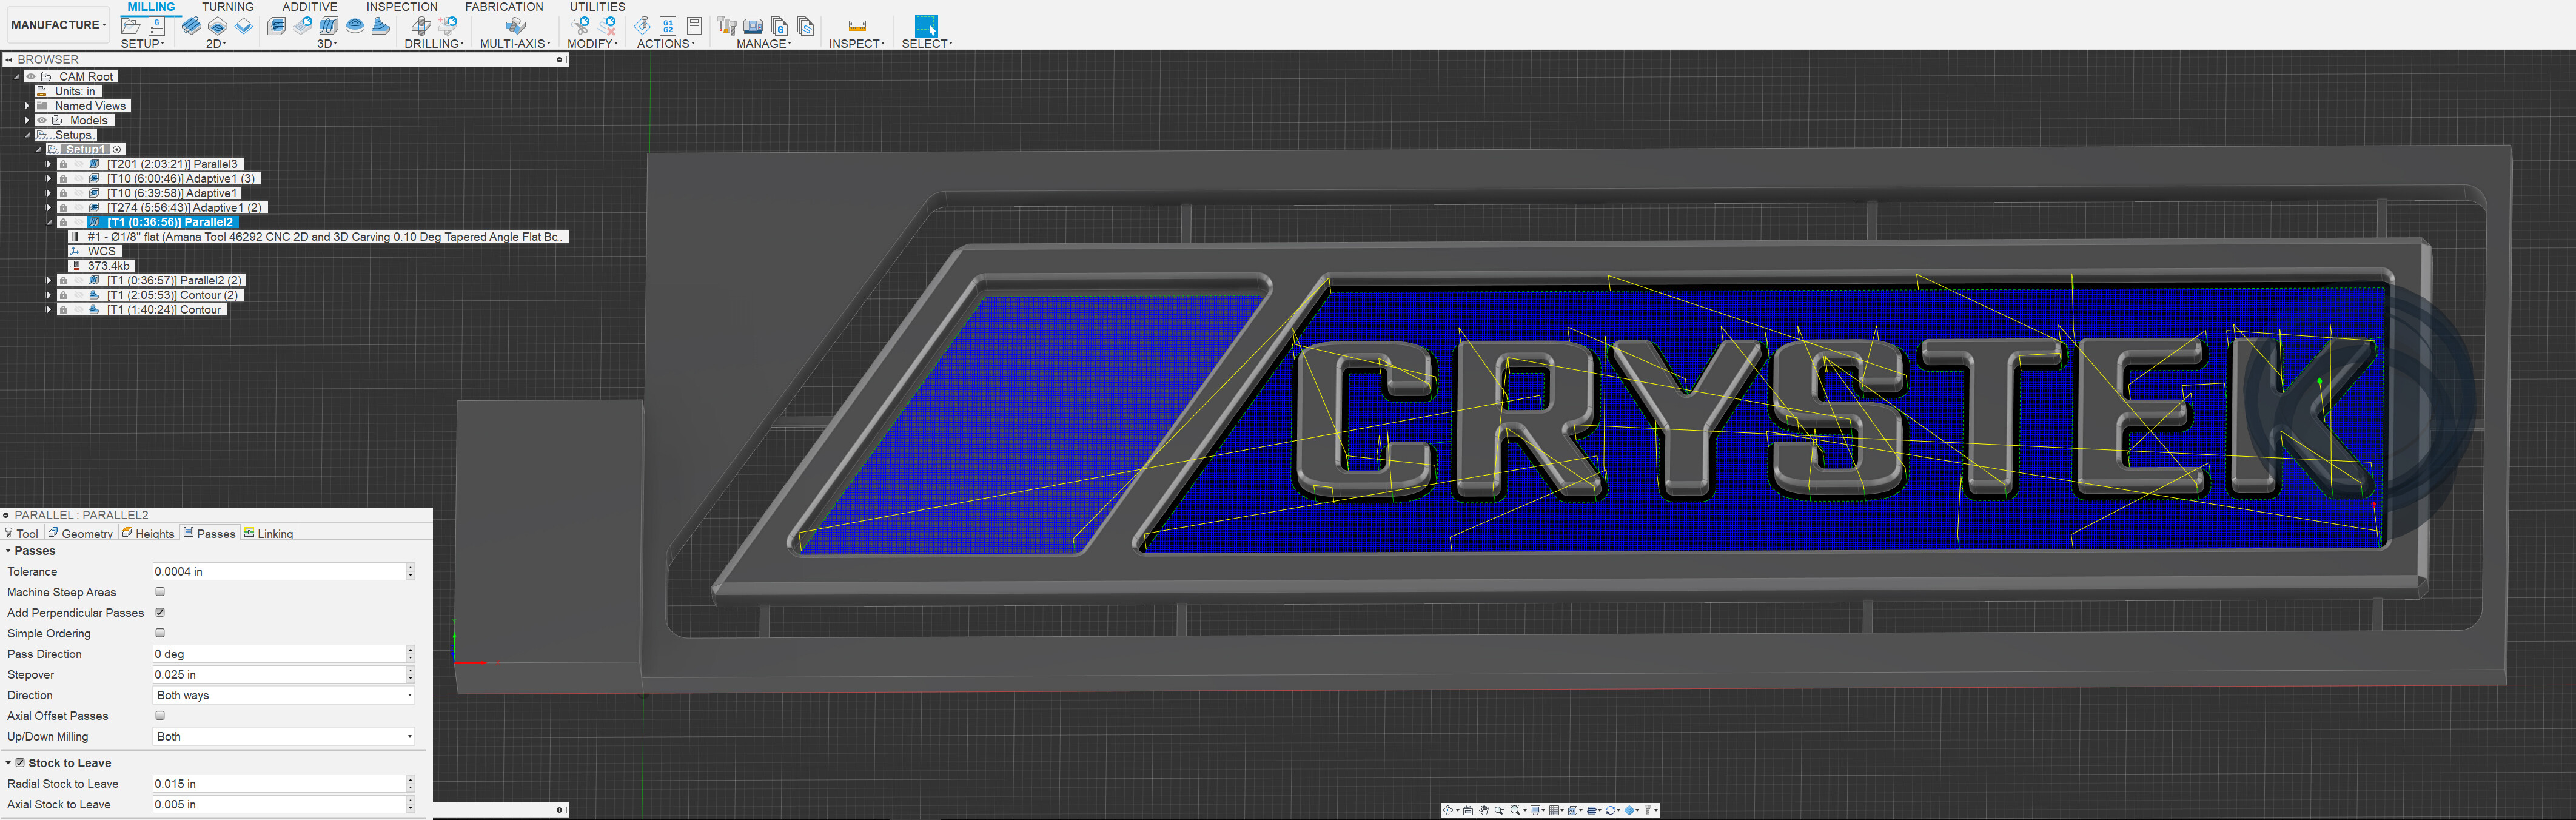
After that it is on to removing the stock to leave and running a finishing pass on the vertical walls.
I use Amana 46292 3 flute flat 1/8" end mill and set the geometry tab to use a slope of 89 to 90 degrees to limit the end mill to only mill the vertical walls. I also make a invisible border to select that does not touch the outer walls, so I do not bother cleaning up the stock to leave that is on the outside frame wall.
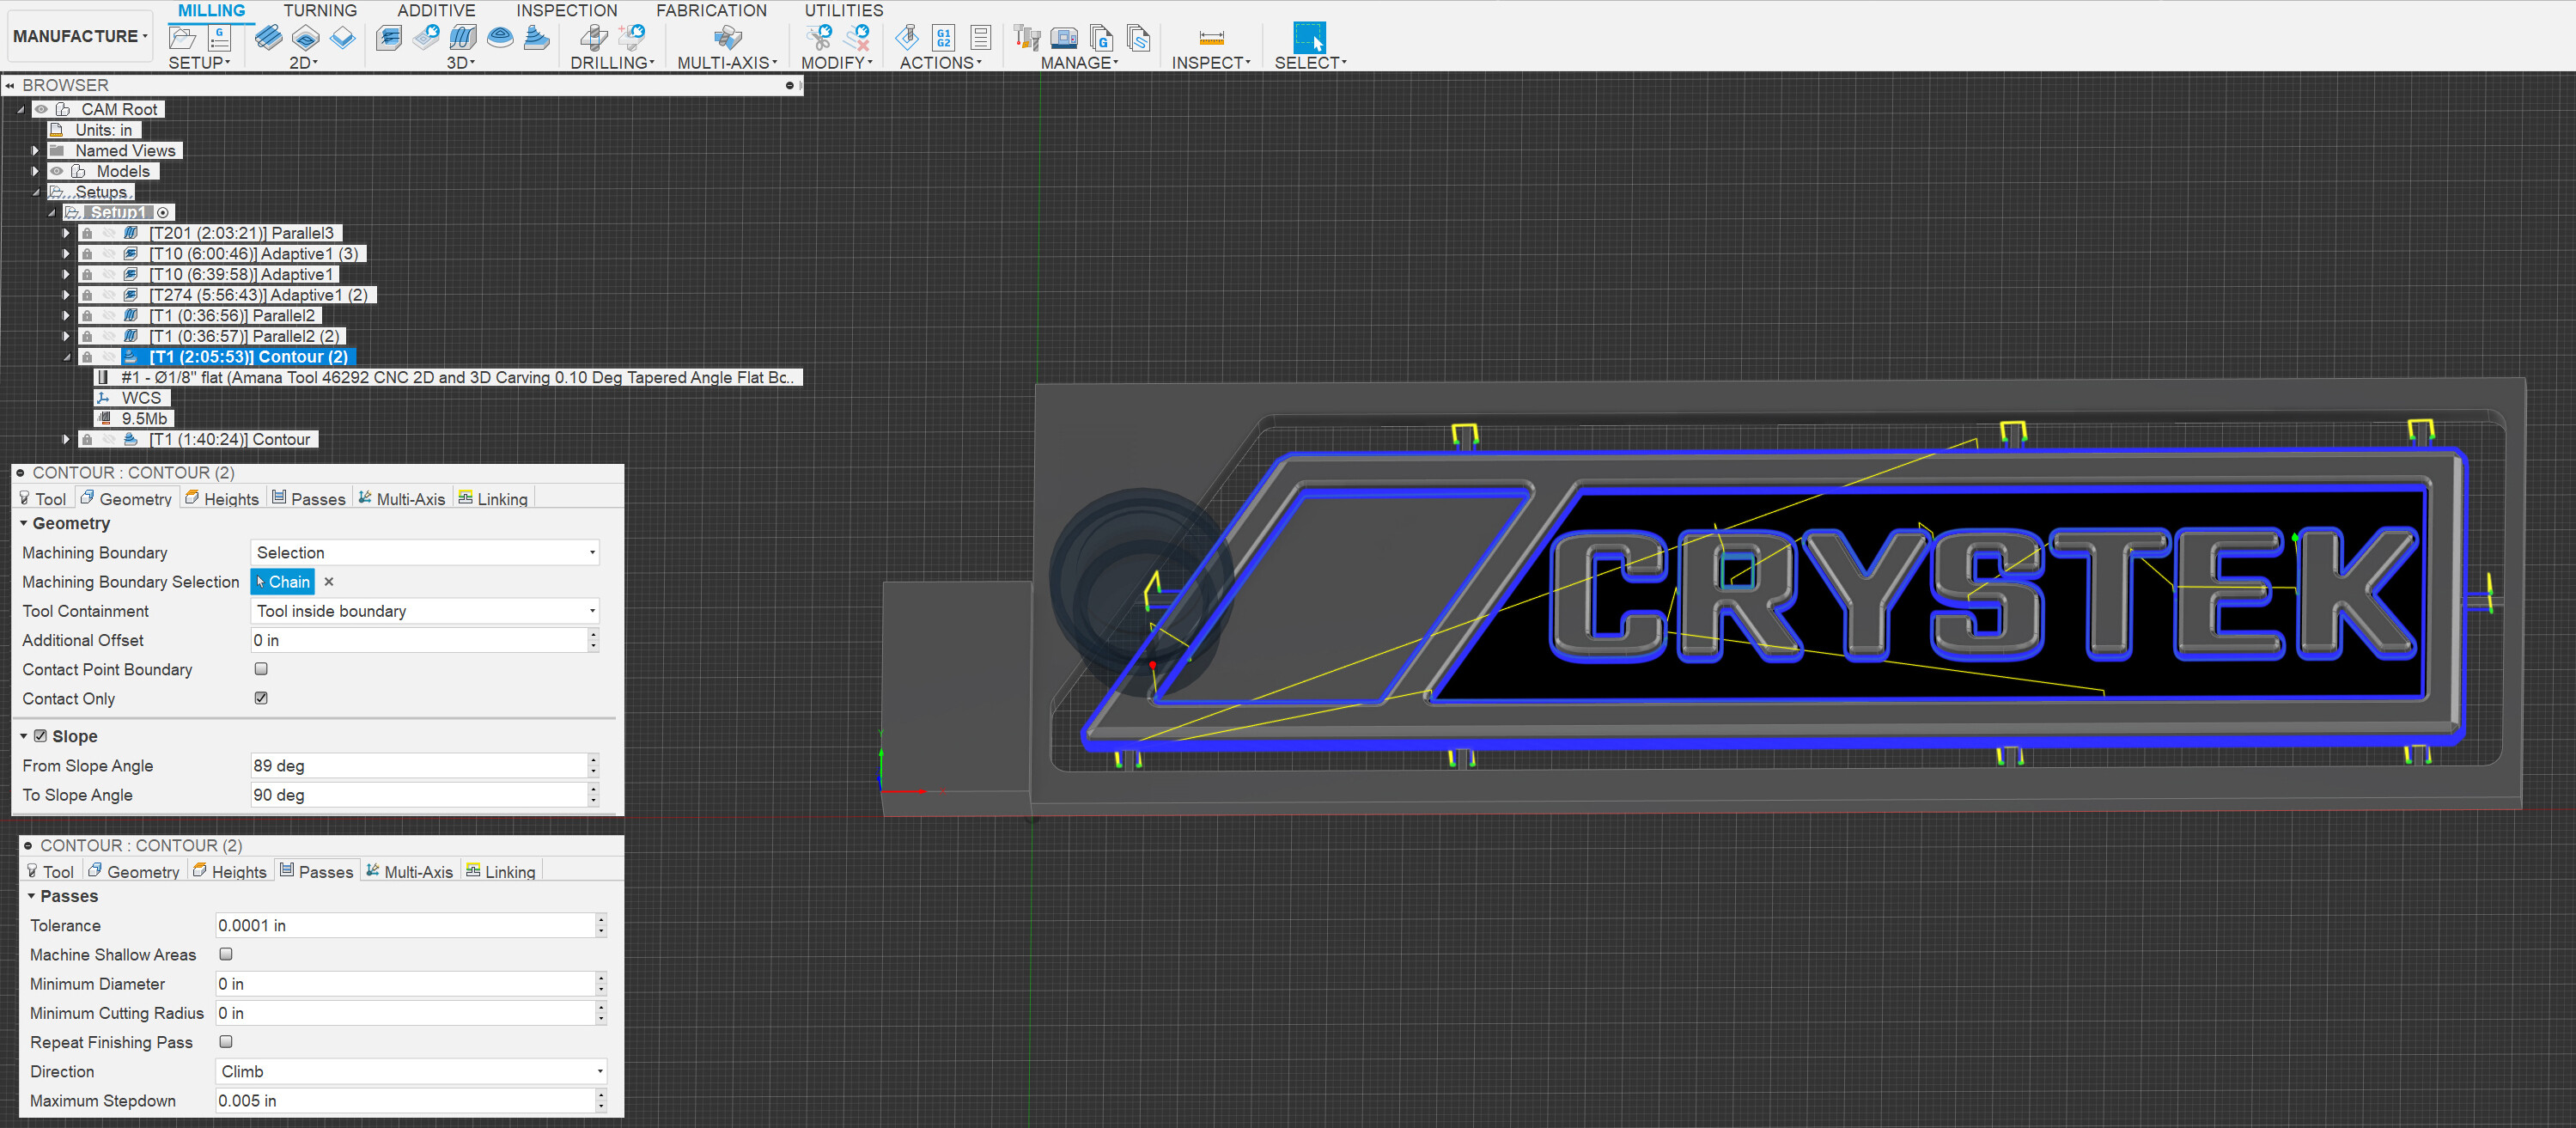
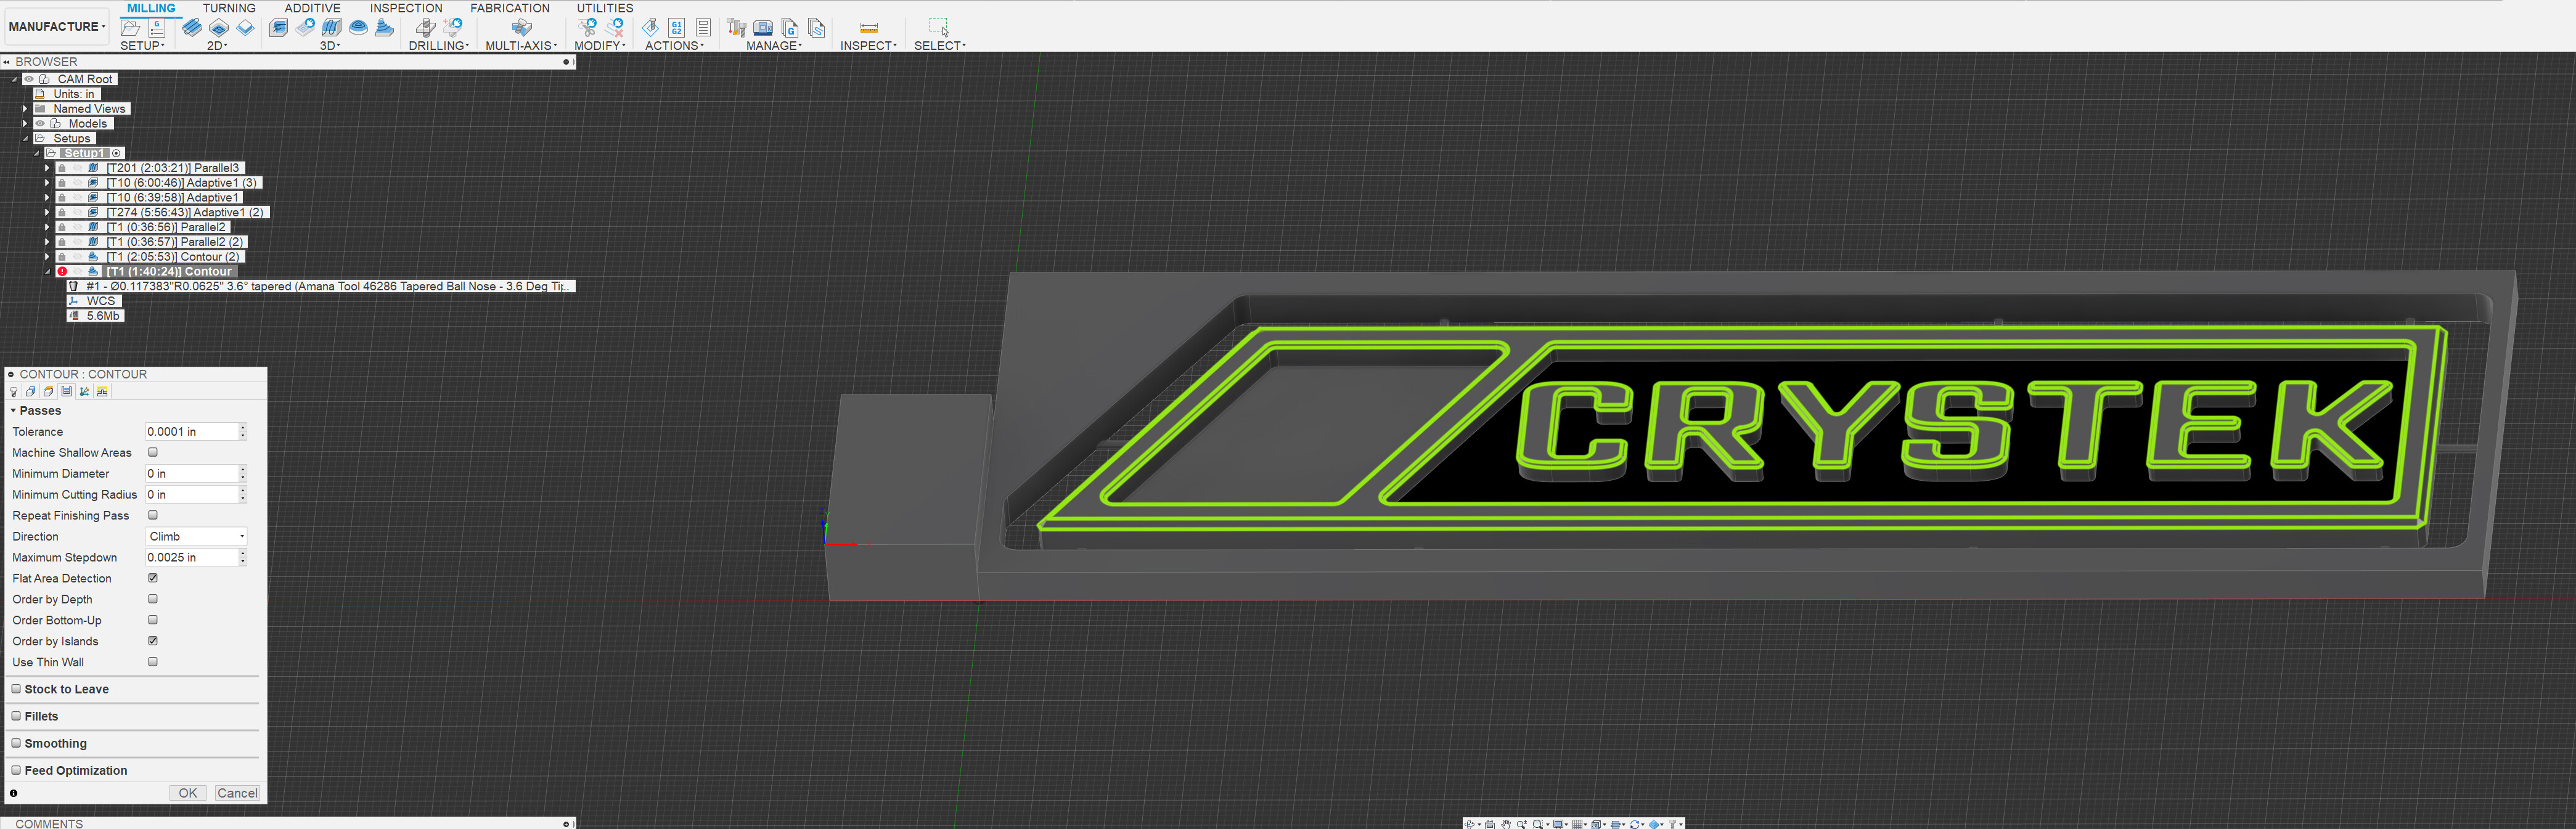
Finally the final contour of the chamfers, cuts through the remaining stock to leave, and takes a bunch of very tight passes with a step down of .0025 with a 1/8" ball mill, with the chamfers all selected individually and using tool outside of boundary setting to reach all the edges. On this piece I used an Amana 46286.
Hope this helps,
Any questions just let me know.
7 Likes
Awesome thank you - I haven’t yet tried chamfers with a ball mill, have always used a 90° chamfer tool. Looks like time to change it up!
Appreciate the detail, cheers!
2 Likes