Hello Forum,
Saw a post on my local neighborhood message board from a neighbor looking for some help in making a family crest. The project sounded fun so I replied and we went about discussing the project. I got some ideas of what they were looking for and some dimensions of how big they needed it to be. I designed it, cut it from maple ply on my XXL and delivered. Neighbor got it home and sent me an email asking for some ideas on what to put behind it. I asked for some photos of the crest along with the space they intended to hang it and the first thing that struck me was,“OMGoodness, I made it way too small!”. Looked through some emails and I had in fact made it to the correct dimensions, but having never seen where it was going to be hung I just made it…this is when I decided that I was going to have to take it a step further. Tossed around some ideas, and the thing with family crests is that they kinda get me thinking of the Middle Ages…so, I thunk to myself, they need a drawbridge,…or at least a castle door. I looked through the woodpile and found some of the worst looking pine boards I had and decided they would be perfect! Somewhere in there I started thinking about candle holders and kinda went off the rails. Another few days lost, and I had made some pretty cool candle holders to go with the castle door. Outside of the original “idea” I hadn’t spoken with my neighbor or shared any pictures, I waited till she had time to bring the original crest back to show her the whole assembly.
Candle holders:
Prefinish (Note coffee maker and ant-acid bottle in the background, necessary for all good work!):
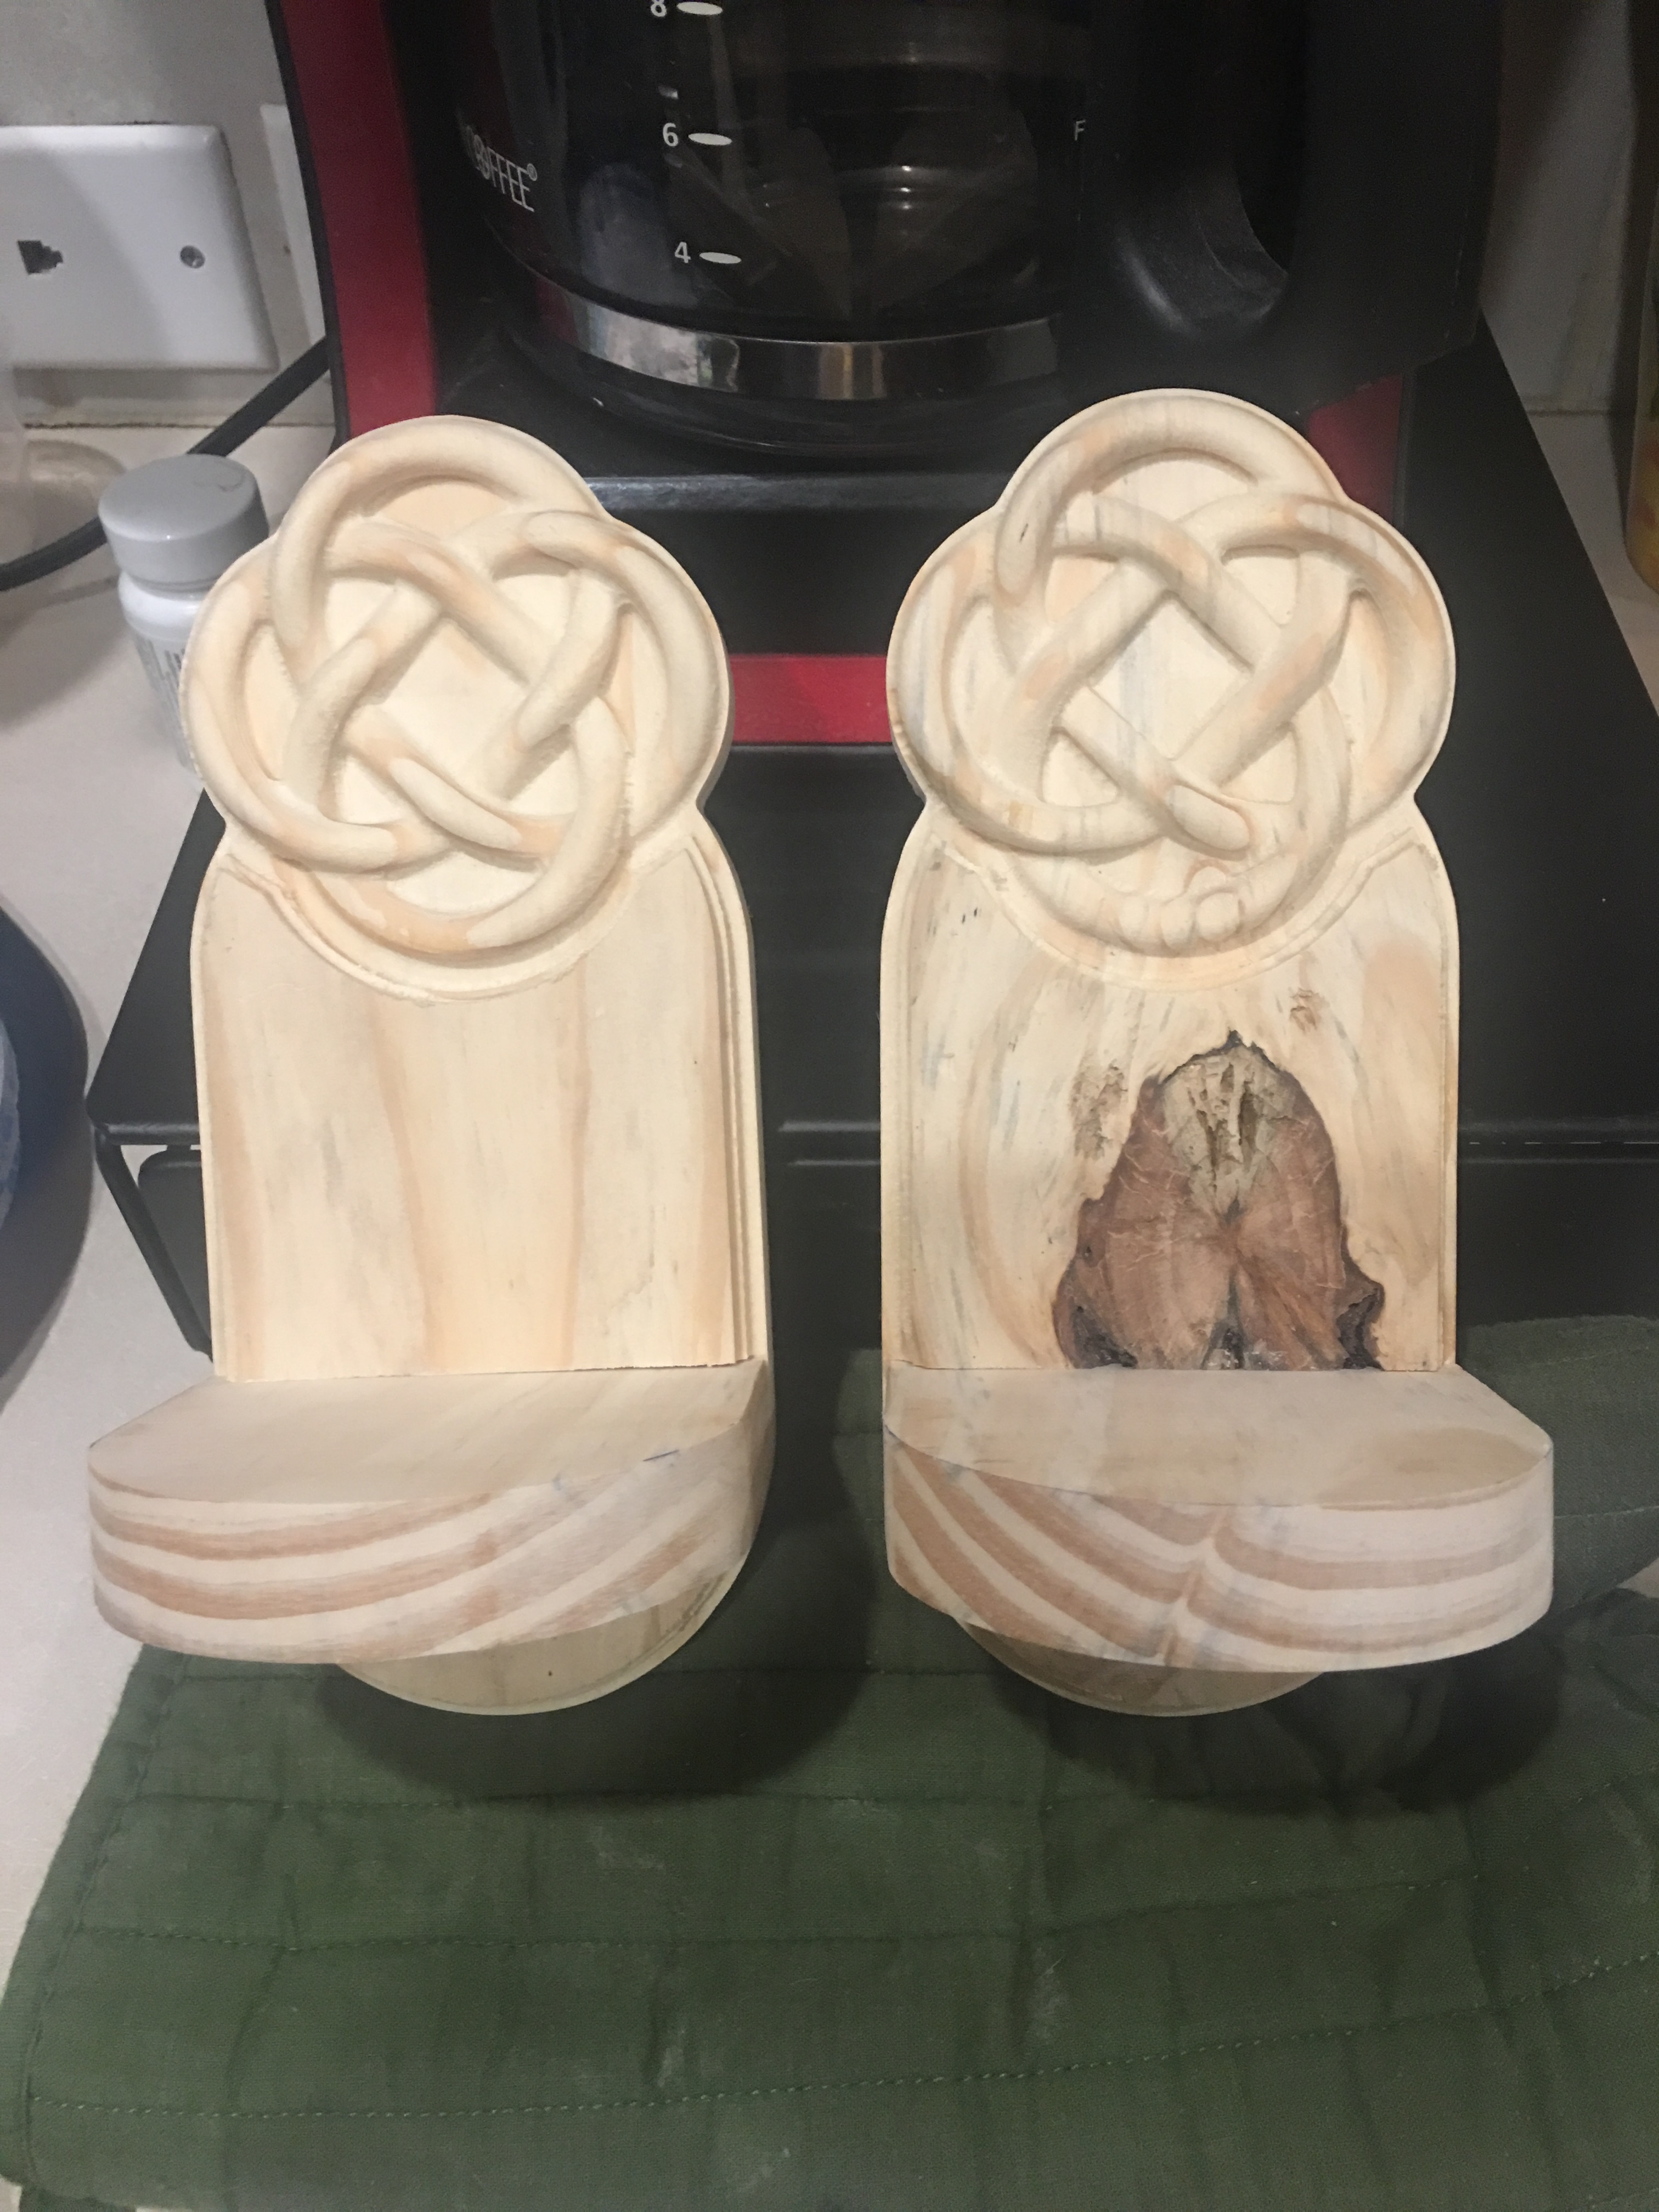
Post finish or gray (looks brown in this photo) stain, sanded with scotchbrite pad. Made the holder portion with just shop tools, no SO3, and the little round holders are loosely held in place with 1/4" dowels so they can be removed to add tealight candles:

Door prior to final finish, after blowtorch treatment:
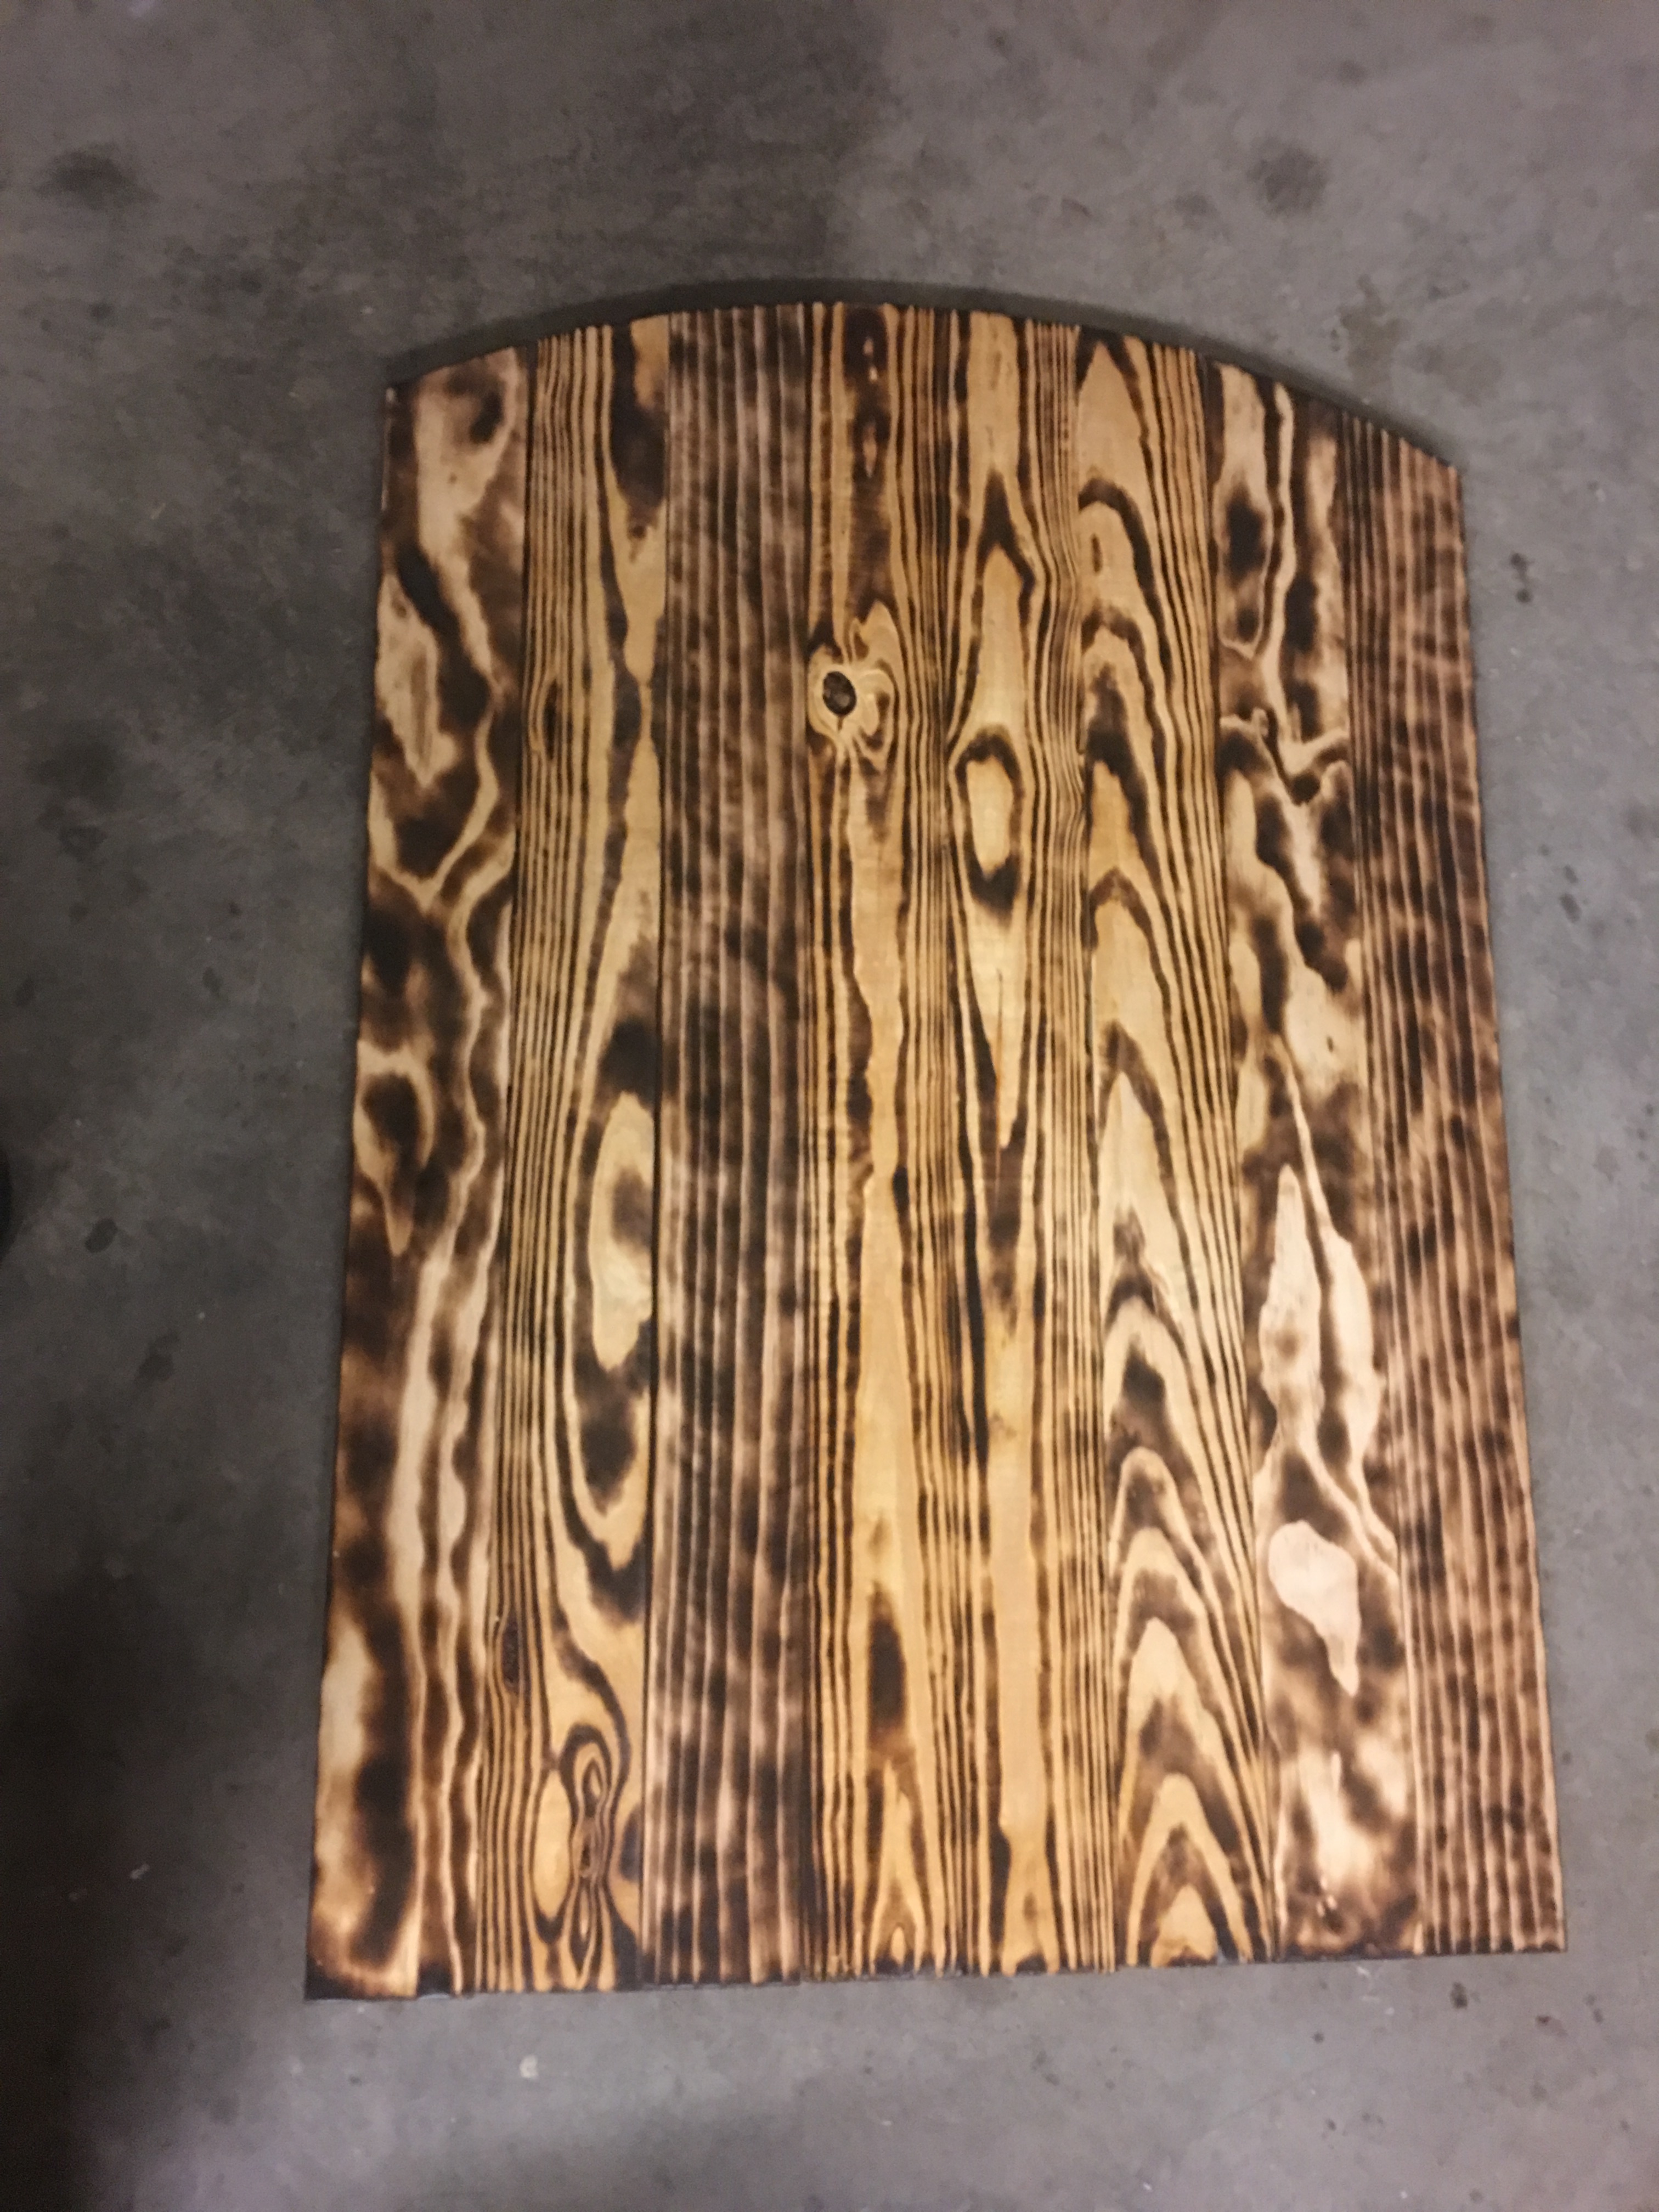
Added some wooden dowel plugs (too simulate nails), a little more torch, then final finish with “not so secret sauce” (steel wool in vinegar till it rusted, then strained through a coffee filter) and wiped on several coats. A little more torch on the ends and around the “nails”. Some more sanding. And final assembly:

Think it turned out pretty good, and the size and arch at the top fit into the wall cutout of the neighbors house perfectly with about 7" of bare wall all around.
Much of the original artwork was provided to me except for the knots around the last name (used Knotter for this, then tweaked in VCarve). I redrew majority of it to make it “CNC-able”, added many small bands and ribbons in offset. Pictures aren’t great, it flows together better in real life.
Thanks for looking,
Dan