Seems to be the common pre-assembled practice.
Might recommend suggesting this to @robgrz
We went ahead and swapped out the grub screws for socket head cap screws today on all axes (and more blue loctite gel).
They’re actually an M4 thread. You will need M4 x 8mm even though 6mm would work. The extra 2mm is useful should the head ever snap off so you can grab onto it with a vise grip.

I, just recently, had one shear off flush with the outside of the pulley. I had to cut the pulley off and replace it.
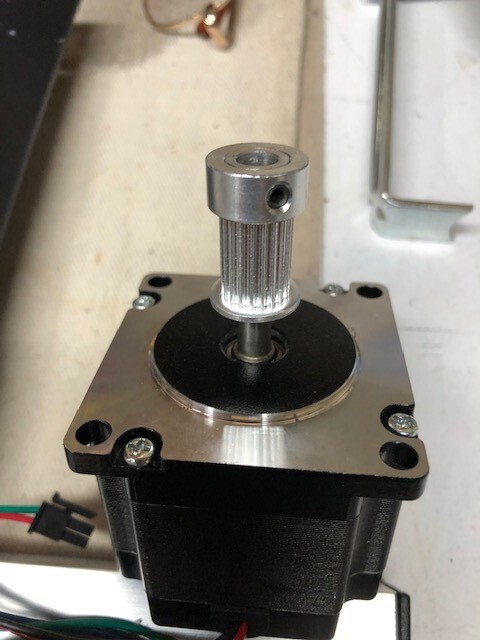
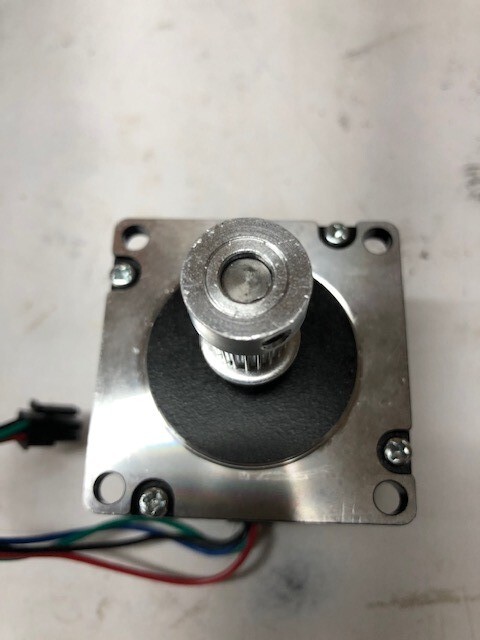
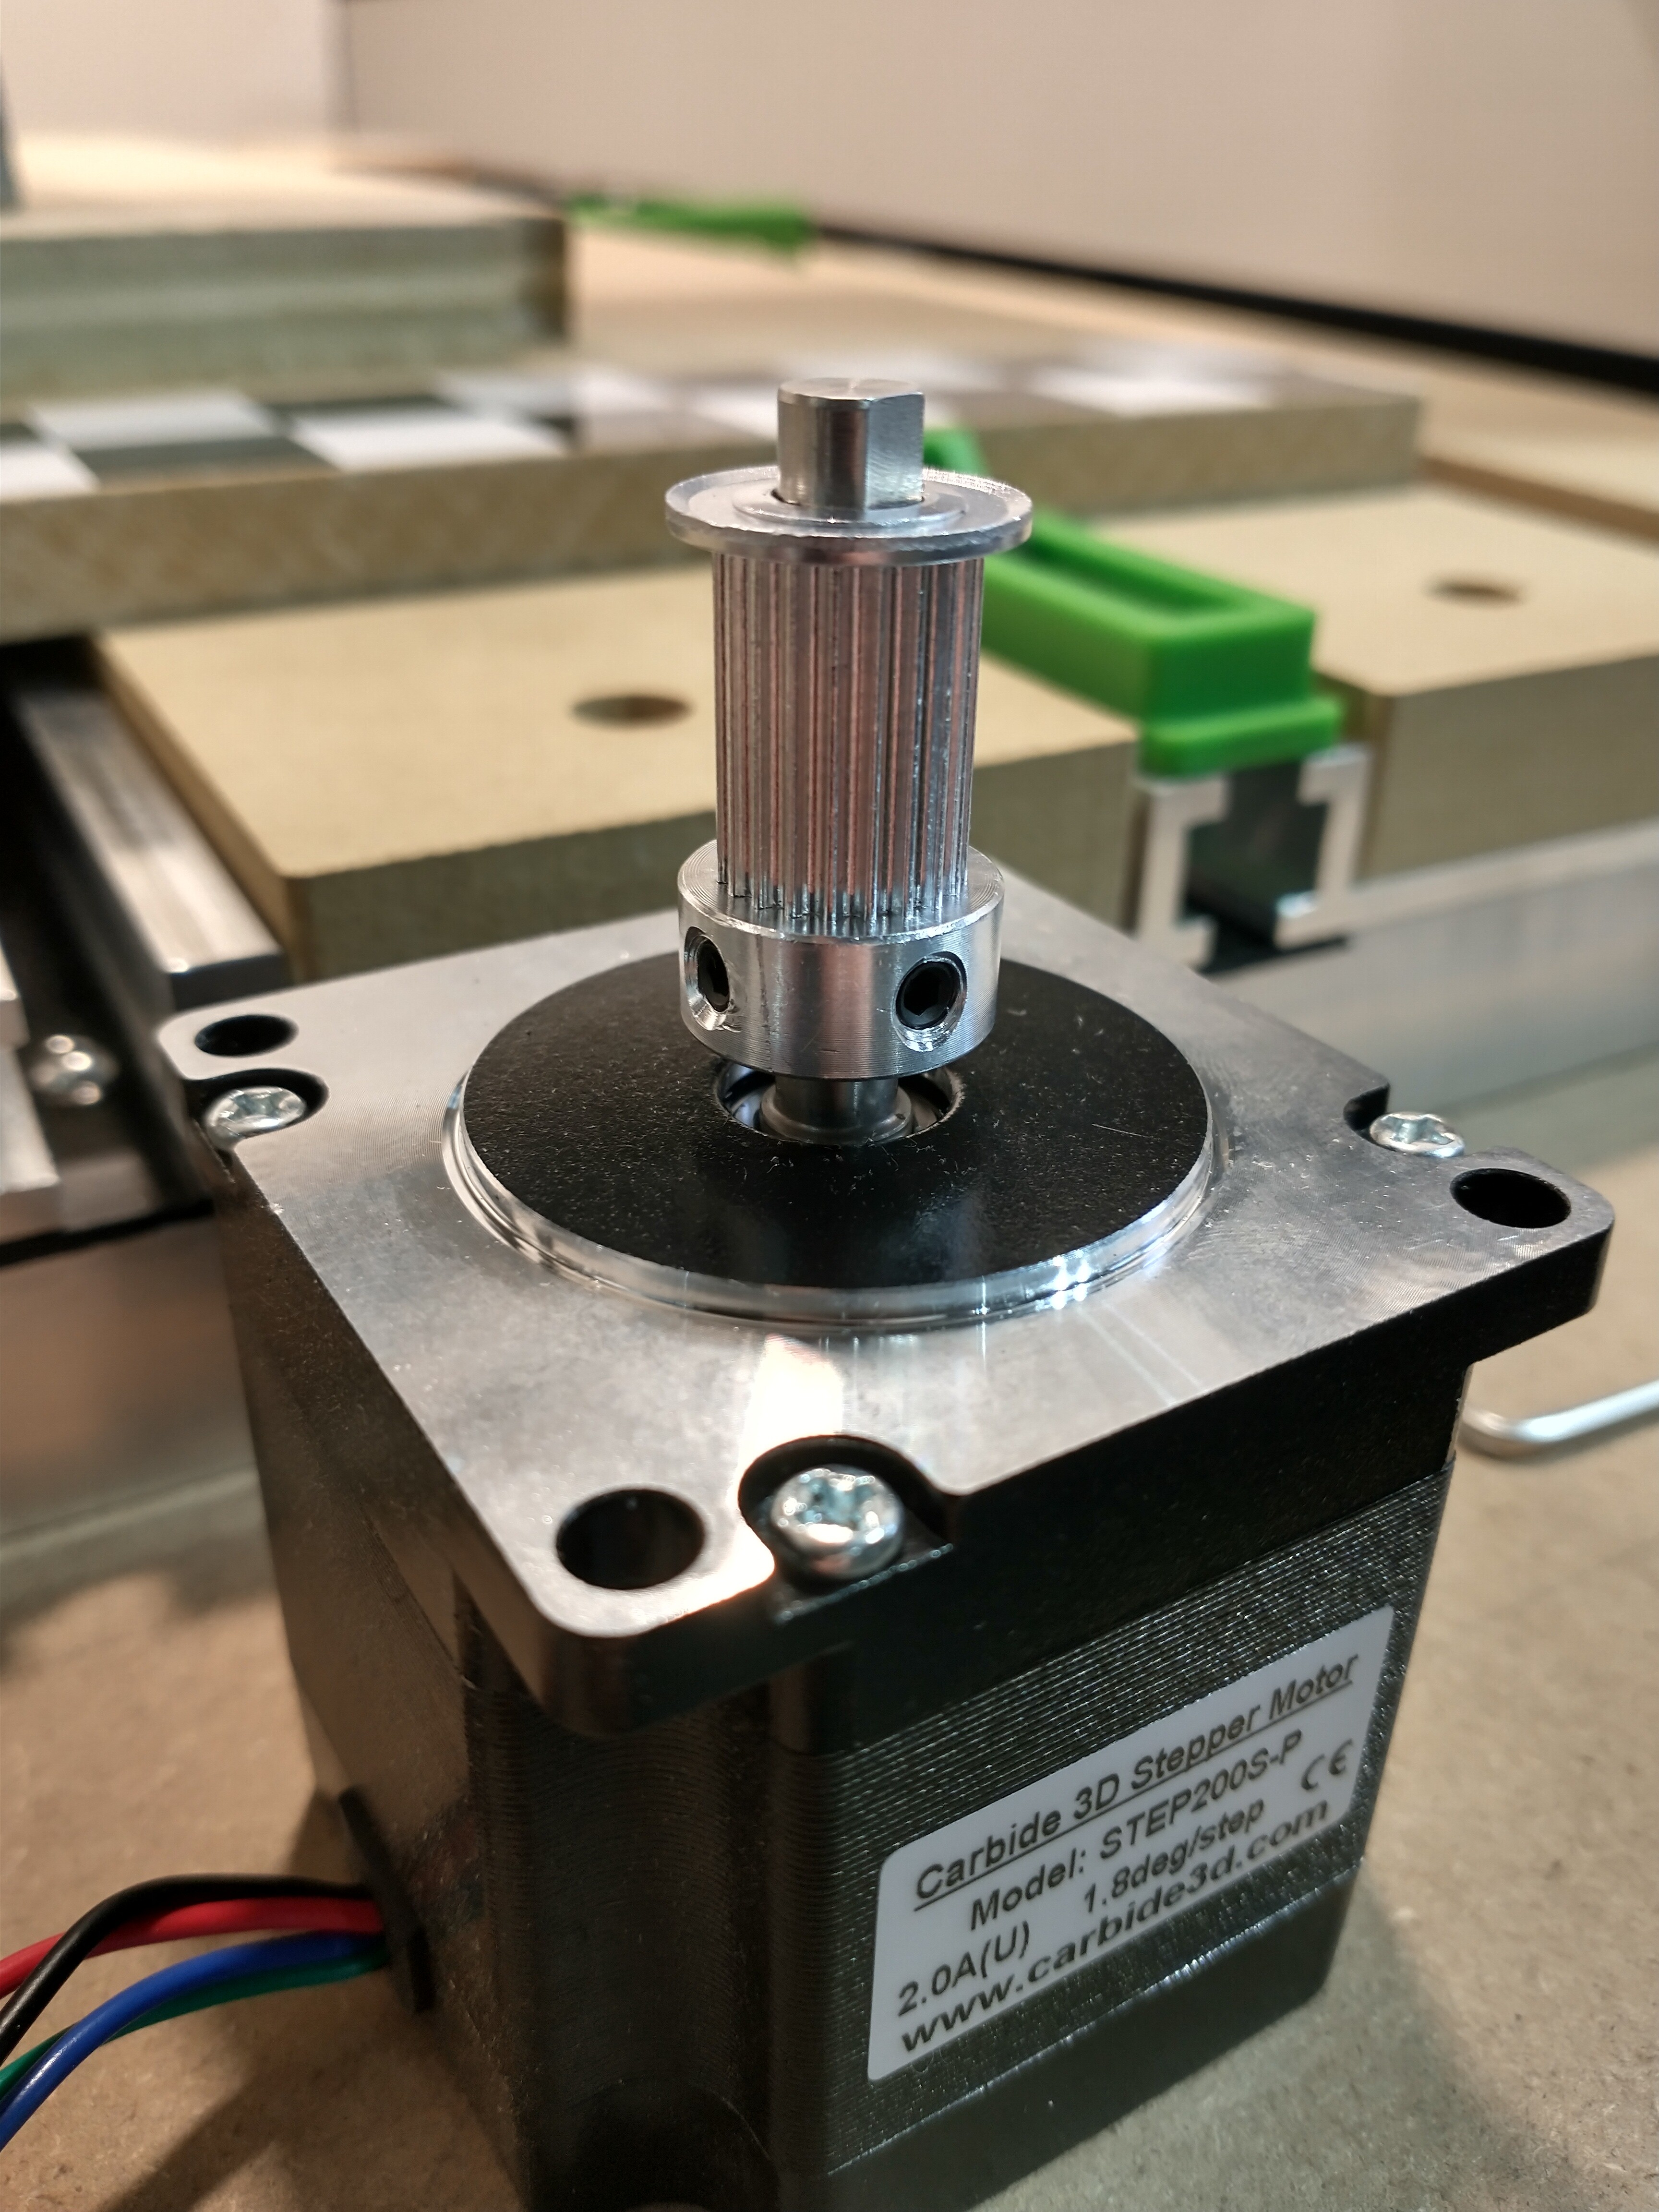
Unless they changed the design. Looking at the assembly video it looks like the drive pulley for the x axis should go on as shown in the picture. With the set screw toward the body of the stepper motor.
Hard to tell from the video but the Y axis pulleys seem to be mounted in the same direction. With the set screw toward the body of the stepper motor.
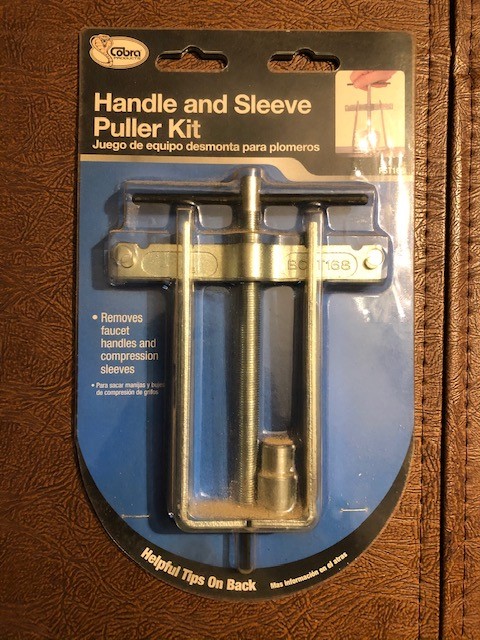
When i get my machine if i do have to remove and reverse the pulley I think this little plumbing tool I have would work nicely for removing the pulley without damaging the stepper motor or the shaft. As long as i am able to get the puller behind the pulley.
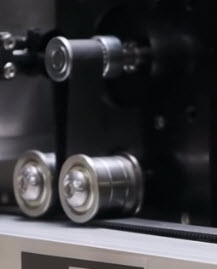
That’s the Y axis in that screenshot. If you look carefully, you will see the X axis motor separately later on when doing the gantry and how there’s an exposed length of the stepper shaft.
I would be assuring to see a more formal response from someone at Carbide 3D to make sure that the instructions are now clear and to confirm the suggestions presented in this thread.
I think there’s many ways to solve a problem, I just figured the pulleys would be the one thing you would never have to worry about again and would guarantee that any future problems, should they occur, would not be the pulleys slipping. 
I think the official solution was to use Red Loctite to adhere the gear to the stepper motor shaft, since the flat area does not extend far enough back for gear to line up with the belt bearing wheels below. Loctite is usually used for threaded applications though. Out of curiosity, does your gear line up with the bearing wheels? I tried putting mine on that way as well, but I could not get the gear aligned with the wheels without the gear hanging off of the end of the shaft.
In the end, while this may not be the best solution, I extended the flat area on the shaft by carefully filing it down. I wrapped the motor with cellophane first just to keep any filings out of the motor housing. I put a folded paper towel in my vise and gently secured the shaft in the vise to hold it in place while filing it. It ended up working out very well. I then changed to the M4 8mm screws like you did and used Blue Loctite on them.
Just my humble two cents…this is what has worked for me so far.
Yes, the pulley lines up perfectly with the bearing idlers and doesn’t hang off the end of the shaft.
Typically to retain a pulley permanently, you would use the bearing retaining compound from loctite and not the red kind.
Maybe they are using multiple motor vendors with different shaft lengths.
That’s good to know…thanks!
Thought I’de take a look at the X axis pulley issue before I started my assembly. First, I found the grub screws were both loose. Not a problem getting the gear off using my plumbing tool. I reversed the pulley as mentioned in the earlier post.
Then I slid the stepper motor into the X axis temporarily and adjusted the pulley on the shaft so the grub screws matched up with the flat and the pulley aligned up with the fixed pulley on the X axis assembly. The pulley doesn’t match up exactly with the end of the shaft but still enough for the grub screws to catch on the shaft.
Last step before mounting is to apply Loctite and tighten the screws
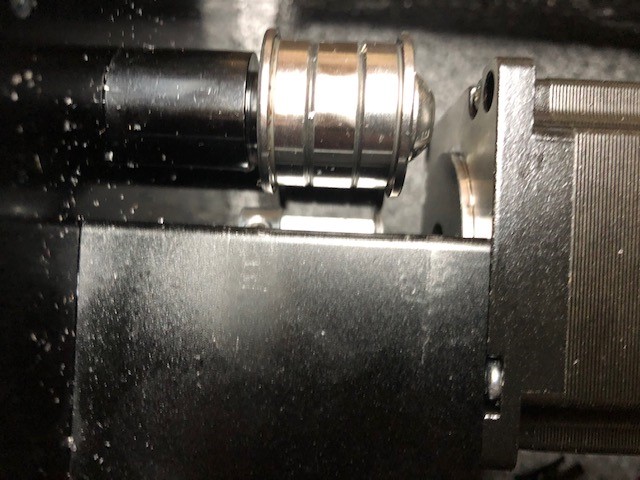
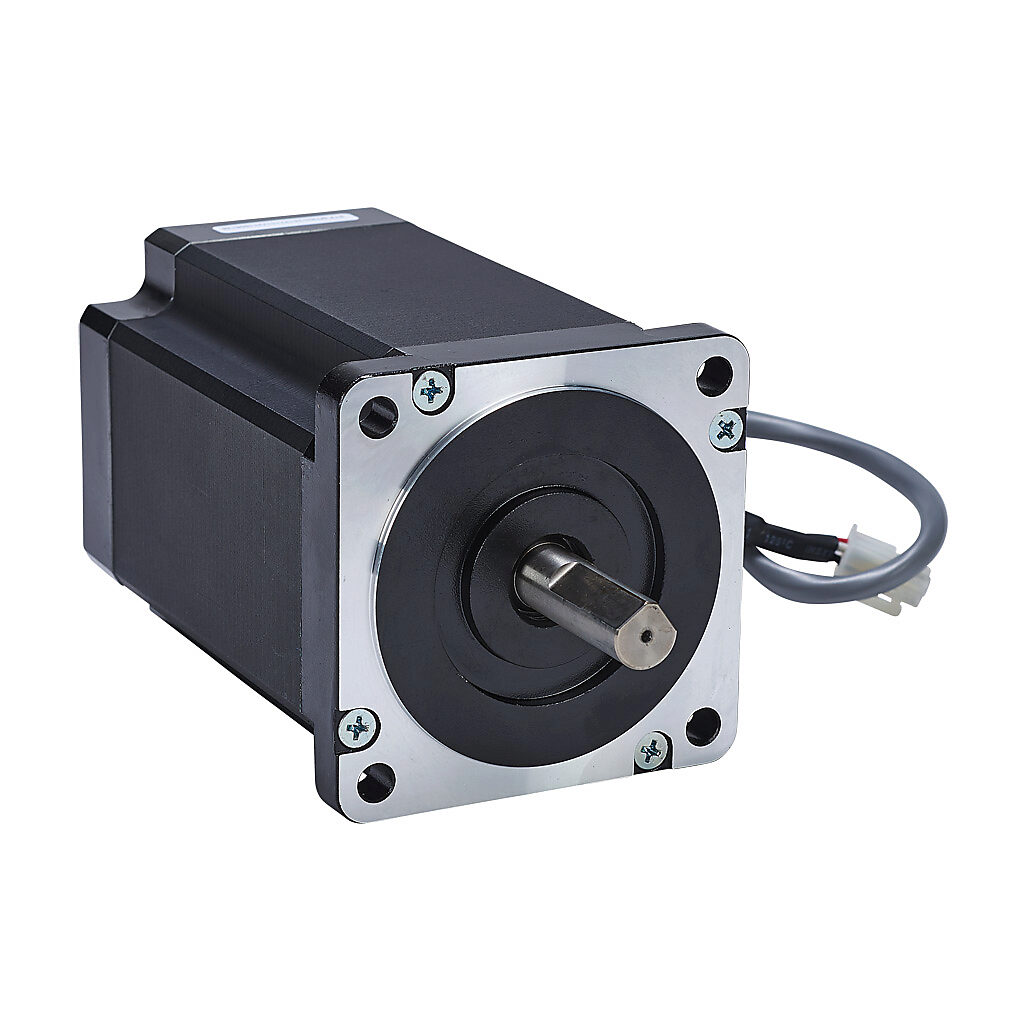
I had the same problem…it would be nice to have stepper motor shafts like in the attached image but with the flat portions extending further back. This style would be nice for all of the motors. I am not complaining whatsoever, because I love this machine! Just a suggestion…
If the motors can’t be sourced, broaching the pulleys for the D profile would be much easier
That would work great too! Just add either a longer shaft or extended flat area of the x motor only.
There has been talk of them making the motor shafts longer so a bearing could support the other end to prevent bending of the shaft when tightening the belts.
We’ll everyone it seems to be a more common problem than they thought. I noticed my X axis wasn’t moving properly and even stalled several times while probing my projects. I saw this post and decided to dig in deeper. As you would expect I found both set screws completely loosen to the point the pulley was almost spinning around the shaft.
Are they supposed to be installed and tightened for you?
Disclaimer: I have not had a reason to look at the “Pro” build instructions.
Neil
At the time I received my Pro there was no official installation instructions only a video that was put out literally days before the shipments went out. They do not mention anything about tightening these set screws but just to install the stepper motor.
This afternoon I was able to fix the problem by removing the stepper motor and the gear from the shaft. After inspecting the shaft it was evident that the flat edge of the shaft was not making good contact with the set screw. So I filed a very small section of the shaft do the set screw will seat properly and used blue lock tight on the set screw threads. Reinstalled everything and just got done running my first test piece with no issues. Unfortunately I didn’t take any pictures