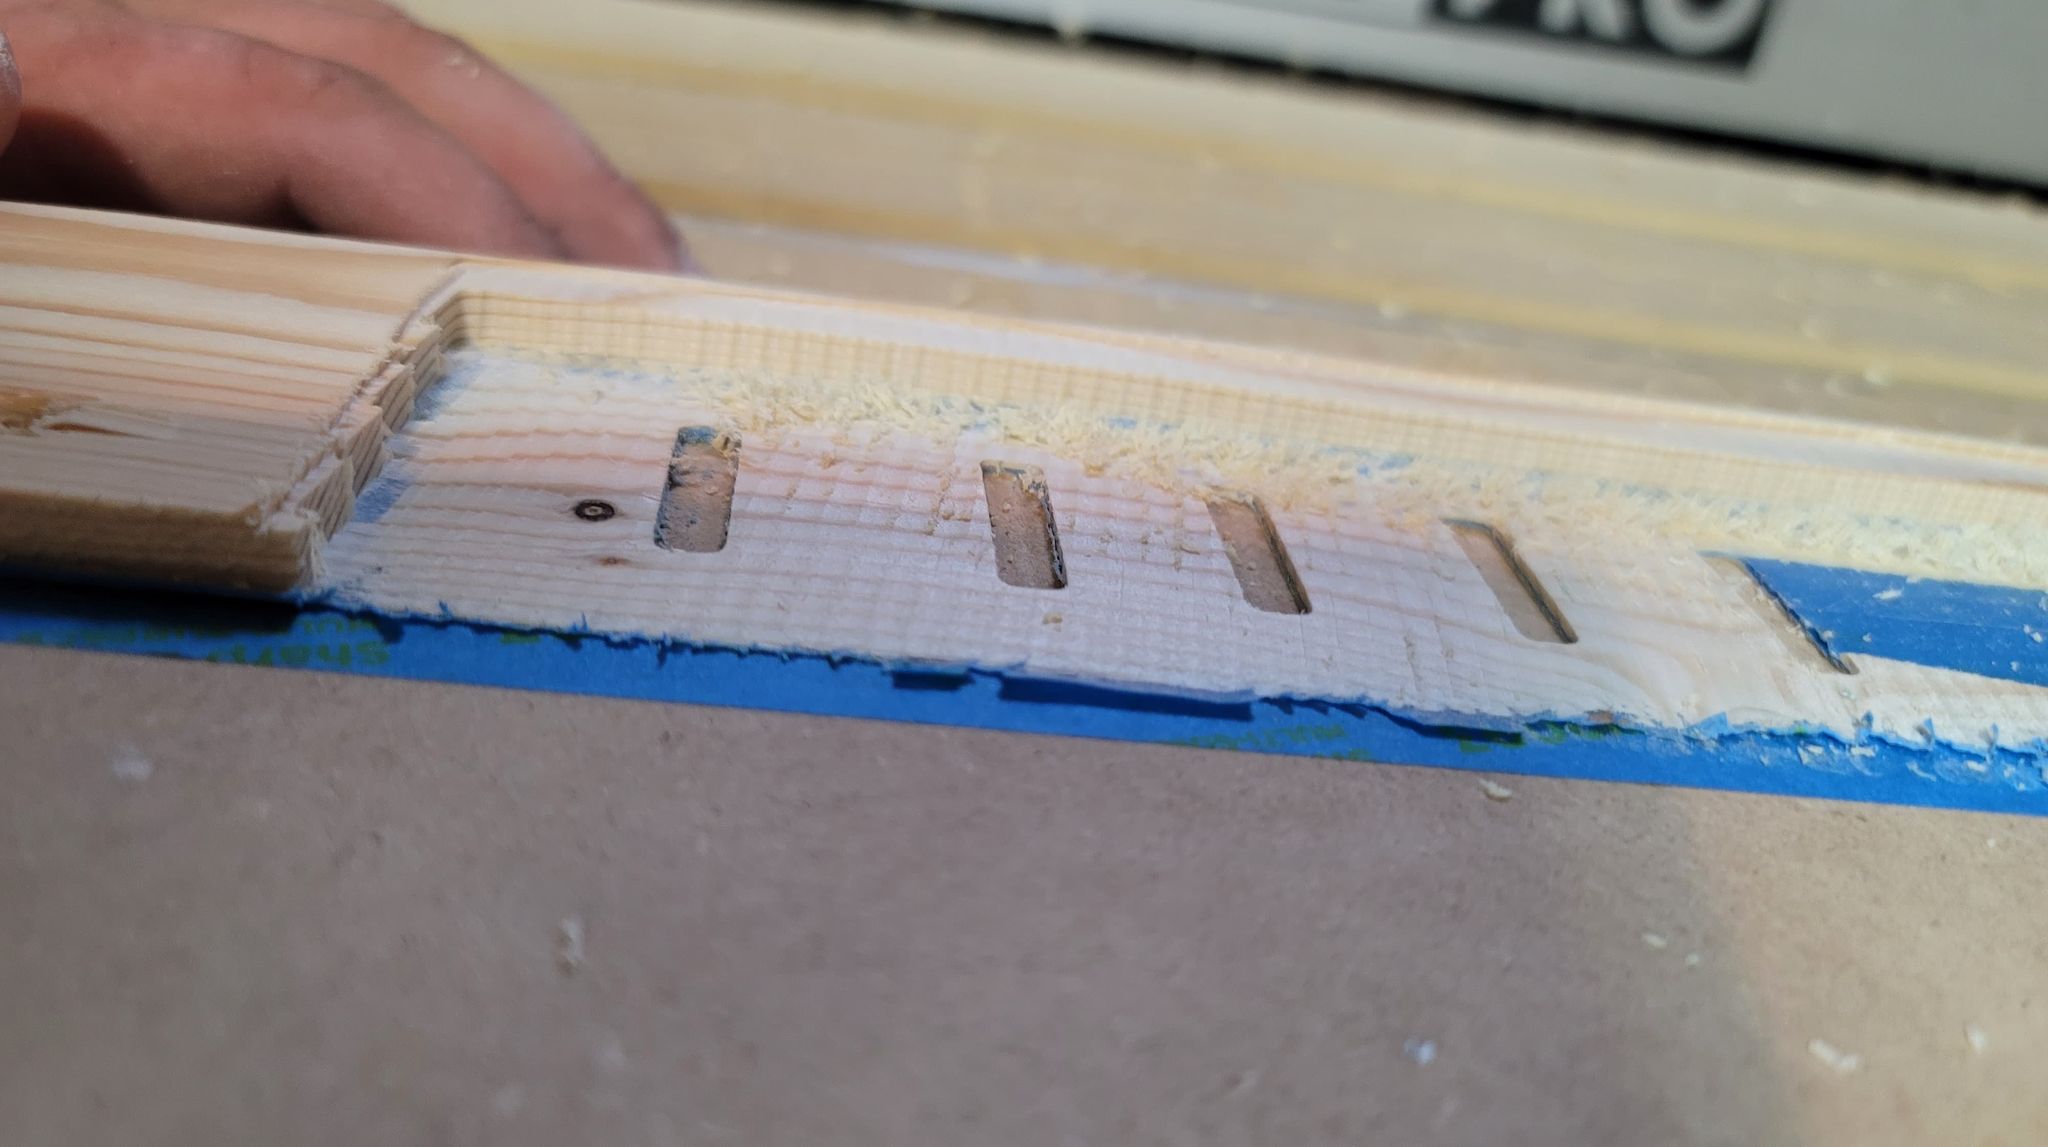
Attached is my pic of test piece, and file for the design.
It cut way deeper than i wanted to, my stock is 1/4" and i’d like to keep most of the thickness just for it to cut the 9 degree angle down to whatever it ends up being on the edges, but the center the thickest point i’d like near my stock height
The 3d side of things needs better information tutorials and such, am i wrong to assume stock to leave means how much it leaves behind after cutting?
Stock to leave is the amount left by a roughing pass which is to then be removed by a 3D finishing pass.
There is a bit written up at:
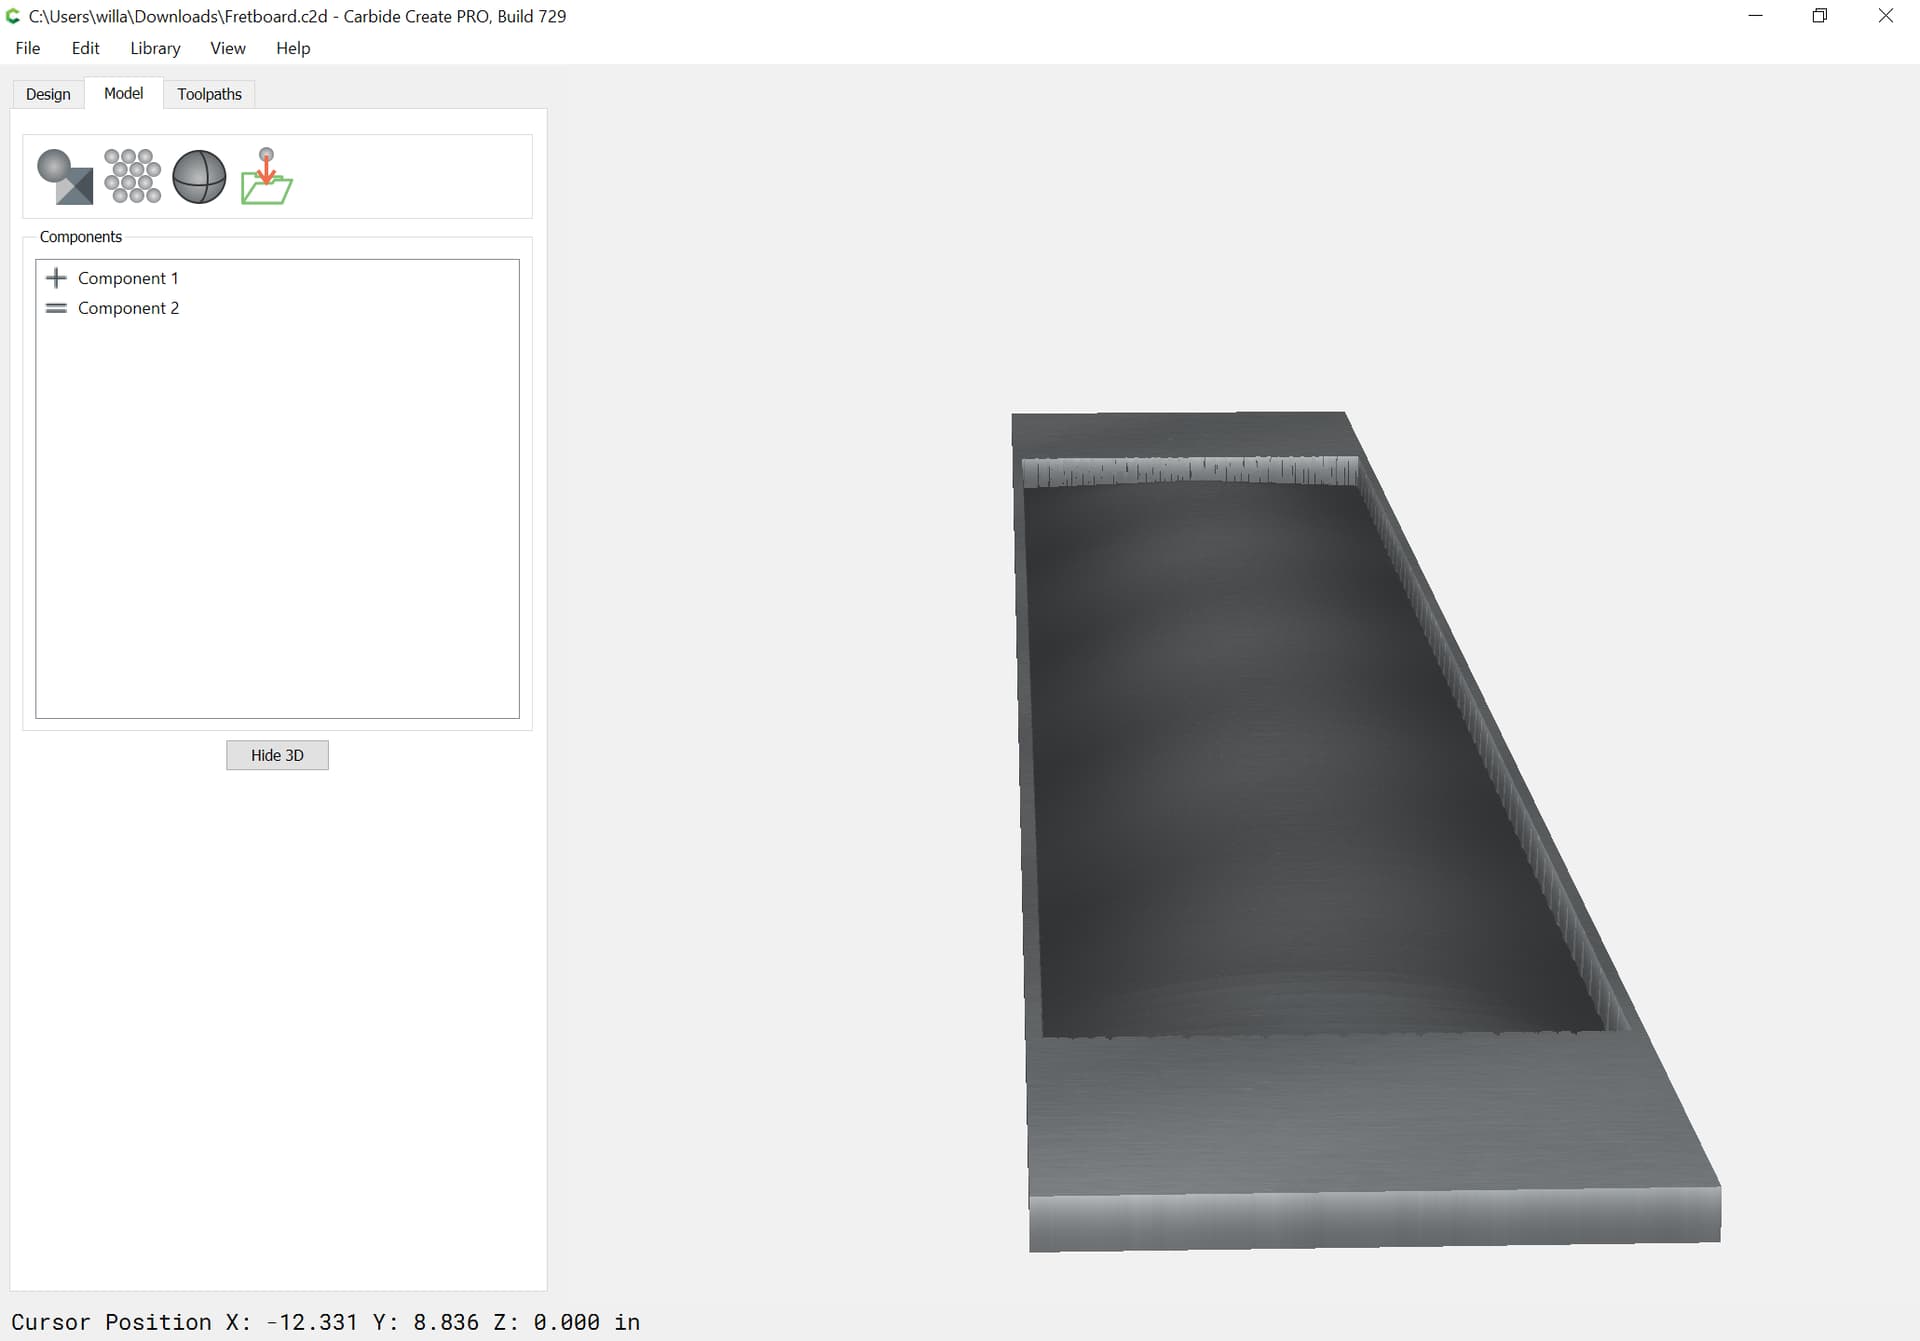
The big thing is, one can experiment w/ the 3D modeling, and what is shown in the 3D view and the Toolpath’s 3D preview should match what is cut. If you don’t see something which matches what one wants to cut, then adjust things until they match what one wants.
I was honestly just getting a line to take a handsaw to. My sample piece was thinner than my actual fretboard material will be, so it ran off the right side where there should’ve been more stock, i figured i’d see enough with the test piece since i just had this laying around.
How do you mean adding a base height of .03? can you explain?
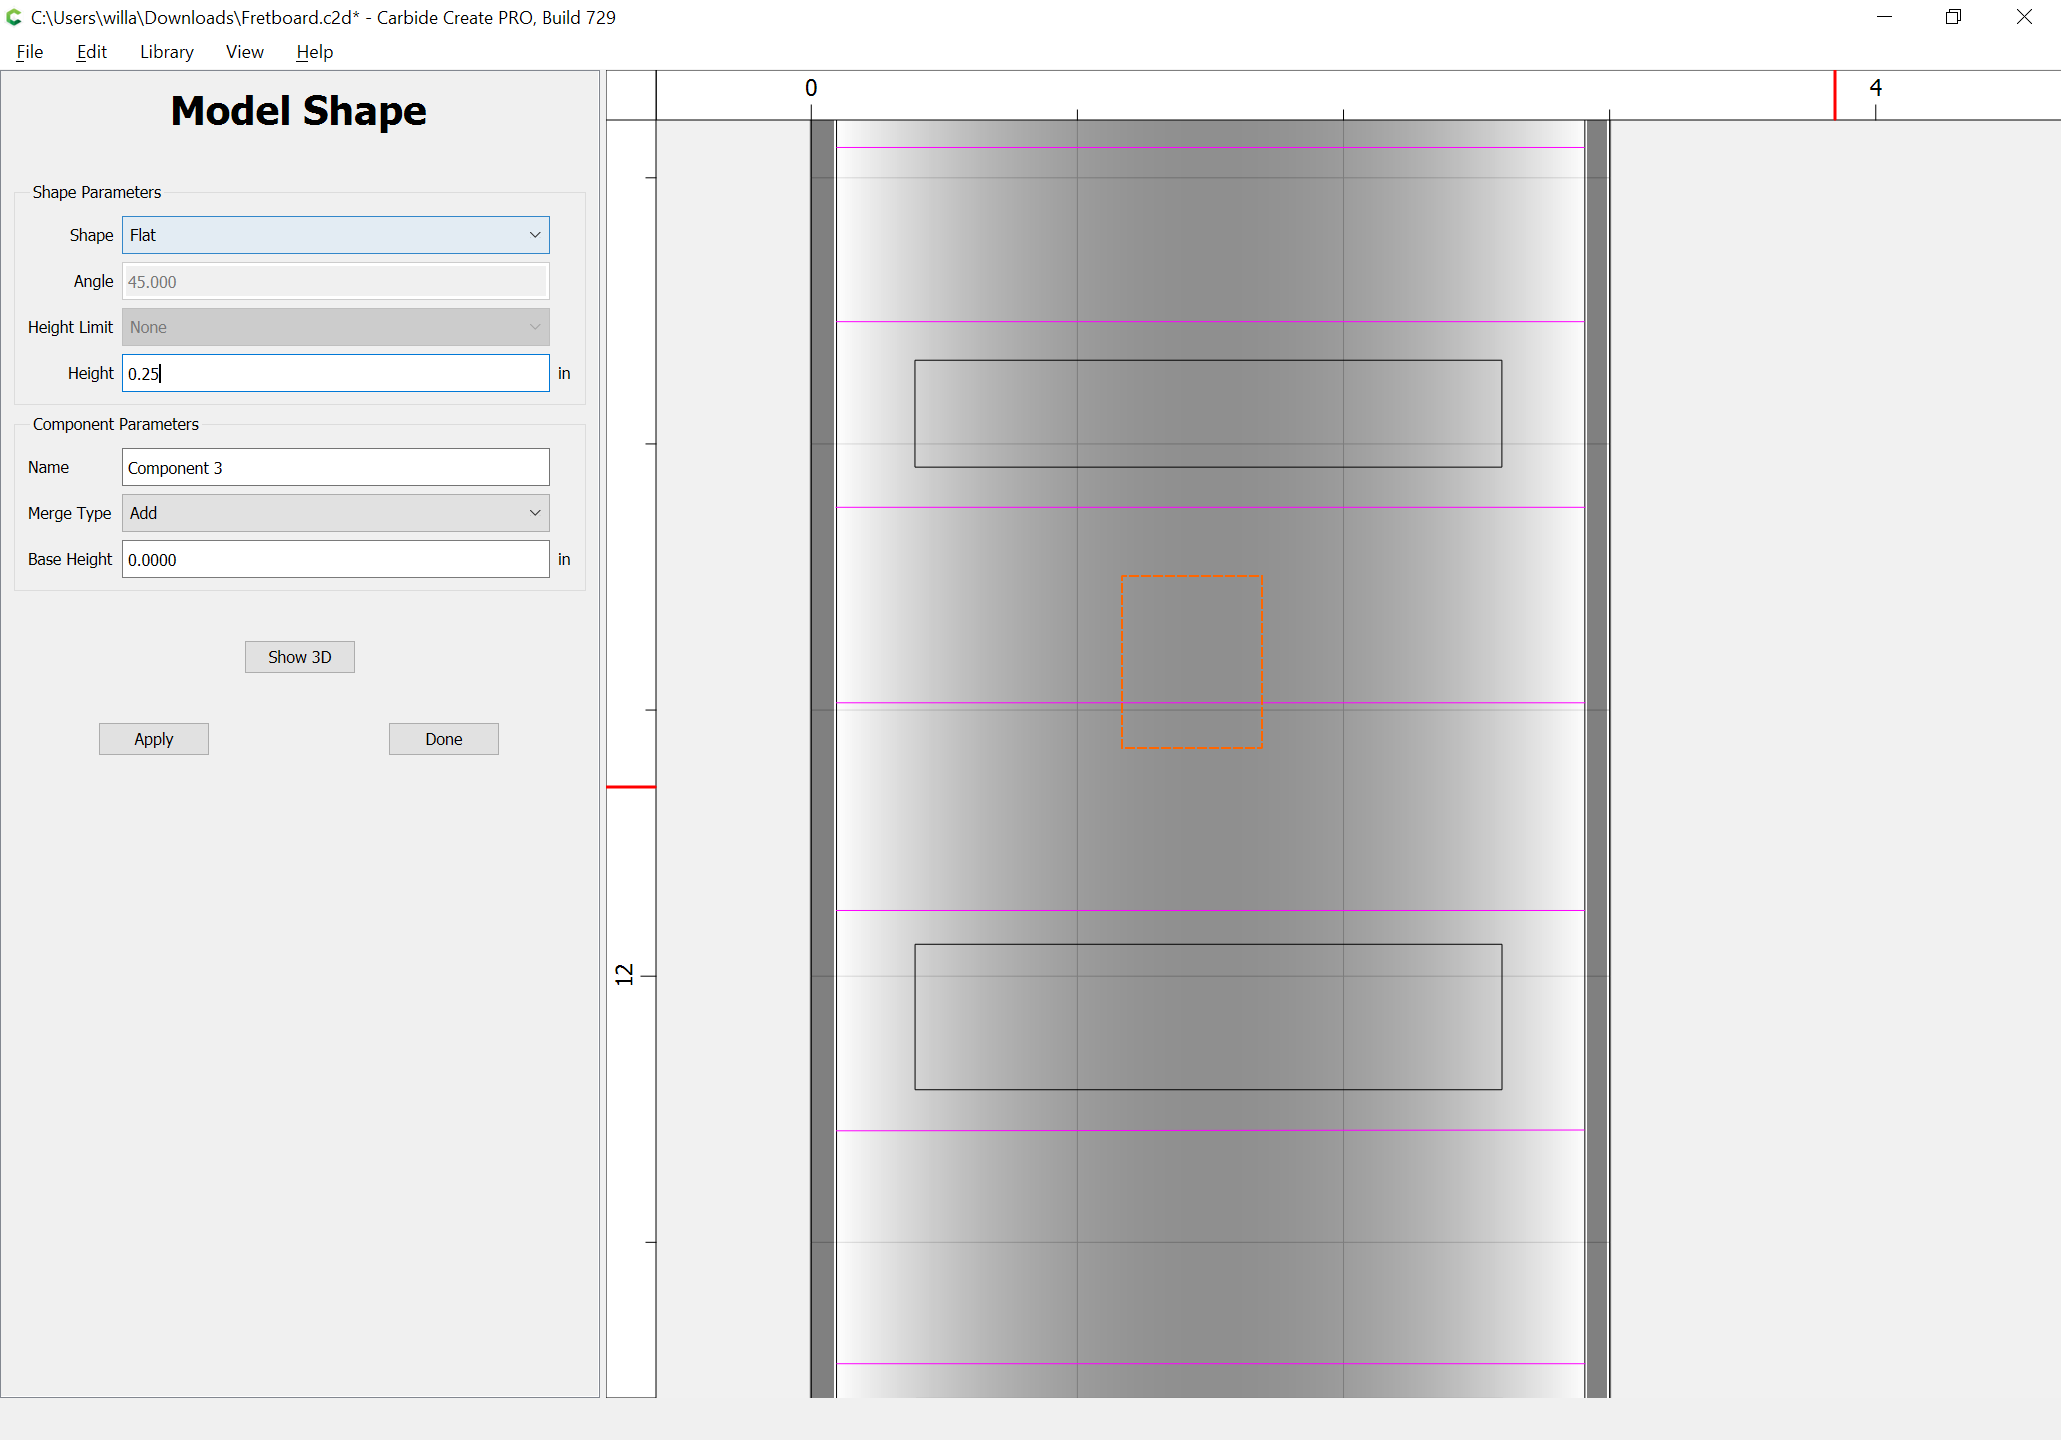
I’d like for my 1/4" material be close to finish thickness, meaning down the center i hope to finish at .23" - .25" and the only material to be removed is the sides where the angle will go down.
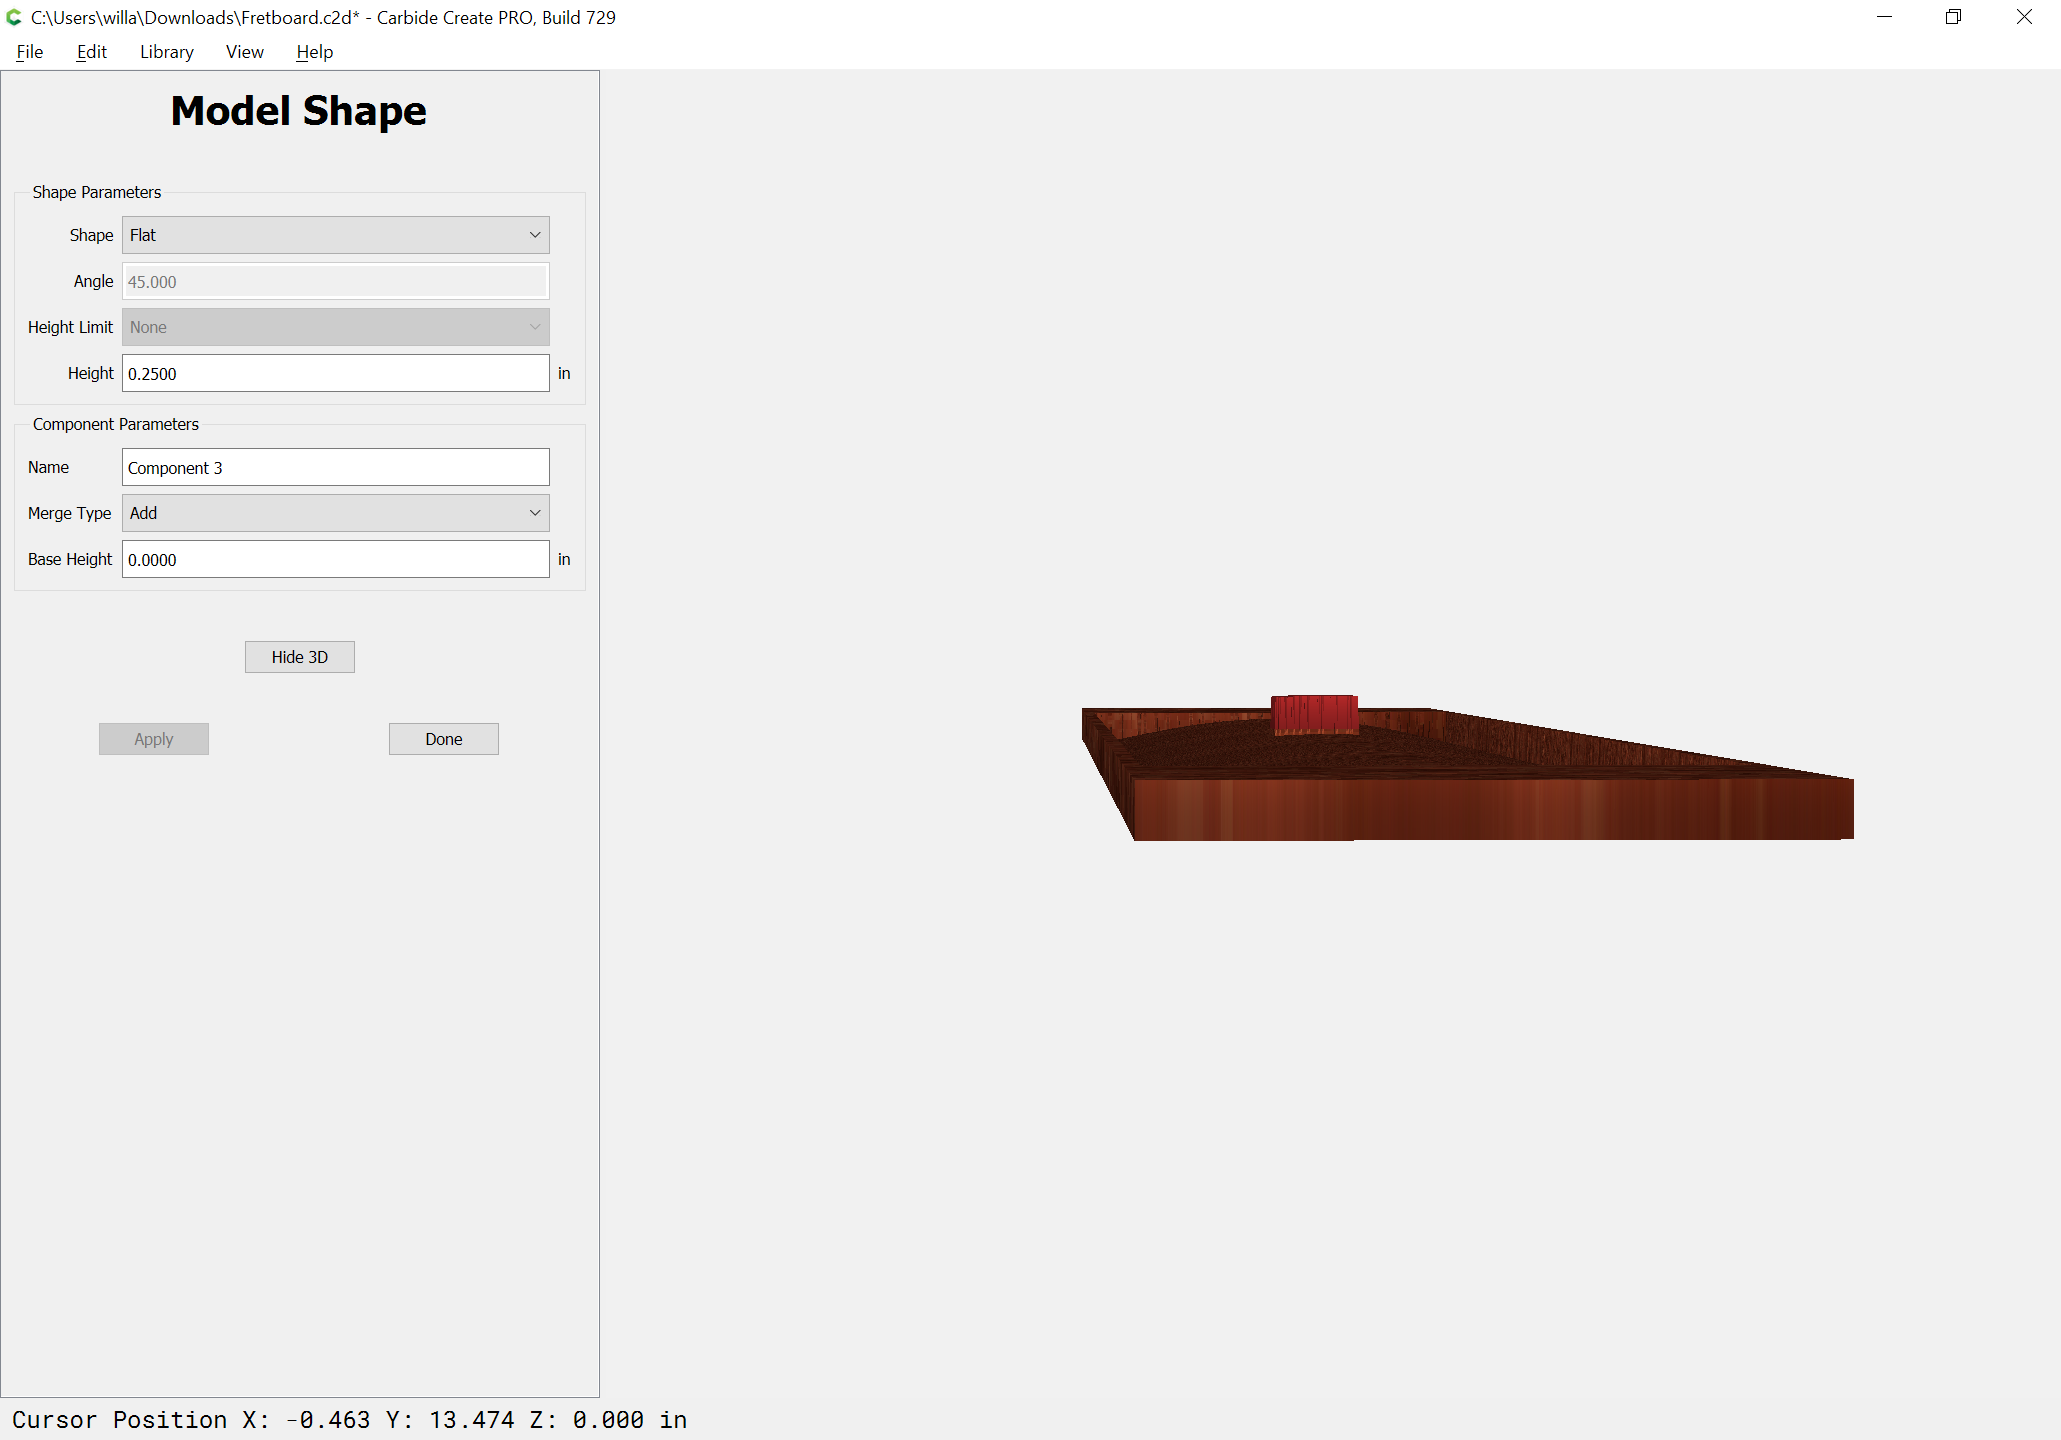
One of the few things you can edit with the components is Base Height. It adds that height to the bottom of the feature. I added some stock & saw high points turn red, meaning they were above the stock height. So I lowered that value until the red just disappeared. 0.031 left a little bit of red, so 0.030 was the magic number.