Hey Friends, first off, I love my Shapeoko and I love this site. I visit almost everyday.
Second off, I know I, not the machine, messed up.
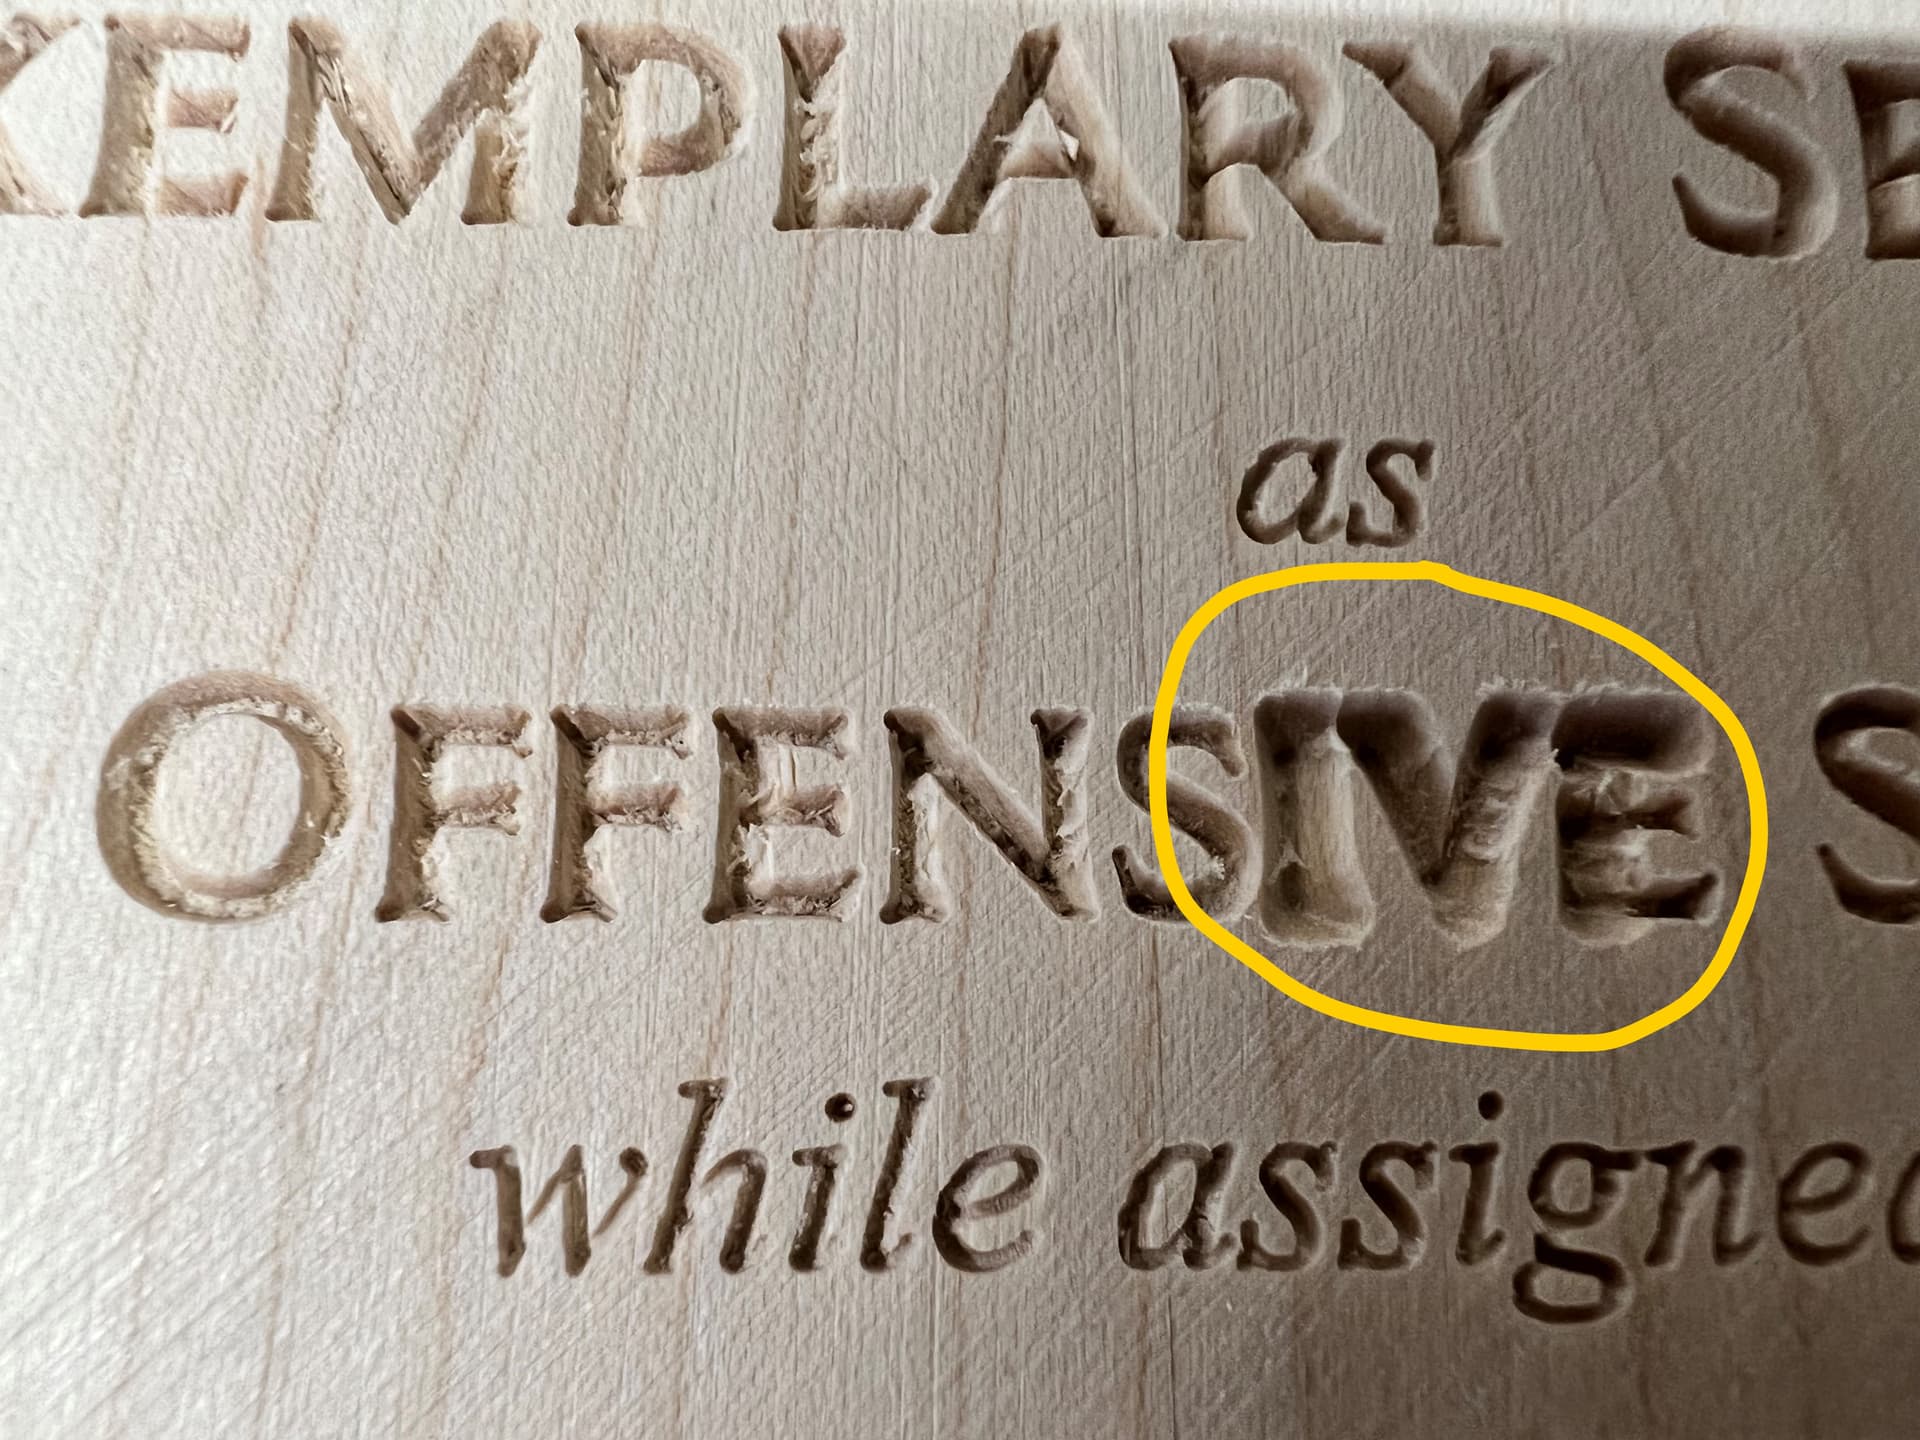
So I make going-away plaques for my unit. On the current one, the main lettering was too thin with those annoying little wings on the vertical elements. So I tried re-running the tool path with a different tool and some how messed up Z-zero causing the machine to plunge too far into the wood on a couple of letters before I could stop it. See photo (taken after Z properly set). Even though its the back, its the salutation part and important.
The bottom-line is that I’m in the home stretch after investing an embarrassing amount of hours. I hoping with your help I can salvage this somehow. Its due this Friday and there’s simply no time to start over and have it ready for presentation.
What I’m looking for is a super-slick woodworking technique/trick/work around that I can use to mask or hide, even if purely aesthetic. I know I could scrap it and start over or resurface and redo the back. I’m extremely hesitant with this approach since the back is completely carved and the front, which is multi-colored resin filled, is all but done. If interested, see photo of a similar plaque from a few months ago.
I also know about using glue and sawdust. I had a similar issue doing the front that I filled with saw dust and Titebond III. But when it dried the filled letters were dark and easily distinguishable in the maple. Int that case I made the back the front and hogged out a big pocket. Wondering if I would get better results using plain ole Elmer’s Glue-All or other type of glue?
I’ll take any and all suggestions. Thanks in advance.
Or pocket out the whole word and then make an inlay of the same material and then recut it Or pocket out the whole saying onthe back andinlay a different material and then recut it
Thanks for the suggestions fellas. I tested the sawdust trick with white glue and epoxy but both permanently darkened the sawdust and was very obvious against the white maple. In the end, I used an inlay patch that was a little larger and with curvy edges hoping to disguise it more. At midnight last night it looked like it worked better than expected with the exception of a little bit of dark grain at one edge that looks out of place.
On the brighter side, This morning, I found out the presentation has been rescheduled for next week, so I now have a few extra days to repatch or patch over patch. I’ll post a pic this afternoon. Thanks again for the feedback. Have a good one.