/begin{pedantry}
The cove and pin joint (also known as pin and scallop or half-moon) was the first machined joint, developed by Charles Knapp sometime between 1870 and 1900
/end{pedantry}
/begin{pedantry}
The cove and pin joint (also known as pin and scallop or half-moon) was the first machined joint, developed by Charles Knapp sometime between 1870 and 1900
/end{pedantry}
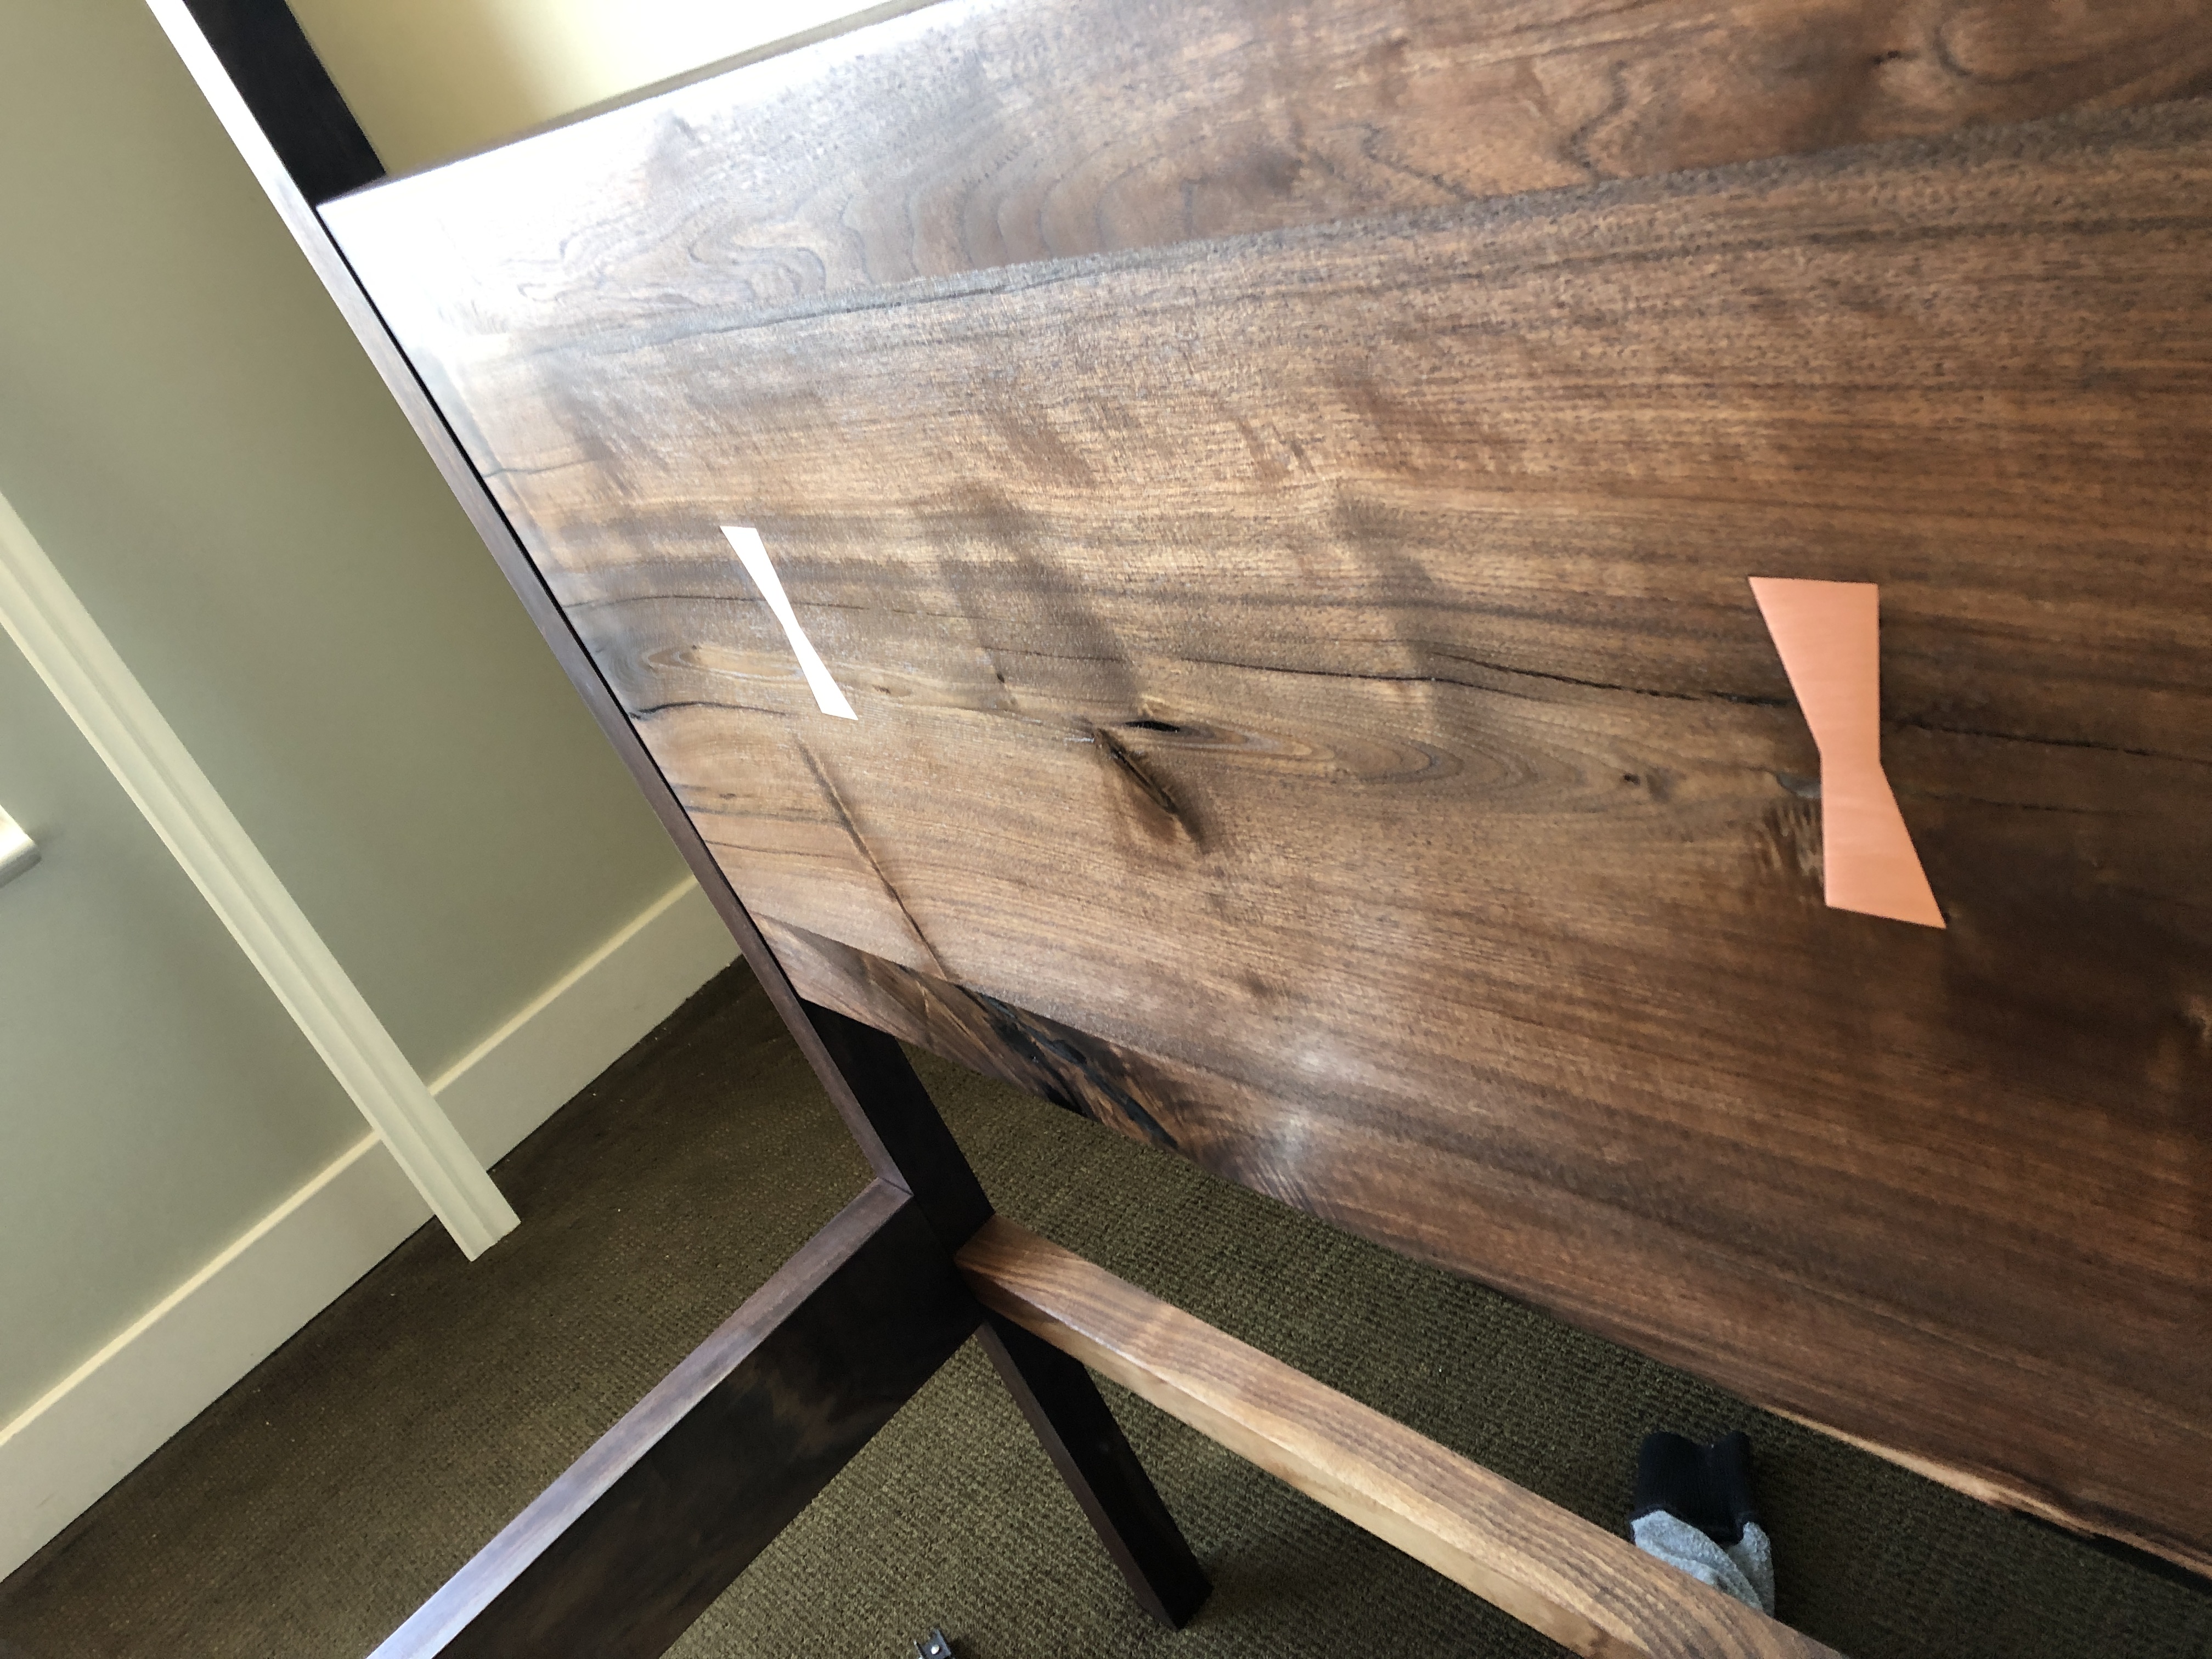
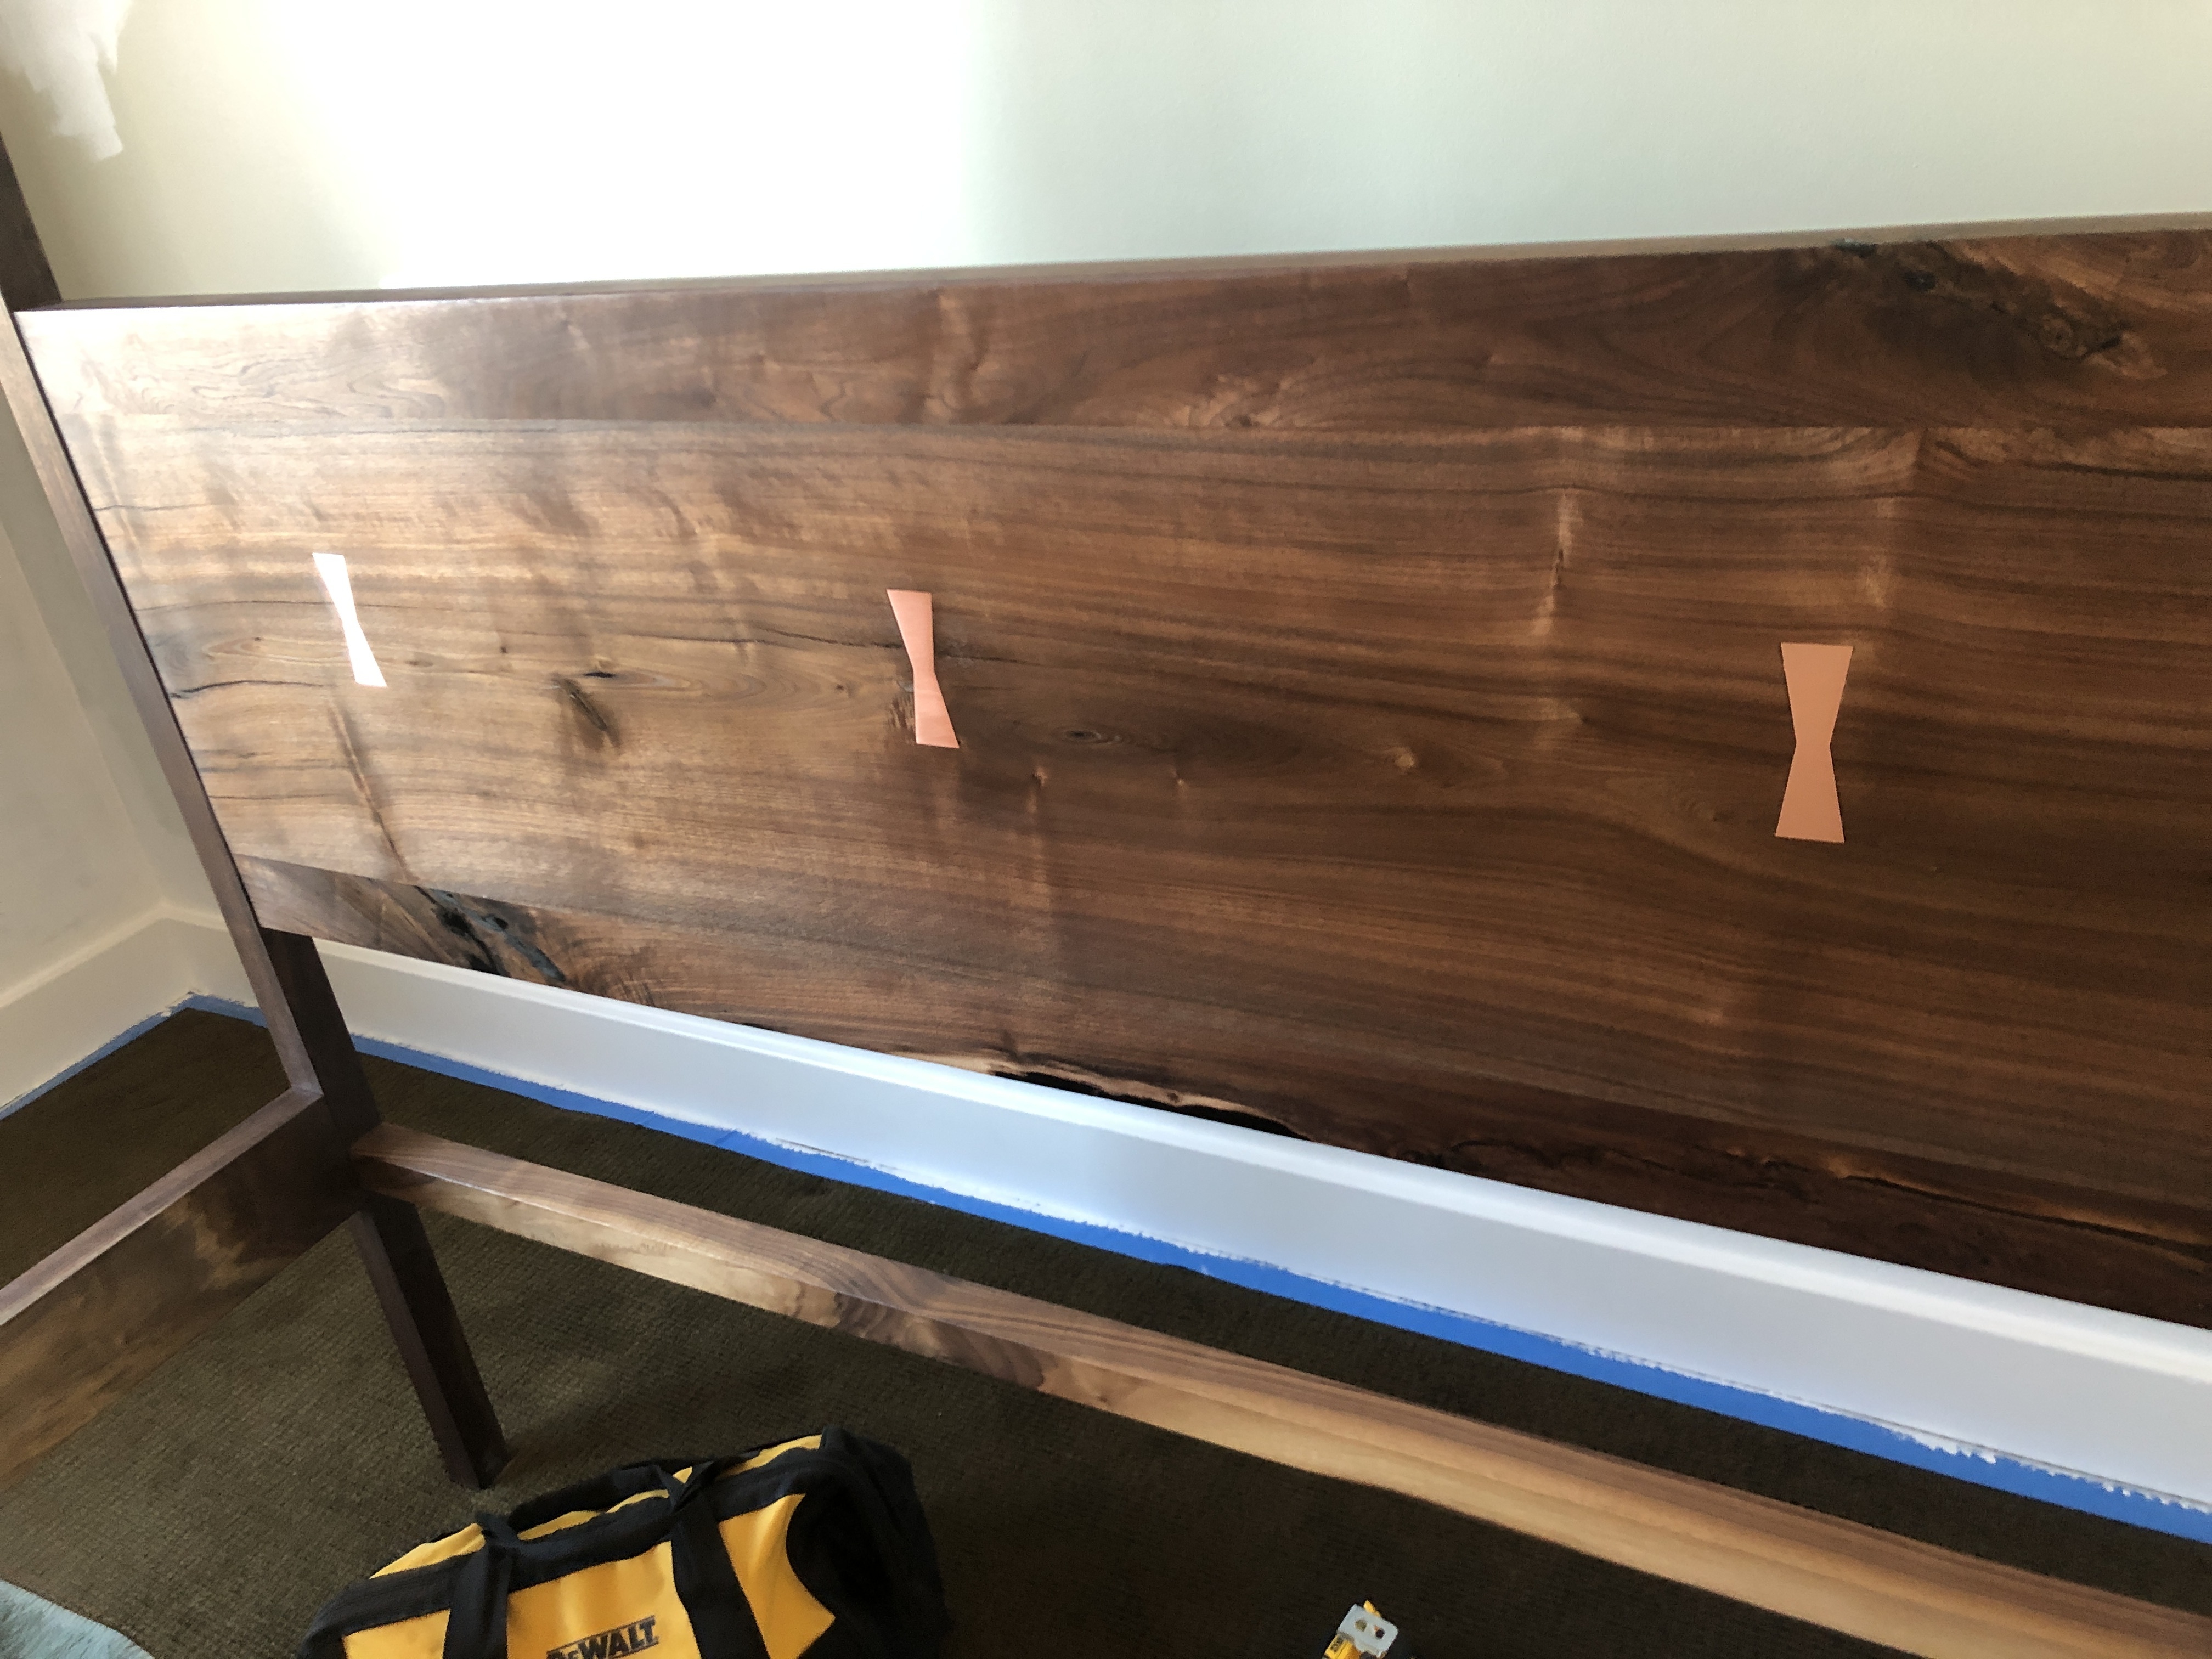
If you really wanna get fancy… you could inlay some metal bowties on top of the joint. But this is really more form than function. You’ll be fine with a butt joint.
Biggest tip, Make sure you have a way to clamp the table down to a flat reference during glue up; it will save you some thickness.
Here is a relatively easy way, make a square frame with a middle part in the shape of a cross that divides your 4 quadrants using wood that is 0.4in and say 2in wide. Cut a rabbet 0.4in around each of your 11X11in square pieces glue your square pieces into the frame The frame will not be visible from the top.
So it was one of those cases where I could see myself overthinking things, and I decided to just go with my very first idea/design (first Fusion360 snapshot in this thread), if only to beat procrastination.
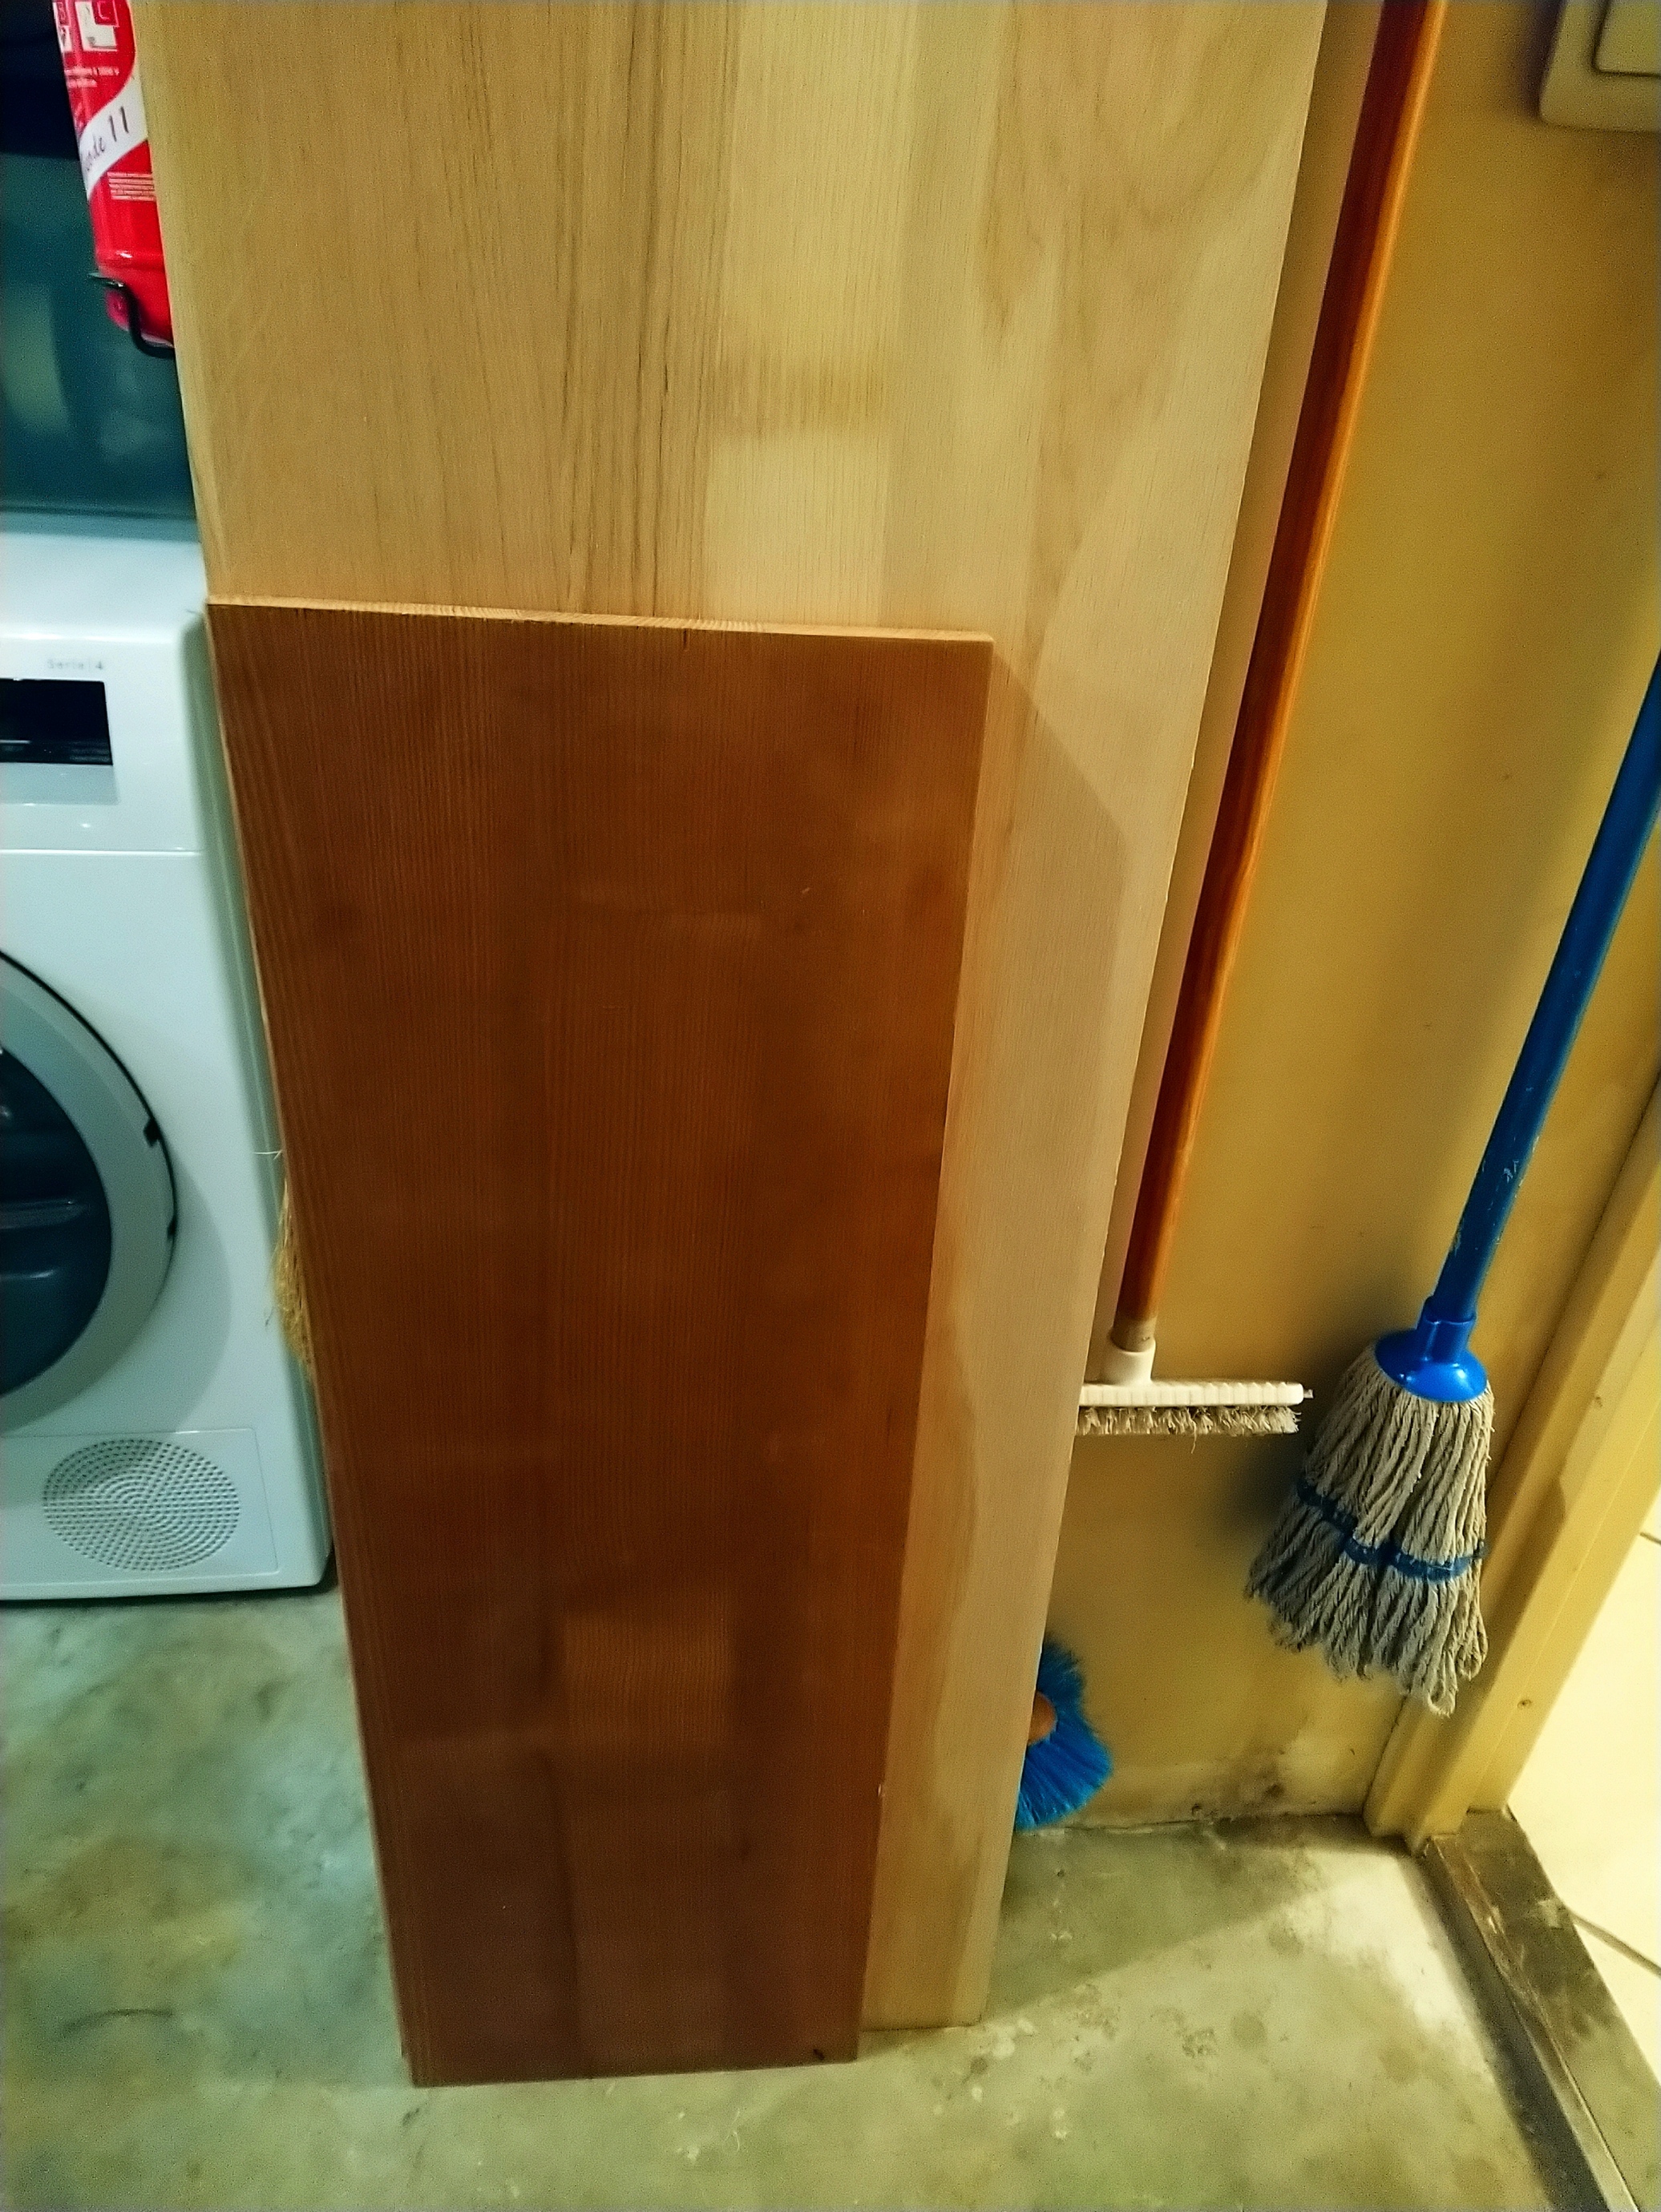
So, I started from these two planks (oak, and “heated” (?) ash):
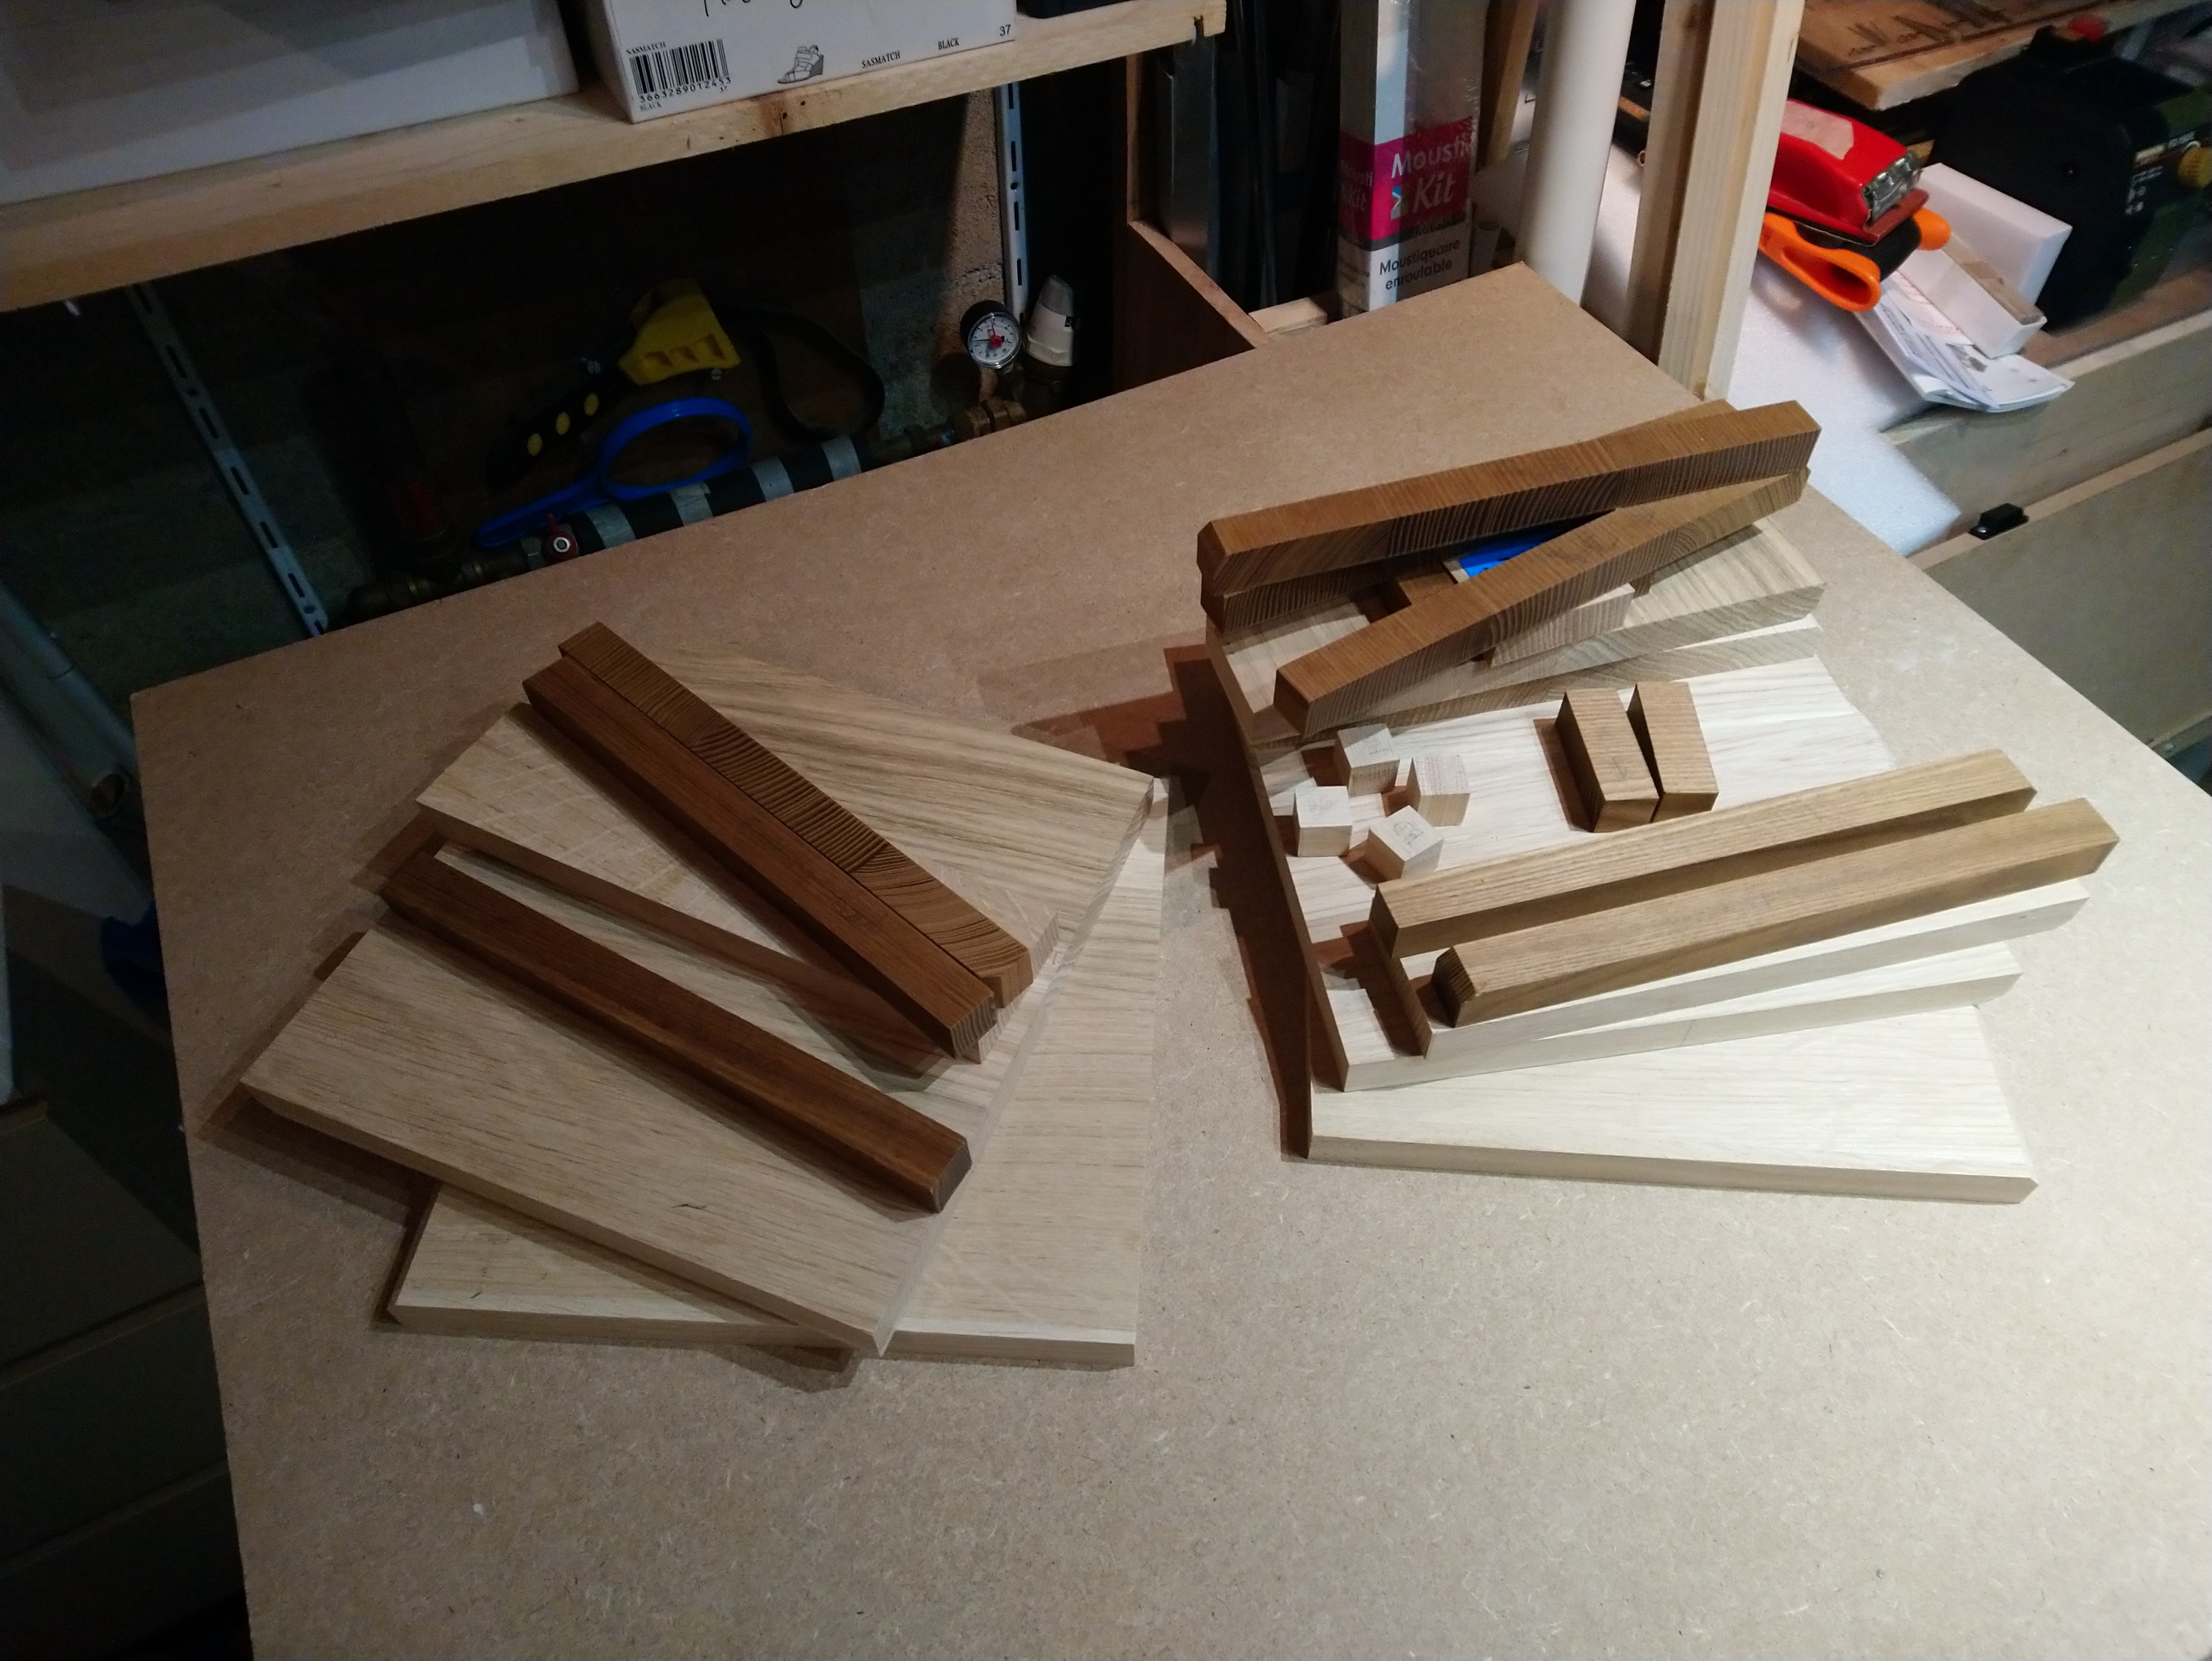
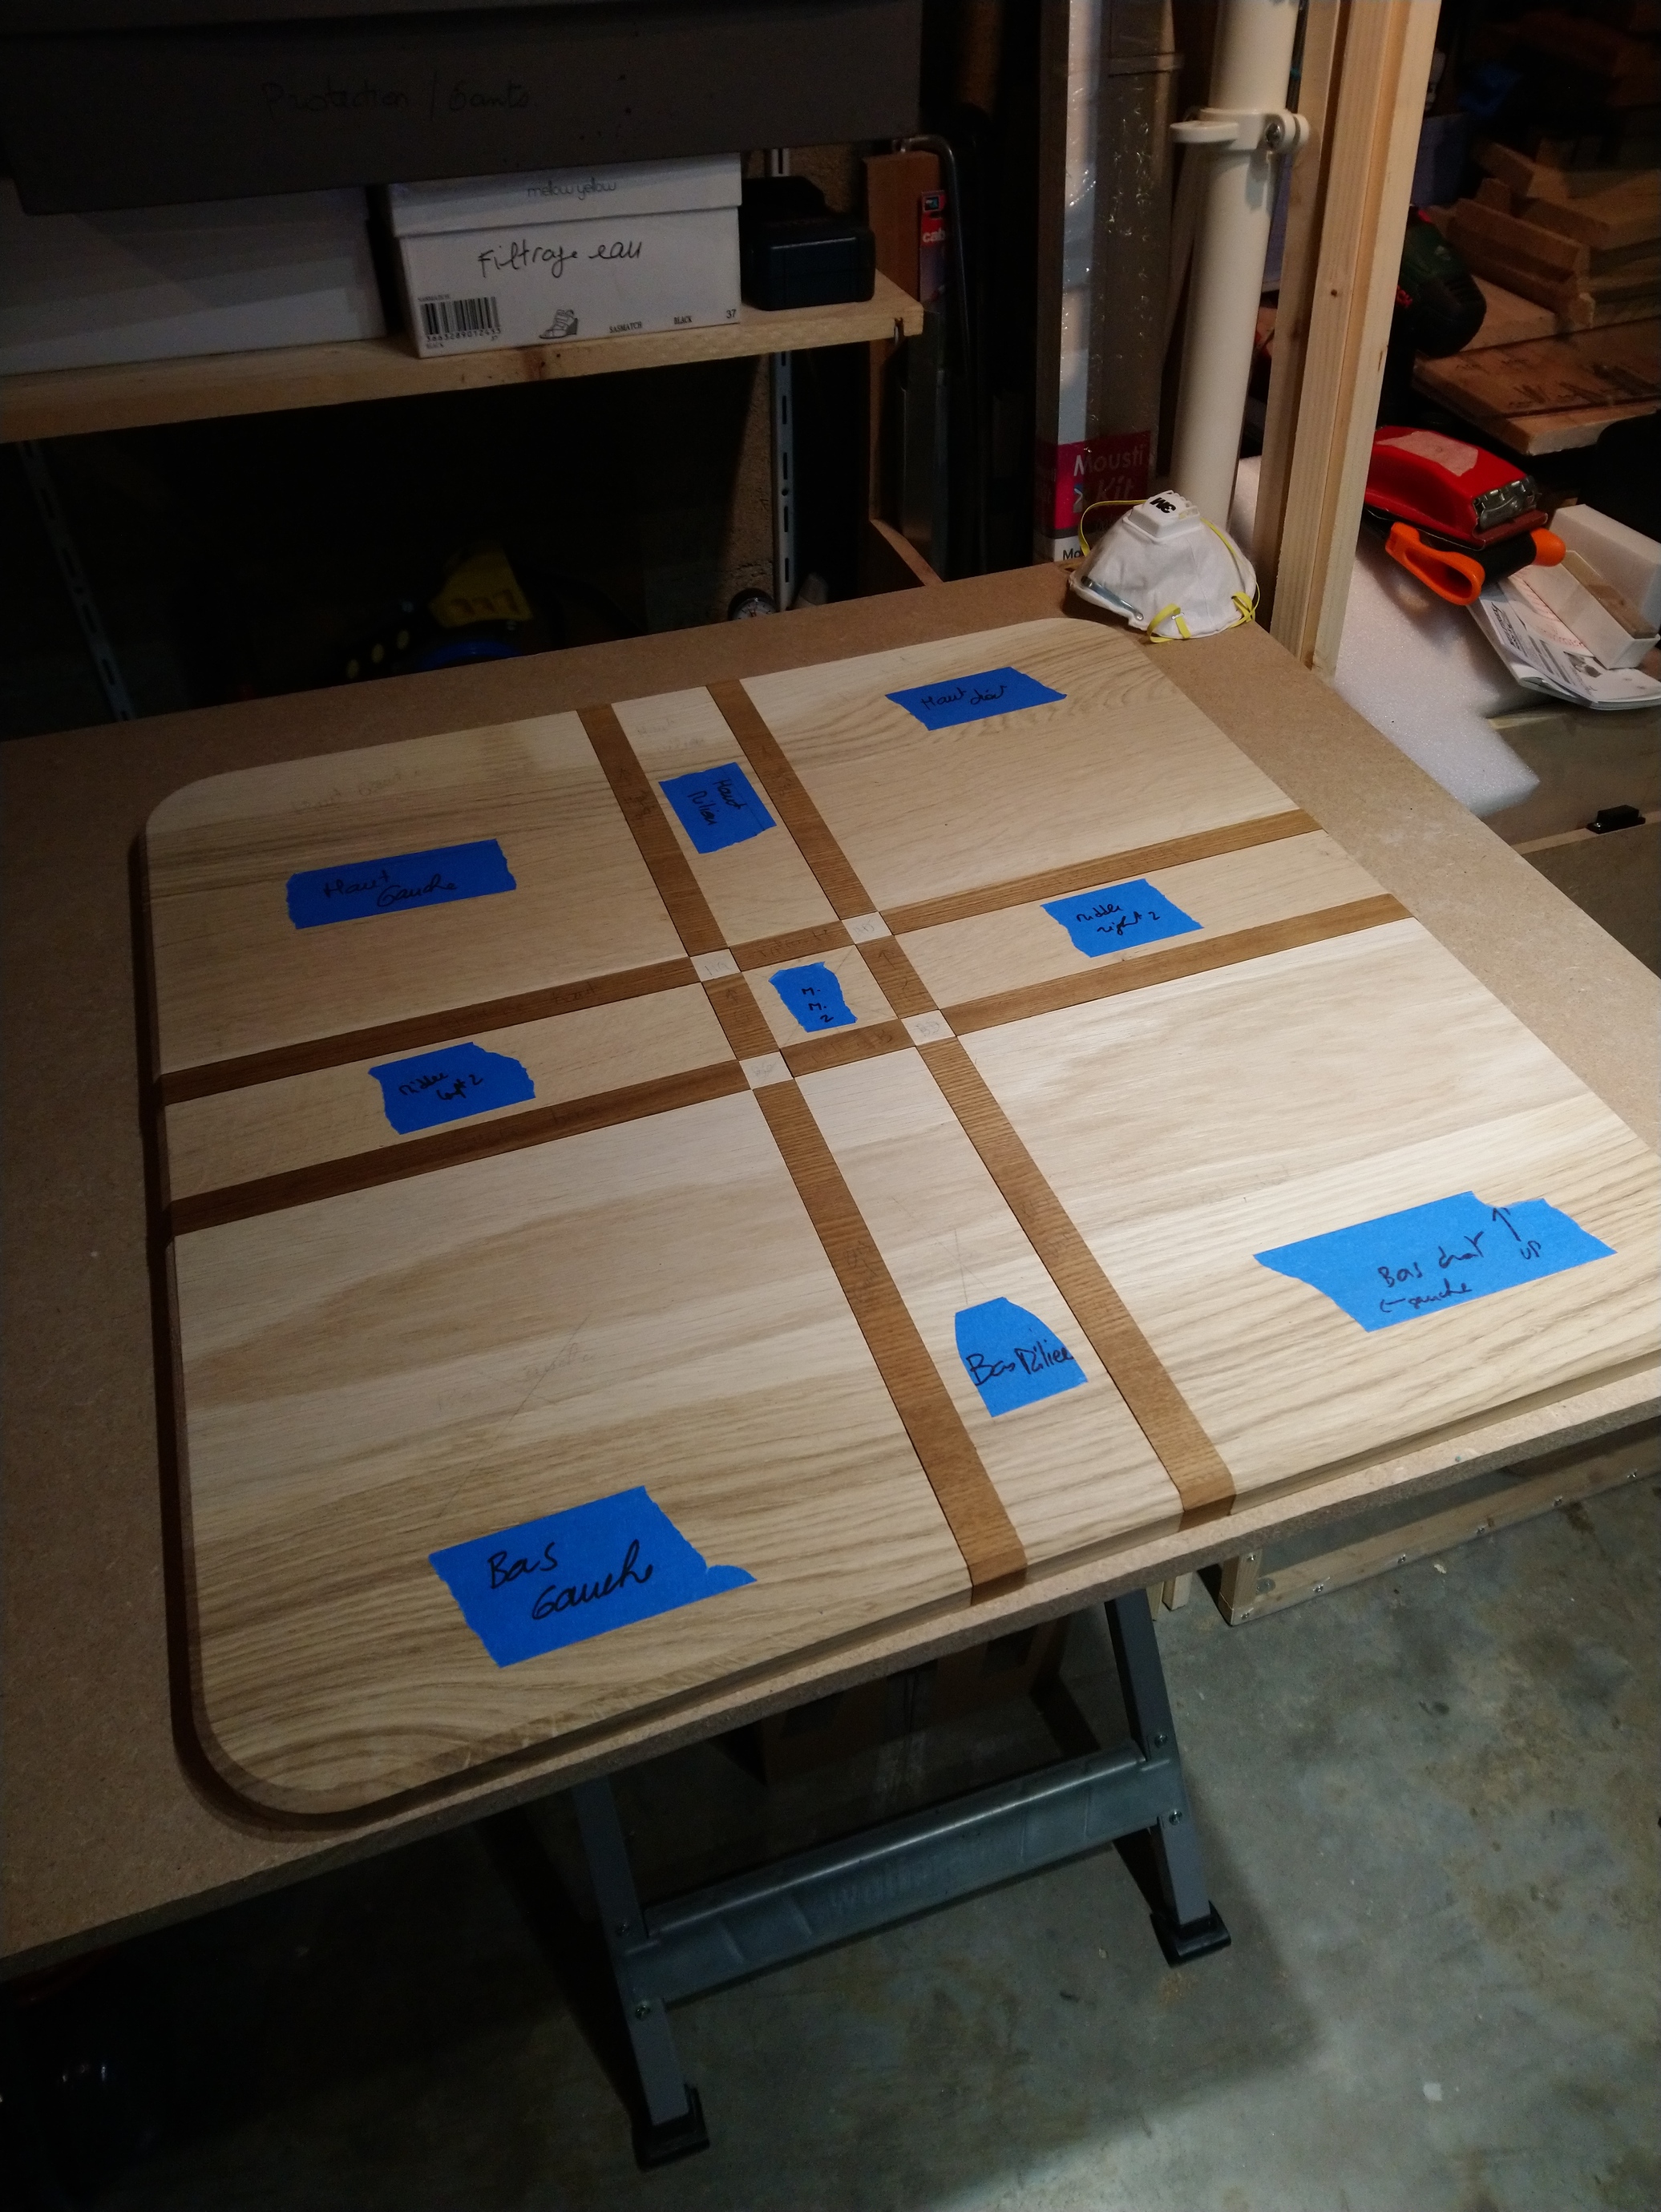
And cut what felt like an infinite number of parts (let’s just say I went through half a roll of blue tape in the process…)
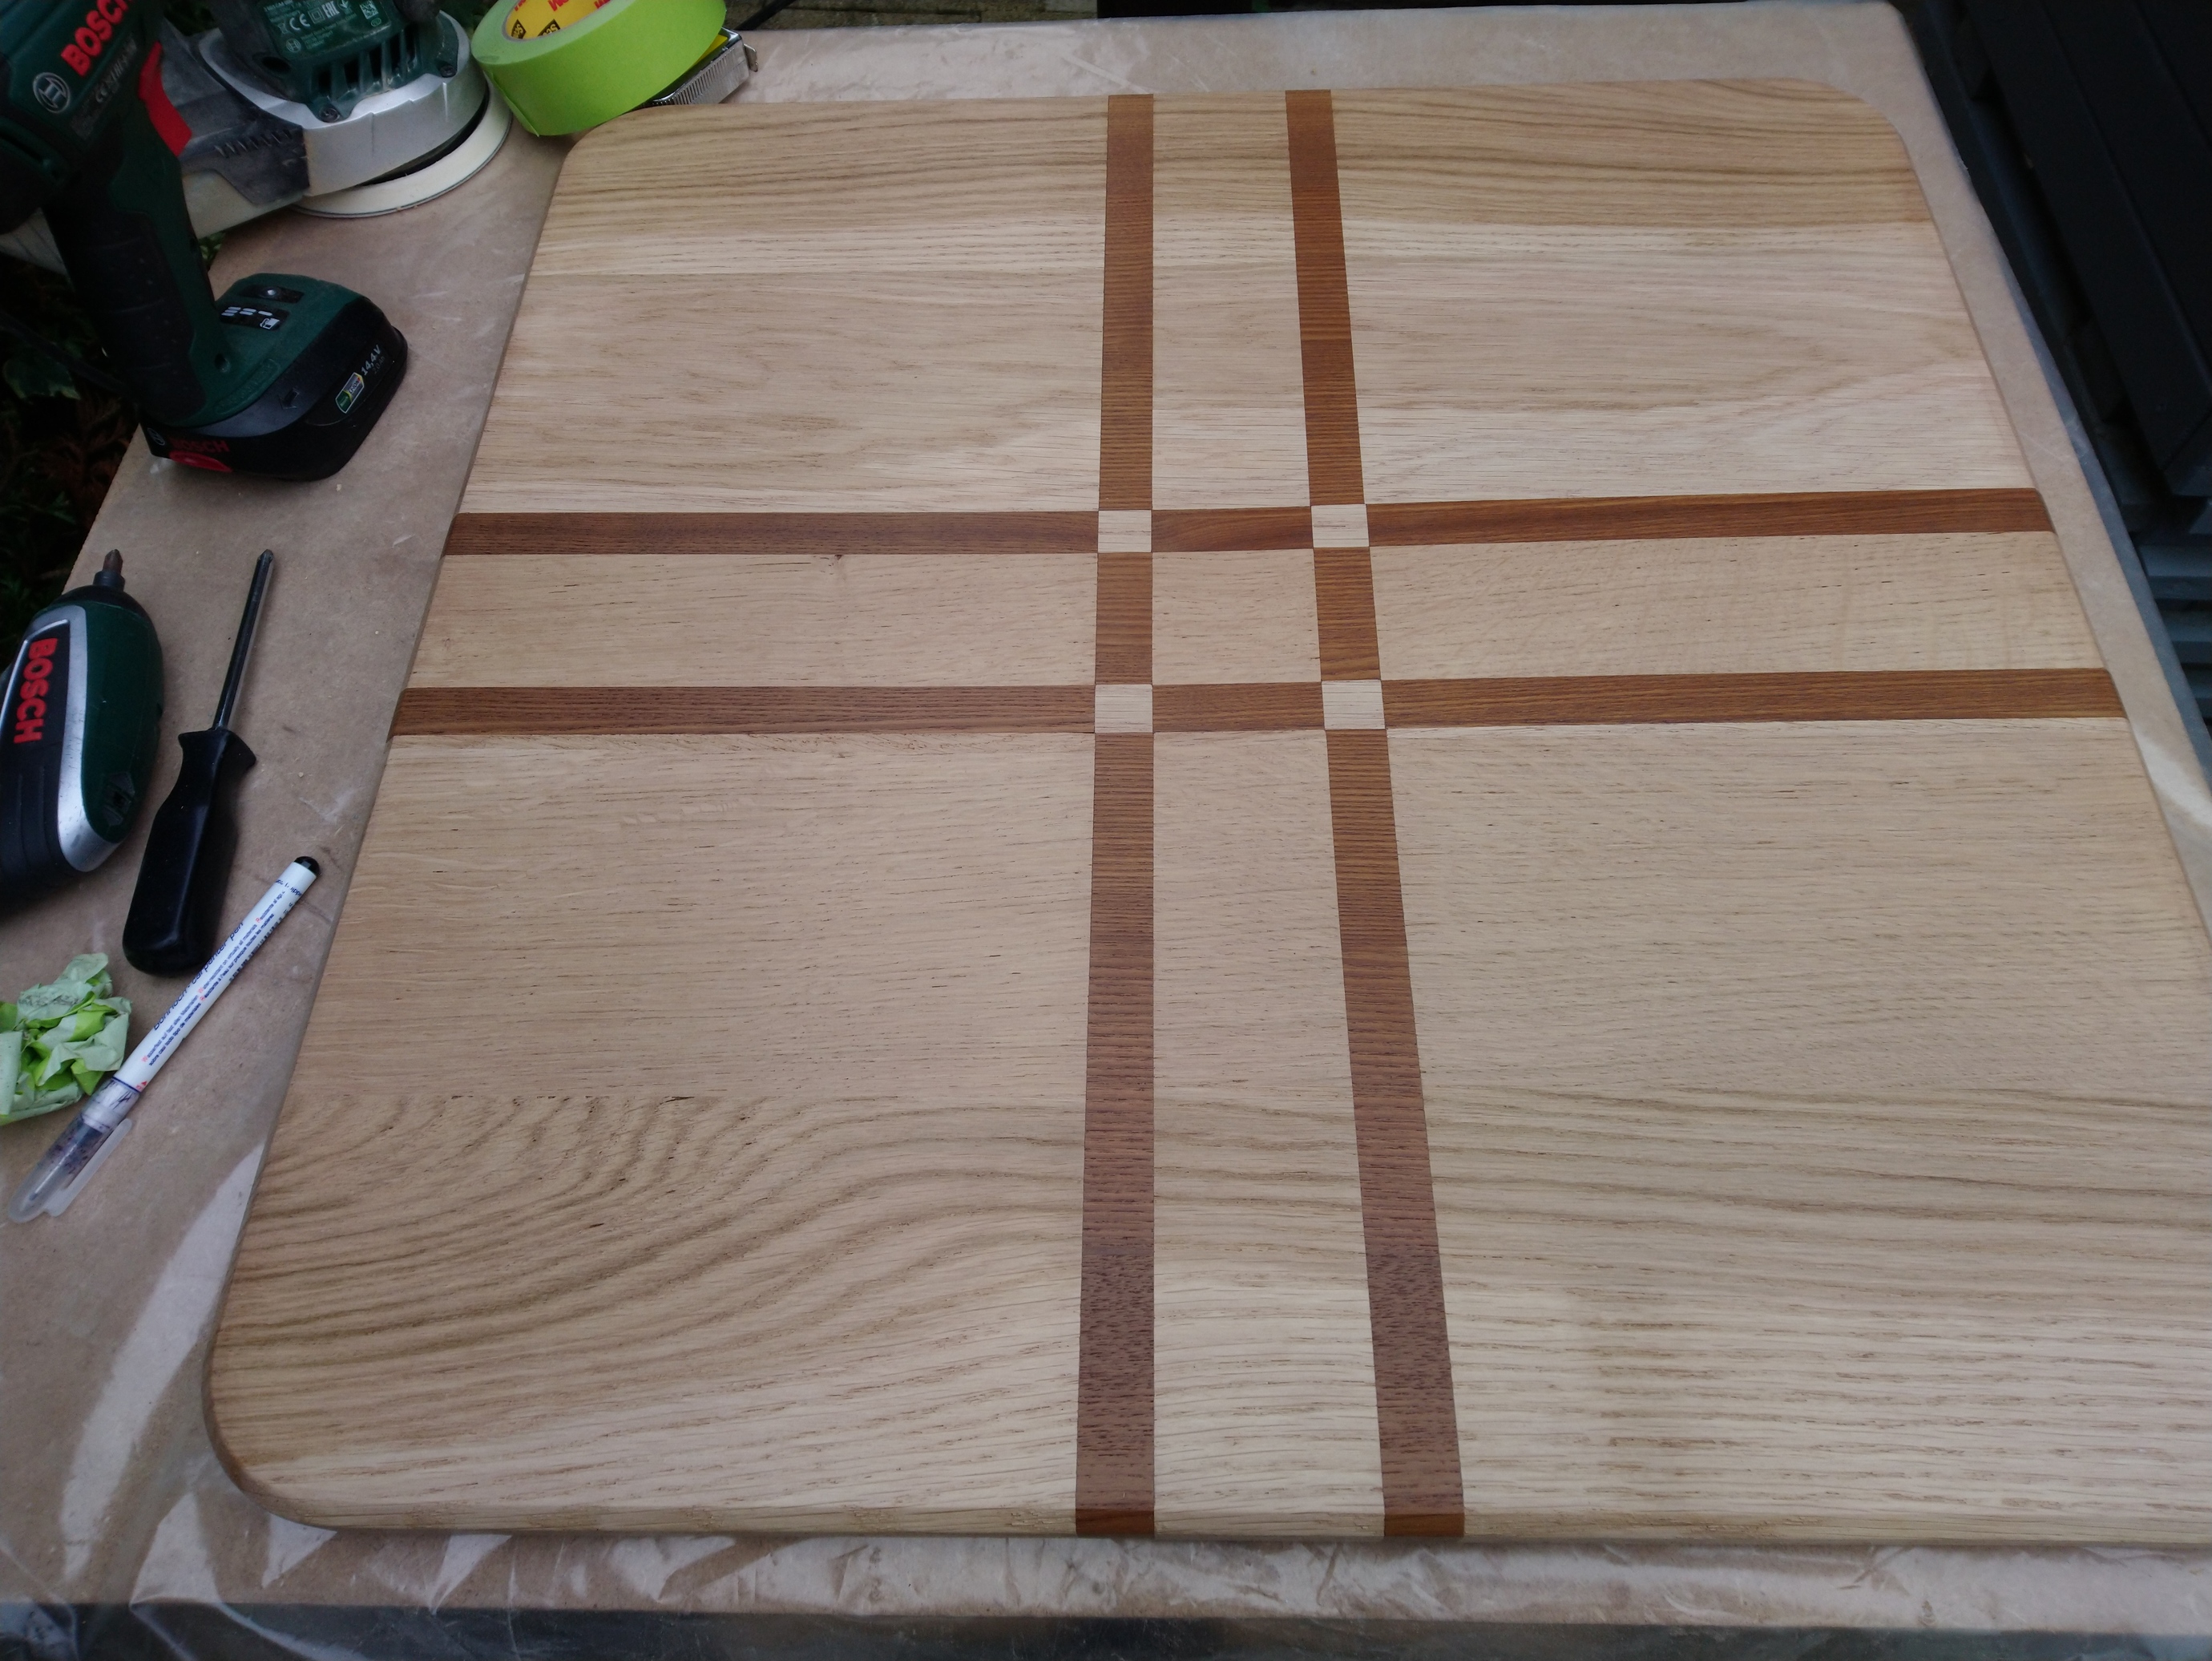
By the way, I had never cut ash before, it machines superbly, the surface with a single contour finish pass is incredible. Anyway, here’s a first pic of the first dry fit:
Now for the less-than-fun part, glueing everything and sanding…I’ll post an update later (not that anyone cares about a coffee table top, but it’s the largest piece to come out of my tiny Shapeoko so far  )
)
Yes, ash is fantastic to work. With hand tools, you get a workout, and by hand or by machine you get lovely finish.
(spoken from the point of having done some large mortise and tenon work-- 8"X12" timbers after the machine planing-- with ash a number of years ago, primarily with slicks, saws, hand planes, and chisels, it can be a REAL workout, but the results are worth it, in beauty and durability)
My understanding the ash is noted has having been heated because of the Emerald Ash Borer Beetle which has pretty much wiped out the species in North America.
Turns out, this is a process (heating up the wood at high temperatures) to allow ash to be used for outdoor use (it gets rid of the humidity captured inside the wood, or something). The smell is unpleasant, when I started milling my wife came to ask if something was burning
Oh, you mean HT for heat treated as opposed to KD for kiln drying?
Yes, that. I wasn’t sure what the term was.
I think I bought some of that last year. It was called Eco Ash and was the color of dark chocolate. It was very pretty but a little on the brittle side since they bake it at a pretty high temp to achieve the color. Mine smelled like maple syrup when cut. My daughter came into the garage and wondered what I was doing cause it smelled like maple syrup. She loves waffles. But My wood monger said he has not been able to get anymore and didn’t know why. Sad.
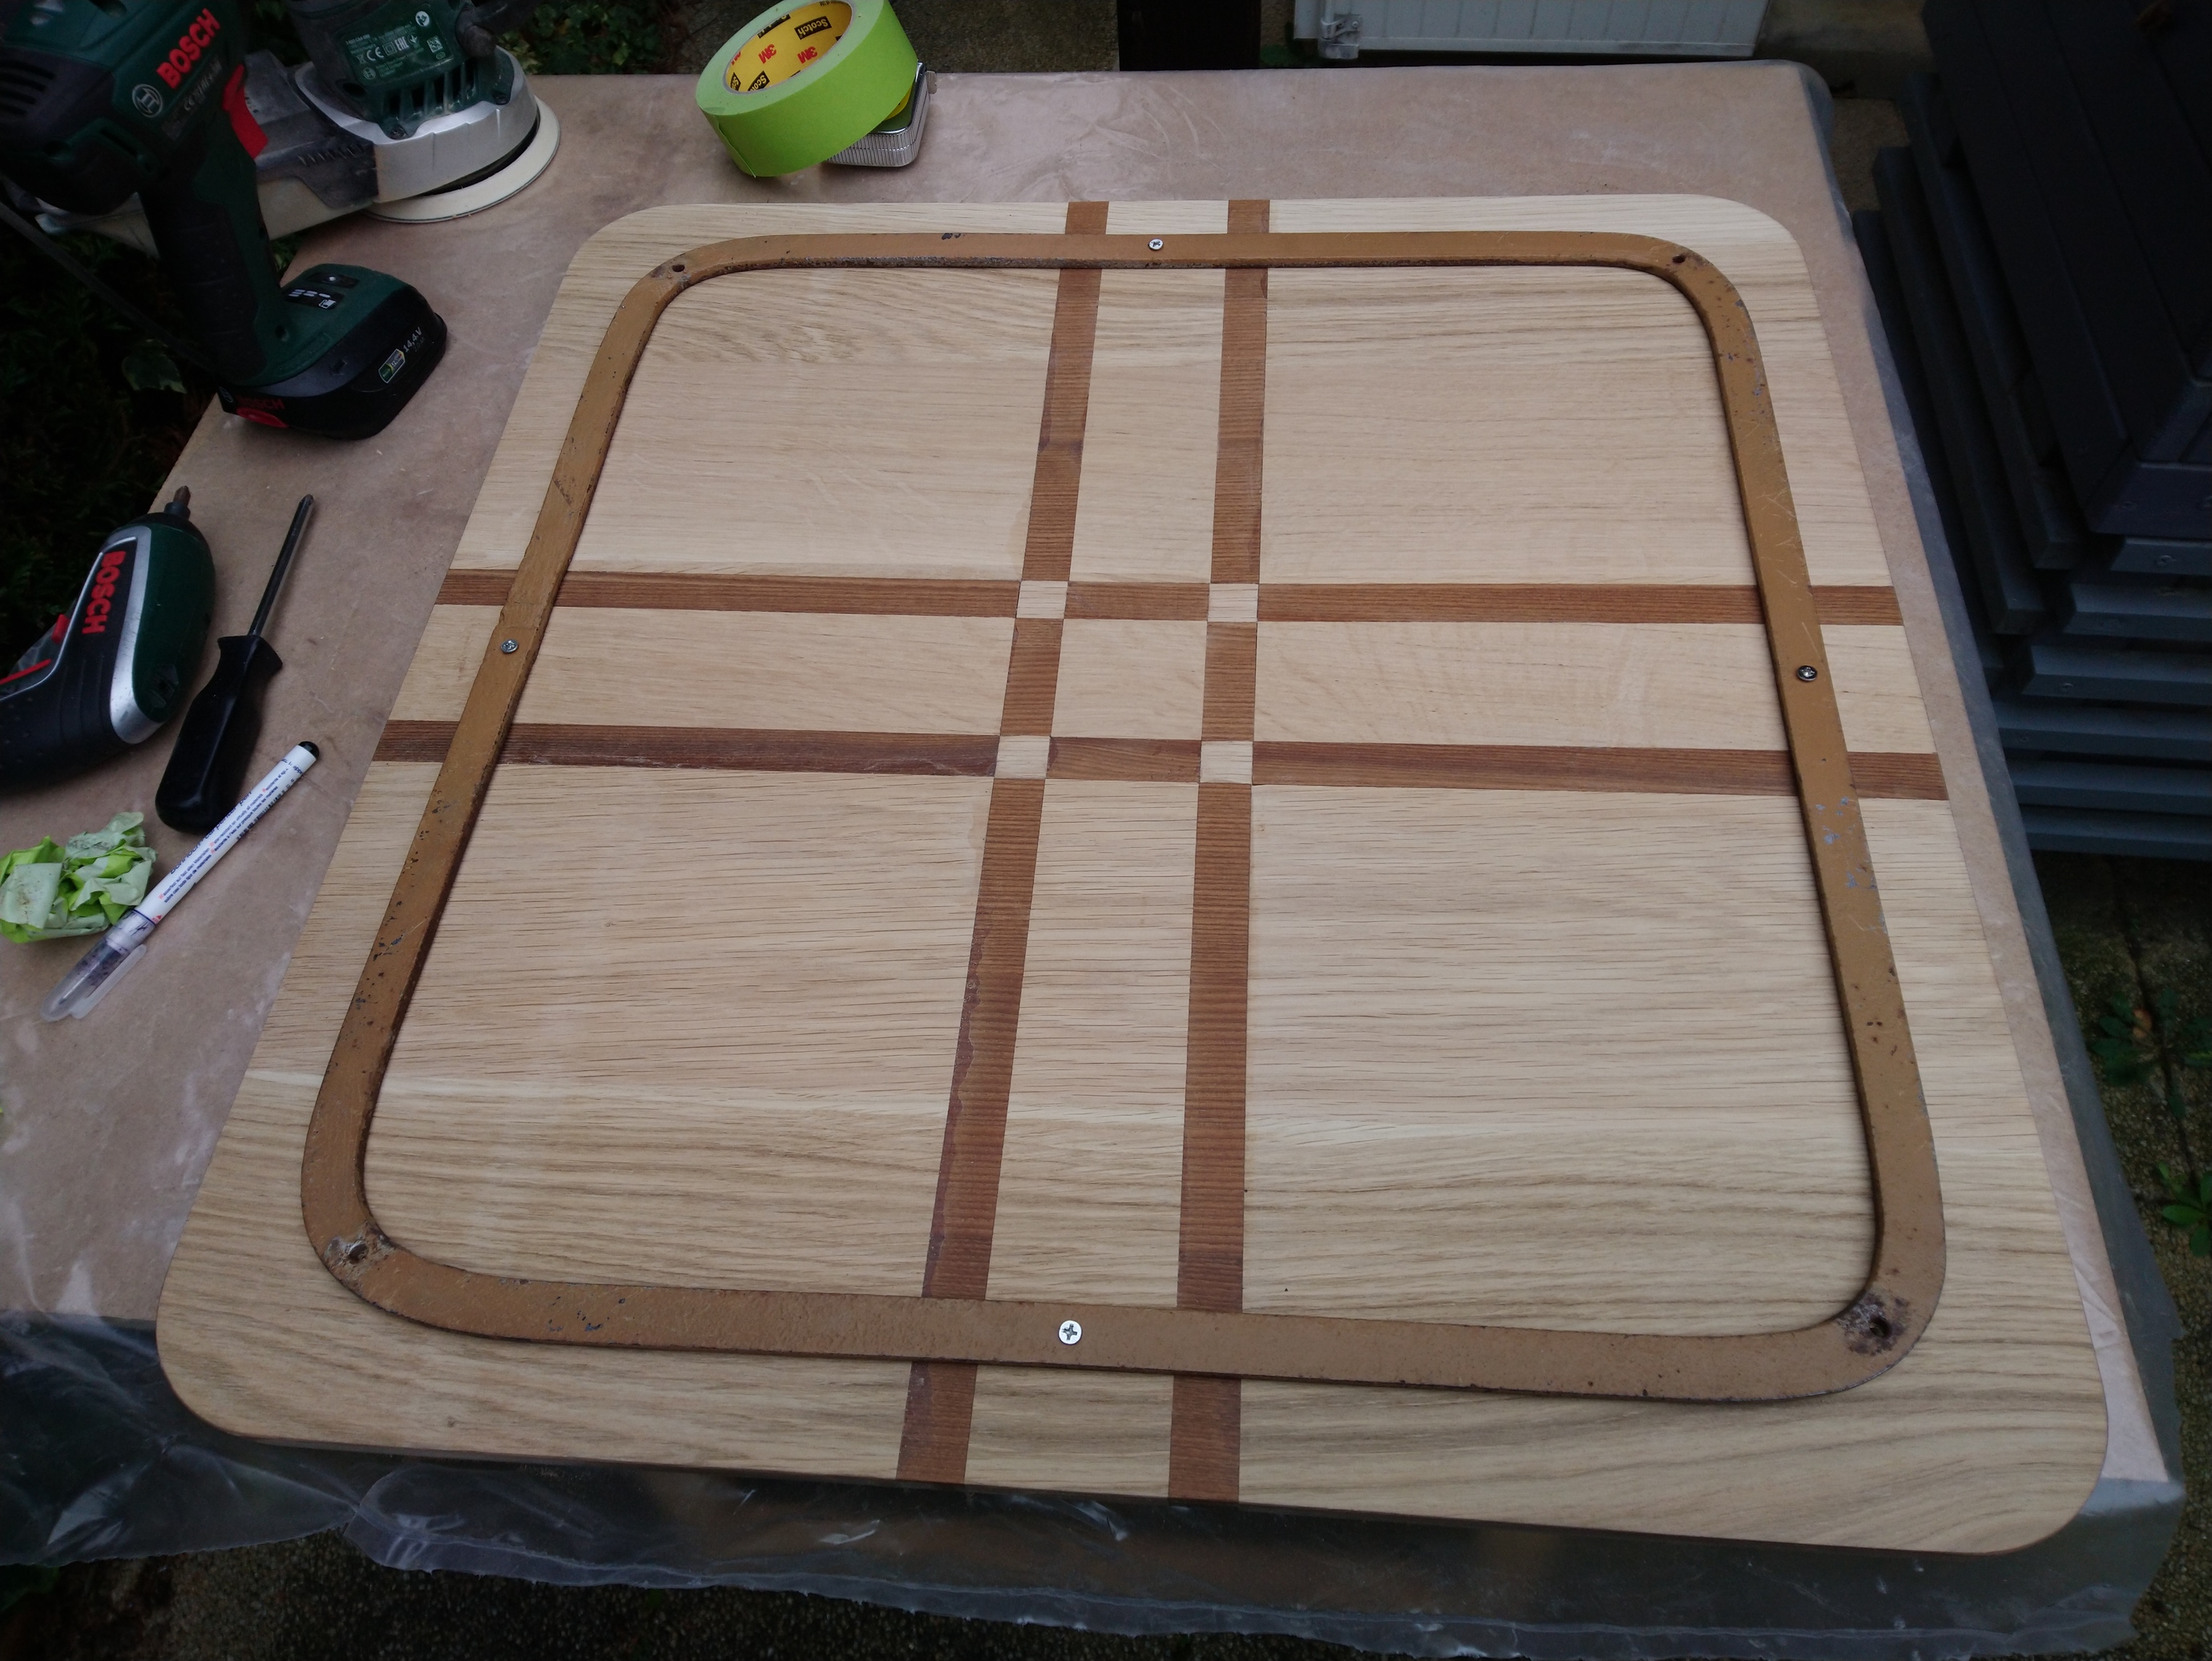
Finished. Sanding was NOT FUN. I applied three layers of varnish, and then screwed the original (slightly rusty, but I call it “vintage”) metal frame underneath the panel. This frame and the glued joints should work out ok.
I’m glad I don’t do this for a living, it took me way too much time to finish this piece. Now to wrap it and offer it to the recipient later today. I would have laser-signed it, but obviously it won’t fit inside my SO3 now
You couldn’t just insert a corner of the table from the front of the machine and prop it up?
Yeah I probably could. But I’m a bit lazy and considering this is a gift for family, they will probably remember who made it anyway
This topic was automatically closed 30 days after the last reply. New replies are no longer allowed.