Setting up a Sea of Holes Wasteboard

I’m a newbie with my new XXL. Apart from the fact that I used 5/8 MDF shelves…should have used 3/4" material…oh well. Anyways what I did to measure the exact machining space for lining up my boards and “T” track is I stuck a pencil in the router collet and rapid sped to the corners and then droped the Z to the surface and just moved the X and Y axis along their extreme outer limits, using the axis jogging (much slower speed for the pencil)apart from the front and simply left a 1-3/4" space to access the front of the T tracks. 3 shelves at 11-3/4" widths fit perfectly, at least for me with 4 T tracks running front to back of machine.
As far as filling waste board beyond the limits I simply cut smaller pieces to fit at the back/below the gantry and just measured it out on create using squares to give me the exact locations at the intersections of each square. Wasn’t complicated, just took a while to do. Thanks and look forward to more interaction in day weeks ahead.

2 Likes

Thanks guys. You have given me some food for thought.

@DanoInTx: I also love Rube Goldberg machines. I would just as soon, however, have something a bit more precise and reliable.

@mikep: I thought of the moving Y axis trick and it will probably work if the board is actually close to square. I’ve also thought of drilling the hole pattern, putting in a 1/4" endmill in the collet upside down giving me a quarter inch shaft and dropping the mill in one of the holes at the end. Clamp that raise the z to clear the board and move to the other end. Drop the shaft in a hole there clamp, rinse and repeat until it’s true to the axis. That seems to me to take the edge straightness/squareness of the board out of the equation at the expense of being more of a pain I expect.

@WillAdams: I currently don’t plan on using T-Tracks but that may change depending on what I wind up doing most often. Right now I’m just fiddling and learning but am looking for something that will lend itself to repeatable setups for small scale production.

@DanoInTx: I didn’t think of it either. (Thanks again @mikep). I understand that surfacing the wasteboard is likely going to happen several times before it needs replacement. The T-Nuts I happen to have should give me just about .4" clearance before I have to worry about my surfacing operation hitting them. I hope that his will be enough for a few passes depending on how badly I screw something up.

@neilferreri: I clearly didn’t think this through. You and Dan are right. I had been thinking about clamping stock that pretty much covers the cutting area. For something like that, the fact that the area outside of the cutting area may be a bit high as it is unsurfaced isn’t an issue. Unfortunately, if you are tiling large boards or putting a carving on the corner of a larger piece, I can see how that pocket in the cutting area could be a significant problem. I still feel the need for a clamping area outside of the cutting area. I’ll have to think how to handle that later.

It sounds like I’d better scale back my plans a bit and get the wasteboard on the machine THEN think of how to clamp stock that completely covers the cutting area without having to constantly screw into the bed of the machine.

Once again, thanks to all of you. I appreciate the feedback.

@Dustyboots: Your response must have come in while I was typing. I tend to ramble on a bit as you may have noticed.

I actually did the same thing as you did to identify the cutting area with the exception that I did it using a V-bit just barely dragging the bed of the machine. That gave me a little edge I can use for lineup that doesn’t get erased periodically.

I’m not currently planning on using T-Tracks but that may change as I figure things out. Thanks for the suggestion.

My actual surfaced wasteboard is at machine boundaries, right next to that on each side I have a t-track. If I need to clamp outside the working envelope I use that and prop up the ends of my clamps with a small piece of MDF. You could always add a t-track at the sides like me, or add a thinner piece of MDF with inserts outside the machine boundary?

Dan

1 Like

Oh, and don’t forget the Y end plates move!

Dan

1 Like

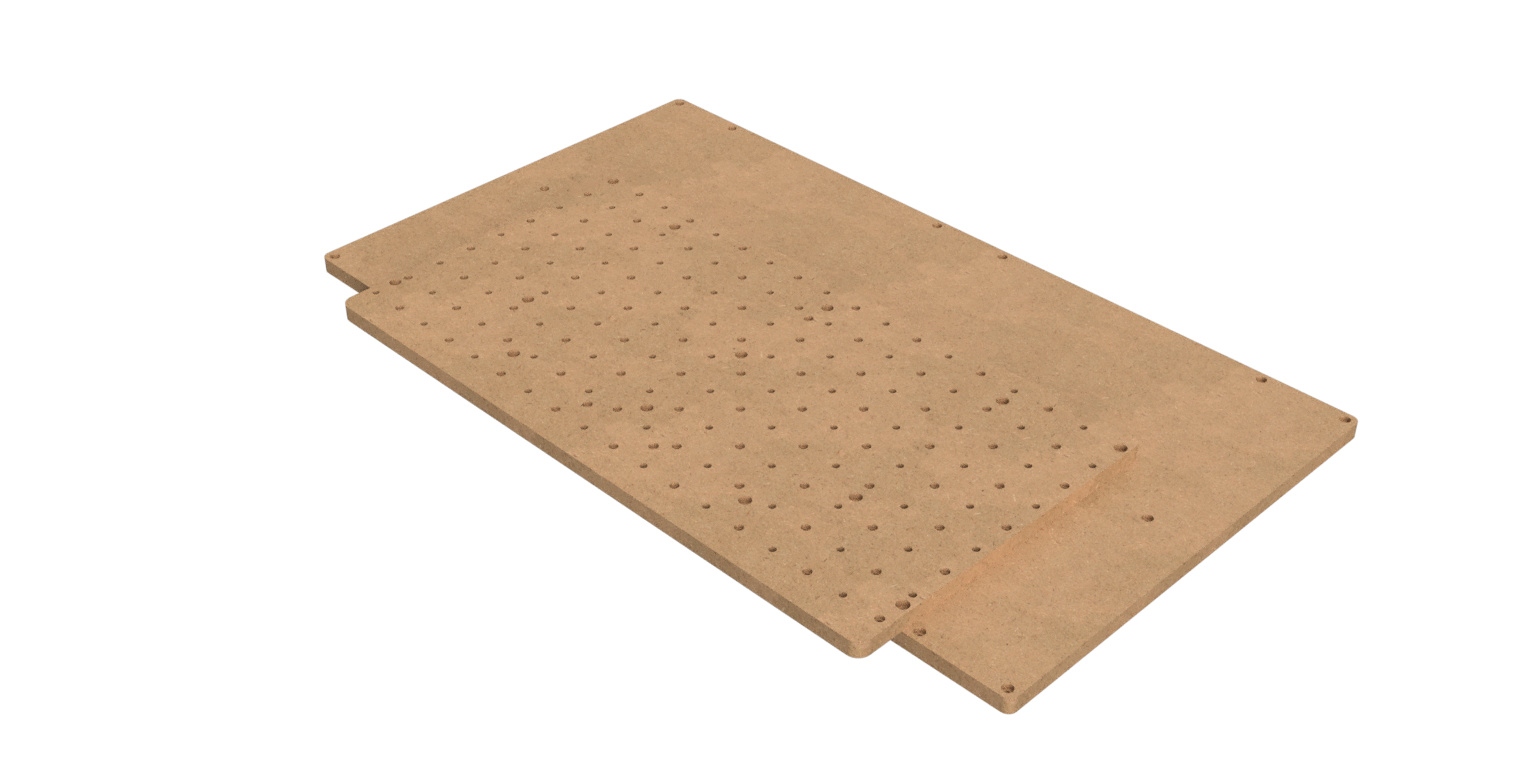
@Dreamtym What is your CAD experience? If you’re familiar with Fusion 360, I’m happy to share my wasteboard design and CAM operations.

3 Likes

@neilferreri Thanks Neil. I have some F360 experience through 3D printing but not any CAM experience. At the moment, I’m treating this as a learning exercise with the cost for doing it “wrong” just a piece of MDF. I appreciate your offer but would rather puzzle it out for myself rather than apply someone’s cookbook answer. I tend to learn better that way.

1 Like

In case you’re curious.
https://a360.co/2D9NM2t
Not for most anyway…I have a double thick wasteboard underneath.
I alternated holes in the grid, 8mm dowels and M5 clamp system.

3 Likes

I ran a test cut on some scrap plywood just to confirm that what I wanted to do was correct and discovered a few things.

  1. I need to allow slightly more clearance on the through holes to allow the bolts to be more easily inserted.

  2. I need to re-square the machine and do some calibrations before cutting the real board. As you can see from the photo, my holes are coming out oblong. I’m not sure whether that is out of square, loose belt in one axis or another or a need to adjust steps/mm in the software.

  1. The bed of my machine is not quite level to my gantry as I got some onion skin on two out of the four holes I cut. I anticipated that which is why I plan on doing a leveling pass on the supplementary wasteboard when I get it mounted.
1 Like

Here’s one of mine:

This one is aluminum, and I mount it on tope of an mdf one with threaded inserts (I don’t understand what problems people have with these, I’ve had exactly zero failures/pullouts), which is on top of (yes, I know…that’s a lot) my base t-track board. I do switch back and forth. The aluminum one is specifically for some sheet work where Z travel doesn’t make a difference. I usually cut wood on the mdf threaded one.

I think pretty much everyone with a threaded wasteboard finds there are some threaded holes that get used a lot, some that get used a little, and some that don’t get used ever. I kept track of that for my projects for a while, and came up with the radial pattern on the aluminum one - it has a lot less holes than one with a square pattern of holes every inch.

2 Likes

Looks good @mikep. I think that 3 deep is a bit of overkill but it’'s your machine. Just to be clear, Ihave nothing against threaded inserts but I happen to have about 300 T Nuts left over from another project so I’m planning to use those.

Yeah, the 3 deep is a bit much, I agree, came about because of a bit of laziness on my part too. I can mount the aluminum one directly to the t-track as well, I just don’t like taking the threaded MDF one off because it needs to be realigned when put back on.

Ha ha, what’s that they say about like minds…? Nice to have the flexibility.

I have one board with just dowel holes for tape/CA work. Most all I do anymore.

You could use the router to place holes where it will reach, and then use the router to make a drilling jig to extend the holes further left and right.

The drilling jig could be as simple as a board with two holes to place dowels through to align with the holes in the waste board, plus another couple of holes to place a drill bushing to use with a hand drill.

2 Likes

Good idea, Phil. I’ll have to think about that once I figure out why my circles are ovals.

I think your circles are ovals because you’re plunging too quickly with a bit not moving x/y. If you can add a ramping motion or a lead-in, it might help.

1 Like

Possible. I set both the counter bore and through hole up as pockets in carbide create using the programs default feeds and speeds. I’m using a 1/8" flat end mill. Both are showing the same type of deviation showing oval to the right rear. Probably be the weekend before I can get out to the shop to start chasing it down.

@Dreamtym I believe you mentioned you have 3D printer experience. If you’ve done a lot of 3D printing, you’ve probably seen that shape for circles before. Probably something out of square or something loose causing motion that is out of square.

1 Like

Thanks, Neil. You are right. I suspect a loose X belt but as I said previously, I probably won’t get out to the shop to do some more calibration and testing until the weekend. Unfortunately, I’m at that stage of a cold where doing nothing is driving me crazy and doing anything requires more energy than I have.

1 Like

I currently have a second larger CNC to make wasteboards for my XL, but before I did, since the wasteboard is wider than deep, I rotate it 90 degrees, machine the holes in the front half, shift the wasteboard 180 degrees, then machine the rear half with the same gcode file. Make the hole pattern symmetrically spaced from a center line. Place Job Zero in that line. Basically, I divided the board in half and rotated it to fit the machines working area.
I have made many project cuts that seemed too big for the XL by shifting the longer stock along the Y axis. There is no limit to how long it can be as long as it is not over 32 inches wide. I often use dowel pins to line up the stock between cuts.

2 Likes